

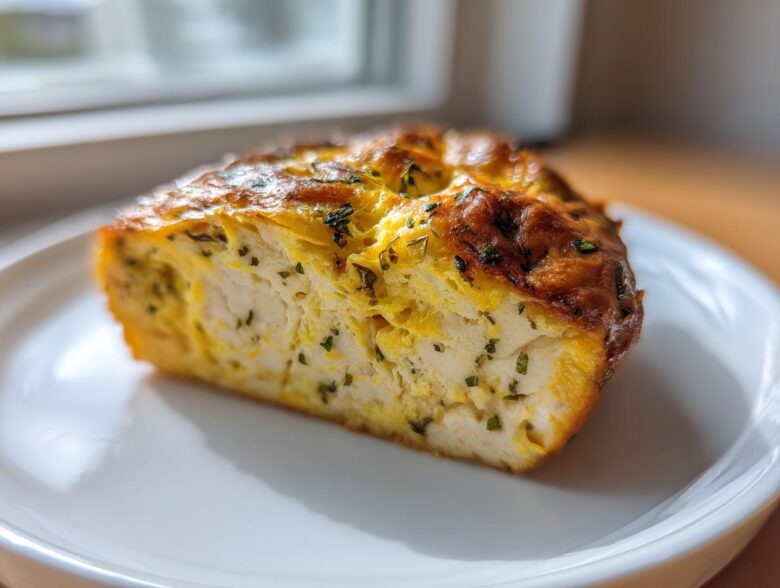
Oh my gosh, we’ve all been there, right? You pull that tray out of the oven, excited for a simple weeknight meal, and BAM. Dry, sad, stringy baked chicken breast that tastes like cardboard. It’s the culinary nightmare that keeps us ordering takeout! Well, trust me when I say I’ve fixed that problem for good. This recipe for baked chicken breast is seriously foolproof. I spent years testing temperatures and seasonings so you don’t have to, and I finally nailed the technique for a consistently juicy baked chicken breast every single time. After you try this lemon herb version, you’ll never be scared of the oven again!
Why This Foolproof Baked Chicken Breast Recipe Works (No More Dry Chicken)
Look, the secret to perfect baked chicken breast isn’t some fancy brine that takes three days. It’s all about managing moisture and temperature right before it hits the oven. When you follow these specific steps, you are setting yourself up for success. I’ve condensed all the trial-and-error into these key techniques that guarantee you get that soft, tender bite we all crave. Check out my full guide on how to banish dry bird forever if you want the deep dive, but these simple tricks are what truly matter here.
The Importance of Patting Boneless Skinless Chicken Breast Dry
This might sound overly simple, but it’s crucial! If your surface is wet, the heat goes into evaporating that water before it can even start cooking the meat. Wet chicken steams, it doesn’t roast beautifully. Grab those paper towels and give every piece a good, firm pat. You want that seasoning to stick directly to the surface so you get that gorgeous crust.
Achieving Tender Oven Chicken with Marinade/Oil Coating
Once they are dry, we add the protective layer. That coating of good olive oil traps moisture inside as the breast cooks, which is essential for that juicy baked chicken breast result. The lemon juice does double duty—it adds amazing brightness, but its acidity also starts a tiny bit of tenderizing before it even gets hot. You’re locking in tenderness before you even think about the oven!
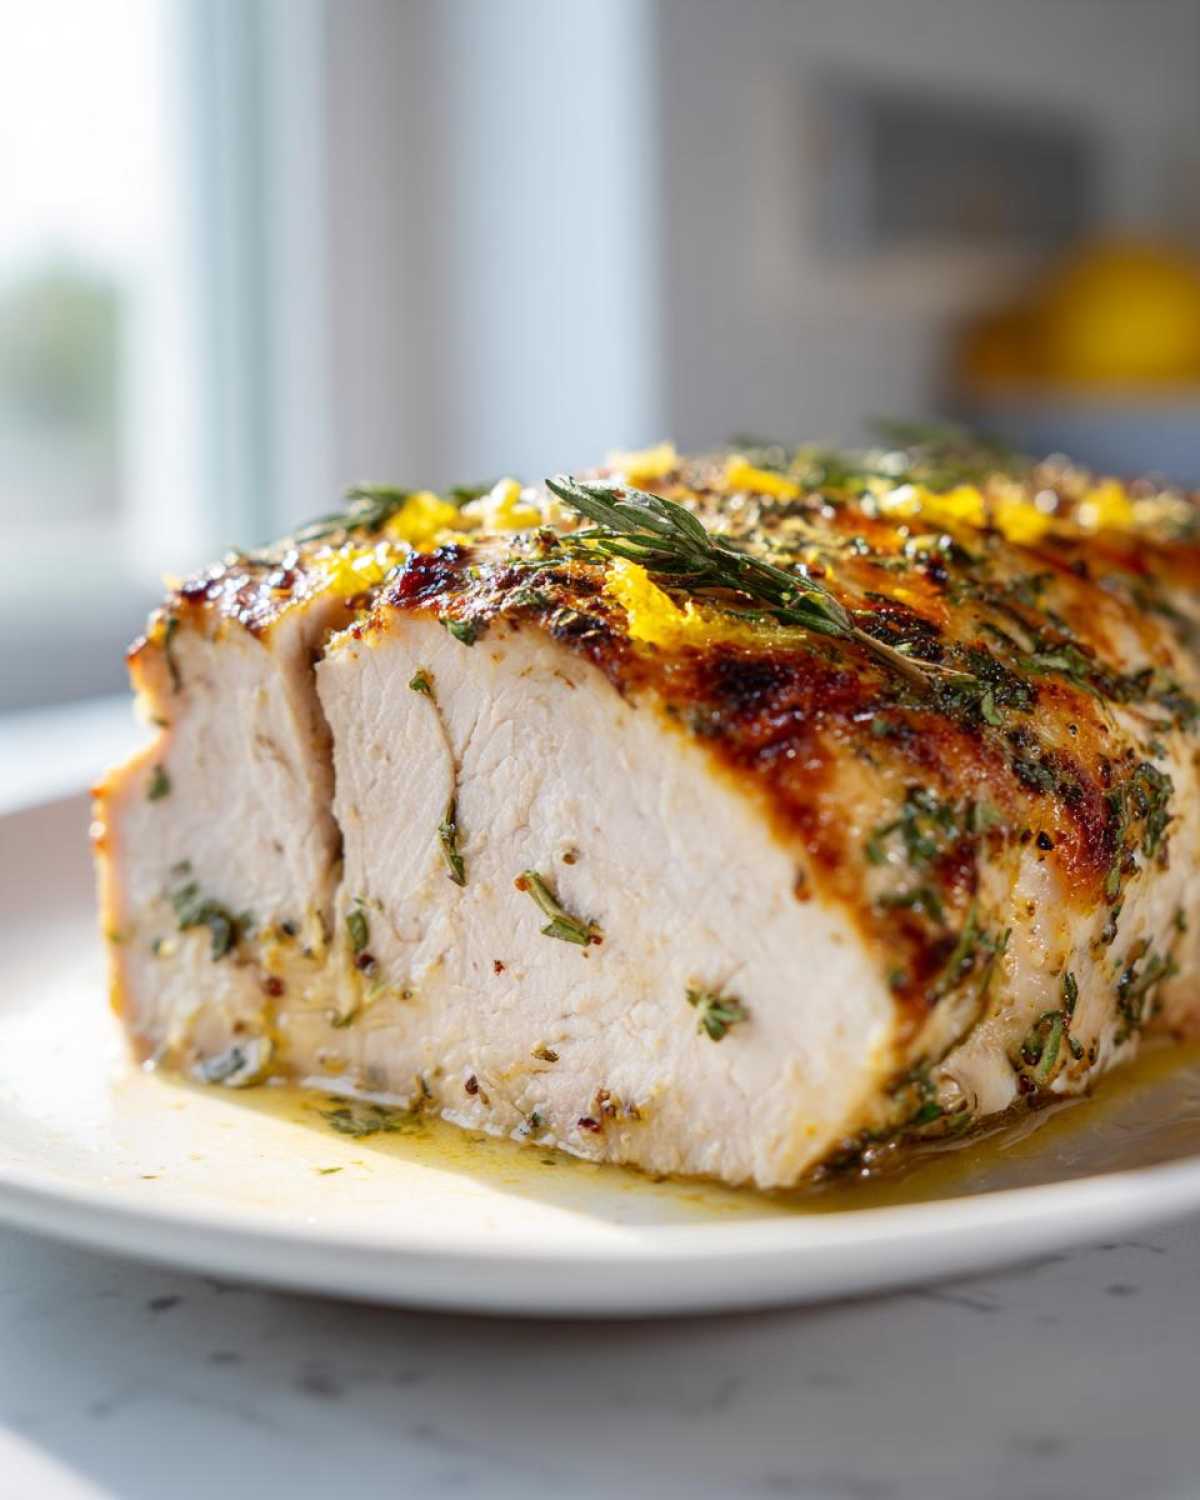
Ingredients for Your Juicy Baked Chicken Breast with Lemon Herb
Okay, gather your goodies! The beauty of this easy chicken breast recipe is that it uses simple staples that probably live in your pantry already. When I make this for a quick chicken protein fix, I always make sure the chicken breasts are all roughly the same size, but don’t stress too much about it—we’ll cover leveling them out later.
Here is exactly what you need for four servings of moist baked chicken:
- 4 boneless, skinless chicken breasts (I aim for about 6 ounces each)
- 2 tablespoons olive oil
- 1 tablespoon dried Italian herbs
- 1 teaspoon garlic powder
- 1 teaspoon onion powder
- 1/2 teaspoon salt
- 1/4 teaspoon black pepper
- 1 lemon, juiced (don’t skip the fresh juice!)
- 1 teaspoon dried parsley
That’s it! See? No crazy shopping lists required for this weeknight chicken dinner staple. It’s all about layering those basic flavors perfectly.
Step-by-Step Instructions for Perfectly Baked Chicken Breast
This is where the magic happens, and honestly, this is the blueprint for the best way to bake chicken breast. We’re moving fast, but we’re not skipping anything that guarantees your tender oven chicken turns out amazing. If you want the detailed technique guide, check out my full breakdown on how to cook chicken breast in oven, but just follow these steps, and you’re golden.
Prep Work: Oven Temperature and Seasoning Mix
First things first: Crank that oven up to 400 degrees Fahrenheit! Don’t bake chicken breast lukewarm; high heat helps the outside get happy quickly. While it heats, mix up your dry rub—all those herbs, garlic, onion, salt, and pepper go into one little bowl. Once your chicken is patted totally dry, drizzle it with the olive oil and lemon juice. Then, take your seasoning blend and *press* it onto the chicken. Don’t just sprinkle! Pressing ensures that simple chicken breast seasoning really adheres.
Baking Time and Checking Internal Temperature for Moist Baked Chicken
Lay your perfectly seasoned beauties in a single layer in your baking dish. No crowding allowed! They usually take between 18 to 22 minutes because of that 400°F heat. But listen to me: forget the timer. Seriously! The only way to guarantee moist baked chicken is to use a meat thermometer. Pull those breasts out the second the thickest part reads exactly 165 degrees Fahrenheit (74 Celsius). Trust me, that one piece of equipment saves us from ever having dry chicken again.
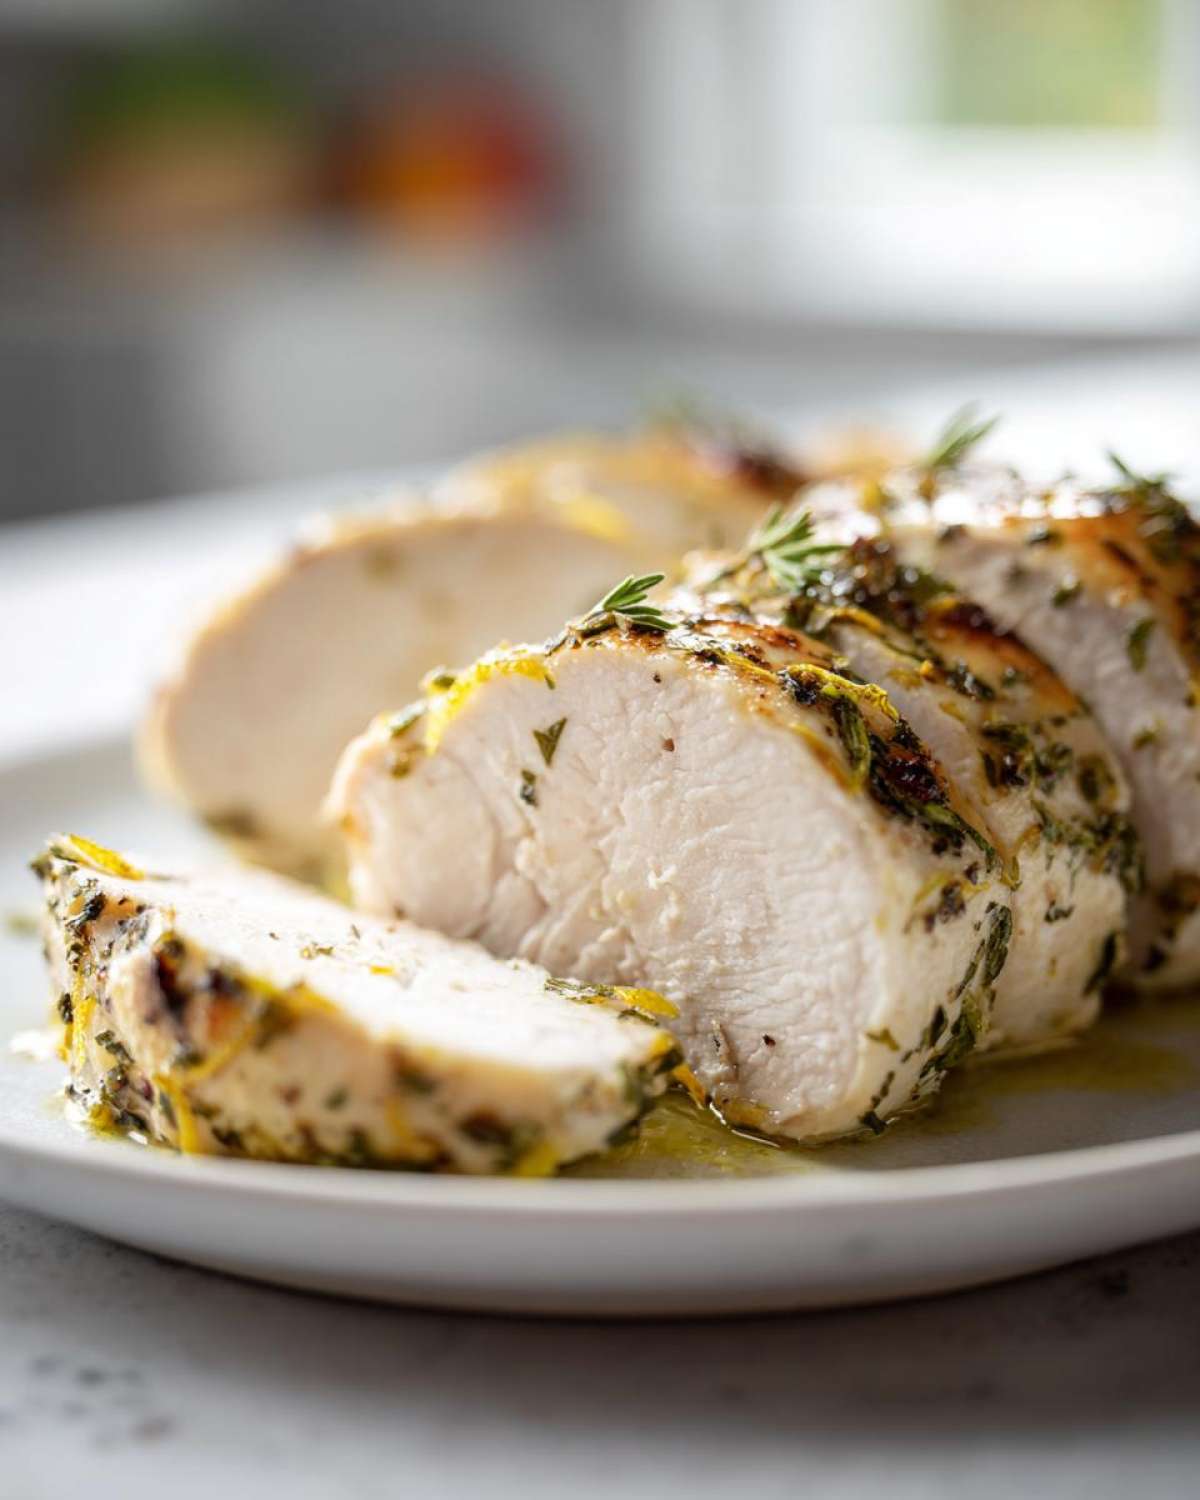
The Non-Negotiable Resting Period for Tender Oven Chicken
This step is probably the most ignored, and that’s why people end up with dry outcomes! Once they hit 165°F, yank them out of the oven and put them on a clean cutting board. Now, walk away for a solid 5 to 10 minutes. Those juices that were pushed to the center by the heat need time to redistribute back through the meat. Resting equals juiciness! If you cut it immediately, all that gorgeous liquid spills right out, and we end up back at square one trying to find that perfect juicy baked chicken breast.
Tips for Success When Making Baked Chicken Breast
I always tell folks that the technique is just as important as the simple chicken breast seasoning in the bowl. I went through my notes from the original recipe card, and these little bits of wisdom are what elevate this from fine to fantastic! If you want to make sure every breast turns out perfectly, pay close attention! For more ideas on seasoning boosts, check out my post on simple chicken breast seasoning recipes.
My biggest personal tip? Try to get your breasts uniform in thickness! If one end is super thick and the other is practically transparent, you are guaranteed an uneven cook. If your breasts are naturally thick, just take a meat mallet or even a sturdy rolling pin and gently pound down the thicker side until the whole piece is roughly the same thickness. This massively helps with getting that perfect 165°F reading everywhere at the same time.
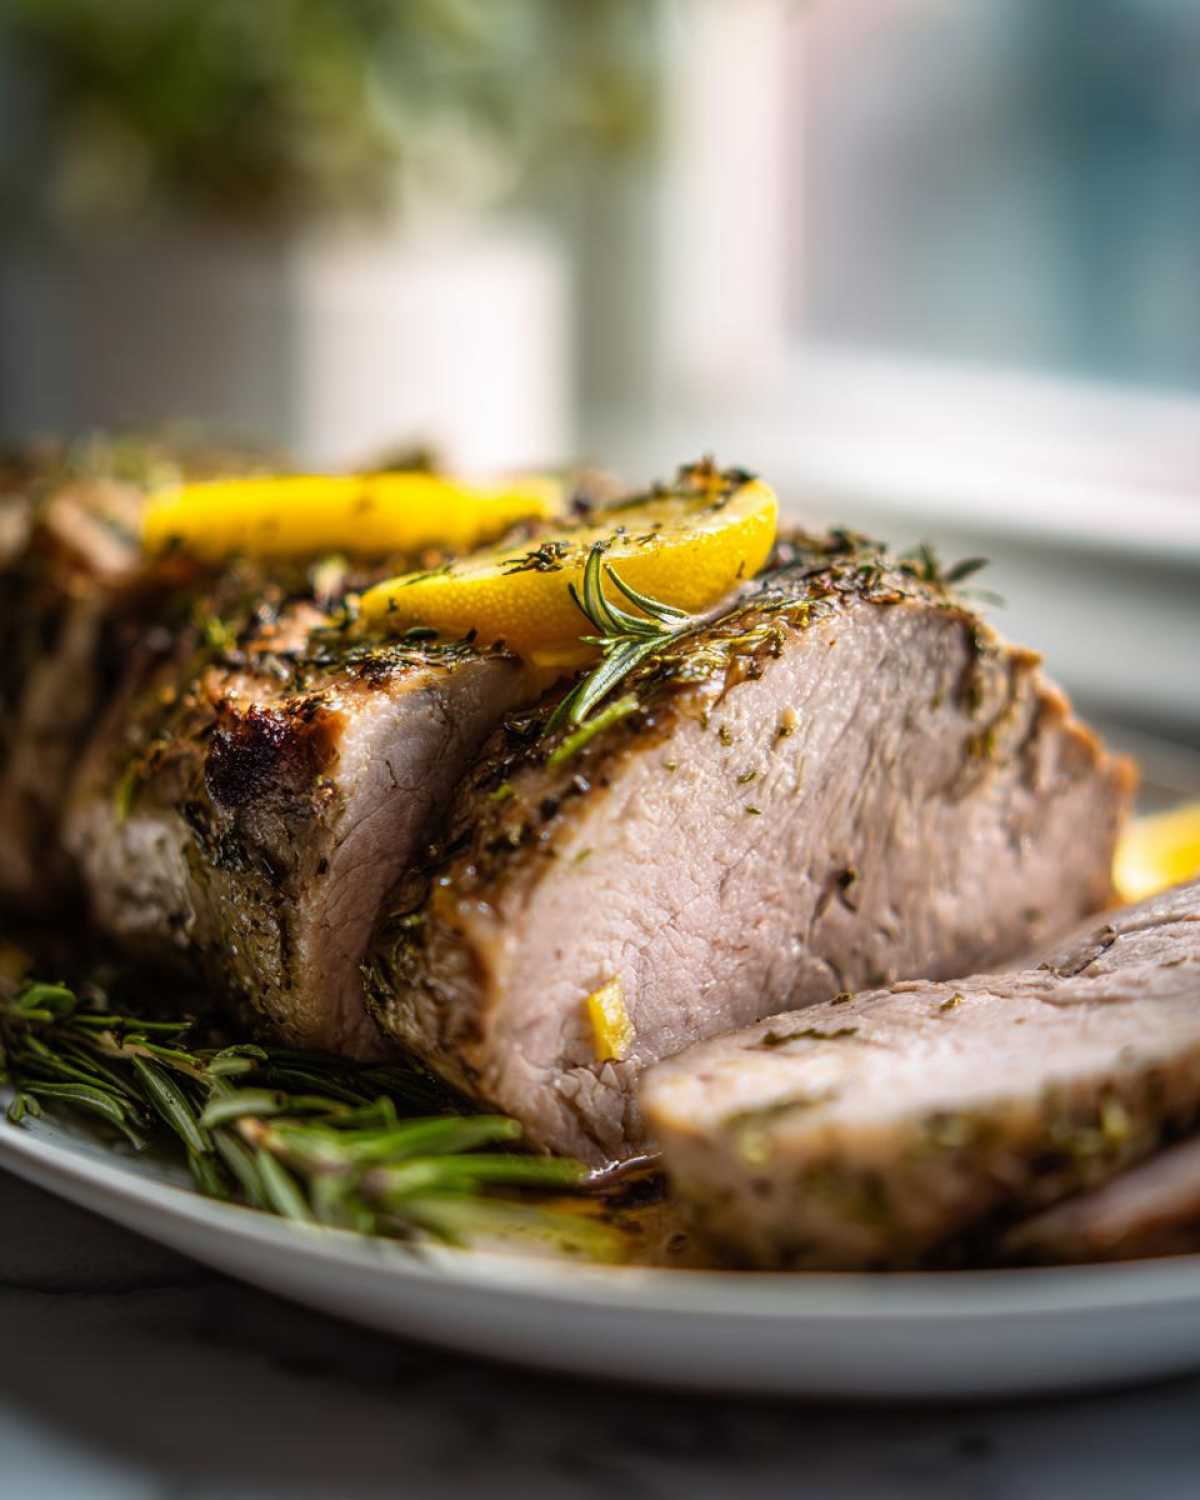
Also, remember that little note about adding zest? If you want a major flavor punch without adding tons of salt, grab your microplane and zest half of that lemon right into your dry rub mixture before you coat the chicken. It smells incredible while it bakes, and it really amplifies that bright citrus note against the herbs. It’s an easy move for a truly memorable tender oven chicken!
Variations on Your Simple Chicken Breast Seasoning
Now that you have the absolute best technique down for a perfectly baked chicken result, we can have some fun with the flavor profiles! The beauty of this method is that the chicken itself—the resting, the 400°F heat, the patting dry—stays the same. It’s just a matter of swapping out that 1 tablespoon of Italian herbs for something new. Switching up your flavor profile is the easiest way to keep these meals exciting and avoid getting bored!
I’ve experimented with so many options, but these two are absolute weekend champions. They both make fantastic candidates for your weekly meal prep stash, too!
Spicy Southwest Baked Chicken Breast Variation
If you like a little kick, this is your go-to! To swap out the lemon herb mix, instead grab your chili powder, smoked paprika, and cumin. I usually use about 1 teaspoon of chili powder, 1/2 teaspoon of cumin, and 1/2 teaspoon of smoked paprika. That smokiness works just magically with the high heat of the oven. If you want to take it up a notch and create a real show-stopping Dry Rub Chicken Breast Recipe, add just a pinch of cayenne pepper. Always start small with the heat, you can always add more next time, right?
Quick Garlic Parmesan Baked Chicken Breast
Who doesn’t love garlic and cheese? This one is so incredibly simple, and it turns out tasting like restaurant quality. For this variation on your baked chicken breast, skip the Italian herbs entirely. Use the standard garlic powder and onion powder from the original rub, but add 2 tablespoons of finely grated Parmesan cheese right into the mix. If you are making garlic butter chicken breast later, you can use butter instead of oil in this step for even richer flavor!
You’ll find that the Parmesan gets a little crispy on the edges, providing a fantastic texture contrast to the super tender interior. It’s warm, savory, and my kids always devour this one first.
Serving Suggestions for Your Easy Chicken Breast Recipe
Okay, now you have this gorgeous, perfectly cooked, healthy baked chicken sitting on the counter resting. What goes with it? Since this is the ultimate simple oven dinner idea, we want sides that don’t stress us out after that perfect chicken cook time! My favorite strategy for a truly easy weeknight chicken dinner is to throw your veggies in the oven halfway through the chicken’s baking time.
Try roasting some asparagus tossed with a little salt and pepper. Or, if you need something heartier, check out my recipe for super crispy oven-roasted potatoes—you just toss them in oil and slide them in after you remove the chicken to cool. That way, everything is ready at the same time, and you only dirty one sheet pan!
Storage and Make-Ahead Tips for Meal Prep Chicken Breast
This recipe is honestly my secret weapon for beating the Sunday night scramble. If I have perfectly cooked, juicy baked chicken breast prepped, I know I can throw together healthy lunches or quick dinners all week long. A big batch of this lemon herb chicken is the definition of efficient meal prep chicken breast!
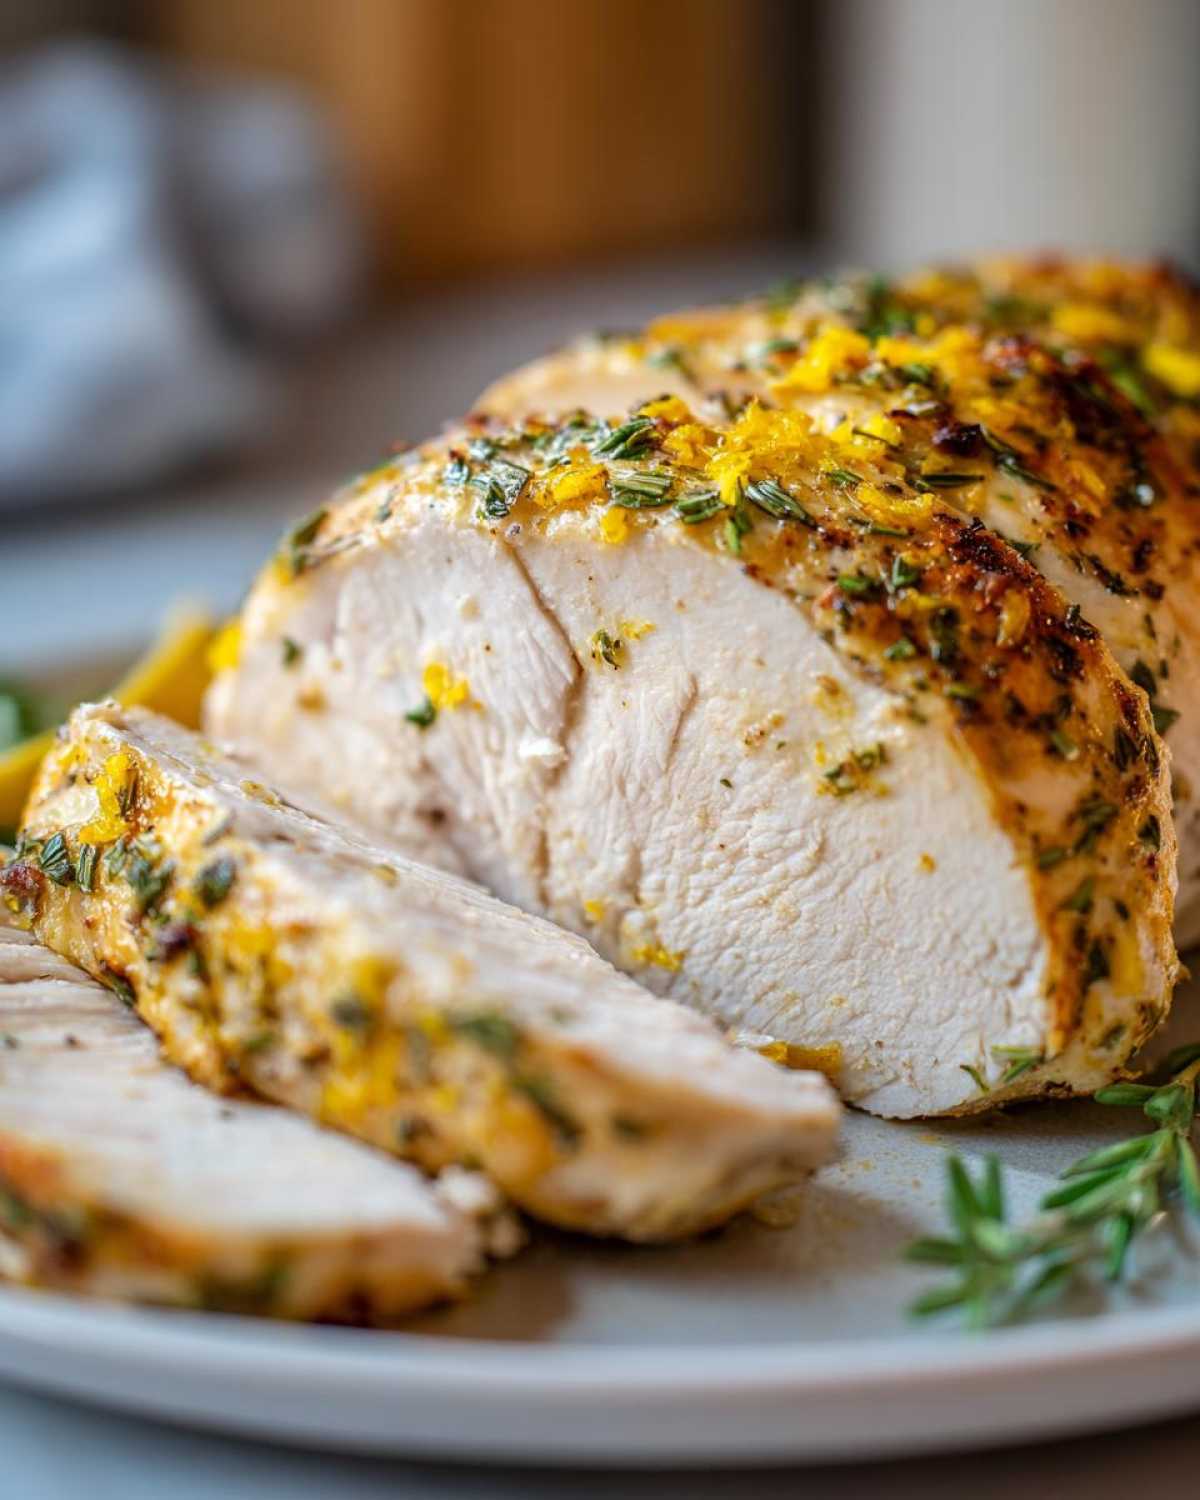
But here’s the thing about leftovers: you have to store them right so they don’t cave to that dreaded dryness overnight. Once the chicken has completely cooled down—and I mean cool to room temperature, don’t rush this part—slide them into an airtight container. They are good in the fridge for about three to four days. Pop over to my full guide on how to handle meal prep chicken breast for container suggestions, where I talk about layering them flat.
Reheating is where most people mess up the second time around. If you try to blast it in the microwave naked, you’re going to dry it out, guaranteed! My tried-and-true method is to add just a splash of liquid back in. I use a clean microwave-safe container, place the slices of chicken inside, and add about a tablespoon of low-sodium chicken broth or even just some water. Then, cover it tightly with a lid or plastic wrap, leaving a tiny vent. The steam gets trapped and helps rehydrate the meat as it heats up. It stays so tender!
This little trick ensures that even your last serving on Thursday tastes almost as good as when it first came out of the oven. Easy, right? It’s the perfect quick chicken protein boost for salads or bowls!
Frequently Asked Questions About Baked Chicken Breast
I know you might still have a few questions floating around—that’s totally normal when you’re trying to master a staple like baked chicken breast! Since I want you to feel completely confident making this lemon herb recipe, I pulled together the most common things people ask me when looking for the best way to bake chicken breast. You can find even more deep dives over on my guide, The Best Way to Bake Chicken Breast, but let’s tackle these big ones right now!
Can I cook this baked chicken breast from frozen?
Oh, please don’t! I really advise against cooking your boneless skinless chicken breast from frozen using this method. When you start frozen, the outside cooks way too fast trying to defrost the middle, leading to that awful scenario where you have hard, overcooked edges and still-cold centers. You can never reliably hit that crucial 165 degrees Fahrenheit target evenly. If you absolutely must, you should thaw it thoroughly first, or switch to a much lower oven temp (like 350°F) and add ages to the cooking time, but for guaranteed results? Thaw it first, please!
What is the fastest way to get a Quick Chicken Protein?
If you are seriously pressed for time and need a quick chicken protein source, the answer is simple: pound your chicken thinner! When I know I need that dish done in closer to 15 minutes than 20, I use my mallet and flatten the breasts until they are almost uniform in thickness, about 3/4 of an inch thick all the way across. This is the trick to hitting that 165°F mark quickly. You might even get down to a 15-minute cook time, giving you that ideal, faster result closer to that 25 minute chicken breast turnaround!
Can I use chicken thighs instead of breasts in this recipe?
You can absolutely substitute chicken thighs in a pinch! They are much more forgiving, so you don’t have to worry as much about ending up with dry chicken. However, thighs have a higher fat content and denser structure, so they need more time in the oven. Since this recipe is calibrated for breasts, I would still bake them at 400°F, but I’d plan on checking them closer to the 30 to 35-minute mark. They are done when they hit 175°F internally, not 165°F, because that extra heat helps break down the connective tissue in the thigh and makes them fall-off-the-bone tender!
Share Your Perfectly Baked Chicken Breast Results
Now that you’ve got the method down—pat it dry, oil it up, season it well, and *never* skip the rest—I need to know what you think! Honestly, seeing your gorgeous, juicy results is my favorite part of sharing these recipes.
Did you try the Lemon Herb mix, or did you jump over to one of the other flavor ideas? I’m always curious which variation ends up being a family favorite for your weeknight chicken dinner rotation. Drop a rating down below if this recipe finally solved your nightmare of dry chicken!
If you snapped a photo of your perfectly baked chicken—especially if you used one of the make-ahead tips—please tag me on social media or bring those photos over to my main blog page so I can see them! Happy baking, and go enjoy that tender, moist meat!
PrintFoolproof Juicy Oven Baked Chicken Breast with Lemon Herb
Learn the best method for baking boneless, skinless chicken breasts to achieve consistently juicy and tender results every time using a simple lemon herb seasoning.
- Prep Time: 10 min
- Cook Time: 22 min
- Total Time: 32 min
- Yield: 4 servings
- Category: Dinner
- Method: Baking
- Cuisine: American
- Diet: Low Fat
Ingredients
- 4 boneless, skinless chicken breasts (about 6 oz each)
- 2 tablespoons olive oil
- 1 tablespoon dried Italian herbs
- 1 teaspoon garlic powder
- 1 teaspoon onion powder
- 1/2 teaspoon salt
- 1/4 teaspoon black pepper
- 1 lemon, juiced
- 1 teaspoon dried parsley
Instructions
- Preheat your oven to 400 degrees Fahrenheit (200 degrees Celsius). Lightly grease a baking dish or line it with parchment paper.
- In a small bowl, mix together the Italian herbs, garlic powder, onion powder, salt, pepper, and dried parsley to create your dry rub.
- Pat the chicken breasts completely dry using paper towels. This step helps the seasoning adhere and promotes better browning.
- Place the dried chicken breasts in a medium bowl. Drizzle with olive oil and lemon juice. Toss to coat evenly.
- Sprinkle the dry rub mixture over both sides of each chicken breast, pressing gently so the seasoning sticks.
- Arrange the seasoned chicken breasts in a single layer in the prepared baking dish.
- Bake for 18 to 22 minutes, depending on the thickness of the breasts.
- Use a meat thermometer to check the internal temperature. The chicken is done when it reaches 165 degrees Fahrenheit (74 degrees Celsius) in the thickest part.
- Remove the chicken from the oven and let it rest on a cutting board for 5 to 10 minutes before slicing. This resting period keeps the juices inside the meat.
Notes
- For extra moisture, you can lightly pound the thicker end of the chicken breasts to an even thickness before seasoning.
- If you prefer a stronger lemon flavor, use the zest of half the lemon in your dry rub mixture.
- Always use a meat thermometer; overcooking is the main cause of dry chicken.
Nutrition
- Serving Size: 1 breast
- Calories: 240
- Sugar: 1
- Sodium: 350
- Fat: 8
- Saturated Fat: 1.5
- Unsaturated Fat: 6.5
- Trans Fat: 0
- Carbohydrates: 2
- Fiber: 0.5
- Protein: 40
- Cholesterol: 110