

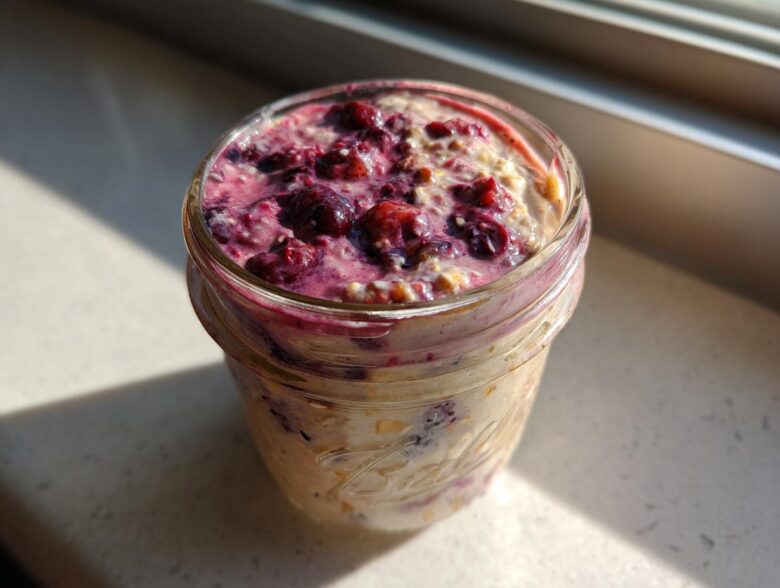
If your mornings look like a NASCAR pit stop—a frantic rush where breakfast is usually a forgotten energy bar eaten in the car—I completely get it. That used to be me! But I promised myself years ago that I wouldn’t sacrifice health just because time was short. That’s why I became obsessed with the concept of Overnight Oats. Seriously, they are the answer to every busy person’s prayer!
This isn’t just another mushy oatmeal recipe, though. This is my ultimate guide perfected over years of testing. I’m showing you exactly how to master the ratios and mix up three wildly different, delicious flavor profiles so you can prep an entire five-day week of grab-and-go goodness in about ten minutes flat over the weekend. Trust me, having five perfect breakfasts waiting for you is a game changer.
Why This Overnight Oats Meal Prep Guide Works
Why do I keep coming back to this specific method for making my Overnight Oats? Because honestly, it works perfectly every single time, and it requires zero morning effort. I just grab and go, which is exactly what I need when the alarm goes off way too early!
This guide is built around consistency and maximizing flavor without cooking. Here’s why you’ll love prepping this way:
- It’s the definition of Quick Healthy Breakfast—all done in under ten minutes of active work.
- You are locking in fiber and nutrients early, making it a fantastic Nutrient Dense Breakfast.
- No heat means no standing over a stove; it’s the ultimate No Cook Breakfast solution.
- Having 5 sealed jars ready means peak stress reduction before the work week even hits. You can check out more of my favorite make-ahead breakfast ideas right here!
The Foundation: Mastering the Best Overnight Oats Ratios
Okay, listen up, this next part is where we establish ourselves as masters of soaking grains. If you get the ratio wrong, you get soup, or worse, cement! The real secret to perfect Overnight Oats, the ones that aren’t watery but also aren’t brick-hard, is the base formula. It’s ridiculously simple, I promise.
For every single serving, I use a strict 1 part rolled oats to 1 part liquid ratio. That’s your starting point! But here is the key kicker that most people miss: you absolutely need those chia seeds in there. Those little guys swell up like crazy and thicken everything beautifully, acting like nature’s perfect binder.
So, the winning formula is: 1 Part Oats + 1 Part Liquid + Chia Seeds. Adjust your liquid up or down later based on how thick your oats naturally get, but never mess with that 1:1 starting point.
Choosing the Best Oats to Use for Overnight Soaking
Don’t just grab any box of oats from the pantry! If you use steel-cut oats, you’ll be chewing for three days; they just won’t soften enough just sitting in milk, even overnight. On the flip side, the super-fast quick oats disintegrate into goo—we want body and texture!
You have to stick with old-fashioned rolled oats. They hold their structure while absorbing the liquid perfectly, giving you that ideal texture that means you’re eating proper Healthy Oatmeal Preparations. If you want to dive deeper into which grains hold up, I covered my favorites on my post about the best oats to use for overnight soaking.
Ingredients for Your Ultimate Overnight Oats Base
Before we get to the fun flavors, we need to prep our base ingredients. These proportions are designed to make five full servings, so you’ll need to mentally divide everything by five when you’re portioning it out into your jars for the week. This keeps things neat and tidy!
You’ll first need:
- 1 cup rolled oats (remember, old-fashioned is the way to go!)
- 1 cup milk (whatever you usually drink, dairy or non-dairy works fine for the base)
- 1/4 cup Greek yogurt (if you skip this, your texture will be looser, so I really suggest it for creaminess)
- 1 tablespoon chia seeds
- 1 teaspoon maple syrup or honey (or skip if you like them unsweetened)
- A tiny pinch of salt (this actually wakes up the oat flavor, trust me!)
That’s the foundation for every single jar. Once you have that set aside, you’ll start dividing these components up for your five different containers before adding the specific flavor boosters!
Flavor Variations: Creating Your 5-Day Overnight Oats Menu
Now that we have our rock-solid base—that perfect 1:1 ratio we talked about—it’s time for the exciting part: deciding what flavors we want staring back at us for the next five mornings. Making Overnight Oats all week doesn’t have to mean eating the exact same thing every day! I’ve chosen three flavors that cover all the bases, from simple to decadent.
We’re going to mix up one jar for each flavor profile: Basic, Peanut Butter Banana, and Berry Chia. You’ll just repeat the process for the remaining two jars based on your favorite! This guarantees a week of easy, delicious breakfasts waiting for you. If you are looking for even more fruit combinations, check out my thoughts on apple cinnamon overnight oats!
Variation 1: Basic Overnight Oats
Sometimes simple is best, right? For this version, we just add a touch of bright flavor to our oatmeal base to make it feel lighter and brighter. All you need to stir into your portioned base is:
- 1/2 teaspoon vanilla extract
Variation 2: Peanut Butter Banana Overnight Oats
Oh man, this one tastes like dessert, but it’s totally breakfast-approved. It’s also fantastic if you’re trying to hit higher protein goals, making it one of my favorite versions for Protein Packed Overnight Oats. For this jar, stir in:
- 2 tablespoons peanut butter
- 1/2 mashed banana
Variation 3: Berry Chia Overnight Oats
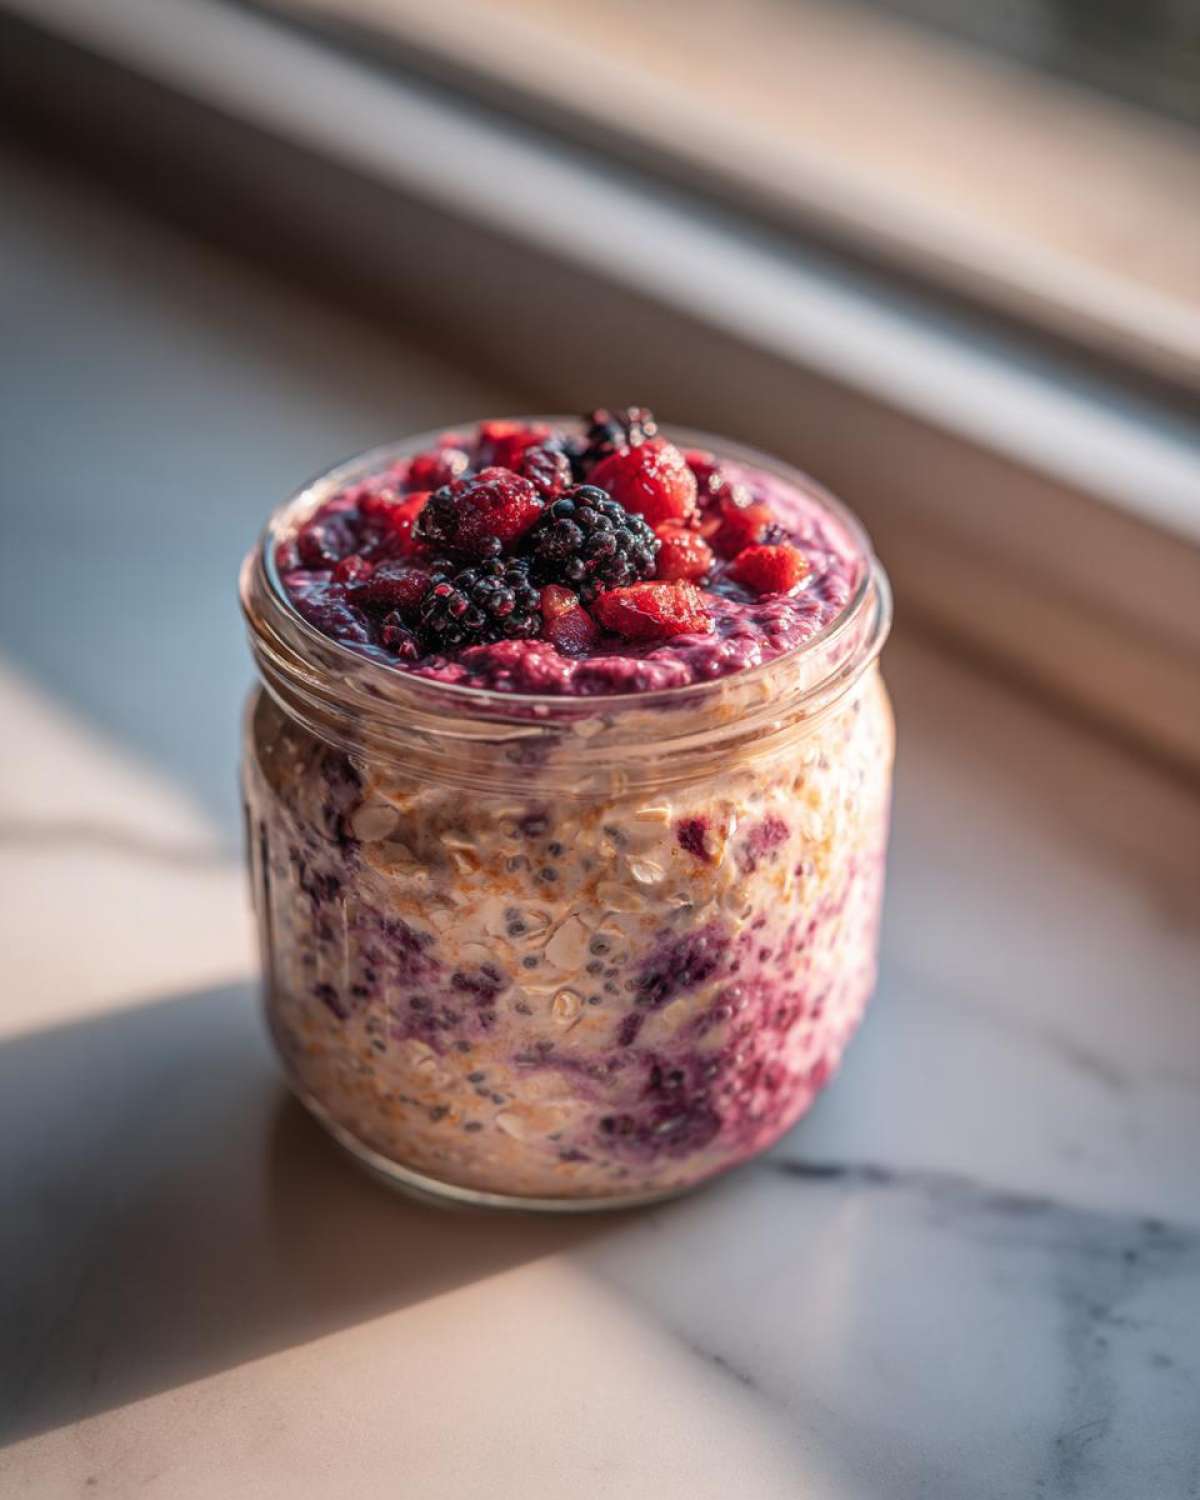
This one is just vibrant and fresh. The berries work so well with the slight tang from the Greek yogurt we added to the base. If you want that extra thickness and jammy texture when you wake up, this variation is perfect. Add these to your base:
- 1/2 cup mixed berries (fresh or frozen works great!)
- 1 teaspoon extra chia seeds
Tips for Using Frozen Berries in Overnight Oats
If you’re using frozen berries—which I often do because they are cheaper—don’t worry about keeping them frozen! Toss them straight into the jar with the base mix. As they thaw overnight, they release their beautiful, colorful juices right into the oats, creating a lovely swirl effect. It’s wonderful!
Step-by-Step Instructions for Perfect Overnight Oats Meal Prep
Alright, it’s time to stop talking about the theory and actually assemble these fantastic Overnight Oats! Since we are aiming for a whole week of breakfasts, the key here is meticulous portioning since we used the combined ingredient list for five servings. Grab those five small jars or containers ready to go.
First, you need to divide up the base elements evenly. Take your 1 cup of rolled oats and divide it into five equal piles—that’s 1/5th of a cup of oats per jar. Do the same for the milk, the yogurt, the chia seeds, the salt, and any sweetener you decided to use. Do this step across all five containers before moving onto the flavoring!
Next, we mix in the personality. Take the jar designated for Peanut Butter Banana and stir in those two tablespoons of peanut butter and that half banana you mashed up. For the Berry Chia jar, fold in your berries and that extra teaspoon of seeds. Remember that last jar is getting the vanilla for the Basic version. Give each one a good stir just to make sure everything is incorporated.
Once everything is mixed in its own home, pop the lids on tightly. They need to go straight into the refrigerator. They really need a solid overnight soak—at least six hours—so they can work their magic into smooth, chewy goodness. If you skip the soaking time, you’ll end up with raw oats, and nobody wants that! You can find more great pointers on how to get that perfect texture in my piece about using chia in your overnight mix.
Tips for Success When Making Overnight Oats
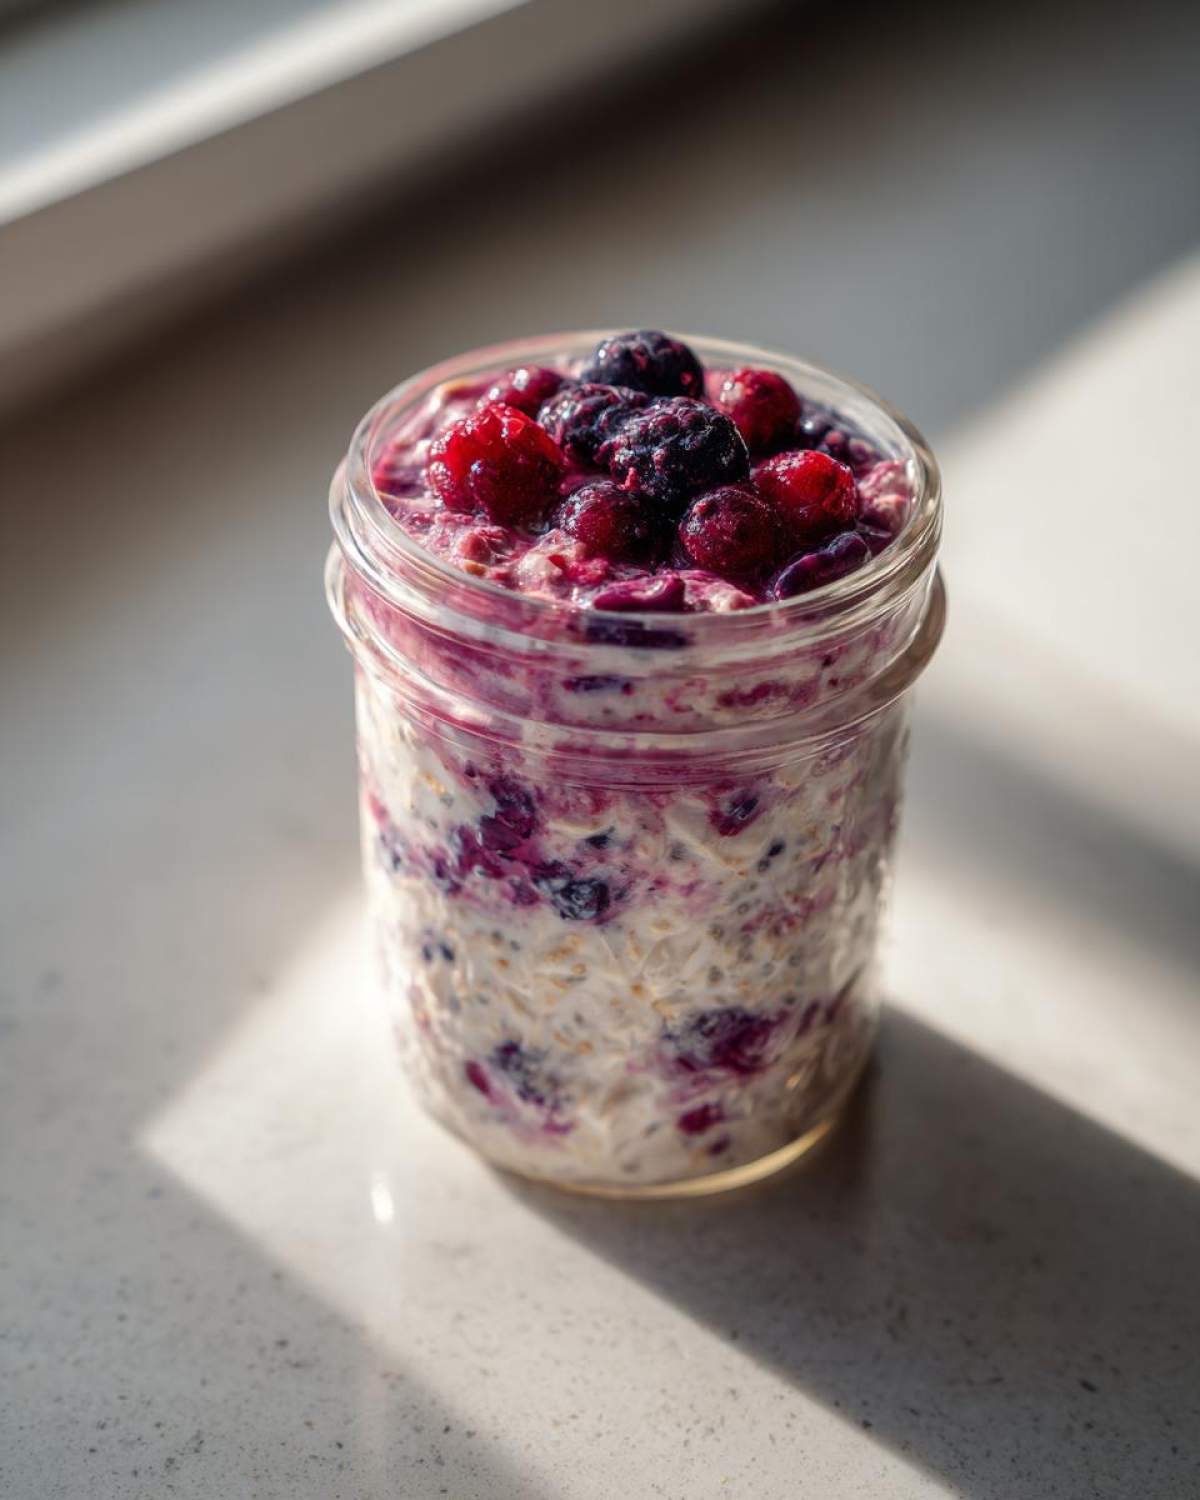
Now that you’ve got five perfect jars chilling in the fridge, you might be wondering how to guarantee absolute perfection when you finally pull them out in the morning. I learned a few hard lessons over the years with my Overnight Oats attempts, especially concerning texture. Take these small tips from me; they elevate this from good to genuinely amazing!
First off, don’t try to cheat the oats! I can’t stress this enough: you must use rolled oats, those lovely old-fashioned ones. If you try to use steel-cut, they will remain rock hard, no matter how long they soak. And if you go with the quick oats, well, you get zero structure. The magic is in the medium thickness of the rolled oat. Check out my general guide on simple breakfast prep for more storage hacks.
Next is the morning decision point: thickness. Even though we nailed the 1:1 ratio, sometimes the brand of oats or even the climate changes how much liquid they pull. When you take the lid off your jar tomorrow, give it a good stir. If it looks like concrete, just add a small splash—maybe a tablespoon—of extra milk until it loosens up to something you actually want to eat. It’s way better to add liquid than to try and take it away!
My absolute, non-negotiable personal tip? Don’t put your crunchy toppings in the night before. That means no granola, no chopped nuts, or even a fresh slice of fruit if you want it to stay crisp. If you mix some in, they get completely soggy, and that ruins the whole experience for me! I always keep my toppings in a tiny baggie right next to the jar, and only sprinkle them on top when I’m literally sitting down to eat. That satisfying crunch against that cool, soft oat is everything!
Storage and Shelf Life for Your Overnight Oats
One of the biggest reasons I love making a big batch of Overnight Oats on Sunday is knowing my breakfasts are handled for the whole working week. Because we used Greek yogurt and milk, we need to be mindful of how long they hang out in the fridge, but good news: they keep really well!
The rule of thumb I stick to is a maximum of five days. Since we made five jars, that means you can prep Monday through Friday’s breakfasts all in one go. I seal my jars up really tight—sometimes I even use canning lids if I’m feeling fancy—and place them in the coldest part of the fridge, usually toward the back on the middle shelf. My essential tip for longevity, especially with the berry mixture, is to make sure you aren’t opening and closing the jars multiple times a day; the humidity changes aren’t great for them.
If you’re worried about texture fatigue by day four or five, or if you just want variety, here’s what I do: only prep the base mix (oats, liquid, seeds) for days four and five. Then, store your toppings—like that crunchy granola or sliced almonds—separately. You can check out my guide on overnight oats storage tips for more jar security ideas. This way, even Day 5 oats taste like they were made that morning!
Frequently Asked Questions About Overnight Oats
I know that when you first get into prepping, you always have a million little questions about variations and common pitfalls. It’s totally normal! After making hundreds of jars of these Overnight Oats, I’ve figured out the tricky spots. Don’t worry if your first batch isn’t perfect—we’ll troubleshoot it right now!
Can I make these Overnight Oats vegan?
Absolutely you can! This recipe is already vegetarian, and switching it to fully vegan is super easy. You just need to swap out the dairy components. For the milk, use any non-dairy milk you love—almond, soy, or oat milk all work beautifully. The trickiest part is the Greek yogurt, since that gives us great protein and texture. I usually substitute that with a hearty scoop of coconut yogurt or soy yogurt. It thickens up almost identically!
How do I ensure my Overnight Oats are not too liquidy?
This is the number one issue people run into, but once you know the secret, it stops happening! Remember that essential 1:1 ratio we talked about? Stick to that base ratio of oats to liquid! More importantly, the chia seeds are your safety net. Those seeds are the real heroes here because they soak up tons of excess moisture and turn into that lovely gel. If you skip the chia, you’re asking for soup!
Are these good Overnight Oats for Weight Loss?
Oh yes, I think they are fantastic for staying on track! Because we use rolled oats and chia seeds, these Overnight Oats clock in with a really high fiber count, which keeps you feeling totally full and satisfied way longer than a bowl of sugary cereal would. Plus, when you add in the Greek yogurt or protein powder, the protein stays high too. They are just such a great source of sustained energy for your morning commute or a great no cook breakfast option!
Nutritional Estimates for These Overnight Oats
I always like to give you guys a rough idea of what you’re putting into your body before you start prepping, even though I know everyone’s ingredients—especially the type of milk or optional sweetener they use—will change the final numbers. This breakdown is based on using the base recipe plus the Basic flavor variation, so if you choose the Peanut Butter Banana route, expect the fat and protein numbers to jump up a little!
Keep in mind these are just guidelines, but they show you just how packed with goodness this simple bowl of oats soaked overnight really is. It’s a balanced meal, not just a snack!
Here are the estimated numbers per serving jar:
- Serving Size: 1 jar
- Calories: 320
- Sugar: 10g
- Sodium: 150mg
- Fat: 8g
- Saturated Fat: 1g
- Carbohydrates: 55g
- Fiber: 9g (Hello, happy gut!)
- Protein: 15g
- Cholesterol: 5mg
That 15 grams of protein, especially if you stick with Greek yogurt, is fantastic for keeping your energy steady until lunch time. Like I said, the numbers will shift a bit if you use almond milk instead of whole milk, or if you skip the maple syrup entirely, but this is a great baseline for planning out your week!
PrintThe Ultimate 5-Day Meal Prep Overnight Oats Guide: 3 Flavor Variations
Learn the basic ratio and three simple flavor combinations for making five days of healthy, no-cook breakfast using overnight oats.
- Prep Time: 10 min
- Cook Time: 0 min
- Total Time: 10 min
- Yield: 5 servings
- Category: Breakfast
- Method: Soaking
- Cuisine: American
- Diet: Vegetarian
Ingredients
- 1 cup rolled oats (old-fashioned oats work best)
- 1 cup milk (dairy or non-dairy)
- 1/4 cup Greek yogurt (optional, for creaminess)
- 1 tablespoon chia seeds
- 1 teaspoon maple syrup or honey (optional)
- Pinch of salt
- For Peanut Butter Banana: 2 tablespoons peanut butter, 1/2 mashed banana
- For Berry Chia: 1/2 cup mixed berries (fresh or frozen), 1 teaspoon extra chia seeds
- For Basic: 1/2 teaspoon vanilla extract
Instructions
- Prepare the base: In five separate small jars or containers, combine 1/5 of the rolled oats, 1/5 of the milk, 1/5 of the yogurt (if using), 1/5 of the chia seeds, a pinch of salt, and sweetener (if using).
- For the Peanut Butter Banana variation, stir in the peanut butter and mashed banana into one jar.
- For the Berry Chia variation, stir in the berries and extra chia seeds into a second jar.
- For the Basic variation, stir in the vanilla extract into a third jar. Repeat this process for the remaining two jars, choosing any flavor combination you prefer for the last two days.
- Seal the containers tightly and refrigerate for at least 6 hours, or preferably overnight.
- In the morning, stir the oats well. If the mixture is too thick, add a splash more milk until you reach your desired consistency.
- Eat cold directly from the container.
Notes
- Use rolled oats or old-fashioned oats; quick oats become too mushy. Steel-cut oats will remain too hard.
- The ideal base ratio is 1 part oats to 1 part liquid, plus chia seeds for thickening. Adjust liquid slightly based on your oat brand.
- Store prepared oats in the refrigerator for up to 5 days.
- If using frozen berries, add them the night before so they thaw and release juices overnight.
Nutrition
- Serving Size: 1 jar
- Calories: 320
- Sugar: 10
- Sodium: 150
- Fat: 8
- Saturated Fat: 1
- Unsaturated Fat: 7
- Trans Fat: 0
- Carbohydrates: 55
- Fiber: 9
- Protein: 15
- Cholesterol: 5