

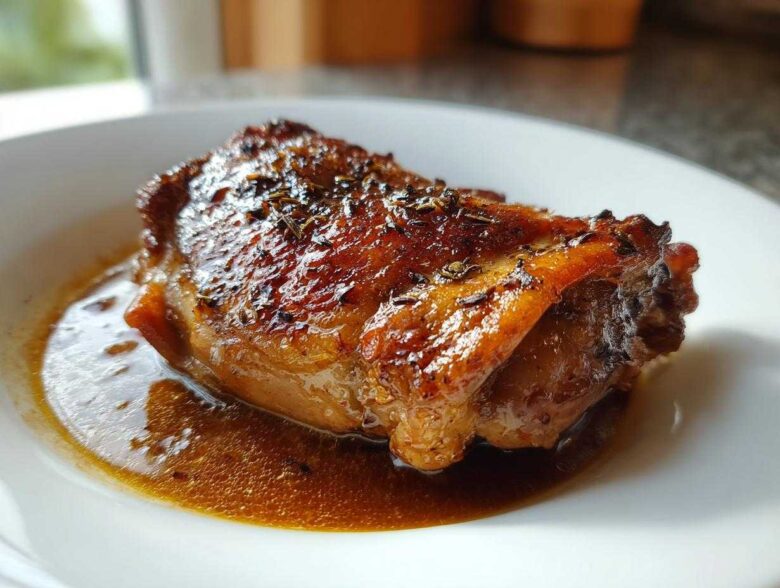
Are you tired of sad, stringy chicken that just falls apart when you look at it wrong? Me too! That’s why I’m obsessed with this method. Trust me when I say that mastering braised chicken thighs is the key to unlocking the ultimate weeknight wonder. We’re talking bone-in, skin-on pieces that cook slowly until they are impossibly tender but somehow still have that gorgeous, crackly, crispy skin. It’s the best of both worlds, all done right in one pot. I used to think crispy skin and slow braising were enemies, but I finally cracked the code, and now I make this for dinner constantly!
Why This Recipe for Braised Chicken Thighs Works So Well
Okay, this isn’t just another casserole-style meal! I know some braises can make the skin soggy, but that’s where my little trick comes in. This recipe gives you big flavor without demanding your entire evening. It’s honestly one of the best Dutch oven chicken recipes for a reason.
-
Achieving Fall Off the Bone Chicken Thighs
The low and slow dance in the oven is what does the magic here. It takes the tough bits in the thigh meat, breaks down all that awesome connective tissue, and turns it into gelatin. That’s what makes those fall off the bone chicken thighs we all dream about!
-
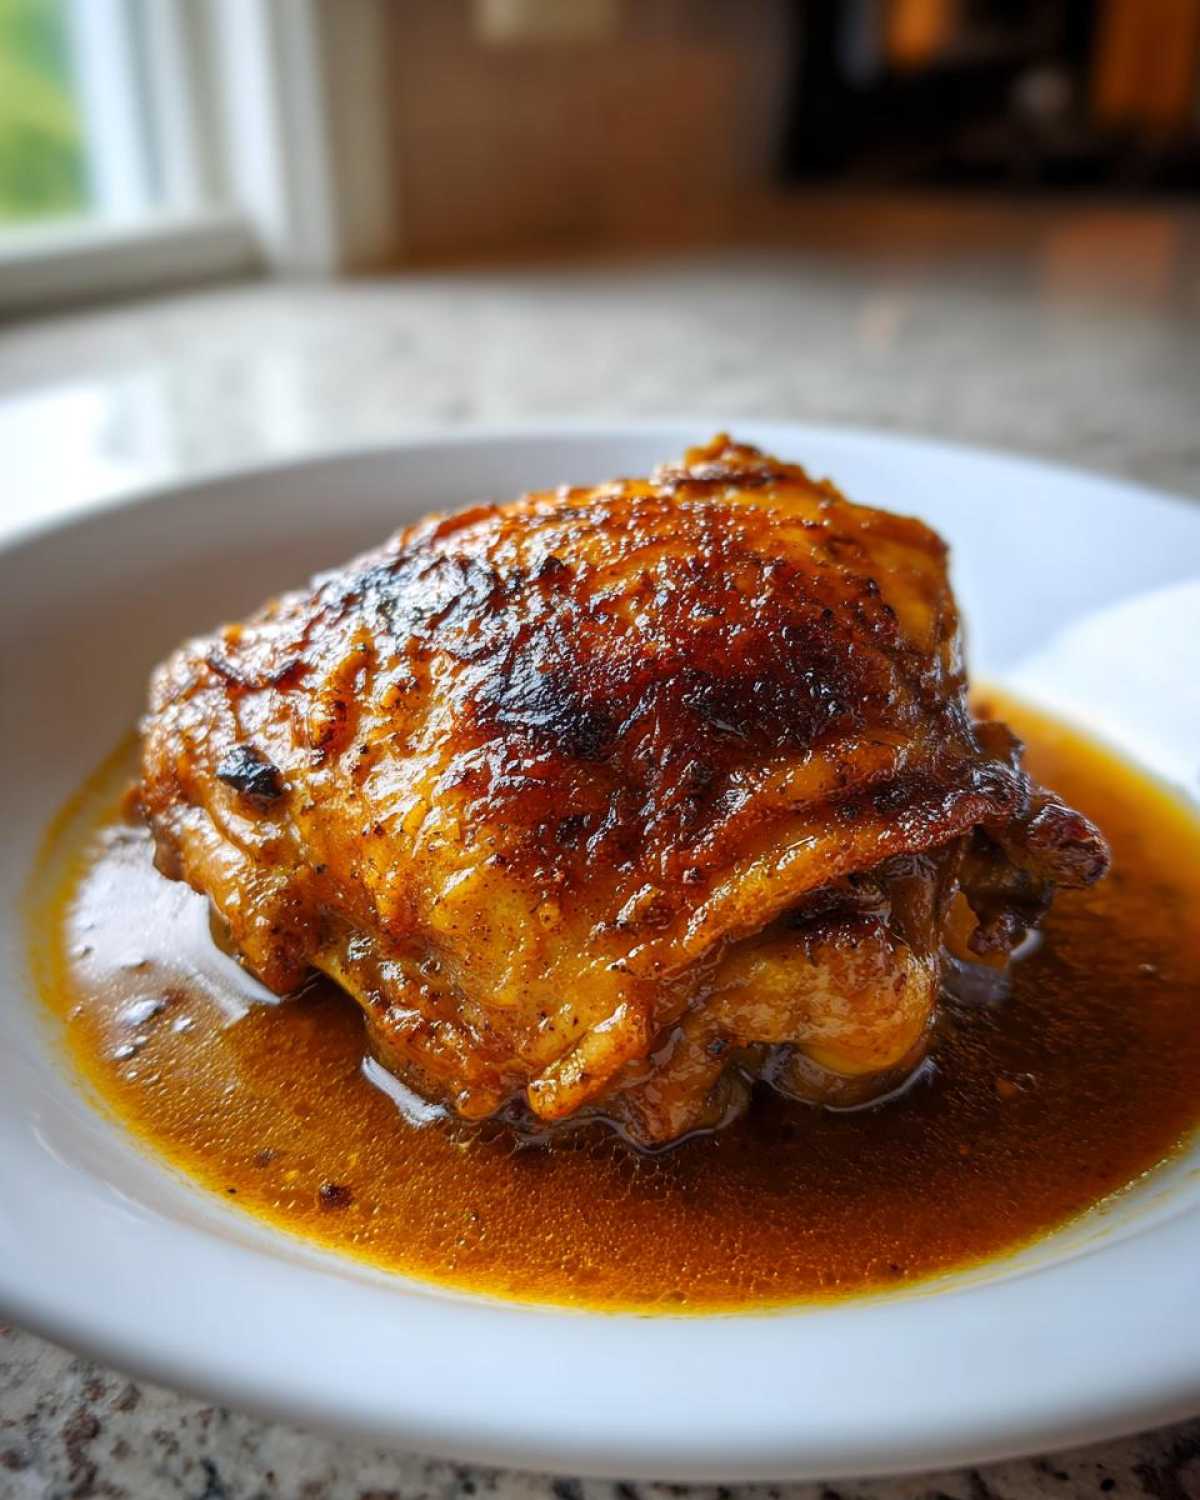
The Secret to Crispy Skin Braised Chicken
The absolute non-negotiable move is that initial sear! We hit that skin with high heat first, which renders out the fat and locks in a gorgeous crust. This ensures you get that amazing combination: tender meat *and* some crispy skin braised chicken texture when you serve it up.
Essential Ingredients for Flavorful Braised Chicken Thighs
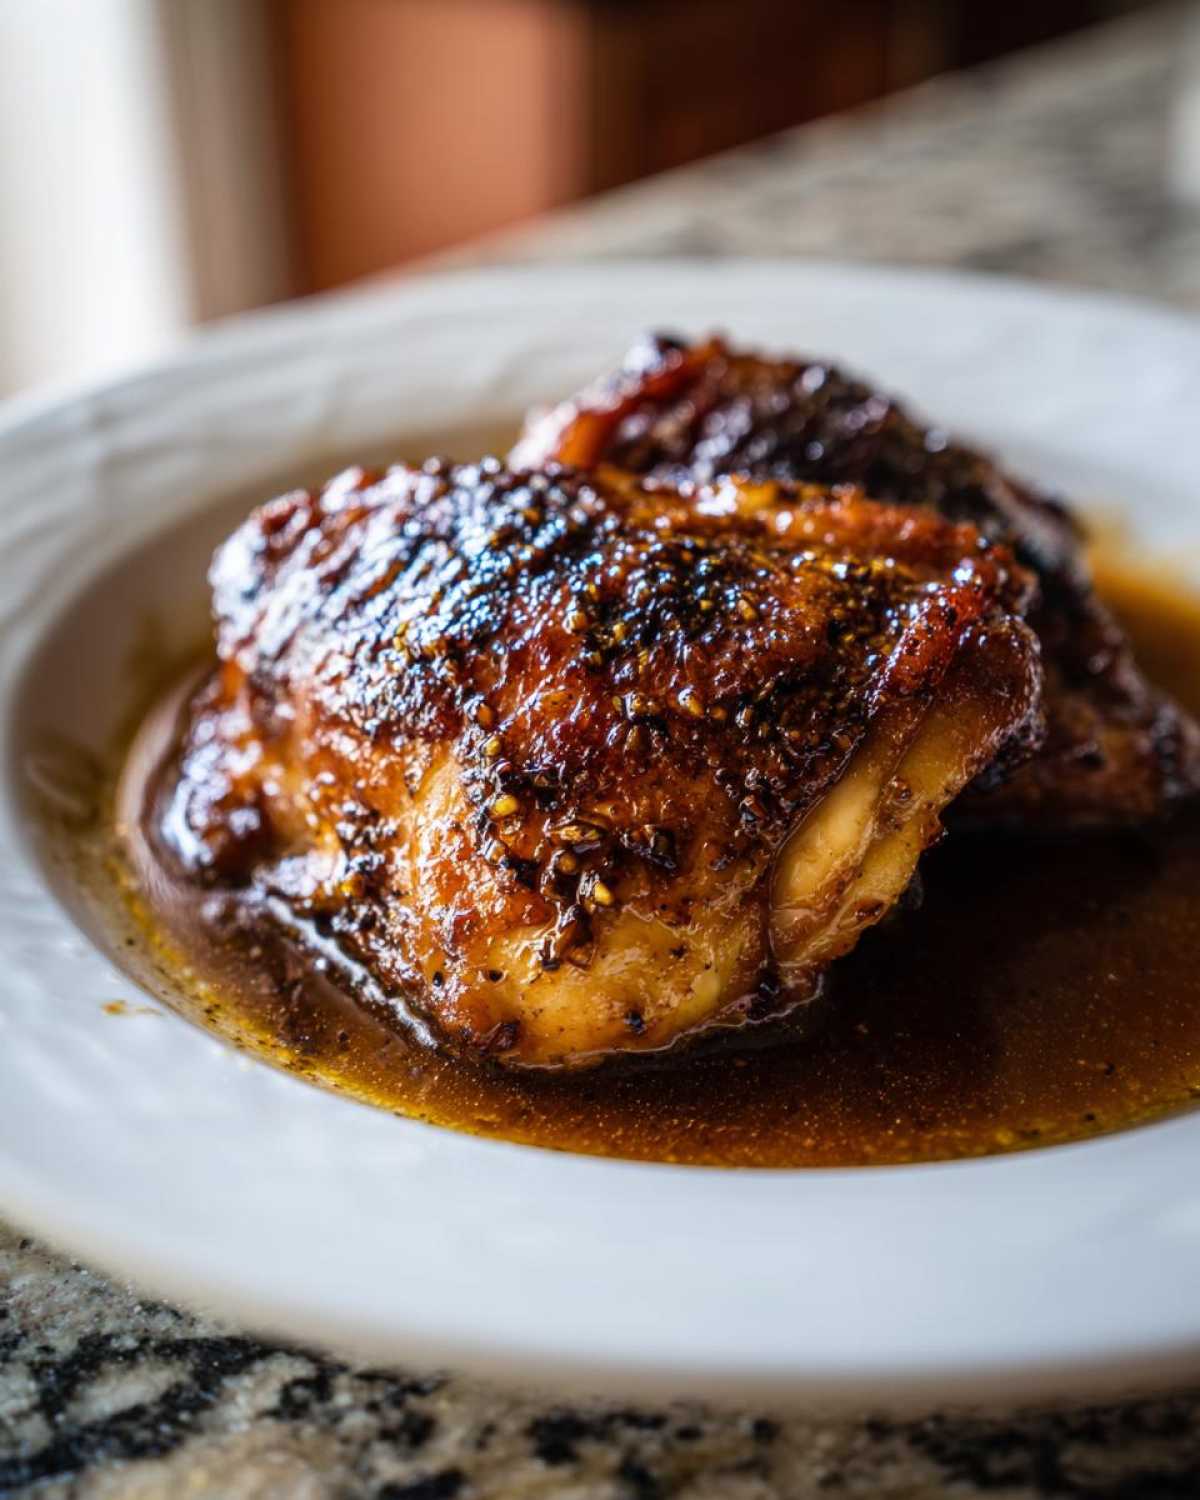
See? I told you this was super easy! The flavor comes from just a few simple things you probably already have in your pantry. We’re using bone-in, skin-on thighs because they add so much flavor to the sauce as they cook, and don’t forget to season them really well before they hit the pan. It’s everything you need for some seriously easy chicken thigh recipes that taste like you fussed all day.
- Six beautiful bone-in, skin-on chicken thighs
- One tablespoon of plain olive oil
- One teaspoon of salt and half a teaspoon of black pepper
- One teaspoon of dried thyme and half a teaspoon of dried rosemary
- One big yellow onion, chopped up roughly
- Three cloves of garlic, minced nice and small
- One cup of good quality chicken broth
- Half a cup of dry white wine (or just use more broth if you’re skipping the wine!)
- One tablespoon of tomato paste for depth
- And don’t forget that one little bay leaf!
That’s it! Now you’ve got yourself the foundation for incredible flavor. If you want to see how I use some of these staple ingredients in other quick meals, check out my guide on easy chicken thigh recipes.
How to Prepare Tender Chicken Thighs Cooked Slow: Step-by-Step Instructions
This is where the magic happens, and honestly, if you follow these exact steps, you’ll get perfect results every single time. We are walking through exactly how to braise chicken thighs to get them juicy and flavorful, even if you’re just starting out. Get that Dutch oven ready!
- First things first: take your chicken thighs and pat them absolutely bone-dry with paper towels. I mean it—dry! Then hit them all over with the salt, pepper, thyme, and rosemary.
- Get your olive oil heating up in that big Dutch oven over medium-high heat. Wait until it shimmers a little bit before you drop the chicken in.
- Next up, it’s time for the sear. Put the thighs skin-side down. Don’t touch them for a solid 5 to 7 minutes until that skin is that incredible deep golden brown.
- Pull those beauties out and set them on a plate. You should have about a tablespoon of chicken fat left in the pot—that’s gold!
Searing for Maximum Flavor and Crispy Skin
Listen, if you skip the drying step, you’re just steaming the chicken instead of searing it, and we don’t want that! When you put them in the hot oil, resist the urge to move them around! That golden crust needs time to develop its flavor. If you crowd the pan, the temperature drops, and you lose the chance for truly crisp skin. We are building flavor from the bottom up, so take your time here.
Building the Rich Savory Chicken Sauce Base
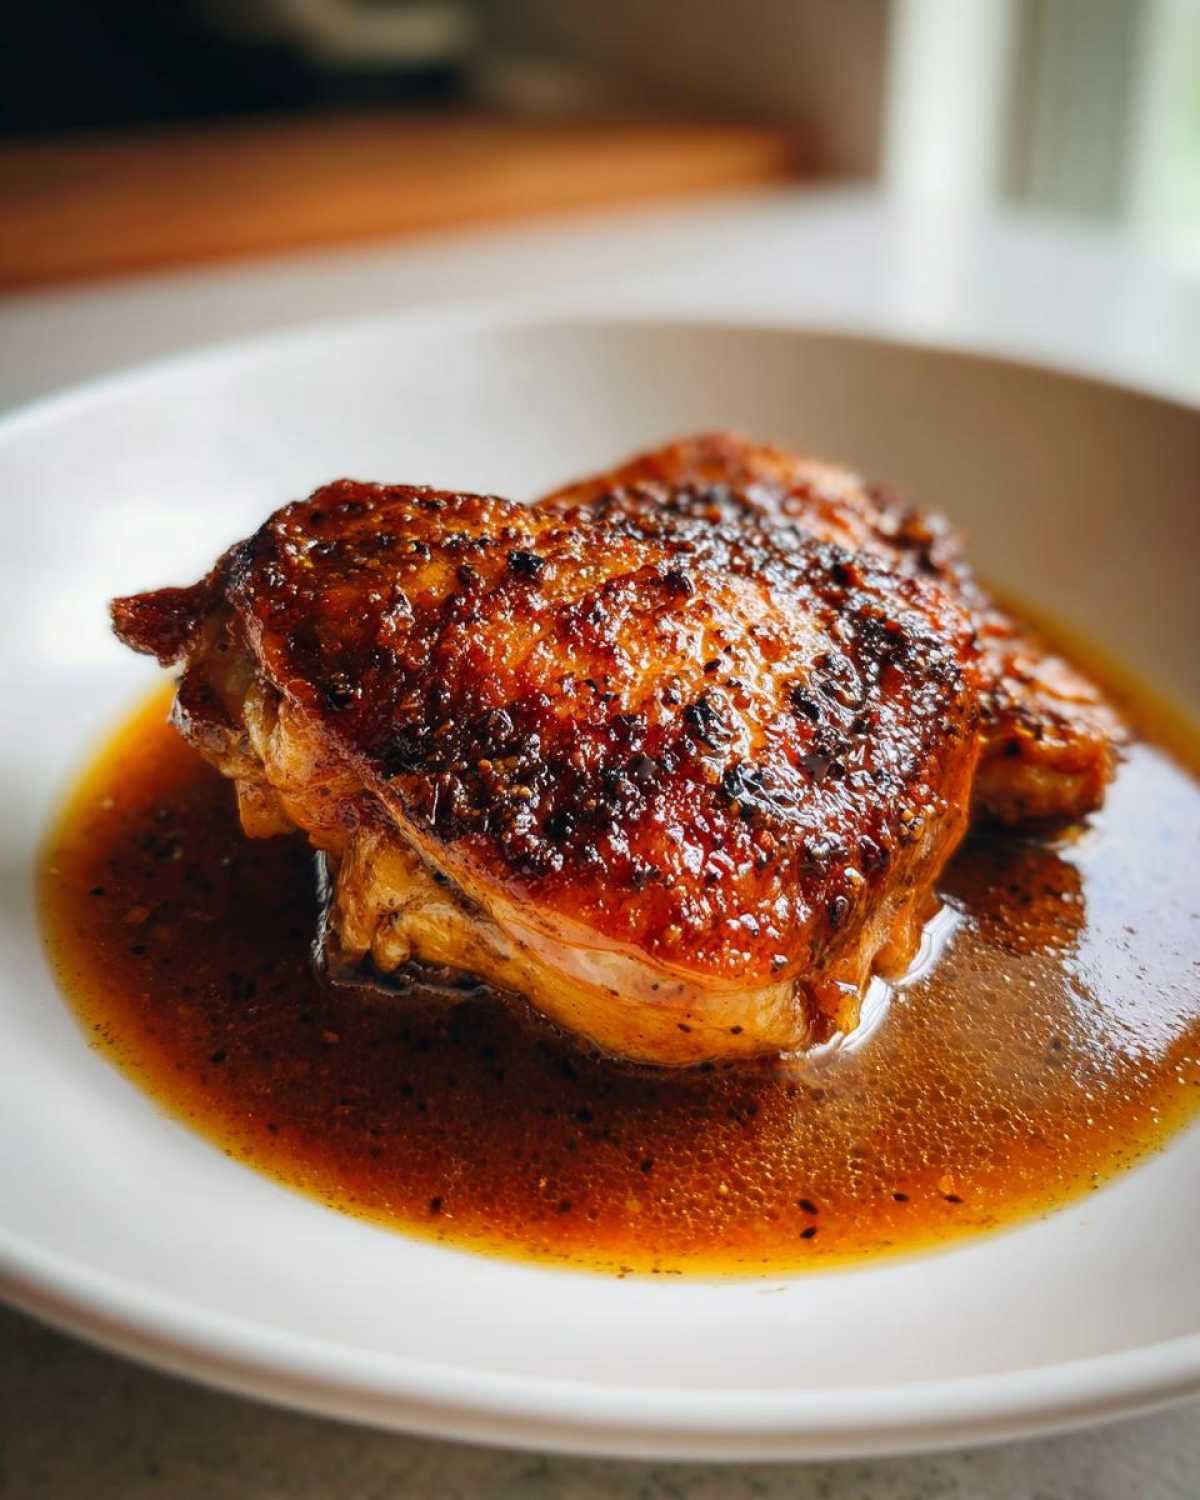
Now that the chicken is resting, drop in your chopped onion. Cook it for about 5 minutes until it starts to look soft and sweet. Add the garlic last, just for a minute until you can smell it—don’t let it burn! Stir in your tomato paste and cook it for another minute; this deepens the color of your rich savory chicken sauce. Then, splash in that white wine or extra broth. Scrape the bottom of the pot hard with your wooden spoon! Those crispy brown bits, called fond, are pure flavor for your final sauce.
The Braising Process: Oven or Stovetop
Once the liquid has reduced by about half, pour in your chicken broth and toss in that bay leaf. Bring this whole liquid mixture up to a gentle simmer. Return the chicken to the pot, skin-side up, making sure that gorgeous skin is sitting proud above the liquid line. Now, cover the pot tightly and pop it into a preheated oven at 350°F. It’ll bake for about 40 to 50 minutes until it’s just meltingly tender. If you need a stovetop braised chicken version, just keep it covered on low heat on the burner for about an hour. You can see more about my stovetop braised chicken technique if the oven is busy!
Tips for Perfect Braised Chicken Thighs Every Time
Even with a solid recipe, sometimes you need that little nudge to make it restaurant-worthy. I’ve gathered the crucial little details from years of tweaking this dish. These aren’t just suggestions; these are the things *I* do every single time I make these braised chicken thighs to ensure they end up perfect.
First up: That skin! I can’t stress this enough. If you want that perfect crispiness, you have to pat the skin dry until you think you’ve dried it enough—then dry it one more time. Any lingering moisture means the fat won’t render properly during our initial sear. Seriously, check out my deep dive on the crispy skin braised chicken secret; it’s all about that prep work!
Next, let’s talk about the sauce at the end. Don’t panic if the liquid in the bottom of the pot seems a little thin when you pull the chicken out. That’s totally normal! The chicken is cooked perfectly, but the sauce might need a little boost to become that luxurious coating you want.
If you need a thicker, more developed sauce, just take the chicken thighs out and set them on a plate while they rest. Bring the liquid left in the pot up to a hard boil over medium-high heat. Let it roll and bubble away without the lid. As that moisture evaporates, your sauce will naturally concentrate and thicken up beautifully. Seriously, it only takes about 5 to 10 minutes to get the perfect consistency for spooning over mashed potatoes or rice.
And one final thought: If you’re doubling the batch because you know you’ll want leftovers (who wouldn’t?), make sure you use a wider, shallower pan or two separate pots. You don’t want to overcrowd the pot; overcrowding forces the chicken to steam instead of bake properly, and that ruins that crisp skin we worked so hard for!
Serving Suggestions for Your Braised Chicken Thighs
Now that you have the most unbelievably tender meat swimming in that savory pan sauce, what are you going to put it on? We need something to soak up every last drop of that deliciousness! This dish is the ultimate comfort food chicken meal, so keep the sides simple but satisfying.
My absolute favorite thing to serve these with is creamy mashed potatoes, but if you want something a little lighter, fluffy rice is fantastic. I actually have a great recipe for making easy homemade fluffy rice pilaf that takes about the same amount of time!
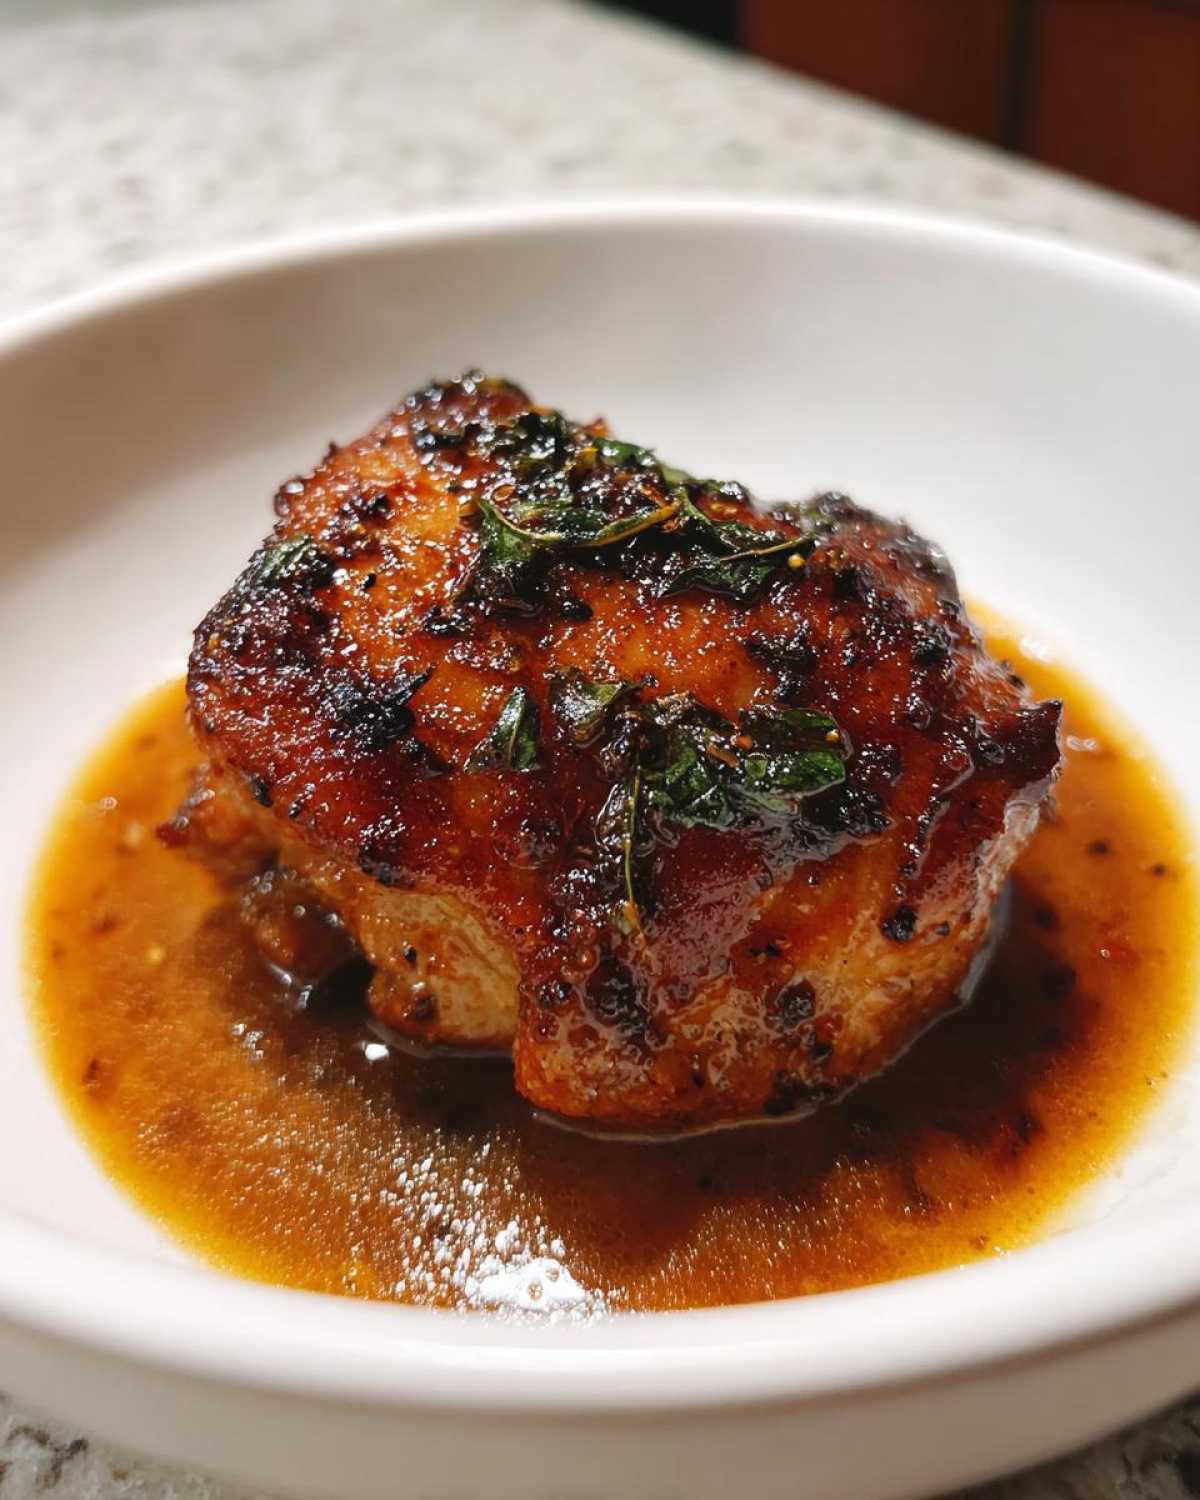
You also need a little green to balance things out. Steamed green beans or some roasted asparagus tossed with a little lemon zest are perfect—they give you that little crunch that works so well against the soft chicken and sauce. Basically, anything that loves gravy is going on our plate!
Storage and Reheating Braised Chicken Thighs
Nobody wants to waste these amazing braised chicken thighs, right? Luckily, they taste even better the next day when all those herbs and the sauce have had time to really meld together. Storing them correctly is key to keeping that tenderness locked in.
When I’m done eating for the night, I let the pot cool down on the counter just to room temperature—don’t put a piping hot pot straight into the fridge, that’s just not safe for the food or your appliance! Once it’s just warm, put the whole pot (if it’s safe for your fridge) or transfer the chicken and sauce into an airtight container. You can keep these leftovers tucked away happily in the fridge for a good three to four days. That’s plenty of time for a quick weeknight chicken dinner solution later in the week!
Reheating is where people sometimes go wrong, trying to rush it in the microwave and ending up with dry chicken. That’s a hard no from me! Since we used so much liquid to braise them, we can reheat them gently.
The best way to reheat is actually right back on the stovetop. Pop the chicken and plenty of sauce into a sturdy saucepan over medium-low heat. You just want it to warm through gently. Cover it loosely—you don’t want to steam the skin into mush if any crispness survived the first day! Let it bubble slightly for about 10 to 15 minutes, adding a splash more broth if the sauce looks too thick from cooling down.
If you’re in a real hurry, the microwave works if you only have one serving. Just make sure you put the thighs in a microwave-safe dish, spoon a couple of tablespoons of that lovely sauce over the top, and cover the dish with a damp paper towel before heating it in short bursts. That damp towel creates a little steamy environment to keep things juicy. It doesn’t give you the same perfection as the stovetop, but hey, we’ve all been there!
Frequently Asked Questions About Braised Chicken Thighs
I get so many messages about tweaking this recipe, which I love! It means you guys are getting in the kitchen. Here are the most common things folks ask me when they’re trying to get their tender chicken thighs cooked slow just right.
-
Can I use boneless, skinless chicken thighs for this braised chicken thighs recipe?
Oh, you totally can, but you have to change two things! First, you skip the whole searing step because there’s no skin to crisp up. Second—and this is important—boneless thighs don’t need that long slow cook. If you use them, cut that oven time way down to about 25 or 30 minutes, or they will turn to mush! We want juicy baked chicken thighs, not chicken soup.
-
What liquid works best in the rich savory chicken sauce?
I highly recommend the mix of wine and broth listed in the recipe. The wine adds such a lovely acidic backbone that keeps the sauce from tasting heavy! If you’re avoiding alcohol for a strict healthy braised chicken recipe, just swap the wine entirely for more broth. You might want to add a tiny splash of apple cider vinegar at the very end, though, just to brighten up that rich savory chicken sauce a bit!
-
If I really can’t sear the chicken, is it still good?
Look, I get it—sometimes the morning rush means skipping steps! But searing is what turns this from a nice simple chicken stew recipe into an epic meal. If you skip it, you’re missing out on texture and flavor depth (the fond!). If you *must* skip it, make sure you really brown your tomato paste and onions well, and maybe add a teaspoon of paprika when you season the raw chicken for color.
If you’re looking for other ways to cook them without the braise, you should definitely check out my guide on juicy baked chicken thighs!
Estimated Nutritional Information for Braised Chicken Thighs
Okay, let’s talk fuel! Since these are so hearty and rich, everyone asks me about the numbers, especially when folks are aiming for a healthy braised chicken recipe or counting macros. This information is based on my exact recipe—six thighs serving four people, with a good amount of that lovely, reduced pan sauce spooned over each serving.
Remember, this is just an estimate! I always say, when you’re cooking from scratch with whole ingredients, the exact numbers can shift depending on the size of the vegetables or how much fat renders out while searing. For the full disclaimer about my calorie estimates, you can always check out the official details over at the site disclaimer.
Here is the breakdown per serving:
- Serving Size: 1 thigh with sauce
- Calories: 450
- Protein: 38g
- Fat: 30g (About 9g Saturated Fat)
- Carbohydrates: 5g
- Sugar: 3g
- Sodium: 450mg (This really depends on the salt level in your broth!)
See? High protein, relatively low carb—perfect for cozy comfort food chicken meals that keep you full without weighing you down later!
Share Your Tender Chicken Thighs Creations
Oh my gosh, I hope taking these braised chicken thighs from my kitchen to yours has inspired you! Honestly, the best part of sharing these recipes is hearing back from you all. Did you try the stovetop method or stick to the oven? Did your skin crisp up perfectly that first time?
Please, please, please, let me know how it went! Drop a star rating right down below—it helps other cooks know this recipe is the real deal. If you ran into a little snag or had a brilliant variation (maybe you added mushrooms, or used smoked paprika?), share that moment in the comments too. I read every single one, and it helps me keep improving the recipes here on the blog!
And if you snapped a picture of that beautiful, saucy plate? I would absolutely love to see how you styled your comfort food chicken meals! Tag me on social media so I can cheer you on. Happy cooking, everyone. I hope this becomes a staple in your home just like it is in mine!
PrintUltimate Tender & Flavorful Braised Chicken Thighs (One-Pot Weeknight Wonder)

Make tender, flavorful braised chicken thighs in one pot. This recipe uses a simple searing method to keep the skin crisp before slow cooking in a savory sauce.
- Prep Time: 15 min
- Cook Time: 60 min
- Total Time: 75 min
- Yield: 4 servings
- Category: Dinner
- Method: Braising/Oven
- Cuisine: American
- Diet: Low Lactose
Ingredients
- 6 bone-in, skin-on chicken thighs
- 1 tablespoon olive oil
- 1 teaspoon salt
- 1/2 teaspoon black pepper
- 1 teaspoon dried thyme
- 1/2 teaspoon dried rosemary
- 1 large yellow onion, chopped
- 3 cloves garlic, minced
- 1 cup chicken broth
- 1/2 cup dry white wine or extra broth
- 1 tablespoon tomato paste
- 1 bay leaf
Instructions
- Pat the chicken thighs completely dry with paper towels. Season both sides with salt, pepper, thyme, and rosemary.
- Heat the olive oil in a large Dutch oven or oven-safe pot over medium-high heat.
- Place the chicken thighs skin-side down in the hot oil. Sear for 5 to 7 minutes until the skin is deep golden brown and crisp. Do not move the chicken during this time.
- Remove the chicken from the pot and set aside, leaving about 1 tablespoon of rendered fat in the pot.
- Reduce the heat to medium. Add the chopped onion to the pot and cook for 5 minutes until softened. Add the minced garlic and cook for 1 minute until fragrant.
- Stir in the tomato paste and cook for 1 minute. Pour in the white wine (or broth) and scrape up any browned bits from the bottom of the pot. Let the liquid reduce by half, about 3 minutes.
- Add the chicken broth and bay leaf. Bring the liquid to a simmer.
- Return the chicken thighs to the pot, skin-side up, ensuring the skin is mostly above the liquid level.
- Cover the Dutch oven tightly. Transfer to a preheated oven at 350 degrees Fahrenheit (175 degrees Celsius) and bake for 40 to 50 minutes, or until the chicken is fall-off-the-bone tender.
- Remove the bay leaf before serving. Spoon the sauce over the chicken.
Notes
- For the crispiest skin, make sure the thighs are very dry before searing.
- If you do not have an oven, you can cover the pot and simmer on the stovetop over low heat for 50 to 60 minutes.
- Thicken the sauce at the end by removing the chicken, bringing the sauce to a boil, and simmering until reduced to your preferred consistency.
Nutrition
- Serving Size: 1 thigh with sauce
- Calories: 450
- Sugar: 3
- Sodium: 450
- Fat: 30
- Saturated Fat: 9
- Unsaturated Fat: 21
- Trans Fat: 0
- Carbohydrates: 5
- Fiber: 1
- Protein: 38
- Cholesterol: 140