

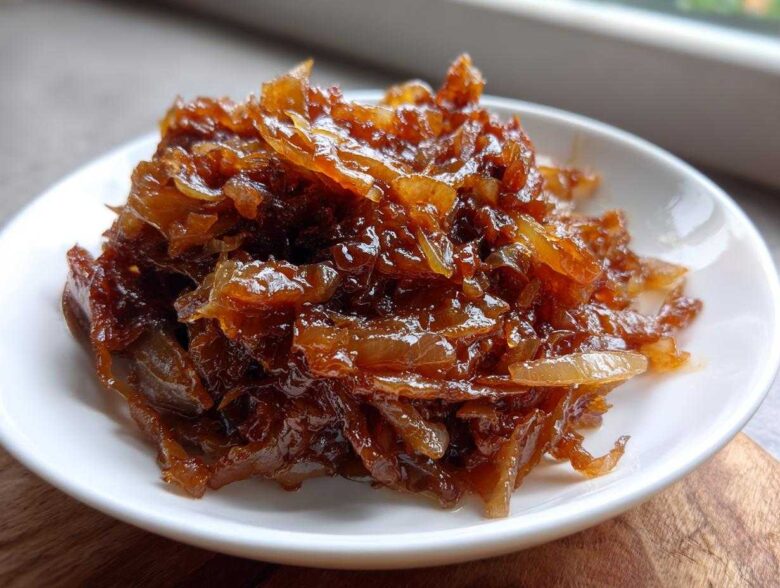
Oh man, you think you know onions? You think you know sweet and savory? Until you’ve cooked onions low and slow until they turn that impossibly rich, mahogany brown, you haven’t truly lived! Seriously, there’s magic that happens on the stovetop when you just let time do the work. I remember the first time I actually got them right—I nearly cried because they tasted like pure candy and steakhouse gravy all at once. It changed how I approach almost every savory recipe after that. This guide isn’t just another recipe; it’s the one that finally unlocks the secret to achieving perfectly caramelized onions with that unbelievable depth of flavor you’ve been chasing. If you’re diving deeper into kitchen fundamentals, make sure you check out all the great tips over at our main blog page!
Why Patience is Key: Mastering the Art of Caramelized Onions
Listen, if you rush this—and I mean *rush* it—you end up with soft, slightly sweet onions, which is fine for a quick sauté, but it’s not the real deal. We’re going for that intense, almost molasses-like punch. That transformation, folks, is the Maillard reaction working overtime! It’s when the natural sugars break down and create hundreds of new, incredible flavor compounds. You just can’t speed up magic like that, trust me. If you try to crank the heat to get this done in 15 minutes, you’ll just burn the edges and end up with a bitter mess. We are aiming for deep flavor onions here, and that requires respecting the process.
Understanding the Slow Cooking Technique Onions
What we’re doing here is coaxing the moisture out slowly over the heat. Quick sautéing just wilts them down, but this how to caramelize onions guide needs time to shine. The entire goal of this slow cooking technique onions method is to evaporate every drop of water so the sugars have nothing to hide behind. That means low heat, a heavy pan, and absolutely no rushing around!
Essential Ingredients for Perfect Caramelized Onions
Okay, so the ingredients list is ridiculously short—which I love! That just proves that the quality of the process matters way more than having a dozen things in your pantry. You only need three main things, plus a tiny optional secret weapon. We’ll use three large yellow onions, which always give the best results for this deep flavor. We mix up butter and olive oil because butter adds flavor but oil keeps the butter from scorching too fast. Don’t forget the salt; it helps draw out that initial moisture—it’s crucial!
Ingredient Clarity and Preparation
You absolutely need yellow onions for this! They have the perfect sugar-to-water ratio for achieving that beautiful, deep amber color. Don’t even think about using those little white ones; they break down too fast. The most important preparation step is slicing them thin—and I mean *paper-thin* and uniform. If you have big chunks next to tiny shreds, the small bits will burn before the big ones are even soft. I always aim for slices about 1/8th of an inch thick. Trust me, taking the extra five minutes to slice evenly is the key to uniform cooking.
Step-by-Step Guide: How to Caramelize Onions
Alright, this is where the magic really starts to take shape. Get your big, heavy-bottomed pan out; a light pan will just scorch your gorgeous onions! We start easy, melting the butter and oil together over medium-low heat—that’s the sweet spot for starting out. Dump your thinly sliced onions and that salt right in and give them a good stir to coat everything evenly in the fat. Remember, we are not trying to cook them fast; we are preparing them for the long haul! For more detailed instructions on the setup, feel free to check out my companion post on how to caramelize onions.
The Initial Softening Phase
For the first 20 minutes, this is mostly just sweating them down. You’ll stir them every five to ten minutes. This stage is all about releasing all that internal water; don’t worry if they look wet or start making a sizzling sound—that’s just the liquid cooking out. Keep that heat low! If you see them starting to aggressively bubble or look dry before the 20-minute mark, turn the burner down immediately. We want them soft, completely translucent, and starting to relax into the pan.
Achieving Golden Brown Onions
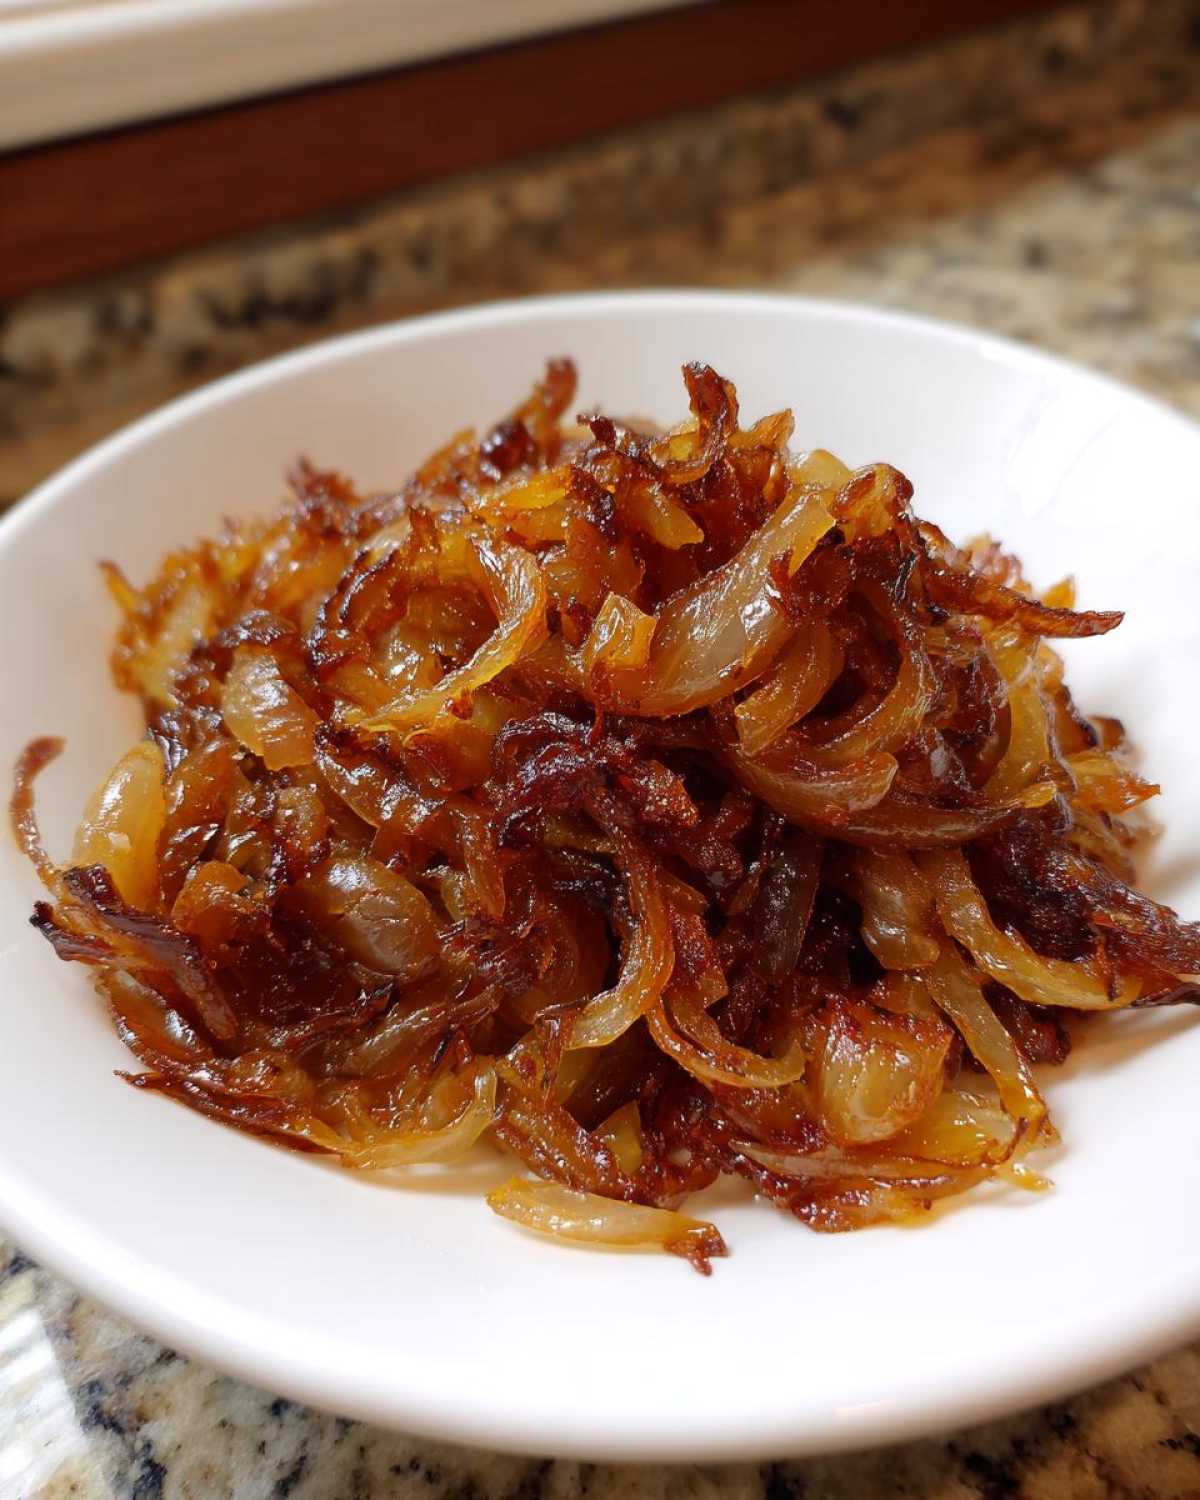
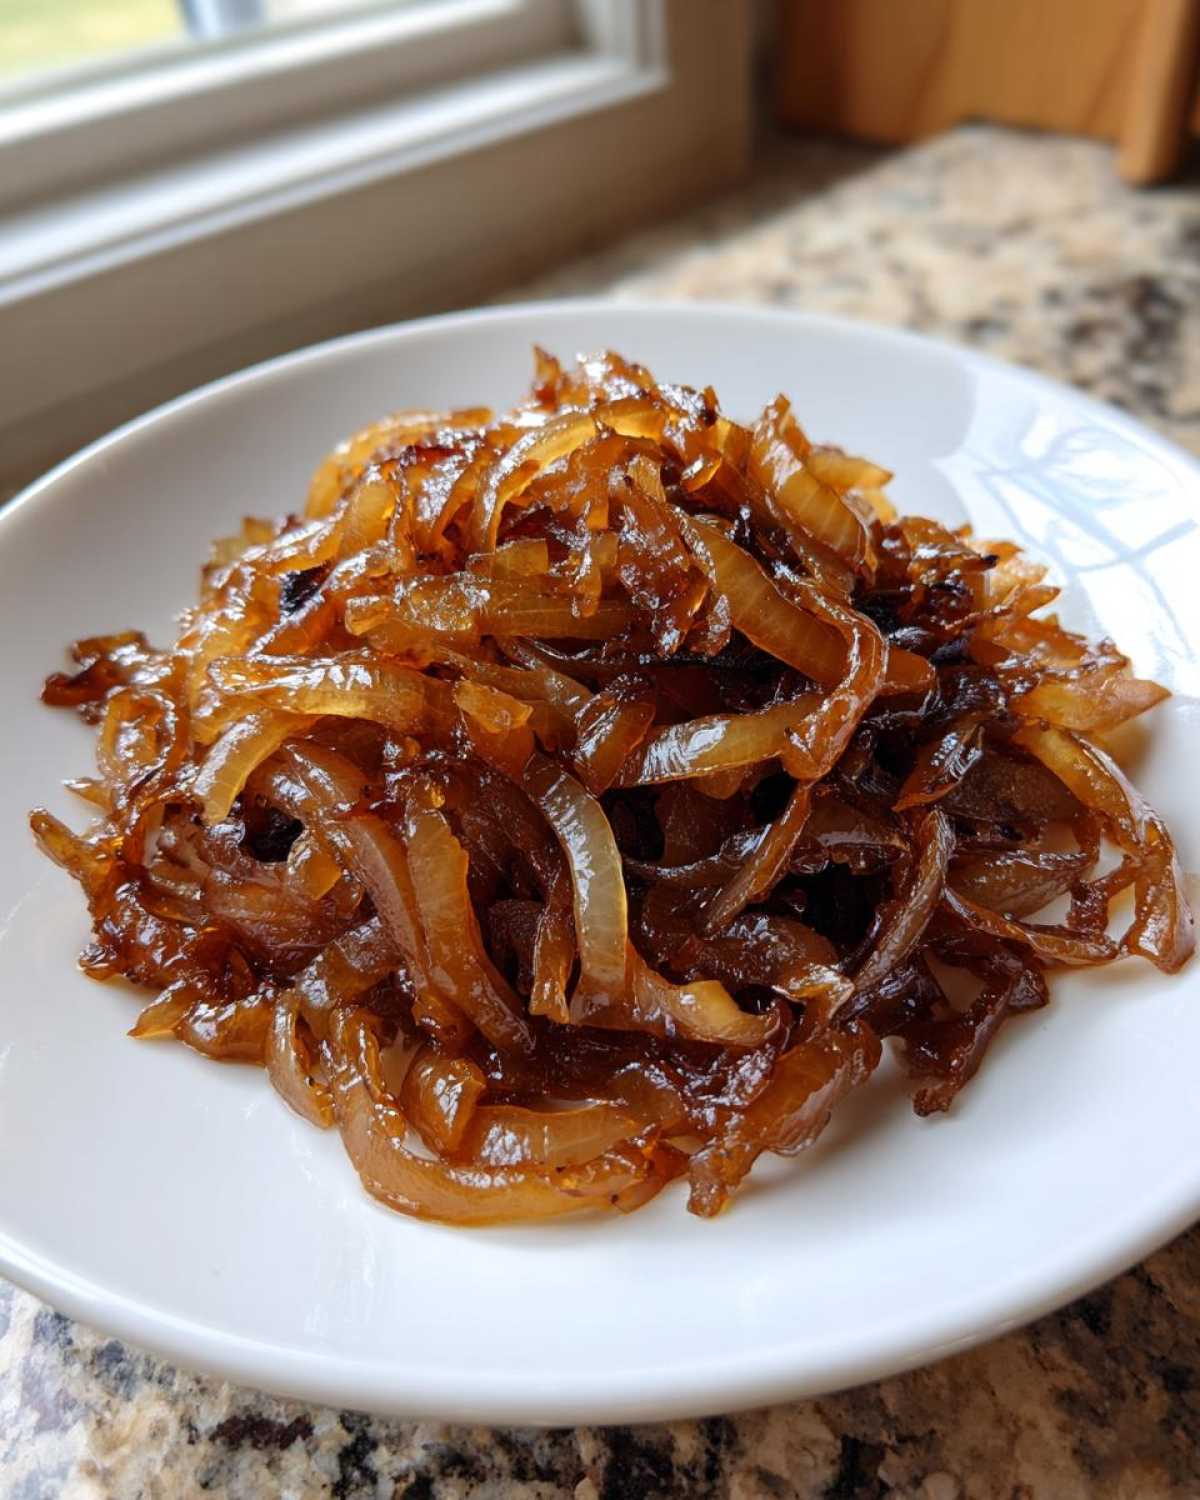
Once most of that liquid has evaporated, things get exciting, but you have to pay closer attention! Now the sugars start hitting the pan surface, and you need to stir every few minutes to keep things moving so you don’t get a burnt hard crust. This is where we start seeing the shift toward those beautiful golden brown onions. If you’re using that optional little pinch of sugar—and I highly recommend it for a deep, even sweetness—throw it in now during these later stages. This is the final transformation, and it can take another 30 to 40 minutes until they look dark, jammy, and truly unbelievable.
Expert Tips for Flavorful Caramelized Onions
Okay, so you’ve made it this far, and your onions are looking nicely browned, but maybe they’ve gotten a little stubborn toward the end. Don’t panic! This is where I pull out a couple of my favorite tricks for ensuring your caramelized onions hit peak flavor perfection every single time. If you find them looking a bit dry or sticking too much to the bottom of the skillet before they get that deep color, you need to deglaze them slightly. This isn’t cheating; it’s just smart cooking!
Troubleshooting Common Issues
If your onions stick, don’t go scraping aggressively right away; that just scrapes off the flavor compounds you’ve spent an hour building. Instead, I splash in just one tablespoon of water or warm vegetable broth—never cold water, it shocks the mixture! Swirl that pan gently, and those stuck bits will lift right off. If you really messed up and they smell scorched, you might have to toss that batch, but usually, a little liquid saved them. Remember, bacon fat replaces half the butter beautifully if you want an extra savory kick!
Creative Caramelized Onion Uses
So, you’ve got this massive batch of the most flavorful, sweet, jammy caramelized onions you’ve ever made. Now what? You can’t just eat them with a spoon (though I definitely have!). This recipe is incredibly versatile, and once you master the technique, you’ll start seeing opportunities to use them everywhere. They instantly elevate anything they touch from simple to gourmet status. Half the battle of meal prepping is having amazing flavor bases ready to go, and these certainly qualify!
Savory Onion Topping Ideas
The immediate go-to for me is as a killer savory onion topping. Forget those anemic sautéed onions on a hamburger; you need these! They make the most unbelievable burger topping ideas, melting right into the cheese. But don’t stop there! Pile them high on crusty bread with a slice of sharp provolone, or layer them onto grilled cheese—it turns it into a *gourmet sandwich filling* instantly. Anytime a dish needs a deep, savory sweetness, these are your ticket.
Making Homemade Onion Jam
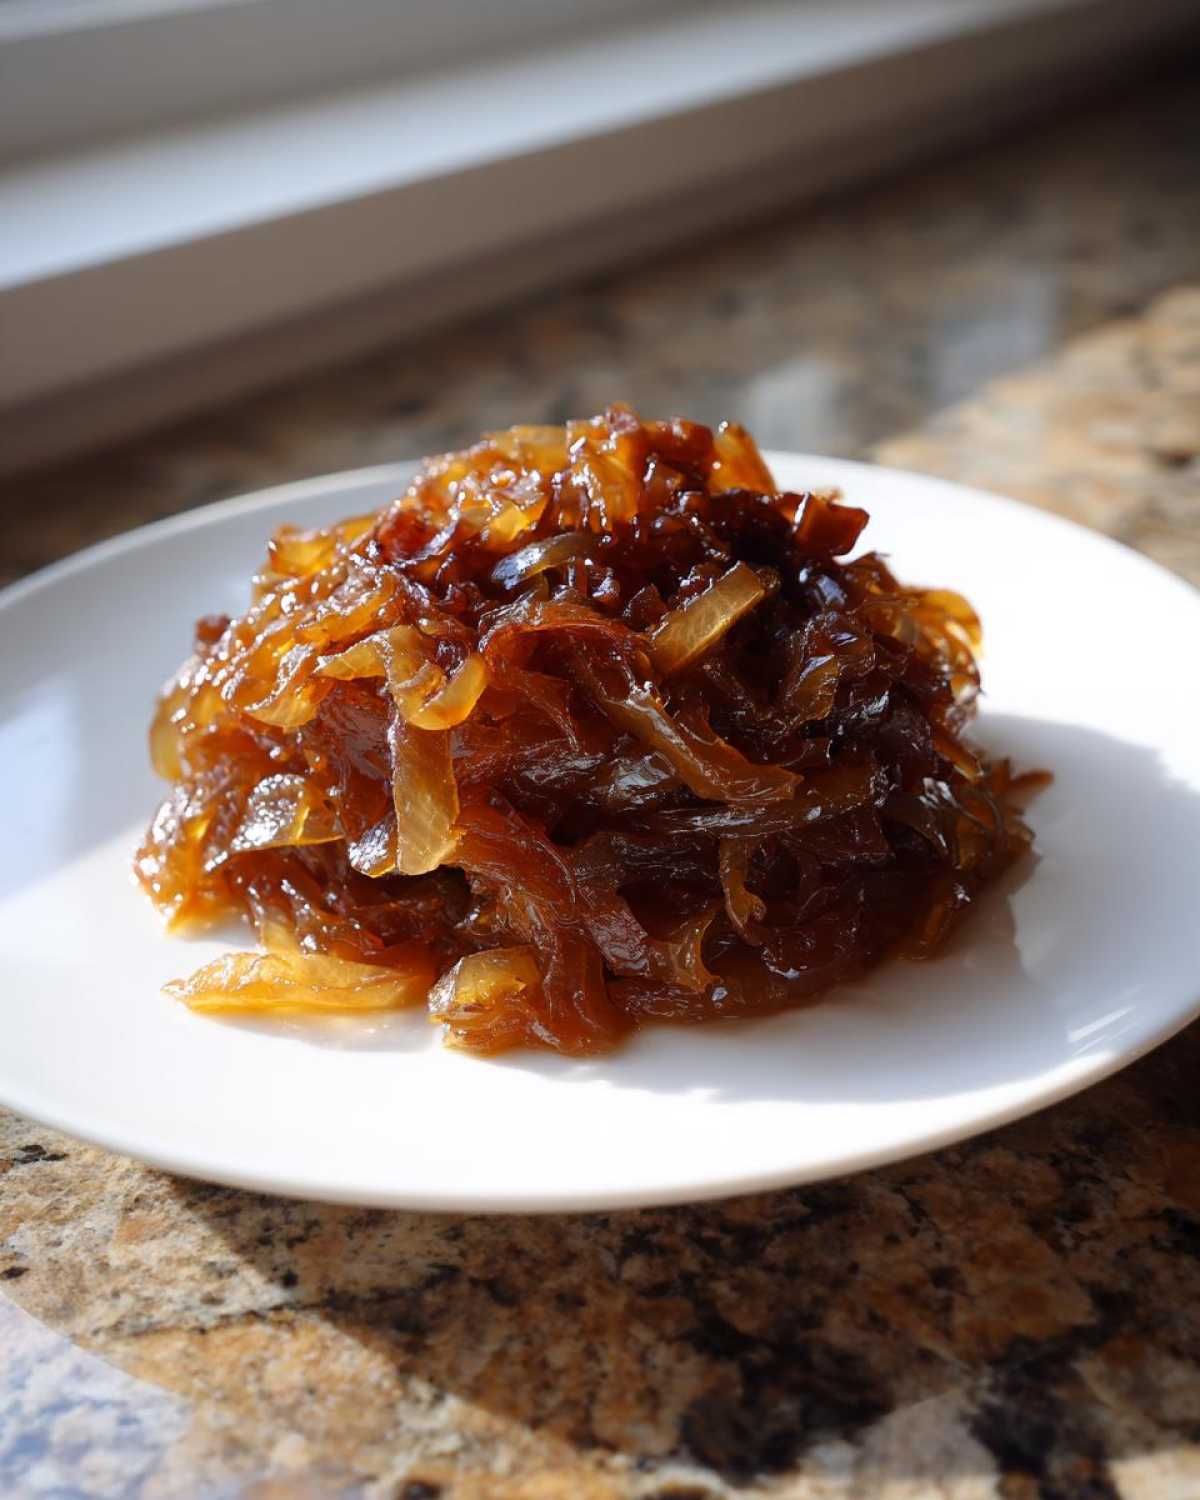
If this is your first time making onions this way, you’re about three steps away from making an officially amazing spread. These slow-cooked onions are the perfect foundation for a homemade onion jam. Just simmer them for another 15 minutes after they reach that perfect dark brown, adding a splash of balsamic vinegar and maybe a touch of brown sugar or port wine until it thickens up beautifully. It’s fantastic with soft cheese boards, too!
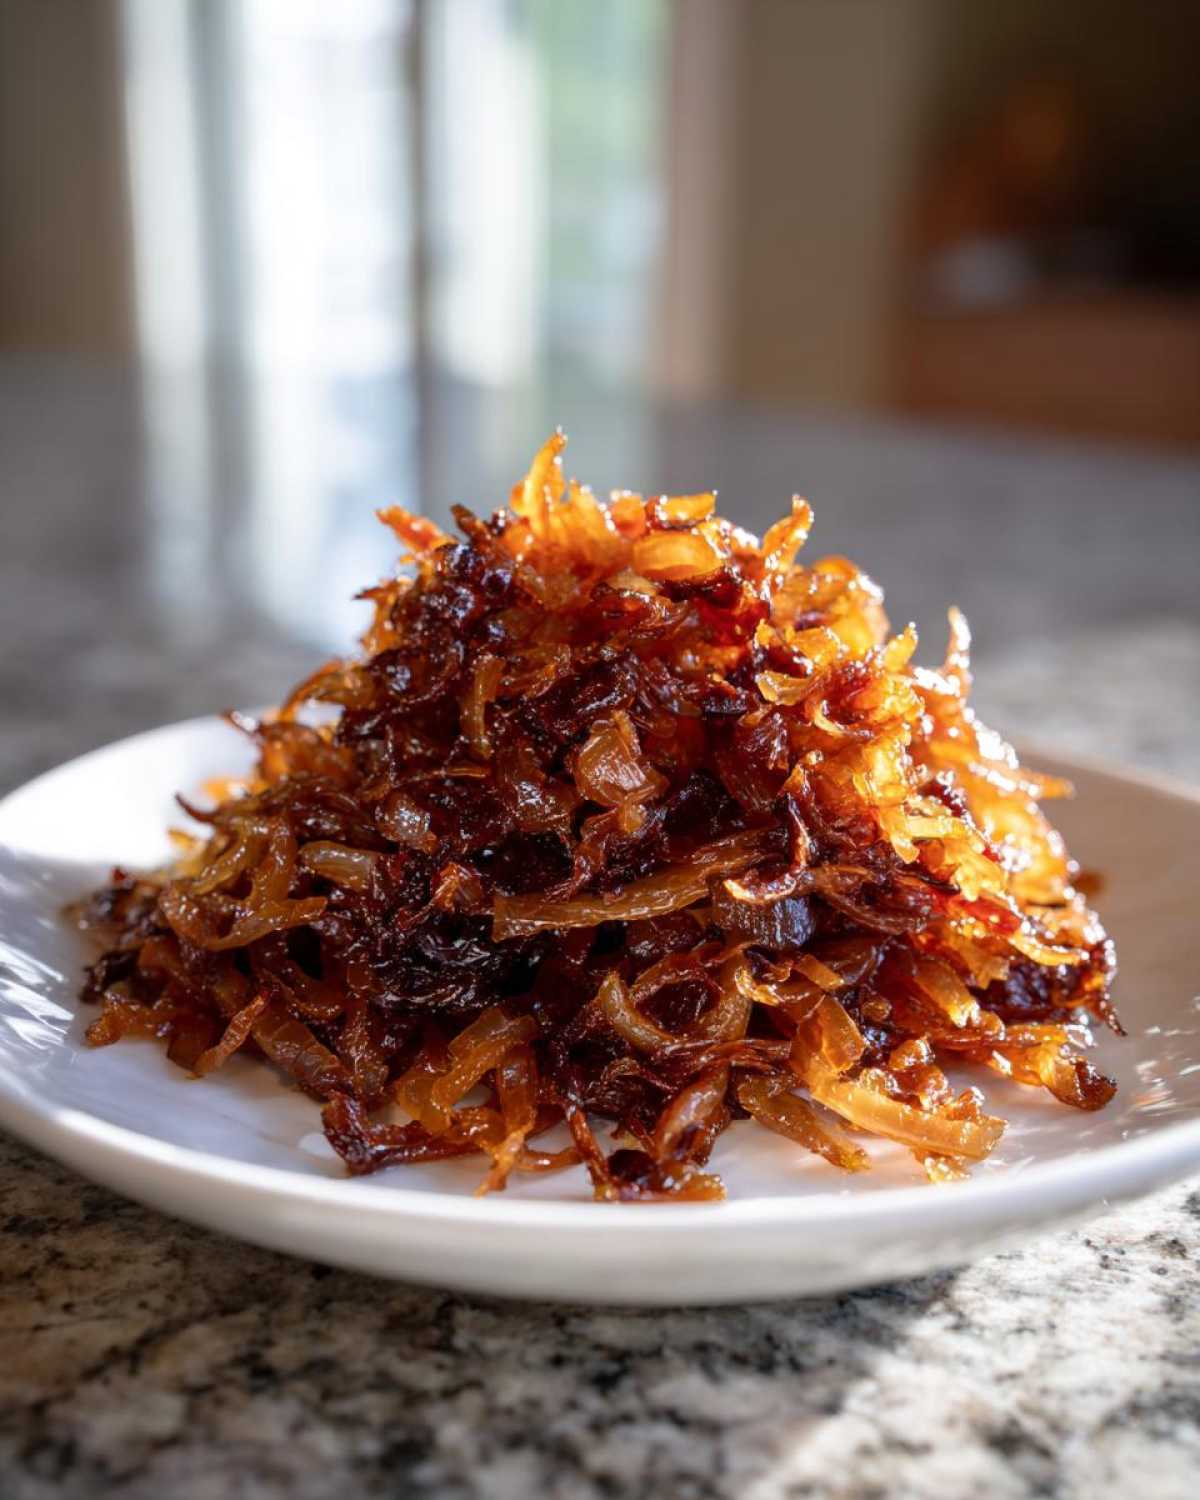
If you want to see a whole gallery of ideas specifically for using these flavor bombs, I put together a huge list of caramelized onion uses to get your creative juices flowing!
Storage and Onion Meal Prep
Once your beautiful batch of caramelized onions is done, you might not use them all at once. Good news! They are fantastic for onion meal prep. You can keep them in an airtight container in the fridge for about a week—they actually get a tiny bit deeper in flavor over the first couple of days, which is wild! If you made a huge batch (and you should always make a huge batch!), they freeze like a dream. Just portion them into small, freezer-safe bags or containers and lay them flat. When you need them for a quick dinner topping later, just thaw and reheat gently on the stove. Super easy!
Frequently Asked Questions About Caramelized Onions
Because this process feels like it takes forever, people always have questions about tweaking the method. Don’t worry, I’ve answered the main things I get asked about, especially when people are trying that slow cooking technique onions for the first time!
Can I use a slow cooker to make caramelized onions?
You absolutely can, and I totally lean on this method when I need to keep my stovetop free! Using a slow cooker makes preparing caramelized onions almost completely hands-off. You still slice them thinly, toss them with the butter, oil, and salt, and then you let the slow cooker do the work on low for about 8 to 10 hours. Yes, hours! It yields incredible results, and you end up with perfect slow cooker onions ready to go!
What is the best onion variety for this recipe?
For maximum sweetness that develops beautifully, stick to yellow onions. Yellow onions have a higher sugar content than white onions, which is exactly what we want to concentrate during that long cooking time. If you use sweet Vidalia or Walla Walla onions, you’ll get an even sweeter result, perfect for that decadent sweet onion recipe vibe. It makes them melt-in-your-mouth delicious!
Serving Suggestions for This Easy Onion Side Dish
You’ve done the work, and those caramelized onions are sitting there, glistening and gorgeous. They truly deserve to be the star of the show sometimes, not just an ingredient buried deep in a sauce! While they are amazing in heavy dishes, sometimes you just need a simple easy onion side dish to go next to a roast chicken or a pork chop. My favorite, simplest way to serve them is just piled on top of a slice of toasted sourdough bread, maybe with a little goat cheese if I’m feeling fancy. They are so rich and complex, you really don’t need much else! For other simple, game-changing side ideas, I always recommend checking out how I make crispy potatoes over at here.
Nutritional Estimates
Now, I know what you’re thinking—all that butter and all that natural sugar must mean these are a total calorie bomb! And look, while these are definitely richer than raw onions, when you break down the whole batch (which yields about 1.5 cups) into standard quarter-cup servings, they aren’t nearly as bad as you might panic about! It’s all about portion control when you’re serving up this intensely flavorful goodness.
Here’s a rough idea of what you’re looking at for one serving size (about 1/4 cup cooked). Remember, this is based on the standard recipe and doesn’t account for any extra bacon fat or added sugars beyond what’s listed, so consider these estimates only. You’ll see that most of the calories come from the healthy fats we use to coax out that incredible flavor!
- Serving Size: About 1/4 cup
- Calories: Roughly 85
- Total Fat: Around 5g (mostly unsaturated fats, which is nice!)
- Carbohydrates: About 10g (this is where most of that natural sweetness comes from)
- Protein: Just a little bit, around 1g
The sugar content (around 7g) is mostly the concentrated natural sugar from your onions—that’s what makes them taste like candy! So don’t let that number scare you off; it’s the essence of what we worked an hour to achieve! Enjoy them guilt-free as a topping or a rich side dish.
PrintThe Ultimate Guide: Slow-Cooked Caramelized Onions
A fundamental recipe detailing the slow cooking process required to achieve deeply sweet and savory caramelized onions, perfect for topping burgers or adding depth to dishes.
- Prep Time: 10 min
- Cook Time: 60 min
- Total Time: 70 min
- Yield: About 1.5 cups
- Category: Side Dish
- Method: Stovetop Slow Cooking
- Cuisine: General
- Diet: Vegetarian
Ingredients
- 3 large yellow onions, thinly sliced
- 2 tablespoons unsalted butter
- 1 tablespoon olive oil
- 1/2 teaspoon salt
- 1/4 teaspoon sugar (optional, helps initial browning)
Instructions
- Combine the butter and olive oil in a large, heavy-bottomed skillet over medium-low heat.
- Add the thinly sliced onions and salt to the skillet. Stir to coat the onions evenly with the fat.
- Cook the onions slowly, stirring every 5 to 10 minutes. Keep the heat low to prevent burning.
- After 20 minutes, the onions will soften and release liquid. Continue cooking, stirring more frequently as the liquid evaporates.
- If the onions start sticking or browning too quickly, reduce the heat further. This stage requires patience.
- Continue cooking for 45 to 60 minutes total, or until the onions have reduced significantly in volume and achieved a deep, rich brown color.
- If using, stir in the optional sugar during the last 10 minutes of cooking.
- Remove from heat and use immediately or store for later use.
Notes
- For an even deeper flavor, add 1 tablespoon of water or broth every 15 minutes if the onions begin to dry out before they color.
- You can substitute half the butter with bacon fat for added savory flavor.
- Caramelized onions store well in the refrigerator for up to one week.
Nutrition
- Serving Size: 1/4 cup
- Calories: 85
- Sugar: 7
- Sodium: 110
- Fat: 5
- Saturated Fat: 2
- Unsaturated Fat: 3
- Trans Fat: 0
- Carbohydrates: 10
- Fiber: 2
- Protein: 1
- Cholesterol: 5