

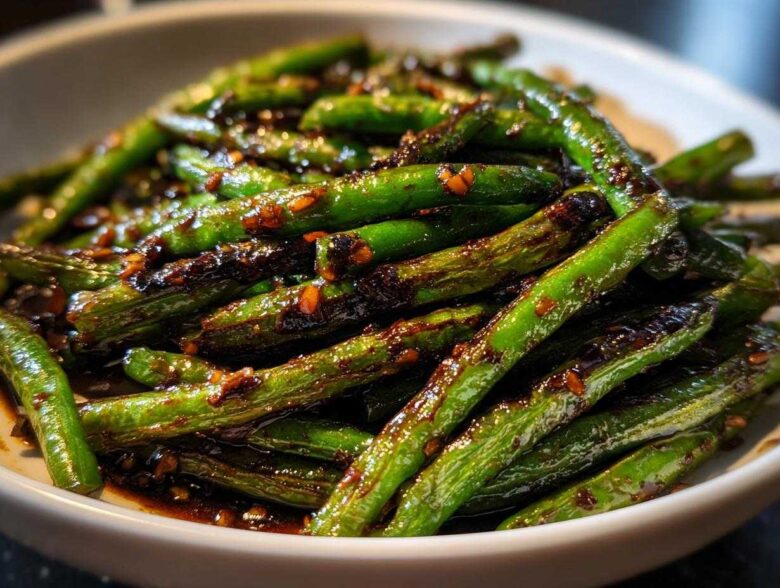
Oh, that moment when you are halfway through dinner and suddenly realize you just *need* that crunchy, savory side dish only a takeout restaurant can provide! If you’re anything like me, you want those flavors delivered without ordering delivery. Well, trust me when I say we can absolutely recreate that wonderfully charred texture right here at home. These chinese green beans with garlic sauce are shockingly fast—I mean, twenty minutes start to finish! They remind me a little of the quick, vibrant vegetable preparations we used to master back in Japan, just given a beautiful, punchy Chinese twist. Getting those perfect, blistered green beans requires just one essential detail: screaming hot heat. Follow my lead, and you’ll never look twice at the takeout menu for this dish again!
Why You Will Love Making Authentic chinese green beans with garlic sauce
Honestly, once you start making these at home, you’ll wonder why you waited so long! They are pure weeknight magic. Here is what makes this recipe special:
- It’s incredibly fast! We are talking 20 minutes total, start to finish.
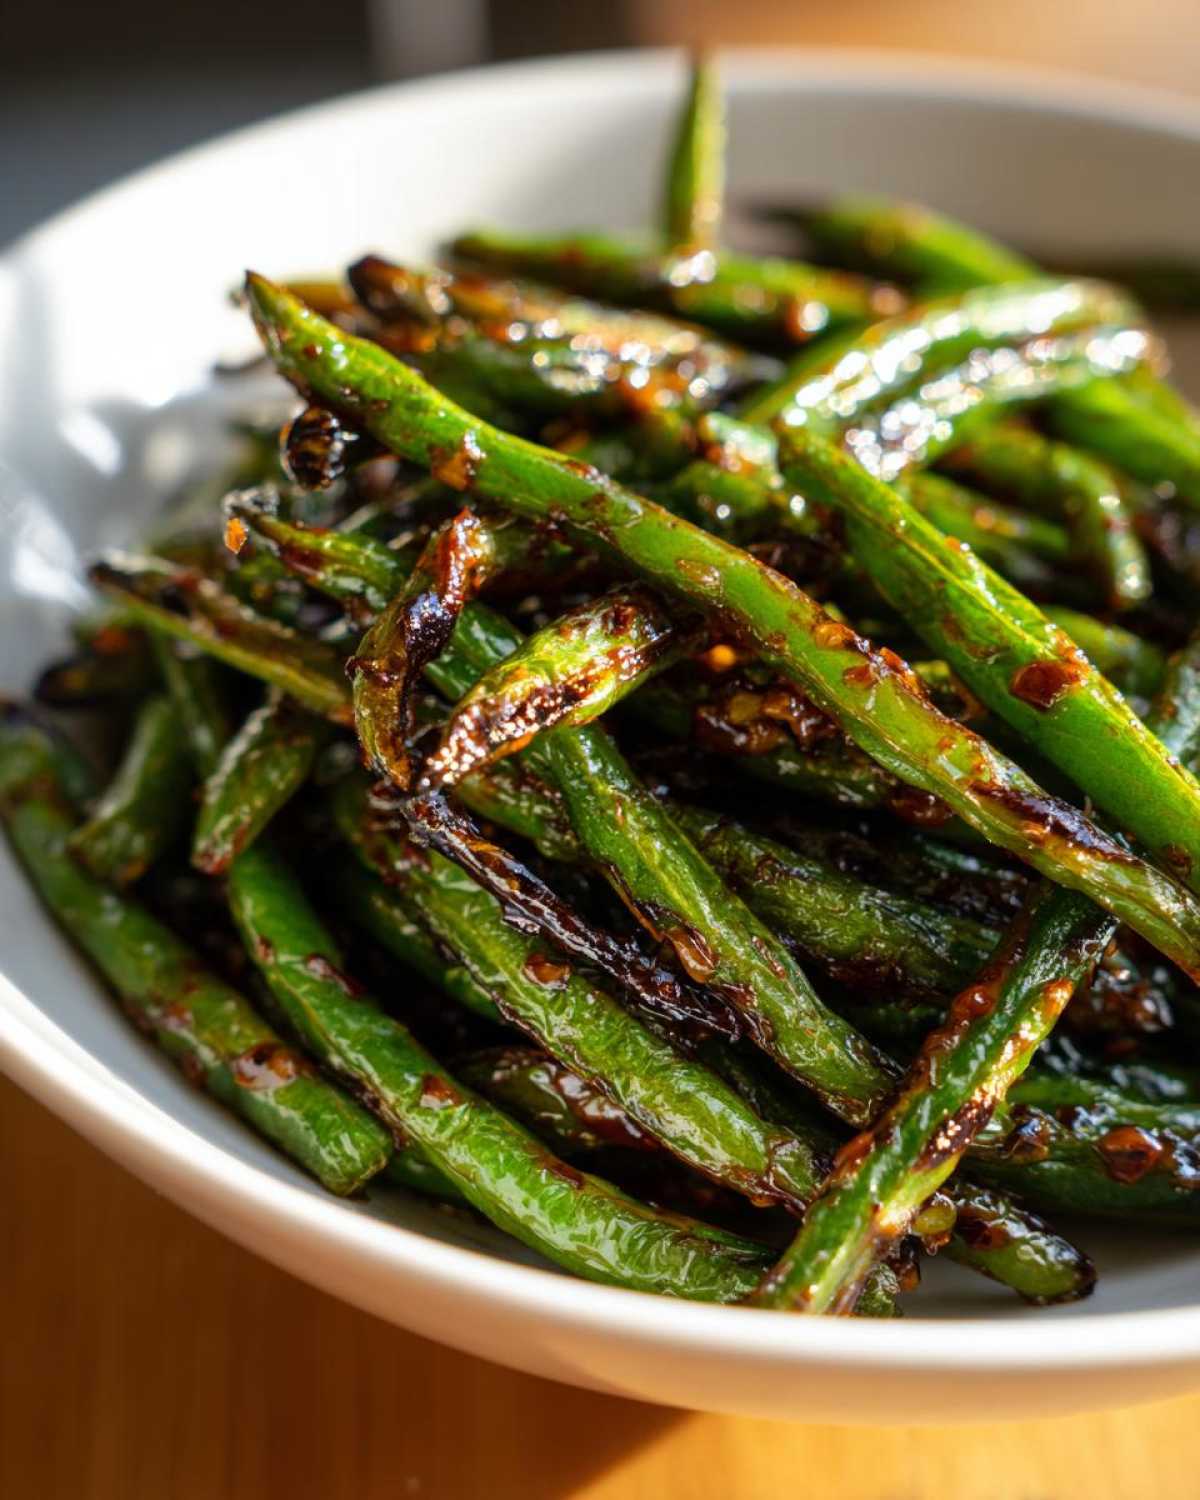
- That restaurant-style char—that beautiful blistered green beans texture—is easily achieved in a hot skillet.
- The sauce is so simple, yet it delivers that deep, punchy flavor you crave.
- These make fantastic vegan chinese sides; just stick to the recipe as written!
Gathering Ingredients for Your chinese green beans with garlic sauce
Okay, selecting the right items is half the battle when chasing that perfect takeout flavor. Because we are cooking so quickly under high heat, every ingredient really needs to be ready to go before that pan gets hot. If you leave oil waiting on the heat while you fumble for the garlic, you’ll burn it, and then we have to start over! Here is what you need:
- 1 pound fresh green beans, trimmed
- 3 tablespoons neutral oil (like canola or vegetable—you need something with a high smoke point!)
- 4 cloves garlic, minced
- 1 teaspoon fresh ginger, grated
- 1 tablespoon soy sauce (or tamari for gluten-free)
- 1 teaspoon dark soy sauce (optional, but Kenji loves the deep color it gives the final dish)
- 1 teaspoon sugar
- 1/2 teaspoon toasted sesame oil
- Pinch of red pepper flakes (if you like a little warmth!)
Ingredient Notes and Substitutions
For my friends avoiding gluten, please use tamari instead of regular soy sauce—it works beautifully here. Don’t worry about the dark soy sauce too much; it’s mostly for that wonderful mahogany color you see in restaurants. The sugar is crucial, though! It’s not there to make the dish sweet, but rather to help balance out the salty soy as the sauce boils down around the beans.
The Secret to Blistered chinese green beans with garlic sauce
This technique is exactly what separates a watery, steamed bean from the amazing wok fried green beans you’d happily pay too much for at your favorite spot. The key is high, high heat. If you have a wok, use your largest burner and get it hot enough that the oil shimmers instantly. If you’re using a heavy skillet, give it a good five minutes to really absorb that heat. We want those beans to kiss the hot metal and char immediately! If you want to try roasting them instead of frying next time, a high-heat dry roast works wonders too. You should check out Kenji’s garlic parmesan roasted green beans recipe for a different take!
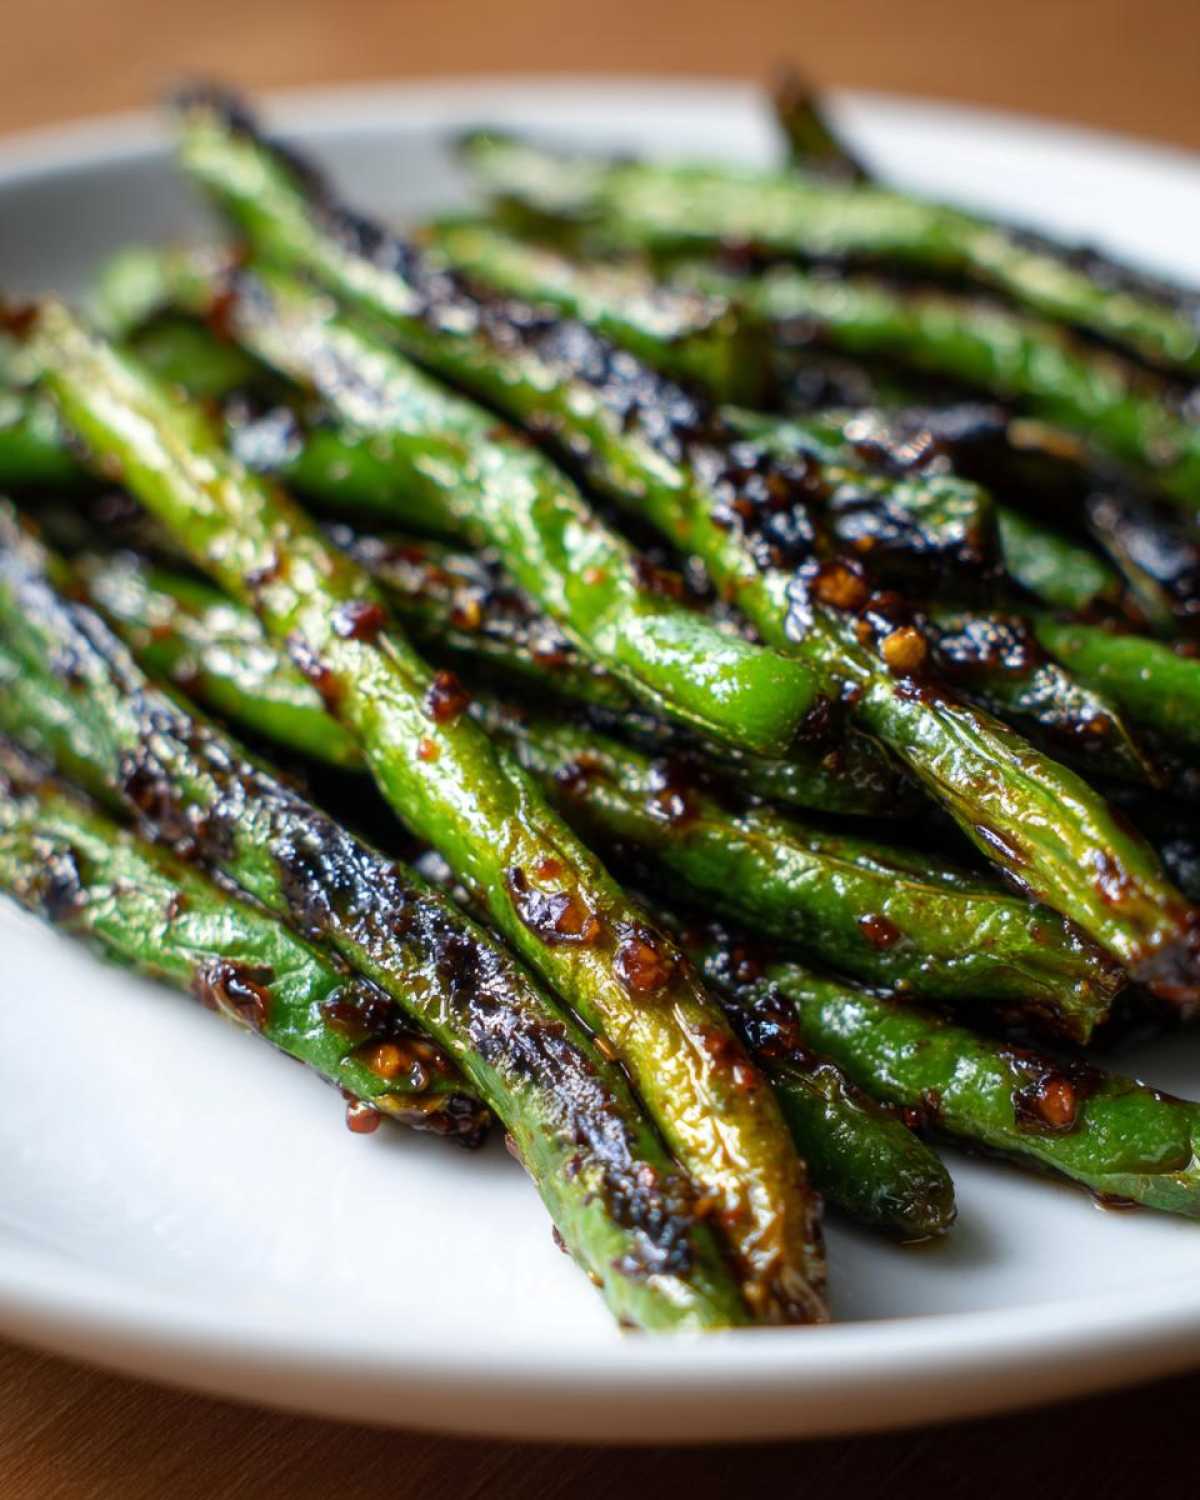
When you toss the beans in, resist the urge to stir constantly right away. Let them sit! That initial undisturbed time is when the blistering happens. This high-heat shock creates that signature smoky depth we are looking for. If you ever feel like things are drying out too much during this stage, a quick splash of water or broth creates steam, which helps cook the inside while keeping the outside intact.
Preparing the Punchy Garlic Sauce
While we are talking heat, let’s get the actual flavor base ready. This is so easy, you can do it while the oil is heating up. Grab a tiny bowl and whisk everything—the soy sauce, the optional dark soy for color, the sugar, sesame oil, and any red pepper flakes—all together until the sugar dissolves. That’s it! Once everything is combined in that little bowl, you can walk away and concentrate solely on getting those beautiful, charred spots on your garlic green beans.
Step-by-Step Instructions for Wok Fried chinese green beans
Now for the real action! This part moves fast, so have your sauce ready and your beans waiting by the stove. Remember what I said about high heat? That starts right now. We are aiming for tender-crisp dry fried green beans that have a little chew left in them, not mushy ones!
- First things first, make sure that sauce bowl we prepared earlier is right next to the stove, and have your minced garlic and ginger standing by.
- Get your wok or large skillet smoking hot over that high flame. Add your 3 tablespoons of neutral oil. Wait until you see it shimmer—that means it’s ready to sear the beans perfectly.
- Carefully add all your trimmed green beans to the hot pan. Try to spread them out in a single layer if you can; this maximizes contact with the heat.
- Okay, here is where patience comes in for just a moment: let them sit, undisturbed, for about 2 to 3 minutes. This is crucial for getting those first dark, blistered spots!
- Now you can start tossing them frequently for another 3 or 4 minutes. Keep them moving around until they look tender-crisp and you see those dark, gorgeous char marks all over. If the pan starts looking dusty and dry, quickly add a splash of water or vegetable broth to create a helpful puff of steam, then let that liquid evaporate completely.
- Once they are perfectly cooked, push all the beans over to one side of the wok. We need that empty hot space for the aromatics!
- In the empty spot, drop in your minced garlic and grated ginger. Cook them only for about 30 seconds until you can really smell that wonderful fragrance. Watch them closely; burnt garlic tastes bitter, and we don’t want that here!
- Quickly toss the beans directly into the garlic and ginger so everything gets coated up nicely together.
- Finally, pour that prepared sauce mixture right over everything. Toss everything together super fast for just 30 seconds. The sauce will thicken quickly and cling right to those blistered surfaces.
- Take it OFF the heat immediately! Serve these piping hot. If you are looking for other quick skillet perfection, check out my skillet garlic green beans with almonds recipe too—it uses similar principles!
Expert Tips for Perfect chinese green beans with garlic sauce
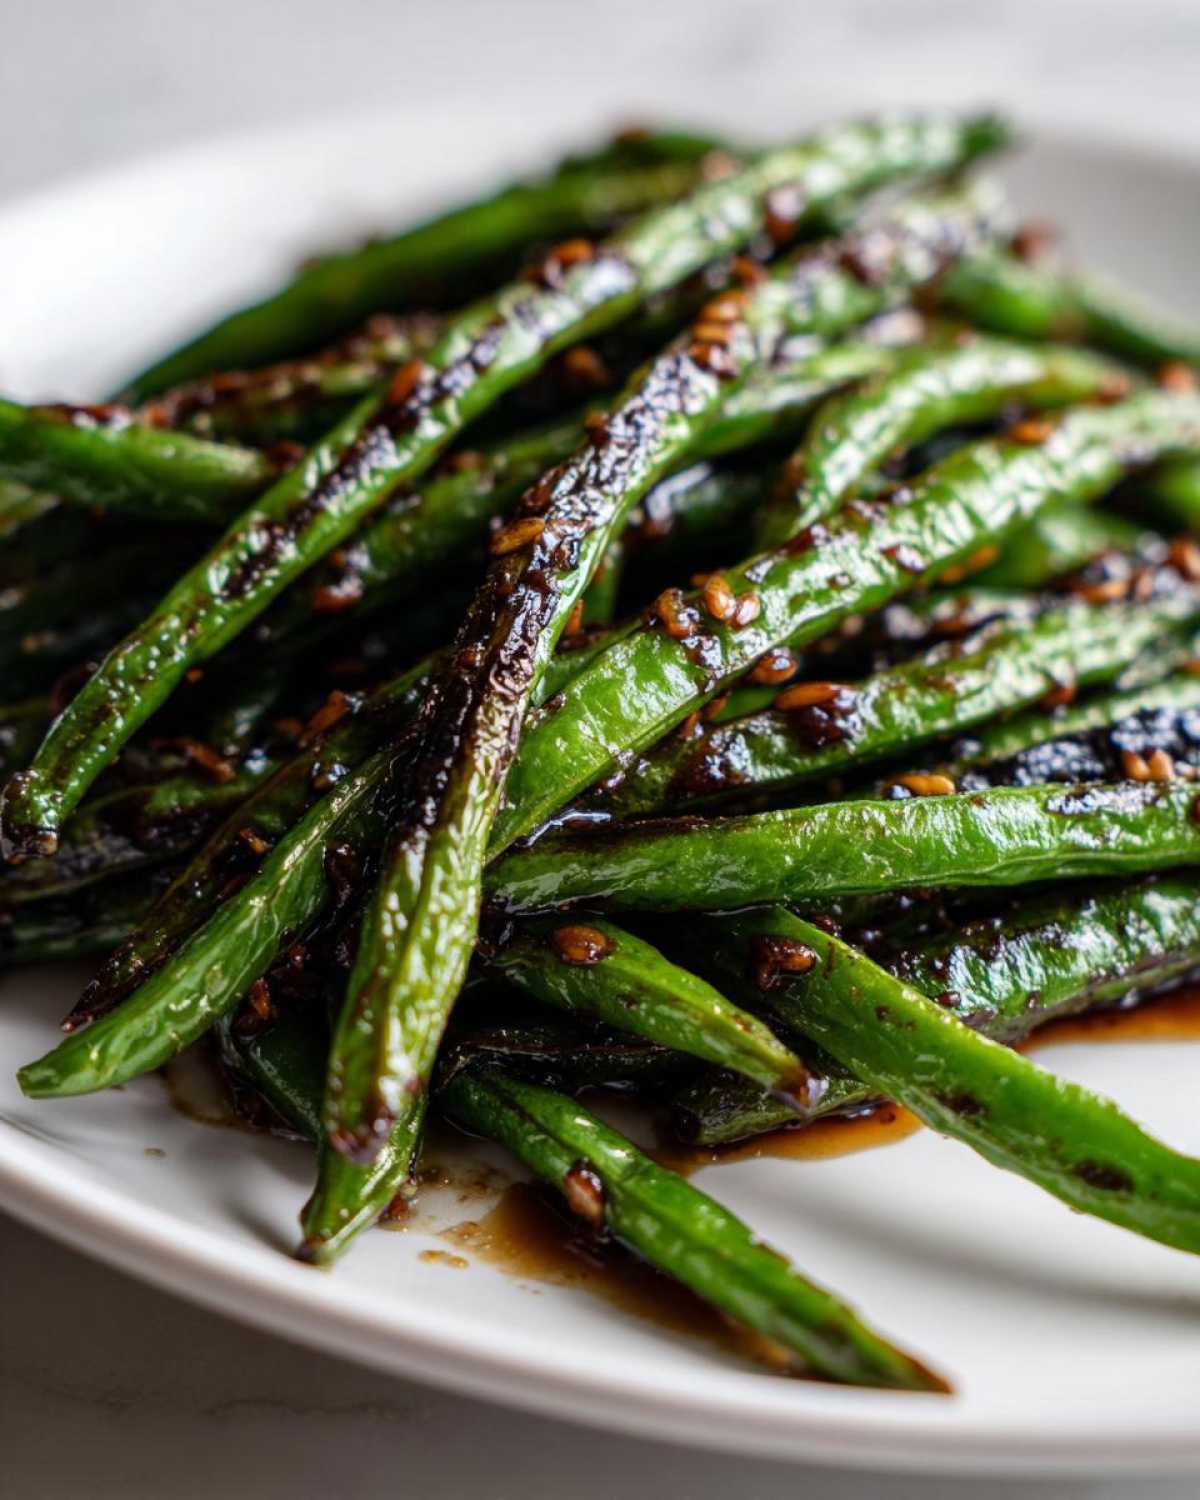
When you are working with high heat like this, even a tiny adjustment can make a huge difference in the final outcome of your garlic green beans. Kenji and I have developed a few little rules over the years to ensure we get that takeout quality every single time we fire up the burner.
First, let’s talk tools. If you don’t own a wok—please don’t run out and buy one for this dish today! Just use the largest, heaviest skillet you own. Seriously, the bigger the better. You need all that surface area to spread out the beans so they can sear properly instead of steaming. If your pan is too small and the beans end up piling up, you won’t get those lovely dark spots, and you’ll miss out on the full glory of true dry fried green beans.
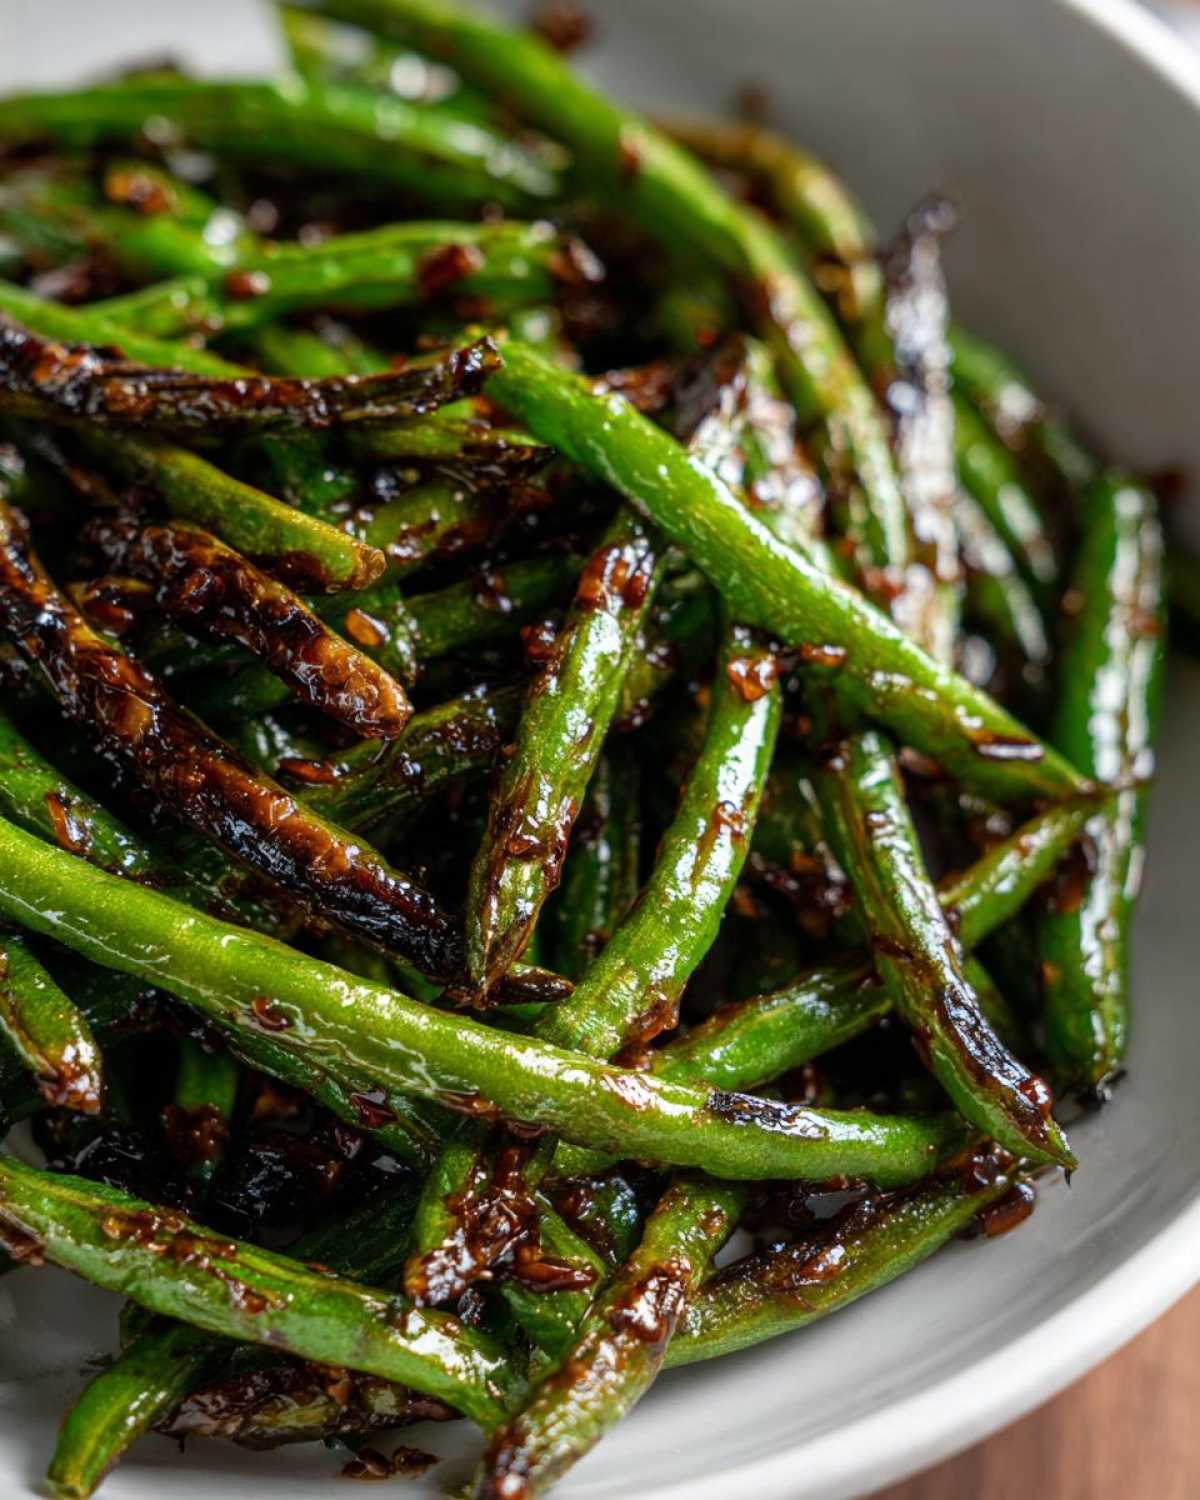
Another little detail to remember is the power of steam when things get too dry. If you are cooking your beans for a long time and the pan looks bone dry before they are tender-crisp, just toss in a tiny splash of water or, even better, some vegetable broth. That brief moment of steam helps cook the tougher insides of the bean without sacrificing the char you worked so hard to build on the outside. Just make sure that liquid cooks away completely before you add your sauce!
For those of you who like things really exciting flavor-wise, I have a secret weapon suggestion! If you want to take these beyond just regular garlic heat and move into that slightly numbing, addictive Sichuan territory—add 1/2 teaspoon of Sichuan peppercorns right along with your garlic and ginger. You toss them in that hot oil together. When they bloom, they release this incredible citrusy aroma that pairs perfectly with the soy sauce. It’s an easy addition that really elevates the whole experience.
And one final thing that I always have to remind Kenji about: make sure your sauce is totally ready to pour when the garlic hits the pan! The timing is critical during that final minute. You are only tossing for about 30 seconds once the sauce goes in before it starts to glaze the beans, so everything else needs to be lined up and ready to go instantly.
Serving Suggestions for Your chinese side dishes
What is better than perfectly cooked, punchy garlic green beans taking center stage on your dinner table? Well, having the perfect main course to sit beside them, of course! These aren’t just a vegetable; they are a vibrant, crunchy counterpoint to almost anything you put on the plate next to them. Kenji always insists a side this good needs a great partner.
If you are thinking about a big weeknight spread, these beans work wonderfully as part of a larger collection of chinese side dishes. They offer such fantastic texture contrast to something soft and comforting. You absolutely must try making them alongside some homemade fried rice! I love tossing shrimp or chicken into the rice, but even a plain batch of my chicken fried rice needs that sharp, garlicky bite from these beans to cut through the richness.
On nights when we want something simpler, these beans shine next to just a plain piece of protein. We often grill a simple white fish or even some tofu—the strong sauce on the beans carries the entire plate. Since we made sure these are fantastic vegan chinese sides, they pair beautifully with anything plant-based, like crispy baked tofu drizzled with a tiny bit of hoisin sauce.
Don’t be afraid to mix cuisines either! If you had a beautiful, simply prepared roast chicken or pork chop as your main event, these spicy, savory beans bring that wonderful takeout excitement right into your home dining room. They are robust enough to stand up to stronger flavors, so use them boldly!
Storage and Reheating of Leftover garlic green beans
Here is the thing about anything cooked this fast over such high heat—it is undeniably best enjoyed right away! That beautiful, crisp texture we work so hard to achieve with our blistered green beans tends to soften up a bit once they cool down and sit in the fridge. It’s just the nature of fresh vegetables mixed with sauce.
That said, we absolutely hate waste here at Whisk Daily, so if you have leftovers, don’t despair! You can certainly store them, but you have to commit to revamping them before eating them again. Pop any extra garlic green beans into a truly airtight container. I never recommend keeping them around for more than three days, honestly. After that, the texture starts to turn.
Now for the reheating magic! Forget the microwave unless desperation calls. The microwave will make everything sad and limp. Instead, when you are ready to eat the next day, get your wok or the largest skillet you have heated up until it is quite hot again. Put a tiny splash of neutral oil in there—just enough to coat the bottom lightly.
Toss the leftover beans into that hot pan and let them sit for just 30 seconds to get some initial contact. Then, stir-fry them vigorously! You are basically trying to dry-fry them again for a minute or two. This quick blast of heat wakes up the garlic flavor and helps firm up the beans again. It won’t be *exactly* like they were fresh from the pan, but trust me, they’ll still be incredible!
Frequently Asked Questions about dry fried green beans
Can I use frozen green beans for this recipe?
I almost always insist on fresh for this recipe because the magic really comes from that blistering technique, and fresh beans retain their structure better. However, if you are in a pinch or it’s snowy outside, you can try frozen. The trick is to thaw them completely first, and then pat them bone-dry with paper towels before they ever see the heat. If you put frozen beans directly into the hot oil, they will drop the temperature of the wok almost instantly, and you’ll end up steaming them instead of getting those beautiful charred spots.
How do I make these Chinese green beans spicier?
That’s an easy adjustment! We put in a small pinch of red pepper flakes initially, but if you want true heat, you have a few options. If you like sustained heat throughout the entire dish, add a teaspoon of chili garlic sauce right when you add the soy sauce mixture. But for that wonderful, aromatic, slightly numbing heat that’s unique to some amazing Sichuan green beans, remember my trick from earlier: toss 1/2 teaspoon of whole Sichuan peppercorns into the oil for 30 seconds alongside the garlic and ginger. That truly changes the game!
Is the high-heat technique truly necessary to call these restaurant-style?
Yes, absolutely! This is the single most important factor for achieving authentic wok fried green beans. The “dry-fried” name in Chinese cooking refers to cooking something in a very hot, lightly oiled wok until the surface dehydrates slightly and chars. This process concentrates the flavor into the vegetable itself. If you cook them too gently, they just become standard steamed garlic green beans, which are good, but they don’t have that signature smoky punch that makes you feel like you are back at your favorite noodle house.
Are these considered good vegan side dishes?
They are! Because we skip things like oyster sauce and rely strictly on soy sauce, sugar, ginger, and garlic, these wonderfully flavorful garlic green beans are inherently plant-based and fantastic for anyone wanting rich flavor without meat. They stand up perfectly next to tofu or alongside a bowl of kimchi fried rice. If you want to see more options for plant-based meals, Kenji keeps updating our main recipe index over at Whisk Daily!
Sharing Your Homemade chinese green beans with garlic sauce
Well, my dear friend, that is it! You now have all the secrets required to make stunning, smoky, utterly addictive chinese green beans with garlic sauce right in your own kitchen. I truly hope you give this quick recipe a whirl the very next time you are settling in for a cozy takeout-style night at home.
When you do make them—and please, do make them soon!—I would love for you to let us know how they turned out. Kenji and I live for reading your comments! Did the high heat give you a perfect char? Are you obsessed with the balance of the sauce?
Please take a moment to leave us a star rating here on the recipe card, and if you share a photo on social media, tag us! Seeing your beautiful results makes all these late nights spent typing up our family’s favorite dishes worth it. Your feedback helps us bring more of our kitchen stories to you here at Whisk Daily. Happy cooking, and enjoy every single crunchy bite!
PrintRestaurant-Style Chinese Green Beans with Garlic Sauce
Make these quick and flavorful garlic green beans at home. This recipe delivers the blistered texture and punchy sauce you love from your favorite Chinese takeout.
- Prep Time: 10 min
- Cook Time: 10 min
- Total Time: 20 min
- Yield: 4 servings
- Category: Side Dish
- Method: Stir-Frying
- Cuisine: Chinese
- Diet: Vegetarian
Ingredients
- 1 pound fresh green beans, trimmed
- 3 tablespoons neutral oil (like canola or vegetable)
- 4 cloves garlic, minced
- 1 teaspoon fresh ginger, grated
- 1 tablespoon soy sauce (or tamari for gluten-free)
- 1 teaspoon dark soy sauce (optional, for color)
- 1 teaspoon sugar
- 1/2 teaspoon toasted sesame oil
- Pinch of red pepper flakes (optional)
Instructions
- Prepare the sauce: In a small bowl, whisk together the soy sauce, dark soy sauce (if using), sugar, sesame oil, and red pepper flakes. Set aside.
- Heat the wok or large skillet over high heat until very hot. Add the neutral oil. The oil should shimmer immediately.
- Add the trimmed green beans to the hot wok in a single layer if possible. Let them cook undisturbed for 2 to 3 minutes to achieve blistering and charring.
- Toss the beans frequently for another 3 to 4 minutes until they are tender-crisp and have dark spots. If the pan seems too dry, add a splash of water or vegetable broth to create steam, then let it evaporate quickly.
- Push the beans to one side of the wok. Add the minced garlic and grated ginger to the empty space. Cook for about 30 seconds until fragrant, being careful not to burn the garlic.
- Toss the beans with the garlic and ginger mixture.
- Pour the prepared sauce over the beans. Toss quickly for about 30 seconds until the sauce thickens slightly and coats the beans evenly.
- Remove from heat immediately and serve hot.
Notes
- For a vegan alternative, ensure your oyster sauce substitute is plant-based, or simply omit it and use extra soy sauce.
- If you do not have a wok, use the largest, heaviest skillet you own and heat it thoroughly before adding the oil.
- If you prefer a spicier flavor, add 1/2 teaspoon of Sichuan peppercorns with the garlic and ginger.
Nutrition
- Serving Size: 1 serving
- Calories: 150
- Sugar: 4
- Sodium: 450
- Fat: 12
- Saturated Fat: 1.5
- Unsaturated Fat: 10.5
- Trans Fat: 0
- Carbohydrates: 9
- Fiber: 4
- Protein: 3
- Cholesterol: 0