

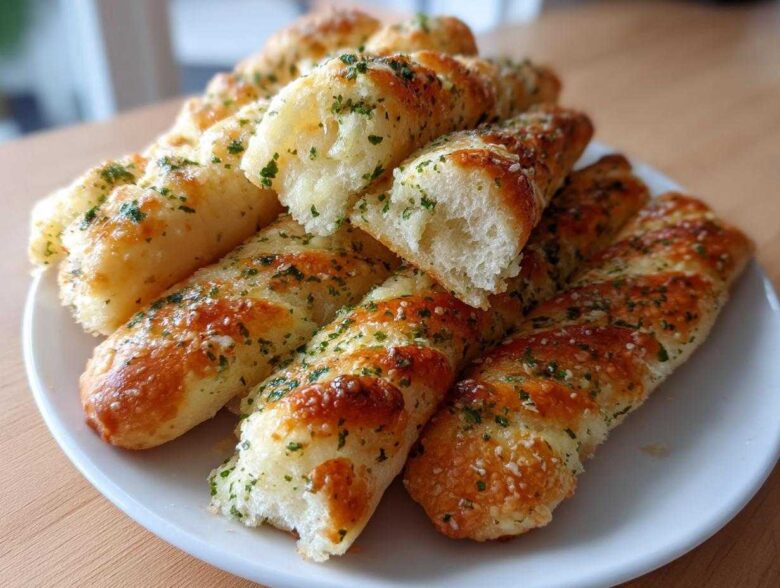
Oh, I know that feeling! Sometimes you just have a craving for that one iconic appetizer you get at your favorite restaurant, and honestly, making it at home feels miles better. Well, Amaya and I have spent a lot of time perfecting this for you. Today is the day you stop dreaming about them and start eating them! We are diving deep into the ultimate Copycat Olive Garden Breadsticks Recipe. These aren’t just any breadsticks; they are impossibly soft, drenched in buttery goodness, and absolutely loaded with that signature garlic flavor we all adore. If you love this kind of soft, homemade goodness, you should check out our recipe for soft, fluffy garlic naan bread!
Kenji here thinks recreating that beloved classic is half the fun, and you can find more inspiration over at Kristine’s Kitchen for other great ideas on homemade breadsticks. We’ve cracked the code so you can have these fluffy treats cooling on your counter in just over an hour. Trust me, this easy homemade recipe is going to change your weeknight dinners!
Why You Will Make the Best Homemade Breadsticks
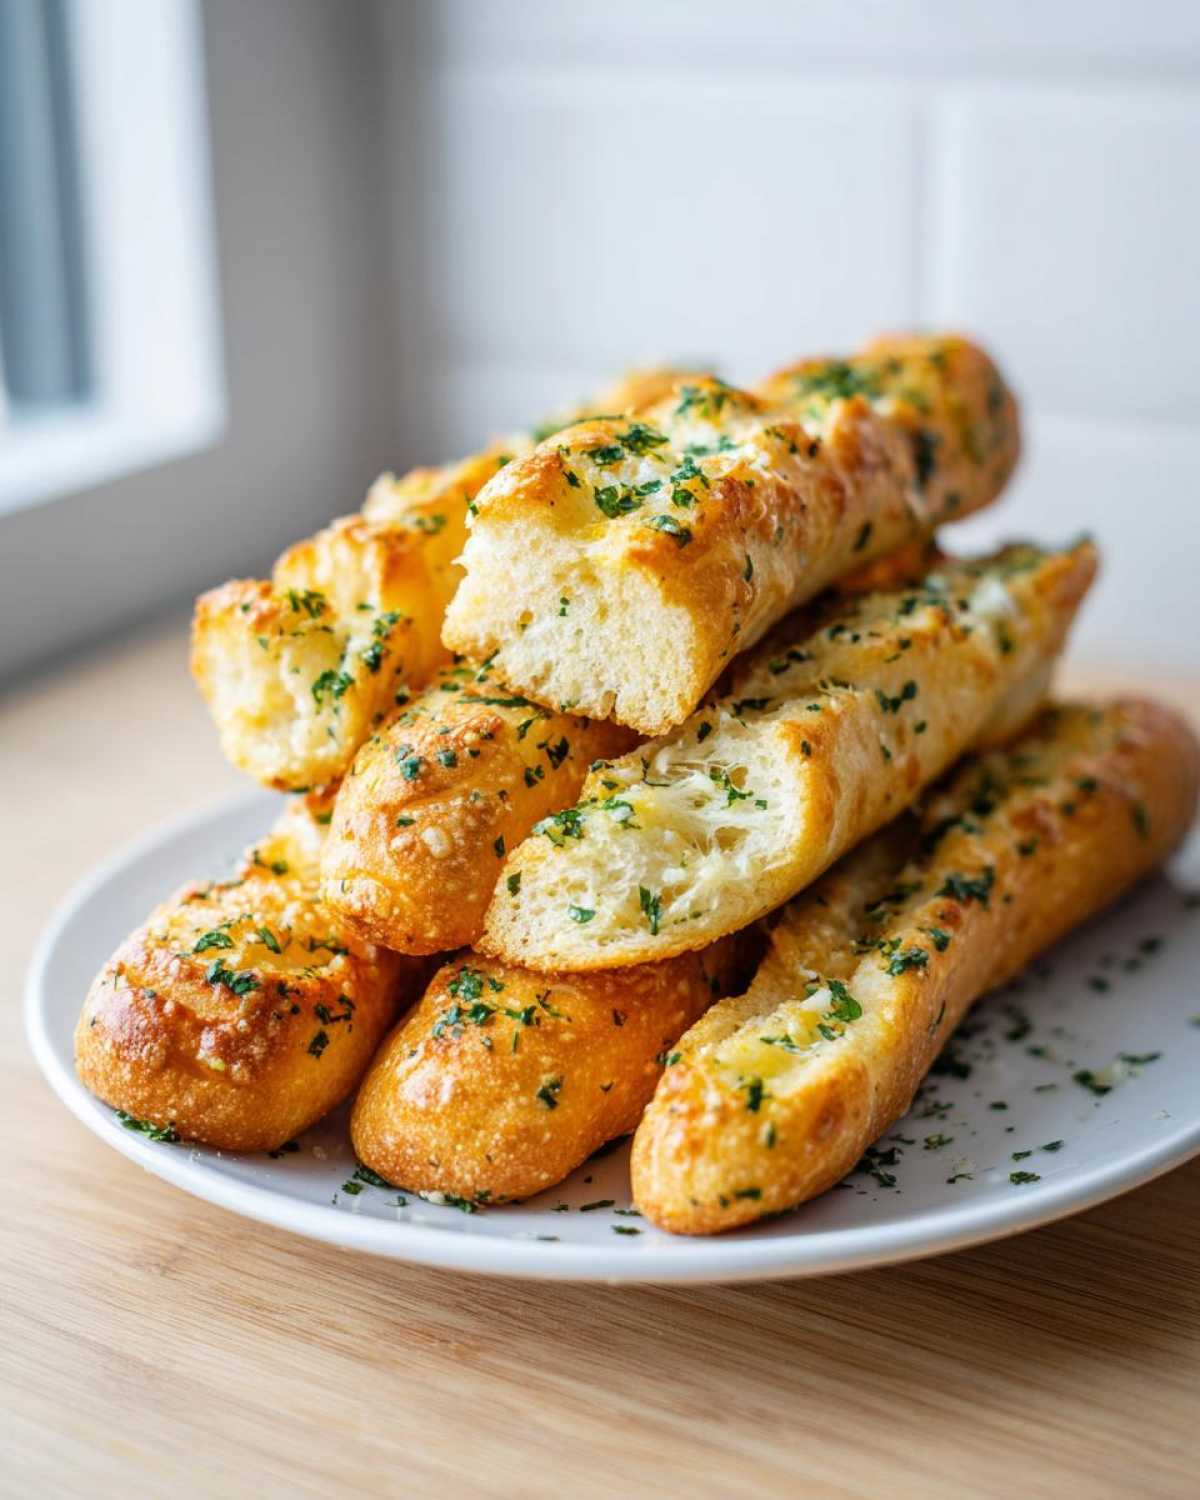
I just love when a recipe promises something great and actually delivers, every single time. We worked hard to make sure these breadsticks beat the restaurant version, and here’s why you’ll agree:
- Quick Preparation Time: Even with the rise time, you are looking at having these golden brown and ready to eat in just over an hour. Fast enough for a last-minute side dish!
- Incredibly Soft and Fluffy Texture: We used a specific water temperature and kneading time that guarantees that signature pillowy center. They practically melt in your mouth.
- Authentic Garlic Butter Flavor: That topping is everything, isn’t it? Ours is balanced—garlicky but not overpowering—and you get that perfect sheen when you brush it on right out of the oven.
- No Fuss Ingredients: Everything in this recipe is something you likely already have in your pantry. No fancy trips to specialty stores needed for these breadsticks.
We want you to succeed, and that’s why we’ve broken down every little nuance. If you’re looking for more simple, quick dough projects to master, you can check out some great inspiration for a 1-hour garlic breadsticks recipe!
Essential Ingredients for Fluffy Breadsticks
Amaya always says that when you’re making something familiar, the ingredients need to be exactly right. For these breadsticks to achieve that restaurant-quality softness, pay close attention to how you measure things here. We don’t need anything exotic, just good, basic pantry staples treated with respect!
Here is exactly what you need to gather before you even turn on the oven. Getting everything measured out—we call this *mise en place*—saves so much stress later, especially when that dough is ready to go!
- 1 1/2 cups warm water (it must be about 110°F, not scorching hot!)
- 2 1/4 teaspoons active dry yeast. Yes, the little granules that wake up!
- 2 tablespoons granulated sugar. This is the yeast’s favorite breakfast.
- 4 cups all-purpose flour, plus more for dusting the counter later on.
- 1 teaspoon salt for the dough itself.
- 1/4 cup unsalted butter, melted (this goes *into* the dough for richness).
Now, we can’t forget the magic that makes them smell like heaven! This is for the topping you brush on right after they bake:
- 1/2 cup unsalted butter, melted (this is separate from the dough butter, so try not to mix them up!).
- 2 teaspoons garlic powder. Be generous here!
- 1 teaspoon dried parsley. This gives it that lovely speckle of color.
- 1/2 teaspoon salt for the topping.
That’s it! Once you have these laid out, the rest is just fun. No worries if you need to run to the store for butter—it’s worth it for these homemade breadsticks.
Expert Tips for Perfect Soft Buttery Breadsticks
Now that you have all your supplies ready, let’s talk technique. Getting these breadsticks just right is all about respecting the yeast and treating the dough kindly. If you think you can just rush the rising part, I promise you’ll end up with something chewy instead of fluffy. We need those bubbles!
Yeast Activation: The First Step to Great Breadsticks
This step is completely non-negotiable, my friends. When you mix that yeast with the warm water and sugar, you absolutely must wait for the foam. If it doesn’t get foamy—like a nice layer of bubbles on top—it means your yeast isn’t happy, usually because the water was too hot or the yeast is old. If you see no foam, toss it and start that step over!
Achieving the Fluffy Breadsticks Texture
After everything is mixed, you need to knead that dough for a solid 5 to 7 minutes, just like we talked about. You want it smooth and elastic—it should feel less sticky and more strong. Then, find a nice warm spot for it to rest. I often use the top of my refrigerator, which stays just perfect. Giving it that full hour to double in size is what creates that airy, fluffy interior. And when you bake them, watch them closely! They bake fast, and letting them go even one minute too long steals that precious softness right away.
We want ours golden, not brown. If you want even more great dough advice, feel free to look at how we handle soft, fluffy garlic naan bread! If things go wrong, perhaps you can find a hint over at this copycat guide, but I have a good feeling about your dough!
Step-by-Step Instructions for Homemade Breadsticks
Alright, here is where the real fun begins! Since we took our time making sure the dough was happy and puffy, these next steps are quick and easy. You’ll want to have your oven preheated to 400°F (200°C) before you start rolling out your strips so everything is ready to go. If you are looking for other fast dough recipes to try, you should also check out our easy soft and chewy breadsticks recipe!
Mixing and Rising the Breadsticks Dough
First things first, remember that foamy yeast mixture? Once that looks perfect, we add in your flour and the salt for the dough. Mix it until it looks like messy clumps—that’s totally normal. Then, turn it out and knead it until it’s smooth, which should take you about 5 to 7 minutes by hand. Place that lovely ball of dough into an oiled bowl, cover it up tight, and let it rest in a nice warm spot for a full hour. You are waiting for it to double in size, becoming beautifully plump. Don’t rush this breadsticks magic!
Shaping and Baking Your Breadsticks
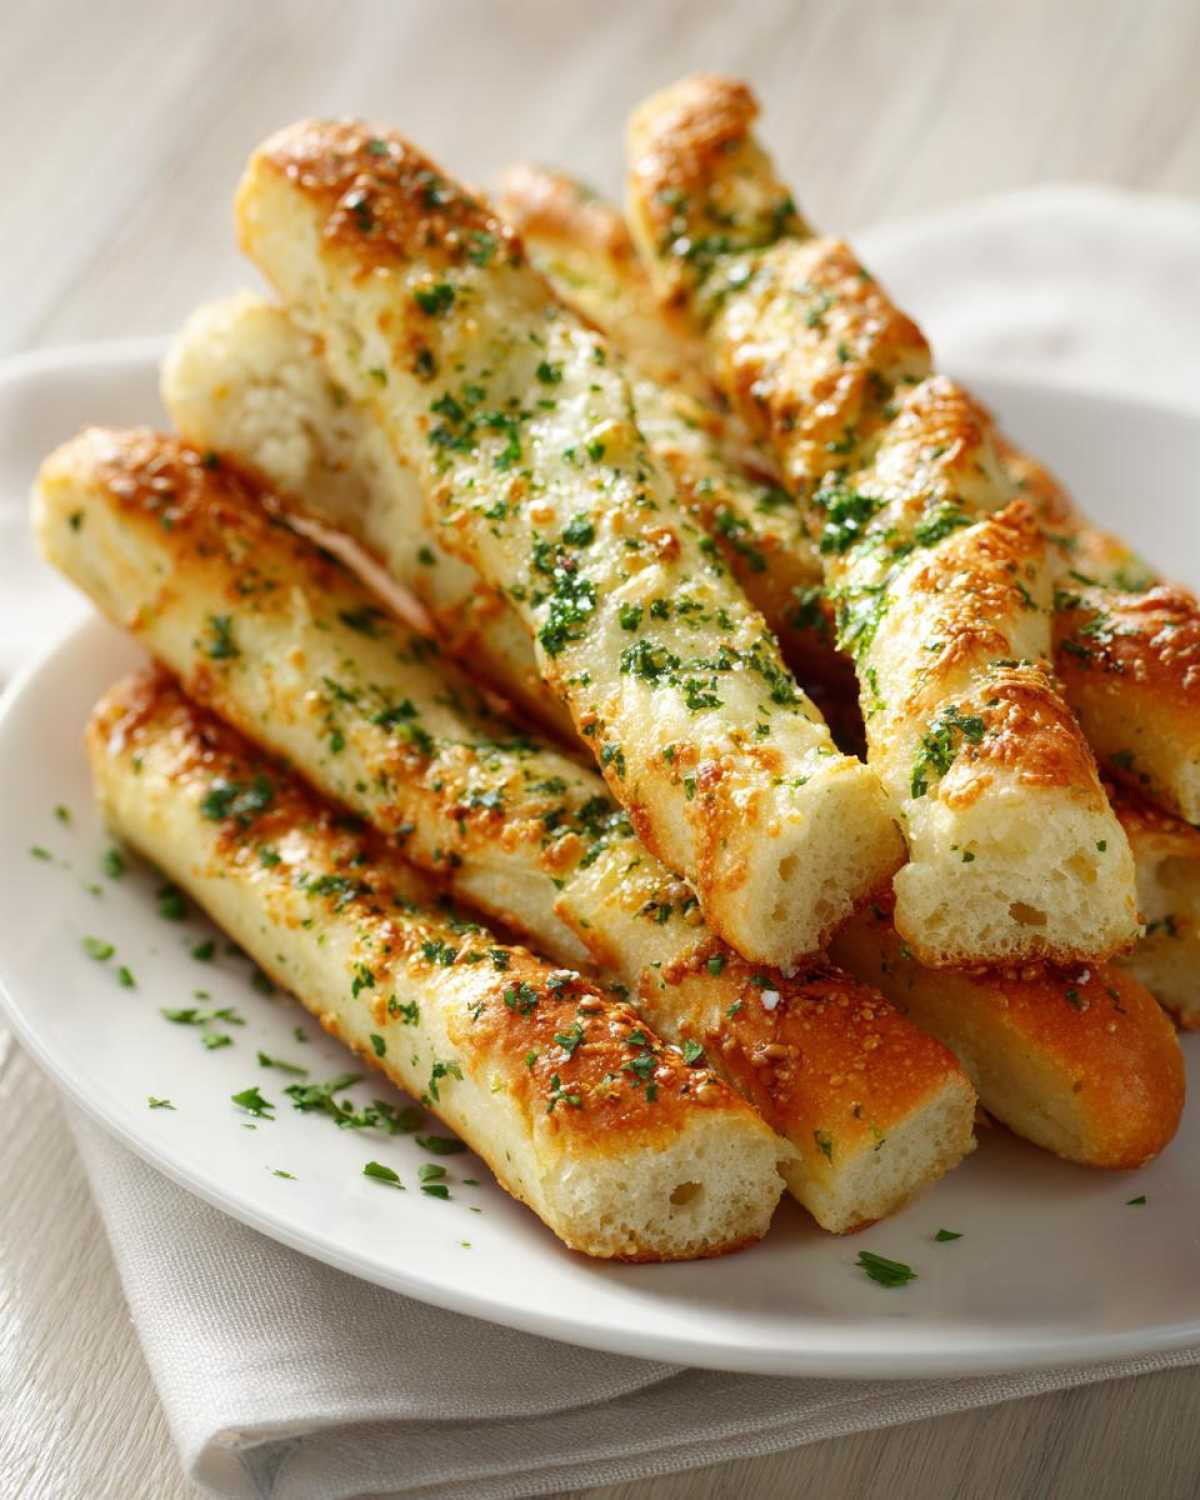
Once your dough has doubled up, gently punch all that air out—it’s satisfying! Now, divide the whole batch into 12 equal pieces. I just eyeball mine, but you can weigh them if you’re feeling precise. Roll each piece into a long strip, about 10 to 12 inches. Lay them out on a parchment-lined baking sheet, giving them just a little space to grow. Pop them into the hot oven for only 10 to 12 minutes. They should look just barely golden brown when you pull them out. Remember, soft is the goal!
The Signature Garlic Butter Topping for Breadsticks
While the dough is doing its baking thing, get your topping ready. In a small bowl, just whisk together that half cup of melted butter with the garlic powder, parsley, and the extra salt for the topping. This mixture smells amazing, even before it hits the hot bread! The absolute key here for the best breadsticks is speed: the second those babies come out of the oven, grab a pastry brush and brush them everywhere, generously! Make sure you get good coverage so every bite is buttery heaven. If you love savory spreads like this, you seriously need to try our fluffy garlic naan bread recipe too!
Variations: Making Cheesy Breadsticks or Other Breadsticks
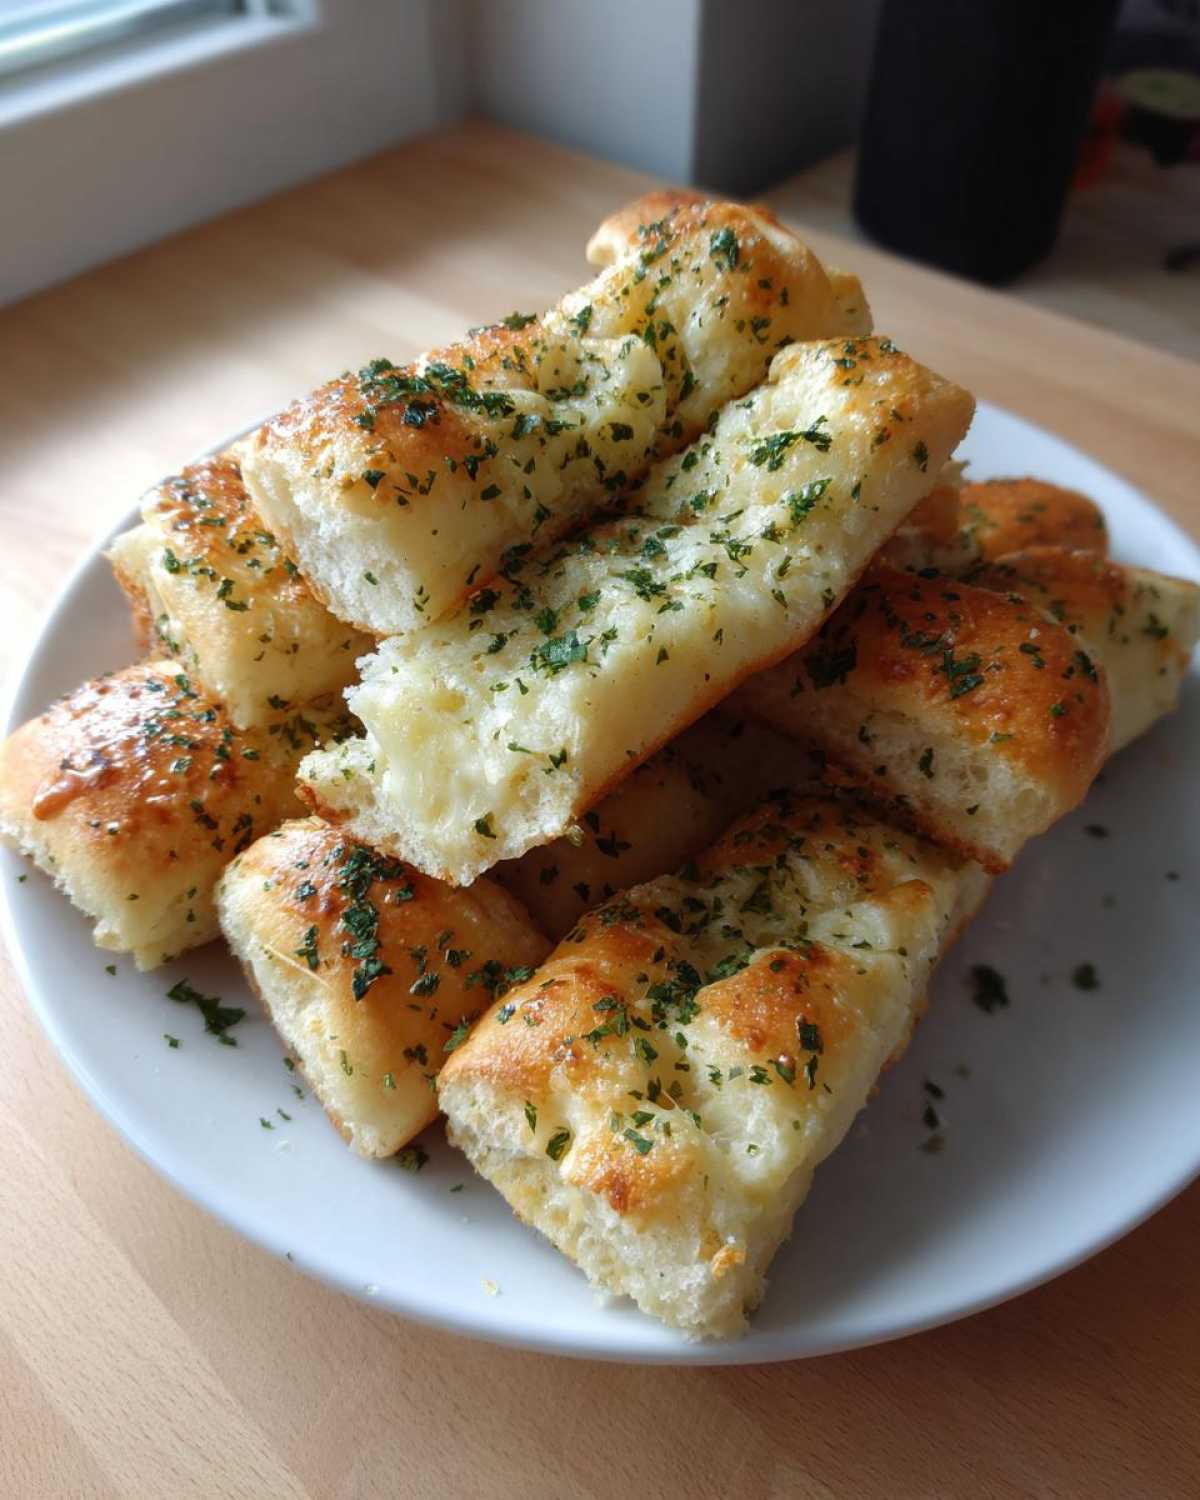
While the classic butter coating is perfection, I know some of you are just screaming for that cheesy, pull-apart goodness! It’s so simple to switch things up once you’ve mastered the base dough for these breadsticks. Amaya always encourages a little experimentation once the foundation is solid.
If you want to upgrade straight to cheesy heaven, here is what you do: Wait until you have brushed the hot breadsticks generously with the garlic butter topping we just made. Right away, while they are still piping hot and the butter is wet, shake or sprinkle about half a cup of finely grated Parmesan cheese over the whole sheet. The heat melts it just enough so that it sticks beautifully and gives you that salty, sharp cheese pull. You absolutely must try that if you like a little extra pizzazz with your pasta!
But why stop there? Since this is an easy yeast dough, it’s surprisingly versatile. You can try adding a teaspoon of dried Italian herbs into the dough mixture itself for more flavor in the base. Or, if you want something spicy? Throw in a pinch of red pepper flakes right into your garlic butter! For even more amazing cheesy ideas that use a similar technique, you might want to check out this recipe for cheesy breadsticks. Happy experimenting!
Serving Suggestions for Your Dinner Side Breadsticks
Honestly, these soft, garlicky breadsticks don’t even need an excuse to be served, but they do complete an Italian meal like nothing else can! Amaya has very strict rules about what we serve them with. They are never just a snack; they are elevated to an official dinner side!
The absolute classic pairing, of course, is spaghetti and meatballs or any rich, red sauce pasta. Imagine dipping that fluffy stick right into a bowl of marinara—it’s pure comfort. But please don’t stop there! These are wonderful alongside a big, hearty bowl of soup. When the weather turns cool here in the city, I love having a batch ready to go with our hearty vegetable beef soup. It just makes the meal feel so much more complete, doesn’t it?
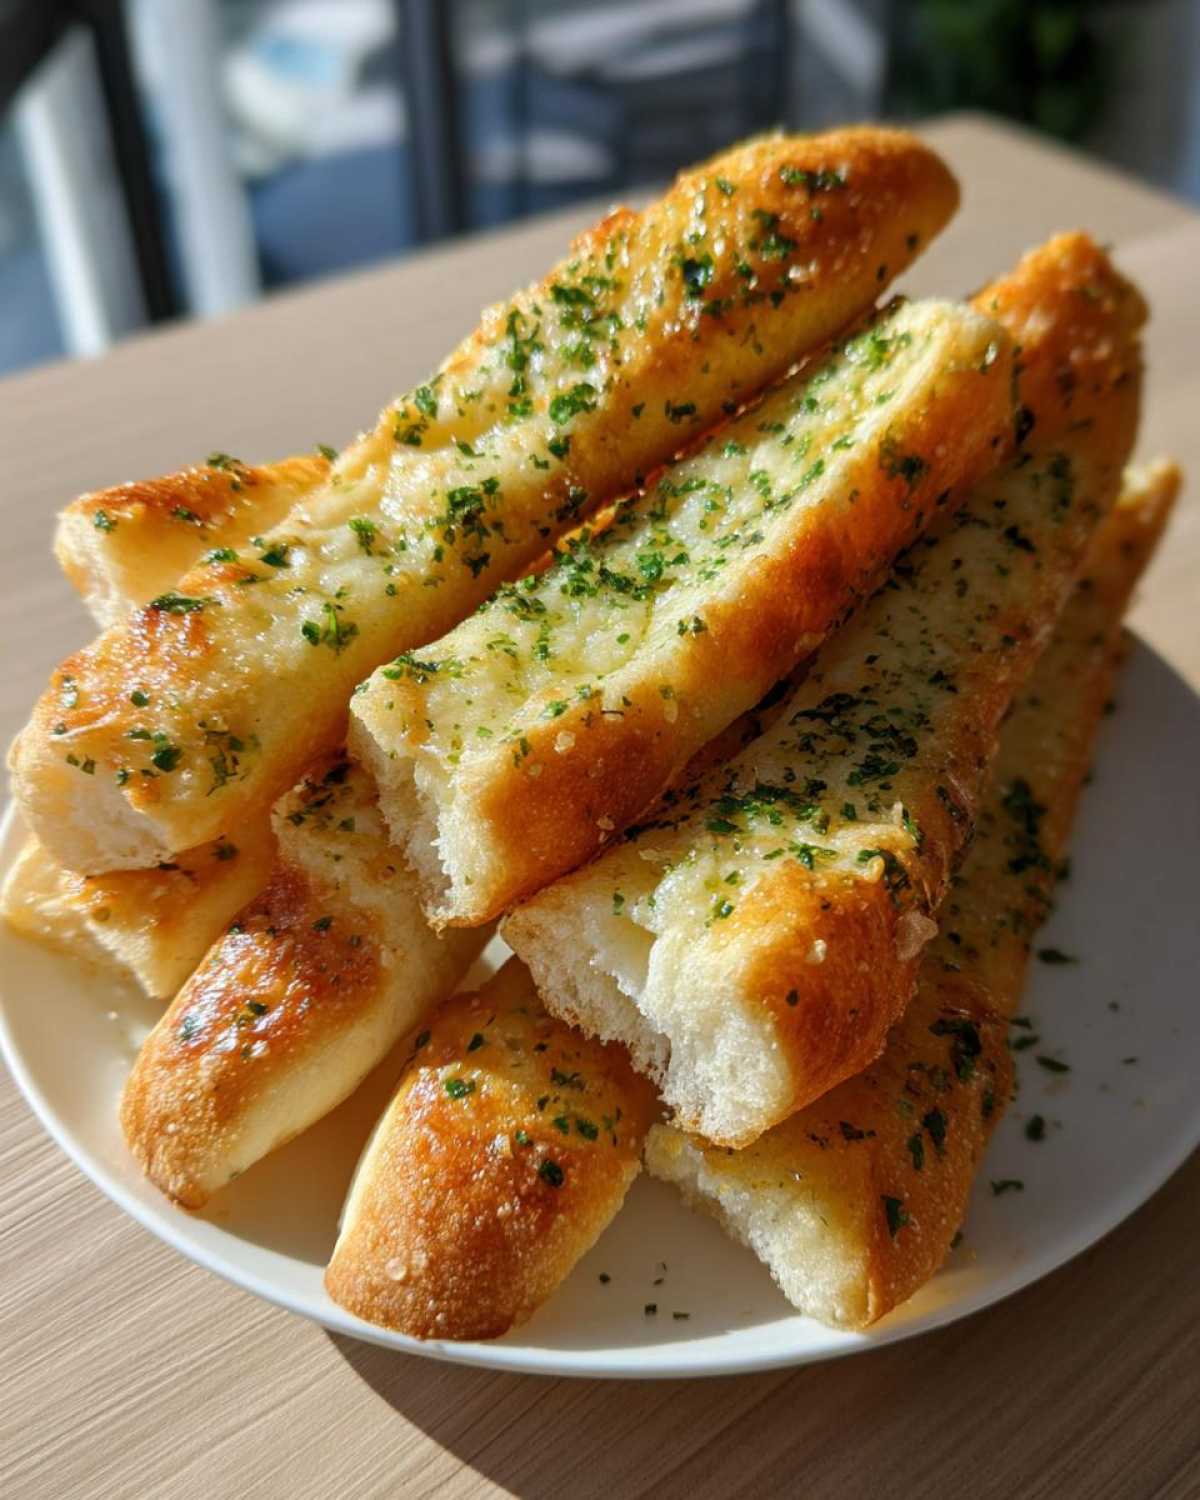
If you are serving them as an appetizer before the main course, keep the dipping sauces simple. A small side of marinara is great, but sometimes, a simple bowl of high-quality olive oil mixed with a splash of balsamic vinegar is all you need to let the breadsticks’ own flavor shine through. Your guests will rave about how much better these are than anything you can get out of a frozen bag!
Storage and Reheating Instructions for Leftover Breadsticks
Ah, the inevitable question! If you somehow manage to have any of these incredible breadsticks left over—which I honestly doubt—we need a plan to bring them back to life. The biggest enemy of a homemade breadstick is staleness, but we can fight that!
For short-term storage, say one or two days, keep them in an airtight container at room temperature. Do not put them in the refrigerator! Cold air sucks the fluffy moisture right out! If you try to freeze them—and yes, you can—make sure they are completely cooled first. Wrap them tightly in plastic wrap, and then maybe slip them into a freezer bag. They keep well for about a month this way, and they freeze beautifully un-buttered.
Now, the reheating part is crucial if you want that fresh-out-of-the-oven experience again. Baking is the way to go; the microwave just makes them rubbery, and nobody wants soggy garlic sticks!
Restoring Softness After Storing
If they’ve been sitting out for a day, you can wake them up with a quick trip to the oven. Preheat your oven to about 350°F (175°C). Place the breadsticks directly on the rack, or on a piece of foil if you are worried about any small bits of garlic butter burning. Give them just 5 to 7 minutes. You’ll notice they puff up slightly as the moisture warms again. They should be nice and hot all the way through!
Reheating Frozen Breadsticks
If they came straight from the freezer, give them a little extra love. Unwrap them completely first so no plastic steams up. Pop them onto a baking sheet at 350°F (175°C) for about 10 to 12 minutes. You can brush them with a tiny bit of extra melted butter right before they go in, which really helps refresh that buttery flavor when they finish baking! They come out perfect—just as soft as when we first made them.
Frequently Asked Questions About These Breadsticks
It’s wonderful that you’re curious about tweaking things! When you make something this delicious, you naturally have questions about storage or making substitutions. Don’t hesitate to ask; we’ve run into many of these situations ourselves over the years perfecting these favorite breadsticks.
Can I make these breadsticks ahead of time?
Oh yes, that is one of the great things about yeast dough! You can definitely make the dough, knead it all up, and let it rest in the oiled bowl, covered tightly, in the refrigerator for up to 24 hours. That slow, cold rise can actually develop even deeper flavor! Just remember, when you take it out, you must let it sit on the counter for about an hour to come back to room temperature before you punch it down and shape your strips for baking.
What if I don’t have active dry yeast? Can I use instant yeast for these breadsticks?
You absolutely can! They are very similar, but instant yeast doesn’t need that initial activation step with the sugar and warm water. If you are using instant yeast for these breadsticks, you can skip Step 1 entirely. Just mix the instant yeast right in with your dry ingredients (flour and salt), and then add the water and sugar mixture. It saves you about 10 minutes of waiting time, which is perfect if you’re in a hurry! You still need that 1-hour rise, though.
How do I get my homemade breadsticks extra garlicky?
I love your enthusiasm for the garlic! If the store-bought version isn’t quite garlicky enough for you, I have two easy suggestions for the topping. First, you can simply increase the garlic powder to 3 teaspoons instead of 2. Second, for a real punch of flavor that feels incredibly fresh, melt your butter, let it cool just slightly, and whisk in 1 teaspoon of *freshly minced* garlic along with the powder and parsley. That fresh garlic really sings when it hits the hot surface of the breadsticks. For more insights into making restaurant favorites, you can always explore more at this copycat guide!
If you have any more burning questions about dough structure or flavor balancing, please check out the rest of our recipes over at the main Whisk Daily blog!
Nutritional Estimates for Your Garlic Breadsticks
Amaya always reminds me that when we cook with love, we don’t always worry about counting every little thing, but I know many of you like to keep track! Since this recipe uses simple, standard pantry staples, we put together a quick estimate of what you can generally expect in one of these amazing, soft breadsticks—just one, mind you, not the whole batch!
Please remember, this is just an estimate. How much butter you brush on, or if you add that extra sprinkle of Parmesan cheese (which I highly recommend!), will change the final count. This breakdown is based on our standard recipe yielding 12 servings.
Here are the general numbers per single breadstick:
- Calories: Around 180 calories. Quite reasonable for something this delicious!
- Fat: About 7 grams total. That includes the wonderful melted butter we use for coating.
- Saturated Fat: Roughly 4 grams.
- Carbohydrates: Around 27 grams. This is where the energy comes from!
- Protein: About 4 grams.
- Sugar: Very low, around 1 gram. Most sugar goes to feed the yeast.
- Sodium: About 250mg, depending on how much salt you use in the topping.
- Fiber: Just 1 gram.
See? These aren’t heavy or deep-fried; they are light, fluffy, and baked! You can enjoy a few of these warm, garlicky treats without a second thought while you wait for your pasta to arrive. We think that is a win-win for everyone at the table!
PrintCopycat Olive Garden Breadsticks: Soft, Buttery, and Garlicky Homemade Recipe
You can make soft, buttery breadsticks just like the famous Olive Garden version right in your home kitchen. This easy copycat recipe delivers fluffy breadsticks topped with a rich garlic butter coating.
- Prep Time: 20 min
- Cook Time: 12 min
- Total Time: 1 hour 32 min
- Yield: 12 servings
- Category: Appetizer
- Method: Baking
- Cuisine: American
- Diet: Vegetarian
Ingredients
- 1 1/2 cups warm water (about 110°F)
- 2 1/4 teaspoons active dry yeast
- 2 tablespoons granulated sugar
- 4 cups all-purpose flour, plus more for dusting
- 1 teaspoon salt
- 1/4 cup unsalted butter, melted (for dough)
- 1/2 cup unsalted butter, melted (for topping)
- 2 teaspoons garlic powder
- 1 teaspoon dried parsley
- 1/2 teaspoon salt (for topping)
Instructions
- In a large bowl, combine the warm water, yeast, and sugar. Let this mixture sit for 5 to 10 minutes until it becomes foamy. This shows your yeast is active.
- Add the flour and 1 teaspoon of salt to the yeast mixture. Mix until a shaggy dough forms.
- Turn the dough out onto a lightly floured surface and knead for about 5 to 7 minutes until the dough is smooth and elastic.
- Place the dough in a lightly oiled bowl, turning to coat. Cover the bowl with plastic wrap or a clean kitchen towel and let it rise in a warm place for about 1 hour, or until it has doubled in size.
- Preheat your oven to 400°F (200°C). Line a large baking sheet with parchment paper.
- Gently punch down the risen dough. Divide the dough into 12 equal pieces. Roll each piece into a long, thin strip, about 10 to 12 inches long. Place the breadsticks on the prepared baking sheet, leaving a little space between them.
- Bake for 10 to 12 minutes, or until the breadsticks are lightly golden brown.
- While the breadsticks bake, prepare the garlic butter topping: In a small bowl, whisk together the 1/2 cup melted butter, garlic powder, dried parsley, and 1/2 teaspoon salt.
- As soon as the breadsticks come out of the oven, brush them generously with the garlic butter mixture.
- Serve your homemade breadsticks warm as an appetizer or dinner side.
Notes
- For the softest texture, make sure your water is warm but not hot; water that is too hot will kill the yeast.
- If you want cheesy breadsticks, sprinkle grated Parmesan cheese over the garlic butter topping immediately after brushing them while they are still hot.
- This recipe makes about 12 fluffy breadsticks, perfect for sharing.
Nutrition
- Serving Size: 1 breadstick
- Calories: 180
- Sugar: 1
- Sodium: 250
- Fat: 7
- Saturated Fat: 4
- Unsaturated Fat: 3
- Trans Fat: 0
- Carbohydrates: 27
- Fiber: 1
- Protein: 4
- Cholesterol: 15