

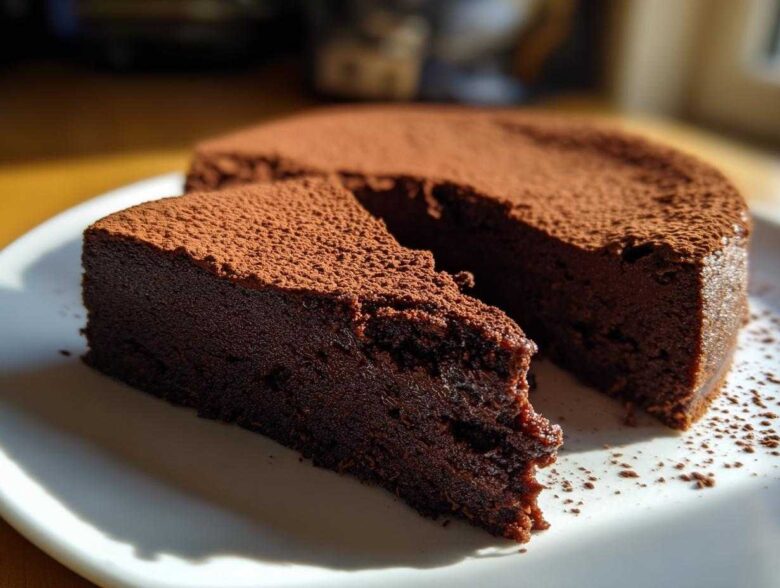
Oh, you are going to LOVE this. When I need something absolutely show-stopping—you know, something that makes everyone whisper, “Did you really make that?”—I turn to my fail-safe flourless chocolate torte. Forget dry, sad cakes; this is pure, unadulterated chocolate joy. It’s unbelievably fudgy, melt-in-your-mouth rich, and here’s the best part: it’s naturally gluten-free, so everyone gets a slice of the good stuff!
I’ve worked on the technique for years to get that perfect texture—that slight, beautiful buckle in the center that just screams decadence. Trust me, this recipe is so straightforward, you’ll wonder why you ever bought a fancy box mix. It really is my secret weapon for any special occasion cake recipe. You can check out more of my favorite baking tips over at my main blog page while you gather your ingredients!
Why This Flourless Chocolate Torte is Your New Favorite Dessert
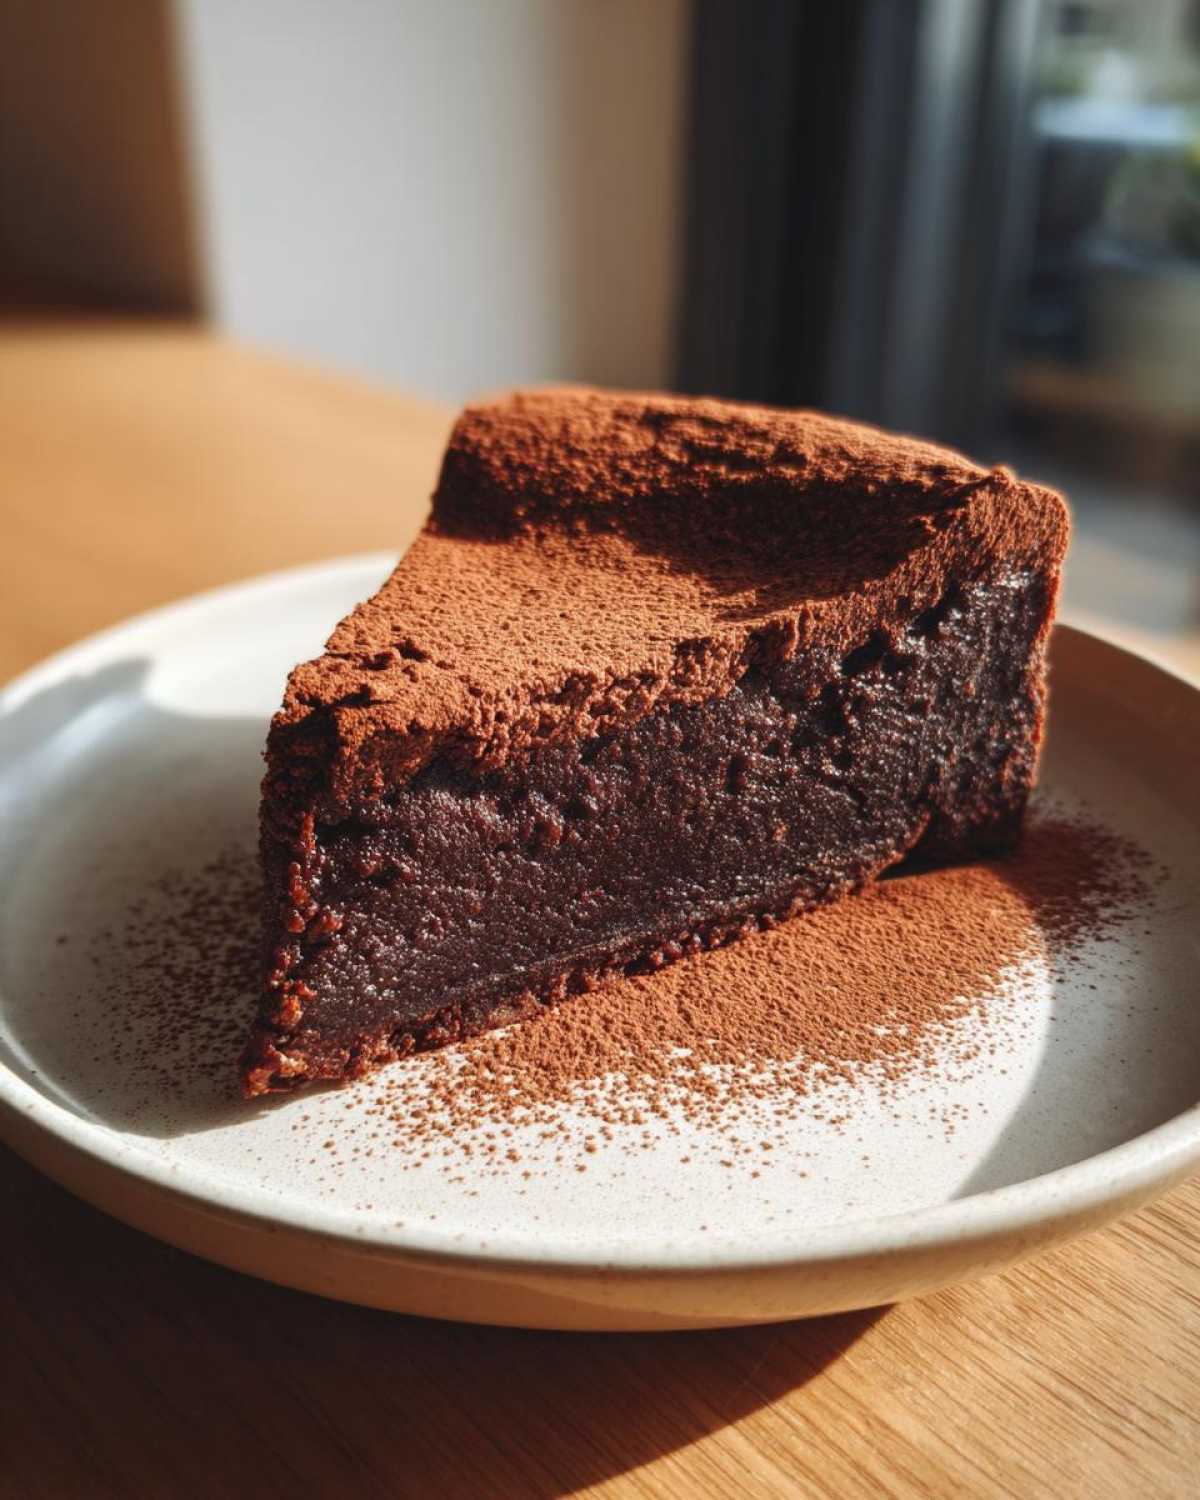
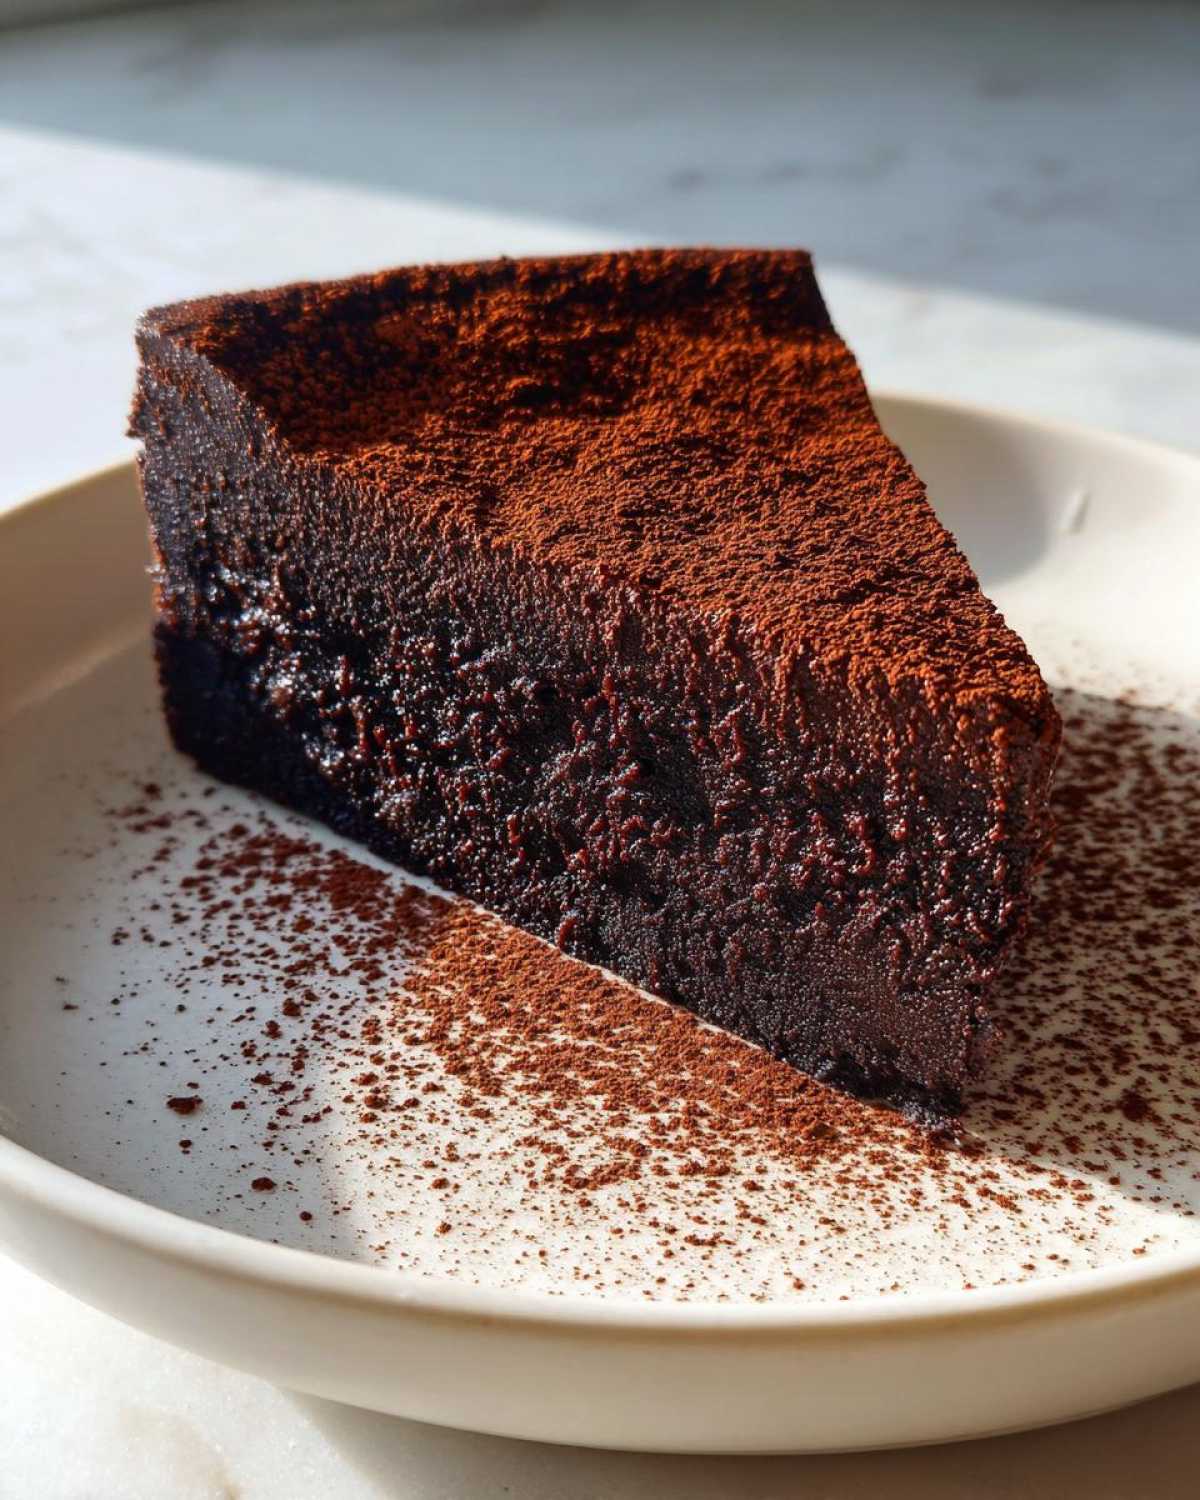
Honestly, what’s not to love? This torte is the definition of a Decadent Chocolate Dessert. It comes together so quickly, and the result looks like you spent hours fussing over it. It’s all about that incredible, dense, almost truffle-like texture.
- It requires minimal hands-on time.
- It’s incredibly impressive for company.
- It proves that “gluten-free” can mean “utterly luxurious.”
You can find my tips for perfect cookies right here if you ever need a simpler treat!
Naturally Gluten Free Chocolate Cake Texture
The magic here is that we don’t miss the flour one bit! We use eggs and pure melted chocolate, which provide all the structure needed. This creates a wonderfully smooth mouthfeel. If you love a truly dark, intense experience, this Gluten Free Chocolate Cake variation is exactly what you’re searching for.
Gathering Ingredients for Your Easy Fudgy Torte Recipe
Okay, the beauty of this Easy Fudgy Torte Recipe is that you likely have most of this stuff already! We aren’t messing around with complicated flours or weird gums. We need high-quality chocolate because it’s doing most of the heavy lifting here.
Here is what you’ll need to pull together for this wonderful dessert. Make sure those eggs are room temperature—it really helps them whip up nicely!
- 8 ounces bittersweet chocolate, chopped (Seriously, get the good stuff!)
- 1/2 cup (1 stick) unsalted butter
- 3 large eggs, separated (Whites and yolks go in different bowls!)
- 1/2 cup granulated sugar
- 1/4 cup unsweetened cocoa powder, plus extra for dusting
- 1 teaspoon vanilla extract
- Pinch of salt
- Optional: Powdered sugar for dusting (I love using cocoa powder, myself, but go with what you love!)
That’s it! High quality chocolate and separated eggs are the only real secrets when gathering your supplies.
Step-by-Step Instructions for the Best Flourless Chocolate Recipe
Follow these steps closely, and I promise you’ll have the Best Flourless Chocolate Recipe outcome. This isn’t hard, but timing matters, especially with the eggs!
- First things first: get that oven heating up to 350°F (175°C). You want it ready to go. Once the oven is warming, grease up your 8-inch springform pan—don’t forget to line the bottom with parchment paper, or you’ll have a meltdown trying to get it out later!
- Time to melt the good stuff. Put your chopped chocolate and butter together in one bowl. You can either set that bowl over simmering water, or just use short bursts in the microwave—just watch it closely! Stir it until it is totally shiny and smooth, then pull it off the heat so it can cool down a little bit.
- In a separate big bowl, grab those egg yolks and the sugar. You need to beat these together until they get pale and thick, almost ribbony. This takes about three minutes of dedicated whisking.
- Now, pour that slightly cooled chocolate mixture into the egg-sugar mix. Whisk them together until they are just buddies. Then stir in your cocoa powder and that vanilla extract until everything looks uniform.
- This is where we get structural support! In a clean, dry bowl—and I mean spotless—beat your egg whites with just a tiny pinch of salt until you get stiff peaks. My expert tip here? Those peaks should stand straight up when you lift the whisk—if they flop over, they aren’t quite ready. We need that air!
- You can’t just dump the whites in, or you’ll deflate all that hard work! Take about one-third of those stiff whites and fold them into the main chocolate batter. This lightens up the heavy chocolate base. Once that’s barely mixed, gently fold in the rest of the whites until you see no more white streaks. Seriously, go easy here; we want a Silky Chocolate Ganache Cake texture, not pancake batter!
- Pour all that gorgeous, airy batter into your ready pan.
- Bake it for about 30 to 35 minutes. You want the edges to look solid, but the very center should still look a little shiny and soft—it will firm up when it cools, trust me on this.
- Let it chill out completely in that pan on a wire rack. It will sink a bit in the middle as it cools down, but that’s normal for an authentic torte!
- Once it’s totally cool, carefully take the springform sides off. Dust it generously with cocoa powder or powdered sugar right before you slice it up. If you’re looking for more baking inspiration, check out my guide on moist date nut bread!
Preparing the Pan and Melting Chocolate
Prepping the pan is non-negotiable for easy release, especially since this torte is fudgy! Heat that oven to 350°F (175°C) right away. After greasing your 8-inch springform pan, cut a circle of parchment paper to fit snugly on the bottom. For melting the chocolate and butter, the double boiler setup is my preference—it’s just safer for chocolate. Just look for gentle warmth under the bowl; we don’t want any burning!
Folding Technique for a Silky Chocolate Ganache Cake Texture
Folding is the most important part of this entire recipe. Remember, the egg whites are what make this a light, Velvety Chocolate Cake instead of just dense fudge. Before adding the final half of the whites, use a spatula to gently swirl in the first portion to “sacrifice” some air and bring the thickness closer. Then, use slow, scooping motions from the bottom up when you add the rest. Stop mixing the moment you don’t see white anymore—that’s the trick for a perfect texture ready for ganache!
Tips for Achieving the Perfect Rich Dark Chocolate Dessert
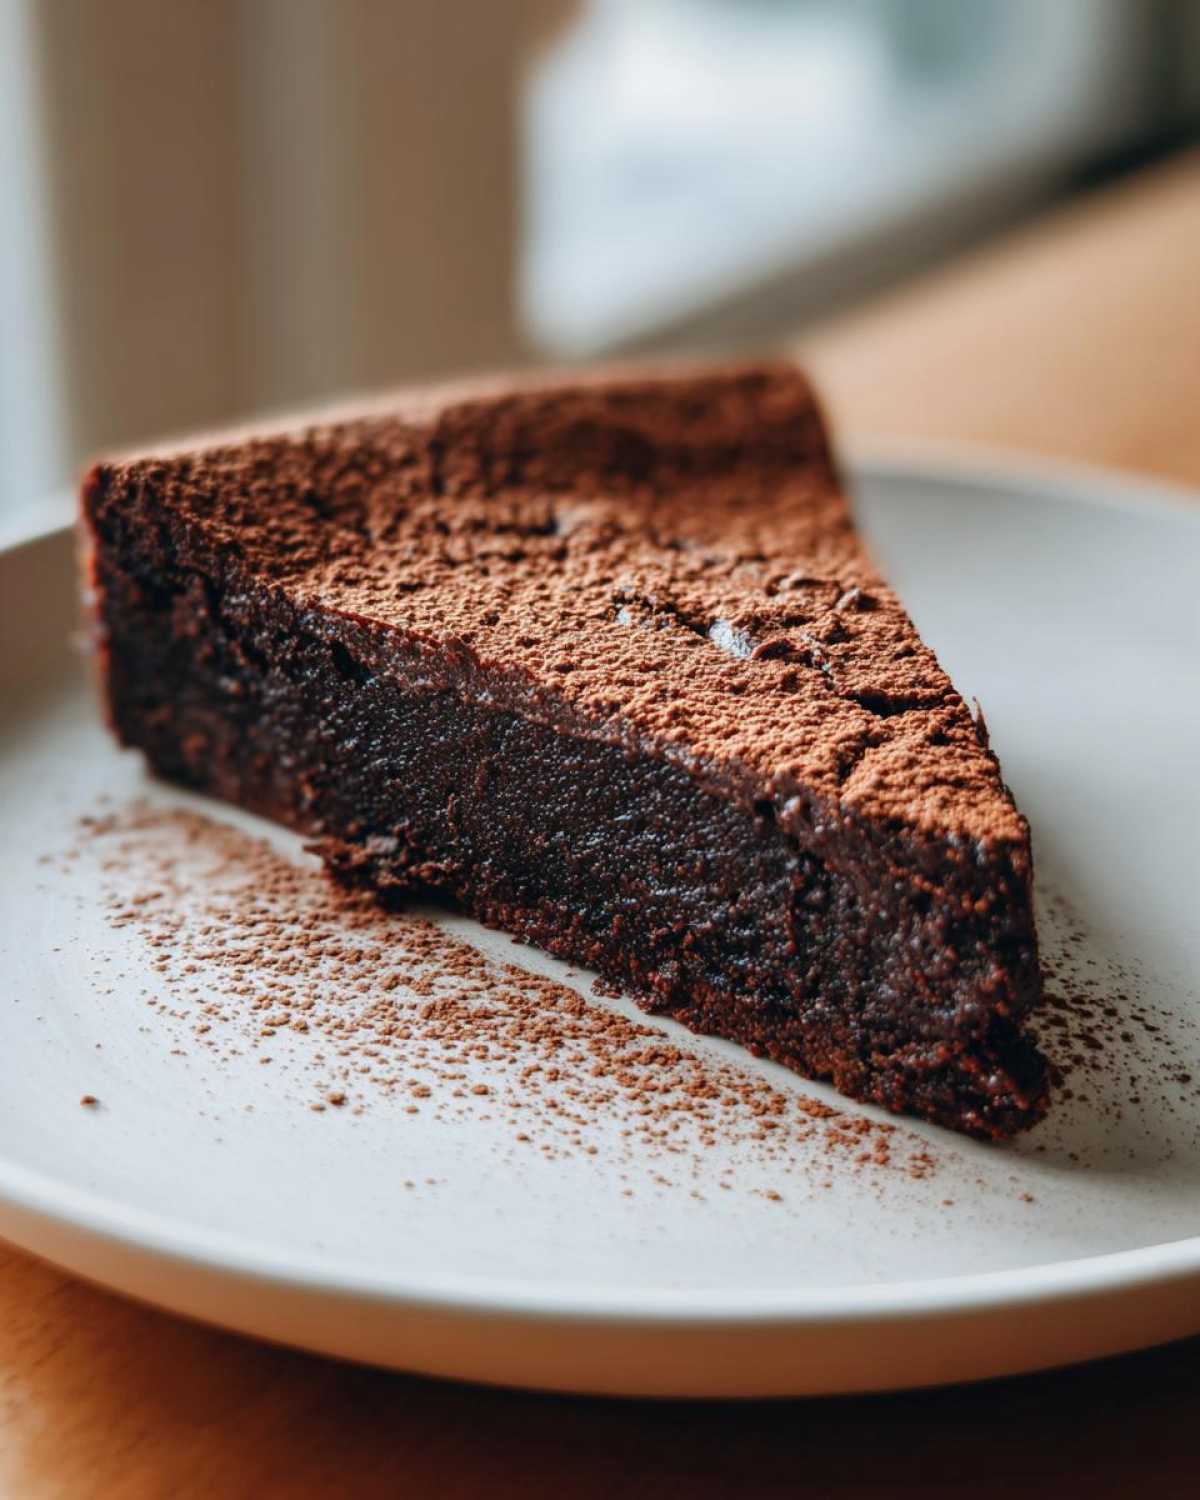
This recipe is designed to be fail-proof, but as with all beautiful baking, a couple of common pitfalls can sneak up on you! Always remember that because there’s no flour acting as a buffer, the quality of your chocolate is everything here. If you use cheap stuff, it’s going to taste cheap, plain and simple. Stick to a genuine bittersweet chocolate between 60% and 70% cacao for the absolute best flavor in this Rich Dark Chocolate Dessert.
Also, please, please don’t overmix when folding those egg whites in. Once the whites disappear, stop stirring immediately. If you mix too vigorously, you knock all that gorgeous air out, and you are left with a very flat, dense disk instead of a slightly collapsed, fudgy wonder. If you are ever interested in making homemade condiments, my mayonnaise article has some great tips on emulsifying things correctly, similar to how we try to keep this batter happy over at this link!
Making This Flourless Chocolate Torte an Impressive Dinner Party Dessert
This is where the show starts! Even though this is such an easy confection to make, the final look screams elegance. You want to treat this beautiful Flourless Chocolate Torte like the jewel it is. Once it’s completely cool and out of the springform pan, I usually give it a very generous snowdrift of unsweetened cocoa powder instead of powdered sugar. It keeps the top from getting sticky, you know?
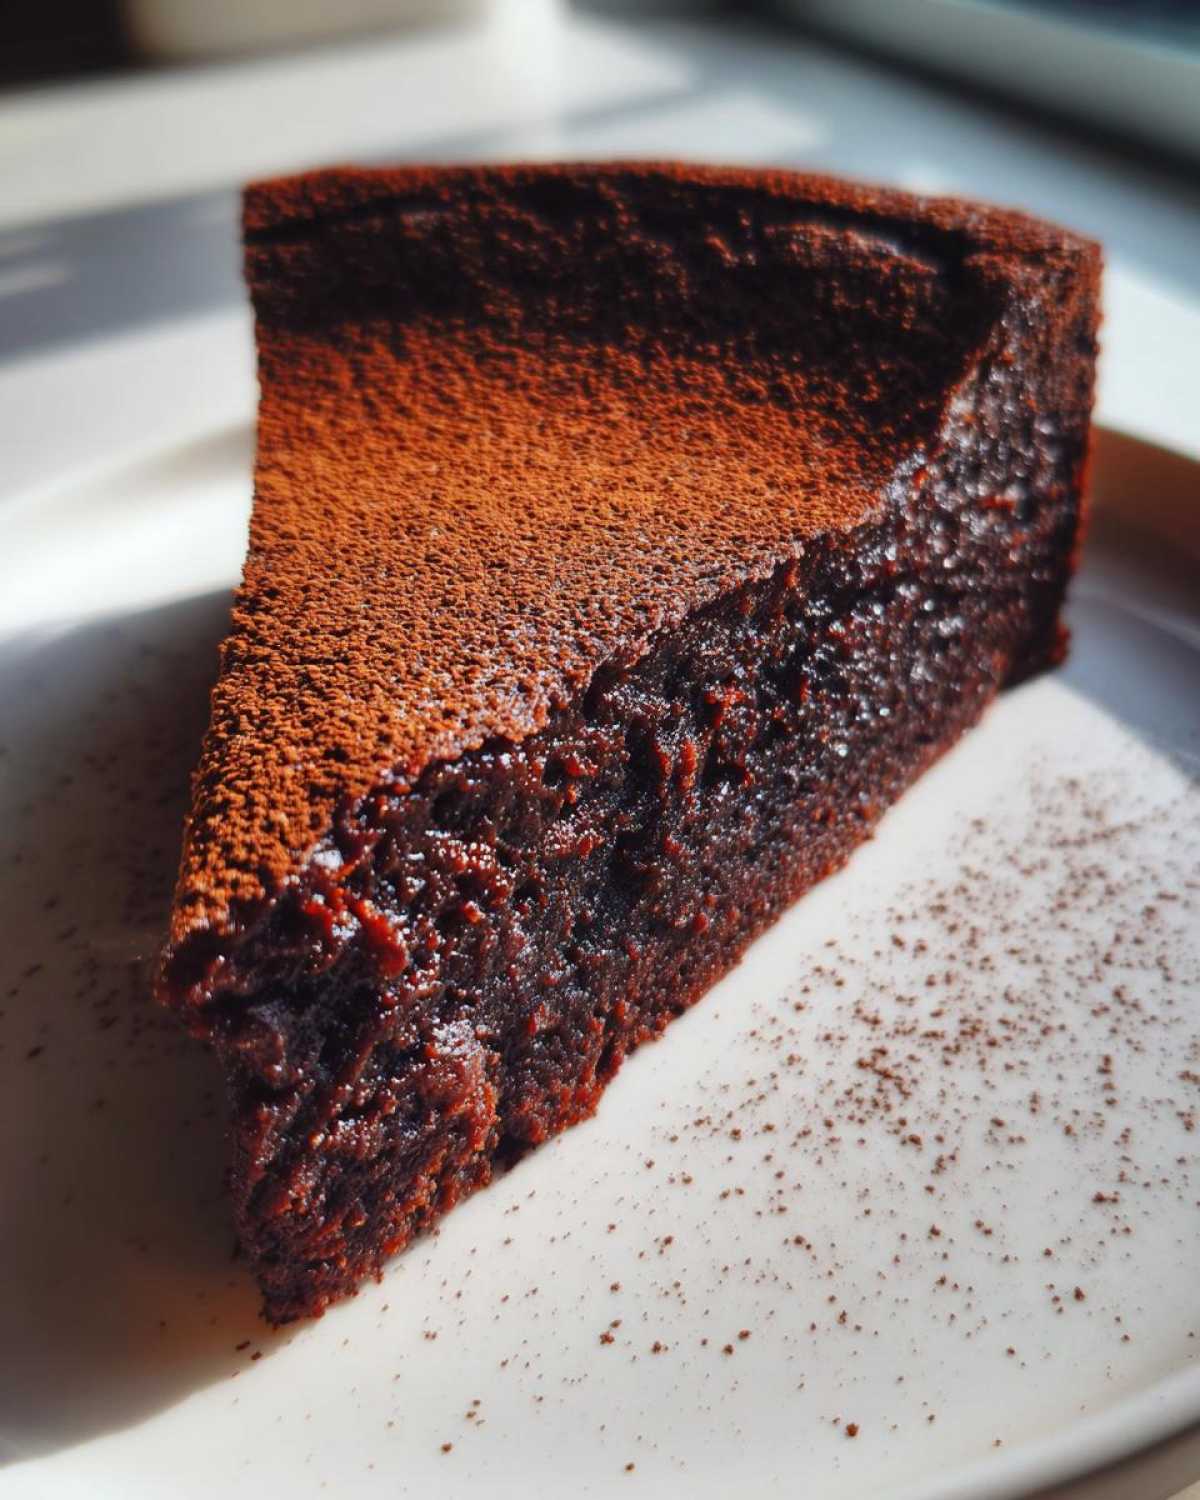
If you are worried about presentation, remember the ganache! A smooth pour of homemade ganache will make this an absolute Impressive Dinner Party Dessert. If you’re looking for other showstoppers, my vanilla buttercream recipe is also fantastic if you ever want to decorate something a bit taller. Check out the recipe for easy vanilla buttercream when you get a chance!
Serving size is usually just a small wedge, too—it’s so rich! Because it’s a Rich Dark Chocolate Dessert, a little goes a long way.
Storage and Reheating Instructions for Your Flourless Chocolate Torte
Now, this is important! Because this is a naturally delicate torte, storage is key to keeping that perfect fudgy texture intact. You can absolutely make this ahead of time—which is why it’s my favorite for busy weekends!
You must let it cool completely first, usually on the counter for about an hour or so. Once cool, cover the pan (or the plate if you’ve already removed the sides) tightly with plastic wrap. You can keep it in the fridge for up to three days. The cold really firms up the texture, making it feel almost like a dark chocolate truffle.
However, to serve it, you absolutely cannot eat it cold straight from the fridge. It gets a bit too firm that way. Take it out onto the counter about 45 minutes to an hour before you plan to slice it. Letting it sit at room temperature allows the butter and chocolate to soften just slightly. That’s when you get that perfect, melt-in-your-mouth experience.
I never reheat this—it doesn’t really need it! Once it’s slightly cooled down from being chilled, it hits the sweet spot for slicing. It’s too delicate for microwaving, so just plan ahead on the resting time!
Frequently Asked Questions About This Flourless Chocolate Torte
I know you might have a few burning questions about making this amazing flourless chocolate torte! Anytime you’re ditching the flour, people get nervous about the texture, but don’t you worry. This Naturally Gluten Free Dessert is sturdy enough to handle a few questions, I promise!
Can I substitute the bittersweet chocolate in this flourless chocolate torte?
You absolutely can, but let’s be careful! The chocolate is the star here, so you need to stick to high-quality dark chocolate, ideally between 60% and 70% cacao. If you use milk chocolate, you risk making the torte too sweet and it won’t set correctly because the fat and sugar ratios are all wrong. So, hold the milk chocolate for your next snack, and stick with the good dark stuff for this Simple Chocolate Indulgence.
Why did my naturally gluten free dessert sink in the middle?
Oh, honey, that sinking is totally normal! That’s how you know you made a real torte, not some regular sponge cake! Unlike cakes built on flour, this Gluten Free Chocolate Cake relies heavily on the structure created by the eggs and the chocolate cooling down. As it loses the heat from the oven, that center collapses a bit, creating that signature well that’s perfect for dusting with cocoa or topping with a lovely ganache. It’s a sign of success, not failure!
You can see how I make a classic creamy rice pudding over at this link, which is another dessert where texture is king!
Nutritional Estimates for This Simple Chocolate Indulgence
I always try not to look too closely at the nutrition facts for my favorite desserts, but you asked, so here they are! Please remember these are just estimates based on the ingredients I list for this Simple Chocolate Indulgence. Since we are using high-quality dark chocolate, the fat content is on the higher (and more delicious) side!
Here’s the breakdown per slice (assuming 8 servings total):
- Calories: 320
- Fat: 22g (which includes 13g saturated)
- Carbohydrates: 28g
- Protein: 7g
- Sugar: 25g
It’s rich, so a small slice goes a long way! Don’t let the numbers scare you; this is a treat meant for celebrating.
Share Your Experience Making This Elegant Chocolate Dessert
Now that you’ve made this absolute showstopper, I really want to know what you think! Did it impress your dinner guests? Was it everything you hoped for in an Elegant Chocolate Dessert? Please leave me a rating below and drop a comment telling me how it turned out.
If you snapped a picture of your gorgeous slice, I’d love it if you tagged me on social media! It truly means the world when I see my recipes making memories in your kitchens. If you’re looking for frosting ideas for your next baking adventure, check out my recipe for German Chocolate Cake—it has some great pairing ideas!
PrintDecadent and Easy Gluten-Free Flourless Chocolate Torte
This recipe yields a rich, fudgy, and naturally gluten-free chocolate torte, perfect for special occasions.
- Prep Time: 15 min
- Cook Time: 35 min
- Total Time: 50 min
- Yield: 8 servings
- Category: Dessert
- Method: Baking
- Cuisine: General
- Diet: Gluten Free
Ingredients
- 8 ounces bittersweet chocolate, chopped
- 1/2 cup (1 stick) unsalted butter
- 3 large eggs, separated
- 1/2 cup granulated sugar
- 1/4 cup unsweetened cocoa powder, plus extra for dusting
- 1 teaspoon vanilla extract
- Pinch of salt
- Optional: Powdered sugar for dusting
Instructions
- Preheat your oven to 350°F (175°C). Grease an 8-inch springform pan and line the bottom with parchment paper.
- Place the chopped chocolate and butter in a heatproof bowl set over a saucepan of simmering water (or use a microwave in short bursts). Stir until completely smooth. Remove from heat and let cool slightly.
- In a separate large bowl, beat the egg yolks and granulated sugar together until the mixture is pale and thick, about 3 minutes.
- Whisk the melted chocolate mixture into the egg yolk mixture. Stir in the cocoa powder and vanilla extract until just combined.
- In a clean, dry bowl, beat the egg whites with the pinch of salt until stiff peaks form.
- Gently fold one-third of the beaten egg whites into the chocolate batter to lighten it. Then, gently fold in the remaining egg whites until no white streaks remain. Do not overmix.
- Pour the batter into the prepared springform pan.
- Bake for 30 to 35 minutes. The edges should look set, but the center will still look slightly soft.
- Let the torte cool completely in the pan on a wire rack. The center will sink slightly as it cools.
- Once cool, carefully remove the sides of the springform pan. Dust the top generously with cocoa powder or powdered sugar before slicing and serving.
Notes
- For an even richer finish, you can top the cooled torte with a simple chocolate ganache.
- This torte tastes best when served at room temperature or slightly chilled.
- Use high-quality dark chocolate for the best flavor.
Nutrition
- Serving Size: 1 slice
- Calories: 320
- Sugar: 25
- Sodium: 50
- Fat: 22
- Saturated Fat: 13
- Unsaturated Fat: 9
- Trans Fat: 0
- Carbohydrates: 28
- Fiber: 3
- Protein: 7
- Cholesterol: 110