

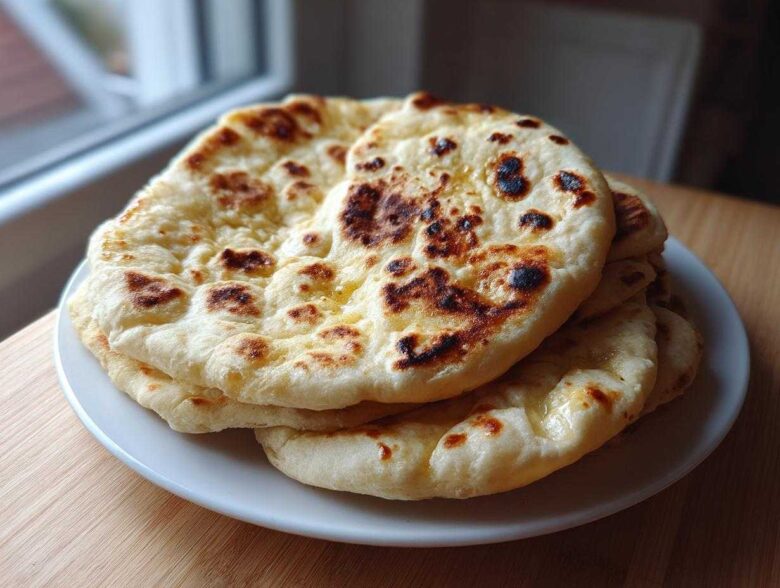
Oh, how many times have Amaya and I tried to recreate that perfect, smoky warmth of restaurant naan right here in our little kitchen? It felt impossible at first! We used to think you absolutely needed a roaring hot tandoor oven to get that pillowy, slightly charred texture. But trust me, after perfecting recipes for decades, I found the secret. This isn’t just any **homemade naan bread** recipe; this is the one that delivers that incredibly soft, wonderfully chewy, and fluffy result using just a simple skillet. That means incredible restaurant-style flavor is now just moments away without needing special equipment. I’m so excited to share the simple steps that finally worked for us! You can see how we spiced this one up even further by checking out our thoughts on easy homemade soft fluffy garlic naan bread later on.
Why This is the Best Homemade Naan Bread Recipe You Will Ever Need
When we decide to make bread for our evening curry, we want it to taste just like the real deal, not that stiff stuff you buy pre-packaged. This recipe is my absolute favorite because it guarantees what every baker dreams of when trying a easy naan bread recipe.
- It’s genuinely soft and delightfully chewy—never tough!
- We get those beautiful, fluffy bubbles that you only expect from a professional oven.
- The flavor is rich and buttery, just like we remember from our favorite restaurants back in Kyoto and New York.

Achieving Soft and Chewy Naan Texture Without a Tandoor
You don’t need a brick oven to get those signature charred spots and puff! The magic for this **homemade naan bread** comes from intense, dry heat. We crank our skillet up until it’s screaming hot. When the rolled dough hits that surface, the high temperature instantly turns the moisture inside the dough into steam. That steam is trapped for just a moment, forcing the naan to puff up beautifully before the heat sets the structure. It’s simple physics, really, but it works wonders!
Ingredients for Perfect Homemade Naan Bread
We keep the ingredient list for our **homemade naan bread** surprisingly short! You might think making something this good requires specialty items, but that’s the joy of this recipe—it uses simple pantry staples. You’ll need yeast, sugar, flour, salt, yogurt, milk, and butter or ghee for that lovely richness. Don’t forget to have some minced garlic ready if you plan on making our favorite Garlic Naan variation; just mix it in when you knead the dough!
Ingredient Notes and Substitutions for Your Naan Dough
Okay, let’s talk details. The temperature of your water for the yeast is really important; aim for warm, about 105°F to 115°F, so the yeast wakes up happy. Please, if you can, use full-fat plain yogurt. That extra fat really helps keep the final **soft and chewy naan** from drying out and gives it that slight, wonderful tang we associate with great Indian bread recipes. If you don’t have ghee, regular unsalted butter works perfectly fine for flavor and brushing, or even a light olive oil if that’s what you have on hand. These little choices are what transform the dough!
Step-by-Step Instructions for Soft and Chewy Naan Bread
Now for the fun part—turning those simple ingredients into amazing fluffy Indian flatbread! Making the dough is very straightforward, but you must give it the time it needs to rest and rise. I promise you, waiting is the hardest part, but rushing this dough means you lose the amazing texture we are aiming for. We need that yeast to work its magic to create the best **homemade naan bread recipe** possible.
Preparing and Rising the Quick Naan Dough
First, always make sure your yeast is active! Mix the warm water, sugar, and yeast and let it get foamy, usually about 5 to 10 minutes. If it doesn’t foam, start over with fresh yeast—don’t skip that check! Once you mix the wet ingredients into the flour, get your hands in there and knead until the dough feels smooth. We need a good 5 to 7 minutes of solid kneading to develop the gluten so it can stretch later. After kneading, put that dough in an oiled bowl, cover it tightly, and let it rest for a good hour and a half in a warm spot. Don’t worry if your kitchen is a little chilly; this dough is forgiving, just give it extra time to double in size!
Cooking Your Homemade Naan Bread on the Skillet
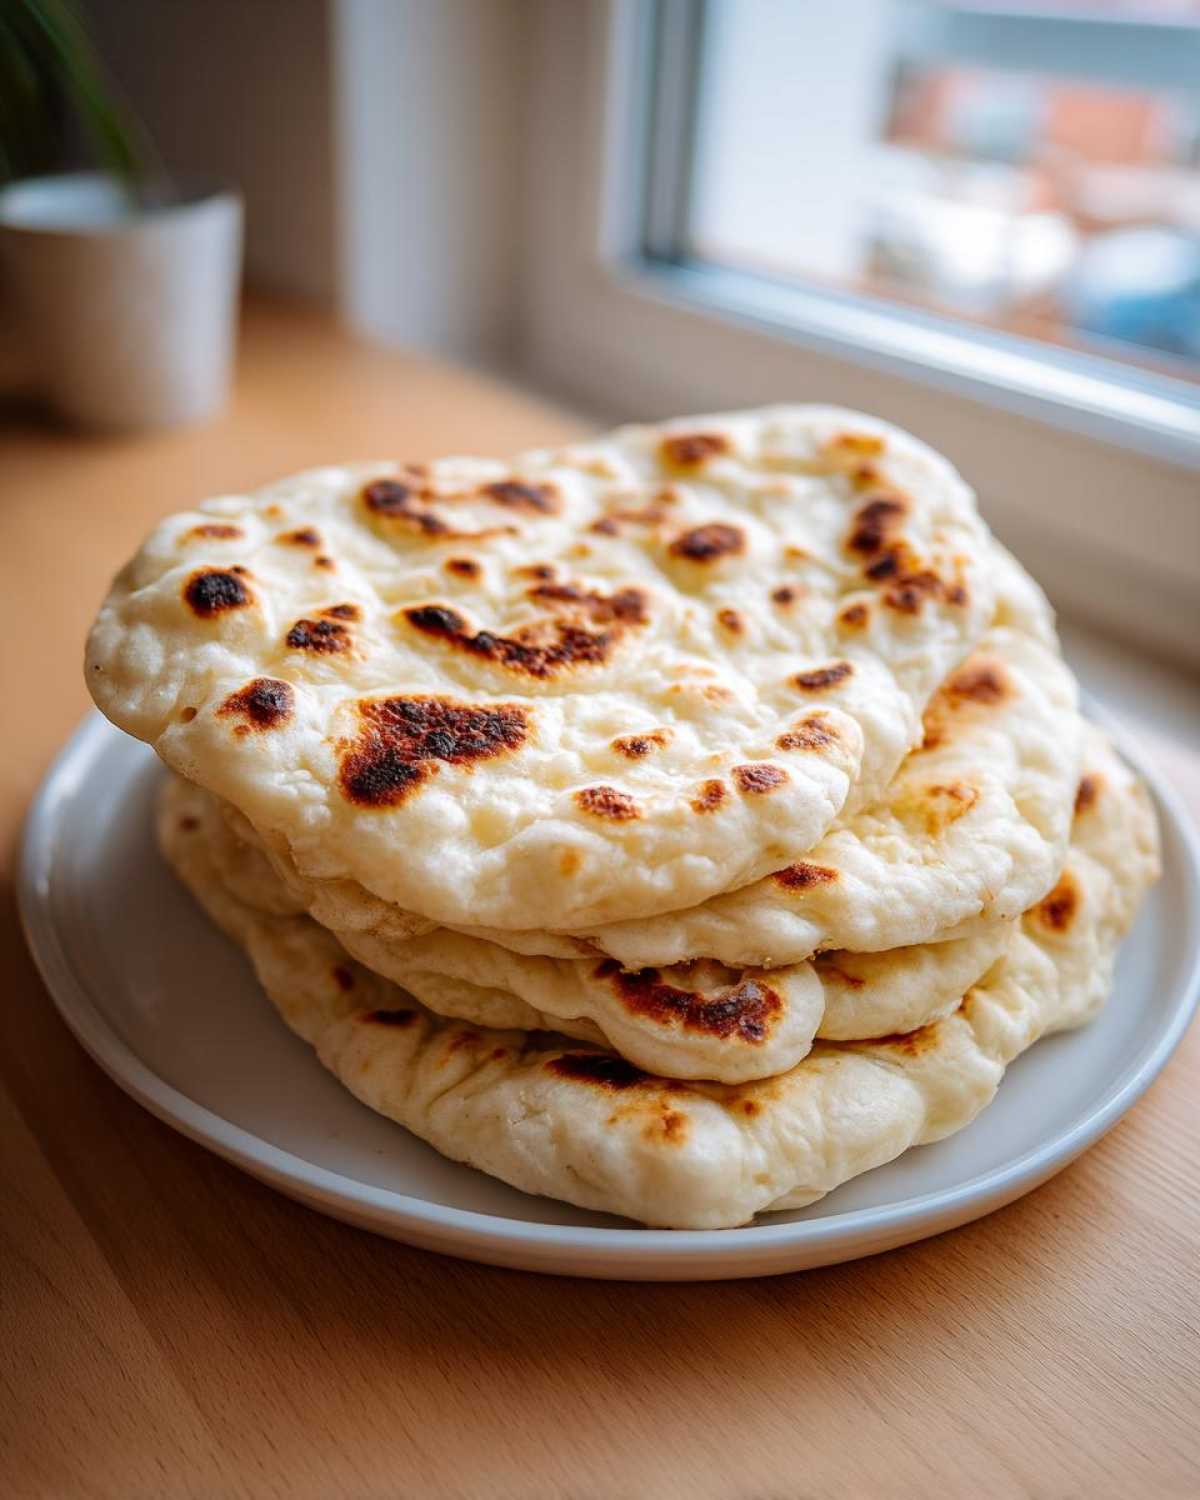
This is where the restaurant magic happens, and honestly, it’s easier than lighting a very hot tandoor! Get your skillet—cast iron is the best—heating up over medium-high to high heat until it’s smoking hot. Crucially, you cook this bread dry; no oil in the pan! Roll your dough into rough ovals, about an eighth of an inch thick. Lay one piece on the screaming hot skillet. Watch it closely! You want to see big bubbles form on top, usually within a minute or two, and you should see nice brown spots underneath. When those bubbles pop up, flip it right over. Cook that second side for just about 60 seconds until it looks cooked through and has little charred edges. That is how you get that signature puffy texture in your **homemade naan bread**!
Tips for Success with Your Restaurant Style Naan Recipe
When you follow a recipe closely, you usually get great results, but the little extra knowledge from the cook—that’s what moves it from good to truly amazing! I have a few final thoughts, drawn straight from the notes section beside the original recipe card, that I think will help you nail that perfect texture on the first try.
- For the softest and chewiest naan imaginable, make sure you are using full-fat plain yogurt. It really makes a difference with the tang and dough consistency for that genuine **restaurant style naan**.
- If you are hoping for a really puffy piece of bread, make sure your skillet is searingly hot before you drop the dough. The trapped steam is key here! Save this link if you want to check out our easy homemade soft fluffy garlic naan bread for another variation to try later.
- If you roll out your dough piece and it keeps snapping back like a rubber band, don’t force it! Just let that little ball rest on the counter, covered, for about 5 more minutes. Gluten needs a little break sometimes before it will stretch peacefully into that nice oval shape.
- While ghee gives that traditional, unforgettable flavor, please don’t stress if you only have other fats. Using olive oil instead of ghee works just fine for brushing the finished bread; it just won’t have that deep, nutty background note.
Variations: Making Garlic Naan Bread and Buttery Flatbread
We rarely make a plain batch anymore, honestly! Once you master the basic dough for **homemade naan bread**, you’ll want to start customizing it. The most popular change, and perhaps my personal favorite, is turning it into **Garlic Naan Bread**. It is so simple: just mix two minced cloves of fresh garlic right into your dough during the last minute of kneading, as the recipe suggests. That way, the flavor deepens beautifully while it cooks.
When the hot naan comes off the skillet, you want to make it extra decadent? That’s when you move into **Buttery Flatbread** territory. Simply melt a good spoonful of ghee or butter, and if you want extra flavor, throw a tiny pinch of salt and maybe some finely chopped parsley into that melted fat. Right after that naan hits the plate, give it a very generous brushing. You can learn even more about making that favorite variation by checking out our guide on easy homemade soft fluffy garlic naan bread.
Serving Suggestions for Your Fluffy Indian Flatbread
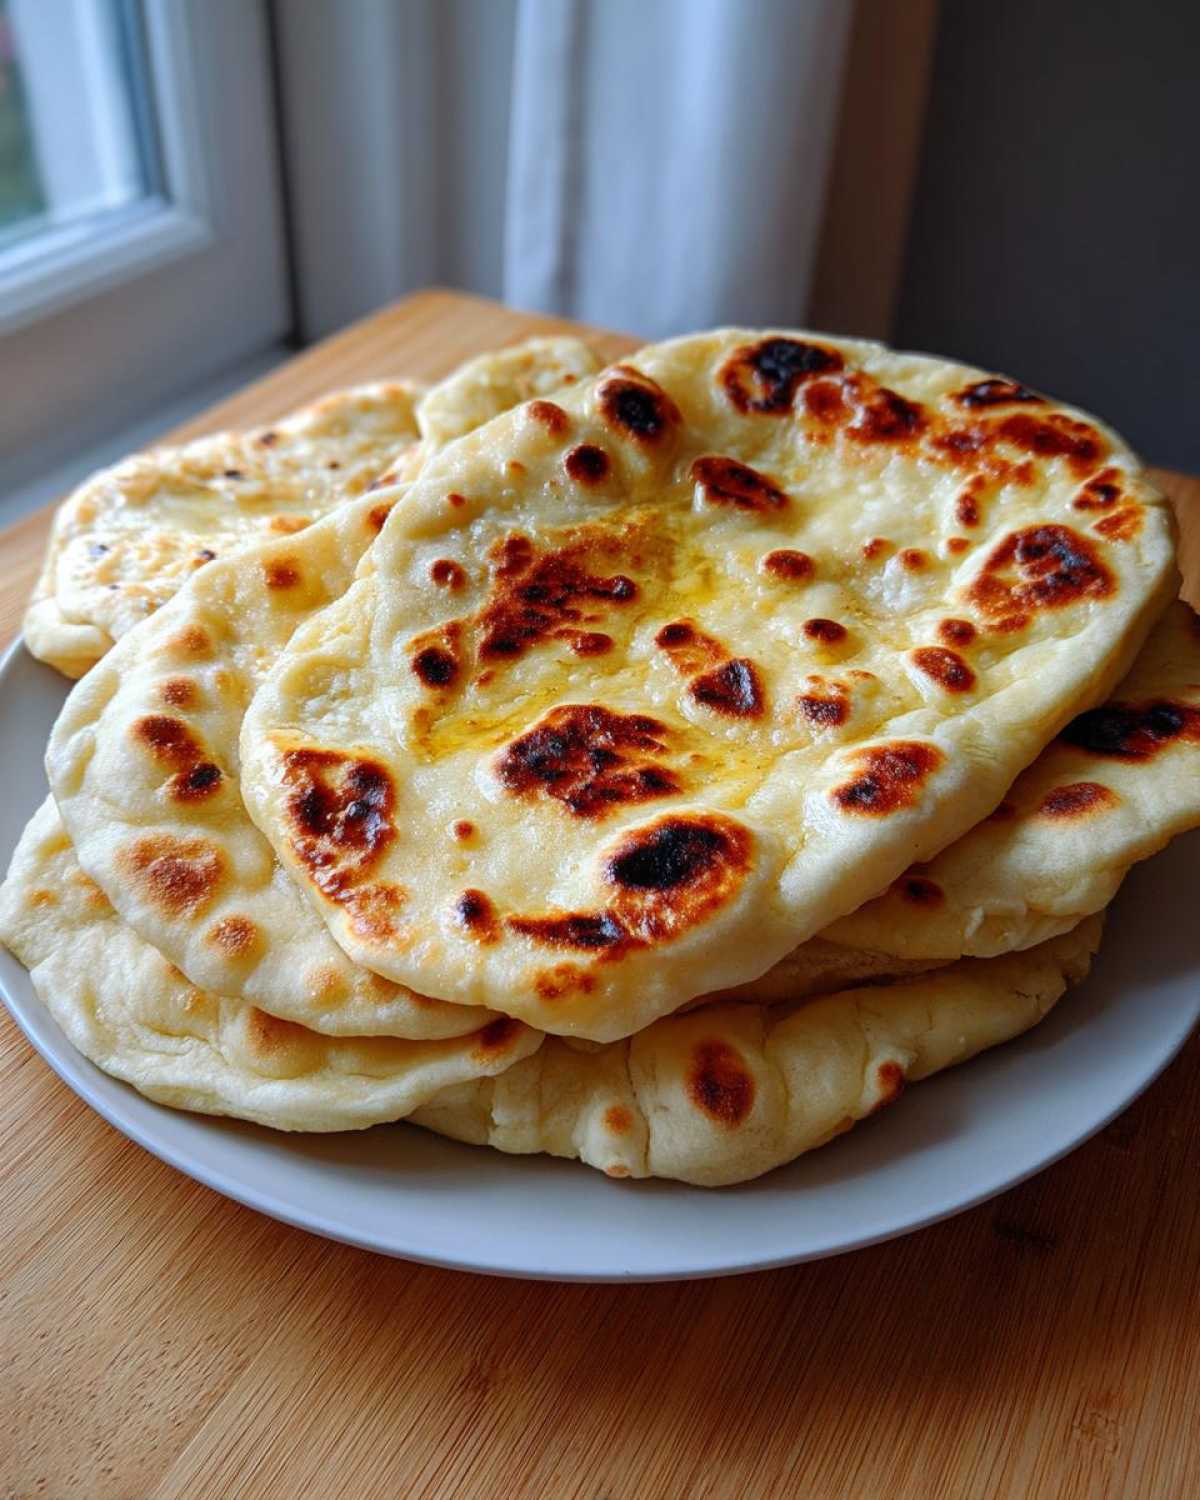
Now that you have eight pieces of warm, soft **homemade naan bread**, the question becomes: what do we eat it with? In our home, this bread exists mainly to scoop up incredible things! It pairs perfectly with any rich, fragrant curry you might be making—whether it’s a creamy butter chicken or a simple lentil dal, the naan is the perfect vehicle for flavor.
But it doesn’t have to be fancy! We love serving it alongside a simple bowl of thick yogurt mixed with some mint and cucumber, which is a lovely, cooling dip. Or, if you have some good quality hummus, this flatbread is just as wonderful dipped into that as pita bread would be.
Amaya has a brilliant trick for any leftovers we have the next day—if we ever have any, that is! She takes the **homemade naan bread**, brushes it lightly with a little olive oil, sprinkles on some finely chopped herbs, and maybe some shredded cheese, and pops it under the broiler for just a minute or two. It transforms instantly into the most delicious, satisfying base for a quick pizza. You can find some of our other fun, quick meal ideas, like easy pizza muffins, on our other posts if you are looking for ways to use up delicious dough!
Storage and Reheating Instructions for Homemade Naan Bread
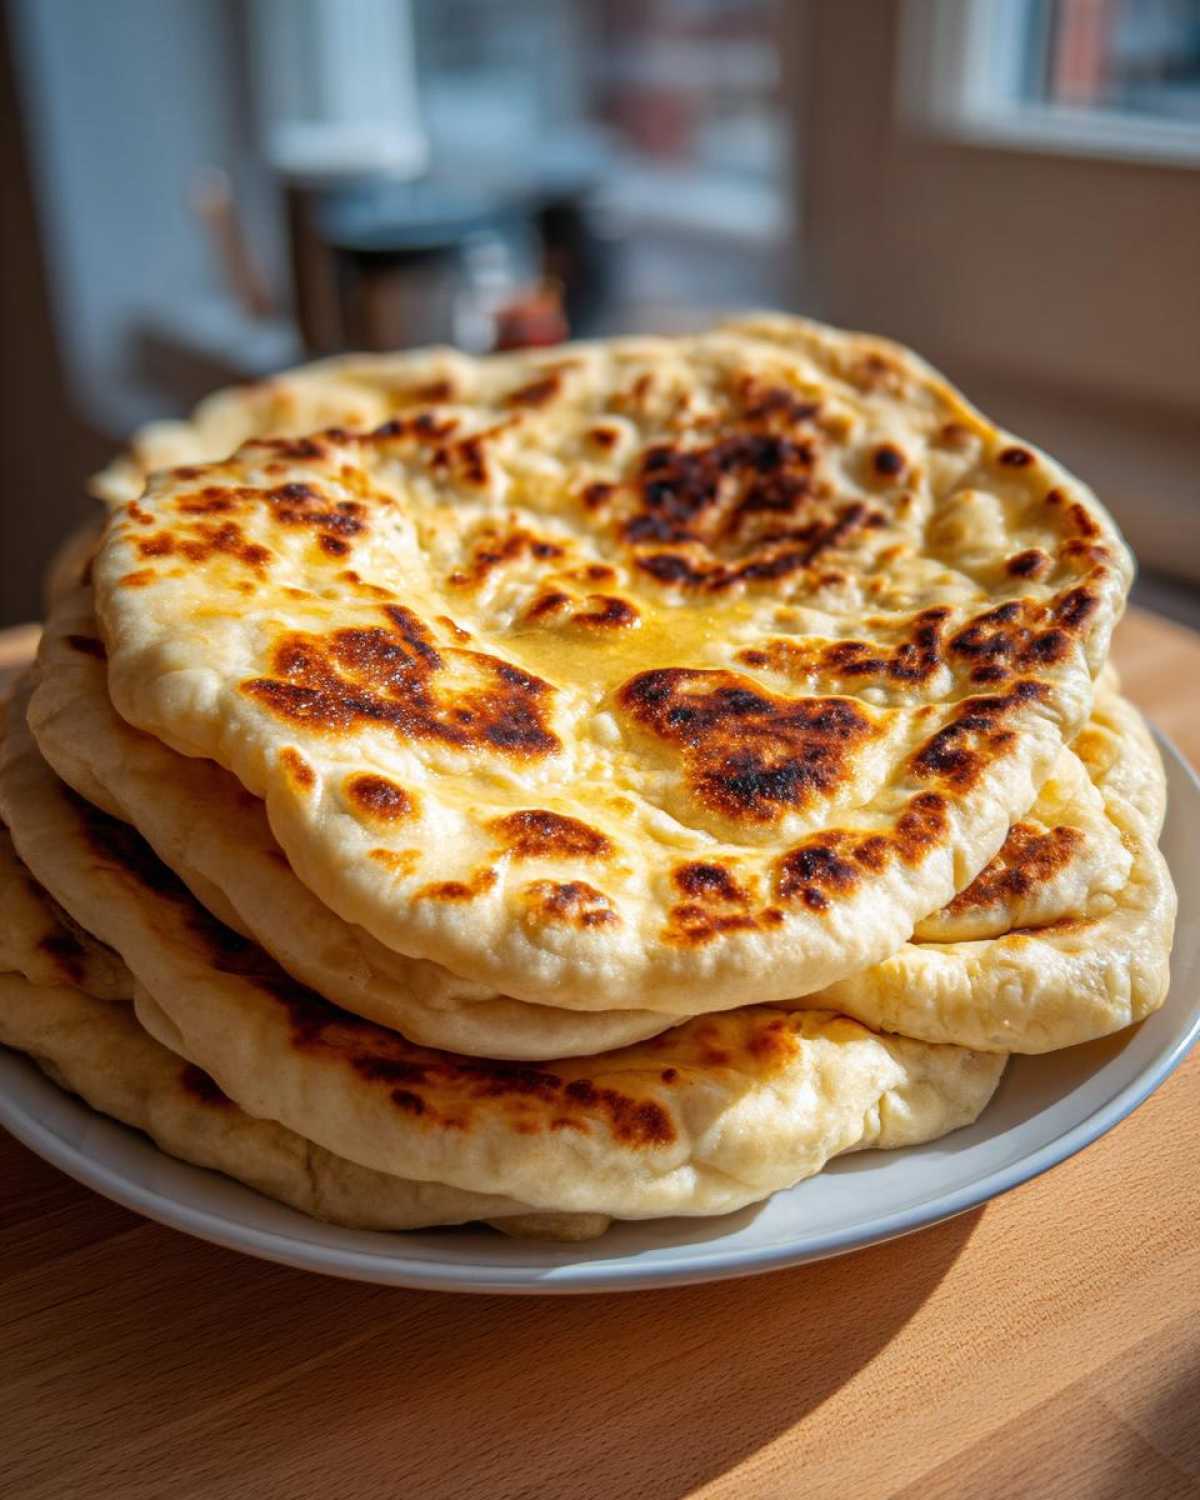
Oh, leftovers! If you manage to have any of this beautiful naan left over—which is rare at our house now with the grandchildren around—you definitely want to store it correctly. Keep your **homemade naan bread** in a securely sealed, airtight container at room temperature. Don’t put it in the fridge; that makes it tough, and no one wants tough naan!
To bring back that wonderful soft and chewy texture, you have two lovely options. My favorite method is heating it briefly in a dry, very hot skillet for just 30 seconds per side until it puffs slightly again. Alternatively, you can wrap the pieces loosely in foil and warm them in a 350°F (175°C) oven for about five minutes. Either way, it comes back to life almost instantly!
Frequently Asked Questions About Making Naan from Scratch
When you are making something for the first time, it is natural to have questions, especially about bread! I want to make sure you feel fully prepared to achieve that perfect, fluffy result every time you make this **naan from scratch**. Don’t worry if you need an answer about texture or speed; we’ve been there many times!
Can I make this Easy Naan Bread without yeast?
That is a great question, especially if you are in a huge hurry! While this recipe is designed around yeast for that truly authentic, light lift and beautiful texture, you absolutely can make a faster version. If you skip the rising time, you are moving toward a simple stovetop bread. If you omit the yeast, you should add about 2 teaspoons of good quality baking powder to your dry flour mixture instead. Now, I must warn you: without the yeast doing the heavy lifting, your **easy naan bread** won’t get quite as airy or have that slight chewiness, but it will still be a wonderfully tasty, quick flatbread perfect for your curry!
How do I get my Naan to puff up when cooking?
Ah, making it puff! This is the fun part, and it’s what makes you feel like a top chef. Remember how I talked about the skillet needing to be scorching hot? That intense, dry heat is the single most important factor for achieving that puffy flatbread tutorial success you are looking for. You need the dough to experience almost thermal shock when it touches the pan. Also, make sure you are not overcrowding the pan! If you stick two pieces on a skillet that is already struggling to hold the heat from one piece, the temperature will drop too fast, and the steam won’t form properly, resulting in a flatter piece. Cook one at a time so you can really monitor that beautiful bubble action!
Nutritional Snapshot of This Buttery Flatbread
I know many of you watch what you eat, and I want to be transparent about what goes into our meals. Here is a quick look at the estimated nutrition for one piece of this **buttery flatbread**. Remember, these numbers are just a guide because Amaya and I always tweak the amount of butter we brush on top! These figures are based on the recipe yielding 8 servings.
- Serving Size: 1 naan
- Calories: 210
- Fat: 6g
- Carbohydrates: 35g
- Protein: 6g
Please keep in mind that because we cook with real butter and ghee, and because we love brushing on that extra layer after cooking, your final numbers might shift a bit. But honestly, when something tastes this good and is made right in your own kitchen, it’s worth every wonderful calorie!
PrintThe Best Easy Homemade Naan Bread (Soft, Chewy, No Tandoor Required)

You can achieve soft, chewy, restaurant-style naan bread right in your home kitchen without a tandoor. This simple recipe delivers fluffy results perfect for serving with your favorite curries.
- Prep Time: 20 min
- Cook Time: 15 min
- Total Time: 1 hour 50 min
- Yield: 8 naan breads
- Category: Side Dish
- Method: Stovetop Skillet
- Cuisine: Indian
- Diet: Vegetarian
Ingredients
- 1 teaspoon active dry yeast
- 1 teaspoon sugar
- 1/2 cup warm water (about 105-115°F)
- 2 1/2 cups all-purpose flour, plus more for dusting
- 1 teaspoon salt
- 1/2 cup plain yogurt (full fat recommended)
- 2 tablespoons milk
- 2 tablespoons melted ghee or unsalted butter, plus more for brushing
- Optional: 2 cloves garlic, minced, for Garlic Naan
Instructions
- Activate the yeast: In a small bowl, mix the warm water, sugar, and yeast. Let it sit for 5 to 10 minutes until foamy. This shows the yeast is active.
- Mix dry ingredients: In a large bowl, whisk together the flour and salt.
- Combine wet and dry: Add the foamy yeast mixture, yogurt, and milk to the flour mixture. Mix with a spoon until a shaggy dough forms.
- Knead the dough: Turn the dough out onto a lightly floured surface. Knead for 5 to 7 minutes until the dough is smooth and elastic. If using garlic, knead in the minced garlic during the last minute.
- First rise: Place the dough in a lightly oiled bowl, turning to coat. Cover the bowl with plastic wrap or a clean kitchen towel. Let it rise in a warm place for 1 to 1.5 hours, or until doubled in size.
- Divide and rest: Gently punch down the risen dough. Divide it into 8 equal pieces. Roll each piece into a ball, cover them loosely, and let them rest for 15 minutes.
- Roll the naan: On a lightly floured surface, roll each dough ball into an oval or teardrop shape, about 1/8 inch thick.
- Cook on the stovetop: Heat a heavy cast-iron skillet or griddle over medium-high heat until very hot. Do not add oil.
- Cook the bread: Place one rolled naan onto the hot, dry skillet. Cook for 1 to 2 minutes until large bubbles form on the surface and the underside has brown spots.
- Flip and finish: Flip the naan and cook the second side for about 1 minute until cooked through and lightly charred in spots.
- Brush with butter: Immediately transfer the cooked naan to a plate. Brush generously with melted ghee or butter. Repeat with the remaining dough pieces.
Notes
- For the best soft and chewy texture, use full-fat plain yogurt in your dough.
- If you want a puffier naan, increase the heat slightly and watch closely; the trapped steam causes the bread to inflate.
- You can substitute the ghee with olive oil if you prefer, but ghee adds a traditional, rich flavor.
Nutrition
- Serving Size: 1 naan
- Calories: 210
- Sugar: 2
- Sodium: 250
- Fat: 6
- Saturated Fat: 3
- Unsaturated Fat: 3
- Trans Fat: 0
- Carbohydrates: 35
- Fiber: 1
- Protein: 6
- Cholesterol: 10