

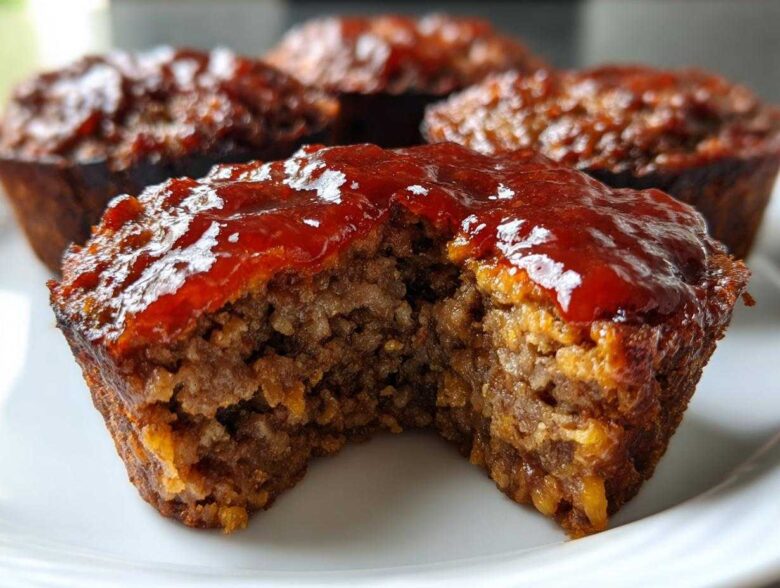
Oh my gosh, are you tired of trying to make a huge loaf of meatloaf, only to have half of it sit lonely in the fridge until Tuesday? I totally get it! That’s why I developed this way of making **mini meatloaf** right in the muffin tin. Trust me, baking them as perfectly portioned little muffins is a total game-changer for weeknights. My son used to push away the big slices, but these individual servings? He devours them! They cook faster, they get those crispy edges all around, and they are just perfect comfort food without the mess. If you want to check out my full recipe on the classic loaf, you can see how I keep that one super juicy here. Seriously, this is the easiest weeknight dinner you’ll try all year.
Why This Mini Meatloaf Recipe is Your New Weeknight Favorite (Quick Dinner Ideas)
Listen, when you’re scrambling at 5 PM, you need solutions, not complicated recipes. That’s what I love about these little guys—they are absolute champions for **quick dinner ideas**. They bake up in under 25 minutes, which is faster than peeling potatoes for a giant loaf! Plus, they are seasoned perfectly right out of the oven, so you don’t need complex sauces.
This recipe is proof that ultimate **comfort food recipes** don’t have to take forever. If you’re looking for more ways to streamline your evenings, check out my full guide to weeknight dinner solutions for endless inspiration.
Perfect Individual Meatloaf Portions
Forget wrestling with a knife trying to divide a hot, crumbly meatloaf evenly. With these **meatloaf muffins**, every person gets their own perfect, neat package. It guarantees everyone gets some of that delicious glazed top, which is usually fought over in a regular loaf! These individual meatloaf portions make serving incredibly simple.
Ideal for Meal Prep Dinners and Freezing
This is where these shine brightest! I almost always double the batch because they make amazing **meal prep dinners**. Pop the cooled **mini meatloaf** cups in an airtight container, and you’ve got lunches sorted for days. They are totally **freezer friendly meatloaf** too. You just defrost and reheat, and they taste just as good as they did fresh. Perfect for busy families!
Essential Ingredients for Juicy Mini Meatloaf
The secret to making sure these little meatloaf cups aren’t dry is using the right muscle and not skimping on the binders! I’ve laid out exactly what you need below. Check out my guide on choosing the best ground beef recipes if you ever want to get fancy, but honestly, 80/20 is the way to go here for flavor.
For the Meat Mixture: Making the Base for Your Mini Meatloaf
We have to keep the base nice and gentle, so everything is mixed just until sad and incorporated. You absolutely must use 80/20 ground beef; the little bit of extra fat melts during the bake time, guaranteeing moisture in these small portions. Don’t forget the simple seasoning—a little salt and pepper goes a long way!
- 1.5 lbs ground beef (80/20, remember!)
- 1/2 cup breadcrumbs (any kind works)
- 1/4 cup milk, to soften the crumbs
- 1 large egg, lightly beaten
- 1/4 cup finely chopped onion (make sure it’s tiny!)
- 2 cloves garlic, minced super fine
- Salt and pepper to taste
Simple Meatloaf Glaze Ideas
This glaze is so fast, you mix it while the oven heats up. It’s got that perfect tangy/sweet balance. If you decide you want something wildly different next time, I’ve seen gorgeous recipes that call for spicy relishes or honey mustard—you can always hunt down more **meatloaf glaze ideas**!
- 1/4 cup ketchup
- 2 tablespoons brown sugar (packed tightly!)
- 1 tablespoon apple cider vinegar
How to Make Mini Meatloaf Muffins: Step-by-Step Instructions
Okay, let’s get these baked! Making **mini meatloaf** in muffin tins is genuinely faster and easier than dealing with a standard loaf, and I’ve broken down every step so you can’t mess it up. We are aiming for perfection here, meaning perfectly cooked little portions every time.
Prepping the Pan and Combining the Mini Meatloaf Base
First things first, crank that oven up to 400 degrees Fahrenheit! Don’t forget to grease your standard 12-cup muffin tin really well—I use a spray designed for baking, but butter works too. Now, for the crucial step: combine your breadcrumbs and milk in a large bowl first. You need to let that sit for a solid five minutes. This gives the crumbs time to soak up all that milky moisture, so they don’t steal liquid from your meat while baking.
Mixing and Forming Individual Meatloaf Portions
Once the crumbs are plump, toss in the beef, that beaten egg, onion, garlic, salt, and pepper. Now, be gentle! This is super important for getting a tender result; you just want to mix it until you can barely see streaks of white left. If you overwork the ground beef, you’ll end up with tough hockey pucks instead of tender **mini meatloaf**. Divide the mixture evenly into those 12 cups, pressing down just a bit so they hold their shape. They should look compact!
Glazing and Baking Your Mini Meatloaf
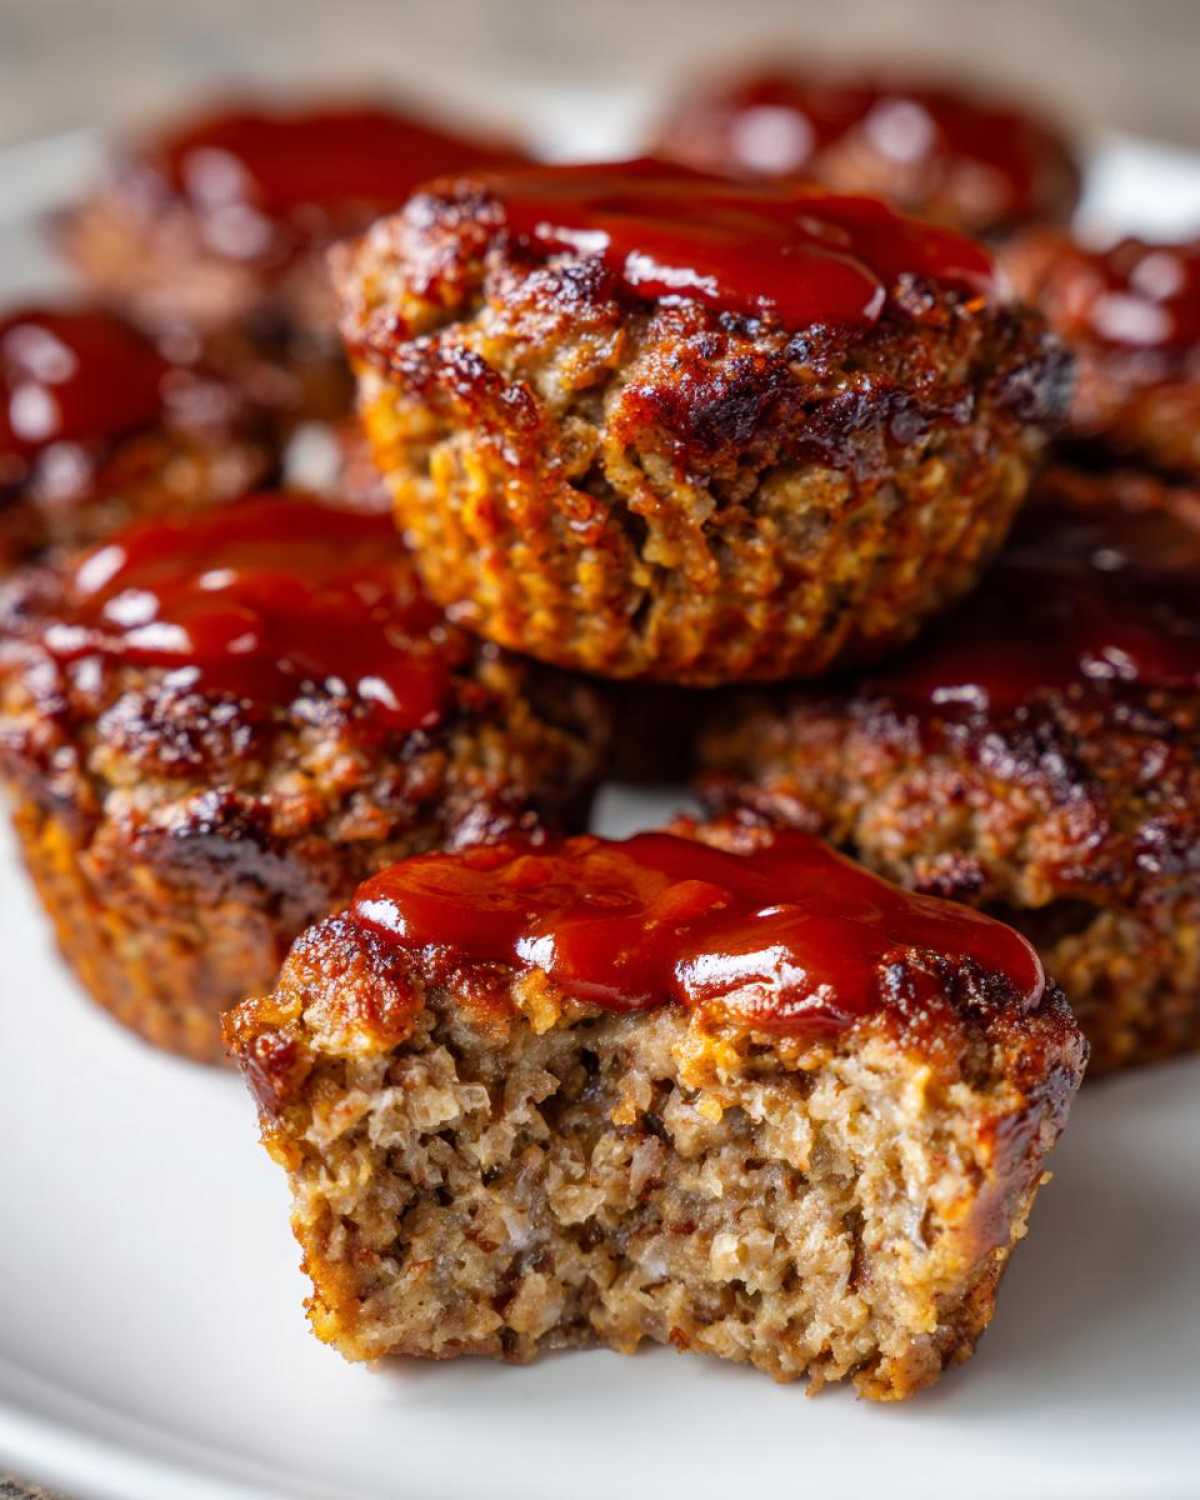
While you’re filling the cups, quickly whip up that simple glaze—it’s just the ketchup, brown sugar, and vinegar whisked together. Spoon about a teaspoon right over the top of each portion. They go into the 400-degree oven for about 20 to 25 minutes. You are looking for an internal temperature of 160 degrees Fahrenheit—use a thermometer, please! That’s how we guarantee these are juicy and safe. When they come out, let them rest in the pan for five minutes before you try to pop them out. Patience pays off!
Tips for the Best Juicy Mini Meatloaf Every Time
I’ve made enough of these little guys to know that two or three small details can take them from just ‘okay’ to absolutely incredible. Since these **individual meatloaf portions** are so small, they can dry out faster than a huge loaf if you aren’t careful. But don’t worry, I’ve cracked the code for keeping them tender. Plus, if you want to see where I have some other go-to baking advice, my tips on chocolate chip cookies are legendary for moisture!
Selecting the Right Ground Beef for Juicy Mini Meatloaf
Please listen to me on this: For **juicy meatloaf**, you need some fat! I recommend sticking strictly to 80/20 ground beef. If you go leaner—like 93/7—you’re going to end up with dry little pucks because that little bit of fat renders out and keeps everything moist during the bake. Don’t try to be too healthy here; fat equals fantastic flavor and moisture retention in these.
The Importance of Not Overmixing Your Mini Meatloaf
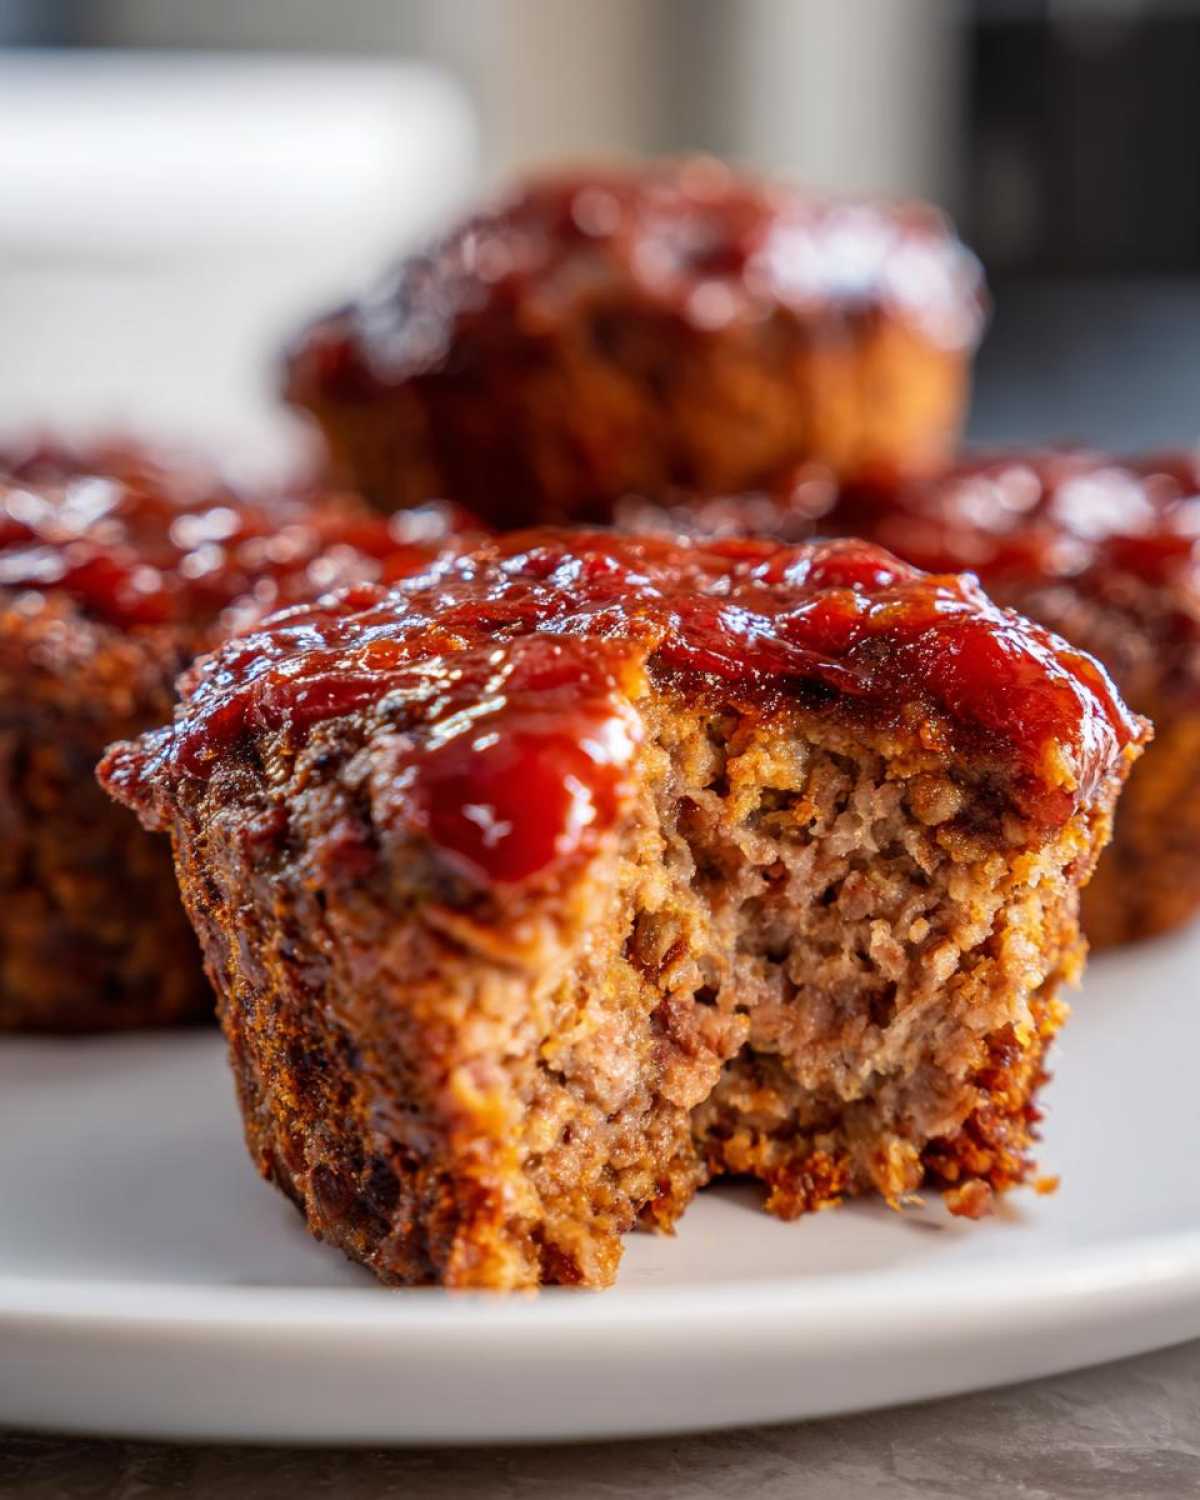
This is probably the biggest mistake people make, and it applies whether you are making a standard loaf or these muffin-tin wonders. As soon as you start mixing the meat, the proteins develop, and that leads to a tough chew—think dense, rubbery texture. You want just enough mixing until you see one color. Stop the second you can’t see dry breadcrumbs anymore. Keep it gentle!
Creative Variations for Your Mini Meatloaf Recipe
You’ve mastered the classic, speedy recipe, but that’s just the beginning, right? I absolutely love tinkering and making these recipes my own. Sometimes I need a little flavor punch, and sometimes I need a lighter option. The beauty of these portioned cups—our favorite **mini meatloaf**—is how easily they adapt to anything in your fridge. If you’re looking for another great way to use ground poultry, I have a fantastic baking method for turkey meatballs that gives you similar texture results!
Bacon Cheddar Mini Meatloaf Cups
If you want to go straight for pure decadence, this is your route. Forget the simple ketchup glaze; these babies are hearty enough to stand on their own! To make these **bacon cheddar meatloaf** portions, you’re going to mix about a half cup of sharp shredded cheddar cheese right into the meat mixture before you form the cups. Then, you need to crumble up about four slices of fully cooked bacon and stir that in too. The cheese melts into the meat, and the bacon gives you these wonderful little smoky pockets of saltiness. Honestly, these don’t even need extra glaze!
Making a Turkey Mini Meatloaf
If you’re looking for a leaner version, swapping in ground turkey is super easy for these **meatloaf bites**. However, turkey doesn’t have much fat, and since these are small, they can sometimes dry out quicker. When I make a **turkey mini meatloaf**, I always compensate. I usually add an extra tablespoon of that milk/breadcrumb mixture, or sometimes I even include a finely grated, moisture-rich vegetable like zucchini (squeeze out the water first!). You’ll still want that delicious glaze, though; it really helps keep the turkey nice and moist.
Serving Suggestions for Your Mini Meatloaf
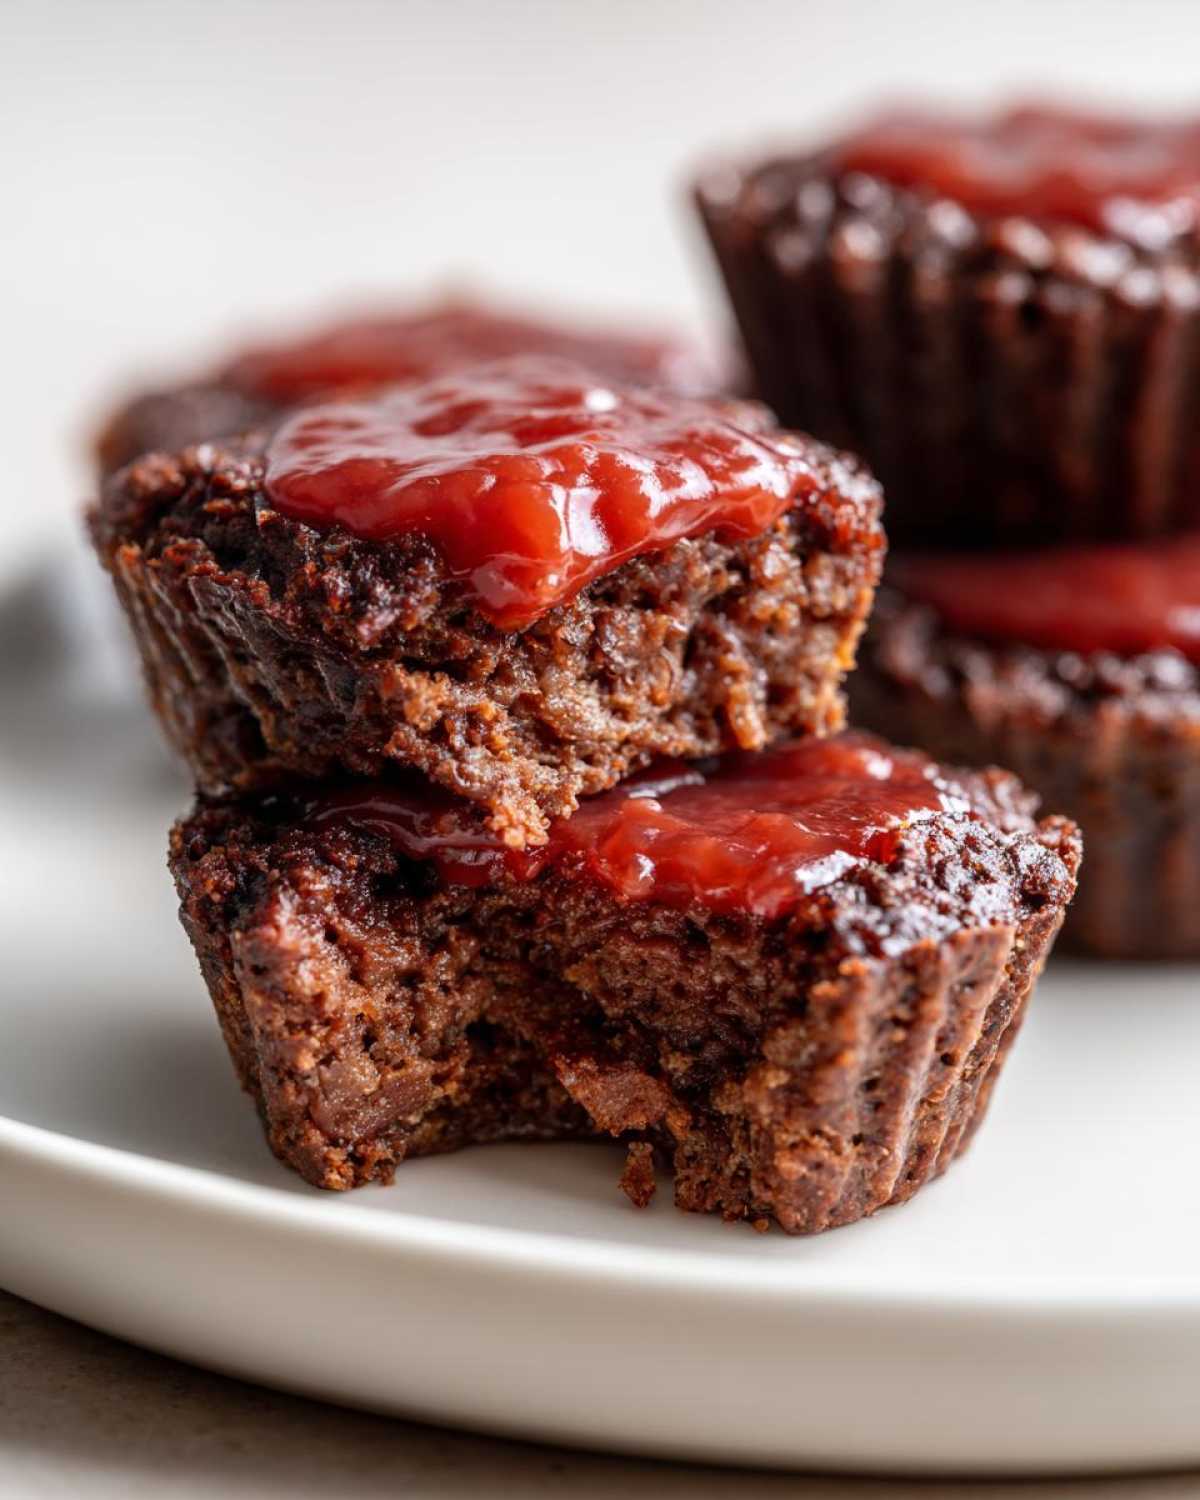
Now that you have these adorable, perfectly cooked **mini meatloaf** cups, what are you going to serve them with? You can’t just have a meatloaf cup sitting all alone, right? We are going for classic American **comfort food recipes** here, so think cozy and familiar. These individual portions are great because they look so cute next to mashed potatoes!
My absolute must-have pairing is creamy, fluffy mashed potatoes—I’ve got a whole post on making them perfectly alongside a classic loaf, but they work just as well here. The potatoes soak up any extra glaze perfectly. Just make sure you don’t drown the little meatloaf in gravy if you plan on saving leftovers, though!
If you want something green—because, you know, balance—steam some green beans tossed with a little bit of lemon zest. Or, if you are feeling really nostalgic for that classic dinner plate look, roasted carrots or corn on the cob are fantastic. Because these are such easy **weeknight dinner solutions**, you can whip up quick sides without stress. I often skip a formal side dish entirely and just serve them with some sweet coleslaw to cut through the richness of the meat!
Storage and Make Ahead Dinners for Mini Meatloaf
This is honestly one of my favorite parts about making these **mini meatloaf** muffins: they are the ultimate **make ahead dinners** champion! I usually plan to make a double batch—one batch for dinner tonight, and the second batch goes straight into storage for a night when I know I won’t have time to cook.
Because these are individual portions, they pack up like little brown jewels! You need three simple rules for keeping them perfect, whether you plan to eat them tomorrow or next month. Check out my guide on make ahead dinners to see more batch-cooking wins!
Cooling Completely Before Storing
Don’t even think about putting them away warm! If you cover them while they are still warm, condensation forms, and suddenly your perfectly cooked **easy meatloaf cups** are soggy. Let them cool down completely on a wire rack first. It usually takes about 30 minutes after resting in the tin for them to come to room temperature.
Once they are cool, transferring them is easy. If you’re eating them within three or four days, just layer them in an airtight container with a piece of parchment paper between the layers so they don’t stick together. They do great in the fridge this way.
Freezer Friendly Meatloaf Instructions
If you need them longer, these **meatloaf bites** freeze like a dream. The recipe notes mentioned this, but I’m shouting it from the rooftops: cool them completely, then place the servings in a freezer-safe container or heavy-duty zip-top bag. Make sure you put a tiny square of parchment paper between each one before sealing!
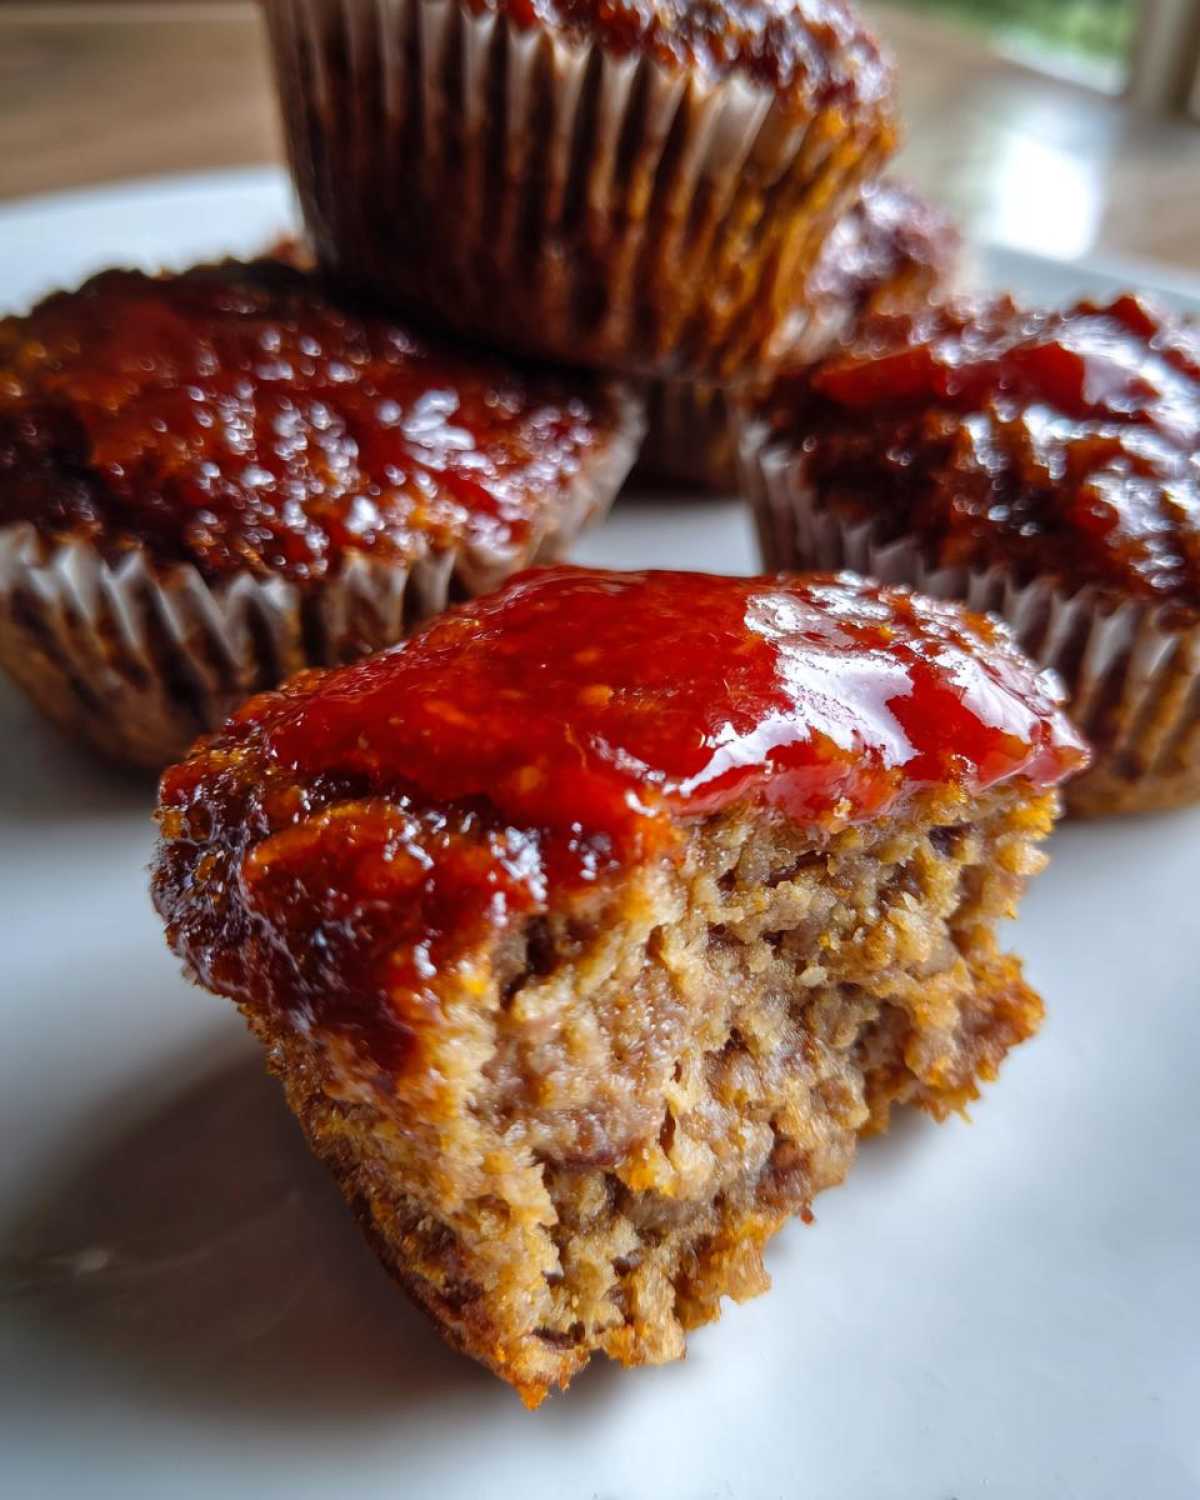
I find they last beautifully for up to three months this way. Having a stash of **kid friendly meatloaf** ready to go is like having money in the bank for a stressful Tuesday night.
Reheating Your Individual Meatloaf Portions
Reheating is just as simple as storing them. In the microwave, they take about 60 to 90 seconds, depending on if they were refrigerated or frozen. If you want to crisp up the outside a tiny bit, though, I prefer the oven. Pop them on a sheet pan at about 350 degrees Fahrenheit for about 10-12 minutes. They warm right through, the little bit of glaze gets sticky again, and you’re all set! If you pair them with some fresh mashed potatoes, no one will ever guess you just pulled them out of the freezer.
Frequently Asked Questions About Mini Meatloaf
I get so many questions about these little guys because they are just so versatile! I’ve gathered the most common ones right here so you don’t have to second-guess anything before you start baking your **mini meatloaf**. I swear, once you try making **easy meatloaf cups** this way, you’ll never go back to the big loaf!
Can I use a sheet pan instead of a muffin tin for this mini meatloaf recipe?
You absolutely *can*, yes! But here’s the catch: you lose that cute, perfect little round shape, and the cooking time changes. If you put the entire mixture onto a rimmed sheet pan, it’s basically an open-faced, thin meatloaf. Since these are smaller portions, they cook faster when they have more exposed surface area, so they’ll likely cook faster than the 20–25 minutes the muffin recipe calls for. Keep a close eye on the temperature with a thermometer, and make sure your pan has a rim so that delicious meat juices and glaze don’t run all over your oven floor!
How do I prevent my mini meatloaf from drying out?
This is the number one concern for everyone making **individual meatloaf portions**, and it all comes down to two things: fat content and timing! First, stick with that 80/20 ground beef. That little bit of fat is your insurance policy against dryness. Second, and this is vital: **do not overbake them**. They only need to reach 160 degrees Fahrenheit internally. If your little meatloaf bites are looking done after just 20 minutes, pull them out! They will continue to cook slightly as they rest, which is another key part of keeping them tender.
What is the best way to reheat individual meatloaf portions?
Oh, reheating is easy, which is why they are such amazing **meal prep dinners**! For the fastest result, just pop one or two **meatloaf bites** on a microwave-safe plate and zap them for about 60 to 90 seconds. They come out perfectly fine. BUT, if you want that crusty little edge back, I highly recommend the oven method. Place them on a small baking sheet and stick them in a 350-degree oven for about 10 minutes. That little blast of dry heat revives the texture beautifully. You can find my methods for reheating leftovers over on my easy meatloaf cups guide, too!
Nutritional Snapshot of This Mini Meatloaf
Now, I know some of you are tracking things, so I wanted to give you a snapshot of what’s in these amazing **meatloaf muffins**! Remember, these numbers are just estimates based on using 80/20 ground beef and the simple ketchup glaze. If you swap in ground turkey or add bacon and cheddar, those numbers are going to shift around!
I like that this recipe leans into being a good source of protein, which is what you expect from a hearty **comfort food recipe**. But seriously, take these numbers with a grain of salt—the most important number is that they taste incredible. Just trust me on this one!
- Serving Size: 1 meatloaf cup
- Calories: About 240
- Protein: 19g
- Fat: 13g (Hope you used 80/20!)
- Carbohydrates: 12g
- Sugar: 7g (That’s mostly from our glaze!)
- Sodium: 350mg
Because we aren’t using heavy cream or tons of bread filler, the fat content stays reasonable for a solid dinner portion. If you’re making **make ahead dinners** and want to lower the sodium, just be mindful when adding salt during the mixing stage!
PrintQuick Mini Meatloaf Muffins with Simple Glaze

Make individual meatloaf portions quickly using a muffin tin. These are easy to serve and great for meal prep.
- Prep Time: 15 min
- Cook Time: 25 min
- Total Time: 40 min
- Yield: 12 servings
- Category: Dinner
- Method: Baking
- Cuisine: American
- Diet: Low Fat
Ingredients
- 1.5 lbs ground beef (80/20 recommended)
- 1/2 cup breadcrumbs
- 1/4 cup milk
- 1 large egg, lightly beaten
- 1/4 cup finely chopped onion
- 2 cloves garlic, minced
- 1 teaspoon salt
- 1/2 teaspoon black pepper
- 1/4 cup ketchup (for glaze)
- 2 tablespoons brown sugar (for glaze)
- 1 tablespoon apple cider vinegar (for glaze)
Instructions
- Preheat your oven to 400 degrees Fahrenheit. Lightly grease a standard 12-cup muffin tin.
- In a large bowl, combine the breadcrumbs and milk. Let stand for 5 minutes to soften the breadcrumbs.
- Add the ground beef, egg, onion, garlic, salt, and pepper to the breadcrumb mixture. Mix gently with your hands until just combined. Do not overmix.
- Divide the meat mixture evenly among the 12 muffin cups, pressing lightly to form a compact shape.
- In a small bowl, whisk together the ketchup, brown sugar, and apple cider vinegar for the glaze.
- Spoon about 1 teaspoon of the glaze over the top of each mini meatloaf.
- Bake for 20 to 25 minutes, or until the internal temperature reaches 160 degrees Fahrenheit.
- Remove from the oven and let the meatloaves rest in the tin for 5 minutes before carefully removing them.
Notes
- For a richer flavor, substitute half of the ground beef with ground pork or veal.
- These freeze well after cooking; cool completely, then store in an airtight container for up to three months.
- If you prefer a bacon cheddar flavor, mix 1/2 cup shredded cheddar cheese and 4 slices of crumbled cooked bacon into the meat mixture.
Nutrition
- Serving Size: 1 meatloaf cup
- Calories: 240
- Sugar: 7
- Sodium: 350
- Fat: 13
- Saturated Fat: 5
- Unsaturated Fat: 8
- Trans Fat: 0.5
- Carbohydrates: 12
- Fiber: 1
- Protein: 19
- Cholesterol: 65