

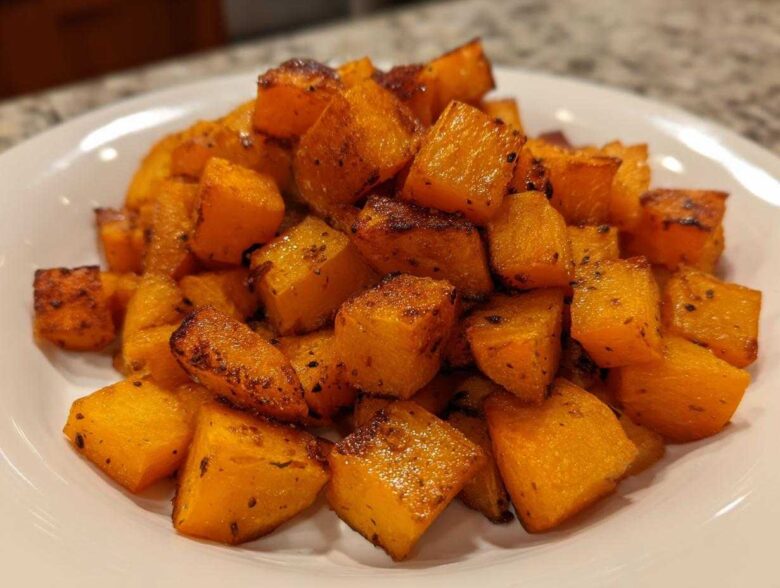
Oh, I just love when the air starts to get that crisp little snap! That’s my signal that it’s time to dust off the heavy sheet pans because fall cooking is officially my favorite. We don’t need anything fussy during this season; we need comforting, satisfying sides that taste like pure harvest goodness. And that brings me to the star of the show today: **roasted butternut squash**. Seriously, you are going to turn this humble winter squash into something magical. Forget complicated sauces; I’m showing you how to get those perfect, sweet, caramelized edges and the creamiest center imaginable.
I make this recipe almost every week once October hits. It’s my go-to for a quick weeknight butternut squash dinner idea, but it tastes so rich, it’s always requested for Thanksgiving, too. Trust me, once you master this simple method, you won’t look back. We’re keeping it basic so the natural sweetness of that squash really sings!
If you want to see some of my other favorite simple side dishes that cook up fast, you can always check out my main recipe index for more inspiration!
Why This Simple Roasted Butternut Squash Recipe Works (Easy Butternut Squash Recipe)
I get asked all the time how I make my **easy butternut squash recipe** taste so darn good when it only uses, like, four main ingredients. The secret isn’t some fancy spice blend; it’s all about applying the heat correctly! This method is fantastic because it’s a true **quick vegetable side recipe**; you spend 15 minutes prepping and you’ve got a fantastic **healthy roasted side dish** ready in under 30 minutes.
It truly shines because we aren’t steaming it or boiling it first—we’re hitting it with high heat right away. If you want a fool-proof **simple roasted vegetable side** for your upcoming holiday meal, this is it. If you’re wondering about the general technique for roasting around here, I break down all my best tips on how to roast butternut squash in general!
Achieving Creamy Roasted Squash Texture
Want that heavenly texture where it melts in your mouth? It all comes down to the size of your cut. If the squash pieces are too big, the outside burns before the inside is cooked through. You need uniformity! Cutting them into even 1-inch cubes means heat penetrates all sides at the same rate, giving you that perfect, soft, creamy roasted squash texture inside every piece once it hits that 400-degree mark.
Tips for Making Roasted Vegetables Crispy
Okay, this is the part everyone struggles with when they try roasting! Getting those crispy bits is essential. If you pile your squash in a mountain on your baking sheet, you are just steaming them in their own moisture, and that’s not what we want! You absolutely have to spread everything out in a single, glorious layer. No touching! This direct contact with the hot metal is crucial for **making roasted vegetables crispy** and caramelizing those edges perfectly. No overcrowding allowed!
Ingredients for Perfect Roasted Butternut Squash
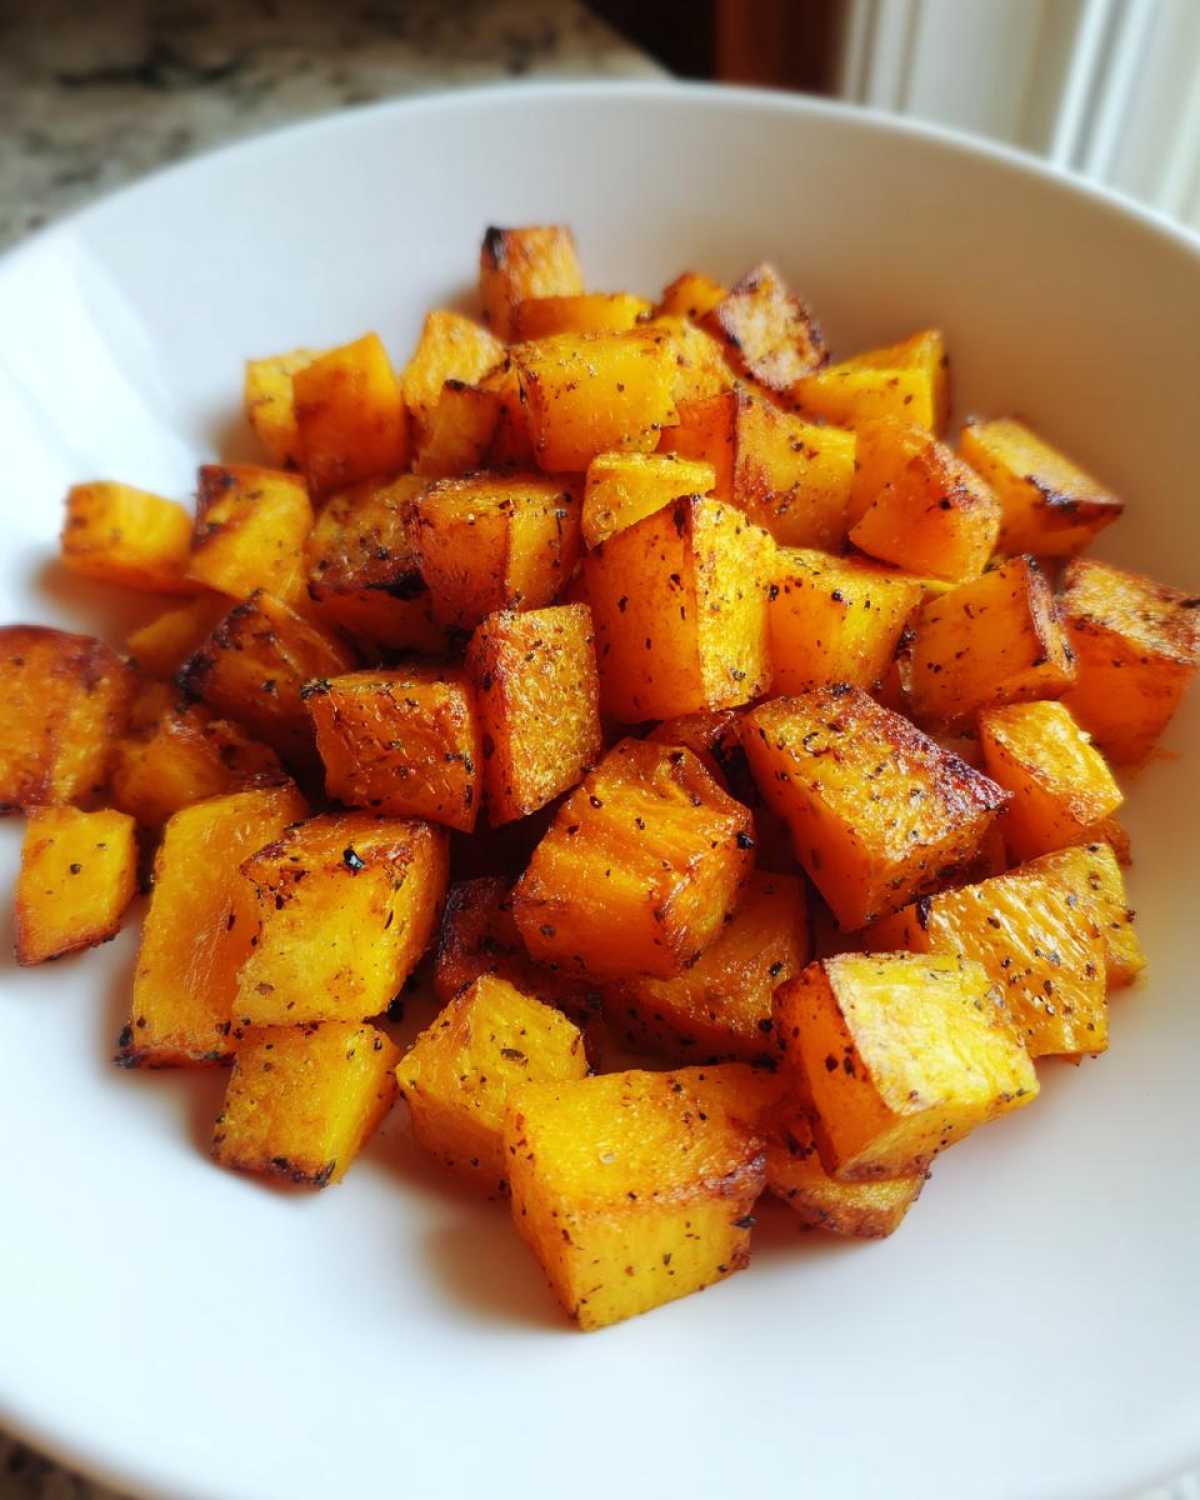
You won’t believe how simple this is! For our **best oven roasted squash**, you really only need the basics. I always start with one medium butternut squash—that’s usually about three pounds when it’s fully intact. Then, grab about two tablespoons of good olive oil, some kosher salt, and pepper.
The most important prep work here is getting those cubes right: you need 1-inch cubes evenly cut after you’ve peeled it and scooped out those pesky seeds. If you want that extra pop of caramelized flavor, I like to add one tablespoon of maple syrup in with the oil and seasonings. You can check out how I use maple syrup in my other herb roasting posts for flavor ideas, but for this basic batch, it’s totally optional!
How to Prepare Roasted Butternut Squash Step-by-Step
Alright, let’s get this beautiful veggie into the oven! First things first: crank that heat up. You need the oven roaring hot at 400 degrees Fahrenheit—that’s 200 Celsius, for my friends using the metric system. This high temperature is key to getting that perfect contrast we’re aiming for!
Once your oven is heating up, it’s time to tackle the squash. Remember what I said about peeling and seeding? Get that done and chop everything into those beautiful, even 1-inch cubes. If you’ve got a big squash, trust me, you might want to keep your good cutting board steady because they can roll around! Getting the cubes uniform is just as important as getting your seasoning right—it’s a lesson I learned doing everything from potatoes to squash. For instance, when I make my breakfast potatoes, that even cutting makes all the difference!
Prepping and Seasoning the Butternut Squash
I like to put all my cubed squash right into a big mixing bowl. You want every single piece to get a good hug from the seasonings. Drizzle on the olive oil—don’t be shy, but don’t drown it! Then hit it with the salt and pepper. If you’re like me and you want that extra golden sweet-and-savory finish, now is the time to drizzle on that optional tablespoon of maple syrup. Toss everything together really well until you see a light sheen coating every cube. Sniff that—it already smells amazing!
Roasting Time and Technique for Roasted Butternut Squash
Now for the most crucial part for getting that perfect **roasted butternut squash**: the baking sheet. Spread the seasoned cubes out onto your sheet pan in a single layer. I repeat: **single layer!** If they’re piled up, they steam, and we want crispy edges, right? Seriously, if you think your pan is big enough, grab another one. We need space for the **roasted butternut squash** to breathe and brown up.
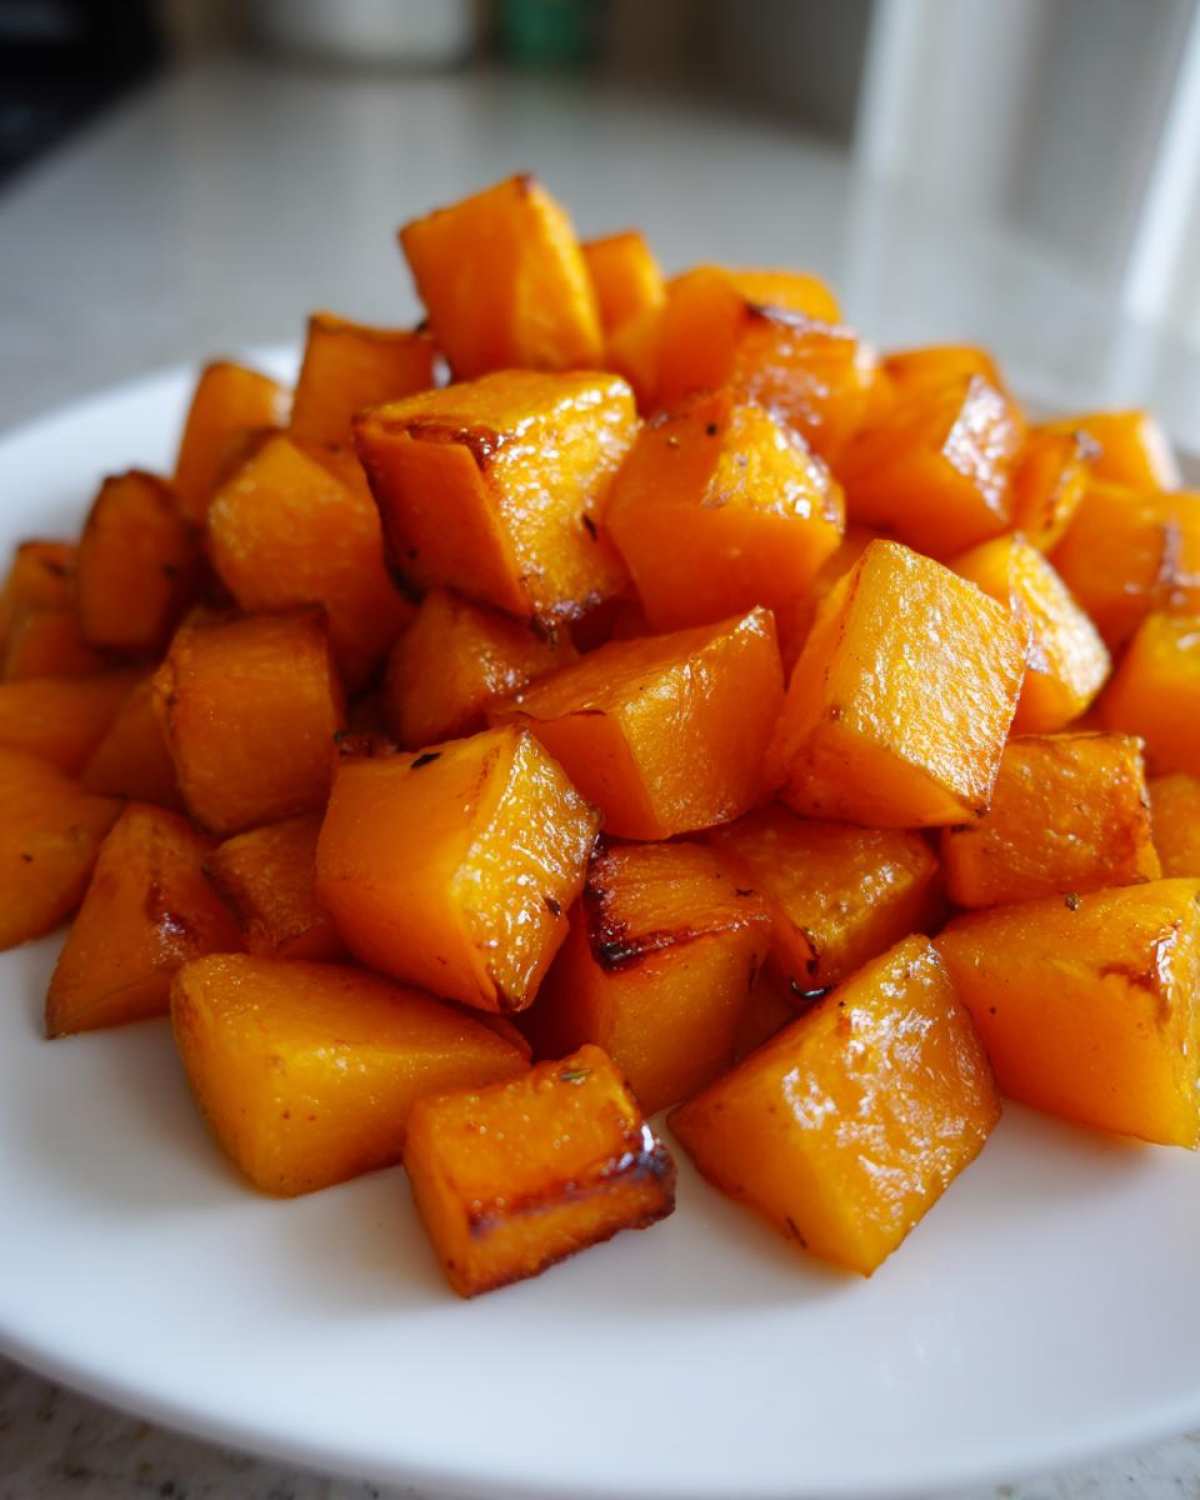
Pop that pan into the hot oven for 25 to 35 minutes total. You have to stir it up about halfway through so that all sides get a turn kissing the hot metal of the pan. You’ll know they are done when they are tender if you poke them with a fork, and those edges are delightfully browned up. Perfection!
Expert Tips for Next-Level Roasted Butternut Squash
Even though this **roasted butternut squash** recipe is designed to be foolproof, I always have a few house rules that take it from “good” to “please, may I have seconds?” These are the little secrets I picked up over the years making huge batches for fall dinners. It’s about optimizing that moisture release and heat distribution!
First up, let’s talk flavor enhancers. If you want to move beyond just salt and pepper, you can absolutely add some lovely woodsy notes. I love tossing in about a half teaspoon of dried thyme or perhaps some rosemary right there with the salt and pepper before roasting. It gives the **roasted butternut squash** such a wonderfully warm, comforting side dishes perfume.
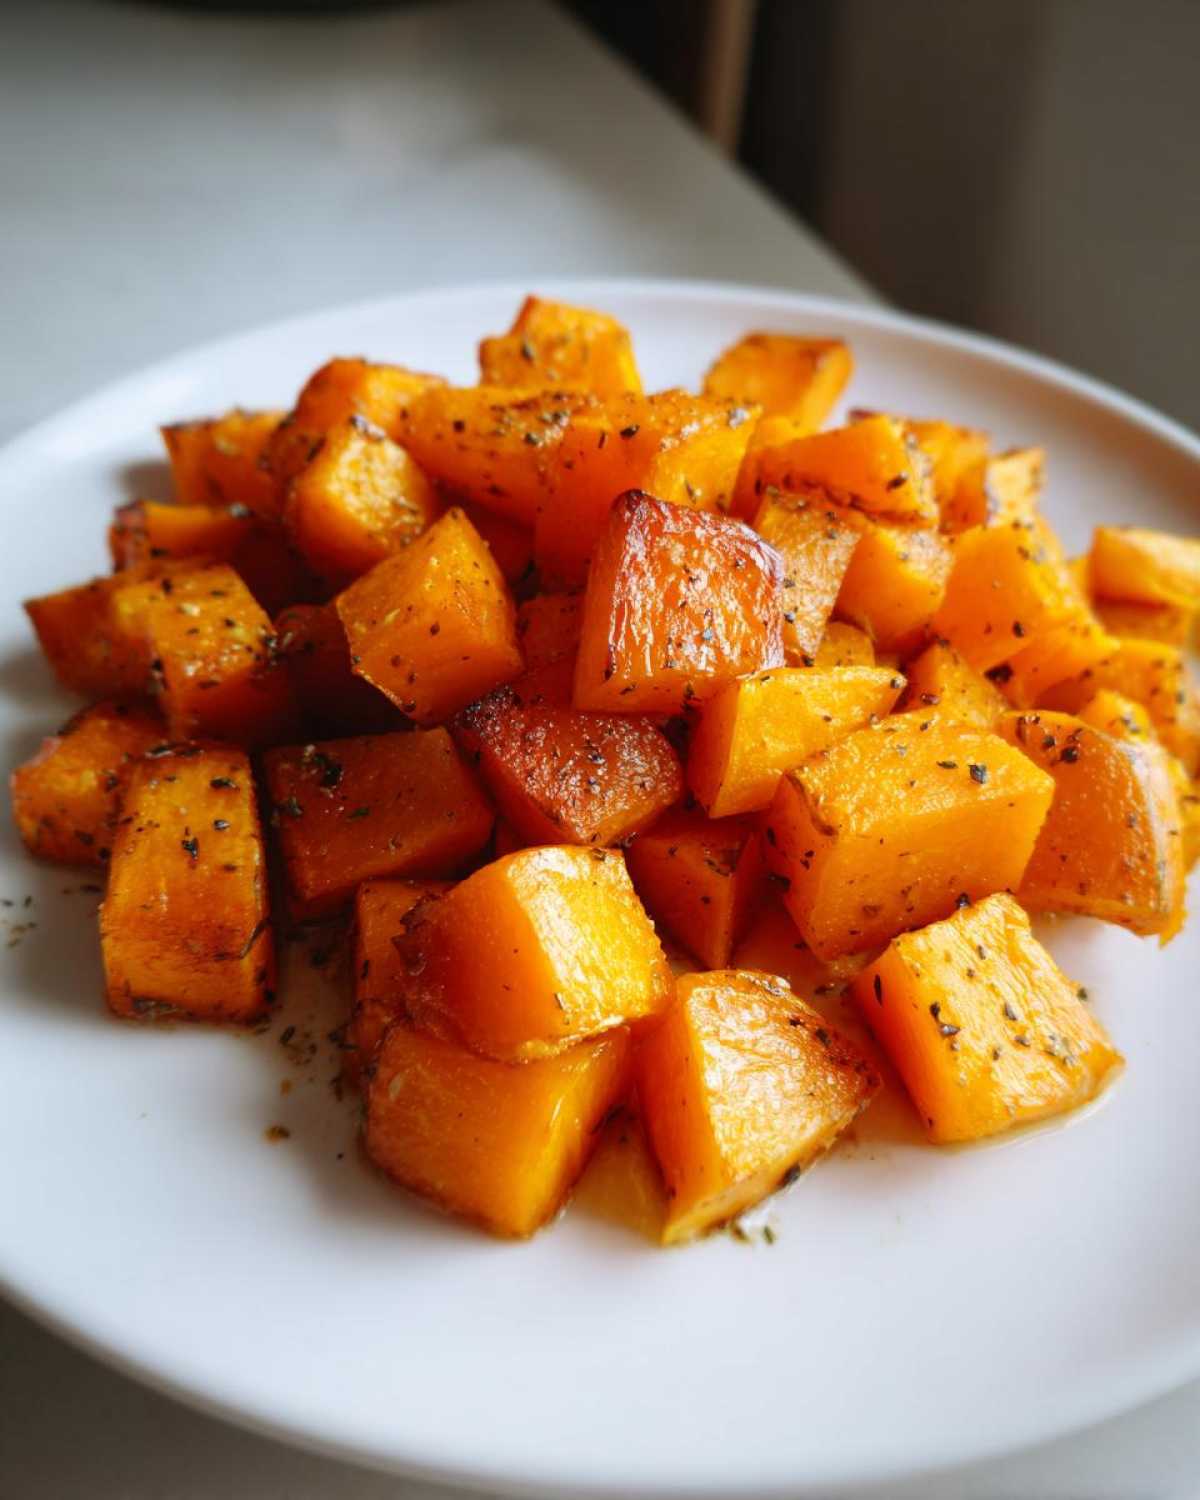
But the absolute biggest game-changer for making the edges look beautiful comes back to what we talked about earlier: pan contact. If you want those truly fantastic, slightly charred, crispy edges, every single cube needs direct, uninterrupted contact with that hot baking sheet. If they are even slightly touching another piece, they’ll steam instead of crisp. This is the key to getting that incredible contrast between the crispy exterior and the soft, sweet inside when you make your **roasted butternut squash**.
When I experiment, I sometimes try tossing these with my garlic parmesan broccoli—the flavors play so nicely together on the plate!
Serving Suggestions for Your Caramelized Squash Side Dish
Once you pull that sheet pan out of the oven, you’ll be holding onto pure gold! Seriously, these crispy, sweet morsels are the definition of a **warm comforting side dish**. Because the flavor profile leans sweet and savory (especially if you used that maple syrup!), it pairs up beautifully with practically anything.
For a quick weeknight meal, I often serve my **caramelized squash side dish** alongside some simple roasted chicken breast or maybe just a big pile of quinoa or farro. The slight sweetness and earthiness of the squash just makes the whole meal feel a little more put-together without any extra effort on my part. If you’re looking for more ways to use herbs with your veggies, I have a great post on simple herb roasted vegetables that gives you flavor inspirations you can try next!
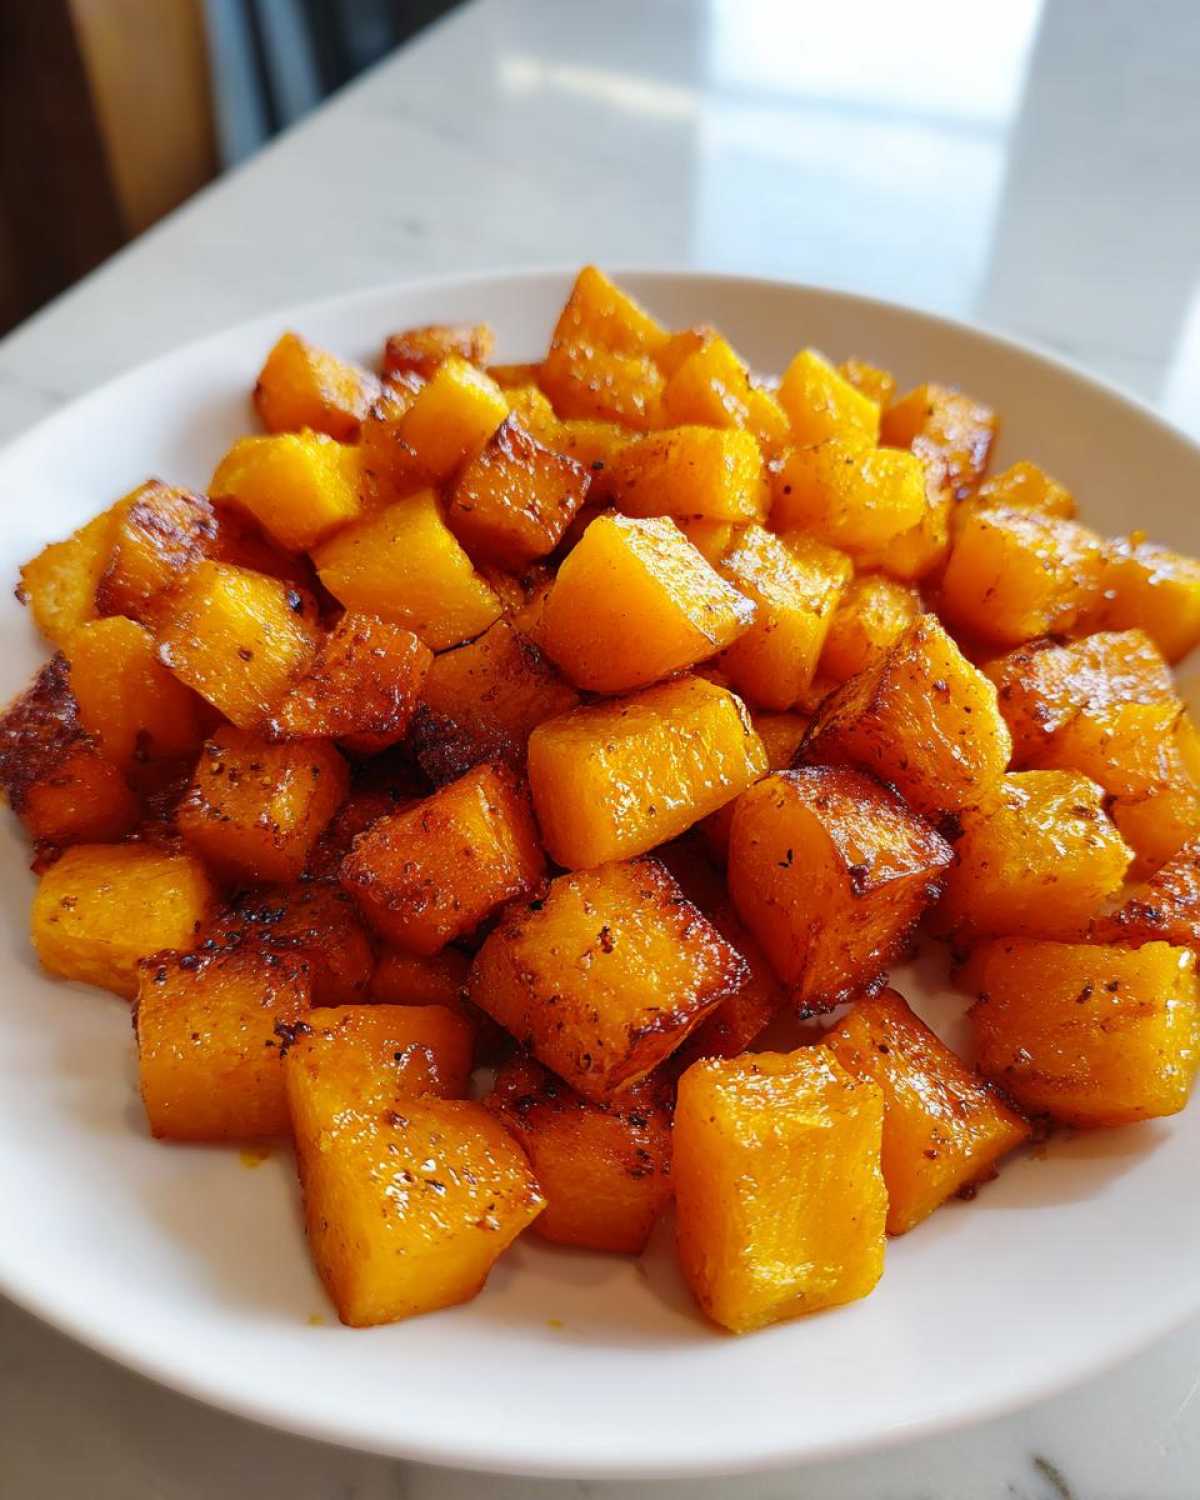
When the holidays roll around, this is an absolute shoe-in for **Thanksgiving side dishes vegetables**. It’s naturally vegetarian and gluten-free, so everyone can enjoy it! It works perfectly next to salty savory things like roast turkey or rich glazed ham, providing a lovely, gentle sweetness that cuts right through the heavier flavors on your plate. It’s so versatile, honestly!
Storage and Reheating Instructions for Roasted Butternut Squash
Don’t worry if you have leftovers of this fantastic **roasted butternut squash**—though honestly, I rarely do! It keeps really well, which makes it even better for meal prepping during the week.
You can definitely store your leftover **roasted butternut squash** in an airtight container right in the fridge. It should stay perfectly good for about four to five days. It’s one of those wonderful healthy roasted side dishes that tastes great cold right out of the container, maybe tossed on a quick salad for lunch!
Now, if you want to bring back that slightly crispy edge we worked so hard to achieve, the microwave isn’t your friend. The microwave is quick, sure, but it totally turns roasted veggies soft and mushy. For the best result, you want to reheat your **roasted butternut squash** in an oven or toaster oven set around 350 degrees for about 8 to 10 minutes.
Spreading them out briefly on a clean baking sheet will help them crisp up just a touch again. It just takes a few minutes longer than grabbing the microwave, but trust me, the texture payoff is so worth the extra effort to keep that warm comforting side dishes feeling alive!
Frequently Asked Questions About Roasted Butternut Squash
I decided to gather up some of the most common questions I get rattling around in my email inbox. People always want to make sure their **roasted butternut squash** turns out great because, let’s be honest, nobody wants soggy squash! These little bits of knowledge should help you nail this anytime you’re cooking up a batch.
If you have even more questions that I missed, you can always jump over to my main guide on how to roast butternut squash for a deeper dive!
Can I roast butternut squash ahead of time for Thanksgiving side dishes vegetables?
Yes, you absolutely can prep ahead, which is a huge lifesaver when you’re cooking for holidays! You can certainly roast the **roasted butternut squash** a day ahead of time, cool it completely, and then store it airtight in the fridge. When it comes time to serve, the best way to reheat it for your **Thanksgiving side dishes vegetables** spread is to put it back on a baking sheet in a 350-degree oven for about 10 minutes. This helps dry out any surface moisture overnight and restores some of that lovely browning we work so hard to achieve!
What is the best way to cut butternut squash for roasting?
We covered this a bit, but I can’t stress this enough: uniformity is your friend! The absolute best way for roasting—whether you are making a **simple herb roasted vegetables** mix or just the basic recipe—is to aim for consistent 1-inch cubes. If you have some that are tiny and some that are huge, the tiny ones will disintegrate into sweet mush while the huge ones will still be hard in the middle. Stick to that 1-inch size, and your results will be nearly perfect every single time!
Nutritional Snapshot of This Easy Butternut Squash Recipe
Now, I’m not a nutritionist—far from it! Those fancy labels they put in the grocery store always confuse me. But since we all want to know what we are serving up, here is a quick look at the estimated nutritional payoff for this simple cooking adventure. Remember, this is just an estimate based on the ingredients list, especially if you skip that optional tablespoon of maple syrup, which will obviously bump up the sugar content!
This recipe really proves that you can eat something delicious and cozy that is also packed with good stuff. It’s a fantastic, filling option that doesn’t rely on heavy creams or fats to taste amazing. Here’s what you can generally expect per serving cup:
- Calories: Around 180
- Fat: About 7 grams (mostly good, unsaturated fats from the olive oil!)
- Protein: A small boost at 3 grams
- Carbohydrates: Roughly 29 grams
- Fiber: A healthy 6 grams to keep things moving along!
- Sugar: About 9 grams (mostly natural sugars from the squash itself)
See? Nothing scary here! It’s a wonderfully light **butternut squash weeknight meal** component that lets you feel good about what you’re eating. It’s proof that you don’t need complicated recipes to eat well!
Share Your Roasted Butternut Squash Creations
Okay, that’s everything you need to know to turn out the absolute best **roasted butternut squash** your kitchen has ever seen! Now, this is the fun part where we connect. I really want to know what you thought!
Did you stick to the simple salt and pepper, or did you go wild with the rosemary and thyme I suggested? Did you find the edges got super crispy using my pan-spreading trick? Please hop down to the comments section right below this and let me know! A rating is always appreciated too—it helps other folks know what’s cooking!
If you’re sharing pictures on social media (because honestly, beautiful roasted squash deserves to be Instagrammed!), tag me! I love seeing how my recipes fit into your home cooking adventures. And don’t forget to browse my main blog index for even more easy-to-make, cozy recipes!
PrintSimple Oven Roasted Butternut Squash
A straightforward recipe for roasting butternut squash in the oven to achieve a creamy interior and slightly caramelized, crispy edges. This makes a versatile side dish.
- Prep Time: 15 min
- Cook Time: 30 min
- Total Time: 45 min
- Yield: 4 servings
- Category: Side Dish
- Method: Roasting
- Cuisine: American
- Diet: Vegetarian
Ingredients
- 1 medium butternut squash (about 3 lbs)
- 2 tablespoons olive oil
- 1 teaspoon kosher salt
- 1/2 teaspoon black pepper
- 1 tablespoon maple syrup (optional, for extra caramelization)
Instructions
- Preheat your oven to 400 degrees Fahrenheit (200 degrees Celsius).
- Peel the butternut squash, remove the seeds, and cut the flesh into 1-inch cubes.
- Place the squash cubes in a large bowl. Drizzle with olive oil, sprinkle with salt and pepper, and toss until all pieces are evenly coated. If using, add the maple syrup and toss again.
- Spread the seasoned squash in a single layer on a large baking sheet. Do not overcrowd the pan; use two sheets if necessary to promote crisping.
- Roast for 25 to 35 minutes, stirring halfway through, until the squash is tender when pierced with a fork and the edges are browned and slightly crispy.
- Remove from the oven and serve immediately.
Notes
- For extra flavor, add 1/2 teaspoon of dried thyme or rosemary with the salt and pepper before roasting.
- To get the crispiest edges, ensure the squash pieces have direct contact with the hot baking sheet and are not touching each other.
- If you prefer a softer texture, reduce the roasting time by 5 minutes.
Nutrition
- Serving Size: 1 cup cubed
- Calories: 180
- Sugar: 9
- Sodium: 450
- Fat: 7
- Saturated Fat: 1
- Unsaturated Fat: 6
- Trans Fat: 0
- Carbohydrates: 29
- Fiber: 6
- Protein: 3
- Cholesterol: 0