

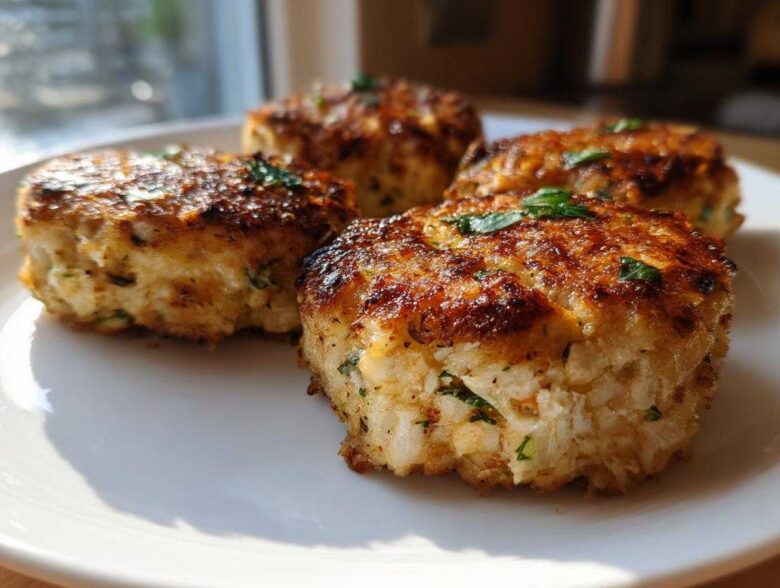
Listen, we all hit that wall, right? It’s 6 PM, the kids are hanging by the fridge, and you know you need protein on the table, but you have exactly zero energy to chop vegetables or wait an hour for something to bake. That’s exactly when my foolproof canned tuna recipes save the day! I swear, I developed these lightning-fast **tuna fish cakes** during a phase when my schedule was insane and I needed something cheap, healthy, and ready in literally twenty minutes.
Forget those dry, crumbly hockey pucks you sometimes get! These cakes are tender inside but get this beautiful, golden, crispy shell on the outside. They are so reliable, I call them my emergency dinner—always delicious, always affordable, and never messy. Seriously, if you only take away one recipe from this whole site, make it this one for **quick weeknight dinner** emergencies.
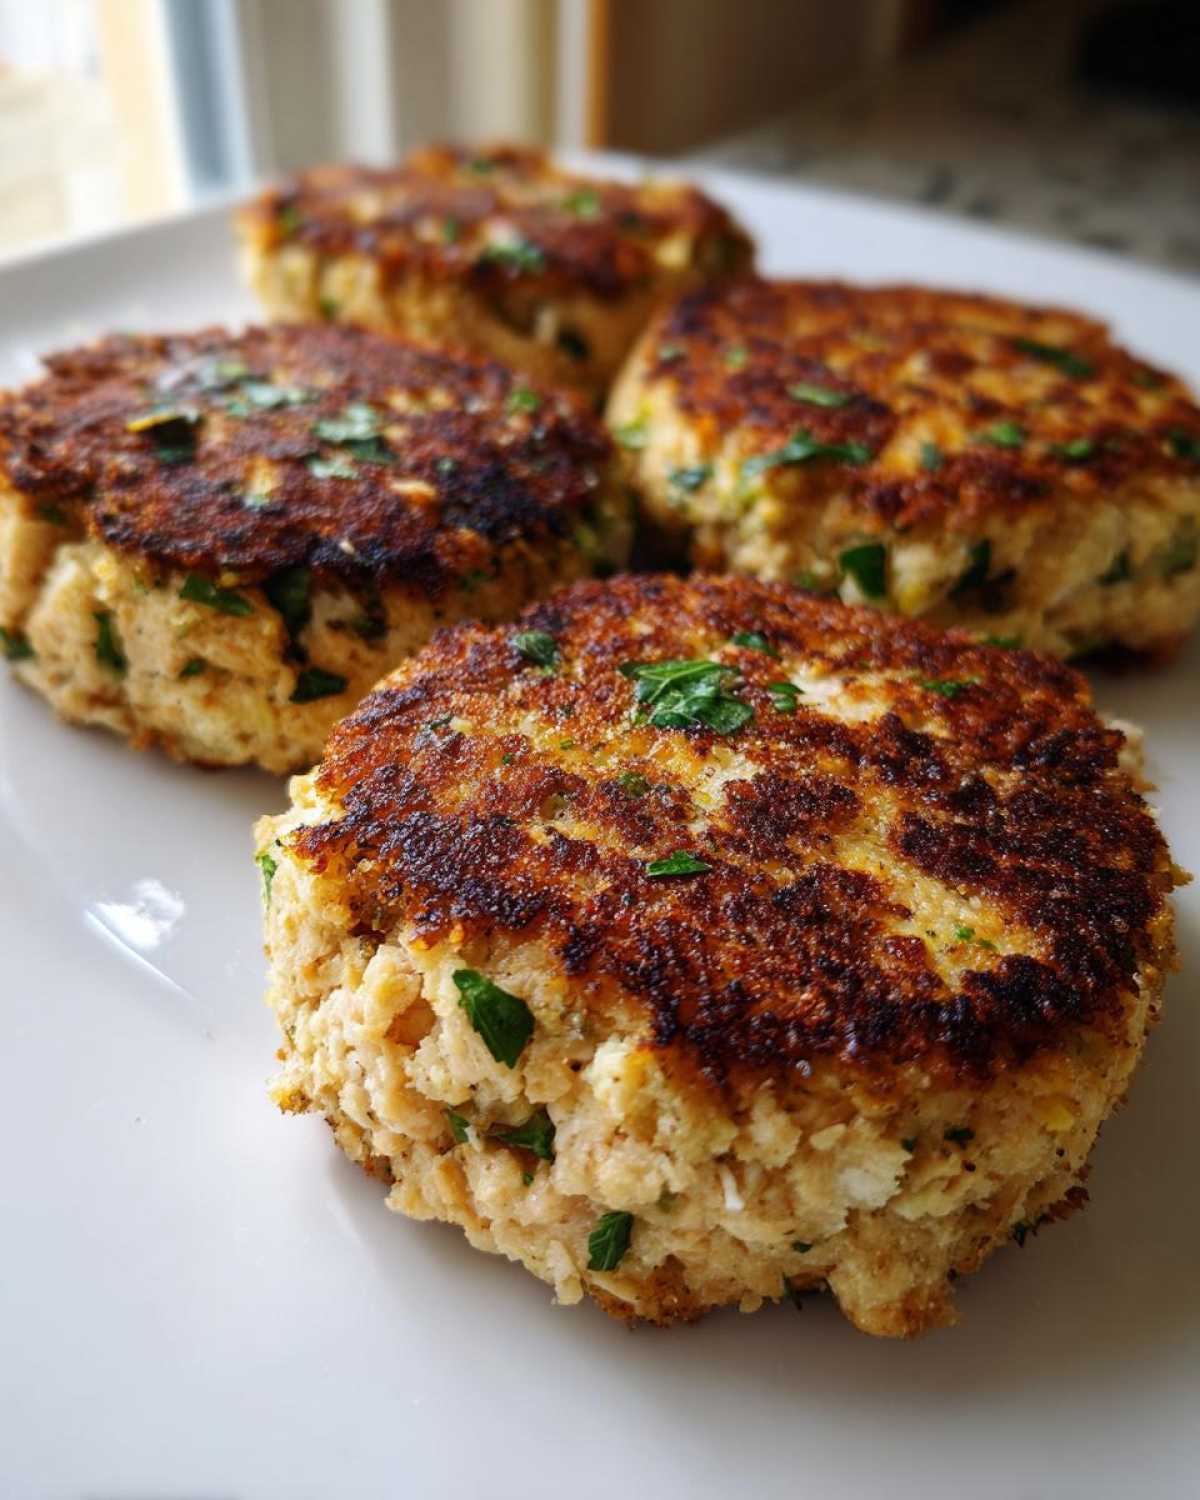
Why You Need This Quick Tuna Fish Cakes Recipe
I know you’re busy, so let’s cut right to why these win every single time. They are built for speed and your wallet. I’m talking about a fantastic source of protein ready from pantry to plate in just about twenty minutes, start to finish. That’s less time than it takes to decide what takeout order you want!
- Seriously budget-friendly—mostly canned goods and pantry staples!
- They hold together beautifully; no sticking or crumbling nonsense here.
- Perfect for freezing for next time because you know you’ll want them again.
Speed and Simplicity: The Ultimate Quick Weeknight Dinner
When I need **easy tuna fish cakes**, I rely on the fact that the prep is just ten minutes, and the cooking is only ten minutes. That 20-minute window is sacred! This recipe respects your time, which makes it the MVP for any chaotic evening when you need flavor fast.
Essential Ingredients for Perfect Tuna Fish Cakes
Okay, let’s talk about what goes into these babies. Since we’re moving so fast, we rely on good quality pantry staples, but trust me, the ratios have to be right or they turn into mush! You need one standard 5-ounce can of tuna; make sure you drain it really well, or you’ll be adding tons of extra breadcrumbs later.
We use one large egg, a quarter cup of mayonnaise (I actually make mine from scratch, but if you don’t have time, a good quality jarred one is fine—you can check out my mayo recipe here if you want to level up!), and just a touch of Dijon mustard for a little zing. Don’t forget that finely chopped onion and fresh parsley for brightness!
Ingredient Notes and Healthy Substitutions for Tuna Fish Cakes
The binder here is crucial. We use about a quarter cup of regular breadcrumbs, but if you’re keeping things low-carb or need gluten-free tuna patties, switch that out for almond flour! It works beautifully as a binder while keeping the carb count way down for your keto tuna cakes.
I use olive oil for frying because I like the slight fruity flavor, but use whatever higher-heat oil you prefer. Remember, you only need enough to coat the bottom of the pan—we want them golden and crispy, not swimming! That little bit of fat is what gets us that perfect crunchy exterior we’re aiming for!
Step-by-Step Instructions for Crispy Tuna Cakes
Alright, this is where the magic happens that turns sad canned tuna into a respectable meal. The secret is gentle mixing! Grab your bowl with all the good stuff—the tuna, the egg, the mayo, mustard, onion, and parsley. Give that a good stir until everything is happy and incorporated. Be careful not to beat it to death!
Next, gently fold in your breadcrumbs—or your almond flour if you’re going keto. I always say mix it *just* until the crumbs disappear. Overmixing at this stage is how you get dense, rubbery patties, and we absolutely want to avoid that. You want them light!
Now, divide that mixture evenly and shape them into four patties. I try to make mine about an inch thick. If you rush the shaping, they get too thin and tend to fall apart when you flip them. Give them a little love and make them sturdy!
Achieving Crispy Tuna Cakes: Frying Tips
Here’s the most important part for those beautiful **crispy tuna cakes**! Get your skillet rocking over medium heat and add that tablespoon of olive oil. You want it hot enough that the oil shimmers slightly, but not so hot that it smokes immediately because that will burn the outside before the inside warms up. That’s why medium heat is your best friend here.
Carefully ease those patties into the hot pan—you should hear a nice little sizzle! Now, walk away for four to five minutes. Don’t prod them! You need that time to build that wonderfully golden, crispy crust. Flip them gently with a thin spatula and cook the second side for another four to five minutes. Once they are deep golden brown on both sides and heated through, pull them right out. Serve them up hot!
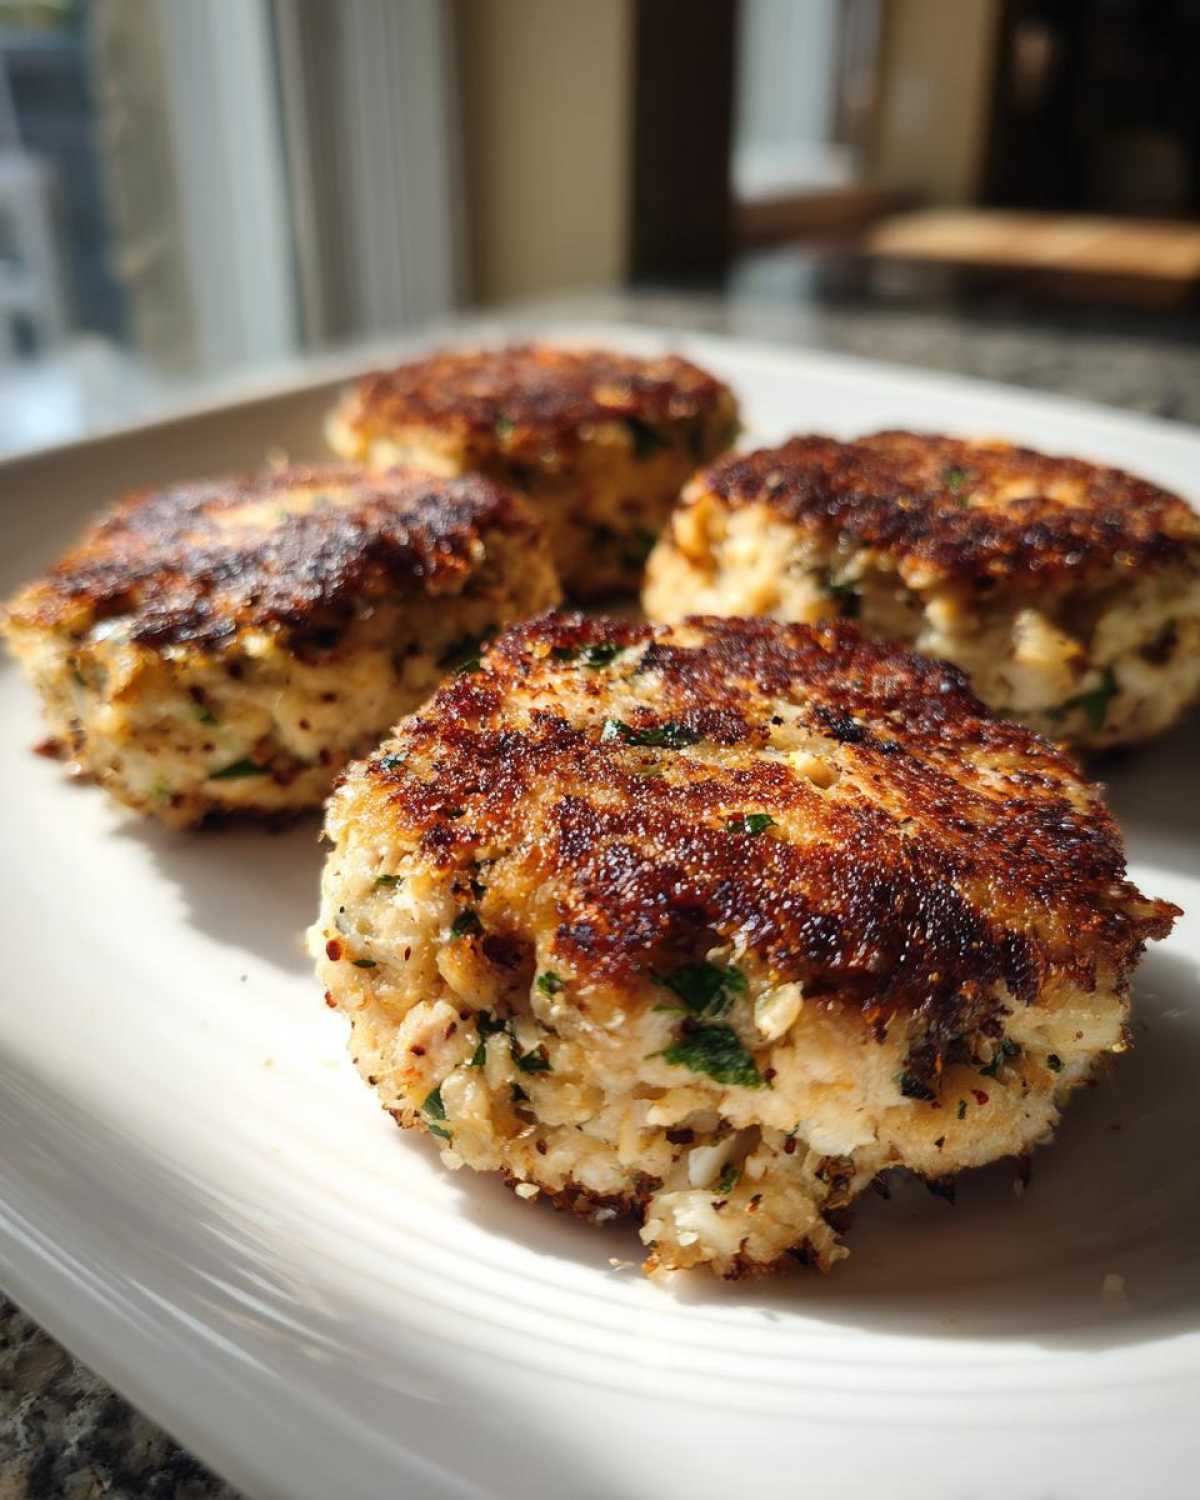
Cooking Tuna Fish Cakes in the Air Fryer
Okay, I get it—sometimes you just want to skip the skillet entirely! If you’re looking for a slightly leaner option or you just want to clean up less, the air fryer is your new best friend for making **air fryer tuna patties**. Honestly, they come out tasting almost fried, but with way less fuss and oil. It’s brilliant, especially when you want to avoid heating up the whole kitchen!
You prepare the patties exactly the same way—mix everything up, form them gently, and make sure they are sturdy enough to handle moving around in the basket. Just don’t forget this step: light oil spray! The air fryer needs a little fat to help that surface crisp up properly. I just use a light cloud of cooking spray over the top of each one. If you want some inspiration on how awesome an air fryer can be, check out my post on making crispy salmon—the principle is the same!
Once they are sprayed, pop them into your air fryer basket. Don’t crowd them! Make sure there’s a little space around each patty so that hot air can circulate everywhere. I set mine to 375°F. They usually need about 10 to 12 minutes total to get perfectly cooked through and golden brown.
Here’s the trick I learned the hard way: you must flip them halfway through! Around the six-minute mark, carefully pull the basket out, flip each patty over, and then slide it back in to finish cooking. This guarantees you don’t end up with one side pale and the other side aggressively brown. When they come out, they are hot, solid, and ready to be eaten!
Dietary Variations: Making Keto Tuna Cakes
So many of you have asked about ways to keep these tasty **healthy tuna patties** but lower the carbs for your lifestyle. Good news! These cakes are super adaptable, and turning them into **keto tuna cakes** is honestly a breeze. The main swap is that binder we talked about earlier—the breadcrumbs.
Instead of regular breadcrumbs, we are swapping in almond flour. It’s a one-for-one substitution volume-wise, but it brings in that healthy fat content keto lovers look for, and it cuts out the sugar and starches found in wheat-based crumbs. It’s honestly my go-to when I need a low-carb fix but still want something that holds its shape!
The binding power of almond flour is slightly different than breadcrumbs, but because we already have the egg and the mayonnaise in the mix, these cakes hold together perfectly. They still get that wonderful slightly crumbly but moist interior because the almond flour absorbs the moisture gently without drying everything out.
If you are making a huge batch and find the mixture seems a *tiny* bit looser than it did with breadcrumbs, don’t panic! Just add an extra teaspoon of almond flour until it feels firm enough to handle, but seriously, don’t over-add anything. You want the tuna flavor to shine, not taste like a coconut cookie!
For more ideas on how to eat low-carb without sacrificing flavor, you have to check out my guide on keto meatloaf—it uses similar principles of using good fats and alternative binders to keep things satisfying!
Make-Ahead and Storage for Your Tuna Fish Cakes
One of the best things about these incredibly **easy tuna fish cakes** is that they are total masters of the make-ahead game. Seriously, this is why they are my favorite thing to batch-cook. You can whip up a double batch and have emergency dinners or lunches sorted for the entire week. The key to successful storage is *cooling* them completely before you do anything else.
Once you’ve pan-fried (or air-fried!) them, you can’t just throw them straight into a plastic bag—they’ll steam, get soggy, and ruin that lovely crisp exterior we worked so hard to achieve for our **healthy tuna patties**! Lay the cooled patties out flat on a tray or a cutting board lined with parchment paper. Pop that tray into the freezer for about an hour or two until the patties are rock solid.
Once they are frozen solid, you can transfer them into a heavy-duty freezer bag. Make sure you squeeze as much air out as possible before sealing them up. They keep perfectly for up to three months. I promise, having these frozen discs of protein ready to go feels like winning the lottery on a busy Tuesday!
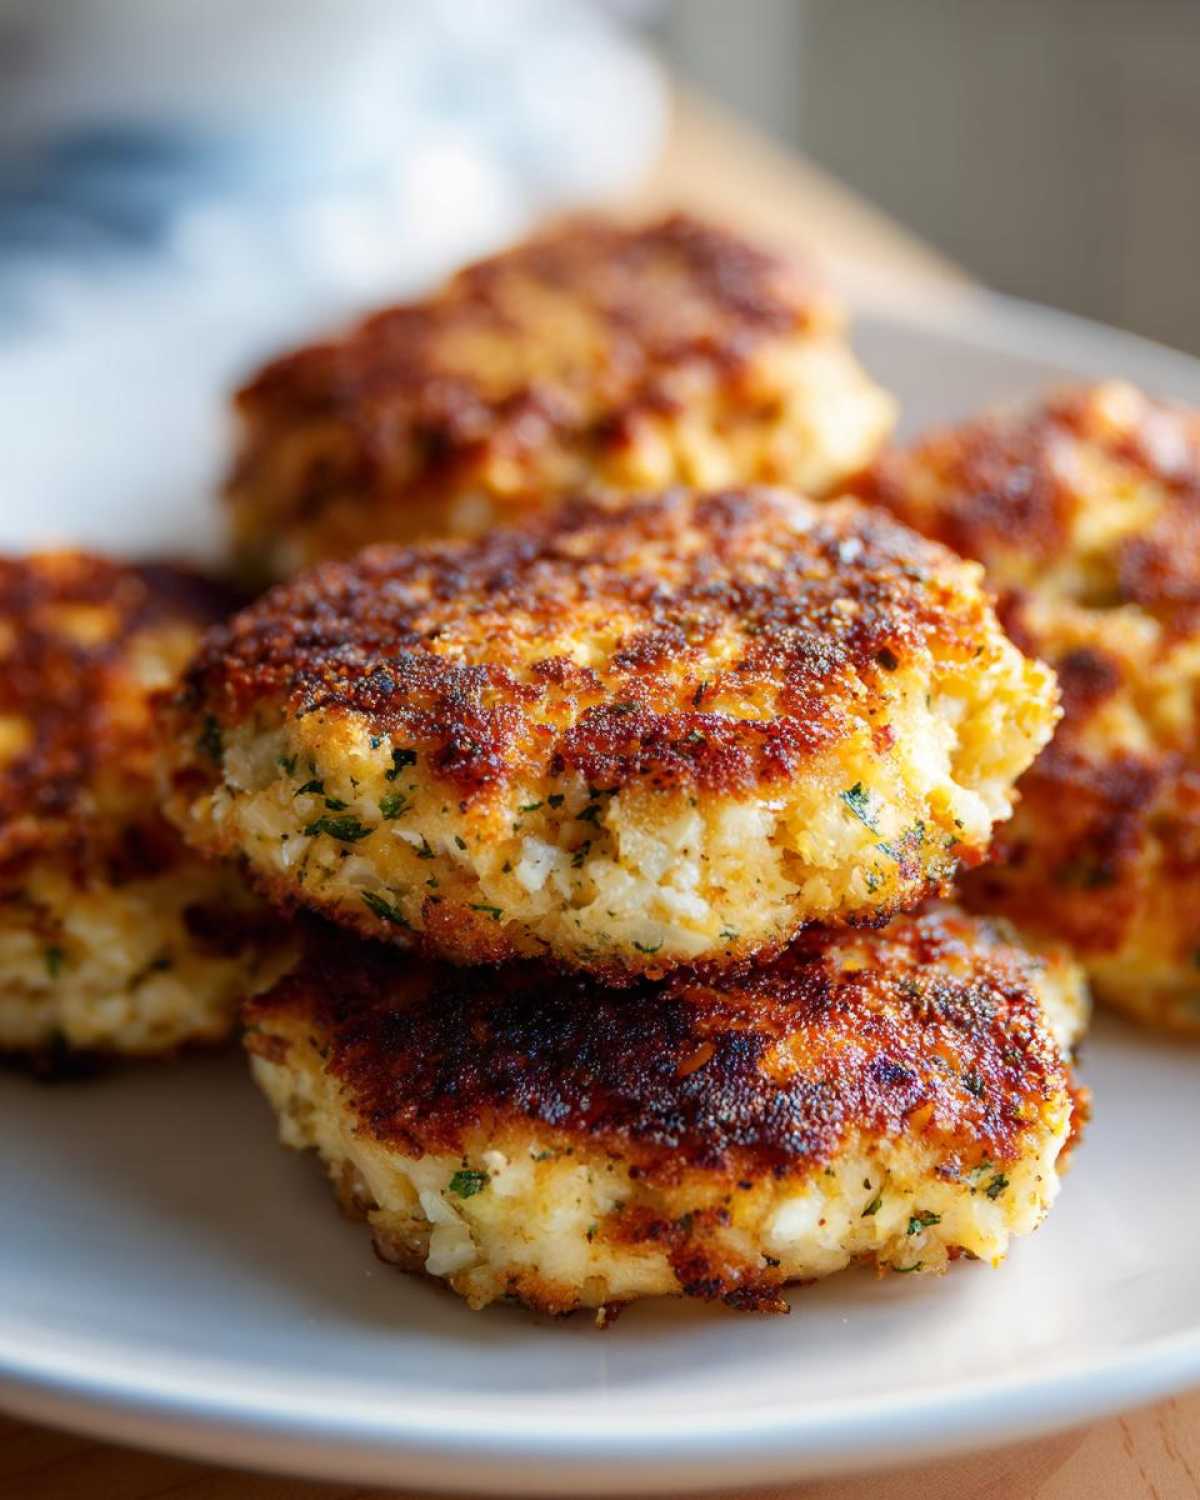
Reheating to Keep That Crisp Texture
Now, reheating is where people sometimes mess up and end up with a less-than-stellar experience. If you reheat a pre-made patty in the microwave, you are basically steaming it, and that crisp crust turns instantly soft. We don’t want that sad situation!
If you plan on eating them right away without using the air fryer, I highly recommend reheating your frozen or refrigerated patties in a dry skillet over medium heat—no extra oil needed, just enough to warm them through—for about three minutes per side. This gently brings the heat back while allowing that exterior to re-crisp just a little.
My absolute favorite way to reheat them, though, is going right back into the air fryer! If they are thawed, use the same setting: 375°F for about 5 minutes. If they are straight from the freezer, give them about 8 to 10 minutes, flipping halfway through. They come out tasting almost exactly like they did fresh off the skillet. Trust me on this—the air fryer is the best way to revive these for leftovers!
Serving Suggestions for Your Healthy Tuna Patties
You’ve made these rockstar **healthy tuna patties**, so now what? The beauty of these **tuna fish cakes** is how adaptable they are! They’re not just for eating plain on a plate, although you certainly can do that if you’re starving and need protein *now*. They perform beautifully in a few different roles on your dinner table.
The most popular way my family eats these is as a stand-in burger! Seriously, they are perfect sized for a bun. If you’re going low-carb, just ditch the bun and wrap them in a large lettuce leaf—maybe romaine or butter lettuce—along with some sliced tomato and onion. They handle the fixings just as well as a burger patty would!
Another way I use them up fast is totally deconstructed. If I’m trying to keep things light, I crumble a warmed patty right over a big bed of greens. A little drizzle of vinaigrette, maybe some feta cheese, and you’ve got a gorgeous, protein-packed lunch! I often make a big batch of my Mediterranean mixed bean salad on Sunday, and then I just crumble a patty over a serving for a balanced, ready-to-go meal.
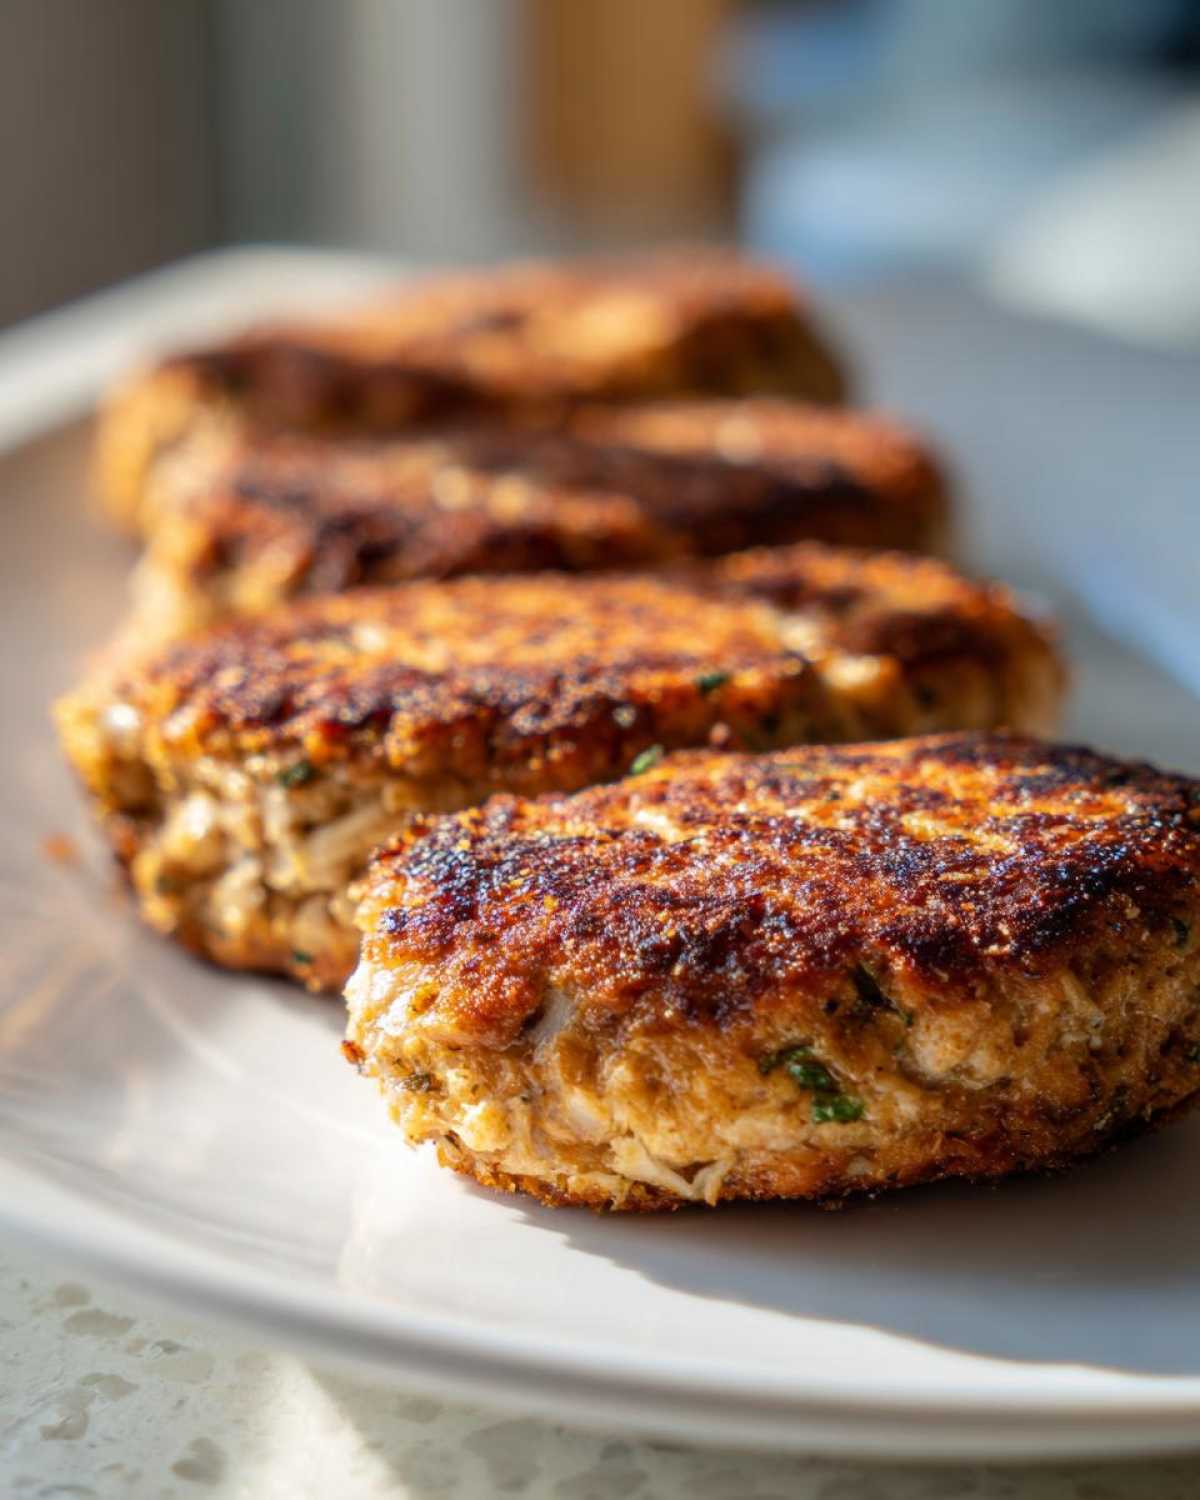
Since these are designed to be a **quick weeknight dinner**, the sides should match that speed! I usually pair them with something that doesn’t require stovetop attention. Think quick microwave sweet potatoes, microwave-steamed green beans, or even just a bag of pre-washed salad mix tossed with olive oil and lemon. You want the process to stay under five minutes after the cakes are done frying. They are just so versatile; don’t be afraid to experiment with what you usually keep stocked!
Frequently Asked Questions About Tuna Fish Cakes
I always get the same handful of questions anytime someone makes my **tuna fish cakes** for the very first time. It’s usually about ingredient swaps or how to make sure they don’t turn into sad, crumbling messes on the pan! I’ve gathered the most common ones below to help you out on your journey to having the best **canned tuna recipes** in your rotation.
Can I substitute the mayonnaise in these tuna fish cakes?
That’s a great question! The mayo is doing double duty here—it adds necessary fat and acts as a solid binder. If you’re trying to cut back on fat or maybe just don’t have it on hand, you can absolutely make a swap! I’ve found that plain Greek yogurt works really well. You might need just a tiny bit less of it compared to the mayo, or you could add an extra half-teaspoon of Dijon mustard to compensate for any lost binding power. Just mix it in gently until the mixture feels right—it should still hold its shape when you squeeze a bit.
How do I prevent my tuna fish cakes from falling apart?
Falling apart is the absolute worst, and it usually happens for one of two reasons! First, and this is key for both **healthy tuna patties** and the regular version: **Do not overmix!** Once you dump in that breadcrumb binder, stop stirring as soon as you see the flour or almond flour disappear. Overmixing develops gluten, which makes them tough and prone to breaking when flipped. Second, make sure your patties are thick! If you try to flatten them too much, they don’t have enough structure. I aim for a solid inch thick, and I always use a thin spatula to make sure I can get underneath the whole patty before attempting the flip.
If you’re still having trouble, make sure the egg you use is a decent size—a small, skinny egg won’t bind as well as a large one! Just be mindful of that mixing stage, and you won’t have any problems keeping these **crispy tuna cakes** intact.
If you want more creative ideas for using canned tuna beyond just patties, you should take a peek at my full roundup of canned tuna recipes; sometimes a change of direction helps!
Review and Share Your Quick Tuna Fish Cakes
Whew! That’s everything you need to know to master these simple, speedy **tuna fish cakes**! I really hope this recipe becomes as much of a staple in your house as it is in mine. We’ve covered everything from whipping up a super-fast **quick weeknight dinner** to making sure they are perfectly crispy, even if you take them to the air fryer!
Now, I really want to hear from you! Did they turn out golden brown? Did you try the keto swap with almond flour? Drop a comment below and let me know your thoughts. And if you have a minute, please take a moment to rate these **easy tuna fish cakes** out of five stars—it genuinely helps others find this reliable recipe.
If you snap a picture of your gorgeous, crispy patties, tag me on social media! You can find me sharing more kitchen adventures over on the main blog page. Happy cooking, and I can’t wait to see your amazing results!
PrintQuick Tuna Fish Cakes
Make fast, budget-friendly tuna patties with canned tuna. These cakes cook quickly and have a crispy exterior.
- Prep Time: 10 min
- Cook Time: 10 min
- Total Time: 20 min
- Yield: 4 servings
- Category: Main Dish
- Method: Pan-Frying
- Cuisine: American
- Diet: Low Fat
Ingredients
- 1 (5 ounce) can tuna, drained
- 1 large egg, lightly beaten
- 1/4 cup mayonnaise
- 1 tablespoon Dijon mustard
- 1/4 cup finely chopped onion
- 2 tablespoons fresh parsley, chopped
- 1/4 cup breadcrumbs (or almond flour for keto/gluten-free)
- 1 tablespoon olive oil for frying
Instructions
- In a medium bowl, combine the drained tuna, egg, mayonnaise, mustard, onion, and parsley. Mix well.
- Stir in the breadcrumbs until just combined. Do not overmix.
- Form the mixture into 4 equal-sized patties, about 1 inch thick.
- Heat the olive oil in a large skillet over medium heat.
- Carefully place the patties in the hot skillet. Cook for 4 to 5 minutes per side, until golden brown and heated through.
- Remove from heat and serve immediately.
Notes
- For an air fryer, lightly spray the patties with oil and cook at 375°F for 10 to 12 minutes, flipping halfway through.
- These patties freeze well; place cooled patties on a baking sheet until frozen, then transfer to a freezer bag for up to 3 months.
- Use these cakes as burgers on buns or crumbled over a salad.
Nutrition
- Serving Size: 1 patty
- Calories: 190
- Sugar: 1
- Sodium: 350
- Fat: 10
- Saturated Fat: 2
- Unsaturated Fat: 8
- Trans Fat: 0
- Carbohydrates: 8
- Fiber: 1
- Protein: 16
- Cholesterol: 75