

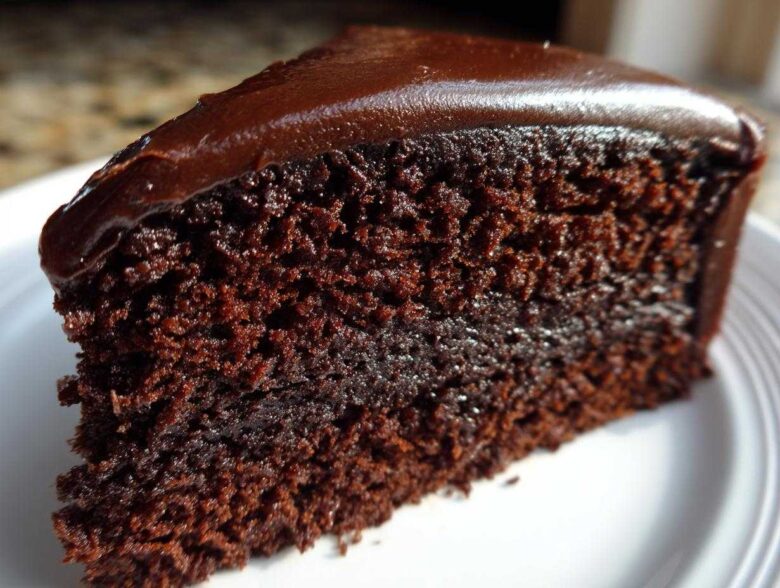
I’m going to tell you a secret: making the absolute best homemade chocolate cake recipe that stays moist for days isn’t hard, but it requires ignoring what most recipe cards tell you! For years, every chocolate cake I made ended up being just okay—a little dry, or too fluffy. Then, I cracked the code for this ultimate moist and rich chocolate cake from scratch. The difference was shocking, and now, the smell of this cake baking is my favorite thing in the whole house. Trust me, this one is going to be your new special occasion go-to!
Why This Chocolate Cake Recipe is the Best Chocolate Cake Ever
I know, I know, everyone claims their cake is the best! But this particular chocolate cake recipe beats out every boxed mix and bakery sheet cake I’ve ever tried. It’s all about that deep, dark flavor and the texture that just melts in your mouth. You don’t need fancy equipment or a pastry degree to pull this off, which is a huge win!
- It delivers true, Deep Chocolate Flavor Cake goodness without needing seven different types of fancy cocoa.
- It’s surprisingly fast—we’re talking about pouring that thin, gorgeous batter in under 20 minutes!
- It holds up beautifully as a stacked Chocolate Layer Cake, making it perfect for birthdays.
We need to talk about the liquid components, though. That’s where the real magic hides, especially if you’re aiming for that famous Moist Chocolate Cake.
Achieving the Ultimate Moist Chocolate Cake Texture
The secret sauce here, honestly, is the hot coffee. It wakes up the cocoa powder like nothing else! When you mix that hot liquid into the batter, it blooms those chocolate notes, giving you a richer taste instantly. Then you’ve got the buttermilk. It’s an acid, see? It reacts with the baking soda to give you lift, but it also tenderizes the crumb so much. It’s that combination that ensures you get a perfectly tender, moist cake every single time.
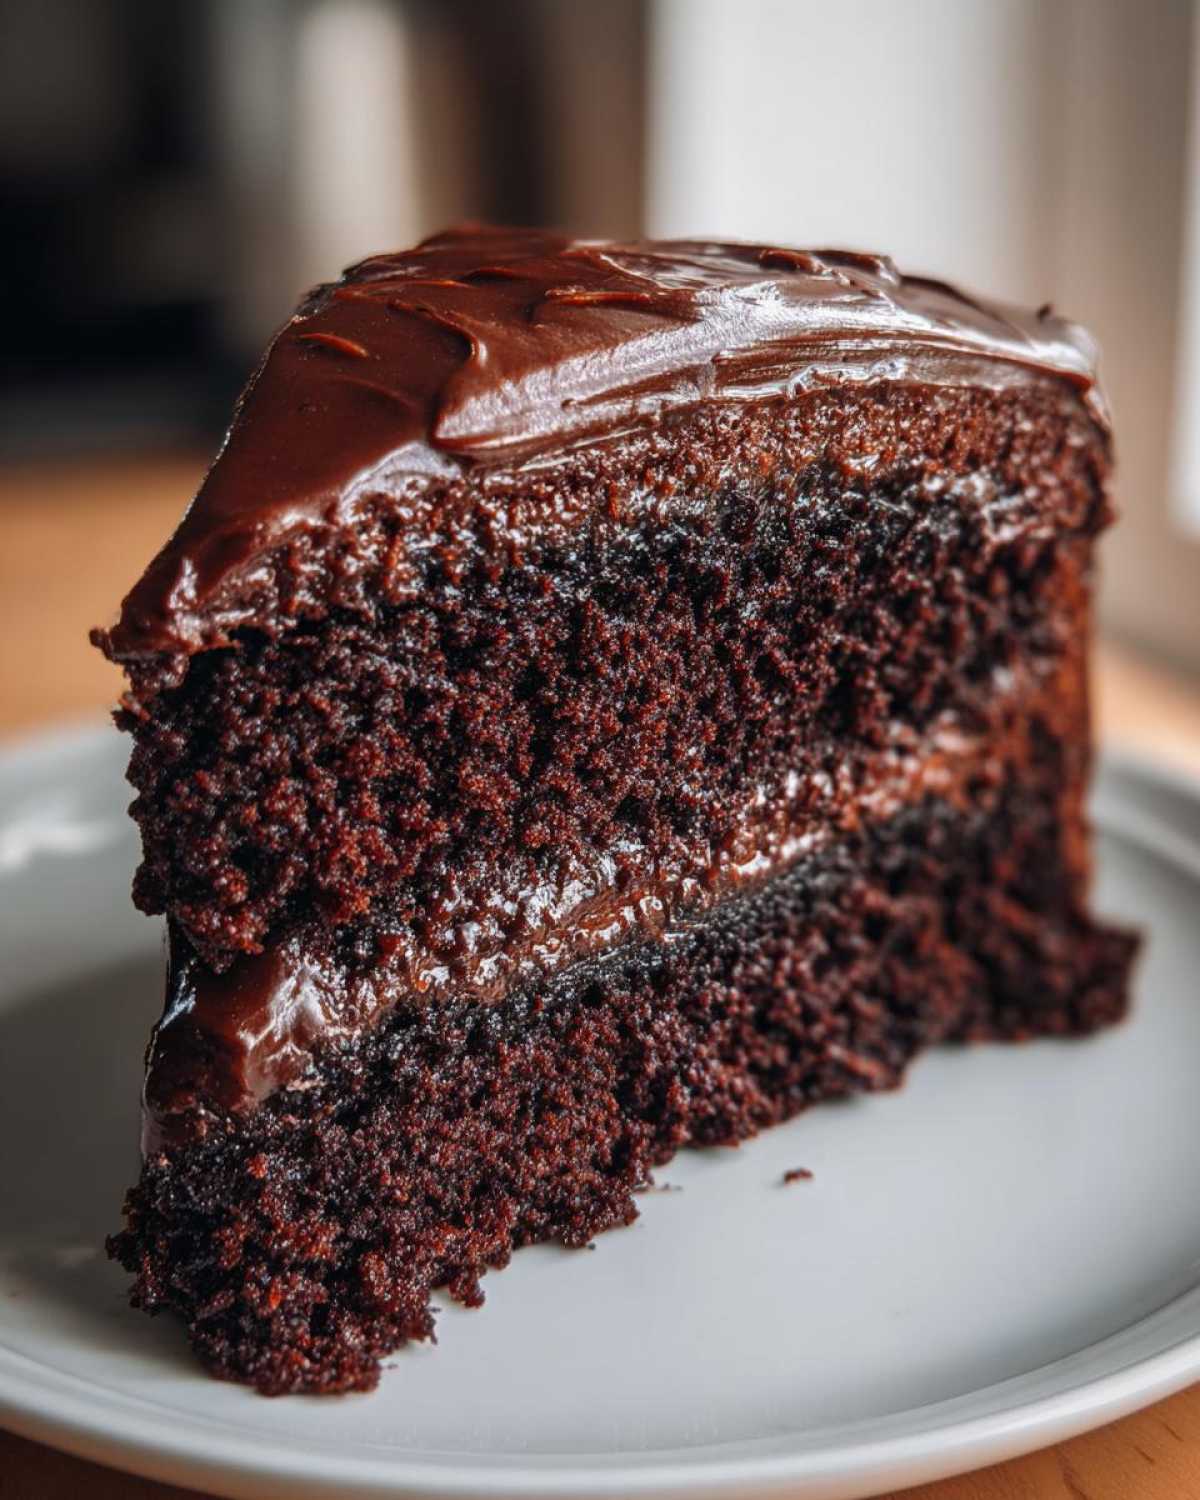
Ingredients for the Ultimate Moist and Rich Chocolate Cake Recipe
Okay, let’s get organized because once you see the ingredient list for this classic chocolate cake recipe, you’ll realize how simple it is to make something so decadent! We aren’t using any weird stabilizers or extracts here—just pantry staples that work together perfectly. Make sure your butter for the frosting is actually softened, not melted; it matters a lot for that final fluffy texture we’re aiming for.
Cake Batter Ingredients: Deep Chocolate Flavor Cake
We start with the dry stuff first, just whisking it all together in that big bowl. This is key to getting everything evenly distributed so you don’t have pockets of baking soda!
- 2 cups all-purpose flour
- 2 cups granulated sugar
- 3/4 cup unsweetened cocoa powder
- 2 teaspoons baking soda
- 1 teaspoon baking powder
- 1 teaspoon salt
Once that’s done, we bring in the liquids. Don’t skip the buttermilk—it’s non-negotiable for that tender crumb!
- 1 cup buttermilk
- 1/2 cup vegetable oil
- 2 large eggs
- 1 teaspoon vanilla extract
- 1 cup hot strong brewed coffee
Simple Fudge Frosting Ingredients: Chocolate Cake with Frosting
This frosting is so easy, it barely counts as making frosting! It comes together quickly, but you absolutely must have your butter nice and soft. We want it buttery and smooth, not grainy.
- 1 cup powdered sugar
- 1/2 cup unsalted butter, softened
- 1/4 cup unsweetened cocoa powder
- 1/4 cup milk
How to Prepare This Easy Chocolate Cake Recipe From Scratch
Okay, grabbing your mixer! This is where the ‘Easy Chocolate Cake’ part really shines through. I always follow this exact order because it prevents clumps and makes sure the texture stays perfect. Before anything else, make sure you’ve got your oven hot—350 degrees F (175 degrees C)—and those two 9-inch pans greased and floured well. If you’re making this for a special day, you might want to look into homemade cake release to guarantee no sticking!
Mixing the Rich Chocolate Cake Recipe Batter
First, we combine all the dry ingredients we listed—flour, sugar, cocoa, leavening, and salt—and whisk them till they look uniform. Then, add your cooler liquids: the buttermilk, oil, eggs, and vanilla go right into that dry mix. Beat that on medium speed for a solid two minutes until it’s looking good. Now, here’s the scary part that makes it perfect chocolate cake: you mix in that cup of hot coffee by hand. Be careful, it splatters! The batter will be thin—almost watery. Don’t panic! If it seems too thin, you’ve probably done it exactly right, so don’t overmix once that coffee is in there!
Baking and Cooling the Chocolate Layer Cake
Divide that thin batter evenly between your prepared pans and slide them into that 350°F oven. They usually need just 30 to 35 minutes. You know it’s done when a wooden pick comes out clean—no wet goop clinging to it. Let them sit in their pans on a wire rack for about 10 minutes. Trust me on this part; pulling them too soon means they might break. After those 10 minutes, flip them out and let them cool completely. They have to be stone cold before you even *think* about touching them with frosting!
Making and Applying the Chocolate Cake Frosting
While those layers are cooling down, whip up the frosting. Start by beating that softened butter by itself until it looks fluffy—it shouldn’t fight back when you press a spoon into it. Then, you add the powdered sugar and cocoa powder alternately with the milk until it’s all combined and smooth. Keep beating it until it’s light! Once your chocolate layers are totally cool, you stack them up, slather on that simple fudge frosting, and you’ve got yourself a winner.
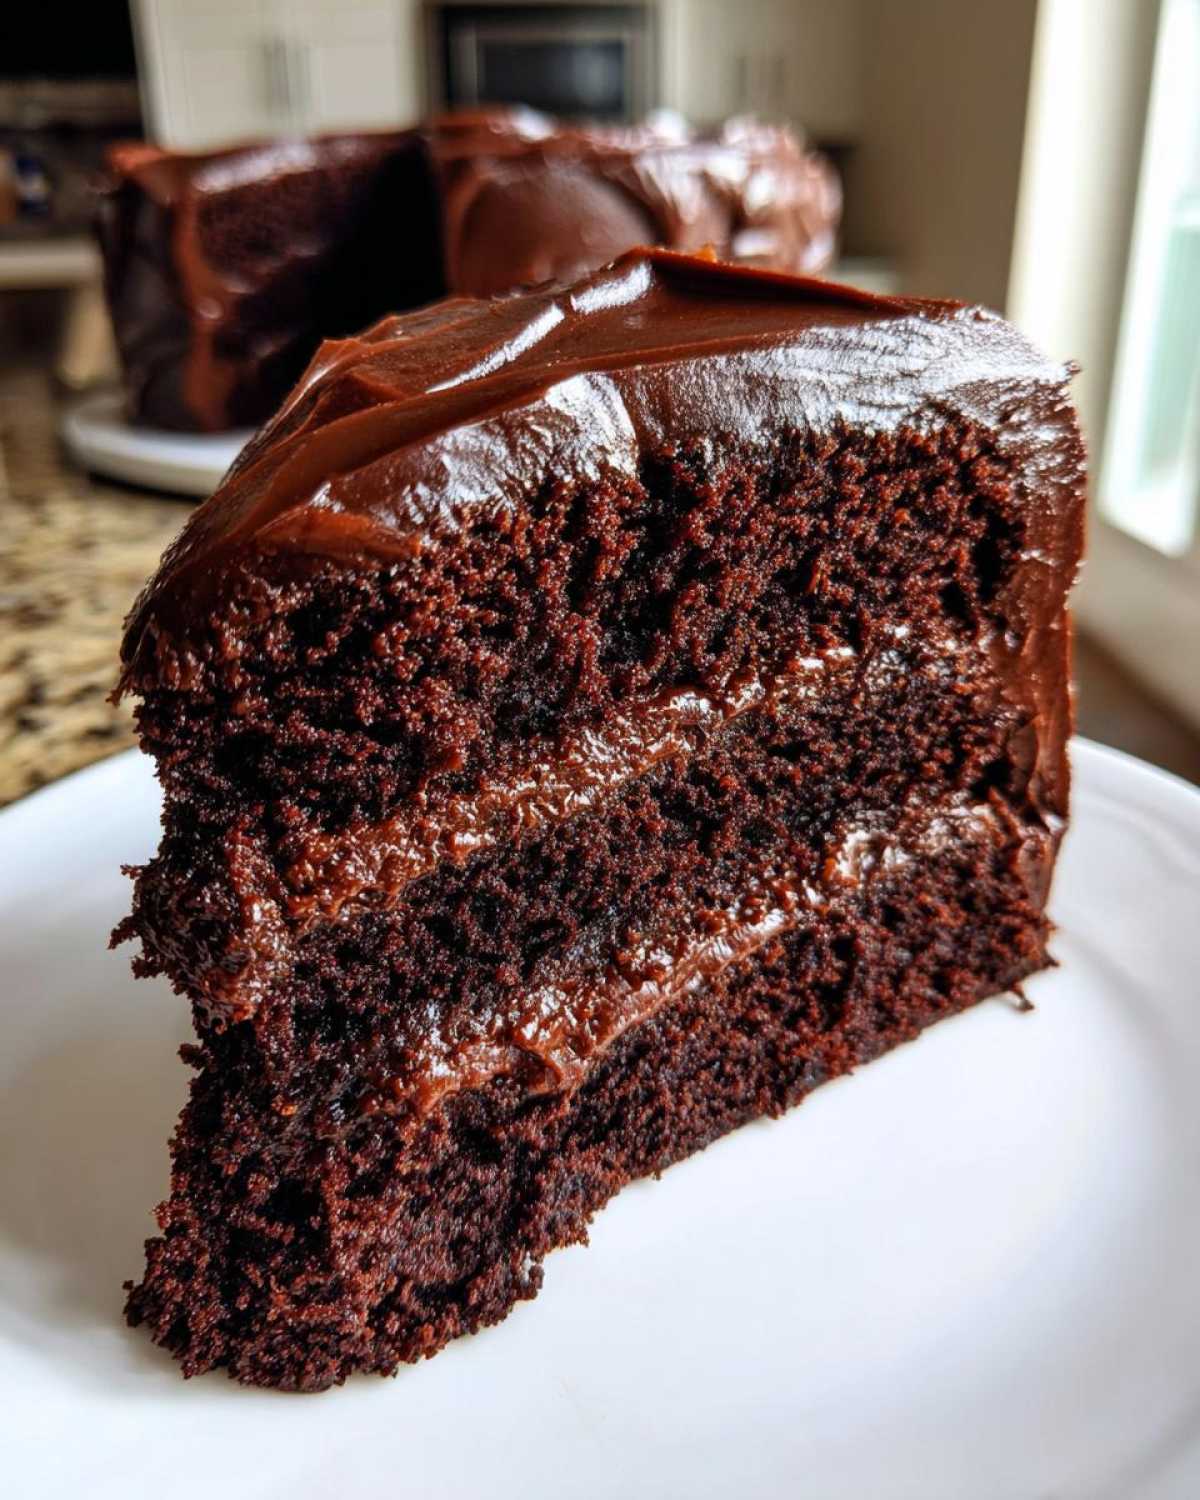
Expert Chocolate Cake Tips and Tricks for Success
I’ve learned a few little tricks over the years trying variations of this favorite chocolate cake recipe, and these are the ones that always make the difference between a good cake and a truly mind-blowing one. These little details just elevate that Deep Chocolate Flavor Cake instantly.
First, that hot coffee I mentioned? Don’t substitute it with warm coffee or hot water. It genuinely needs to be piping hot because that heat is what forces the cocoa powder to dissolve completely and release its maximum flavor potential. If you skip the heat, you end up with a less intense chocolate taste, guaranteed.
Next, let’s talk about the buttermilk substitute. If you don’t have it on hand, don’t run to the store! Just take one regular cup of milk, stir in a tablespoon of white vinegar or lemon juice, and let it sit on the counter for five minutes. It curdles just enough, and works exactly the same way to keep your cake tender. I do this all the time when I’m baking on a whim.
My real secret weapon when mixing the dry ingredients? You absolutely must sift your cocoa powder. Cocoa powder loves to clump up into hard little balls, and if you don’t catch them now, they bake into little bitter pockets throughout your final cake. Sifting it with the flour and other powders makes sure every single bite is perfectly smooth and evenly flavored.
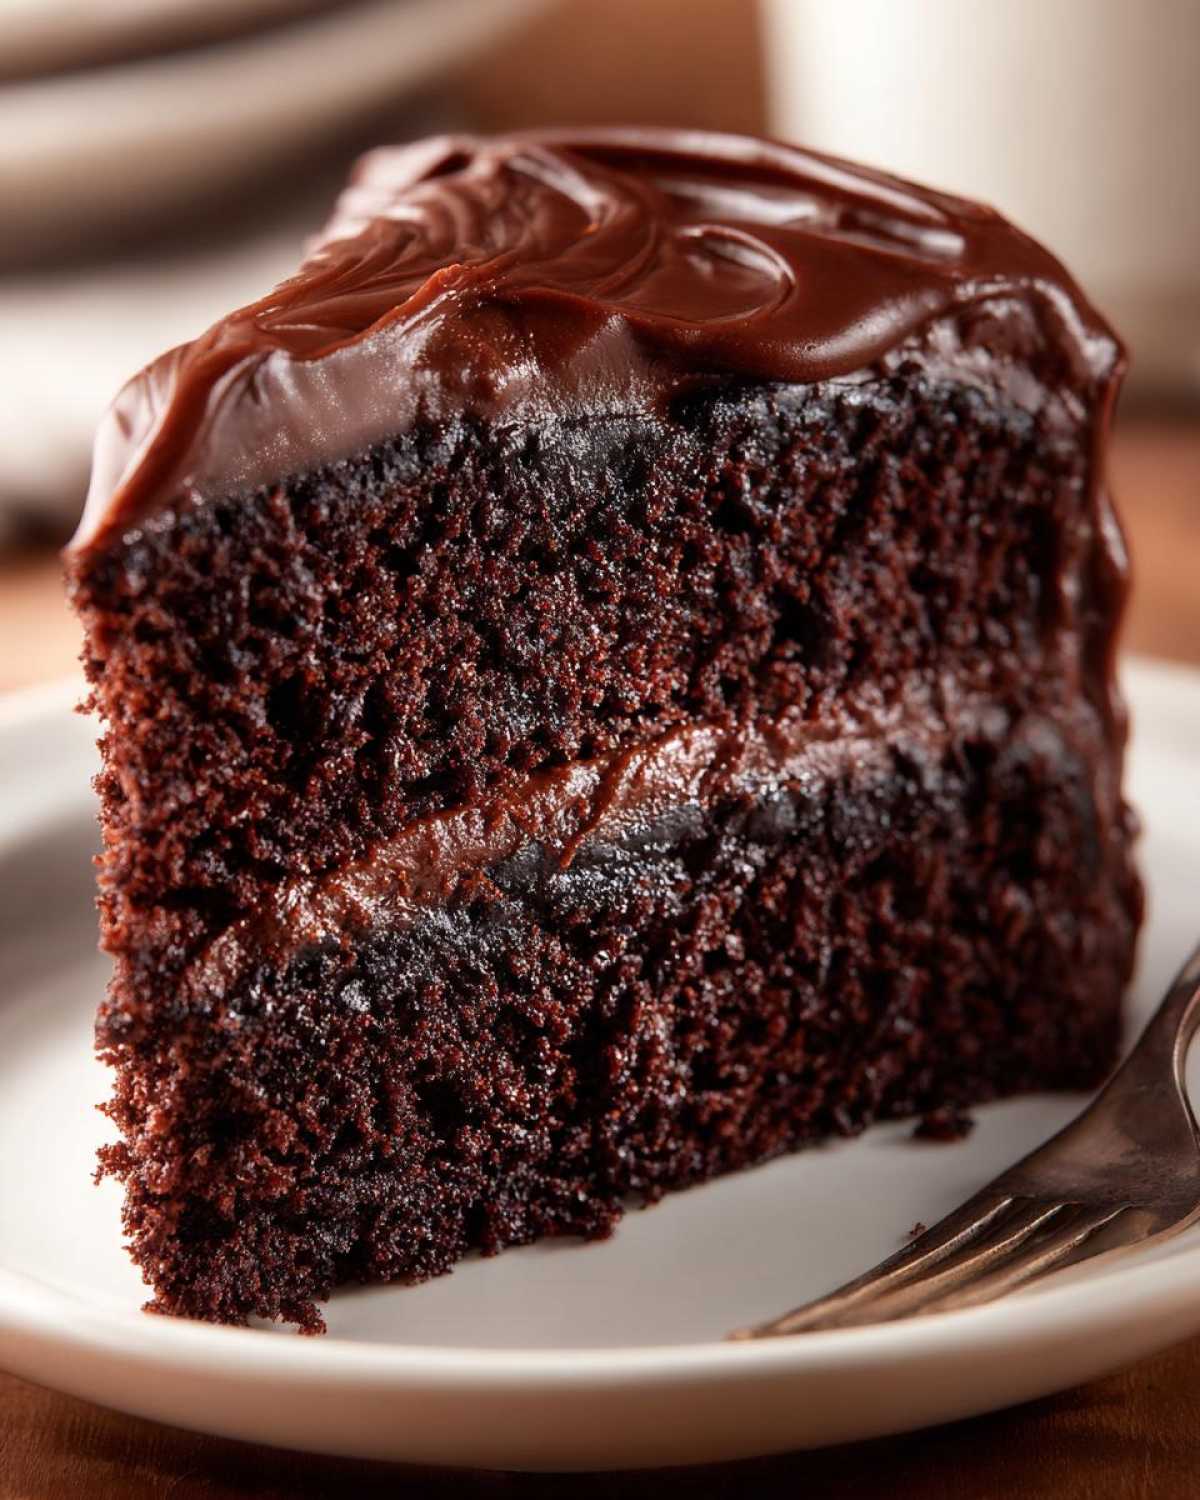
And finally, remember that instruction not to overmix after the coffee goes in? That’s vital. Mix that hot liquid until it’s just combined—you’ll see it’s very thin—and then stop stirring. Over-beating that thin batter releases too much gluten, turning our gorgeously tender cake into something slightly chewy. We are aiming for the best chocolate cake ever, not a chocolate frisbee!
Ingredient Notes and Substitutions for Your Chocolate Cake Recipe
Sometimes the recipe calls for something you just don’t have in the pantry, and that’s where panic sets in! Especially with a recipe this important—our amazing Rich Chocolate Recipe—we need to know swaps work just as well as the original items.
The biggest question I always get relates to the buttermilk. Don’t let that stop you if you were planning to bake this weeknight chocolate cake on a whim! Remember what I mentioned earlier? If you don’t have buttermilk, grab your regular milk. Add just one tablespoon of white vinegar or fresh lemon juice to that cup of milk, stir it up, and let it sit for five minutes. It gets a little chunky, which is exactly what we want. That tiny bit of acid is what keeps the crumb unbelievably tender, so that substitute works like a charm.
Now, about the oil. We use vegetable oil because it’s neutral, which allows the chocolate flavor to really dominate the dessert. If you want to get a little fancy or you’re out of veg oil, melted coconut oil is a fantastic swap! It keeps the cake moist and adds basically no detectable flavor, so your homemade chocolate cake still tastes exactly like you want it to.
One last thing, since we’re talking swaps: if you happen to be out of eggs, that’s a much tougher problem for this particular recipe because they add structure. However, in a pinch for a single layer, you could probably use two flax eggs—that’s two tablespoons of ground flaxseed mixed with six tablespoons of water left to sit for five minutes—to replace those two large eggs. Just know that while it helps hold it together, it won’t be quite as lofty as the original, so maybe save that for a batch you don’t absolutely need to impress with!
Serving Suggestions for This Decadent Chocolate Dessert
So, you’ve got your gorgeous, rich chocolate cake layers stacked up, frosted perfectly, and it smells incredible, right? Now comes the fun part: making it look as good as it tastes! We don’t always need a million bells and whistles, because this chocolate cake recipe is already the star of the show. It shines all by itself, but a little finishing touch never hurt anybody!
If you decide you want to step up your basic fudge frosting just a tiny bit, you don’t have to change the flavor profile. A simple dusting of high-quality sifted powdered sugar right before serving looks so elegant. It creates a beautiful contrast against the dark chocolate, making it look professional but still totally approachable.
But if you want to lean into the decadence, try serving individual slices slightly warm—not hot enough to melt the frosting completely, just warm enough to make the cake gooey. Pair that warm slice with a scoop of really good, slightly tart vanilla bean ice cream. The temperature contrast and the ice cream’s slight tang cut through the richness of the chocolate perfectly. Fresh berries are also a dream with this cake! A few bright red raspberries or sliced strawberries scattered on the plate just add a splash of color and a little freshness that balances out the deep chocolate flavor cake.
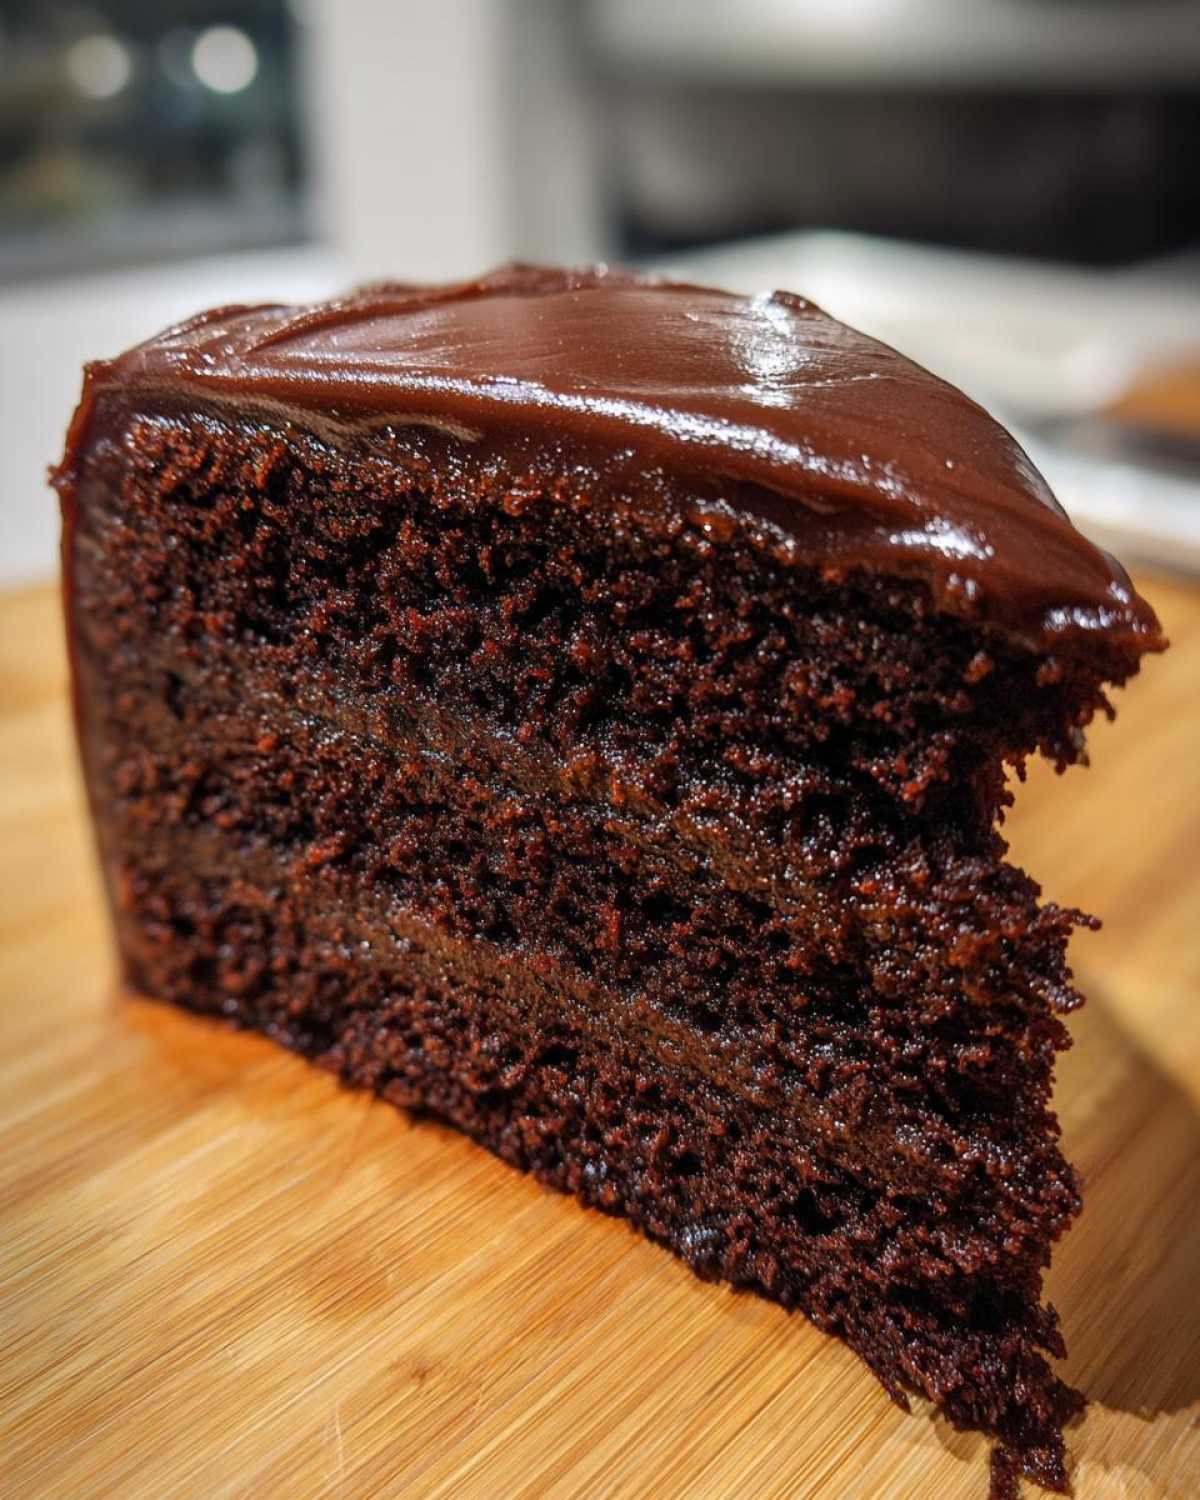
Storage and Reheating Instructions for Homemade Chocolate Cake
Storing this delicious homemade chocolate cake is easy, but a couple of things determine how long it stays perfectly moist! Because our fudge frosting uses butter, if your kitchen is really warm, you should cover the whole cake loosely and keep it in the fridge. But honestly, for the best flavor and that perfect fudgy chocolate cake texture, I prefer keeping it on the counter for up to two days.
If you have leftovers, just try taking a slice out about 30 minutes before you want to eat it. If you must reheat it, microwave a slice for just 10 seconds. That little burst of warmth brings all the moisture right back to the surface—magic!
Frequently Asked Questions About This Chocolate Cake Recipe
I always get so many questions after people try this classic chocolate cake recipe for the first time because it works so shockingly well! It’s natural to have a few worries when a recipe seems this simple but tastes this rich, so let me run through the most common things people ask me about achieving the best chocolate layer cake.
Can I use regular milk instead of buttermilk in this chocolate cake recipe?
Oh, absolutely, you can! That’s the beauty of this adaptable chocolate cake recipe. If you look back under the tips, I mentioned the hack: you just need that little bit of acid to tenderize the crumb. So, if you’re out of buttermilk, just mix one tablespoon of white vinegar—or lemon juice if that’s what you have—into your regular cup of milk. Let it sit on the counter for about five minutes until it starts to look a little chunky. That’s your homemade buttermilk substitute, and it works like the original for our Rich Chocolate Cake Recipe!
Can I freeze this Rich Chocolate Cake Recipe?
Yes, you totally can freeze it! For the absolute best results, I highly recommend freezing the cake layers *unfrosted*. Once they are completely cool, wrap each layer tightly first in plastic wrap—like, really snuggly—and then wrap the whole thing again in a layer of aluminum foil. This protects them from freezer burn. They keep beautifully for about three months this way. When you’re ready to bake, just let them thaw on the counter wrapped up still, then frost them! If you freeze it already frosted, I find the frosting can sometimes weep a little when it thaws, especially if it’s warm in your kitchen.
Can I use water instead of hot coffee?
You *can*, but please don’t if you don’t have to! The whole point of Step 4 in the instructions is that the hot coffee blooms the cocoa powder and intensifies that Deep Chocolate Flavor Cake we are aiming for. If you use hot water, your cake won’t taste bad at all, but it will taste flatter—it won’t have that deep, almost earthy bitterness that coffee brings out in the chocolate. If you truly don’t have coffee, you could use hot water mixed with a teaspoon of instant espresso powder. That’s the closest you’ll get to the real deal for this Homemade Chocolate Cake!
Quick Facts and Recipe Details
Sometimes you just need the facts in a nutshell, right? I totally get it—you’re standing in the kitchen, your hands are covered in flour, and you just need to know exactly how long this amazing chocolate cake recipe is going to take.
Because this cake is so speedy to assemble, you can genuinely have this decadent dessert ready faster than you can run to the store! Here’s a quick rundown of the specifics on this Rich Chocolate Cake Recipe:
- Prep Time: 20 minutes (Seriously fast!)
- Cook Time: 35 minutes
- Total Time: 55 minutes (Plus cooling, of course.)
- Yield: 12 generous servings
- Category: Dessert
- Method: Baking
- Cuisine: American
- Dietary Note: Vegetarian
And if you’re wondering about the nutrition breakdown for a slice—because we all do, even when eating cake—here are those numbers too:
- Serving Size: 1 slice
- Calories: 450
- Sugar: 55g
- Sodium: 350mg
- Fat: 22g
Ultimate Moist and Rich Chocolate Cake from Scratch
A straightforward recipe for a deeply chocolatey, moist layer cake with a simple fudge frosting.
- Prep Time: 20 min
- Cook Time: 35 min
- Total Time: 55 min
- Yield: 12 servings
- Category: Dessert
- Method: Baking
- Cuisine: American
- Diet: Vegetarian
Ingredients
- 2 cups all-purpose flour
- 2 cups granulated sugar
- 3/4 cup unsweetened cocoa powder
- 2 teaspoons baking soda
- 1 teaspoon baking powder
- 1 teaspoon salt
- 1 cup buttermilk
- 1/2 cup vegetable oil
- 2 large eggs
- 1 teaspoon vanilla extract
- 1 cup hot strong brewed coffee
- 1 cup powdered sugar (for frosting)
- 1/2 cup unsalted butter, softened (for frosting)
- 1/4 cup unsweetened cocoa powder (for frosting)
- 1/4 cup milk (for frosting)
Instructions
- Preheat your oven to 350 degrees F (175 degrees C). Grease and flour two 9-inch round cake pans.
- In a large bowl, whisk together the flour, sugar, cocoa powder, baking soda, baking powder, and salt.
- Add the buttermilk, oil, eggs, and vanilla extract to the dry ingredients. Beat with an electric mixer on medium speed for two minutes.
- Carefully stir in the hot coffee by hand until the batter is smooth. The batter will be thin.
- Pour the batter evenly into the prepared cake pans.
- Bake for 30 to 35 minutes, or until a wooden pick inserted into the center comes out clean.
- Let the cakes cool in the pans for 10 minutes before inverting them onto a wire rack to cool completely.
- To make the frosting, beat the softened butter until creamy. Gradually add the powdered sugar and cocoa powder, alternating with the milk, until smooth. Beat until light and fluffy.
- Once the cakes are completely cool, frost and stack the layers.
Notes
- Using hot coffee deepens the chocolate flavor without making the cake taste like coffee.
- Buttermilk helps create a tender crumb; if you do not have buttermilk, mix 1 tablespoon of white vinegar or lemon juice into 1 cup of regular milk and let it sit for 5 minutes.
- Do not overmix the batter once the wet and dry ingredients are combined.
Nutrition
- Serving Size: 1 slice
- Calories: 450
- Sugar: 55g
- Sodium: 350mg
- Fat: 22g
- Saturated Fat: 10g
- Unsaturated Fat: 12g
- Trans Fat: 0g
- Carbohydrates: 60g
- Fiber: 3g
- Protein: 5g
- Cholesterol: 55mg