

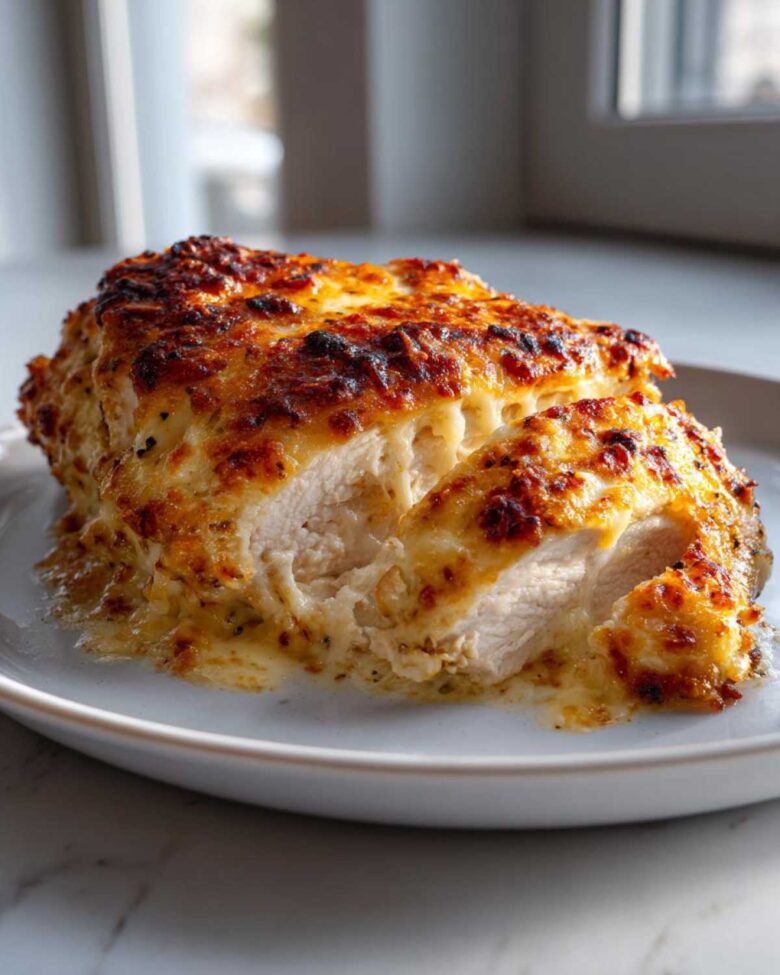
Welcome to Our Kitchen: Making Amazing Caesar Chicken
Hello, friends! I’m Amaya, and I’m thrilled you’re here today.
Kenji and I adore simple, comforting meals. We really do.
When we look for a quick dinner, something special is needed.
That’s where this recipe shines brightly for us.
We’re sharing our favorite way to make caesar chicken.
This version is baked, not fried, which is easier.
It features the richest, creamiest Parmesan sauce imaginable.
It’s truly the perfect easy weeknight dinner.
Even after moving to busy New York, this dish travels well.
It brings a little bit of our Kyoto comfort kitchen home.
Get ready for tender, flavorful chicken tonight!
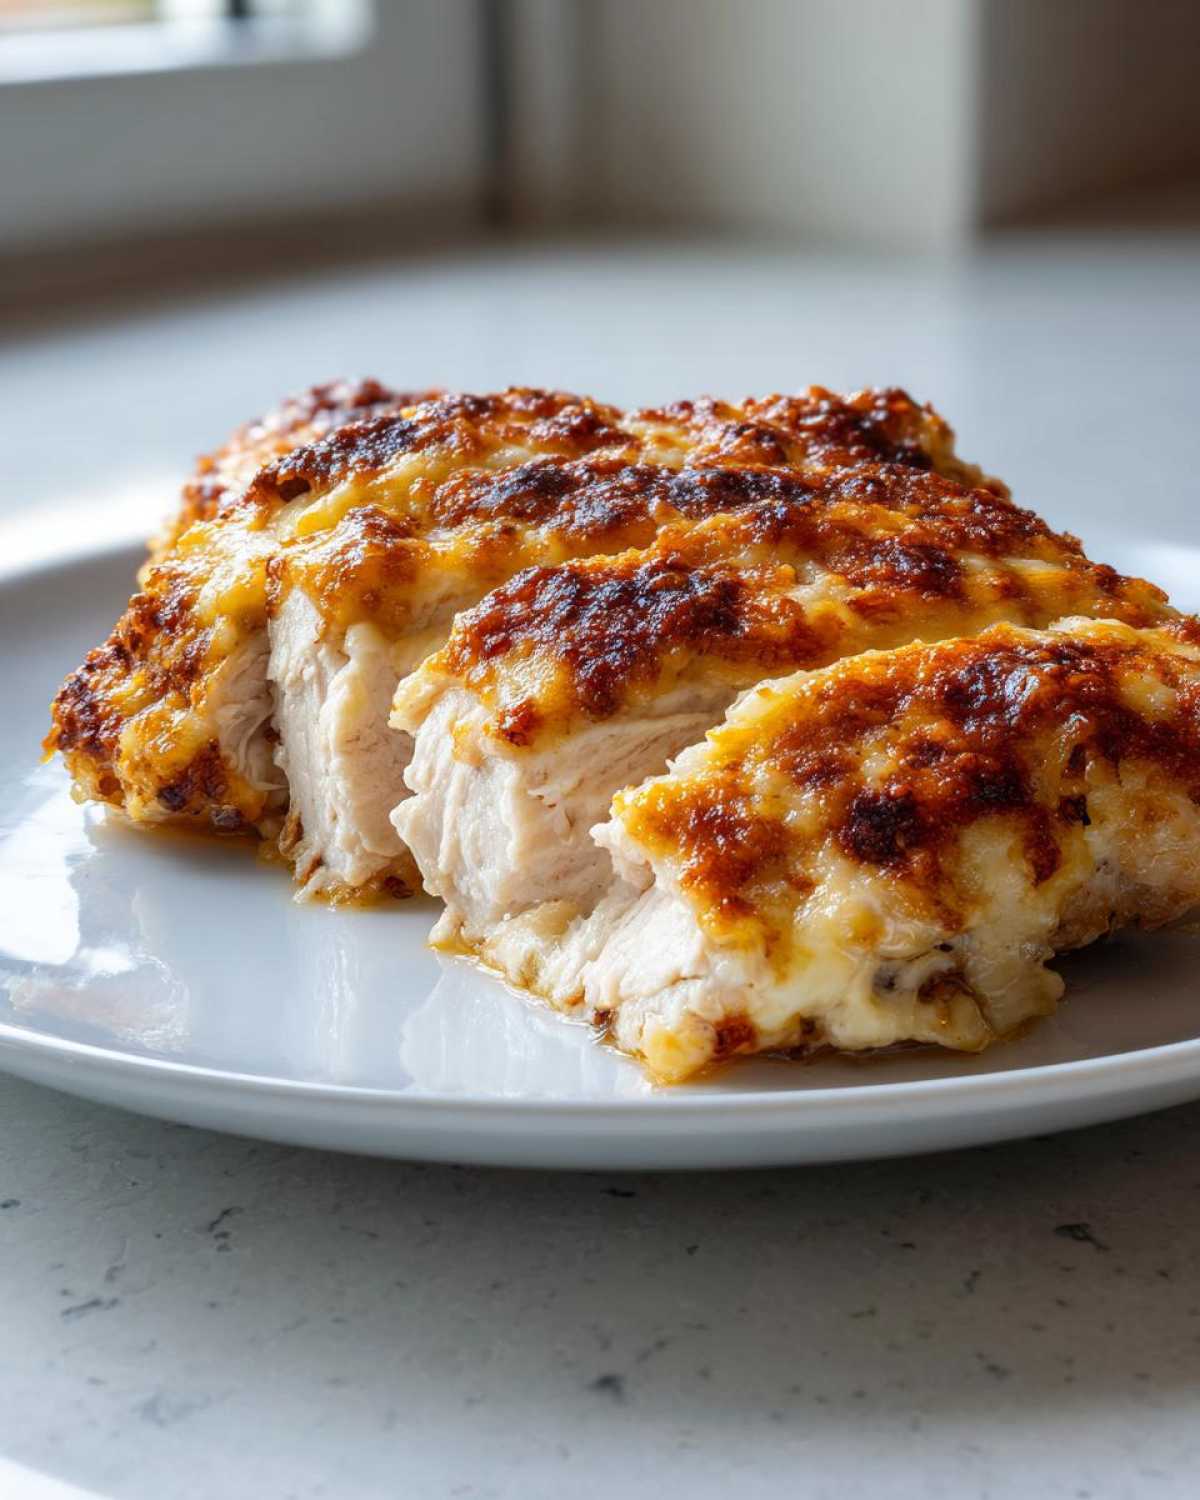
Why You’ll Love This Creamy Caesar Chicken
This recipe is a weeknight hero, plain and simple.
It delivers huge flavor without taking all evening.
You get comfort food fast, which is the best.
Here are the main reasons I keep making this:
- Prep time is only 10 minutes flat.
- Total time is just 35 minutes total.
- The flavor is unbelievably rich and savory.
- It’s super easy for any home cook.
Quick Prep for Caesar Chicken Success
That 10-minute prep time is no joke.
You just need one small bowl to start.
Whisking the sauce takes mere moments.
You combine the mayo, cheese, and dressing easily.
No fancy blending or chopping is required.
This speed makes it a go-to meal for us.
Ingredients for Your Caesar Chicken Recipe
Gathering your ingredients is the next simple step.
Having everything ready makes cooking fun.
Follow these measurements for the best results.
This recipe feeds four hungry people easily.
You need four good boneless, skinless chicken breasts.
The sauce base starts with half a cup of mayonnaise.
We use a quarter cup of grated Parmesan cheese.
Two tablespoons of your favorite Caesar dressing go in too.
For seasoning, grab one teaspoon of garlic powder.
Add half a teaspoon of dried Italian seasoning.
Salt and pepper come last, to your own taste.
Ingredient Notes and Substitutions for Caesar Chicken
I always like to share my little kitchen secrets.
You can make this creamy chicken lighter if you wish.
Try swapping half the mayonnaise for plain Greek yogurt.
It keeps the richness but cuts a little fat.
Also, for an extra layer of flavor, try this trick.
Rub the chicken breasts lightly with olive oil first.
That little bit of oil helps the sauce stick well.
It also keeps the meat wonderfully moist inside.
Remember that Caesar dressing brands vary greatly.
Some are saltier than others, so taste your sauce!
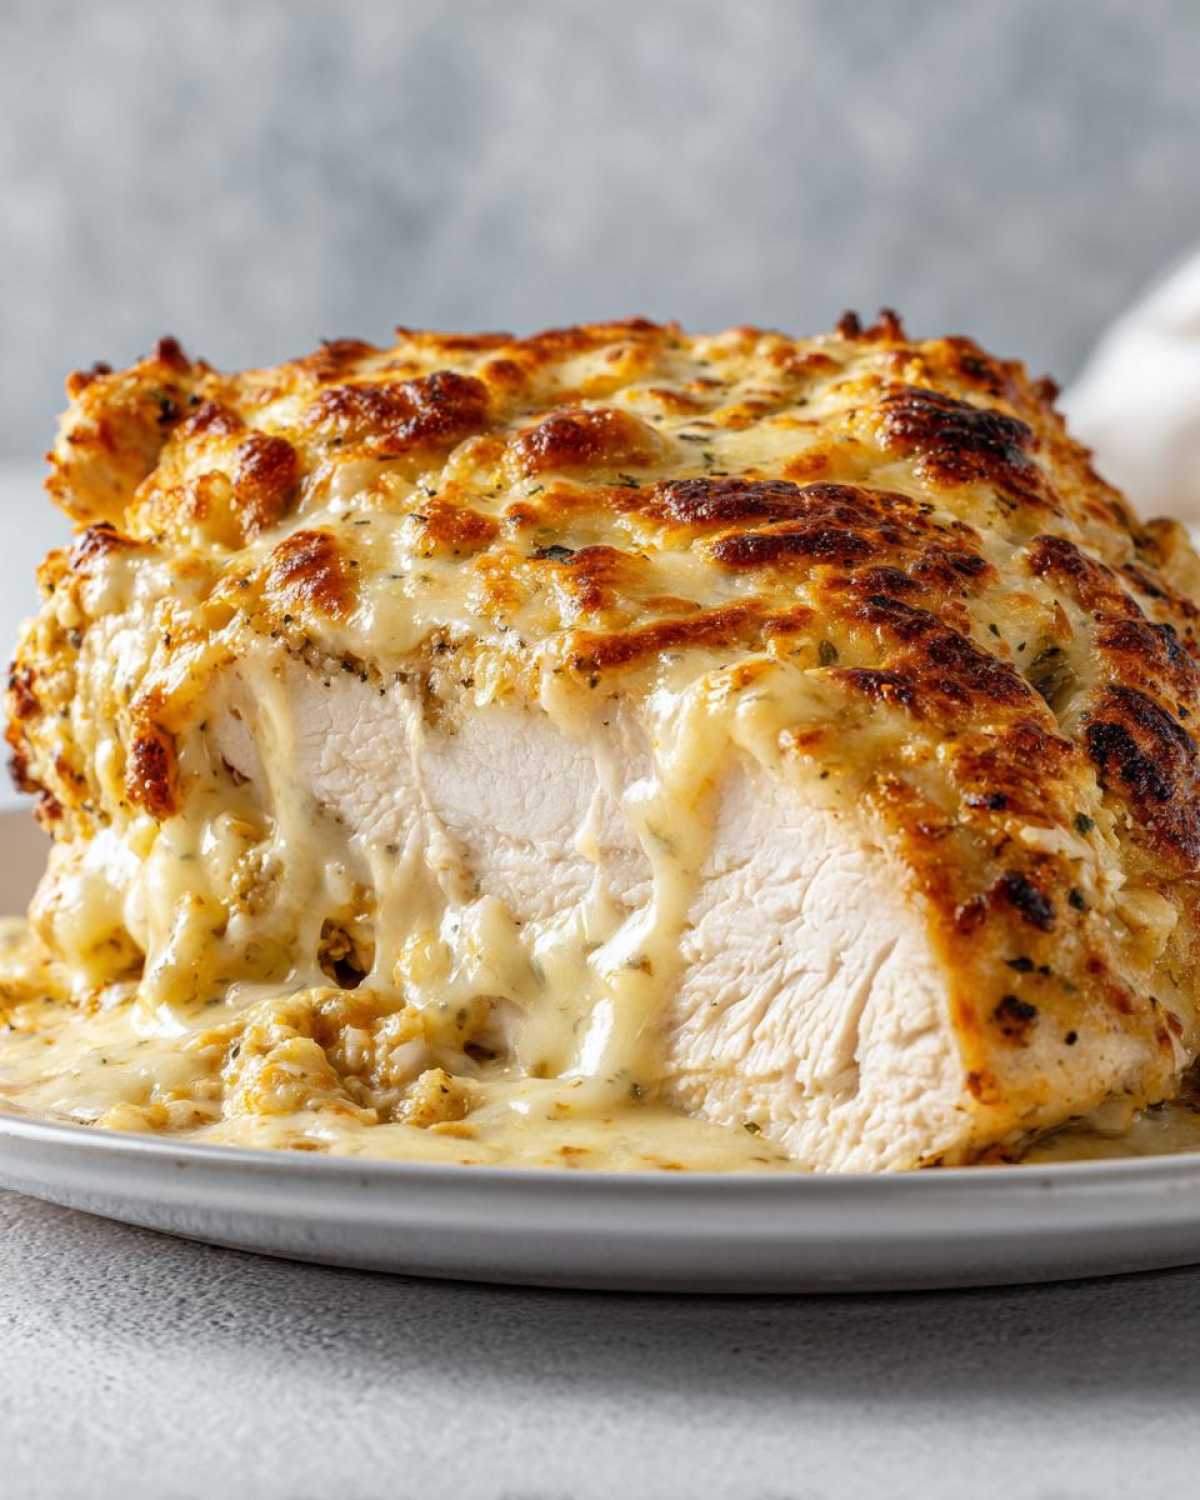
Equipment Needed for Baked Caesar Chicken
You don’t need a lot of fancy tools for this recipe.
Good equipment makes any cooking job easier.
I always believe having the right basics matters.
For this baked caesar chicken, keep these things handy:
- One standard baking dish, about 9×13 inches.
- A small mixing bowl for the sauce base.
- A small whisk or a fork works fine.
- Measuring spoons and cups are a must.
- Use a meat thermometer for safety, please.
That thermometer gives me peace of mind always.
Knowing the chicken hits 165 degrees is key.
It stops you from overcooking your lovely dinner.
Kenji always insists on using a good whisk.
It makes sure the creamy coating is perfectly smooth.
No lumps allowed in our delicious topping!
Step-by-Step Instructions for Perfect Caesar Chicken
Let’s get this simple dinner into the oven now.
Following these steps guarantees great results.
We preheat the oven first, always.
Set your oven temperature to 400 degrees Fahrenheit.
Make sure you grease your baking dish lightly first.
This prevents any sticky messes later on.
Preparing the Creamy Coating for Caesar Chicken
Now we focus on that amazing sauce mixture.
Grab your small mixing bowl right away.
Whisk the mayonnaise and Parmesan cheese together first.
Next, pour in the Caesar dressing slowly.
Add the garlic powder and Italian seasoning next.
Keep whisking until everything looks perfectly smooth.
Remember to add salt and pepper lightly now.
Baking and Resting Your Caesar Chicken
Place those chicken breasts into your prepared dish.
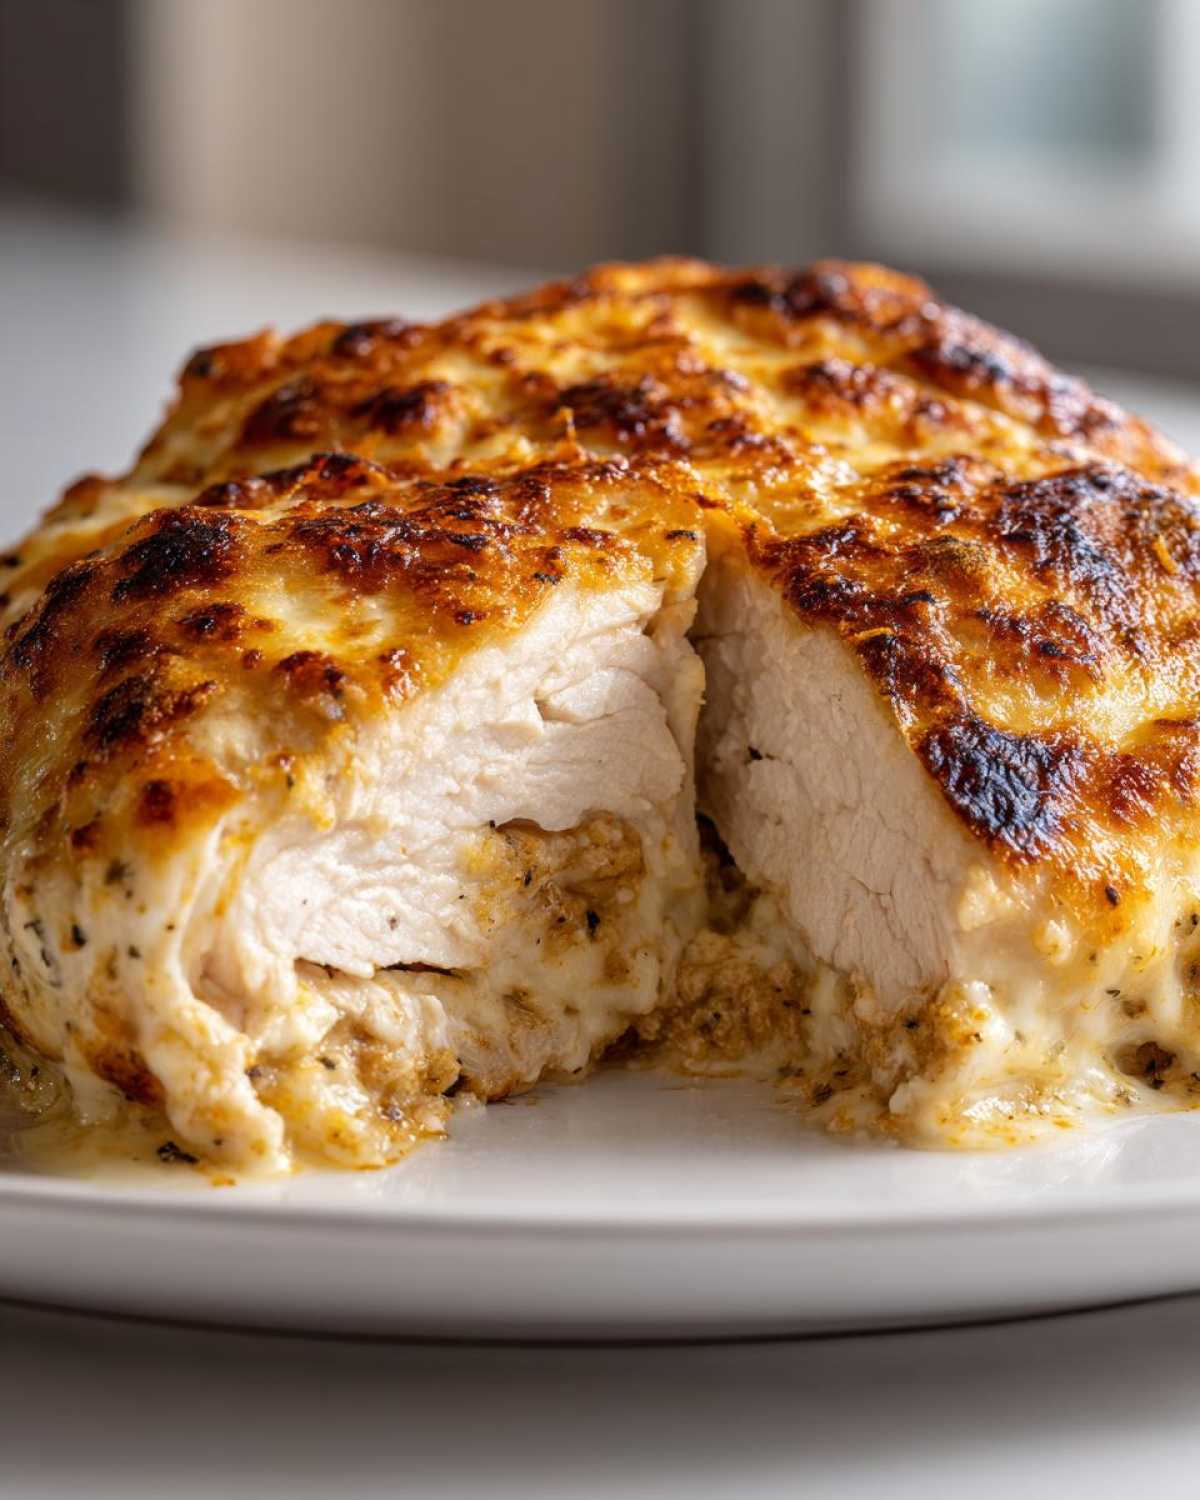
Spoon all that creamy topping over each piece.
Spread it around so the chicken is fully covered.
Sprinkle a little extra Parmesan right on top.
Bake this dish for 20 to 25 minutes total.
Check the internal temperature with your thermometer.
It must reach 165 degrees Fahrenheit inside.
Once done, pull the dish from the hot oven.
Let the baked caesar chicken rest for five minutes.
This resting time keeps the meat juicy for you.
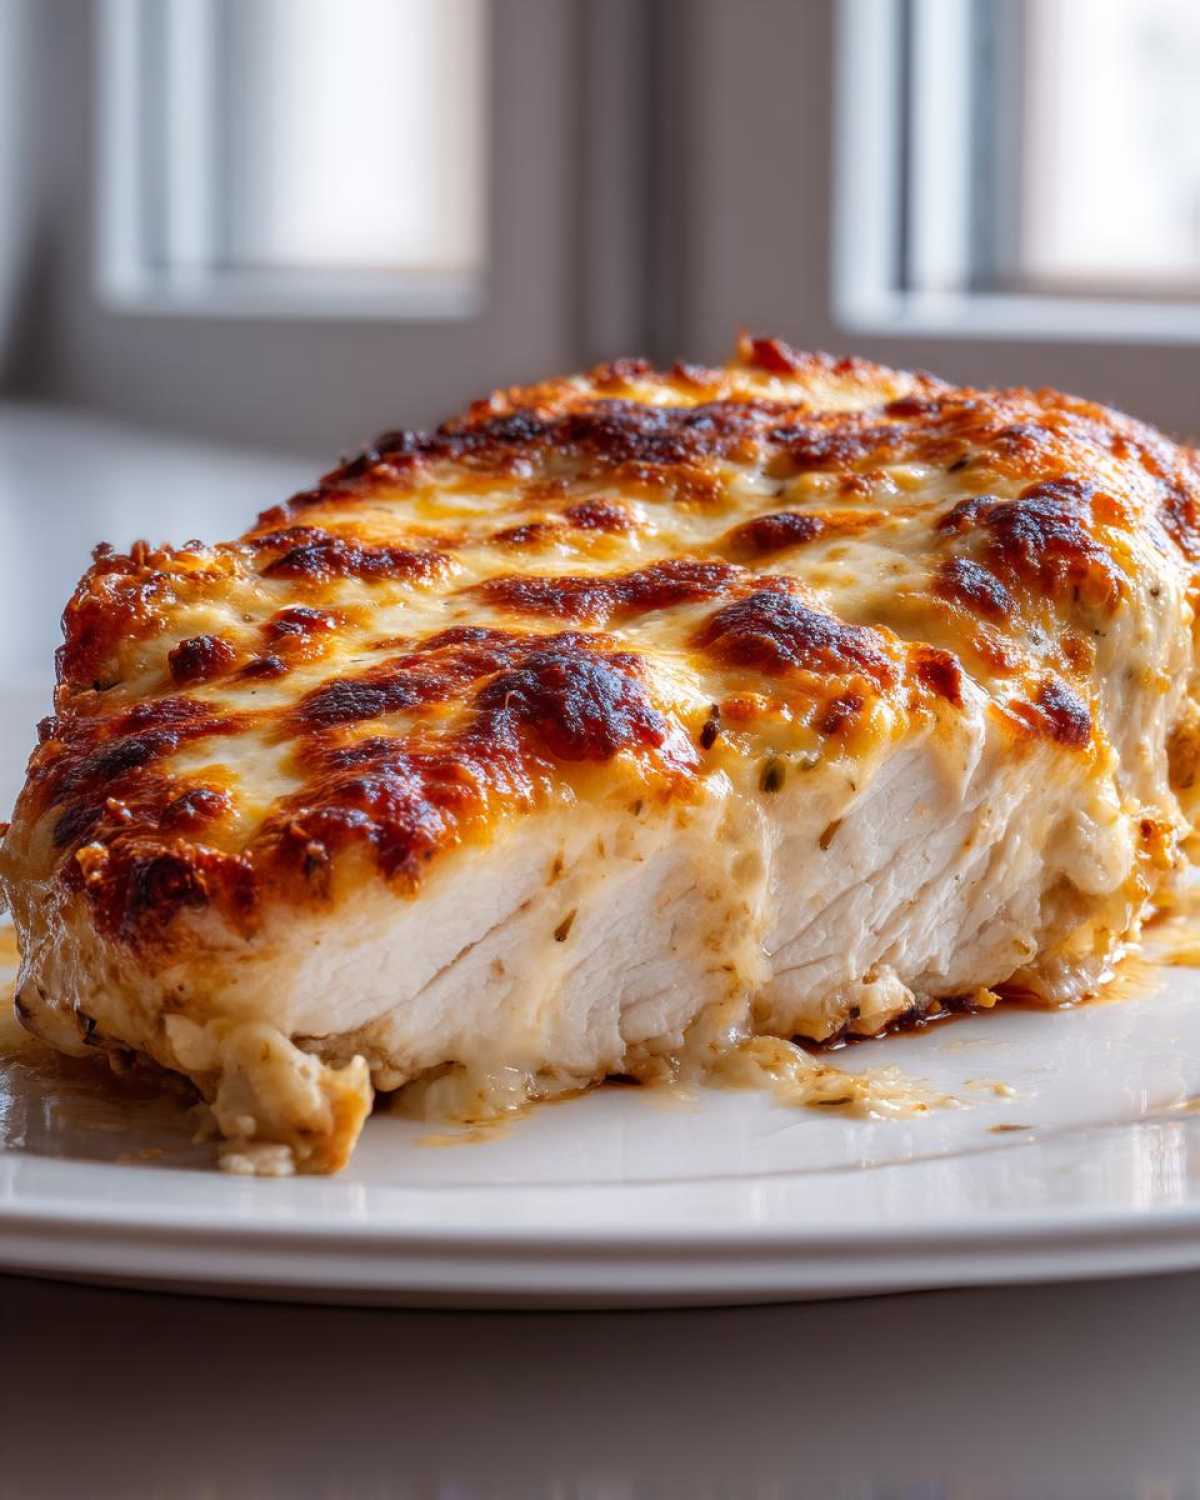
Tips for Making the Best Caesar Chicken
I’ve made this dish countless times now.
I learned a few tricks along the way, truly.
My goal is always tender meat and great sauce.
When I first started, I used too much dressing.
The topping became runny, just sliding off!
Now I make sure the sauce is thick enough.
It should coat the back of a spoon nicely.
This thickness keeps that lovely Parmesan crust on top.
That’s my biggest lesson learned from experience.
Here are a few more things that help me cook.
- Pound the chicken slightly for even cooking.
- Use room temperature chicken for better baking.
- Don’t skip the final resting time period.
Adjusting Flavor Profiles in Your Caesar Chicken
Every Caesar dressing tastes a little different.
Some dressings have way more tang or salt.
Taste your creamy sauce before you coat the chicken.
If it seems bland, add a small pinch of salt.
If you want more zing, add a tiny splash of lemon.
A drop of Worcestershire sauce adds depth too.
It deepens that savory, umami flavor wonderfully.
Be careful adding too much pepper at the start.
You can always sprinkle fresh cracked pepper on top later.
Adjusting seasonings makes this dish yours.
Serving Suggestions for Caesar Chicken
This creamy chicken is so rich and satisfying.
It needs some bright, fresh sides to balance it.
We want to keep the meal light and tasty.
Think about what you’d serve with a great main dish.
My absolute favorite pairing is simple greens.
A fresh green salad cuts through the richness perfectly.
Use crisp lettuce and maybe some cherry tomatoes.
A light vinaigrette dressing is best here.
For a side that complements chicken well, check out our recipe for roasted asparagus.
If you want something warm on the side, try this.
Roasted asparagus is simply wonderful with this.
Toss your spears with olive oil and salt.
They roast up nicely while your caesar chicken bakes.
For a heartier meal, consider roasted potatoes.
Small cubes tossed with garlic powder work great.
They soak up any extra creamy sauce left behind.
That’s a fantastic bonus flavor for us!
Storing Leftover Caesar Chicken
Oh, leftovers! That is always a happy problem to have.
This creamy chicken tastes great the next day too.
Proper storage keeps the texture nice and firm.
Do not leave cooked chicken out too long.
First, let the chicken cool down fully first.
It needs to reach room temperature safely.
Use an airtight container for the best results.
Make sure the lid seals very tightly shut.
I store mine in the refrigerator for three days.
It stays fresh and flavorful within that window.
Freezing is possible but changes the sauce texture.
The creamy coating might get a little watery when thawed.
To reheat, use the oven or the microwave.
In the oven, wrap the piece loosely in foil first.
Heat it at 350 degrees Fahrenheit gently.
This keeps the coating from drying out too much.
The microwave works fast for a single serving.
Cover the piece with a damp paper towel before heating.
Use short bursts of power to warm it through.
We want warm, not rubbery, chicken remains!
Frequently Asked Questions About Caesar Chicken
I know you might have a few lingering questions.
It is smart to ask before you start cooking.
Let me clear up some common points here.
These tips help make your creamy chicken perfect.
We want everyone to succeed with this recipe.
Can I use chicken thighs instead of breasts for this Caesar Chicken recipe?
Yes, absolutely, you can use chicken thighs.
Thighs stay juicier than breasts sometimes.
They have more fat, which is nice for flavor.
However, thighs cook a bit slower than breasts.
You might need to bake them for 30 minutes.
Always check the internal temperature before serving.
How do I prevent the Parmesan topping from burning on my Caesar Chicken?
This is a great question about the baked chicken topping.
The high heat helps brown the Parmesan nicely.
If your oven runs hot, try this simple fix.
Move your baking dish to a lower rack position.
This puts more distance between the heat source.
You could also lower the oven temp by 25 degrees.
You will need to add a few extra minutes of baking time.
Just keep an eye on that golden brown color you want.
Understanding the Nutrition of This Caesar Chicken
Cooking at home gives you great control over ingredients.
We track nutrition because we care about balance.
This caesar chicken recipe is very high in protein.
It’s filling and satisfying for a main course.
Please remember these numbers are just estimates.
They are based on the specific ingredients we listed.
For general guidance on safe internal cooking temperatures for poultry, consult official food safety guidelines like those provided by the USDA Food Safety and Inspection Service.
Calorie counts can shift based on your mayo brand.
The exact Parmesan cheese amount matters too.
If you use Greek yogurt, the fat content changes.
Always check the labels on your specific items.
This data helps guide your meal planning choices.
Enjoy this delicious meal knowing what’s in it.
Share Your Caesar Chicken Creation
Now the best part of cooking begins for me.
It’s hearing from you, my wonderful readers.
Did you try this creamy caesar chicken recipe?
I hope it brought comfort to your table tonight.
Tell me how it turned out in the comments below.
Was the sauce perfectly thick and savory for you?
Did your family love this easy weeknight dinner?
Please feel free to leave a star rating too.
Your feedback truly helps Kenji and me.
It shows us which recipes we should make more often.
We love reading about your kitchen adventures.
Happy cooking to you all until next time!
Print5 Amazing Caesar Chicken Secrets Revealed

Make this Creamy Baked Caesar Chicken for a simple, flavorful weeknight dinner. You will love the rich Parmesan sauce coating tender chicken breasts. This recipe is quick to prepare and delivers comforting results.
- Prep Time: 10 minutes
- Cook Time: 25 minutes
- Total Time: 35 minutes
- Yield: 4 servings
- Category: Main Course
- Method: Baking
- Cuisine: American
- Diet: Vegetarian
Ingredients
- 4 boneless, skinless chicken breasts
- 1/2 cup mayonnaise
- 1/4 cup grated Parmesan cheese, plus extra for topping
- 2 tablespoons Caesar dressing
- 1 teaspoon garlic powder
- 1/2 teaspoon dried Italian seasoning
- Salt and black pepper to taste
Instructions
- Preheat your oven to 400°F (200°C). Lightly grease a baking dish.
- In a small bowl, whisk together the mayonnaise, Parmesan cheese, Caesar dressing, garlic powder, and Italian seasoning until smooth. Season with salt and pepper.
- Place the chicken breasts in the prepared baking dish.
- Spoon the creamy mixture evenly over the top of each chicken breast, spreading it to cover completely.
- Sprinkle a little extra grated Parmesan cheese over the topping.
- Bake for 20 to 25 minutes, or until the internal temperature of the chicken reaches 165°F (74°C) and the topping is golden brown.
- Let the chicken rest for 5 minutes before serving.
Notes
- You can substitute Greek yogurt for some of the mayonnaise for a lighter sauce.
- For extra flavor, rub the chicken lightly with olive oil before adding the sauce.
- Serve this with a fresh green salad or roasted asparagus.
Nutrition
- Serving Size: 1 chicken breast
- Calories: 410
- Sugar: 2g
- Sodium: 650mg
- Fat: 28g
- Saturated Fat: 8g
- Unsaturated Fat: 20g
- Trans Fat: 0.5g
- Carbohydrates: 4g
- Fiber: 0g
- Protein: 35g
- Cholesterol: 110mg