

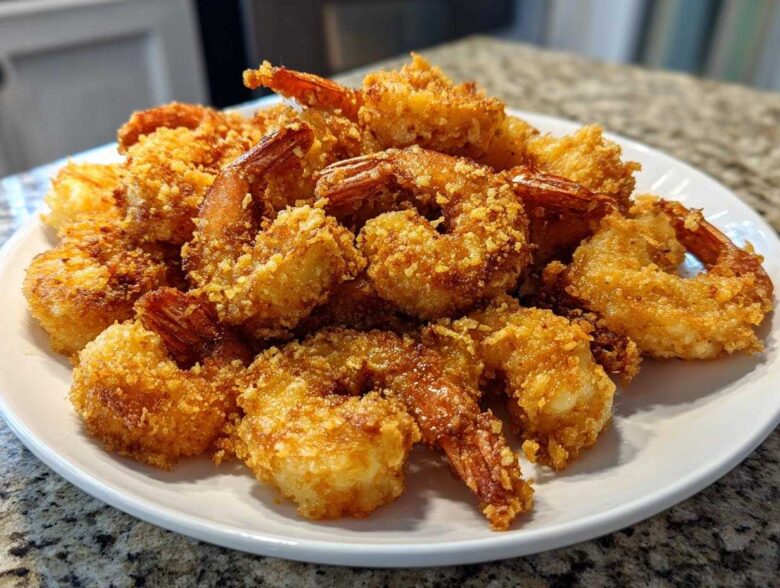
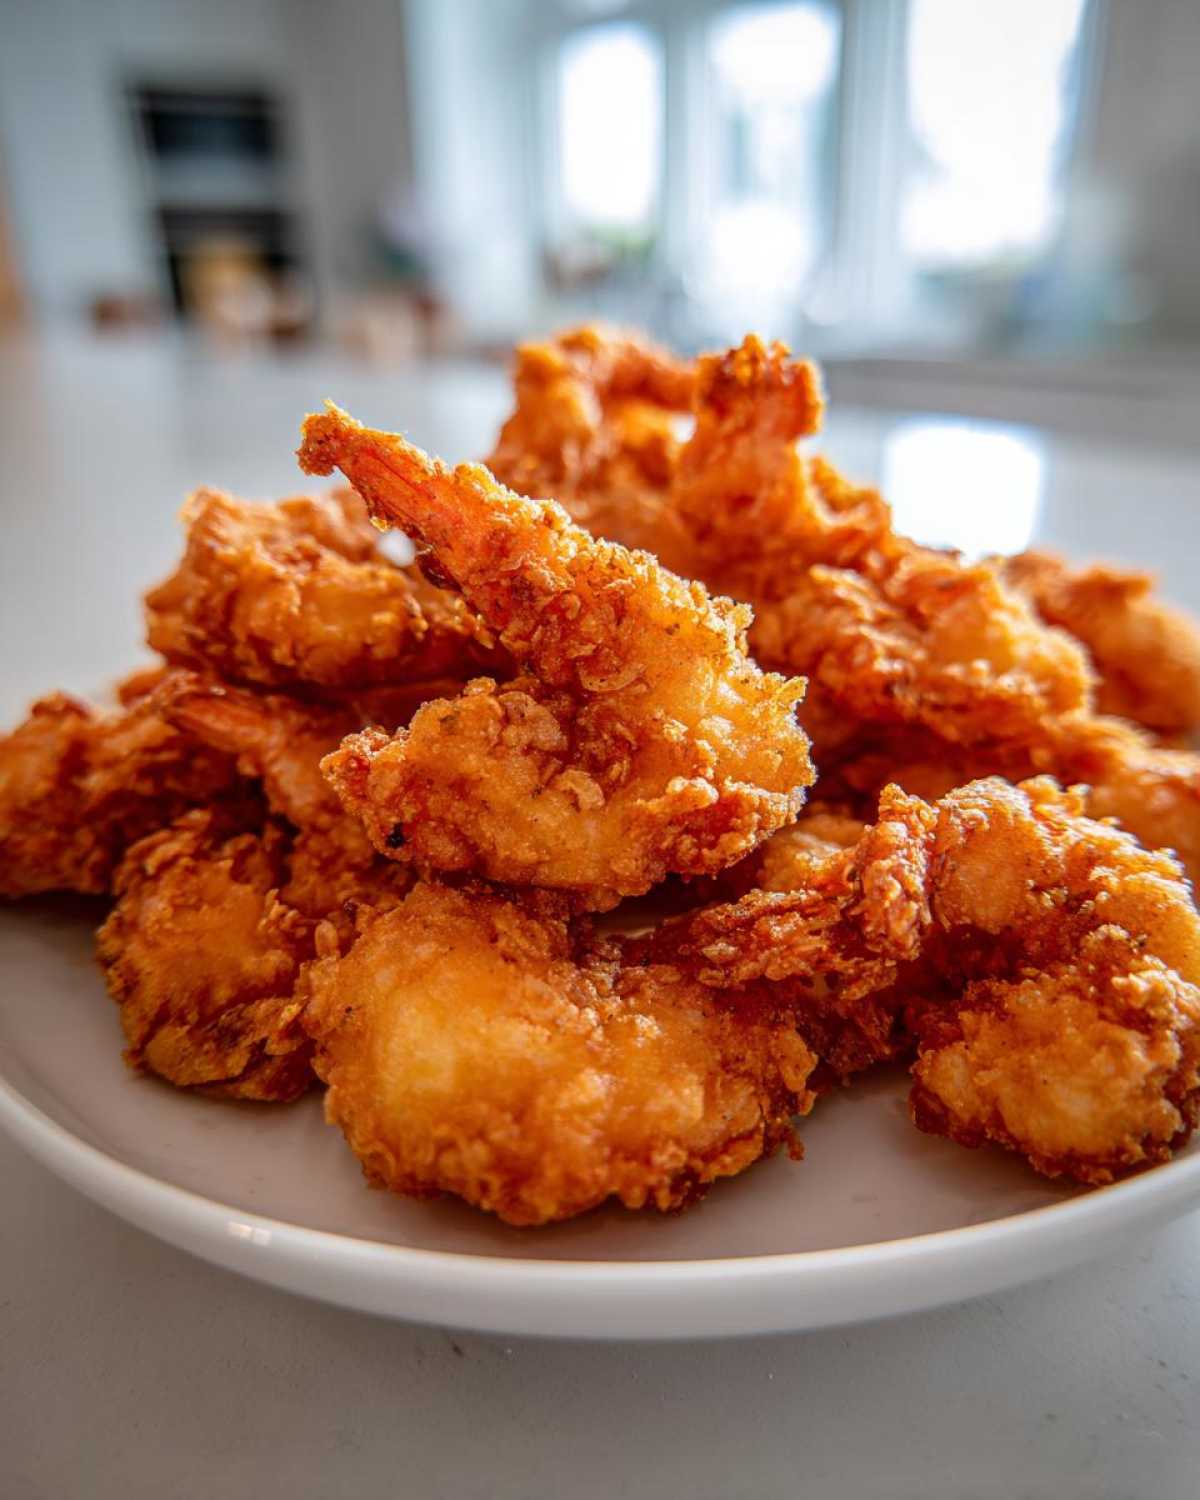
Oh, the sound of perfect crunch! It’s a symphony, isn’t it? When I first moved here to New York and tried shrimp from a few local places, I realized quickly that achieving that light, shatteringly crisp exterior on fried shrimp is harder than it looks. But I promise you, with my Amaya’s influence firmly in my kitchen now, we have conquered it! This recipe for Crispy Southern Fried Shrimp with Buttermilk Soak is the one that will make you stop ordering seafood out. It’s satisfying, reminiscent of warm family dinners, and unbelievably easy to pull off, even on a busy weeknight. You will love making this quick seafood dinner!
Why This Crispy Fried Shrimp Recipe Works So Well
The reason this recipe stands head and shoulders above others is really about two main things—the acid bath and the coating mixture. If you’ve ever wondered how to make fried shrimp crispy without it turning into greasy mush, this is our tried-and-true method. Trust me, we tested this heavily when recreating those seaside flavors!
The buttermilk soak is non-negotiable. That little bit of natural acidity doesn’t just help flavor the shrimp; it begins to tenderize the meat slightly while also creating the perfect sticky surface for the flour to grab onto. No more bare patches!
The Secret to the Best Batter for Fried Shrimp
Our shrimp coating isn’t just plain flour, though. We sneak in cornstarch—about 1/4 of the total flour volume—because cornstarch is a magical little ingredient that promises an extra light and super shattering crunch once it hits the hot oil. This combination, paired with our generous seasoning blend, results in truly fried shrimp that stays crunchy well past the first bite. You’ll find that this technique minimizes oil absorption, keeping your shrimp light and golden.
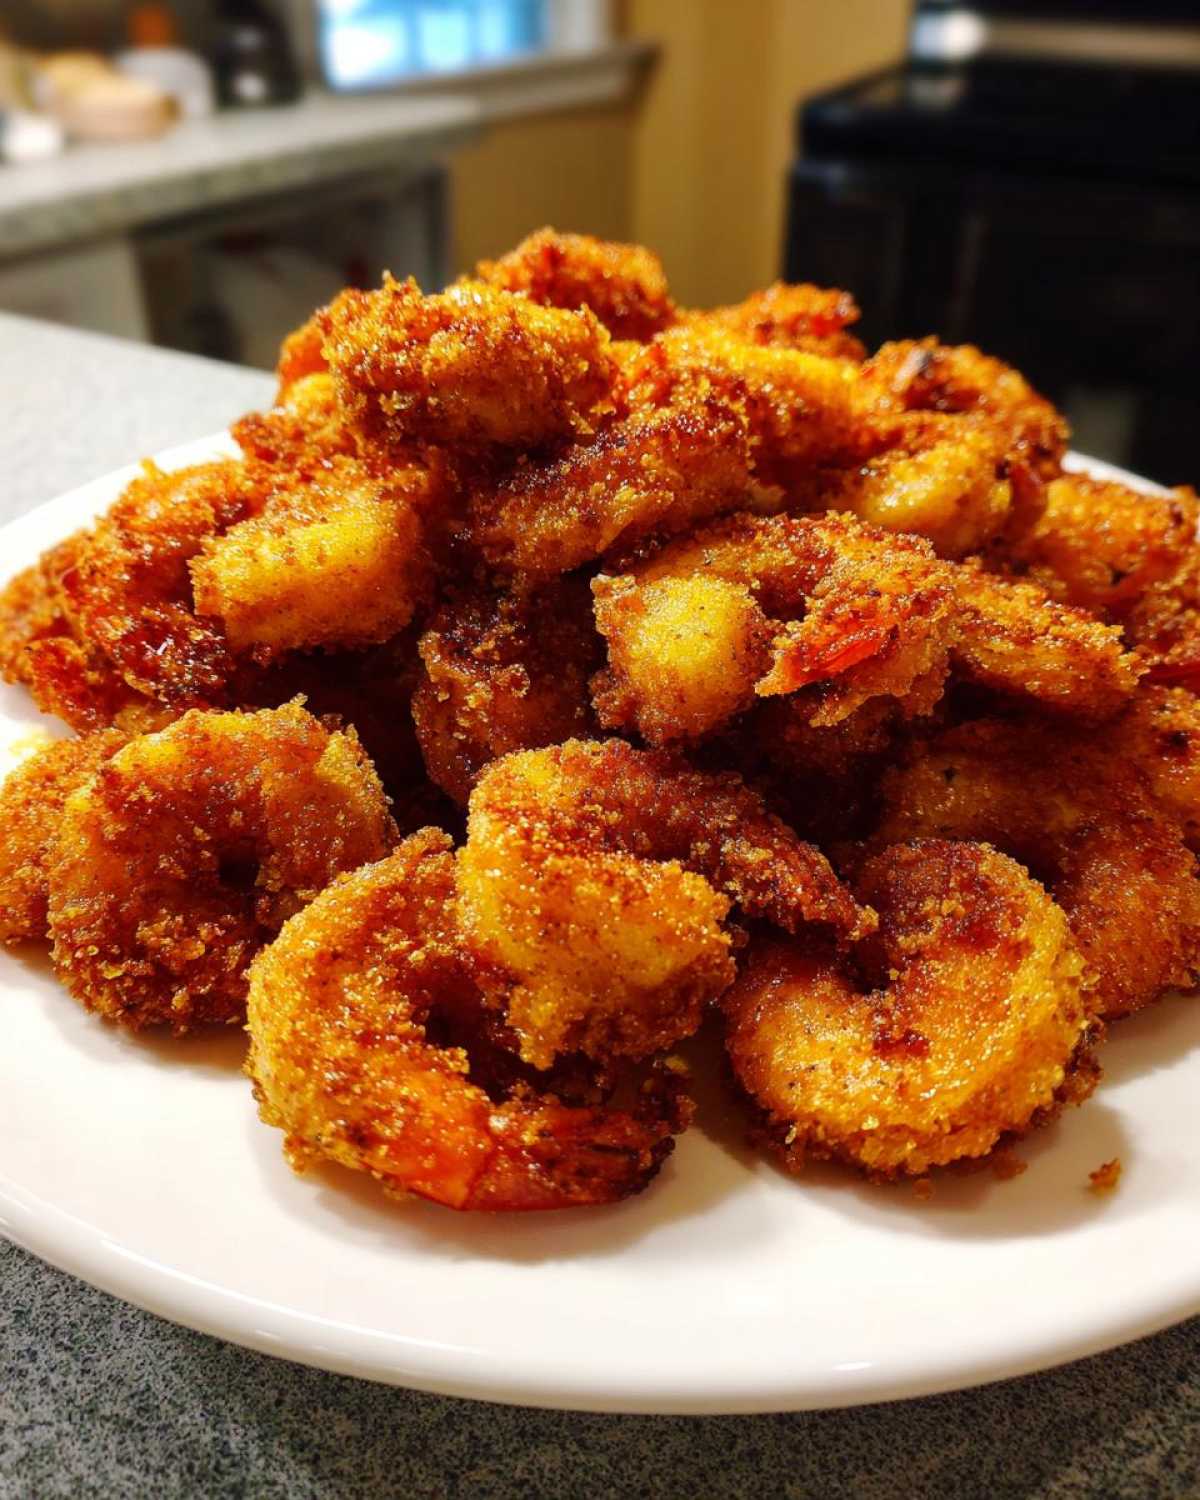
Gathering Ingredients for Perfect Southern Fried Shrimp
For any homemade fried shrimp recipe to sing, you must start with quality. We always splurge a little on extra-large shrimp when we make this—they hold up beautifully in the fryer and give you a substantial bite. Don’t skimp here; good seafood makes the whole thing worthwhile! Get everything measured out before you even think about heating the oil, because once the shrimp hits the buttermilk, we have to move quickly.
Here is exactly what you need for a batch that serves about four happy people:
Buttermilk Fried Shrimp Marinade Components
- 2 cups buttermilk (This is the tenderizing magic!)
- 2 large eggs, lightly beaten
- 1 tablespoon hot sauce (Optional, but Kenji’s heart needs that little bit of heat.)
Essential Seasoned Flour Shrimp Coating
This dry mix is where all the flavor lives outside of the marinade. Remember that cornstarch—it’s our secret weapon for crispy fried shrimp that doesn’t feel heavy!
- 2 cups all-purpose flour
- 1/2 cup cornstarch (Don’t skip this if you want that extra crunch!)
- 1 teaspoon salt
- 1 teaspoon black pepper
- 1 teaspoon garlic powder
- 1 teaspoon paprika (Use sweet, not smoked, for this classic taste)
- 1/2 teaspoon onion powder
- 1/2 teaspoon cayenne pepper (Adjust this depending on your bravery!)
And critically, you will need enough peanut oil or vegetable oil to fill your pot about 2 inches deep. Temperature control is everything, so having a thermometer nearby is a must!
Step-by-Step Instructions for Easy Fried Shrimp
Now we combine the magic! Once you have your beautiful seasoning mix ready and your shrimp soaking, the final part of making this easy fried shrimp recipe is fun but requires speed, so get everything set up near your stove before you start dipping. Remember, good preparation makes all the difference when you are dealing with hot oil.
We want to make sure every piece of shrimp is ready to take that golden coat. If you want to see a quick visual step-by-step on the timing and technique, you can check out our detailed post here: Crispiest Southern Fried Shrimp Recipe.
Preparing the Buttermilk Soak and Coating
First, let’s get the wet stuff done. Take your medium bowl and whisk together the 2 cups of buttermilk, the 2 lightly beaten eggs, and that dash of hot sauce if you are using it. Just mix it until it looks happy and uniform.
Next, focus on your dry mix in the shallow dish. This is where we blended the flour, cornstarch, and all those lovely spices we talked about—just make sure everything is evenly distributed in there. Now, the soaking itself! Drop your peeled and deveined shrimp right into that buttermilk bath. Give them a gentle stir. They need to hang out here for at least 30 minutes. Honestly, if you can pop them in the fridge for up to 4 hours, they will thank you for the extra tenderness!
Mastering the Deep Frying Technique for Golden Fried Shrimp
This is the exciting, slightly nerve-wracking part! You need that oil heated up—about 2 inches deep in your heavy pot—to exactly 350°F (175°C). Please use a real thermometer; guessing gets you greasy fried shrimp, and we don’t want that!
Once the temperature is steady, work in small batches. Pull the shrimp from the marinade, let the heavy excess drip off, and then drop it into the flour coating. Be generous! Really press the seasoning onto the wet shrimp so it sticks well. Gently lower the coated shrimp into the hot oil. Don’t crowd them, or the temperature will drop too fast! Fry them for just 2 to 3 minutes on each side until they are beautifully golden brown. When they look perfect, use your slotted spoon to lift them onto a wire rack set over paper towels to drain. A little sprinkle of salt right off the oil is the final touch!
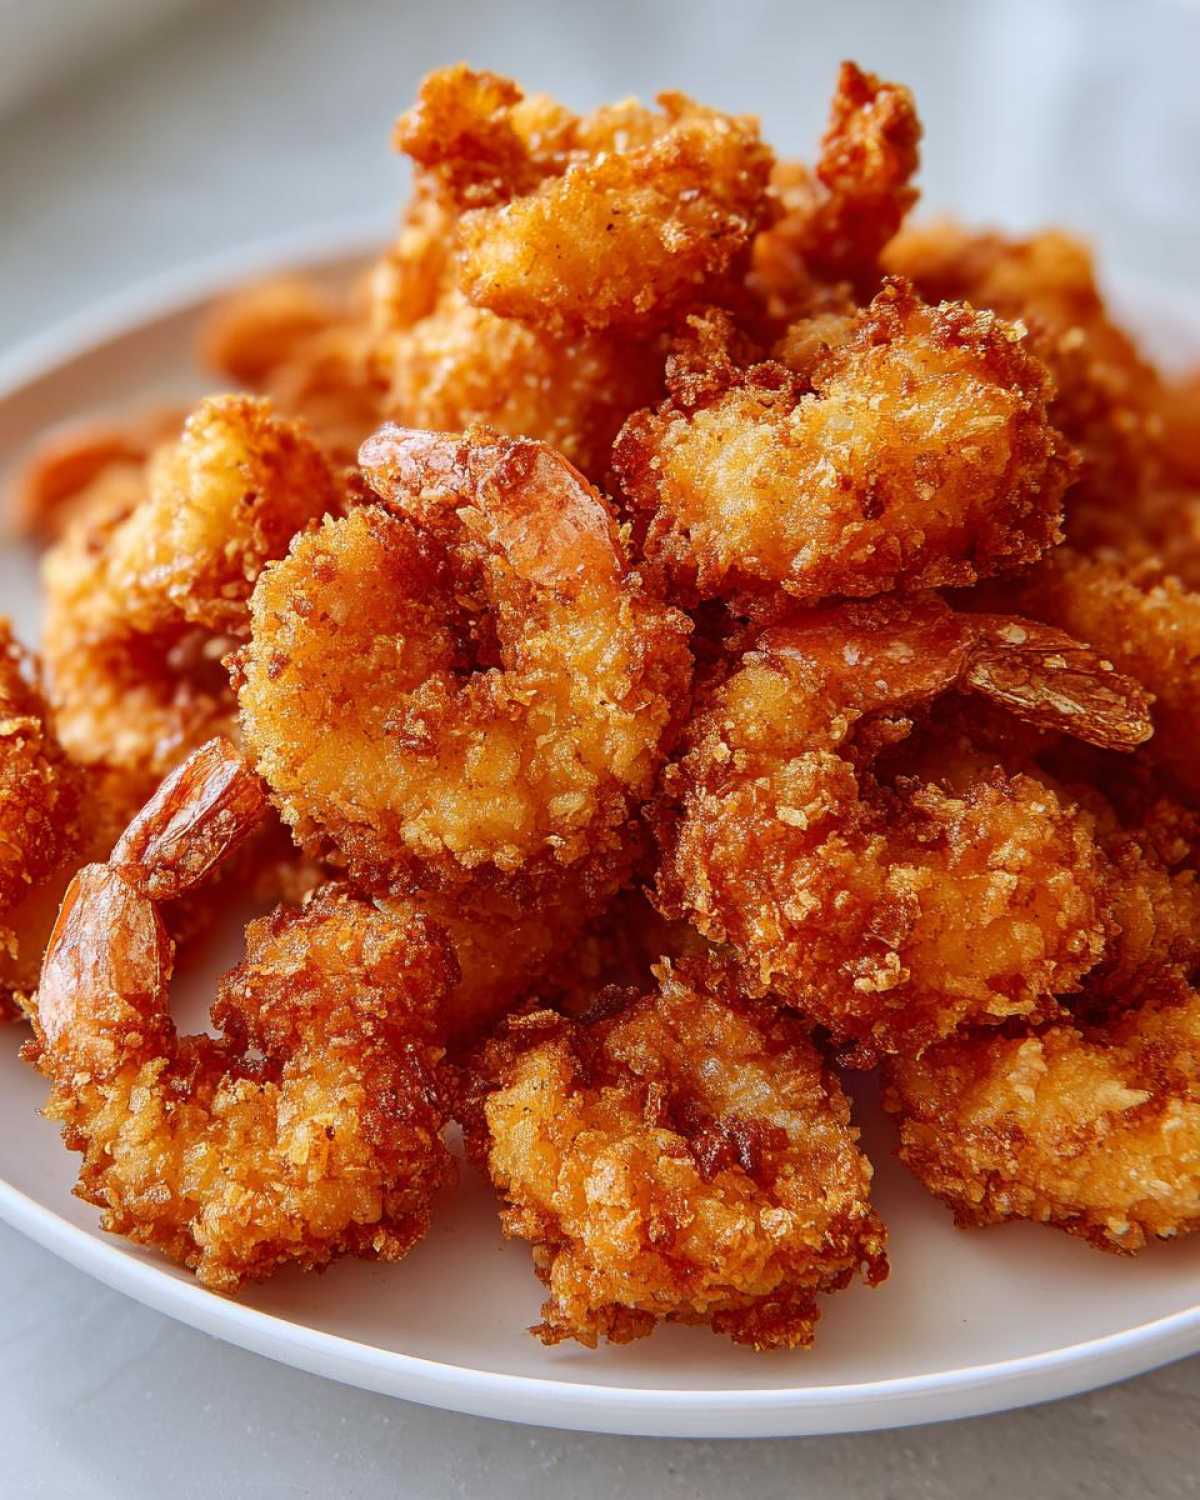
Tips for Achieving the Best Crispy Fried Shrimp Recipe
I feel like I could write a whole book just on this one topic, because getting that signature crunch in our crispy fried shrimp recipe is truly an art form in the South! Amaya always says that frying is about confidence—you have to be quick but precise. Trust me when I say these little extra steps, which I picked up from watching countless family fry sessions, make the difference between good shrimp and *amazing* shrimp.
First, let’s talk about that temperature. If your oil is too cool, the coating just soaks up the fat instead of frying instantly. That’s why we stressed 350°F (175°C). If you see the thermometer start to dip much below 340°F after you drop in a batch, pull the shrimp out for a minute, let the oil recover its heat, and then go back in. A steady temperature prevents greasy shrimp every single time. You can learn a bit more about managing oil heat in our guide to the best deep-fried shrimp methods.
Now, for my favorite insider secret: the double coat! If you want truly impressive, craggy, crunchy coating—the kind that makes a proper satisfying sound when you bite into it—you need to double-dip. After you take the shrimp out of the buttermilk and coat it in the seasoned flour the first time, don’t put it straight into the oil. Instead, dip it back into the buttermilk (just a quick dunk!) and then toss it through the flour one final time. You are essentially building little layers of crispiness!
When you’re dredging the second time, make sure you’re pressing the flour onto the shrimp firmly. This helps those flakes adhere properly. When they come out of the oil, if you can manage to, place them on a clean wire rack, not paper towels. Paper towels can sometimes trap steam underneath, and steam is the enemy of crisp! A great wire rack allows air to circulate around that beautiful golden crust. Enjoy watching everyone grab the platter!
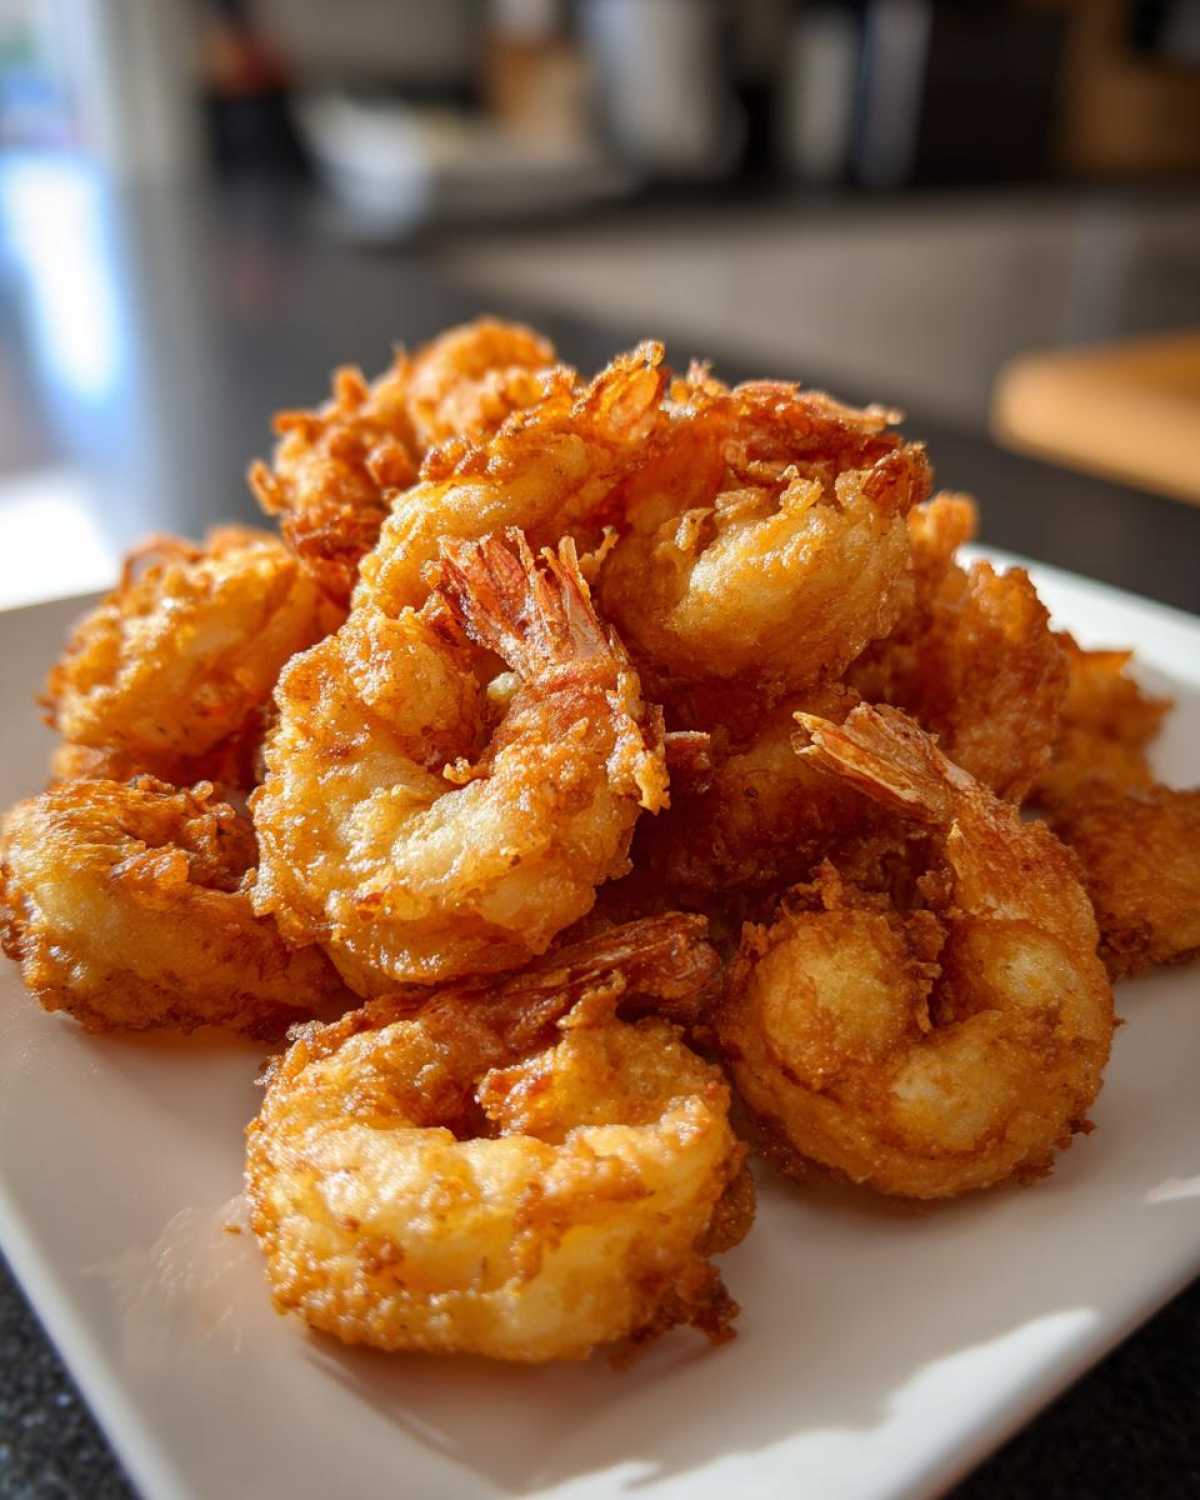
Serving Suggestions for Your Homemade Fried Shrimp
Once you pull that beautiful, crunchy batch of homemade fried shrimp out of the oil, the excitement doesn’t stop there! We think of these golden bites as incredibly versatile. They are perfect as a stand-alone shrimp appetizer for a party, but they also make an unexpectedly simple start to a satisfying quick seafood dinner. Amaya insists that any Southern fried item needs a starch neighbor, and I agree!
If you’re aiming for a full platter, try serving these alongside some creamy coleslaw and maybe some hush puppies—the sweetness of the cornmeal pairs wonderfully with the savory spice crust. Or, for something a little different, we sometimes serve them over a bed of fluffy white rice tossed with a little of the leftover pan drippings for flavor. It really turns it into a complete, quick meal without much extra effort!
Dipping Sauces for Fried Shrimp
A great fried item needs a great partner to dip into. While there are hundreds of fancy sauces out there these days, sometimes the tried-and-true classics are the absolute best counterpoint to the richness of the frying oil. My personal favorites are simple and bright.
- Classic Tartar Sauce: The tanginess of the pickles and lemon in tartar cuts right through the richness of the coating. If you need a super easy version, try ours; it’s delightful! You can find complementary appetizer recipes here just to get your spreading inspiration going!
- Tangy Cocktail Sauce: This one is non-negotiable in the US, isn’t it? The horseradish gives you that necessary little kick at the end.
- Spicy Remoulade: If you want something a bit more complex that echoes those Southern roots, a quick homemade remoulade with a little mustard, hot sauce, and mayo offers depth.
Just set out a few small bowls of these sauces, put a lemon wedge right next to the plate, and watch how fast they disappear. Enjoy!
Storage and Reheating Instructions for Fried Shrimp
Oh, the dreaded leftover fried food dilemma! We’ve all been there. You made the most glorious batch of fried shrimp, the kitchen smells amazing, and you still have a few pieces left the next day. The sound they make when you reheat them in the microwave is just sad—that steaming, soft texture is the opposite of what we worked so hard to achieve!
If you have any leftovers, the goal is simple: reawaken the crispiness without overcooking the tender shrimp inside. Since we are aiming for that perfect result every time, please try to avoid the microwave at all costs. It steams the coating and turns it rubbery in seconds. We want to bring back that golden crunch!
For the very best results, you should store the cooled leftovers in a shallow, airtight container. If you have a lot, try layering them with a paper towel between the layers, though honestly, if you can get them in a single layer, that’s even better. Don’t seal them up while they are still warm, or you trap moisture, and we are back to soggy town.
Best Way to Reheat Crispy Fried Shrimp
The oven or the air fryer are your two best friends here. Both methods use dry heat to pull the moisture out of the coating, making it crisp up again. Think of it as giving the shrimp a second short trip into the heat!
If you are using a standard oven, preheat it to about 375°F (190°C). Lay the shrimp out in a single layer on a wire rack set over a baking sheet. Baking them on a rack is crucial—it lets the heat circulate all around the shrimp, meaning the bottom doesn’t just steam against the tray. This usually takes about 8 to 10 minutes. You’ll know they are done when they feel firm and slightly crunchy again.
Air Fryer Method for Quick Crispy Shrimp
For the quickest reheat, which Kenji often prefers these days (he’s getting modern!), the air fryer wins. Set your air fryer temperature to 370°F (185°C). Place the shrimp in the basket in a single layer—you might need to work in two very small batches, depending on your machine size. They only need about 4 to 5 minutes. Watch them closely because they heat up fast! They come out tasting nearly as good as fresh the first time around.
Remember, these are best eaten right away after reheating. That wonderful crispy texture is fleeting, so make sure you have your dipping sauces ready to go for round two!
Frequently Asked Questions About Fried Shrimp
Oh, I love these questions! They show me you really care about getting this right, and that’s how you become a great cook—by asking the details! Making fried shrimp perfectly, especially when you want that gorgeous crunch, comes down to a few crucial details, like temperature and the right coating. We want your homemade shrimp to be the envy of the whole table!
Can I use a different oil for making fried shrimp?
That is a great question about the fats we use! We love peanut oil for our southern fried shrimp because it has a very high smoke point, meaning it can get hot enough to create that instant crust without burning. Vegetable oil works perfectly well, too, and it’s often more affordable. What you really must avoid are oils with lower smoke points, like extra virgin olive oil. If the oil starts smoking before your shrimp is even close to done, you are going to end up with a bitter, heavy taste instead of that light, golden flavor we aim for.
How do I prevent my fried shrimp from being greasy?
If you take one thing away from this whole recipe, please let it be this: Grease comes from oil that is too cold. When the oil temperature drops below 340°F when you add the shrimp, the coating doesn’t set instantly; it just sits there and soaks up the oil like a sponge. That’s how you get greasy fries and greasy shrimp!
So, the key to preventing it is simple, though it takes a little patience: always keep your oil right around 350°F (175°C). If you are frying in batches, let the oil bounce back up to temperature between dips. Also, draining them properly on a wire rack, rather than just piling them on paper towels, helps wick away any excess surface oil they picked up. If you are really struggling with temperature control, you might look into newer ways to cook shrimp we’ve explored here, like using the air fryer for quicker results: Air Fryer Shrimp Garlic Butter Recipe.
What is the best shrimp size for this recipe?
In the recipe, we specifically call for extra-large shrimp. Why? Because these shrimp are sturdy! We are looking to fry them quickly—only 2 to 3 minutes per side. If you use very small shrimp, they will cook through in maybe 90 seconds, which isn’t enough time for the buttermilk coating to really set up and get that amazing, thick, crispy texture we demand. The larger size helps balance the frying time, ensuring your buttermilk fried shrimp is perfectly cooked on the inside without burning that lovely crust on the outside.
Nutritional Estimates for Crispy Fried Shrimp
Now, I know that when we are talking about deep-fried food, we aren’t exactly aiming for the lightest meal possible! Cooking with oil always adds up, but I believe in knowing what you are eating so you can enjoy it fully. Amaya always reminds me that these are special occasion meals, and treats should be enjoyed without guilt!
These figures are just estimates, mind you. They are based on using 2 pounds of extra-large shrimp split among 4 servings, with standard white flour and the amounts of oil soaked up during the frying process specified in the recipe. If you use less oil or drain them perfectly (which you will, using our wire rack method!), you might find the fat content dips a bit lower.
Here is the general nutritional breakdown for one serving size:
- Serving Size: 6 ounces
- Calories: 450
- Fat: 25g (Remember, some of this is the good fat absorbed!)
- Saturated Fat: 5g
- Unsaturated Fat: 20g
- Trans Fat: 0g (We keep those out!)
- Cholesterol: 250mg
- Sodium: 650mg (This is where seasoning adds up, so taste before adding extra salt at the end!)
- Carbohydrates: 30g
- Fiber: 1g
- Protein: 30g (That shrimp is doing good work for us!)
- Sugar: 3g
See? Still a wonderful, protein-packed meal! We balance the indulgence with plenty of good protein from those lovely shrimp. Enjoy!
Share Your Delicious Fried Shrimp Creations
Oh, my dear friends, now the time has come for you to take the torch! We shared all our secrets for making the absolute best fried shrimp—the buttermilk soak, the secret cornstarch in the coating, and, most importantly, the patience needed to keep that oil hot. Now I want to hear from you! Did you try this recipe? Did the double-dip method give you the crunch you were hoping for?
Creating these recipes together, even if we are separated by oceans and time zones, is such a joy for both Amaya and me. We truly consider our readers like family joining us in our kitchen every day. We love seeing your attempts and hearing your successes!
Please don’t be shy! Leave a rating right down in the comments section below—tell us how many stars this homemade fried shrimp earned in your home. Did it become a new favorite for a quick seafood dinner?
The Kenji & Amaya Promise
If you have any questions at all, whether you’re wondering about substituting a spice or having trouble maintaining your oil temperature, please write it down below. We read every single comment and try our best to reply to everyone personally. It helps us understand what you need and it keeps our culinary conversation going! You can also browse more of our shared kitchen adventures over on the main part of the blog here: our latest recipe posts.
Happy cooking, everyone! May your next batch of shrimp be perfectly golden and wonderfully crisp!
PrintCrispy Southern Fried Shrimp with Buttermilk Soak
Learn how to make the best crispy fried shrimp using a simple buttermilk soak and seasoned flour coating. This easy seafood dinner recipe delivers golden, crunchy shrimp perfect for appetizers or a main course.
- Prep Time: 20 min
- Cook Time: 10 min
- Total Time: 50 min
- Yield: 4 servings
- Category: Seafood
- Method: Deep Frying
- Cuisine: American
- Diet: Low Fat
Ingredients
- 2 pounds extra large shrimp, peeled and deveined (tail on optional)
- 2 cups buttermilk
- 1 tablespoon hot sauce (optional)
- 2 large eggs, lightly beaten
- 1 teaspoon salt
- 1 teaspoon black pepper
- 1 teaspoon garlic powder
- 1 teaspoon paprika
- 1/2 teaspoon onion powder
- 1/2 teaspoon cayenne pepper
- 2 cups all-purpose flour
- 1/2 cup cornstarch
- Peanut oil or vegetable oil, for deep frying
Instructions
- In a medium bowl, combine the buttermilk, hot sauce, and eggs. Whisk until blended.
- In a separate shallow dish, mix the flour, cornstarch, salt, pepper, garlic powder, paprika, onion powder, and cayenne pepper. This is your shrimp coating.
- Soak the shrimp in the buttermilk mixture for at least 30 minutes, or up to 4 hours in the refrigerator. This step helps tenderize the shrimp and makes the coating stick.
- Heat about 2 inches of oil in a deep, heavy-bottomed pot or Dutch oven to 350°F (175°C). Use a thermometer to monitor the temperature.
- Working in batches, remove the shrimp from the buttermilk, letting excess drip off. Dredge each shrimp thoroughly in the seasoned flour mixture, pressing gently to coat completely.
- Carefully place the coated shrimp into the hot oil, ensuring you do not overcrowd the pot. Fry for 2 to 3 minutes per side, until the coating is golden brown and crispy.
- Remove the fried shrimp with a slotted spoon and place them on a wire rack set over a baking sheet to drain excess oil. Sprinkle lightly with salt immediately after frying.
- Serve your homemade fried shrimp hot with your favorite dipping sauces like cocktail sauce or tartar sauce.
Notes
- For extra crispy fried shrimp, double-coat the shrimp: dip them back into the buttermilk briefly after the first flour coating, then coat again in the flour mixture.
- Maintain the oil temperature between 340°F and 350°F for the best results and to prevent greasy shrimp.
- Serve this quick seafood dinner immediately for maximum crunch.
Nutrition
- Serving Size: 6 ounces
- Calories: 450
- Sugar: 3
- Sodium: 650
- Fat: 25
- Saturated Fat: 5
- Unsaturated Fat: 20
- Trans Fat: 0
- Carbohydrates: 30
- Fiber: 1
- Protein: 30
- Cholesterol: 250