

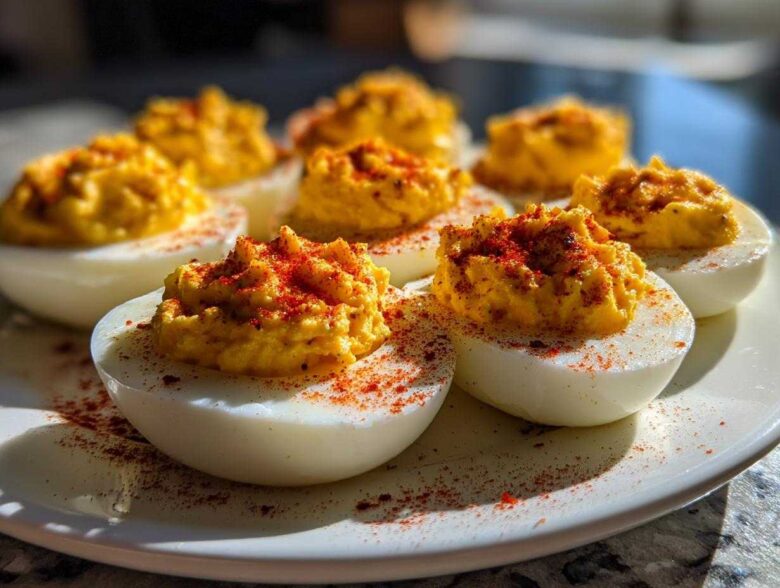
Okay, listen up, because if there’s one thing that disappears before the main course at *any* gathering—be it the Fourth of July or just a Tuesday get-together—it’s a perfectly made deviled eggs tray. Seriously, they vanish like magic! I can’t tell you how many times people have asked me for my secret to the best deviled eggs. After years of making these for family picnics, I finally perfected the formula for that super creamy, tangy filling that just hits the spot every single time. Forget dry yolks or flavorless blobs; this is the foolproof deviled eggs recipe that turns this classic appetizer into the absolute star of the show. We’re talking nostalgia in a single bite! For more baking tips and tricks, you should definitely check out my main food blog.
Why This Deviled Eggs Recipe Makes the Best Deviled Eggs
Honestly, what makes these the best deviled eggs? It comes down to knocking out the two biggest failures: dry filling and eggs that are impossible to peel. Nobody wants to fight their appetizer! My method guarantees a velvety smooth filling every single time, and the hard-boiled eggs behave themselves in the kitchen. If you need a quick jump start on presentation ideas, peek at my thoughts on another great deviled eggs post!
- The filling is extra creamy thanks to the perfect balance of mayo and vinegar.
- The resting technique prevents that gross greenish-gray ring around the yolks.
- They look exactly like the beautiful deviled eggs you remember from childhood parties.
Achieving Perfect Hard-Boiled Eggs for Your Deviled Eggs
Listen, if your hard-boiled eggs are a nightmare to peel, or if the yolks look dull, the whole platter of deviled eggs is ruined before you even start mixing! The secret is *not* to just boil them hard for ages. We start by covering the large eggs completely with cold water in the pan. Bring that water to a full, rolling boil over high heat. Once it’s bubbling like crazy, I pull the pan right off the burner, slap the lid on tight, and just let the residual heat work its magic for exactly 12 minutes.
This gentle steaming stops those sad, chalky gray circles from forming on the yolk. After 12 minutes, you *must* shock them immediately. Plunge them into a big bowl of ice water—this is critical! Cooling them down instantly stops the cooking process and makes the egg separate beautifully from the shell membrane. Trust me, once you nail this part, making beautiful deviled eggs gets so much easier.
Gathering Ingredients for Your Classic Appetizer Deviled Eggs
Okay, assembling the components for these is super simple, which is why they are a go-to party finger food! We’re keeping this very traditional because that’s where the magic is. You absolutely need twelve large eggs—none of those tiny ones—and please make sure you have proper, good-quality mayonnaise on hand. We are aiming for that perfect creamy texture, remember? The mustard is yellow, not Dijon, because we want that classic, bright tang that you expect from the best deviled eggs. It all comes together in under 30 minutes of real work before chilling! If you’re looking for another potluck favorite while you wait for these to chill, check out my amazing 7 Layer Dip Recipe.
Ingredient Notes and Simple Substitutions
I always insist on white vinegar here, not apple cider or anything fancy. White vinegar is sharp; it cuts through the richness of the yolk and mayo perfectly, which is key to that signature snap in a good classic appetizer. If you absolutely love a little crunch or sweetness, feel free to swap out that vinegar for about a tablespoon of sweet pickle relish. That’s a common little tweak people make to their easy deviled eggs!
Also, don’t skimp on the salt and pepper measuring. It seems small, but those tiny amounts of seasoning balance out the heaviness of the yolks. When it comes to presentation, the paprika sprinkled on top isn’t just for color; it adds a tiny bit of aromatic warmth that really elevates the whole bite.
The Foolproof Steps: How to Make Deviled Eggs
Alright, now that our eggs are cool enough to handle after their ice bath shock—which you didn’t skip, right?—it’s time for assembly! This is where you turn those simple boiled whites into the stunning crowd-pleaser we know as deviled eggs. First things first: carefully slice all your eggs in half lengthwise. Don’t rush this, or you’ll crush the whites!
Next, gently scoop every single bit of that beautiful, pale yellow yolk out into a bowl. We’re saving the whites for those perfect little cradles. Once all the yolks are out, grab a fork and mash them until they are dust—absolutely no lumps are allowed in my deviled eggs recipe. If you have patience, pressing the yolks through a fine-mesh sieve gives you the silkiest filling imaginable. If you don’t have time for that, just mash, mash, *mash* until you think you can’t mash any more. Then we bring in the wet ingredients!
You can find my full step-by-step guide over at this post if you want even more detail on the whole process!
Preparing the Creamy Yolk Filling for Best Deviled Eggs
This is the crucial moment where your mashed yolks transform into the best deviled eggs filling. Start adding your mayonnaise, that tangy yellow mustard, the white vinegar for a little bite, and your salt and pepper. You need to mix this thoroughly! I mean, really beat it down until it’s just one uniform, super creamy mixture. If you see any little chunks, keep swirling that fork around until it looks like smooth custard. Taste it, too! Seriously, taste it before it goes in the eggs. Does it need a tiny pinch more salt? Don’t be afraid to adjust seasonings to *your* family’s liking, although this standard recipe for deviled eggs is usually spot-on.
If you want a truly next-level texture—the kind where people wonder how you got it so smooth—take that mixture and gently push it through a fine-mesh sieve onto a clean plate. It takes maybe two extra minutes, and the result is the smoothest yolk filling you’ve ever tasted in a deviled egg.
Filling and Garnishing Your Party Finger Food
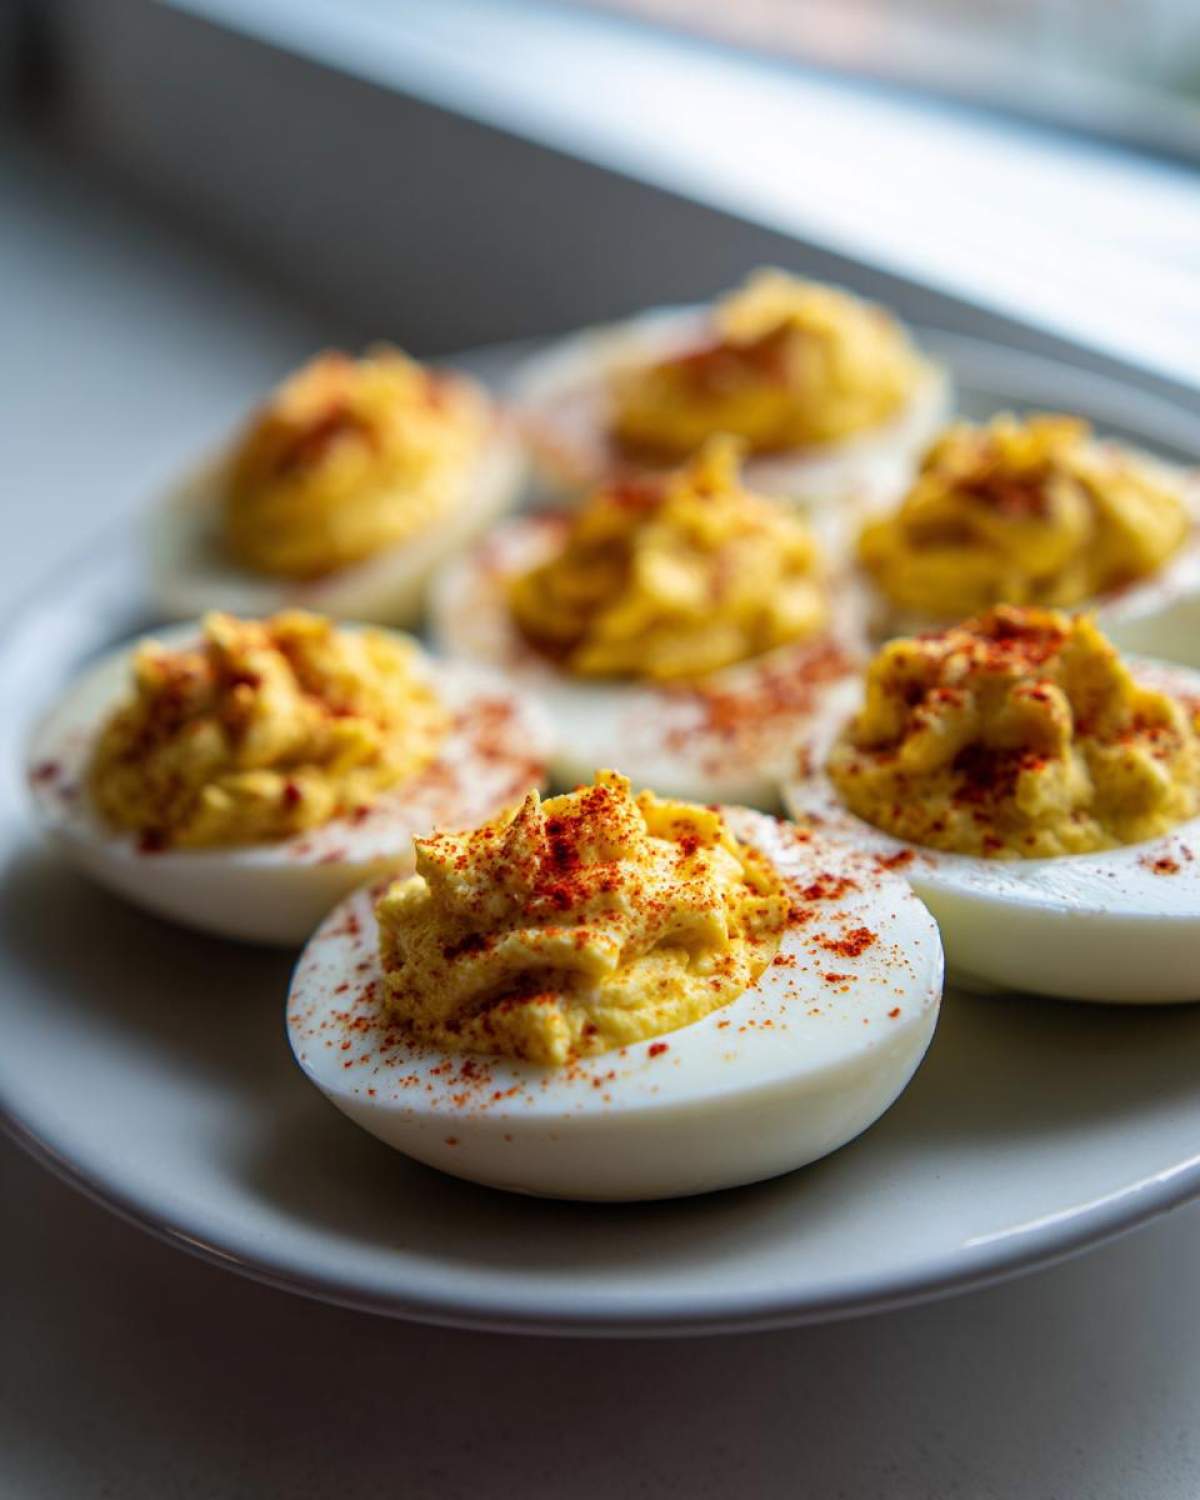
Once your yolk filling is perfectly seasoned, it’s time to get artistic! You can spoon the mixture back into the egg white halves, but honestly, piping looks so much nicer for a great party finger food presentation. Just scoop the filling into a piping bag fitted with a star tip and pipe a beautiful swirl back into each white. Don’t be shy; pile it high!
The final, non-negotiable step? Paprika. Take your little shaker and dust a light, even sprinkle over the top of every single filled half. That pop of red against the creamy yellow is essential for beautiful deviled eggs. You’re done! Pop them in the fridge for a bit to firm up before serving.
Tips for Success Making Creamy Deviled Eggs
Even with a great recipe, a few extra tricks can move your deviled eggs from “good” to “OMG, what is in these?!” The way you handle the final product matters a ton, especially if you’re aiming for that perfectly smooth texture. I always make sure my mayonnaise is good quality because it really impacts the mouthfeel. Also, presentation is everything for a good party finger food, so don’t skip that dusting of paprika!
If you want them cold but not watery, make sure the filling has chilled for at least an hour before serving. Cold filling firms up beautifully and tastes much sharper. For more foundational kitchen knowledge, check out my main tips page!
Storing and Serving Your Classic Appetizer
Once your beautiful classic appetizer deviled eggs are finished, it’s time to think about safety and freshness. These are best served chilled, so get them into the refrigerator as soon as you’re done garnishing them. I usually make them in the morning for an evening party. They keep wonderfully in an airtight container for up to two days, but honestly, they never last that long!
Never, ever try to reheat deviled eggs! The texture of the egg white gets rubbery and the mayo filling separates horribly if you warm them up. The beauty of this dish is that it’s meant to be a cool, refreshing bite. If you need a recipe inspiration for something warm for your next gathering, my amazing BBQ Chicken Cobb Salad is a great alternative!
Frequently Asked Questions About Deviled Eggs
Can I make the filling for these easy deviled eggs ahead of time?
You absolutely can! This is a great trick for busy party days. You can make the creamy yolk filling—that’s the part with the mayo, mustard, and vinegar—and store it in an airtight container in the fridge for up to two days. When you’re ready to serve, you just spoon or pipe it back into your fresh hard-boiled egg whites. That’s one of the best secrets for making easy deviled eggs! If you have questions or need caterer contacts, feel free to reach out via our contact form.
What makes these the best deviled eggs?
For me, what truly elevates these to the best deviled eggs is the balance of tanginess over sweetness. We aren’t using tons of sweet pickle relish here; we are leaning into that sharp note from the white vinegar combined with the kick of yellow mustard. That specific pairing cuts through the richness of the yolk and mayo, making the flavor bright and addictive. It’s that perfect creamy yet zesty profile that keeps people coming back for more!
Estimated Nutritional Data for Deviled Eggs
So, you’re wondering about the nutrition in your favorite party finger food? I get it. While these are definitely creamy, thanks to the mayo, they are naturally low in carbs, so you can feel a little less guilty grabbing that second half-egg! I want to be super clear: this data is based on rough averages of standard ingredients used in the recipe—the 12 large eggs, the mayo, and the seasonings. If you swap in light mayo or use different mustard, things change!
For reference, here’s the estimate for two halves (one full egg):
- Calories: About 90
- Total Fat: Around 8 grams
- Protein: About 3 grams
- Carbohydrates: Less than 1 gram
It’s a tasty little package of protein and fat that keeps you satisfied while mingling! Remember to view this as a guide, and for official dietary concerns, always check your specific product labels. You can find a more detailed breakdown and disclaimer information on my full disclaimer page.
Share Your Perfect Deviled Eggs Experience
Now you have everything you need to create the most sought-after classic appetizer on the block! Seriously, I want to see your results! If you made these easy deviled eggs, please swing down to the comments section below and tell me how they turned out. Did you go wild with the paprika, or did you sneak in some secret ingredients?
Don’t forget to give this recipe a star rating right at the top if it earned a spot in your rotation. Let me know what party or gathering these famous deviled eggs graced this time around, too! I love hearing about the celebrations you bring them to. If you’re curious about the faces behind this simple but delicious food, you can read up on who we are here!
PrintClassic Deviled Eggs Recipe
A simple recipe for making traditional, creamy deviled eggs, perfect for any gathering.
- Prep Time: 20 min
- Cook Time: 12 min
- Total Time: 32 min
- Yield: 24 halves
- Category: Appetizer
- Method: Boiling and Mixing
- Cuisine: American
- Diet: Low Fat
Ingredients
- 12 large eggs
- 1/2 cup mayonnaise
- 2 tablespoons yellow mustard
- 1 tablespoon white vinegar
- 1/4 teaspoon salt
- 1/4 teaspoon black pepper
- Paprika, for garnish
Instructions
- Place eggs in a large saucepan and cover with cold water by one inch.
- Bring water to a rolling boil over high heat.
- Once boiling, remove the pan from the heat, cover it, and let the eggs stand for 12 minutes.
- Immediately transfer the eggs to an ice bath (a bowl of ice and water) and let them cool completely, about 10 minutes.
- Peel the cooled eggs and slice them in half lengthwise.
- Carefully scoop the yolks into a medium bowl.
- Mash the yolks with a fork until fine.
- Mix in the mayonnaise, mustard, vinegar, salt, and pepper until the filling is smooth.
- Spoon or pipe the yolk mixture back into the hollowed-out egg white halves.
- Sprinkle paprika over the top of each filled egg half before serving.
Notes
- To make peeling easier, gently tap the cooled eggs all over to crack the shell, then peel under running cool water.
- For a smoother filling, press the mashed yolks through a fine-mesh sieve before mixing in the other ingredients.
- You can substitute sweet pickle relish for the vinegar for a slightly different flavor profile.
Nutrition
- Serving Size: 2 halves
- Calories: 90
- Sugar: 0.5
- Sodium: 120
- Fat: 8
- Saturated Fat: 2
- Unsaturated Fat: 6
- Trans Fat: 0
- Carbohydrates: 0.5
- Fiber: 0
- Protein: 3
- Cholesterol: 90