

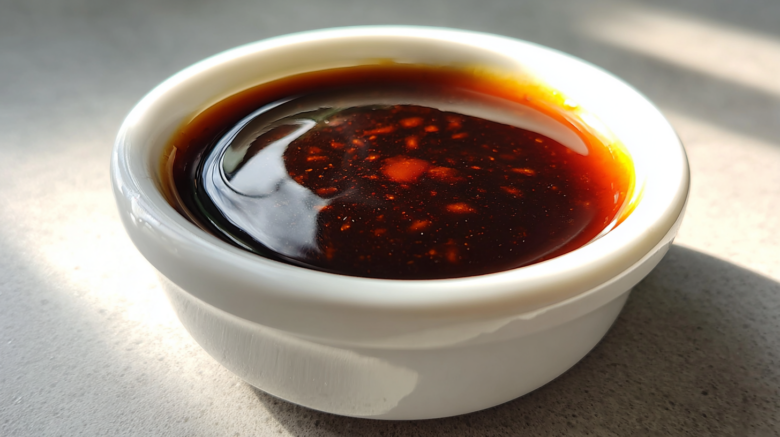
The Easiest 10-Minute Homemade Teriyaki Sauce
Welcome, friends! I’m Kenji.
Forget those thick, overly sweet bottles. I promise you this changes everything.
We used to make this sauce constantly in Kyoto. It’s the secret to so many family meals.
Today, I’m sharing our quick recipe for homemade teriyaki sauce.
It takes mere minutes to come together on the stove.
You’ll find this flavor far superior to anything store-bought, truly.
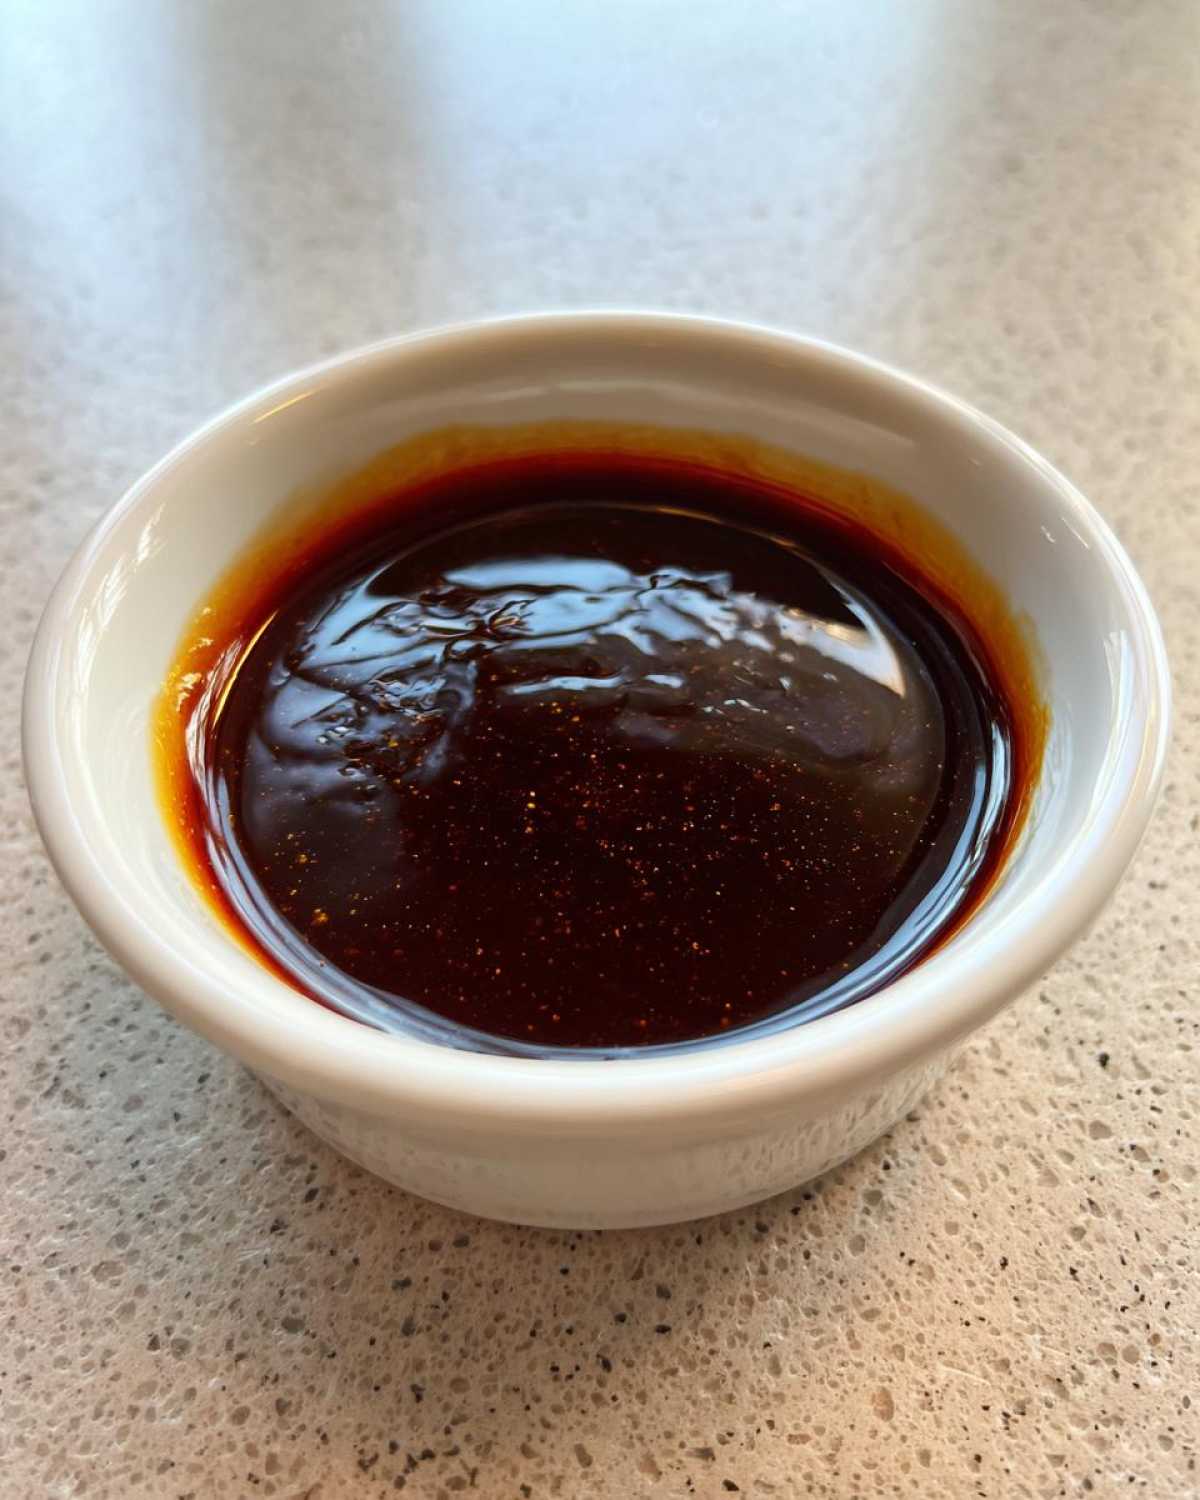
Why You Will Make This Homemade Teriyaki Sauce
Once you try this from-scratch version, you won’t go back. I guarantee it.
Bottled sauces often taste flat or too sugary. Ours sings with freshness.
It’s the perfect balance of salty, sweet, and savory goodness.
Making this homemade teriyaki sauce is a game-changer for weeknight dinners.
Here is why this recipe has earned a permanent spot in our kitchen:
- It’s incredibly fast. Total time is just ten minutes.
- The flavor is bright, not dull or heavy.
- You control every single ingredient that goes in.
Speed and Simplicity of Homemade Teriyaki Sauce
Seriously, this is fast food done right. Prep is maybe five minutes. Cooking takes five more.
You can whip this up while the chicken rests or the tofu drains.
No lengthy simmering or complicated techniques are needed here.
It’s so simple, even I can make it without Amaya watching!
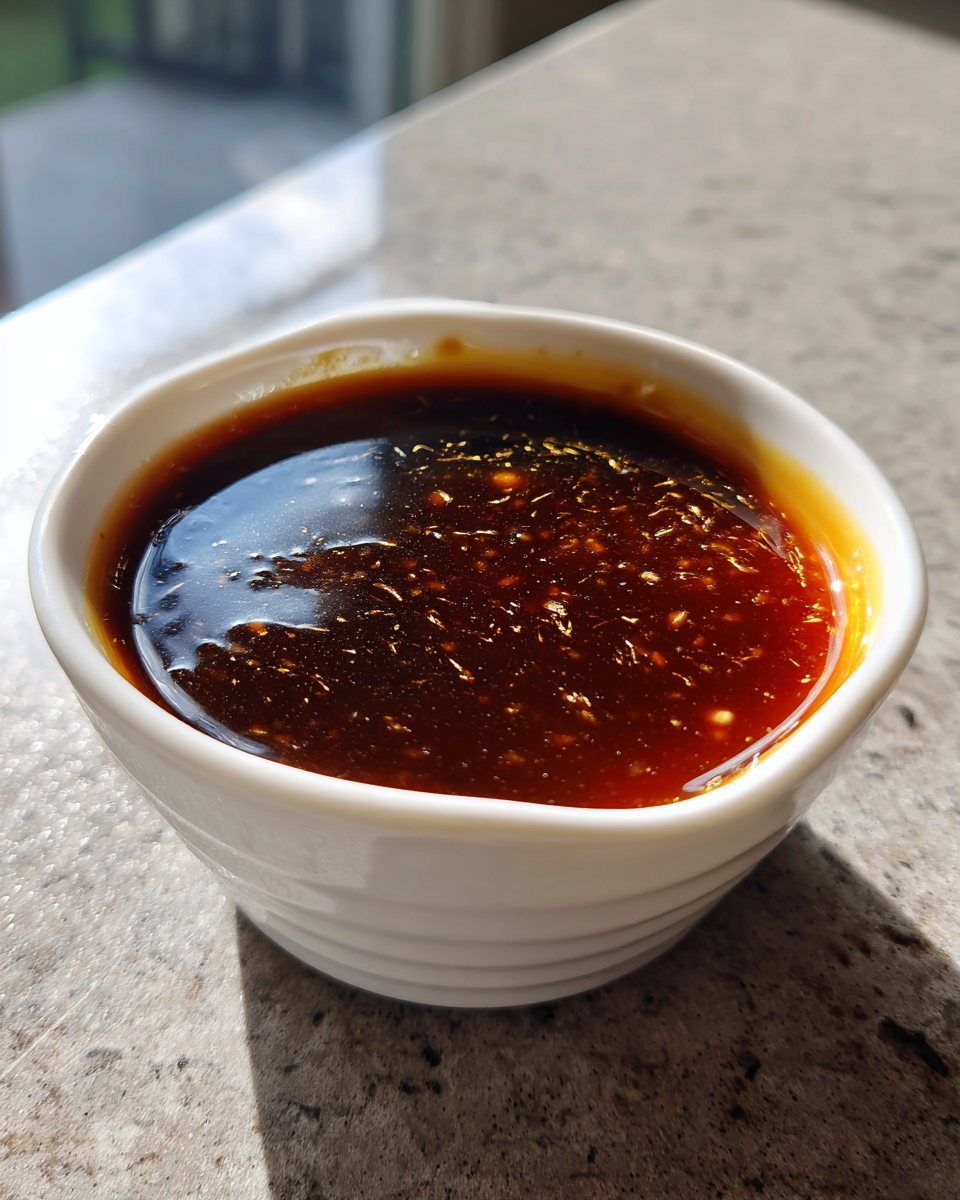
Superior Flavor Profile
Amaya’s family recipes always emphasized fresh tastes. That’s the key difference.
We use real mirin and sake for depth. Store brands often skip these.
The fresh ginger, though optional, adds a wonderful little zing. This root is known for its potent anti-inflammatory properties.
It tastes like something made with care, not on an assembly line.
Essential Ingredients for Your Homemade Teriyaki Sauce
Gathering your ingredients is the first step. This recipe keeps things simple.
We rely on pantry staples for our quick homemade teriyaki sauce.
You only need a few items for this amazing flavor base.
Precise measurements help achieve that perfect glaze consistency.
Get your soy sauce and sweeteners ready before turning on the heat.
- 1/2 cup Soy Sauce (use low sodium if you prefer less salt).
- 1/4 cup Mirin (sweet rice wine).
- 1/4 cup Sake (Japanese rice wine).
- 2 tablespoons Granulated Sugar.
- 1 teaspoon fresh Ginger, grated (this is optional but lovely).
- 1 teaspoon Cornstarch mixed with 1 tablespoon cold water (the slurry).
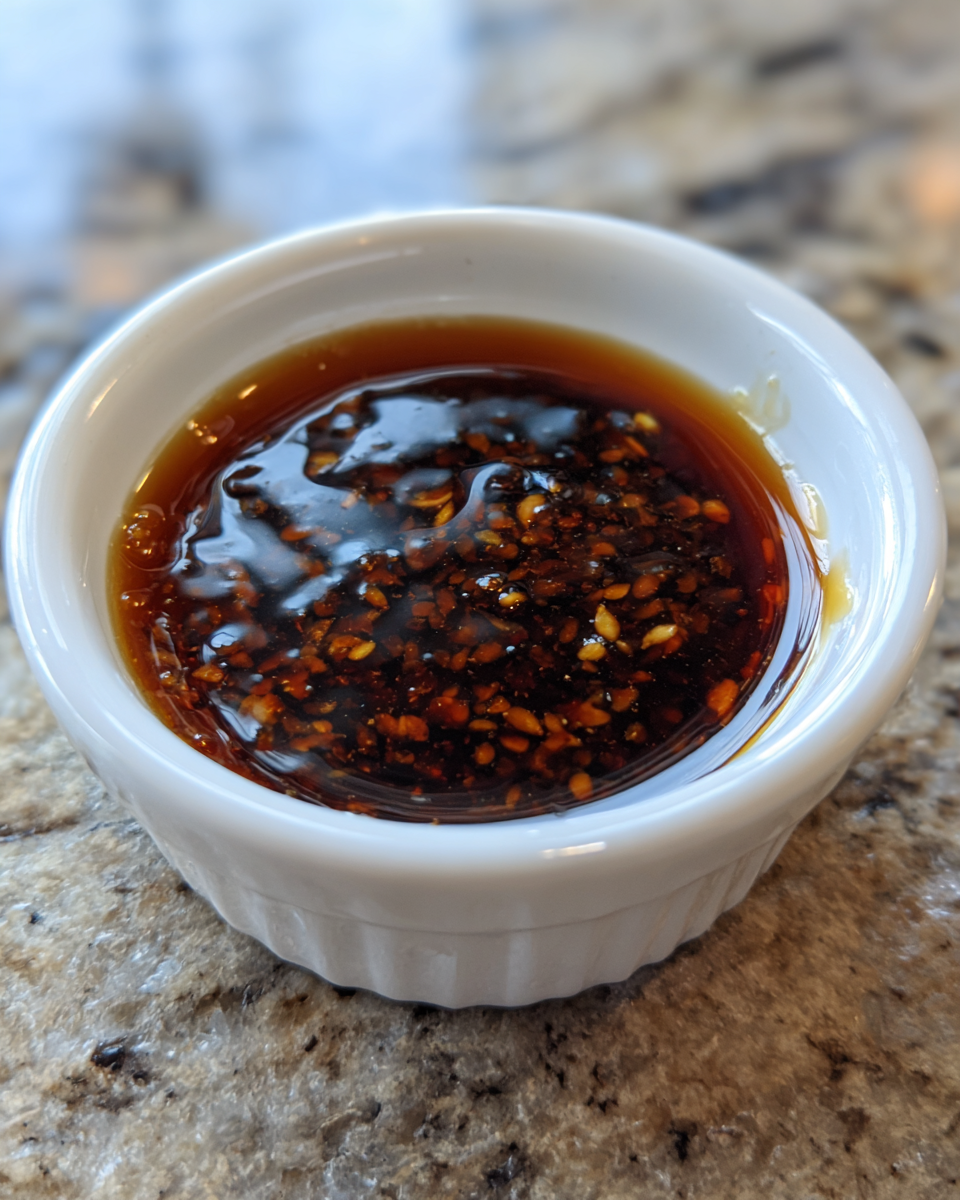
Ingredient Substitutions and Notes
Don’t worry if you lack traditional Japanese ingredients.
We learned to adapt when we moved to New York City.
For Mirin, swap it out for 2 tablespoons of dry white wine.
You must add 2 extra tablespoons of sugar to match the sweetness.
If you skip the Sake, just use plain water instead.
The cornstarch slurry is key for that beautiful thickness later on.
Necessary Tools for Making Homemade Teriyaki Sauce
You won’t need any fancy gadgets here.
This recipe keeps the equipment very basic.
Grab a small saucepan for simmering everything together.
A small bowl and a whisk are also essential.
You need the whisk for making the cornstarch slurry.
That is all required for perfect homemade teriyaki sauce.
Step-by-Step Instructions for Perfect Homemade Teriyaki Sauce
Now for the fun part! Cooking this sauce is quick and satisfying.
Follow these steps closely for the best results.
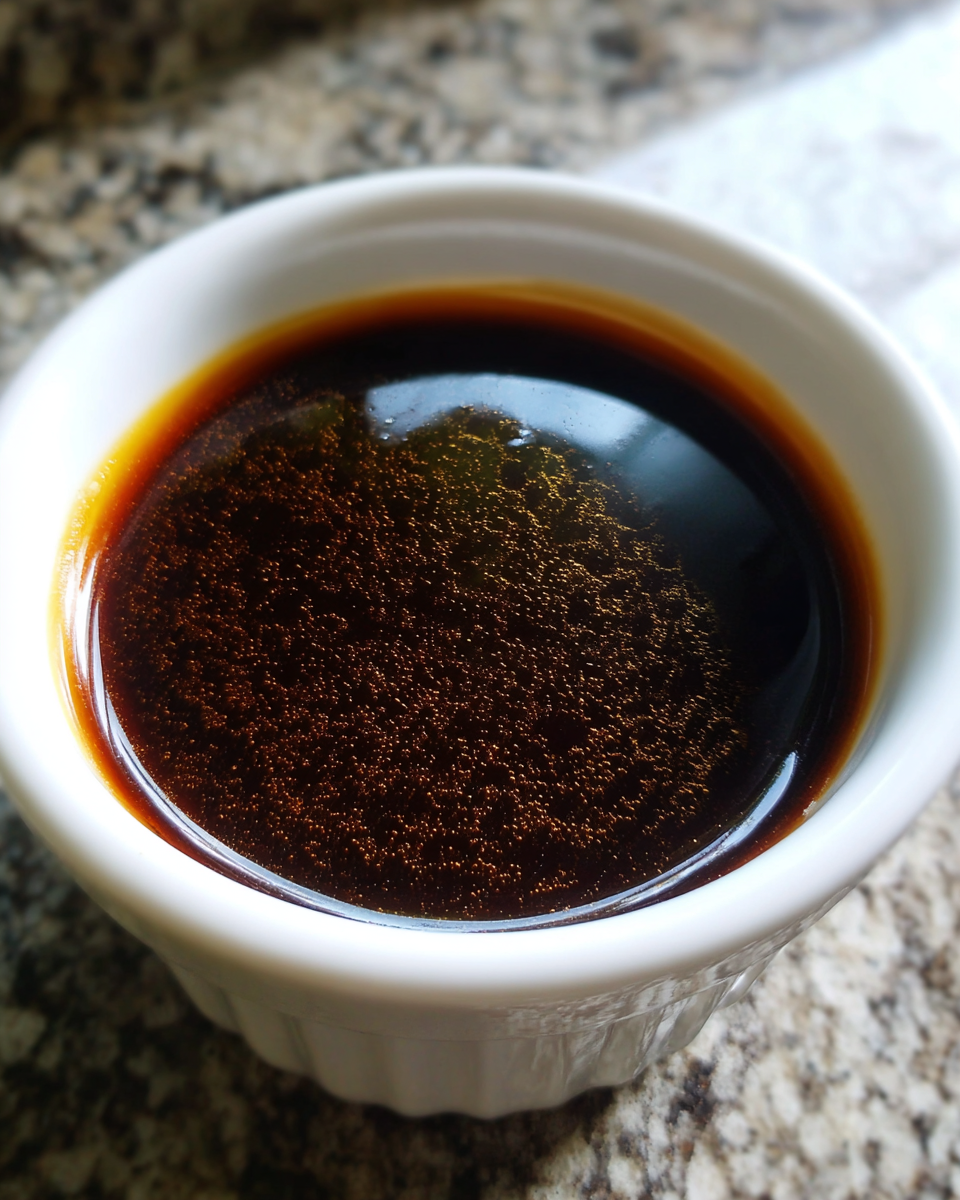
You’ll have a rich, glossy homemade teriyaki sauce in minutes.
Remember to have everything measured before you start heating things up.
Combining and Dissolving Ingredients
First, pour the soy sauce, mirin, and sake into your saucepan.
Toss in the granulated sugar too. Add that optional ginger now.
Place the pan over medium heat on your stovetop.
Stir gently until that sugar dissolves completely into the liquid.
Keep stirring until everything looks uniform and clear.
Crucially, you want this heated, but not boiling yet.
Thickening the Homemade Teriyaki Sauce
Once dissolved, bring the mixture to a gentle simmer now.
While it warms, whisk your cornstarch slurry one last time.
Slowly pour that slurry into the simmering sauce now.
Whisk constantly while you pour the thickener in.
Keep whisking for about one full minute.
The sauce should thicken right before your eyes.
Cooling and Final Adjustments
As soon as it coats the back of a spoon, remove it fast.
Take the pan completely off the hot burner immediately.
The sauce will thicken a bit more as it cools down.
Let it cool completely before you taste it seriously.
Taste your sauce now. Does it need more salt or sugar?
Adjust seasonings to your liking before storing or using it.
Tips for Success with Your Homemade Teriyaki Sauce
Getting that perfect texture takes just a little practice.
Remember, the homemade teriyaki sauce thickens significantly as it rests.
It will look thinner when it comes off the heat, trust the process.
If you want a really thick glaze, reduce the liquid slightly next time.
Or, add just a tiny bit more cornstarch slurry slowly.
Always taste your sauce before you call it done.
Your preferred saltiness might differ from ours.
A splash of rice vinegar can brighten the flavor profile too.
This simple adjustment makes a huge difference in the final result.
Don’t be afraid to experiment a little bit.
Versatility: How to Use Your Homemade Teriyaki Sauce
This amazing sauce isn’t just for one thing. It’s truly a kitchen workhorse.
We use our homemade teriyaki sauce for everything now.
It’s perfect as a quick topping for rice bowls.
It shines when tossed with stir-fried vegetables and noodles.
Think about glazing grilled salmon or chicken breasts.
You can use it on beef strips or even firm tofu cubes.
Marinating and Glazing Techniques
For marinating, let chicken pieces soak for thirty minutes.
Tofu needs at least an hour to really soak up the flavor.
When glazing, apply the sauce near the end of cooking time.
This prevents the sugars from burning too quickly on the grill.
Brush it on during the last few minutes of broiling or baking.
This builds up that beautiful, sticky, shiny coating everyone loves.
Storage and Reheating Guidance
Storing your fresh sauce is easy peasy.
Keep your homemade teriyaki sauce airtight.
Use a clean jar or container in the fridge.
It stays good for about two weeks easily.
When you want to use it later, just warm it gently.
A quick zap in the microwave works perfectly.
Frequently Asked Questions About Homemade Teriyaki Sauce
We get so many questions about this recipe!
It is normal to wonder about simple swaps.
Here are a few things folks ask us often.
We hope this helps you master your homemade teriyaki sauce.
It’s all about confidence in the kitchen.
Can I Make This Homemade Teriyaki Sauce Without Alcohol?
Yes, you absolutely can skip the alcohol.
We understand not everyone keeps sake on hand.
For the sake portion, just use plain water.
Remember the mirin adjustment we discussed earlier.
Use less sugar if you use a sweet wine substitute.
This makes for a great easy teriyaki sauce alternative.
How Thick Should My Quick Teriyaki Glaze Be?
This is the most common question about any glaze!
When it is hot and simmering, it will seem thin.
It should lightly coat the back of a spoon.
This quick teriyaki glaze thickens a lot as it cools down.
Do not over-thicken it on the stove.
You want it glossy, not like thick pudding.
Nutritional Estimates for Homemade Teriyaki Sauce
We always track nutrition loosely here at Whisk Daily.
These figures are just estimates for our homemade teriyaki sauce.
Use these numbers as a general guideline only.
Serving size is about two tablespoons of the finished sauce.
- Calories: Around 50 per serving.
- Fat: Zero grams, which is nice.
- Protein: About 1 gram.
- Carbs: Roughly 12 grams total.
- Sodium: Around 450mg due to the soy sauce.
Remember, ingredients like low-sodium soy sauce change these values.
Share Your Homemade Teriyaki Sauce Creations
We love hearing from you all!
Tell us how your sauce turned out.
Rate this recipe below, please.
Share your photos with us too.
PrintAmazing 10-Minute homemade teriyaki sauce
Make incredibly flavorful homemade Teriyaki Sauce quickly. This recipe tastes much better than store-bought versions and works perfectly as a glaze, marinade, or topping for all your favorite dishes.
- Prep Time: 5 minutes
- Cook Time: 5 minutes
- Total Time: 10 minutes
- Yield: About 1 cup
- Category: Sauce
- Method: Stovetop Simmering
- Cuisine: Japanese
- Diet: Vegetarian
Ingredients
- 1/2 cup Soy Sauce
- 1/4 cup Mirin (or substitute with 2 tablespoons dry white wine and 2 tablespoons sugar)
- 1/4 cup Sake (or substitute with water)
- 2 tablespoons Granulated Sugar
- 1 teaspoon fresh Ginger, grated (optional)
- 1 teaspoon Cornstarch mixed with 1 tablespoon cold water (for thickening)
Instructions
- Combine the soy sauce, mirin, sake, granulated sugar, and optional grated ginger in a small saucepan.
- Heat the mixture over medium heat, stirring until the sugar dissolves completely. Do not boil yet.
- Bring the sauce to a gentle simmer.
- Whisk the cornstarch slurry (cornstarch and cold water) one more time.
- Slowly pour the cornstarch slurry into the simmering sauce while whisking continuously.
- Continue to cook and whisk for about 1 minute, or until the sauce thickens to your desired consistency.
- Remove from heat immediately. The sauce will thicken more as it cools.
- Let the sauce cool completely before using or storing.
Notes
- This sauce is wonderful for chicken, beef, tofu, salmon, and vegetable stir-fries.
- For a thicker glaze, use slightly less liquid or increase the cornstarch slightly.
- Store leftover sauce in an airtight container in the refrigerator for up to two weeks.
- Taste and adjust sweetness or saltiness before serving based on your preference.
Nutrition
- Serving Size: 2 tablespoons
- Calories: 50
- Sugar: 8g
- Sodium: 450mg
- Fat: 0g
- Saturated Fat: 0g
- Unsaturated Fat: 0g
- Trans Fat: 0g
- Carbohydrates: 12g
- Fiber: 0g
- Protein: 1g
- Cholesterol: 0mg