

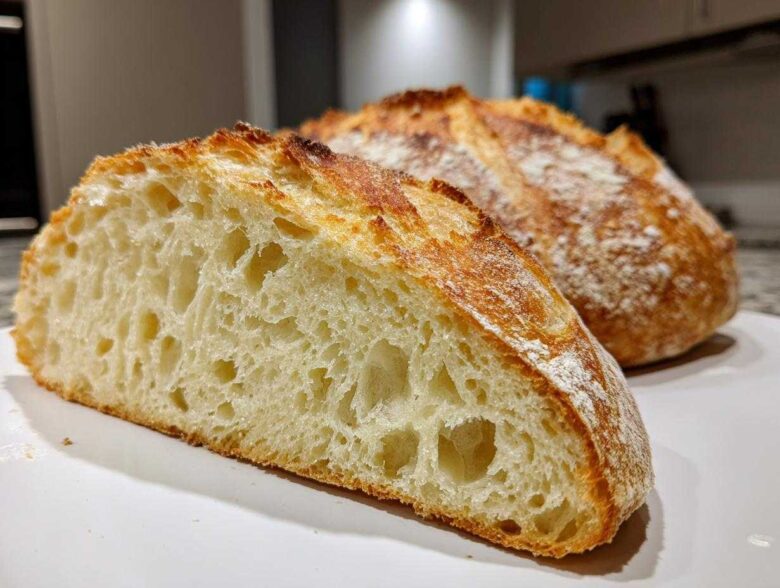
Oh, there is just nothing in this world that compares to the smell of fresh bread baking, is there? My Kenji always jokes that it’s the ultimate welcome home scent! I am Amaya, and today I’m so thrilled to share my absolute favorite recipe for an Italian bread that will make your kitchen smell like a bustling European bakery, but I promise you, it’s completely beginner-friendly. We are aiming for that perfect bite: a deeply golden, crunchy crust that crackles when you slice it, giving way to a soft, chewy interior. This Homemade Italian Bread Recipe is simple, uses just pantry staples, and truly embodies the comforting food traditions I grew up with. If you love the cozy bake of things like soft, fluffy garlic naan bread, you’re going to adore this rustic loaf!
Why This Homemade Italian Bread Recipe Works So Well
I know baking bread can seem intimidating, but trust me, this is the definition of Easy Crusty Bread Baking. The reason it turns out so beautifully every single time, even for folks just starting out, is that it focuses on simple mechanics rather than fussy techniques. We hit that sweet spot between a professional bakery’s result and what you can comfortably manage in your home kitchen. It’s all about maximizing flavor development while ensuring you end up with that magical Soft Inside Crusty Outside Bread texture. For tips on achieving that perfect golden exterior, check out my guide on easy crusty Italian bread.
You get that professional finish without needing a fancy oven, just a little know-how about managing heat. If you want to see someone else achieving fantastic results, look at this great pin on getting that crust just right: Crusty Italian Bread – Golden, Rustic & Perfectly Chewy!
Achieving the Perfect Bakery Style Italian Loaf Crust
The secret to that gorgeous, crackly exterior everyone wants in a Bakery Style Italian Loaf? Steam! Seriously, don’t skip my note about putting that shallow pan in the bottom of the oven while it preheats. When you slide that dough onto the hot stone or sheet, instantly dumping hot water into that bottom pan creates a cloud of steam. This keeps the surface of the dough moist just long enough for it to expand fully before the crust sets hard. That controlled expansion is what gives you the best, crackliest bake!
Tips for a Chewy Italian Loaf Interior
Now for the inside! To get that satisfying, slightly chewy bite in your Chewy Italian Loaf, you really need to put in the work during the kneading phase. I specify 8 to 10 full minutes because that’s how you develop the gluten structure properly. Then, the two rises are non-negotiable, especially the second one. That slow proofing time where the dough rests lets the yeast work its magic, building flavor and creating those air pockets that result in that perfect softness.

Essential Ingredients for Your Italian Bread
Baking truly great Italian bread starts right here, with what you pull out of your pantry. I’ve listed everything you need below, and honestly, it’s such a simple list—that’s the beauty of true comfort food! You won’t need any fancy additions, just the basics handled with care. Kenji always marvels at how four simple ingredients—flour, water, salt, and yeast—can transform into something so satisfying.
- 3 1/2 cups all-purpose flour
- 1 1/2 teaspoons salt
- 1 teaspoon granulated sugar
- 2 1/4 teaspoons active dry yeast (that’s one standard packet!)
- 1 1/2 cups warm water (it needs to be that perfect bath temperature!)
- 2 tablespoons olive oil, plus more for coating the bowl
Ingredient Notes and Substitutions for Great Italian Bread
Listen to Amaya on this first step: the water temperature is vital! If it’s too cold, your yeast won’t wake up, and you’ll have sad, flat dough. It absolutely must be between 105 and 115°F. If you have a thermometer, use it! If not, it should feel comfortably warm, not hot, to your clean finger. Also, I really encourage you to use a good quality all-purpose flour here; it makes a surprising difference in how the gluten develops, giving your final italian bread that beautiful chewiness we are aiming for.
Step-by-Step: How to Prepare Your Italian Bread
Alright, let’s get our hands dusty! Kenji loves this part because it’s where simple things start turning into real food. Follow these steps carefully—especially paying attention to time—and you’ll have that glorious italian bread ready before you know it. Don’t worry if your first loaf isn’t magazine-perfect; the taste will still be incredible, especially if you are planning on serving it with a lovely sauce like our easy homemade lasagna!
Activating Yeast and Mixing the Dough for Italian Bread
We have to wake the yeast gently! In your large bowl, combine that warm water and the sugar, then sprinkle the yeast right on top. Now, just stand back and let it rest for about five to ten minutes. When you come back, it should look foamy and happy—that’s our signal! Once it foams, swirl in the olive oil and salt, then start adding the flour a little at a time. Don’t dump it all in at once, or you’ll have a cloud of flour dust everywhere!
Kneading and First Rise for Soft Inside Crusty Outside Bread
When it’s too hard to stir, turn that shaggy dough out onto your counter, lightly floured. Now comes the satisfying part: kneading! You need to work this dough for a solid 8 to 10 minutes. Keep pushing, folding, and turning until it feels perfectly smooth and elastic. It should feel lovely and soft now—that’s the promise of a Soft Inside Crusty Outside Bread! Once you achieve that, lightly oil your clean bowl, nestle the dough in, cover it up, and let it happily double in size in a warm spot for about an hour to an hour and a half.
Shaping, Second Rise, and Creating Steam for Baking
Once doubled, gently punch the air out—that’s called degassing! Shape it now into the rustic loaf you want for your dinner side. Place that shaped loaf onto your parchment-lined tray or into your loaf pan, cover it loosely again, and let it have its second nap for about 30 to 45 minutes. Critically, while that second rise is happening, get your oven up to 400°F and remember to place one of those shallow pans on the bottom rack. This pan is waiting for hot water to create the steam needed for that perfect crust layer! To see another great baker’s approach to this, check out Homemade Italian Bread with Crispy Crust | Step-by-Step Tutorial.
Baking Your Golden Brown Crust Bread Perfectly
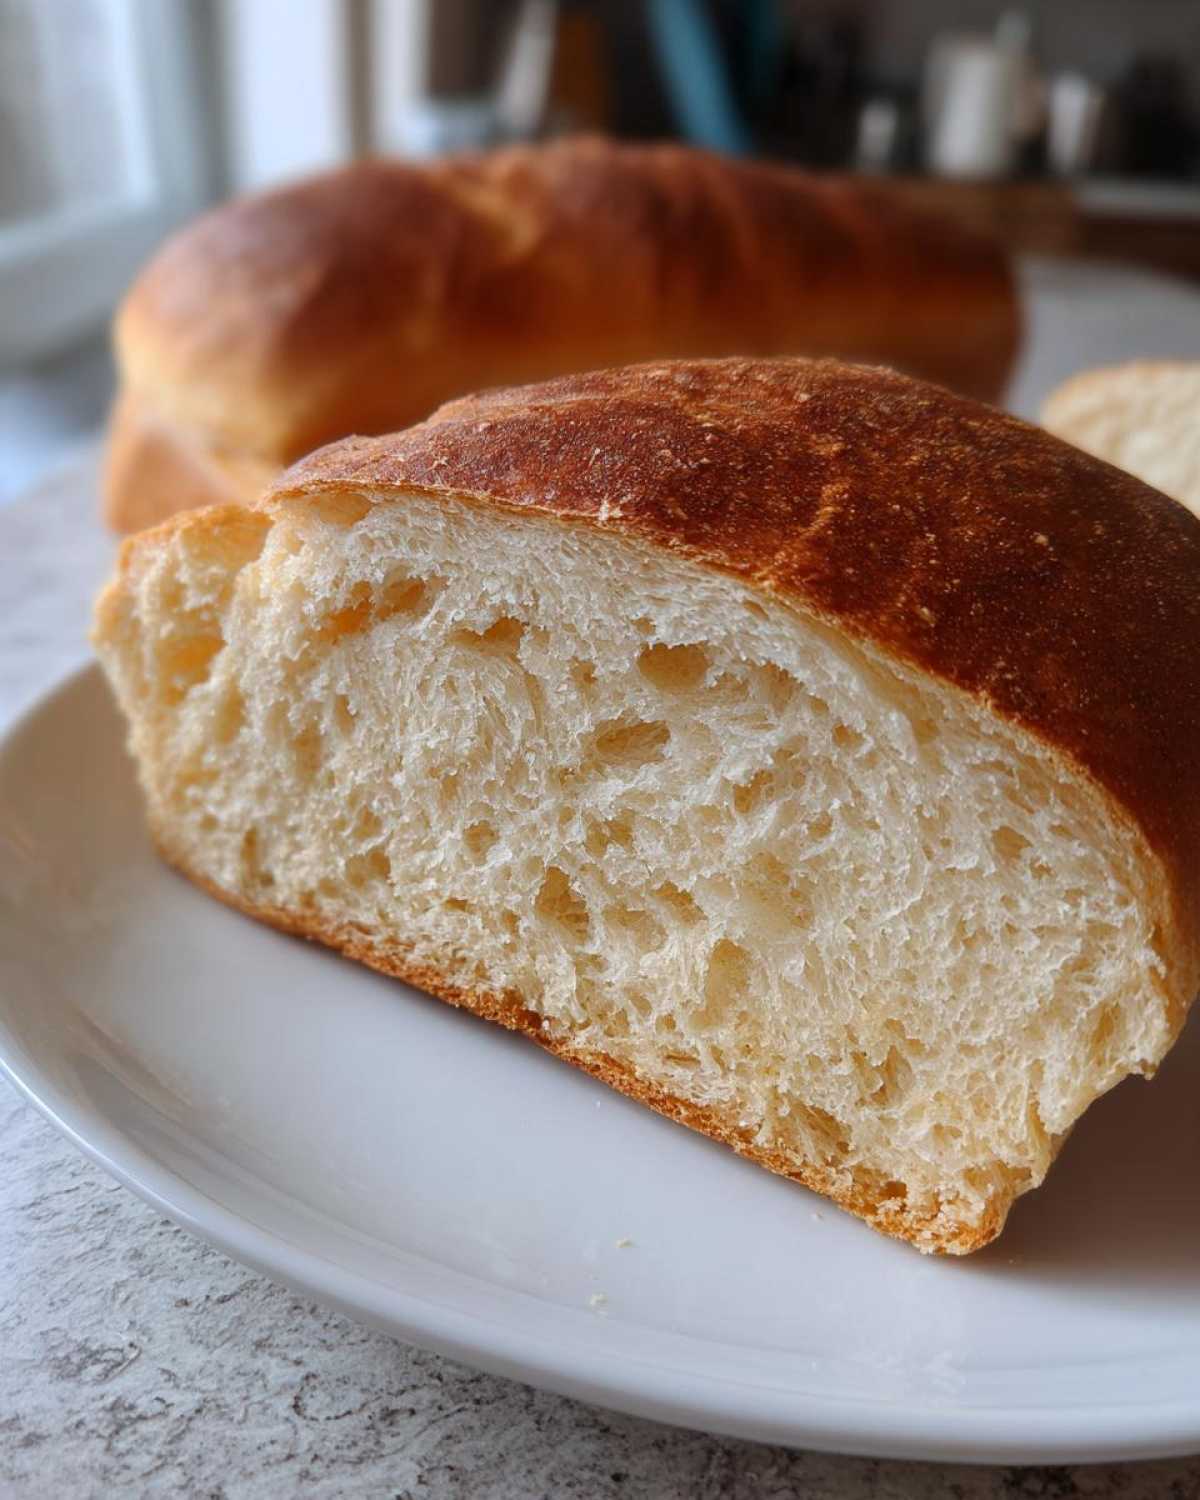
The moment we’ve been waiting for! Once your loaves have had their second lovely rise, it’s time to get them into that hot oven. Remember, the oven temperature is set to 400°F (200°C) and you have that shallow pan of water waiting on the bottom rack? That steam is your best friend for achieving that fantastic Golden Brown Crust Bread.
Right before they go in, take a very sharp knife—I use a clean razor blade if I have one—and give the top of the loaf 2 or 3 quick, diagonal scores. This isn’t just for looks; it helps release the steam predictably so your loaf doesn’t just burst open somewhere funny! Brush the top lightly with water before scoring. Then, slide that bread in quickly, and immediately pour about 1/2 cup of hot water into the lower pan, closing the door fast. That initial blast of moisture ensures a lovely, crackly finish. Bake for about 30 to 35 minutes. You’ll know it’s done when the crust is a deep, beautiful brown and it sounds hollow when you tap the bottom!
Serving Suggestions for Your Fresh Baked Bread Aromas
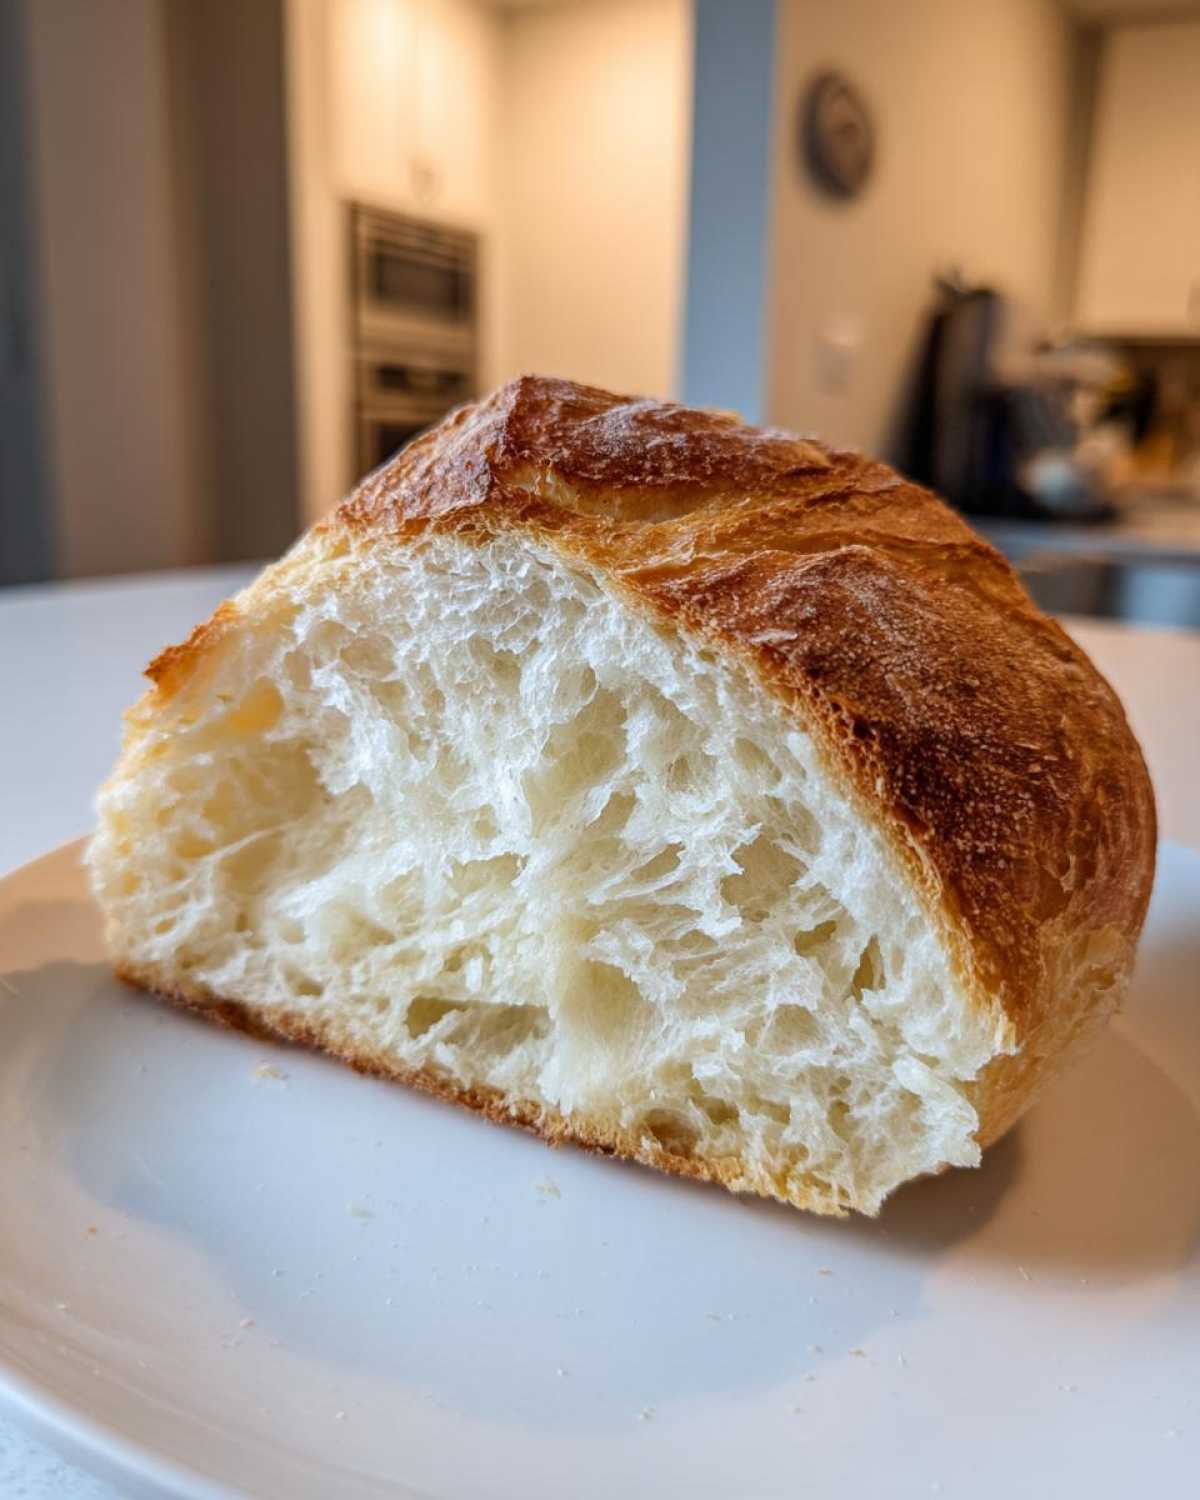
That wonderful Fresh Baked Bread Aromas filling your home is just the appetizer! Once you let this delicious loaf cool slightly—please, try to wait at least an hour so the inside sets properly—it’s ready for serving. This italian bread is just fantastic when used as a reliable Dipping Bread Recipe. Have a bowl of high-quality olive oil mixed with some herbs ready, or better yet, warm up one of my favorite soups, like this recipe for ultra creamy roasted tomato basil bisque, and tear off chunks of the crust to dunk!
Of course, it makes the best Simple Sandwich Bread. The crust holds up beautifully without getting soggy. If you’re serving it as a Dinner Side Bread Recipe for pasta tonight, just have it ready on a cutting board on the table. For more inspiration on serving crusty loaves, take a look at this external resource: Crusty Italian Bread. Enjoy every slice!
Storage and Reheating Instructions
Now that you have this perfect loaf, you want to keep it fresh, right? For bread eaten the same day or the next morning, just leaving it cut-side down on a clean wooden cutting board is how I prefer to store it. Please don’t stick it right into plastic bags; that traps moisture and makes the lovely crust go soft almost instantly! If you have leftovers that you plan to eat later in the week, freezing is your best friend.
Once the bread is completely cool—and I mean totally cool after coming off the rack—wrap it tightly first in plastic wrap and then wrap that bundle again in aluminum foil. This stops freezer burn perfectly. When you’re ready to enjoy that italian bread again, just pull it out, unwrap it, and pop it straight into a 350°F oven for about 10 minutes. That quick blast of dry heat will refresh the crumb and bring that gorgeous, crispy crust right back to life. Trust me, it’s almost like baking it fresh all over again!
Troubleshooting Common Bread Making Issues
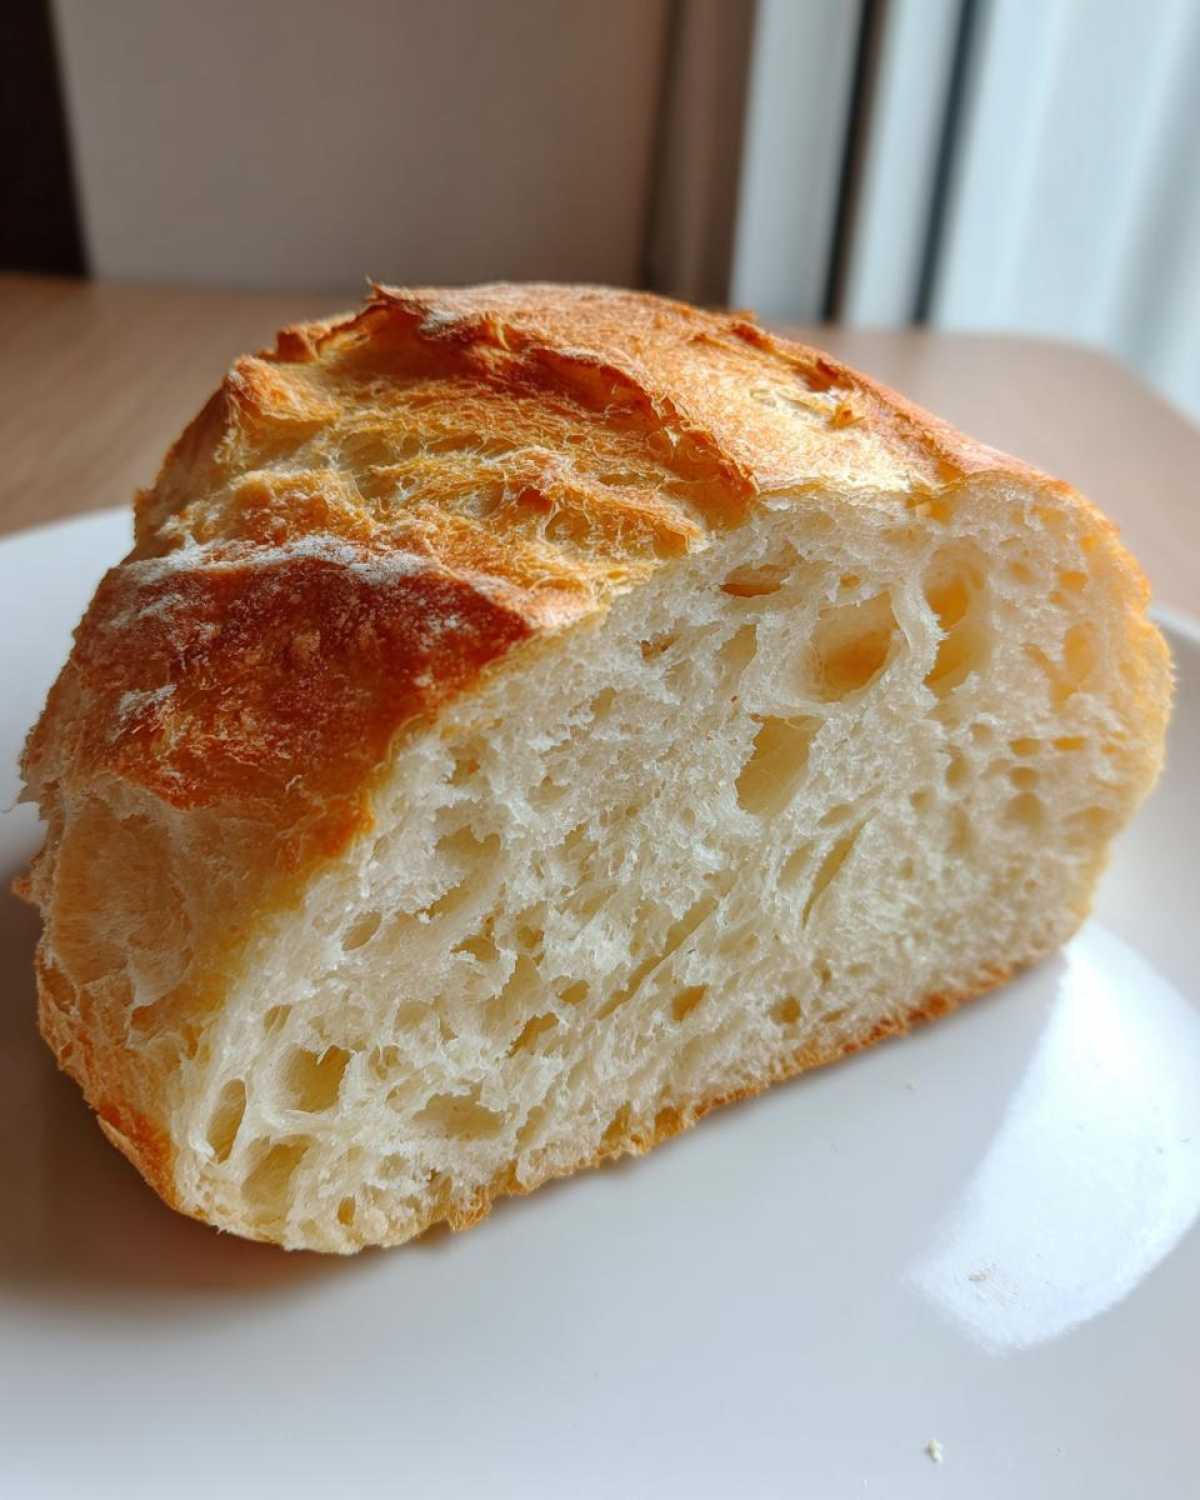
Even the best recipes have hiccups sometimes! Don’t get discouraged if your first italian bread doesn’t look exactly like the picture. If your loaf turned out flat, it almost always points back to your yeast—maybe the water was too hot and killed it, or maybe you didn’t knead enough to develop structure. If the dough doubled fine, but the final loaf is dense, go back and check your kneading time next time!
Are you upset about a pale crust? Ah, that means you missed the steam step we talked about! That water pan is essential for that signature golden finish. If you are struggling with general baking jitters, I have some wonderful general tips on my main blog page that might help soothe some of those worries. We learn by doing, and every loaf teaches us something new!
Frequently Asked Questions About Making Italian Bread
I always get so many wonderful questions after people try this recipe! It’s natural when you’re stepping into Beginner Bread Making; you want to make sure you get all the nuances right. Here are a few things I hear most often regarding texture, time, and ingredient swaps for this fantastic italian bread.
Can I use instant yeast instead of active dry yeast?
Yes, absolutely! Instant yeast is actually a bit more forgiving. If you use instant yeast, you can skip the initial 5-to-10-minute proofing step (Step 1 in the instructions). Just mix the instant yeast right in with your flour and your other dry ingredients, and then add the warm water mixture. It saves a little time, which is great if you need a slightly Quick Italian Bread Tutorial!
What happens if I skip the second rise?
Oh, I really advise against skipping that second rise! While you *could* bake it after just shaping it, the result won’t be the beautiful, airy interior we love. The first rise builds strength, but the second rise builds those wonderful air pockets that keep your interior soft. Skipping it will give you a loaf that’s much denser, more like a flat biscuit than a Chewy Italian Loaf.
My crust didn’t get very crispy; what went wrong?
More than likely, your oven wasn’t hot enough or you didn’t create enough steam! That shallow pan of hot water added *right* as the bread goes in is the key to that shatteringly crisp, Golden Brown Crust Bread. If you forget the water, the crust sets too fast before the bread can fully expand, leading to a duller, softer exterior. Next time, make sure that water is ready to go!
Can I use bread flour instead of all-purpose flour?
You definitely can! Bread flour has a higher protein content, which means you’ll develop even *more* gluten during kneading. This will result in an even chewier, more robust crust and interior. If you substitute bread flour, you might need to add just a touch more water—a teaspoon or so at a time—because bread flour absorbs liquid a bit faster. Keep exploring these kitchen adventures! If you like trying different comforting bakes, you should check out my recipe for easy moist sour cream coffee cake.
Nutritional Estimates for This Loaf
I always feel a little funny posting nutrition facts because baking is such a personal, comfort activity—it’s not about counting calories, it’s about sharing love! But for those who are curious, I wanted to include the estimates we figured out based on the recipe above. Remember, this is for that beautiful, crusty italian bread made according to my directions, and it’s an estimate based on dividing the whole loaf into 12 slices.
| Nutrient | Amount Per Serving |
|---|---|
| Serving Size | 1 slice |
| Calories | 150 |
| Fat | 1.5g |
| Saturated Fat | 0.2g |
| Trans Fat | 0g |
| Unsaturated Fat | 1.3g |
| Cholesterol | 0mg |
| Sodium | 250mg |
| Carbohydrates | 31g |
| Fiber | 1g |
| Sugar | 0.5g |
| Protein | 4g |
Please keep in mind that these numbers are just guidelines based on the exact ingredients listed in the recipe. If you make big substitutions, like adding cheese or brushing it with butter before baking, those figures will change, of course! Enjoy your amazing, homemade italian bread guilt-free!
PrintEasy Crusty Homemade Italian Bread: Bakery-Style Loaf in Your Kitchen

You can bake bakery-style Italian bread at home with this simple, beginner-friendly recipe. Achieve that perfect golden, crunchy crust and soft, chewy interior using basic pantry ingredients. This recipe is great for dipping in olive oil or serving with pasta.
- Prep Time: 20 min
- Cook Time: 35 min
- Total Time: 2 hours 45 min
- Yield: 1 large loaf
- Category: Baking
- Method: Baking
- Cuisine: Italian
- Diet: Vegetarian
Ingredients
- 3 1/2 cups all-purpose flour
- 1 1/2 teaspoons salt
- 1 teaspoon granulated sugar
- 2 1/4 teaspoons active dry yeast (1 packet)
- 1 1/2 cups warm water (about 105-115°F)
- 2 tablespoons olive oil, plus more for the bowl
Instructions
- In a large bowl, mix the warm water, sugar, and yeast. Let this stand for 5 to 10 minutes until the mixture becomes foamy. This shows your yeast is active.
- Add the olive oil, salt, and half of the flour to the yeast mixture. Mix until just combined.
- Gradually add the remaining flour, mixing until a shaggy dough forms.
- Turn the dough out onto a lightly floured surface. Knead the dough for 8 to 10 minutes until it becomes smooth and elastic. You want a soft, chewy texture.
- Lightly oil a large bowl with olive oil. Place the dough in the bowl and turn it over to coat. Cover the bowl with plastic wrap or a clean kitchen towel.
- Let the dough rise in a warm place for 1 to 1.5 hours, or until it has doubled in size. This is your first rise.
- Gently punch down the dough to release the air. Shape it into a long, rustic loaf or two smaller loaves.
- Place the shaped loaf(ves) on a baking sheet lined with parchment paper or in a prepared loaf pan. Cover loosely.
- Let the dough rise again for 30 to 45 minutes. This is your second rise. While it rises, preheat your oven to 400°F (200°C). For a crispier crust, place a shallow pan on the bottom rack while preheating to create steam later.
- Before baking, lightly brush the top of the loaf with water and score the top surface with a sharp knife (make 2-3 diagonal cuts).
- Bake for 30 to 35 minutes, or until the crust is deep golden brown and sounds hollow when tapped. For extra crust, carefully pour 1/2 cup of hot water into the preheated shallow pan on the bottom rack right after placing the bread in the oven, then quickly close the door.
- Remove the bread from the oven and let it cool completely on a wire rack before slicing. Enjoy the aroma of fresh baked bread!
Notes
- To get that bakery-style crust, the steam in the oven during the first 10 minutes of baking is key. Do not skip the water pan step if you want a crackly exterior.
- If you are making sandwiches, let the loaf cool for at least 1 hour before slicing to keep the interior texture soft and chewy.
- This simple sandwich bread freezes well once completely cooled. Wrap tightly in plastic wrap and then foil.
Nutrition
- Serving Size: 1 slice
- Calories: 150
- Sugar: 0.5
- Sodium: 250
- Fat: 1.5
- Saturated Fat: 0.2
- Unsaturated Fat: 1.3
- Trans Fat: 0
- Carbohydrates: 31
- Fiber: 1
- Protein: 4
- Cholesterol: 0