


The Perfect Open-Faced Tuna Melt: A Quick and Delicious Classic
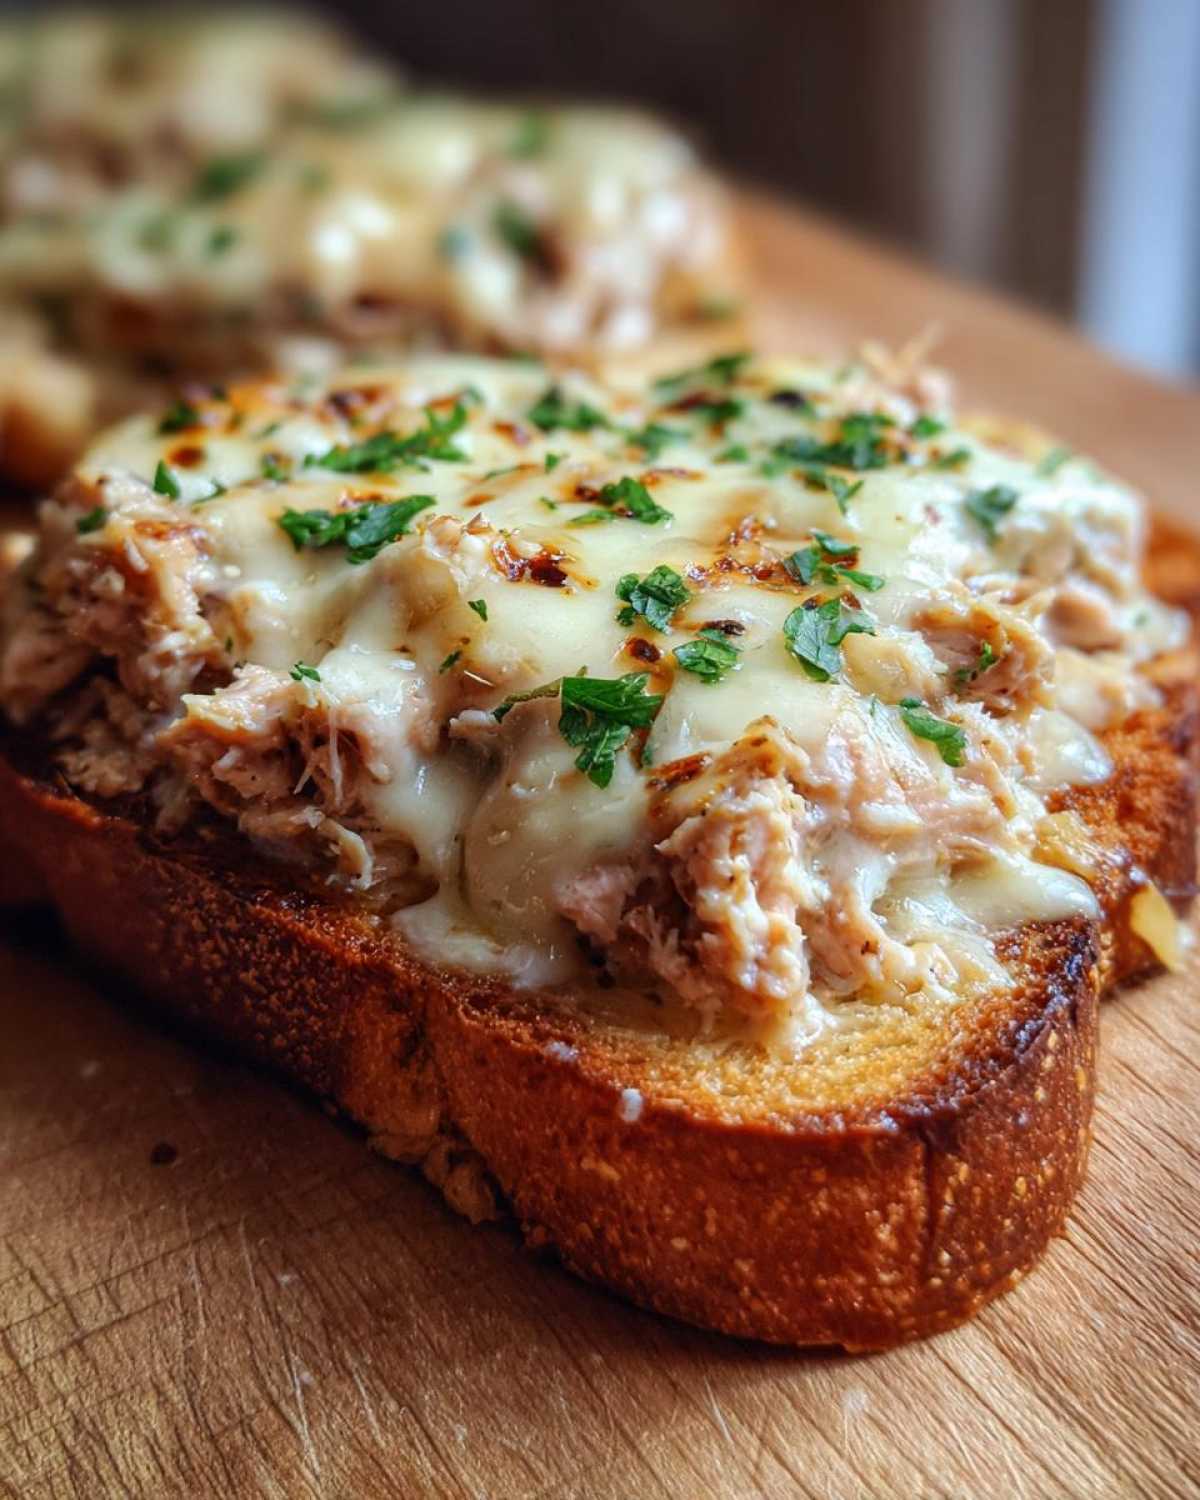
Hello there! Kenji here. You know, when Amaya and I moved to New York, we brought so many cherished recipes with us. But sometimes, a busy day calls for something wonderfully simple. That’s where our open-faced tuna melt shines. It’s a true classic, a comforting hug in food form. This isn’t just any sandwich; it’s a single slice of toasted bread, piled high with savory tuna, and crowned with glorious, bubbly melted cheese. It’s the kind of meal that makes a Tuesday feel like a special occasion. We love how quickly it comes together. It’s a taste of home, made easy.
Why You’ll Love This Open-Faced Tuna Melt
This recipe is a winner for so many reasons.
- It’s incredibly fast.
- It uses simple, common ingredients.
- It always satisfies a craving.
- The broiled cheese is simply divine.
It’s the perfect answer when hunger strikes fast.
Kenji’s Favorite Quick Lunch: Our Open-Faced Tuna Melt Story
I remember one afternoon, shortly after we arrived in New York, feeling a bit overwhelmed by all the new sights and sounds. Amaya suggested we make something familiar. We whipped up this open-faced tuna melt, just like we used to make back home. As the cheese melted under the broiler, the aroma filled our new apartment. It was a small moment, but it felt like a bridge. It reminded me of cozy afternoons in Kyoto. This easy tuna melt is more than just food; it’s a memory of our journey.
Gathering Your Open-Faced Tuna Melt Ingredients
Now that we’ve chatted about how much we adore this simple dish, let’s get down to business. Preparing this open-faced tuna melt is a breeze. The beauty of this recipe is its reliance on pantry staples and fresh, easy-to-find items. You probably have most of them already! We’ll focus on quality ingredients that truly make this classic shine. Getting everything ready is half the fun, and it ensures a smooth cooking process.
Essential Ingredients for Your Open-Faced Tuna Melt
Here’s what you’ll need to create this delightful meal.
- Two cans of tuna in water, well drained.
- A quarter cup of mayonnaise.
- One tablespoon of sweet pickle relish.
- One tablespoon of finely chopped celery.
- A quarter teaspoon of black pepper.
- Four slices of your favorite bread.
- Four slices of cheddar cheese.
These are the stars of our show.
Ingredient Notes and Smart Substitutions
A little tweak here and there can make this open-faced tuna melt even more special. If you prefer a richer flavor profile, using tuna packed in oil instead of water is a fantastic option. It adds a lovely depth. Don’t limit yourself to cheddar cheese either! Swiss or provolone slices melt beautifully and offer a slightly different, but equally delicious, cheesy experience. Feeling adventurous? Consider adding a bit of finely chopped onion for a little bite, or a pinch of paprika for a hint of warmth and color. These little additions can really personalize your tuna melt.
Crafting Your Delicious Open-Faced Tuna Melt
Now for the fun part! Turning these simple ingredients into a golden, cheesy delight. The total time for this masterpiece is just about 15 minutes, with only 5 minutes dedicated to the actual cooking. We’ll preheat that broiler first. That’s the key to getting that perfect bubbly cheese. Then, we mix our tuna salad. It’s a quick blend of tuna, mayo, relish, celery, and pepper. This mixture is where all the flavor lives. We’ll spoon it onto the untoasted side of our bread. Ensure it’s spread evenly. This helps everything cook just right.

Step-by-Step Guide to Your Open-Faced Tuna Melt
Let’s get cooking! First, preheat your broiler. This is super important.
- In a bowl, mix the drained tuna, mayo, relish, celery, and pepper. Stir it all up well.
- Toast one side of each bread slice.
- Spoon the tuna mix onto the untoasted side of each bread. Spread it out evenly.
- Place the bread slices on a baking sheet.
- Top each with a slice of cheddar cheese.
- Broil for 2-3 minutes. Watch it closely!
You want the cheese melted and bubbly. The bread edges should be golden brown. Keep an eye on it. Broilers get hot fast. You don’t want burnt edges!

Pro Tips for a Perfect Open-Faced Tuna Melt
A little extra care goes a long way. Always watch your melts while broiling. They can go from perfect to burnt in seconds. Make sure the tuna mixture is spread evenly on the bread. This helps it cook uniformly. Don’t overcrowd the baking sheet. Give each melt some space. This allows the heat to circulate properly. This ensures even browning and melting. Enjoy your perfectly broiled tuna melt!
Frequently Asked Questions About Open-Faced Tuna Melts
Got questions about our easy tuna melt? We’ve got answers! It’s a simple recipe, but a few common queries pop up. We want to make sure your broiled tuna melt experience is perfect from start to finish. Let’s clear up any confusion so you can create a truly delicious tuna sandwich. These tips will help you master this quick lunch classic.
Can I Make the Tuna Mixture Ahead of Time?
Yes, you certainly can! The tuna mixture for your open-faced tuna melt holds up well in the fridge. Prepare it up to a day in advance. Just store it in an airtight container. Give it a quick stir before assembling.
What Kind of Bread is Best for an Open-Faced Tuna Melt?
Sturdy bread is key for an open-faced tuna melt. Think thick-sliced white, sourdough, or even rye. These can handle the moist tuna mixture and the broiling process without falling apart. Avoid very soft or thin breads.
How Do I Prevent My Open-Faced Tuna Melt from Getting Soggy?
Toasted bread is your best friend here! Toasting one side of the bread before adding the tuna mixture creates a barrier. This helps prevent sogginess. Also, don’t let the assembled melts sit too long before broiling.
Serving and Storing Your Open-Faced Tuna Melt
Now that you’ve created this delightful open-faced tuna melt, let’s talk about how to enjoy it best. Serving it fresh is key. The warm, melted cheese and savory tuna are at their peak right out of the broiler. We also want to make sure you know how to handle any delicious extras. Proper storage keeps the flavors just right for later enjoyment. It’s all about savoring every bite.
Delicious Serving Suggestions
This broiled tuna melt is wonderful on its own. It’s also great with a crisp side salad. A cup of tomato soup is a classic pairing too. Some dill pickles add a nice tang. Enjoy it while it’s warm and gooey!
Storing and Reheating Leftovers
Leftovers? Just let them cool completely first. Store any remaining open-faced tuna melt in an airtight container. Refrigerate it for up to two days. Reheat gently in a toaster oven or under the broiler. Watch closely to prevent burning. It’s best enjoyed soon after reheating.
Nutritional Snapshot of an Open-Faced Tuna Melt
Please keep in mind that the nutritional values for our open-faced tuna melt are estimates. They can change based on the specific brands of ingredients you use. Factors like the type of tuna or mayonnaise can affect the final numbers. We aim for helpful guidance here. Enjoy this classic dish!
PrintUnforgettable Open-Faced Tuna Melt: 15 Min Joy

Enjoy a classic open-faced tuna melt, prepared with flakey tuna and melted cheese on a single slice of toasted bread. This quick and satisfying meal is perfect for lunch or a light dinner.
- Prep Time: 10 minutes
- Cook Time: 5 minutes
- Total Time: 15 minutes
- Yield: 4 servings
- Category: Sandwich
- Method: Broiling
- Cuisine: American
- Diet: Vegetarian
Ingredients
- 2 cans (5 ounces each) tuna in water, drained
- 1/4 cup mayonnaise
- 1 tablespoon sweet pickle relish
- 1 tablespoon finely chopped celery
- 1/4 teaspoon black pepper
- 4 slices of bread
- 4 slices of cheddar cheese
Instructions
- Preheat your broiler.
- In a medium bowl, combine the drained tuna, mayonnaise, sweet pickle relish, chopped celery, and black pepper. Mix well.
- Toast one side of each slice of bread.
- Spoon the tuna mixture evenly onto the untoasted side of each bread slice.
- Place the bread slices onto a baking sheet.
- Top each slice with a slice of cheddar cheese.
- Broil for 2 to 3 minutes, or until the cheese is melted and bubbly and the edges of the bread are golden brown. Watch carefully to prevent burning.
- Serve immediately.
Notes
- For a richer flavor, you can use tuna packed in oil instead of water.
- Feel free to add other ingredients to the tuna mixture, such as chopped onion or a pinch of paprika.
- If you don’t have cheddar cheese, other good melting cheeses like Swiss or provolone work well.
Nutrition
- Serving Size: 1 open-faced melt
- Calories: 350
- Sugar: 3g
- Sodium: 600mg
- Fat: 20g
- Saturated Fat: 8g
- Unsaturated Fat: 12g
- Trans Fat: 0g
- Carbohydrates: 25g
- Fiber: 1g
- Protein: 20g
- Cholesterol: 60mg