

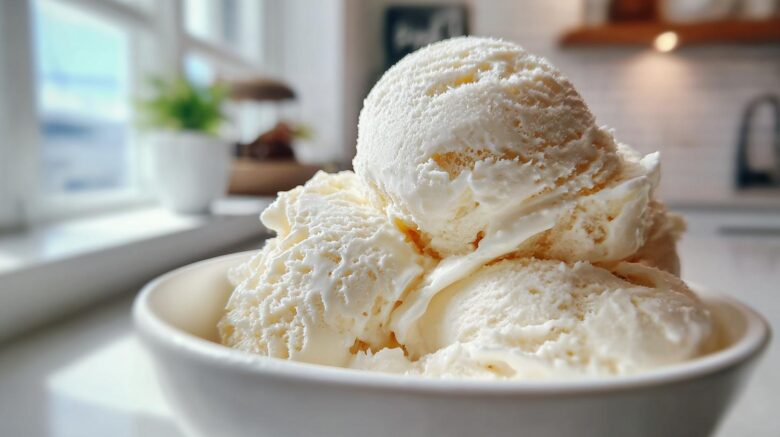
Homemade Vanilla Ice Cream (No Churn): A Sweet Escape
Craving a creamy, dreamy dessert? You’ve landed in the perfect spot! We’re so excited to share our favorite Homemade Vanilla Ice Cream (No Churn) recipe. Forget complicated machines. This method is pure magic. It brings the joy of homemade ice cream right to your kitchen. It’s a simple way to create a delightful treat. We know you’ll love it.
Why You’ll Love This Homemade Vanilla Ice Cream (No Churn) Recipe
This recipe is a winner for so many reasons. First, it’s incredibly easy. You don’t need a fancy ice cream maker. That’s a huge plus for us! It delivers a wonderfully creamy texture. The vanilla flavor is rich and comforting. It’s a classic taste everyone adores. Making this dessert feels like a special occasion. Yet, it’s simple enough for any day.
Our Story: A Taste of Tradition and New Beginnings
When Kenji first visited my family’s eatery in Kyoto, he was captivated. He loved our ramen, of course. But he also loved watching me talk about our recipes. Food has always been our way of connecting. Years later, even after moving to New York, we wanted to keep that connection alive. This homemade vanilla ice cream (no churn) reminds us of simpler times. It also represents our new adventures here. It’s a taste of our past and our exciting present. We hope it brings a touch of our story to your home too.
Gather Your Simple Ingredients for Homemade Vanilla Ice Cream (No Churn)
Making this delightful homemade vanilla ice cream (no churn) is wonderfully straightforward. You only need a few pantry staples. I always make sure to have these on hand for spontaneous sweet cravings.
- 2 cups Heavy Cream: Use very cold heavy cream. This is key for achieving those lovely stiff peaks.
- 1 can (14 ounces) Sweetened Condensed Milk: This forms the creamy base. Make sure it’s a full can.
- 2 teaspoons Pure Vanilla Extract: This gives our ice cream its classic comforting flavor. Pure extract makes a difference!
That’s it! Just three simple ingredients will transform into a frozen dream. It’s amazing what a few quality items can do.
Step-by-Step Guide to Your Homemade Vanilla Ice Cream (No Churn)
Ready to create some magic? Making this homemade vanilla ice cream (no churn) is a joy. Follow these simple steps. You’ll have a delicious frozen treat in no time. It truly is that easy. Let’s get started on this sweet adventure!
Preparing Your Base for Homemade Vanilla Ice Cream (No Churn)
First, grab a medium-sized bowl. Pour in your can of sweetened condensed milk. Add the pure vanilla extract. Whisk these together until they are well combined. This mixture is the sweet heart of our ice cream. It adds richness and that lovely vanilla aroma. Keep whisking until it looks smooth and uniform.
Achieving Creamy Peaks: Whipping the Cream
Now, for the cream! Use a large, chilled bowl. Pour in your very cold heavy cream. If you have a stand mixer, use the whisk attachment. If not, a hand mixer works perfectly. Whip the cream on medium-high speed. Watch it closely. You want stiff peaks to form. This means when you lift the whisk, the cream holds its shape. It shouldn’t droop.
The Gentle Fold: Combining Your Homemade Vanilla Ice Cream Base
This part is crucial for texture. Take about a third of your whipped cream. Gently fold it into the condensed milk mixture. Use a spatula. Be gentle! You don’t want to deflate the whipped cream. Once that’s incorporated, add the remaining whipped cream. Fold it in until just combined. Streaks are okay. Overmixing is the enemy here.
Freezing Your Homemade Vanilla Ice Cream (No Churn) to Perfection
Pour your beautiful ice cream mixture into a freezer-safe container. An airtight container is best. This stops ice crystals from forming. Plastic containers with lids work well. Metal loaf pans are also great. You can cover the surface directly with parchment paper first. Then add the lid. This adds extra protection. Pop it into the freezer. Let it freeze for at least six hours. Overnight is even better for that perfect firm texture.
Tips for the Best Homemade Vanilla Ice Cream (No Churn)
Want your homemade vanilla ice cream (no churn) to be extra special? A few little tricks make a big difference. Chilling your mixing bowl and whisk attachment beforehand is a game-changer for whipping cream. It helps the cream whip up faster and hold those lovely stiff peaks. I learned this years ago, and it truly makes the cream lighter and airier. It’s a small step that yields big results for your no-churn creation.
Ingredient Notes and Substitutions for Homemade Vanilla Ice Cream (No Churn)
For this homemade vanilla ice cream (no churn), using cold, high-fat heavy cream is essential. It’s what gives us that luxurious texture. If you can’t find pure vanilla extract, imitation vanilla will work in a pinch. However, pure vanilla offers a richer, more authentic flavor. While this recipe is simple, feel free to stir in your favorite mix-ins like chocolate chips or chopped cookies right before freezing!
Frequently Asked Questions about Homemade Vanilla Ice Cream (No Churn)
Got questions about our homemade vanilla ice cream (no churn)? I get it! It’s always good to know a few things. Here are some common queries I hear.
Can I use a different type of milk? For this easy ice cream recipe, heavy cream is really key. It’s what makes the ice cream rich and creamy without churning. Lighter milks won’t give you that same texture. They tend to form ice crystals instead.
How long does it take to freeze? It needs at least 6 hours. For the best results, I like to freeze it overnight. This ensures it’s firm enough to scoop nicely. Patience is a virtue here!
What if I don’t have sweetened condensed milk? This recipe relies on sweetened condensed milk for sweetness and texture. It’s hard to substitute directly and get the same creamy result. You really need it for a successful no-churn ice cream.
Can I add other flavors? Absolutely! This is a fantastic base for your creativity. You can swirl in fruit purees, chocolate sauce, or cookie crumbles. Just add them gently at the very end before freezing. It makes your vanilla ice cream without machine uniquely yours.
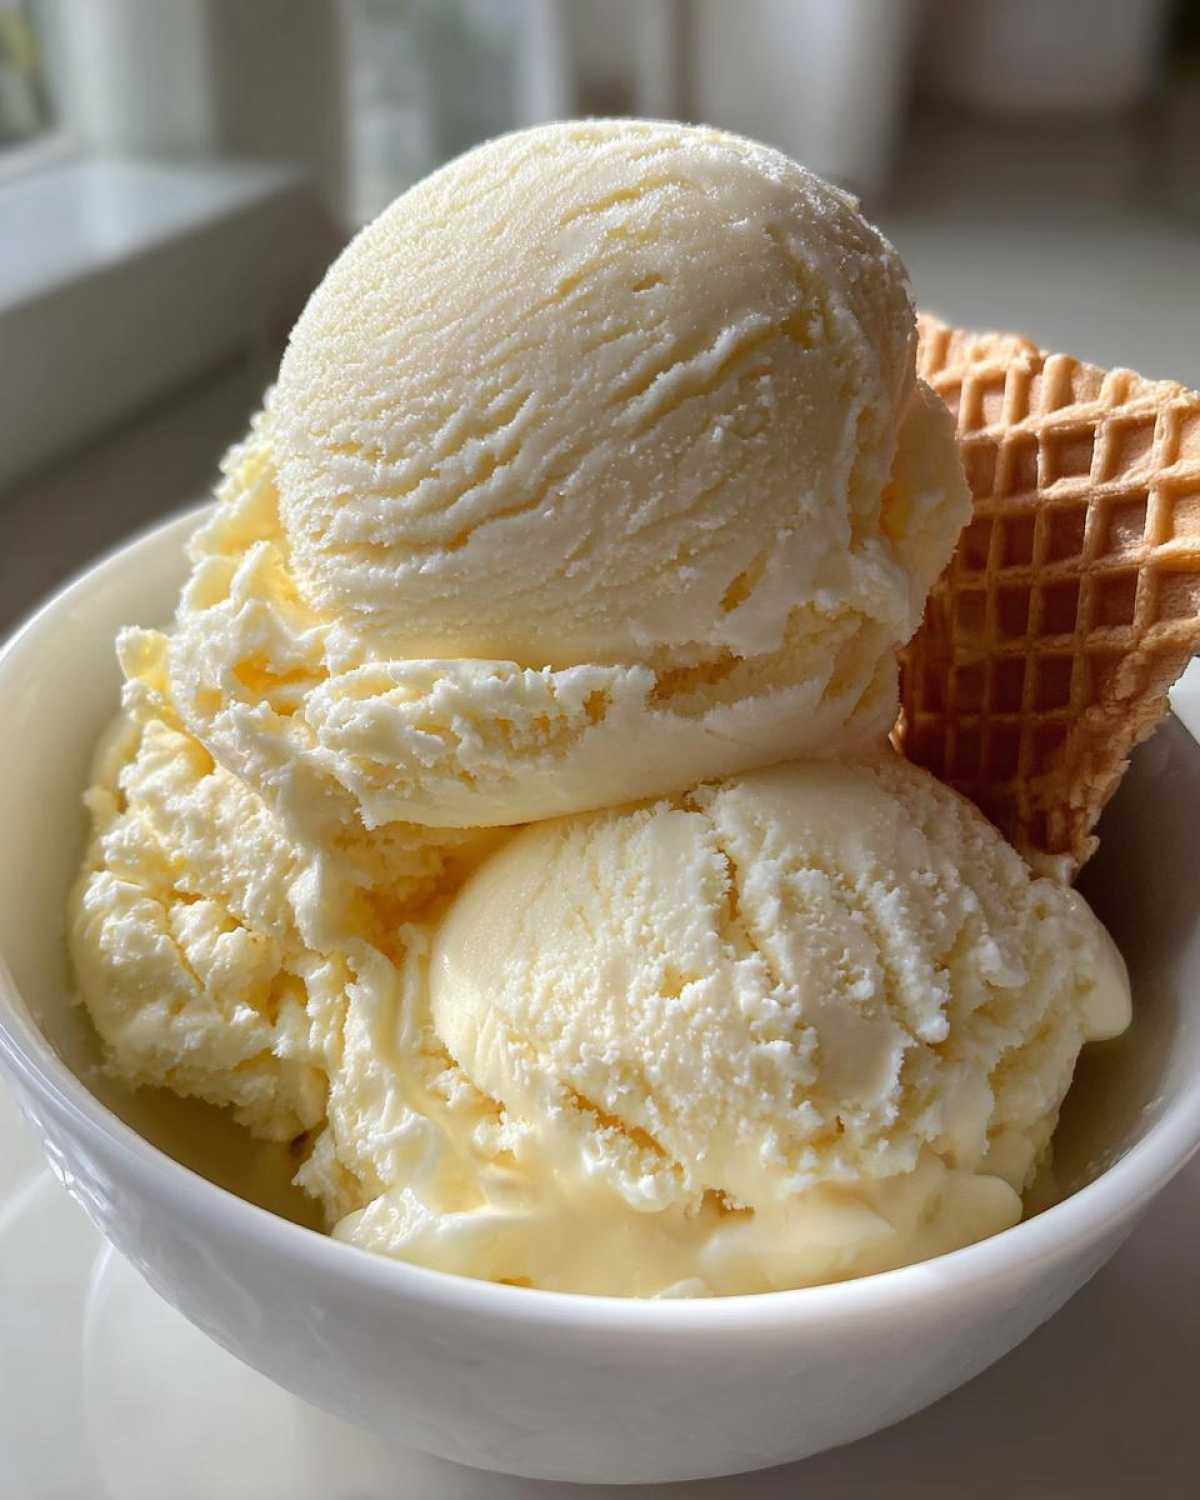
Enjoying Your Delicious Homemade Vanilla Ice Cream (No Churn)
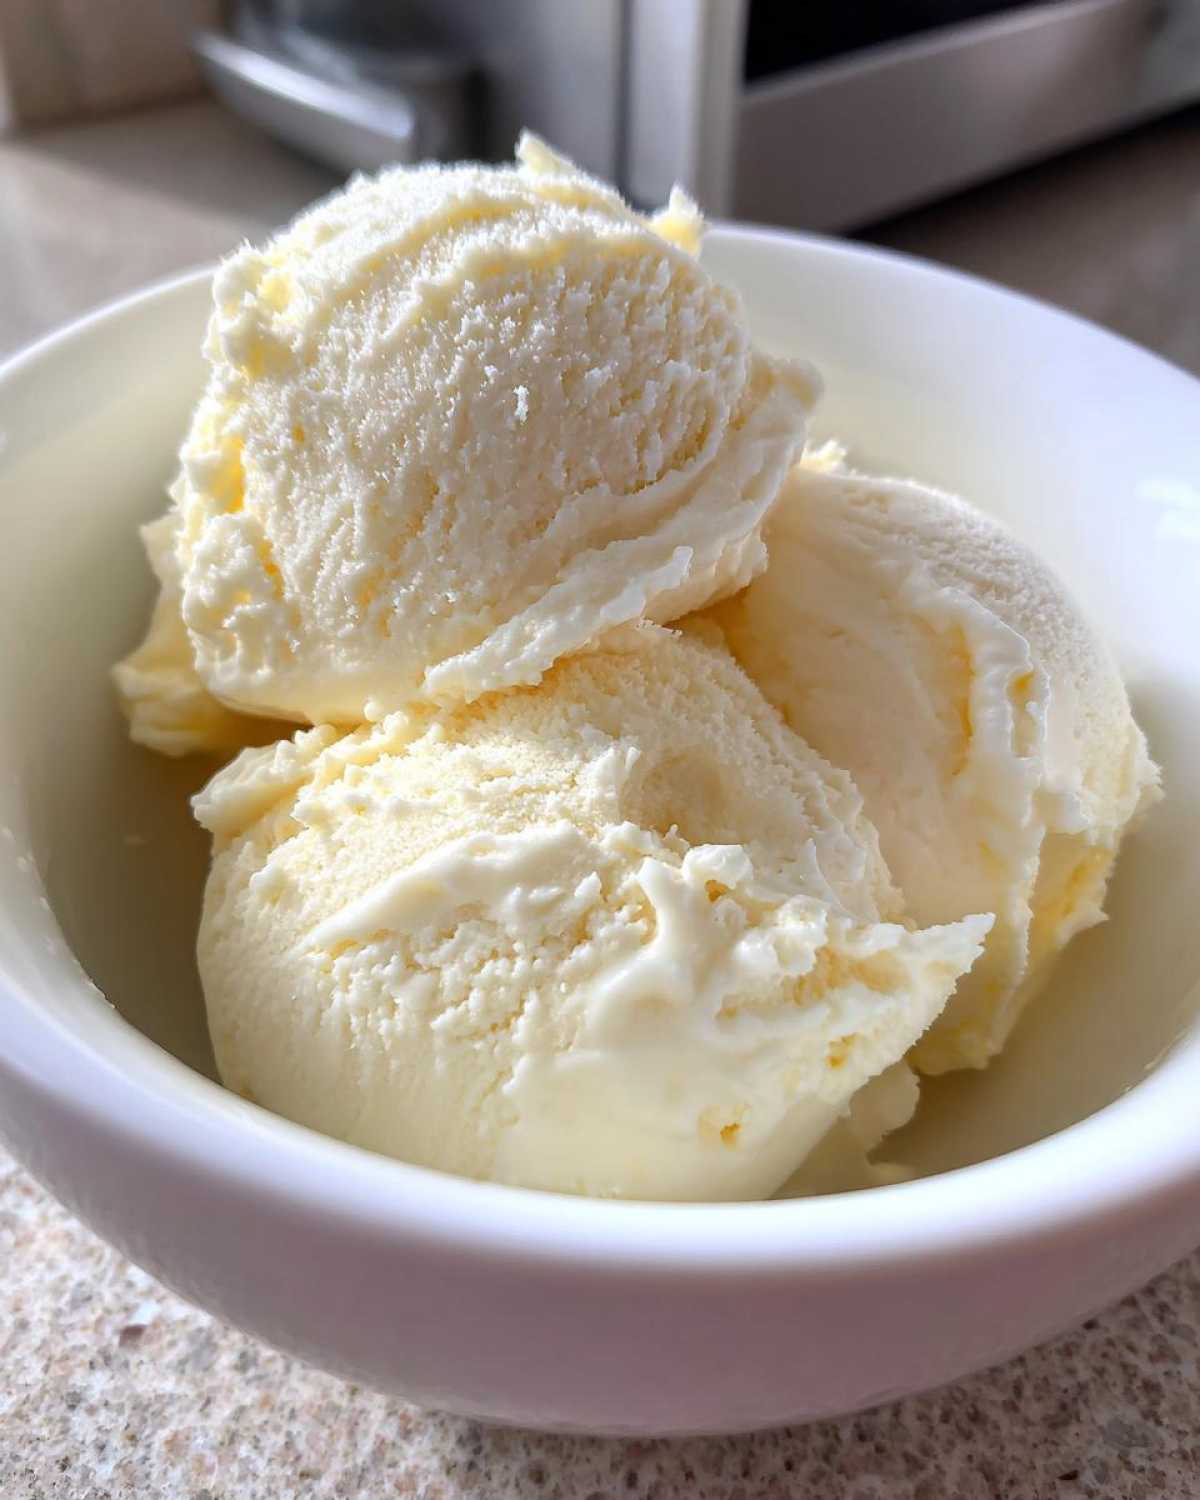
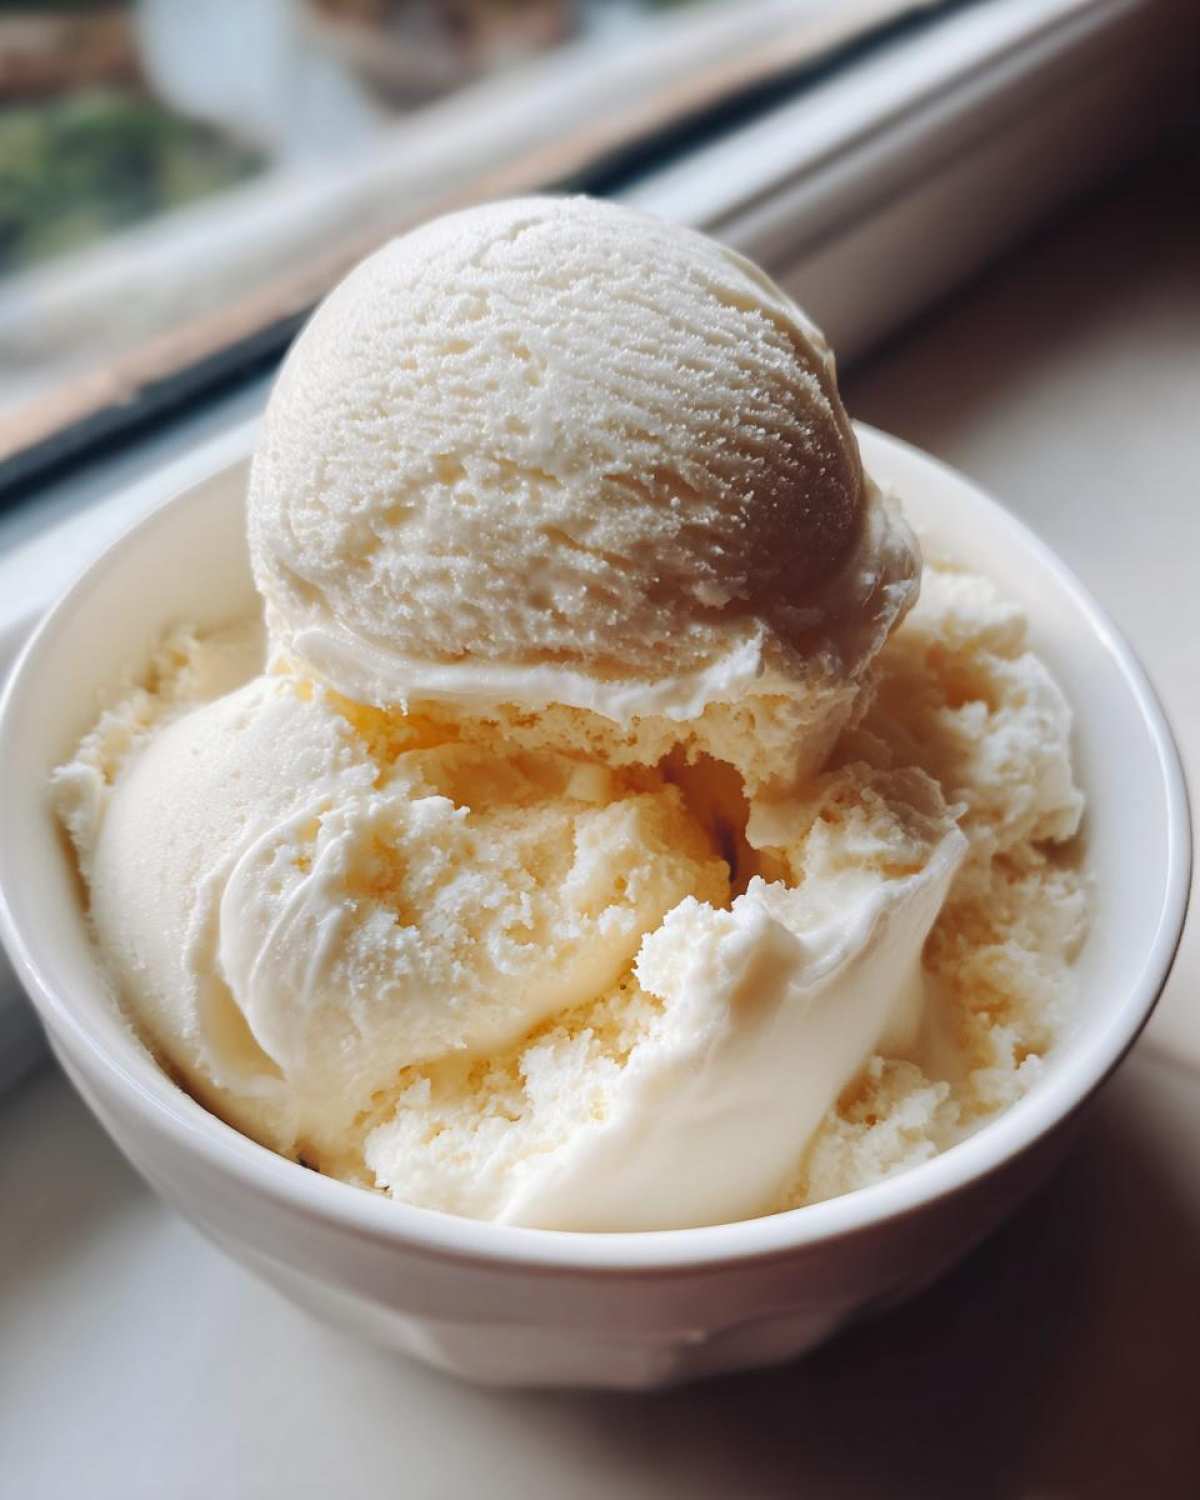
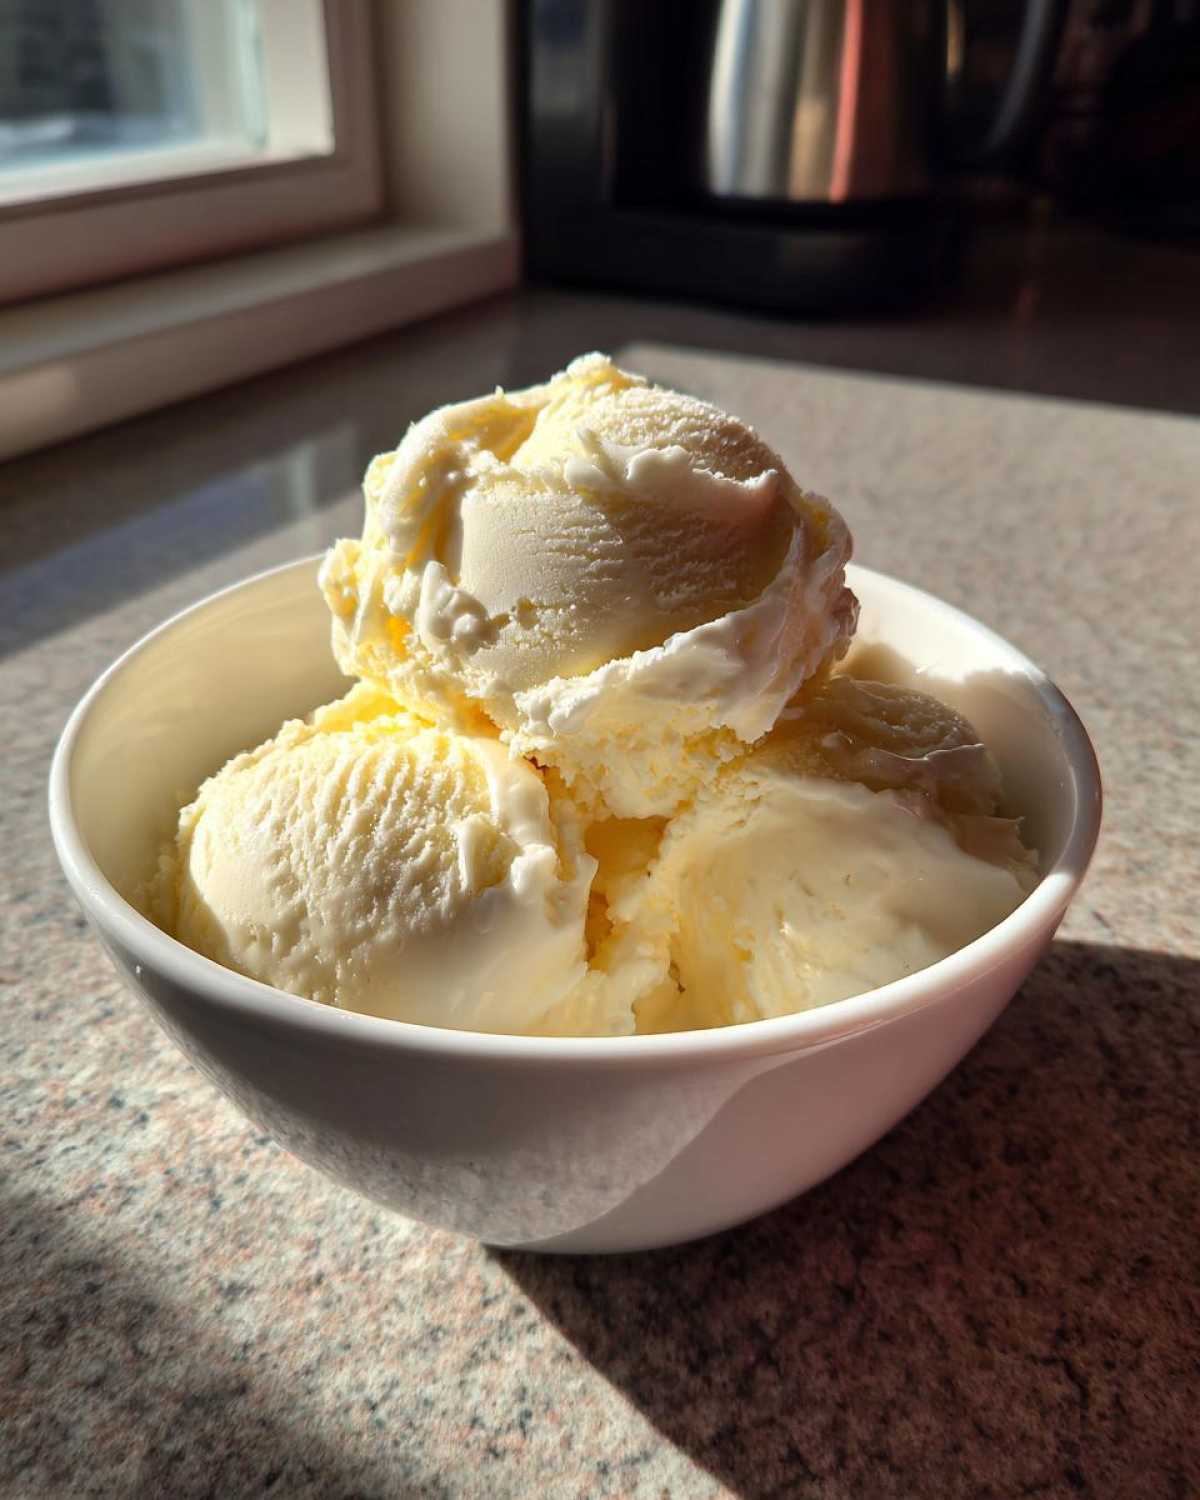
Now for the best part – enjoying your incredible homemade vanilla ice cream (no churn)! Let it sit on the counter for a minute or two before scooping. This makes it easier to get those perfect, round balls. It’s wonderful on its own, of course. But I love adding a drizzle of caramel sauce or some fresh berries. A sprinkle of chopped nuts is also divine. It’s a simple pleasure, but oh so satisfying!
Storing and Reheating Your Homemade Vanilla Ice Cream (No Churn)
Leftover homemade vanilla ice cream (no churn)? Lucky you! Store it in an airtight container. Press plastic wrap directly onto the surface before sealing. This prevents freezer burn and ice crystals. It should stay delicious for up to two weeks. Since it’s ice cream, reheating isn’t really needed, but letting it soften slightly makes scooping easier.
Nutritional Estimate for Homemade Vanilla Ice Cream (No Churn)
Here’s an approximate nutritional breakdown for a 1/2 cup serving of our homemade vanilla ice cream (no churn). Please remember these are estimates. They can vary based on specific brands and slight variations in your preparation. It’s a delightful treat!
- Calories: 300
- Sugar: 35g
- Fat: 16g
Homemade Vanilla Ice Cream (No Churn): Pure Sweet Bliss

Learn how to make creamy and delicious homemade vanilla ice cream without an ice cream maker. This no-churn recipe is simple and perfect for a sweet treat.
- Prep Time: 10 minutes
- Cook Time: 0 minutes
- Total Time: 6 hours 10 minutes
- Yield: About 1.5 quarts
- Category: Dessert
- Method: No-Churn
- Cuisine: American
- Diet: Vegetarian
Ingredients
- 2 cups heavy cream
- 1 can (14 ounces) sweetened condensed milk
- 2 teaspoons vanilla extract
Instructions
- In a large bowl, whip the heavy cream until stiff peaks form.
- In a separate bowl, whisk together the sweetened condensed milk and vanilla extract.
- Gently fold the condensed milk mixture into the whipped cream until just combined.
- Pour the mixture into a freezer-safe container.
- Cover and freeze for at least 6 hours, or until firm.
Notes
- For best results, chill your bowl and whisk attachment before whipping the cream.
- You can add mix-ins like chocolate chips or cookie dough after folding the ingredients together.
- Ensure the container is airtight to prevent ice crystals from forming.
Nutrition
- Serving Size: 1/2 cup
- Calories: 300
- Sugar: 35g
- Sodium: 40mg
- Fat: 16g
- Saturated Fat: 10g
- Unsaturated Fat: 6g
- Trans Fat: 0g
- Carbohydrates: 38g
- Fiber: 0g
- Protein: 4g
- Cholesterol: 40mg