

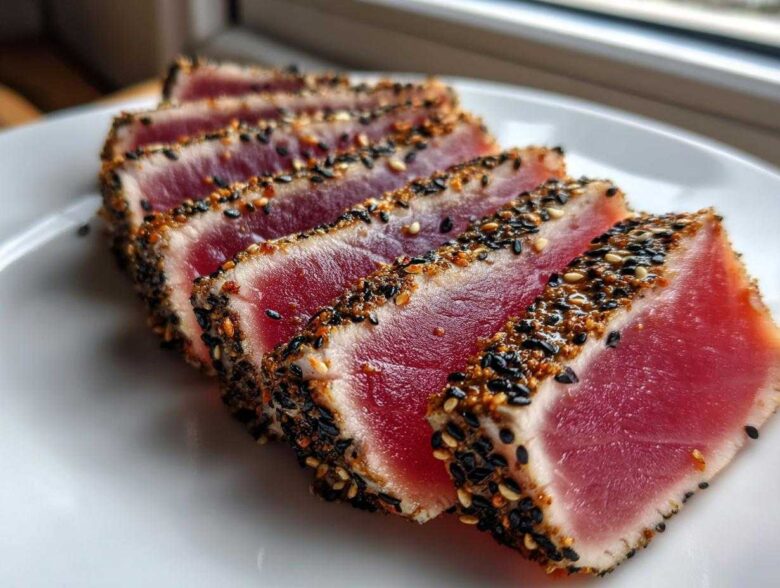
Ah, getting that gorgeous, restaurant-quality sear on fresh fish at home can feel intimidating, can’t it? Like you need a professional kitchen just to handle the high heat! But don’t you worry—I, Kenji, promise you this recipe for Seared Ahi Tuna is the key. Amaya and I remember enjoying the freshest, lightest yellowfin tuna back in Kyoto, and achieving that same beautiful contrast—a crisp crust and a cool, ruby center—is surprisingly fast. We’re talking minutes here! This preparation is light, uses those beautiful Asian tuna recipe flavors we developed over the years, and makes for the quickest, most elegant healthy dinner you can imagine. Trust me, once you see how the sesame seeds bloom in that hot pan, you’ll be hooked!
Why This Recipe Delivers the Best Seared Ahi Tuna
When you have beautiful sushi grade tuna, the goal isn’t cooking it; it’s kissing it with heat! That’s why this recipe relies on two non-negotiable basics: a super dry surface and a screaming hot pan. If your pan isn’t hot enough, the sesame seeds just stick and burn before the fish even crisps up.
- The sear happens in under three minutes total.
- It maximizes the flavor contrast between crust and center.
- The result is truly gourmet tuna without the fuss.
Quick Seafood Recipe Perfection
You simply cannot beat this timing for a special meal. From pantry to plate, we’re looking at probably 15 minutes total if you’re quick with the slicing! This makes it one of my absolute favorite quick seafood recipe options when Amaya surprises me by saying she wants something light for dinner after a long day exploring New York.
Authentic Asian Tuna Recipe Flavor Profile
We keep the marinade incredibly simple because that high-quality yellowfin tuna shouldn’t be masked. It’s just a whisper of sesame oil, a splash of soy sauce—enough to help the seeds adhere and carry those bright notes of fresh ginger and garlic. It’s traditional, clean, and lets the fish shine!
Essential Ingredients for Perfect Seared Ahi Tuna
Choosing the right ingredients is the first step toward making this dish feel truly gourmet. When you’re dealing with raw fish, quality isn’t just a suggestion—it’s everything. I always tell people, if you’re going to spend the three minutes searing, make sure what you put in the pan is worth it! Before we get to the method, here’s exactly what you need from the market and your pantry. For more ideas on flavor pairings, you can check out my thoughts on other wonderful marinades for tuna steak recipes.
- Two (6 ounce) sushi grade ahi tuna steaks. Please, if you can’t find this, don’t substitute it with standard supermarket fish!
- Two tablespoons of nutty sesame oil.
- One tablespoon of good quality soy sauce or tamari if you need it gluten-free.
- One teaspoon of grated fresh ginger—it needs to be fresh, that dried stuff just won’t cut it here!
- One clove of garlic, minced finely.
- Half a teaspoon of black pepper. That’s our seasoning beyond the marinade.
- A quarter cup of sesame seeds, and I love mixing black and white ones for the prettiest look!
See? It’s the simplicity that makes this Asian tuna recipe sing!
Expert Steps to Prepare Your Seared Ahi Tuna
Alright, now that we have our gorgeous yellowfin tuna ready to go, this part moves quickly! Remember what I said about high heat? You have to commit to the sear once the fish hits the pan. These simple steps ensure you keep that perfect, cool center while getting that delightful crunch on the outside.
Preparing the Yellowfin Tuna for Searing
Step one is the most important secret for any great gourmet tuna: you absolutely must pat those steaks bone dry with paper towels. If there is any moisture hanging around, the pan will steam the fish instead of searing it. We want a crust, not sweat! After brushing on our simple ginger-soy mix, mix your sesame seeds on a flat plate. Press each side of the tuna firmly into those seeds—don’t be shy! You want a thick, even blanket of those beauties coating every side.
Achieving the Ideal Sear on Your Gourmet Tuna
This takes courage! Put your heaviest skillet—mine is cast iron—over high heat. Seriously, keep it there until you see the slightest wisp of smoke, then immediately place the tuna down. No extra oil in the pan! We only sear for 60 to 90 seconds per side for that perfect rare center. If you like it medium-rare, maybe push to the 90-second mark, but be careful not to go much further, or you’ll lose the magic!
Resting and Slicing the Seared Ahi Tuna
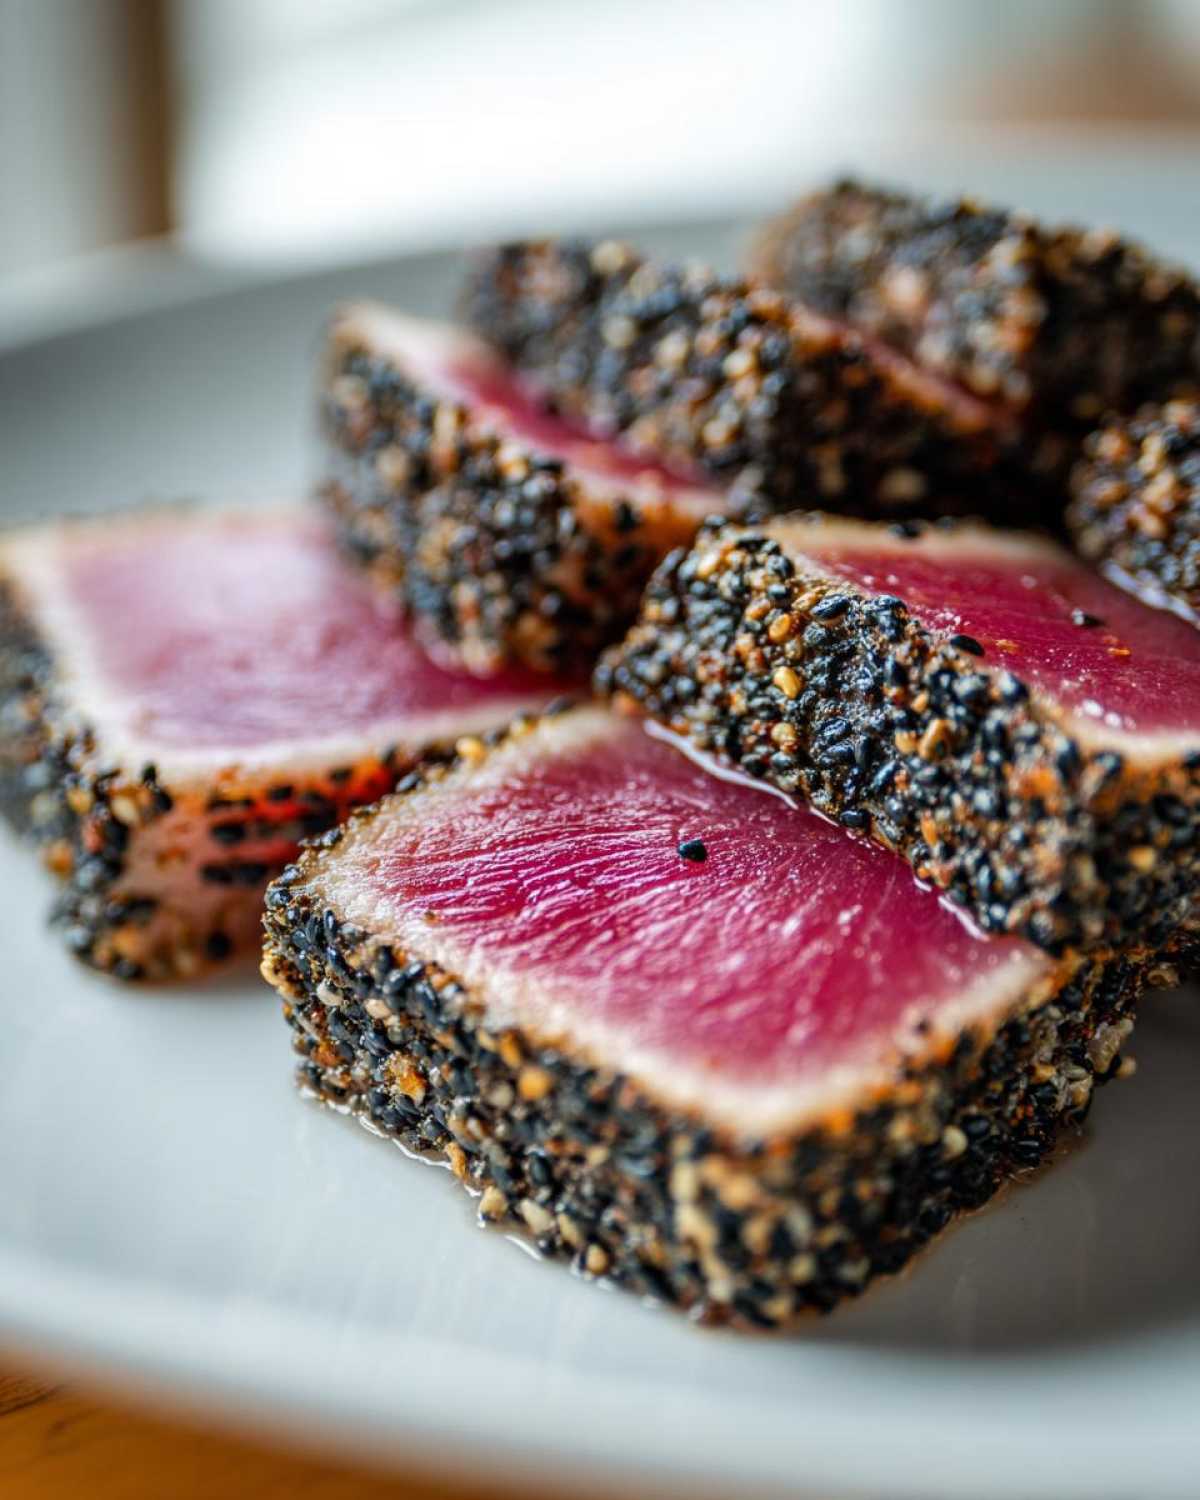
Even though the cook time is short, this step ensures everything settles. Take the tuna out and let it rest on a cutting board for about five minutes—yes, even five minutes for this quick seafood recipe helps! After resting, slice it thinly, always cutting against the grain. This makes it tender and shows off that lovely rare interior. It’s the final touch for presentation!

Tips for Success with Seared Ahi Tuna
Achieving that perfect sear consistently comes down to small details, and I’ve learned a few tricks over the years here in both Kyoto and New York! The very best tip I can give you centers around sourcing. You really must buy the highest quality sushi grade tuna you can find. Since we are barely cooking the center, the raw portion has to taste spectacular on its own.
Also, don’t try to rush the heat. When you think the pan is hot enough, wait another thirty seconds! This builds the crust instantly. Another thing I always watch for when seasoning is to use pepper sparingly since the soy sauce already adds saltiness. Keep it clean, keep it hot, and you’ll have wonderful results every time!
Variations for Your Asian Tuna Recipe
While the simple ginger and sesame crust in this Asian tuna recipe is Amaya’s favorite, I love playing with small tweaks when I’m making this for myself during a quick lunch. The key here is never to mess with the searing process—that high heat is sacred! But we can definitely jazz up the coating and the marinade just a tiny bit.
If you like a little fire with your fish, try adding just a pinch of red pepper flakes right into the marinade mixture with the ginger and soy sauce. It gives you a subtle warmth that balances the richness of the yellowfin tuna beautifully. Just don’t go overboard, or you’ll overpower that delicate fish flavor!
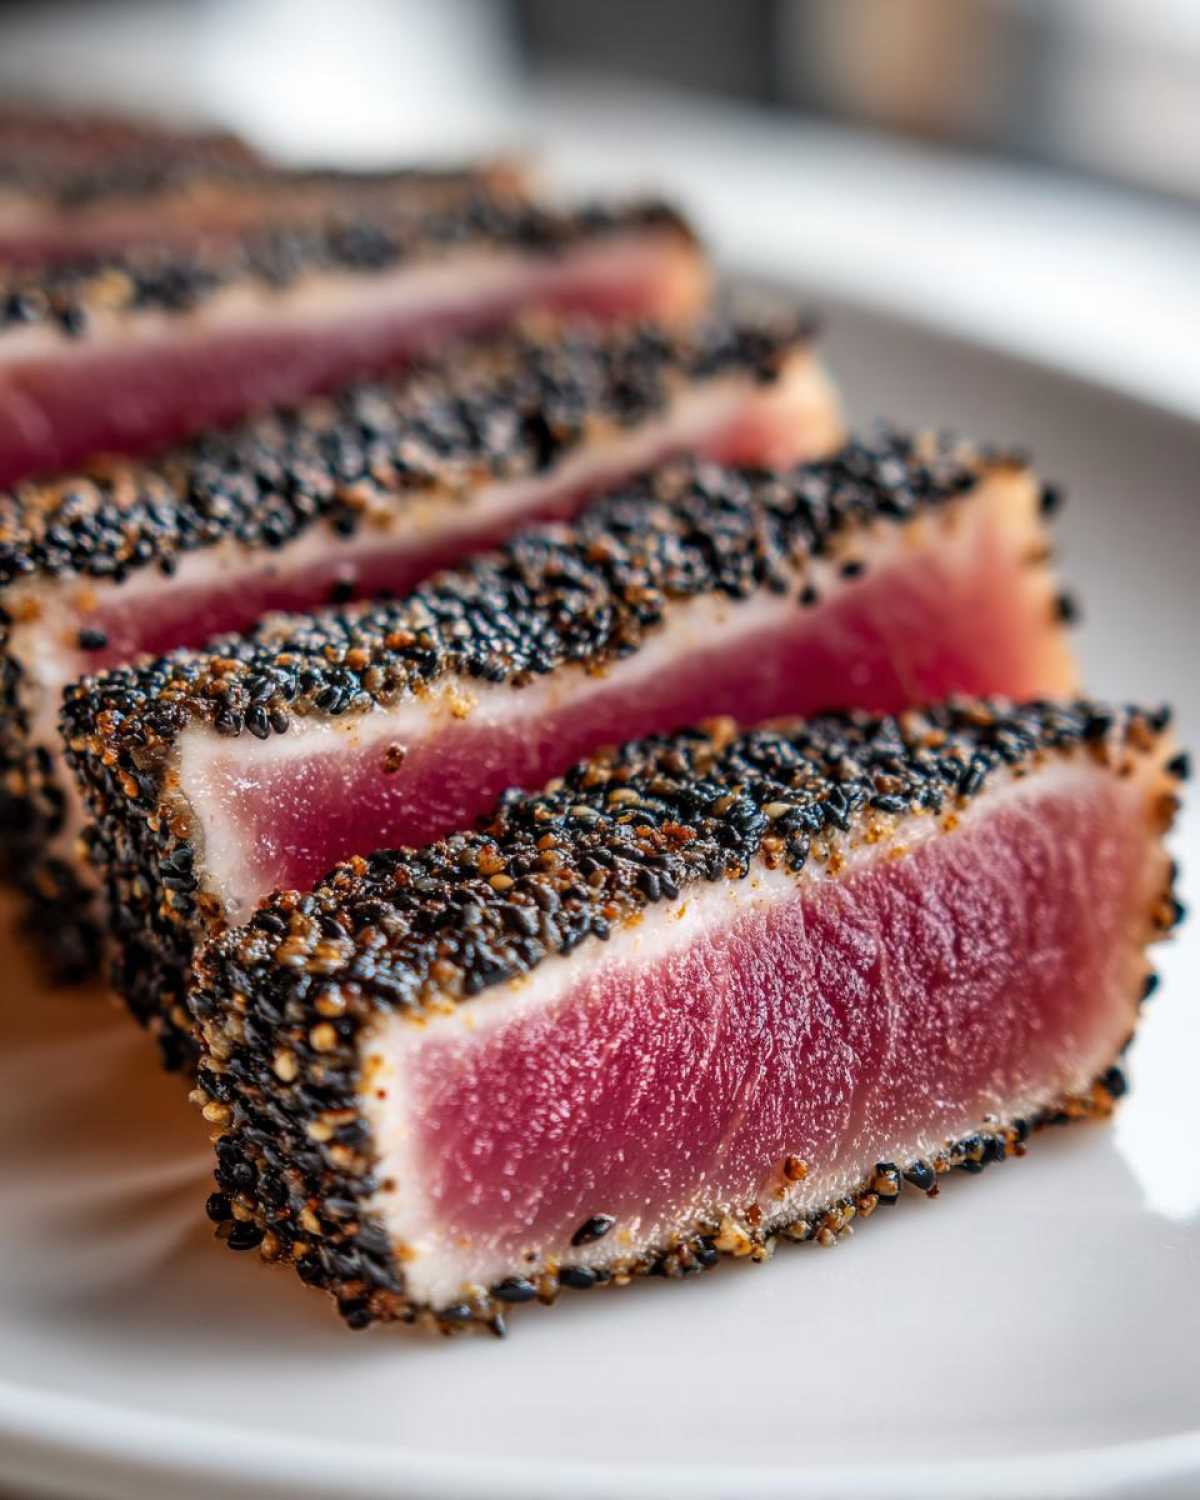
For the crust, feel free to mix up those seeds! I’ve used toasted crushed nori—the same seaweed you use for sushi rolls—mixed in with the sesame seeds. Wow, that adds such a deep, savory flavor, almost like a subtle ocean profile! Or, you could try stirring a tiny bit of finely chopped toasted peanuts into the seeds for an unexpected crunch. Remember, you’re still searing these beauties just as fast—the variations enhance the flavor, they don’t change the cook time!
Serving Suggestions for a Healthy Dinner
Now that you have your perfectly seared gourmet tuna, you need something wonderful to put it on! Since this dish is naturally light, low in fat, and packed with protein, it lends itself perfectly to a healthy dinner that still feels special enough for a weekend centerpiece. We rarely have heavy sauces when we serve this; the marinade has done all the flavor work for us.
My first recommendation is always rice, but not just plain steamed rice! You absolutely need something with tang and freshness to cut through that rich sesame crust. Amaya makes the most incredible zesty rice—you should really check out the method for zesty cilantro lime rice. The brightness of the lime and cilantro is just fantastic next to the savory tuna.
But if you’re looking to keep things even lighter, a simple salad works wonders. Toss some mixed greens with thinly sliced cucumber, maybe some shaved carrots, and dress it with a drizzle of rice vinegar and a tiny bit of olive oil. The crispness of the raw vegetables is a lovely contrast to the warm, tender fish.
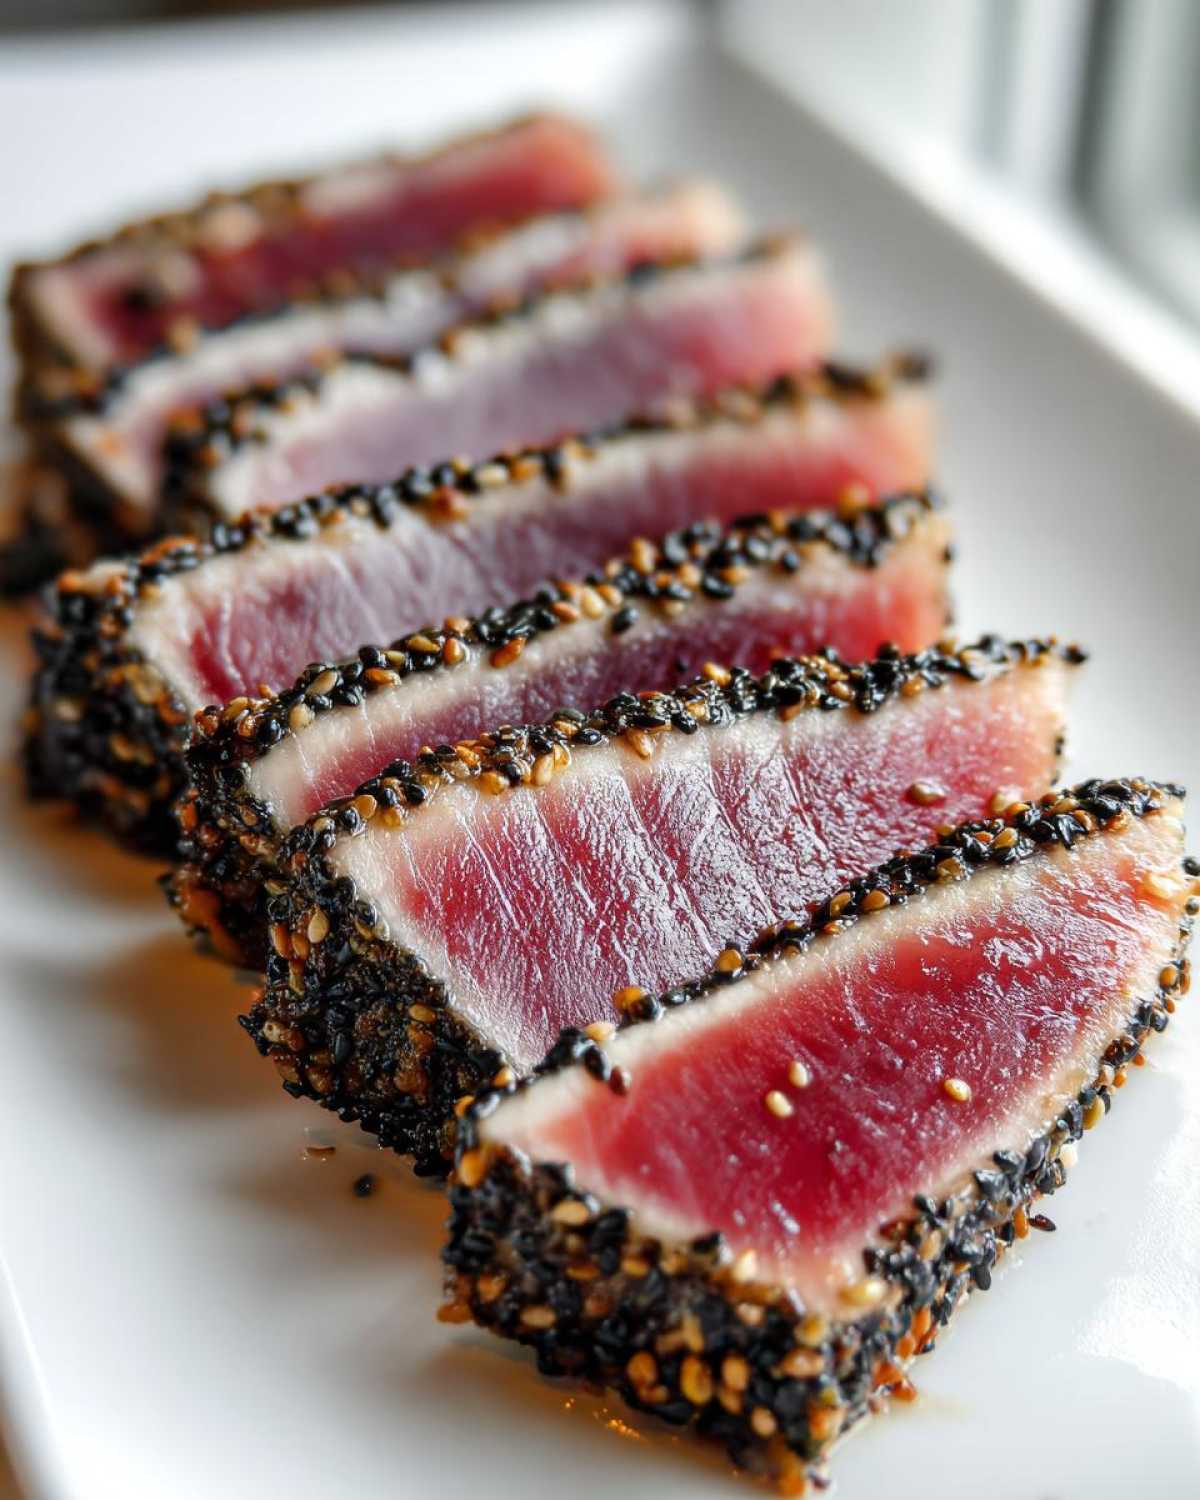
Another idea: serve it over a simple bed of wilted spinach seasoned lightly with salt and perhaps a few drops of toasted sesame oil. It turns into a decadent, yet incredibly fast, single-bowl meal. Honestly, as long as you slice that tuna thin after resting, it tastes wonderful no matter what you pair it with!
Storage and Reheating Instructions for Seared Ahi Tuna
This is where I have to be a bit stern, my friends. Like most incredible seafood, this quick seafood recipe is truly at its peak perfection about five minutes after it leaves the pan. That contrast between the sesame crust and that cool, red center—that’s what you’re chasing!
If you do end up with leftover Seared Ahi Tuna, you need to treat those leftovers with respect. Get them into an airtight container right away and into the refrigerator. We want to preserve that raw center integrity. Because we used such a high heat for such a short time, the fish is holding up well, even with the edges cooked. Try to eat them within a day, tops.
Now, about reheating—please, please don’t even try it! If you put this tuna back on the stove or in the microwave, you’ll just end up with sad, chalky, fully cooked gray tuna. That beautiful texture will be ruined instantly. Instead, the best way to enjoy leftovers is cold. Pull the slices out of the fridge, let them warm up for about ten minutes just so they aren’t icy cold, and perhaps drizzle a tiny bit of fresh soy sauce or lime juice over them before slicing them thinly again. They are wonderful added cold right over a fresh salad!
Frequently Asked Questions About Seared Ahi Tuna
I’ve gathered the most common questions I hear from folks, especially those new to experimenting with quick seafood recipes like this one. Cooking seared ahi tuna is easy once you know the answers, so let’s clear up any last-minute doubts!
What is the difference between Ahi and yellowfin tuna?
This is a great question because the names get tossed around so much! In the culinary world, “Ahi” is actually the Hawaiian name for two specific types of tuna: yellowfin and bigeye. When you are shopping here in the States, if a sign says Ahi, it almost always means it’s yellowfin tuna, which is exactly what we want for this recipe. Both types have that wonderful, firm texture and deep red color that holds up beautifully to a quick sear!
Can I use frozen tuna for this quick seafood recipe?
I strongly advise against using just any ordinary frozen fish fillet you happen to have. For this dish to work as a truly healthy dinner masterpiece, the quality matters immensely. If you must use frozen, you need to ensure you are buying *sushi grade* tuna that was flash-frozen and handled correctly. Only thaw it very slowly in the refrigerator overnight. If it looks dull or has any ice crystals stuck to it after thawing, please save it for grilling or stir-frying, not searing. For searing, we need that pristine structure!
How do I know when my Seared Ahi Tuna is done?
This takes a little bit of trust at first, but you’ll get the hang of it! Remember, we aren’t trying to cook the inside through at all. You are looking for the visual cue: the outside edges should look opaque—turned from deep red to a lighter pinkish-brown where the heat touched it. But the center must remain cool, dark, and deeply red, almost like velvet. If you gently press the side when you take it off the heat, it should still feel slightly yielding. That perfect contrast is what makes this Seared Ahi Tuna so addictive!
Sharing Your Perfect Seared Ahi Tuna Experience
Amaya always says that a recipe isn’t truly finished until it’s been shared and enjoyed. I hope seeing these steps for achieving that beautiful, restaurant-quality sear on your sushi grade tuna has given you the confidence to try this tonight!
We put so much love into testing these methods, ensuring that even a simple marinade can elevate your midweek meal into something truly glorious. Did you get that dark, crisp sesame crust we talked about? Did the center stay perfectly rare and cool?
I truly look forward to hearing about your results! Please leave a comment below with how your Seared Ahi Tuna turned out, what you served alongside it, or if you tried any of those fun variations we discussed. Your feedback helps us feel connected to you, just like sharing a meal connects us here at Whisk Daily!
Happy cooking, my friends. May your pans always be hot!
PrintPerfectly Seared Ahi Tuna Steaks
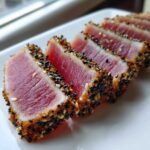
Learn how to sear sushi grade yellowfin tuna perfectly for a delicious, quick seafood recipe with an Asian flavor profile.
- Prep Time: 10 min
- Cook Time: 3 min
- Total Time: 18 min
- Yield: 2 servings
- Category: Main Course
- Method: Pan Searing
- Cuisine: Asian Inspired
- Diet: Low Fat
Ingredients
- 2 (6 ounce) sushi grade ahi tuna steaks
- 2 tablespoons sesame oil
- 1 tablespoon soy sauce or tamari
- 1 teaspoon grated fresh ginger
- 1 clove garlic, minced
- 1/2 teaspoon black pepper
- 1/4 cup sesame seeds (mixed black and white for garnish)
Instructions
- Pat the ahi tuna steaks completely dry using paper towels. This step is key for a good sear.
- In a small bowl, whisk together the sesame oil, soy sauce, grated ginger, and minced garlic. Brush this mixture evenly over all sides of the tuna steaks.
- Place the black and white sesame seeds on a shallow plate. Gently press each side of the tuna steaks into the seeds until they are fully coated.
- Heat a heavy-bottomed skillet, such as cast iron, over high heat until it is very hot, almost smoking. Do not add extra oil to the pan.
- Carefully place the coated tuna steaks in the hot, dry skillet. Sear for 60 to 90 seconds per side for rare to medium-rare. Adjust time slightly if you prefer more cooking.
- Remove the tuna from the pan immediately. Let the steaks rest on a cutting board for 5 minutes before slicing against the grain into half-inch thick pieces.
- Serve immediately as a healthy dinner option.
Notes
- For the best results, use high-quality, sushi grade yellowfin tuna.
- If you want a spicier kick, add a pinch of red pepper flakes to the marinade.
- Slicing the tuna thinly after resting makes for beautiful presentation.
Nutrition
- Serving Size: 1 steak
- Calories: 280
- Sugar: 1
- Sodium: 350
- Fat: 15
- Saturated Fat: 2
- Unsaturated Fat: 13
- Trans Fat: 0
- Carbohydrates: 4
- Fiber: 1
- Protein: 32
- Cholesterol: 75