

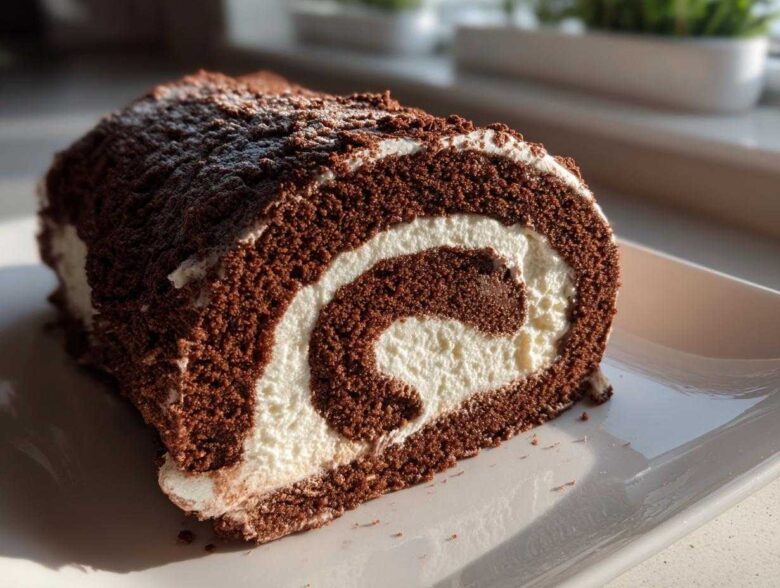
The holidays just aren’t the holidays without that gorgeous, showstopping dessert, right? Seriously, nothing says ‘Christmas dessert’ like a perfect Chocolate Yule Log Cake. I remember my first attempt at a *Bûche de Noël*; I was so scared I would crack the whole thing while rolling it! But I figured out the trick—and trust me, once you master the roll, this classic chocolate yule log cake is surprisingly straightforward. This recipe makes achieving that elegant, festive centerpiece dessert totally doable, even if you’re making it for the first time.
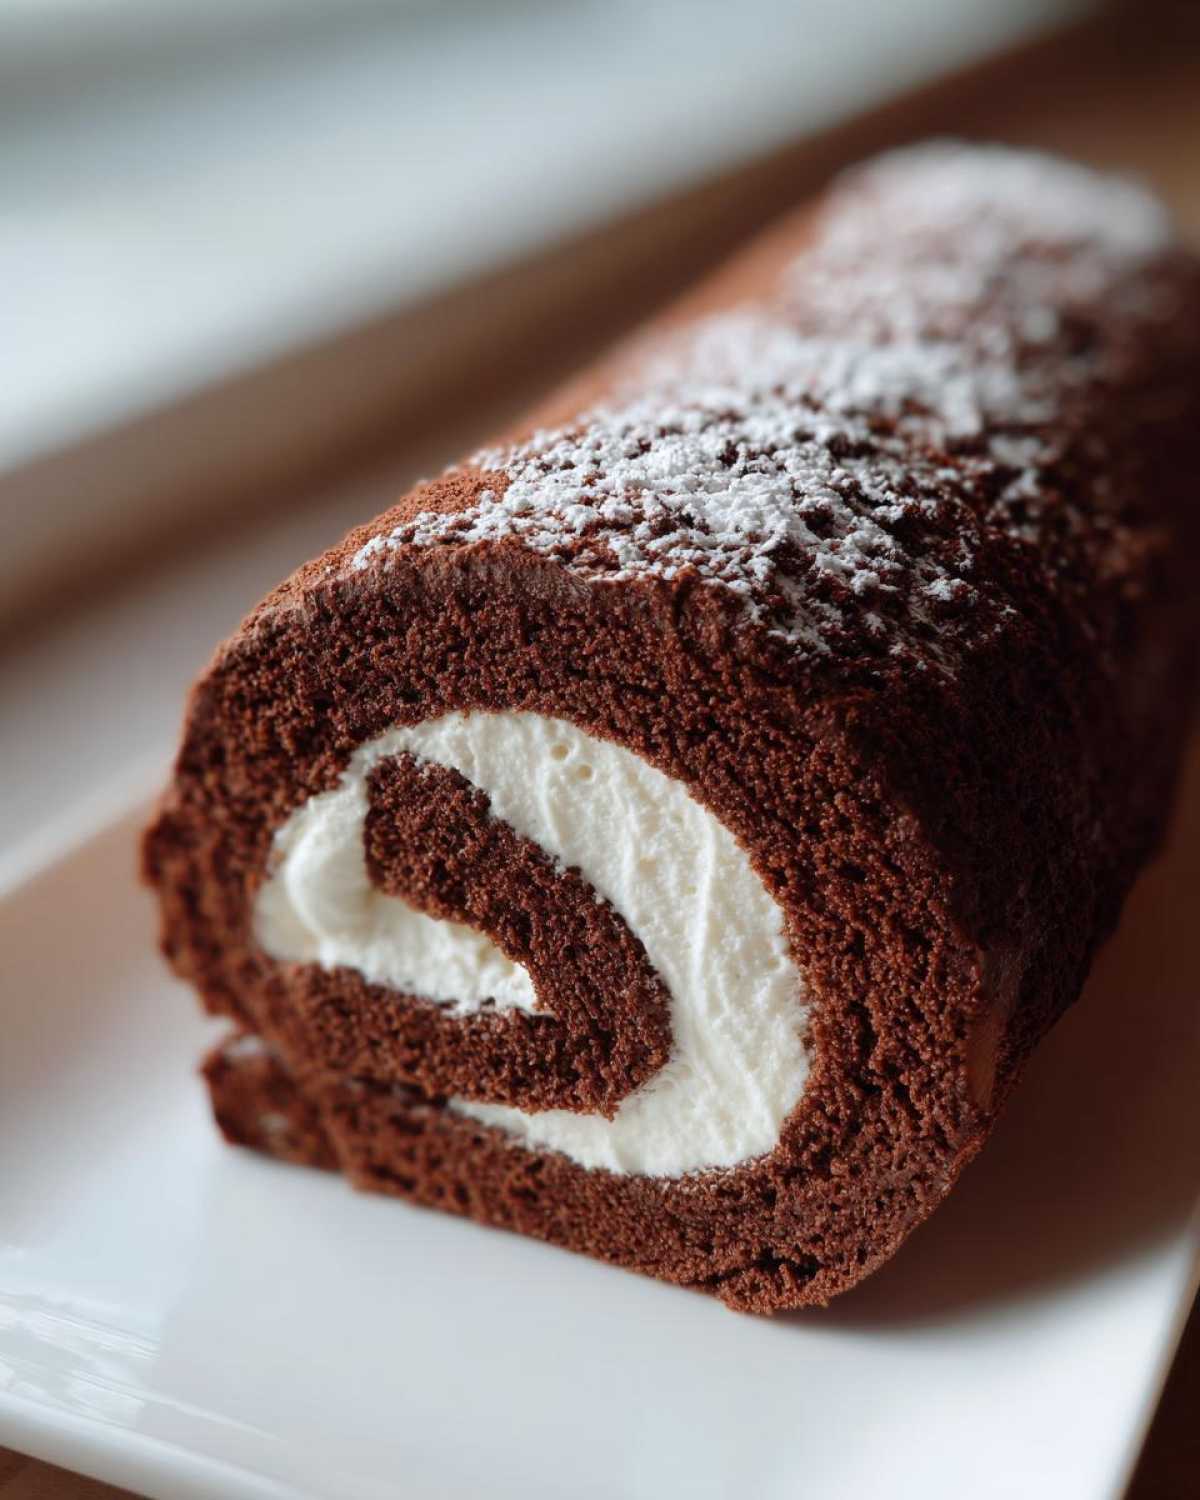
Why This Classic Chocolate yule log cake is Your Best Holiday Baking Choice
Look, I’ve seen tons of complicated Christmas dessert recipes out there, but if you want a guaranteed wow factor without needing a culinary degree, this is it. This traditional yule log cake genuinely checks every seasonal box.
- The visual appeal is unmatched! It truly becomes a festive centerpiece dessert that everyone talks about. You’re essentially making edible art.
- The deep, rich chocolate flavor is pure comfort. It’s satisfying without being overly complicated like some gourmet holiday cakes can be.
- I promise you, if you follow the rolling tip I share later, you won’t have any major issues. It’s way more manageable than people think! It’s the ultimate Holiday Baking win. If you need a quick practice run on something simpler, check out my guide for the best soft chocolate chip cookies—it’s great for getting your oven temp dialed in!
Ingredients for the Perfect yule log cake (Bûche de Noël)
Okay, let’s talk what goes into this beautiful Buche de Noel Recipe. Having everything ready before you start whisking is crucial, especially since the sponge bakes so fast! You’ll need four large eggs and about half a cup of regular sugar for that light, airy base.
For the dry bits, keep it simple: all-purpose flour, unsweetened cocoa powder, baking powder, and just a pinch of salt. Vanilla extract gives it that background warmth.
Now for the amazing filling and coating—this is where the magic happens. Make sure you use good quality semi-sweet chocolate because that’s the star flavor! You’ll also need heavy whipping cream for the filling, powdered sugar to keep things sweet, and a little bit of butter and milk for that spreadable outer frosting layer. Trust me, better chocolate means a better log cake recipe!
Essential Equipment for Your yule log cake Recipe
Before you even think about preheating the oven, let’s make sure your kitchen is set up properly. Baking a roll cake is all about having the right tools because timing is everything! If you’re missing something important, your batter might deflate before you even get it in the oven, which is a total disaster.
You absolutely must have a 15×10 inch jelly roll pan. That’s the standard size that gives you the perfect ratio of cake thickness to surface area for a good, tight roll. If you use a regular sheet pan, it gets too thin and becomes parchment paper with frosting!
You’ll definitely want an electric mixer—handheld or stand mixer—for whipping those eggs and sugar until they are pale and voluminous. That air is what keeps the cake light. Also, make sure you have a sturdy wire rack ready for cooling the cake immediately after baking.
For decoration later? An offset spatula is your best friend for spreading the chocolate filling evenly and achieving that beautiful, rustic bark texture on the outside. Trust me, trying to spread that ganache with a regular dinner knife is a recipe for frustration!
How To Make A Yule Log Cake: Step-by-Step Instructions
Alright, this is the show! Don’t get intimidated by the fancy French name, Bûche de Noël. We are going through this together, and I’m going to show you how to make a stunning yule log cake that looks like it came straight out of a bakery window. This recipe, honestly, is easier than people think once you get the hang of the roll. This whole process, from mixing the sponge to achieving that professional-looking bark, is totally doable even for the first time, especially if you realize you can make your own simple frosting instead of fussing with complicated buttercream. If you’re practicing your baking skills, you might want to bookmark my recipe for easy vanilla buttercream!
Baking and Rolling the Chocolate Roll Cake for the yule log cake
First things first: get that oven preheated to 375°F (190°C). Line that jelly roll pan perfectly with parchment paper and dust it lightly—we need easy release! The key to a tender sponge that doesn’t fight you while rolling is beating those eggs and sugar until they are pale and wonderfully thick. That takes about five minutes, so don’t rush it; you’re building air structure!
When you add the dry ingredients—flour and cocoa powder—you have to switch gears. Fold, don’t stir! Stirring develops gluten, and gluten means cracks. Fold just until you can’t see any white streaks left. Bake this thin layer of Chocolate Roll Cake for only 10 to 12 minutes. It cooks fast!
The second it comes out, take a clean kitchen towel, dust it heavily with powdered sugar (and I mean *heavily*!), and flip that hot cake right onto it. Peel off the parchment paper immediately. Now, starting from the short end, roll it up snuggly with the towel inside and let it cool completely like that on a wire rack. This step sets the shape so it won’t tear when you unroll it later. You can find other great baking tips on my main blog page!
Preparing the Filling and Assembling the yule log cake
While that beautiful sponge is chilling in its cozy towel wrap, we make the filling. We’re melting chocolate into warm milk and butter to make a quick ganache. Once that’s cooled down a bit—and I mean cool, not hot—we gently fold it into stiffly whipped cream. It turns into this gorgeous, rich chocolate cloud!
Once the cake is totally cool, carefully unroll it. You might see a few tiny wrinkles, but honestly, don’t worry about them! Spread about two-thirds of that creamy filling evenly across the surface. Make sure you leave about an inch bare along the furthest edge so the filling doesn’t squeeze out everywhere when you reroll it. This attention to detail keeps the assembly neat.
Re-roll it gently, this time without the towel inside, keeping the roll tight and neat. You want a nice, compact cylinder that isn’t bulging. Pop this rolled cake into the fridge for at least two hours. This chilling time is non-negotiable; it helps the filling set so your final cuts look crisp instead of gooey.
Achieving the Showstopper Christmas Cake Look: Decorating the yule log cake
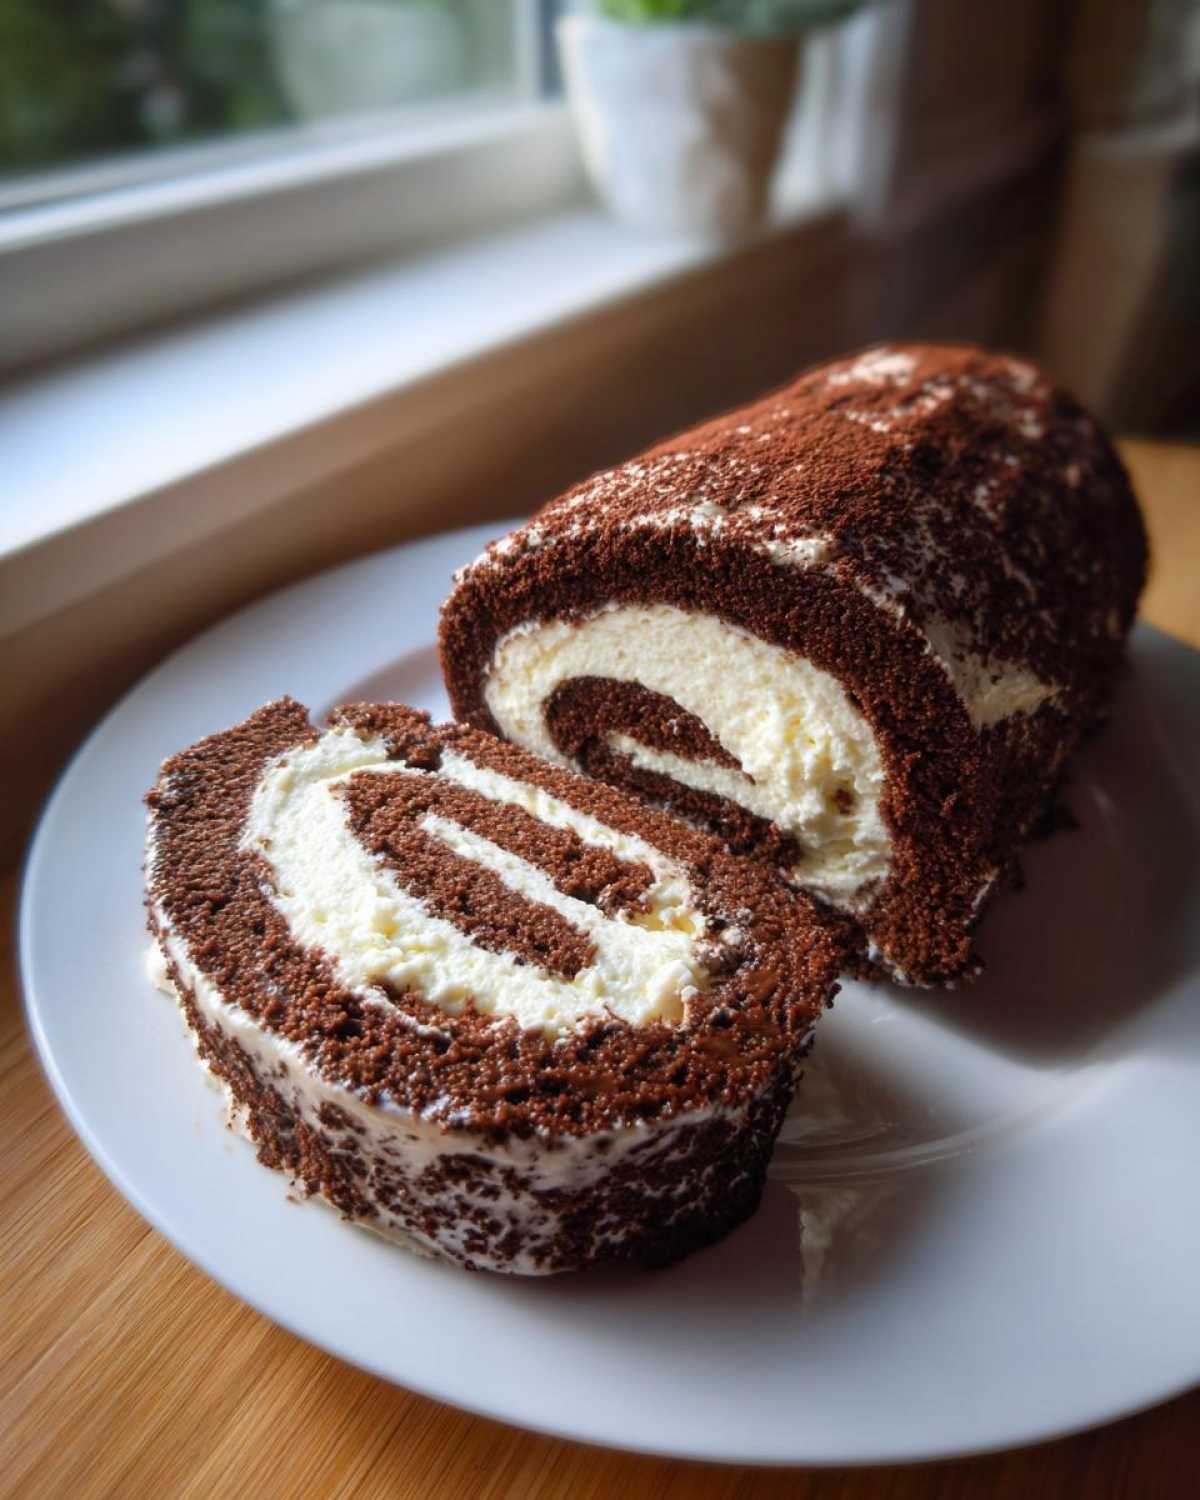
Okay, time for the decoration that makes this truly a Showstopper Christmas Cake! We need that rustic log look, and it’s so much easier than you imagine. We take the remaining chocolate mixture—it should be thick enough to hold a shape—and get ready to decorate.
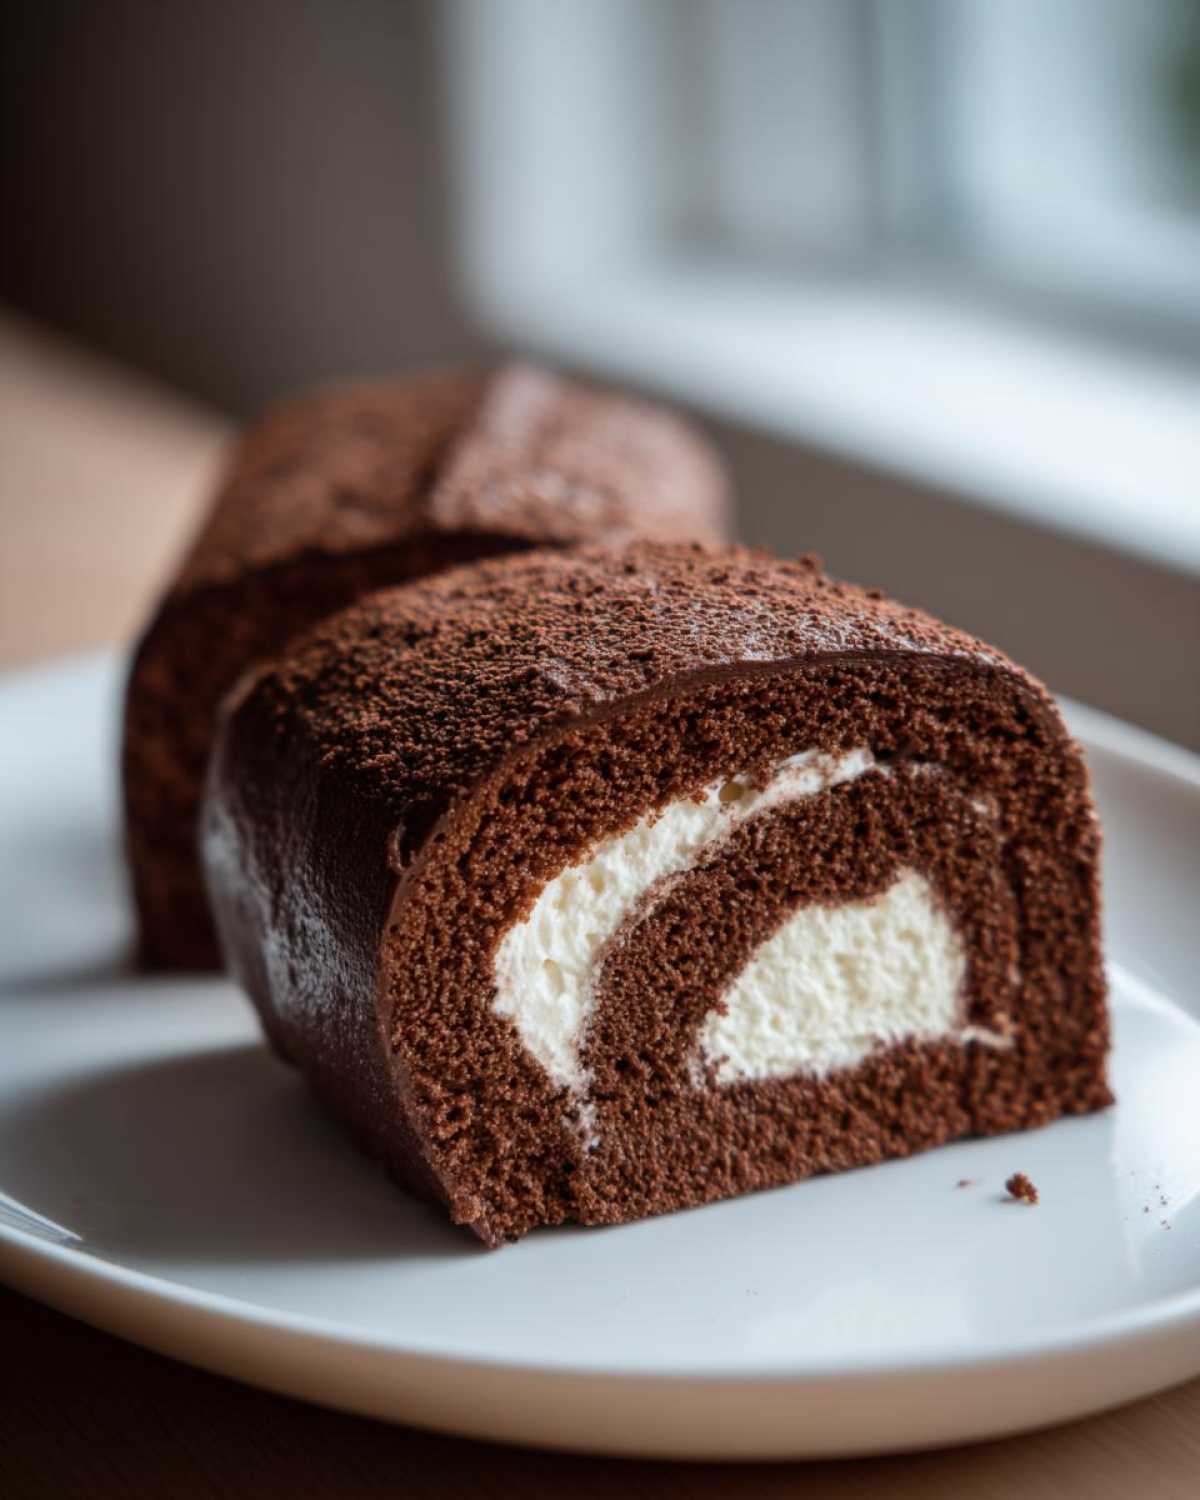
Take an offset spatula or even a dinner fork, and just slather that chocolate all over the top and sides of your chilled log. Don’t try to make it smooth! This is where you create texture. Drag the tines of your fork gently along the frosting, moving lengthwise down the cake. This creates those deep, uneven lines that mimic real tree bark perfectly.
For the final presentation, trim both ends of the cake at a slight diagonal angle. Then, take one of the cut pieces and stick it onto the side, near the top of the log, making it look exactly like a branch that was cut off. A light dusting of powdered sugar to simulate snow finishes this amazing yule log cake. Everyone will think you worked for hours!
Tips for Success When Making Your yule log cake
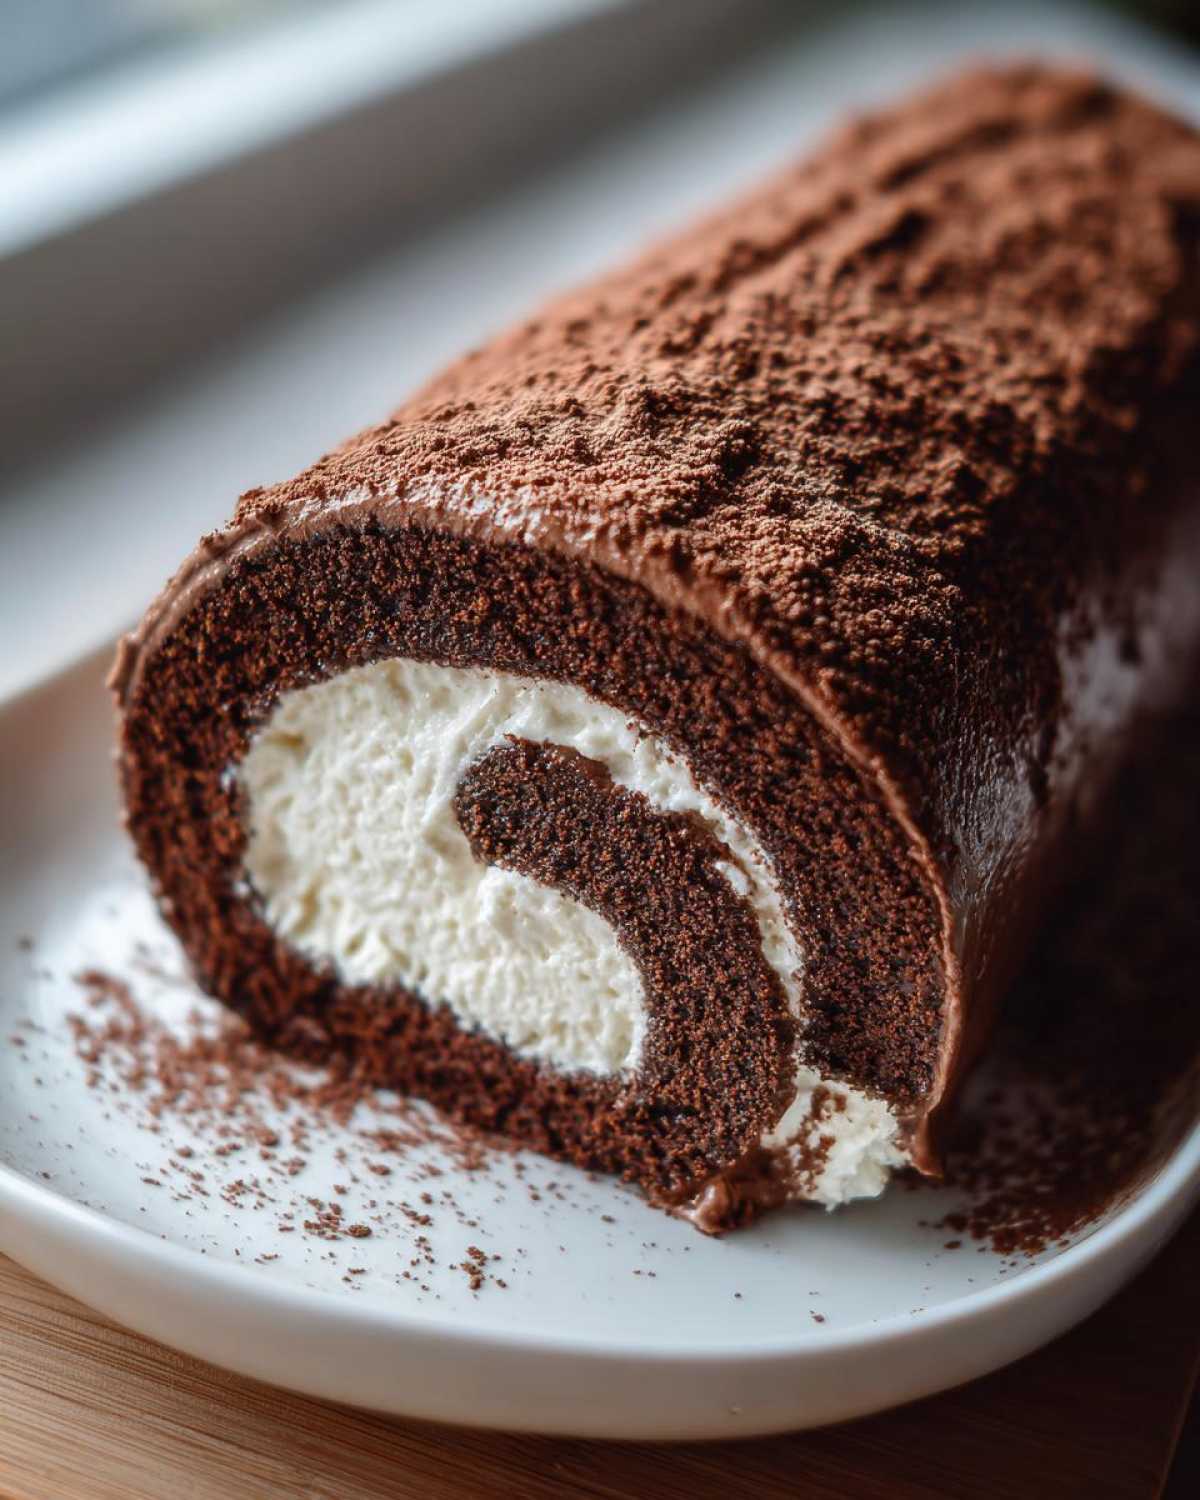
I’ve messed up enough of these roll cakes to know exactly where things go wrong, so here are my top three non-negotiable tips for getting that beautiful, intact cylinder. If you follow these, you’ll skip the frustration and jump straight to the presentation part!
First, paper is your friend. I mentioned lining the pan, but after you peel off the parchment paper while the cake is hot, you *must* immediately roll it in the powdered sugar towel. If you wait even 30 seconds, the cake stiffens even slightly, and when you try to roll it, it will just shatter. It needs to be warm and flexible to take that curve.
Secondly, when you unroll it to fill it, you might notice a few little cracks near the edges where it was rolled tightest. Don’t panic! That chocolate filling is going to hide every single flaw. That’s why we make sure to spread the filling right up to the edge on one side, but leave a small margin on the far edge so it doesn’t push out when you re-roll. You can always patch the outside later with extra frosting if you see a big split!
For the rustic bark effect, the key is the temperature of that outer frosting. If it’s too warm, it smears like mud. If it’s too cold, it tears the cake. You want it just cool enough to be firm but still spreadable—think peanut butter consistency. Practice your dragging motion before you hit the main cake surface. If you want to test your spreading skills on something easier first, check out how I make my amazing red velvet cake!
Variations on the Traditional Holiday yule log cake
While I absolutely adore this rich chocolate version of the yule log cake—it feels so classic and perfect for the holidays—sometimes you just need to mix it up, right? If chocolate isn’t everyone’s favorite flavor, there are gorgeous ways to pivot this recipe!
For something lighter, you can easily swap out the filling for a white chocolate raspberry cream. Just melt white chocolate and fold it into your whipped cream instead. The tartness of the raspberries cuts through the sweetness beautifully. It makes for a stunning light-colored log! If you’re looking for deep, earthy Christmas flavors, you could even try baking the sponge with a teaspoon of ground gingerbread spice mixed in—hello, Gingerbread Cake Ideas!
Another trick I learned when I was trying out Gourmet Holiday Cakes last year was adding a teaspoon of instant espresso powder right into that chocolate ganache. It doesn’t make it taste like coffee, just deepens the chocolate note tenfold. It’s a subtle change, but it makes the final product sing! For more great seasonal inspiration, check out my recipe for German Chocolate Cake; it’s another classic that screams holiday gathering!
Storage & Reheating Instructions for Your Log Cake
One of the best parts about making this dessert ahead of time is that it actually tastes *better* the next day, so it’s perfect for holiday stress management! Since we are dealing with a cream-based filling, we have to be good about how we store it.
First step, and I cannot stress this enough: Chill! You absolutely must let the assembled log cake chill in the refrigerator for at least two hours after you’ve decorated the outside. This firming time is critical. If you try to slice it before it’s properly cold, the filling will ooze out, and you’ll end up with a messy chocolate puddle instead of neat slices.
Once it’s set up, cover the serving platter loosely with plastic wrap or a large cake dome. You want to protect that beautiful frosting texture from drying out or picking up fridge smells. You can keep it refrigerated for up to three days. Seriously, days! The sponge stays surprisingly moist because of the richness of the filling.
Do I ever reheat it? Nope! This is a chilled dessert, meant to be served cold or just slightly tempered. If you let it sit on the counter for about 20 minutes before slicing, that’s perfect. It softens the cream just enough so it isn’t rock hard, but it keeps its shape beautifully. It’s definitely the best option for planning out your Christmas Baking schedule!
Frequently Asked Questions About the yule log cake
Since I’ve been making this yule log cake for years, people always hit me up with the same few questions when they try it for the first time. Rolling these things is the biggest worry, but it’s really not hard once you know the secret!
What is the secret to keeping the chocolate sponge from cracking during rolling?
Oh man, this is the number one issue! The secret is twofold: first, don’t overbake it. The cake should still be tender and slightly underdone in the center when you pull it out. Second, you have to roll it while it’s piping hot! Dust that clean kitchen towel *generously* with powdered sugar—don’t be shy—and flip the hot cake immediately onto it. Roll it up tight in the towel and leave it alone until it’s completely room temperature. That lets the cake set into the spiral shape without snapping. That’s what makes it such an Easy Yule Log!
Can I make the log cake ahead of time this year?
Yes, absolutely! It actually improves, which is perfect for your Holiday Party Dessert Ideas planning. Follow all the steps, chilling it for those necessary two hours after decorating to set the ganache. Once it’s fully chilled, cover it well and keep it in the fridge. It’s usually best eaten within 48 hours, but it will keep for about three days. Just remember to pull it out 20 minutes before serving so the filling isn’t rock solid.
How do I give it that really realistic tree bark look?
This is the fun part that turns it into a Festive Centerpiece Dessert! Once the cake is chilled and firm, use your remaining chocolate frosting. Don’t smooth it out. Instead, use the back of a fork or a small offset spatula and drag it along the length of the cake in short, rough strokes. Think about the grain of wood or actual bark texture. It’s supposed to look imperfect and rustic! Trimming the ends at an angle completes the illusion of cut branches. For more inspiration on making beautiful Seasonal Sweet Treats, check out my guide on making a fantastic date nut bread!
Is this recipe really a traditional Bûche de Noël?
It is as traditional as it gets structurally! The classic Bûche de Noel Recipe is based on a thin sheet cake sponge, filled, rolled, and frosted to mimic a Yule log. While flavors change, the rolled structure is the key historical element. My version uses the classic dark chocolate flavor profile, which is what most French bakeries lean towards for that authentic, deep holiday flavor.
Estimated Nutritional Data for This yule log cake
Okay, let’s talk about fueling up for the holidays! Since this is a rich, decadent Christmas Dessert Recipe, it’s definitely a treat, not an everyday snack. Please remember, I’m not a certified nutritionist, so these numbers are just my best guess based on the standard ingredients list for one slice. You know how adding an extra spoonful of ganache can change things!
That said, this recipe makes about 10 generous slices, and for each serving, you’re looking at something along these lines:
- Calories: About 350 per slice. Perfect for that post-dinner indulgence!
- Sugar: Around 30g. That’s the price we pay for this rich chocolate goodness, right?
- Fat: Roughly 22g total, with about 13g being saturated fat from the butter and cream.
- Protein: Around 5g, thanks to the eggs and dairy.
- Carbohydrates: About 35g.
It’s a big hit of richness, but honestly, when you slice into that beautiful Log Cake, who’s counting? Just make sure you enjoy every single bite of this amazing Winter Holiday Treat!
PrintClassic Chocolate Yule Log Cake (Bûche de Noël)
Make a traditional chocolate Yule Log Cake. This recipe provides clear steps for baking the sponge, rolling it correctly, and decorating it to look like a festive log.
- Prep Time: 30 min
- Cook Time: 12 min
- Total Time: 192 min
- Yield: 10 servings
- Category: Dessert
- Method: Baking and Rolling
- Cuisine: French
- Diet: Vegetarian
Ingredients
- 4 large eggs
- 1/2 cup granulated sugar
- 1/4 cup all-purpose flour
- 1/4 cup unsweetened cocoa powder
- 1 teaspoon vanilla extract
- 1/4 teaspoon baking powder
- Pinch of salt
- 1 cup heavy whipping cream
- 1/2 cup powdered sugar
- 8 ounces semi-sweet chocolate, chopped
- 2 tablespoons unsalted butter
- 1/4 cup milk
Instructions
- Preheat your oven to 375°F (190°C). Line a 15×10 inch jelly roll pan with parchment paper. Dust the paper lightly with flour.
- In a large bowl, beat the eggs and granulated sugar with an electric mixer until pale and thick, about 5 minutes.
- Sift together the flour, cocoa powder, baking powder, and salt. Gently fold the dry ingredients into the egg mixture until just combined. Stir in the vanilla extract.
- Spread the batter evenly into the prepared pan. Bake for 10 to 12 minutes, or until the cake springs back lightly when touched. Do not overbake.
- While the cake bakes, place a clean kitchen towel on your counter and dust it heavily with powdered sugar.
- Immediately invert the hot cake onto the sugared towel. Peel off the parchment paper. Starting from a short end, carefully roll the cake and towel together. Let it cool completely in this rolled shape on a wire rack.
- Prepare the chocolate ganache filling: Heat the milk and butter until the butter melts. Remove from heat and stir in the chopped chocolate until smooth. Let cool slightly.
- Whip the heavy cream until soft peaks form. Gently fold the cooled chocolate mixture into the whipped cream.
- Once the cake is cool, gently unroll it. Spread about two-thirds of the chocolate filling evenly over the surface. Reroll the cake tightly.
- Prepare the exterior frosting: Melt the remaining chocolate with a small amount of butter to create a spreadable frosting consistency.
- Place the rolled cake on a serving platter. Use a knife or offset spatula to cover the top and sides of the cake with the chocolate frosting, creating bark-like textures by dragging the spatula.
- Trim the ends to look like cut branches. Chill for at least 2 hours before slicing and serving.
Notes
- To prevent cracking when rolling, ensure the cake is still warm and the towel is generously dusted with powdered sugar.
- For a more rustic look, use a fork to score lines into the outer chocolate frosting to mimic tree bark.
- Dust with powdered sugar before serving to simulate snow.
Nutrition
- Serving Size: 1 slice
- Calories: 350
- Sugar: 30g
- Sodium: 80mg
- Fat: 22g
- Saturated Fat: 13g
- Unsaturated Fat: 9g
- Trans Fat: 0.5g
- Carbohydrates: 35g
- Fiber: 2g
- Protein: 5g
- Cholesterol: 110mg