

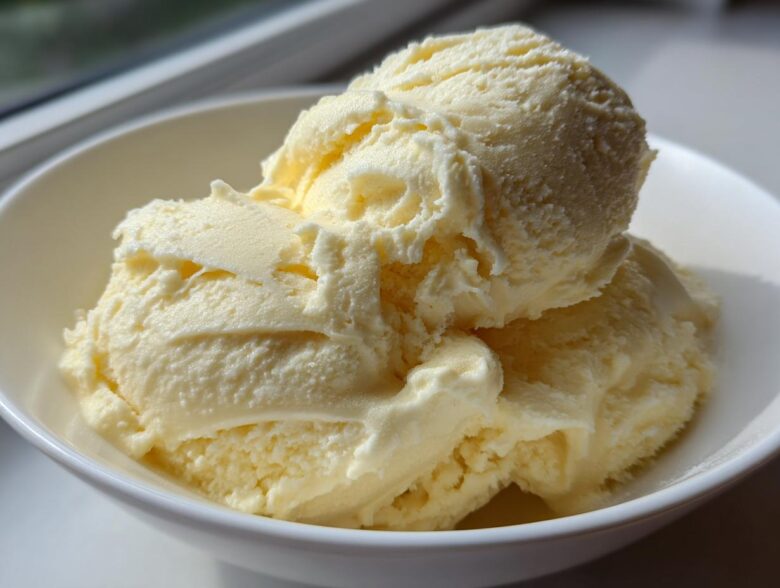
You know those nights, right? It’s hot, you’ve cooked dinner, and suddenly you just *need* something cold and sweet, but you don’t want to feel guilty about it later. That’s when traditional ice cream just doesn’t cut it. For years, I was searching for that perfect, nearly instant, satisfying fix, and finally, I landed on the secret. This recipe for **banana ice cream**—or what we lovingly call “Nice Cream”—is my go-to. It uses just three simple ingredients and turns into the creamiest, dreamiest vegan soft serve you’ve ever had, all without needing that fussy ice cream maker. Seriously, my blender does all the heavy lifting!
Why This Easy Vegan Banana Ice Cream Recipe Works So Well
Honestly, the main reason I swear by this **banana ice cream** method is that it’s almost aggressively simple. You don’t need a whole afternoon, or complicated dairy sourcing, or even specialized equipment. It’s pure genius born from pure laziness—the best kind of cooking!
- It uses only ingredients I usually have on hand, which means zero last-minute trips to the store when a craving hits.
- It’s naturally sweet, meaning I skip all that gloopy processed sugar you find in store-bought tubs, making it genuinely healthy sweet treat.
Quick Preparation for Perfect Banana Ice Cream
We’re talking five minutes, people! This is the ultimate quick summer dessert for when you need something right now. Because it’s technically a nice cream recipe, you’re not waiting hours for churning or setting. You just blend, and bam—dessert is ready.
The Best Healthy Banana Dessert Alternative
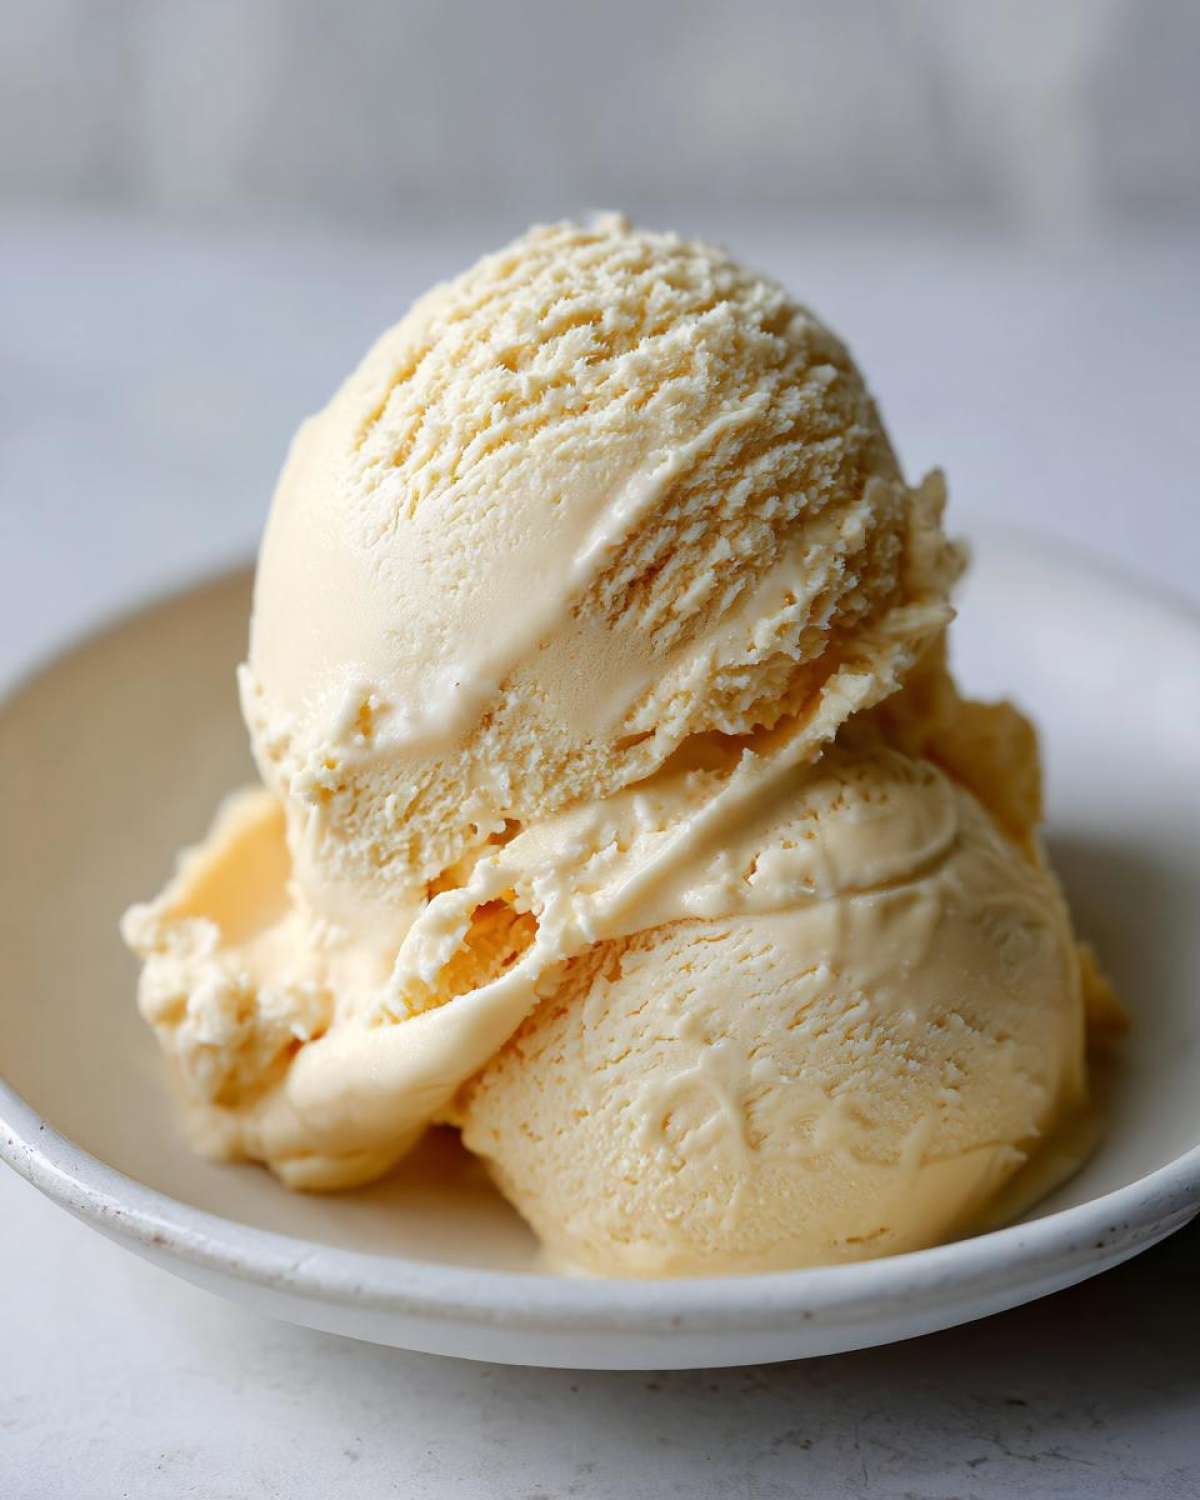
This is where it truly shines as a **guilt free ice cream**. Since it’s 100% fruit-based and dairy-free, it’s perfect for sneaking in a little extra fruit when the kids won’t eat it plain. It’s the best way to turn simple fruit into a delicious **dairy free frozen dessert**.
Essential Ingredients for Creamy Banana Ice Cream
Okay, let’s talk about what goes into this magical **banana ice cream**. Because there are only three things involved, you can’t cheat on quality, and you *really* can’t skip the prep work. Trust me, getting these ingredients right is 90% of the battle for a perfect batch of **homemade ice cream with bananas**.
Ingredient Clarity and Preparation
You need four bananas, and I mean four ripe ones—the spottier, the sweeter! They absolutely must be peeled and completely frozen solid. That’s non-negotiable for that firm base. Then, grab about two tablespoons of almond milk—any plant milk works here, really! And finally, just a tiny splash of vanilla extract to boost the sweetness.
If you want to see how I keep my bananas ready for baking (and blending!), check out my tips for properly storing ripe bananas. It makes grabbing them for this dessert so much easier!
Step-by-Step Instructions for Blender Banana Ice Cream
Alright, this is the fun part! Getting that perfect **banana ice cream** takes just a few minutes once you know the little tricks of the trade. Remember, you need a solid food processor or a high-powered blender here. A standard blender might struggle, so be patient if you’re using one. We are trying to mimic churning, but using pure power!
Preparing the Frozen Fruit Base
First thing’s first: take those rock-hard frozen bananas and chop them right up into chunks. No need to thaw them at all! Toss all those frozen bits into your machine. You’re going to pulse them a few times initially. They’ll turn into these rough, dry crumbs, and that’s exactly what you want to see. Stop the machine every 30 seconds or so, scrape down the sides with a rubber spatula, and keep pulsing. Don’t let the motor overheat!
Achieving the Creamy Banana Whip Texture
Once you have those nice crumbs, it’s time for the magic touch. Add in that splash of almond milk and the vanilla extract, just like the recipe says. Keep blending or processing. For the first minute, it looks like it’s failing—it’ll get super thick and almost look like it’s jamming up. Keep going! Then, suddenly (and I mean suddenly), everything snaps, and you get this gorgeous, smooth, dreamy texture. That’s your **blender banana ice cream** ready to go! For the finest in **frozen banana soft serve**, serve it right away.

If you want a firmer consistency, you can pop the whole container into the freezer for about half an hour before serving. Check out my guide on making the perfect blender banana ice cream for more troubleshooting pointers!
Tips for the Best No Churn Banana Ice Cream Success
Even though this **banana ice cream** recipe is super straightforward, a few tiny details make the difference between amazing soft serve and… well, chunky banana mush. Since this is a no churn banana ice cream method depending entirely on your machine’s power, we need to make sure we set the bananas up for success!
Mastering Banana Ripeness for Flavor
I cannot stress this enough: those bananas need to look like they’ve had a slightly rough life. You want them covered in brown spots—the darker they are, the sweeter they’ll be when frozen. If you use bright yellow bananas, you’re missing out on crucial natural sugars, and your final **banana ice cream** will taste noticeably bland. Don’t be shy; the spots mean flavor!
Troubleshooting Blending Issues
If your machine sounds like it’s about to protest loudly and nothing is moving, don’t panic and don’t add a whole tablespoon of milk! That’s how you go from **creamy banana whip** to a smoothie. If it gets stuck while trying to form that beautiful **fruit based frozen treat**, stop the motor. Add just one teaspoon of your plant milk at a time, scraping in between, until the blades catch the momentum again. A little patience here saves you from thinning out the entire batch.
Variations on Your Homemade Banana Ice Cream
Once you master the three basic ingredients, this **banana ice cream** becomes a fantastic canvas for playing around! I love having a stash of frozen bananas ready because you can change the flavor profile entirely in the last 30 seconds of blending. It’s the fastest way to fulfill any dessert craving!
Adding Chocolate Flavor to Banana Ice Cream
If you want to transform this into a rich, decadent treat, go for chocolate! It’s super simple. Right when you add your almond milk and vanilla—that’s the moment—toss in about one tablespoon of unsweetened cocoa powder. It completely transforms the color and gives you a creamy chocolate **banana ice cream** that tastes incredibly indulgent, but it’s still just fruit!
Simple Fruit Based Frozen Treats Add-ins
For a completely different direction, try mixing in other frozen items! A tablespoon of creamy peanut butter goes in beautifully with the vanilla note, making it taste like a classic diner shake. Or, if you have some frozen berries—raspberries are amazing—toss a small handful in right at the end for a beautiful swirl. These additions keep it quick and make for fun **fruit based frozen treats**!
Serving Suggestions for This Simple Fruit Dessert
How you serve this amazing **banana ice cream** totally depends on how fast you want to eat it! If you blend it until it’s perfectly smooth, you get a wonderful, light, fluffy soft serve texture. Seriously, eat it right out of the blender—it’s spectacular! If you need it to hold up longer, transfer that **simple fruit dessert**, perhaps after checking out my tips for moist baked goods, into a little airtight container and pop it in the freezer for about 30 minutes.

Either way, toppings make everything better! A sprinkle of chopped nuts, a drizzle of melted dark chocolate, or even some shredded coconut takes this **banana ice cream** to the next level without adding a ton of fuss. It’s the perfect, easy way to top off any meal!
Storage and Reheating Instructions for Banana Ice Cream
The biggest question I always get about this **banana ice cream** is, “Can I save some for later?” And the answer is yes, but you have to treat it differently than regular ice cream! If you don’t eat it all immediately, scoop your leftovers—whether you prefer the slightly softer texture or you let it firm up a bit more—into a good, airtight, freezer-safe container.
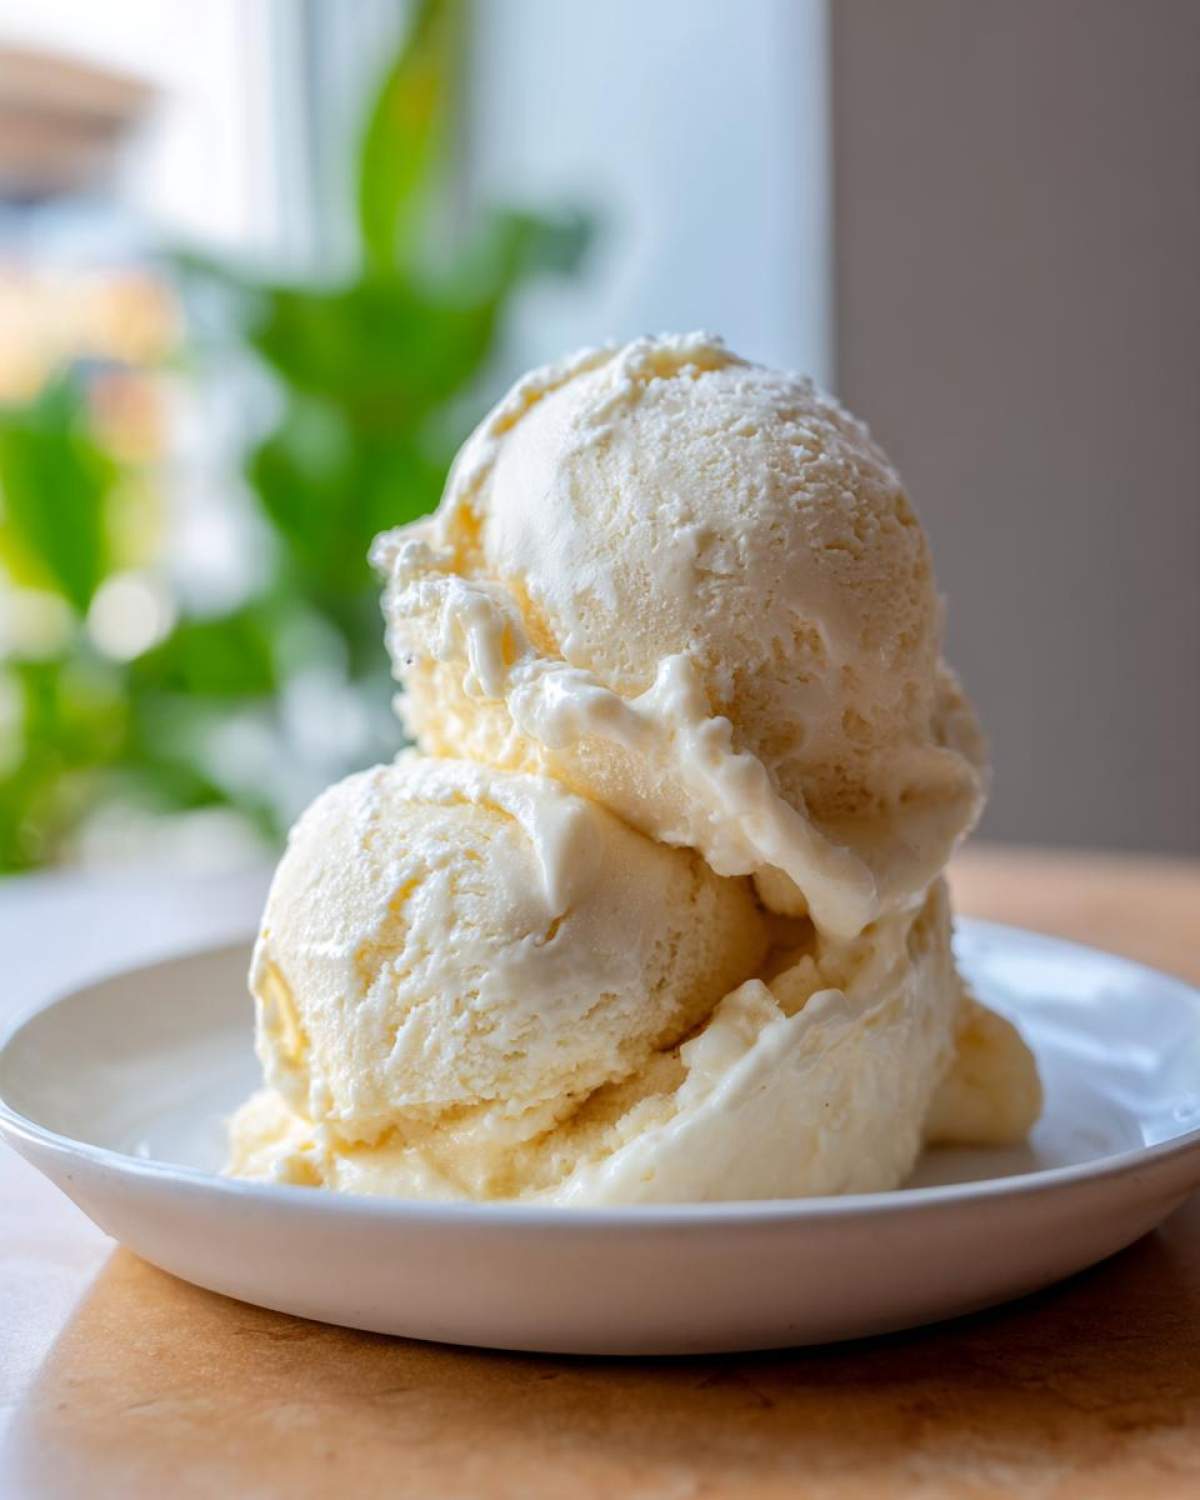
Now, here’s the catch: because there’s no stabilizers or dairy fat, the second this **banana ice cream** freezes solid, it becomes a banana brick! When you want to eat it again, you can’t just use a regular scoop. Take it out about 10 minutes beforehand, or, honestly, just pulse it in your blender for 15 seconds with a tiny splash of milk. That quick re-blend brings it right back to that amazing **creamy banana whip** texture we love!
Frequently Asked Questions About Making Banana Ice Cream
I get a ton of messages asking little things about this **banana ice cream**, and that’s totally fine! It’s a simple recipe, but sometimes those three ingredients need a little coaching to become perfect. Here are the questions I hear the most often about making the ultimate fruit dessert.
Can I use fresh, unfrozen bananas for this banana ice cream recipe?
Oh, please don’t try that! If you use fresh bananas, you end up with banana-flavored baby food or a smoothie, not **frozen banana soft serve**. The entire reason this works so well as a **no churn banana ice cream** is because the frozen fruit has just enough structure to break down into that thick, ice-cream-like consistency when blended. You absolutely need those frozen chunks for the right texture.
Is this considered an easy vegan ice cream?
You bet it is! This is probably the *easiest* **vegan banana ice cream recipe** out there. Since we only use bananas and plant-based milk, it’s completely **dairy free frozen dessert**, and it skips all the complicated steps of a traditional churned recipe. If you are looking for a classic **easy vegan ice cream**, this three-ingredient wonder is your winner!
What if I don’t have a super powerful blender?
This is where patience comes in handy! If your machine is older or less robust, you must cut those frozen bananas into smaller pieces than normal. Don’t try to blend huge chunks. You’ll need to blend them longer, stopping frequently to let the motor cool down, and you might need an extra teaspoon or two of milk to get things moving. It takes longer, but you can still achieve that lovely **creamy banana whip**!
Can I make a big batch of this banana ice cream ahead of time?
You can certainly store leftovers! Just put the portion you aren’t eating immediately into an airtight container and freeze it. But remember what I said earlier: it freezes quite hard, unlike store-bought tubs. If it gets too firm, pull it out about 15 minutes early, or pulse it a few times in the blender with a splash of water or milk to bring it back to life as that perfect **simple fruit dessert**.
Nutritional Snapshot of This Dairy Free Frozen Dessert
I know some of you are checking labels even when indulging, and I totally get it! Since this **dairy free frozen dessert** is super clean, the numbers are fantastic. Keep in mind these estimates only reflect the three base ingredients—no chocolate swirls or nut toppings!
- Calories: About 150 per serving.
- Sugar: Around 18g (all natural fruit sugar, which is way better!).
- Fat: Just 1 gram, which is amazing for something this creamy.
Because we skip heavy cream and refined sugar, this is a fantastic way to enjoy a sweet treat without worrying too much.
PrintEasy 3-Ingredient Vegan Banana Nice Cream
Make creamy, dairy-free soft serve using only three simple ingredients in minutes. This recipe requires no ice cream maker.
- Prep Time: 5 min
- Cook Time: 0 min
- Total Time: 5 min
- Yield: 2 servings
- Category: Dessert
- Method: Blending/Processing
- Cuisine: American
- Diet: Vegan
Ingredients
- 4 ripe bananas, peeled and frozen
- 2 tablespoons unsweetened almond milk (or other plant milk)
- 1 teaspoon vanilla extract
Instructions
- Cut the frozen bananas into small chunks. Place the chunks into a strong food processor or high-powered blender.
- Pulse the banana pieces until they break down into small crumbs. Stop and scrape down the sides as needed.
- Add the almond milk and vanilla extract. Continue blending or processing. The mixture will first look crumbly, then suddenly become smooth and creamy, resembling soft serve ice cream. This may take 3 to 5 minutes depending on your machine.
- Serve immediately for a soft serve texture, or transfer to a freezer-safe container and freeze for 30 minutes for a firmer scoopable texture.
Notes
- Use very ripe bananas for the best sweetness and texture.
- If the mixture is too thick to blend, add plant milk one teaspoon at a time until the blades move freely.
- For a chocolate version, add 1 tablespoon of unsweetened cocoa powder with the milk.
Nutrition
- Serving Size: 1 serving
- Calories: 150
- Sugar: 18
- Sodium: 5
- Fat: 1
- Saturated Fat: 0
- Unsaturated Fat: 1
- Trans Fat: 0
- Carbohydrates: 38
- Fiber: 4
- Protein: 1
- Cholesterol: 0