

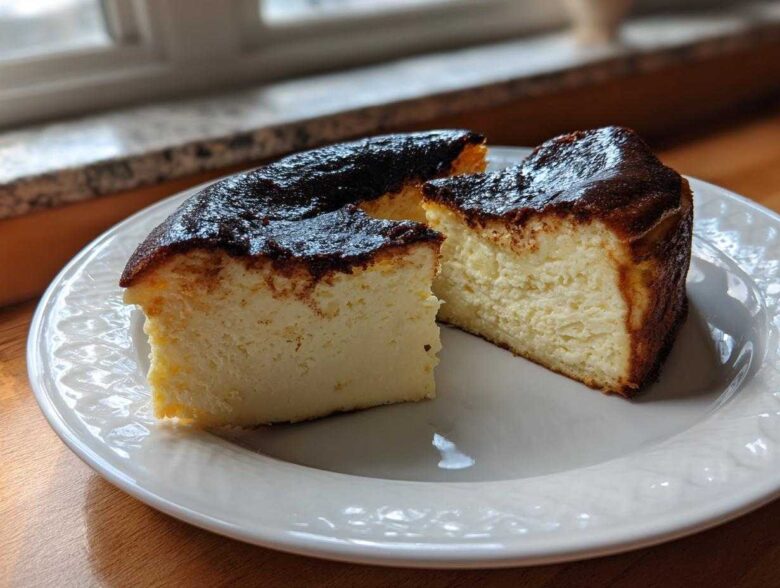
Okay, let’s talk about the showstopper! You know those gorgeous, rustic cheesecakes that look like they’ve been kissed by fire? I’m talking about the Basque Burnt Cheesecake. Honestly, when I first saw pictures of that deeply caramelized top hiding such a gloriously creamy, almost liquid center, I thought it was too fancy for me. But trust me on this one—this dessert is secretly the easiest, no-fail recipe you’ll ever tackle. Forget water baths and delicate crusts; we’re going straight for dramatic results with minimal fuss!
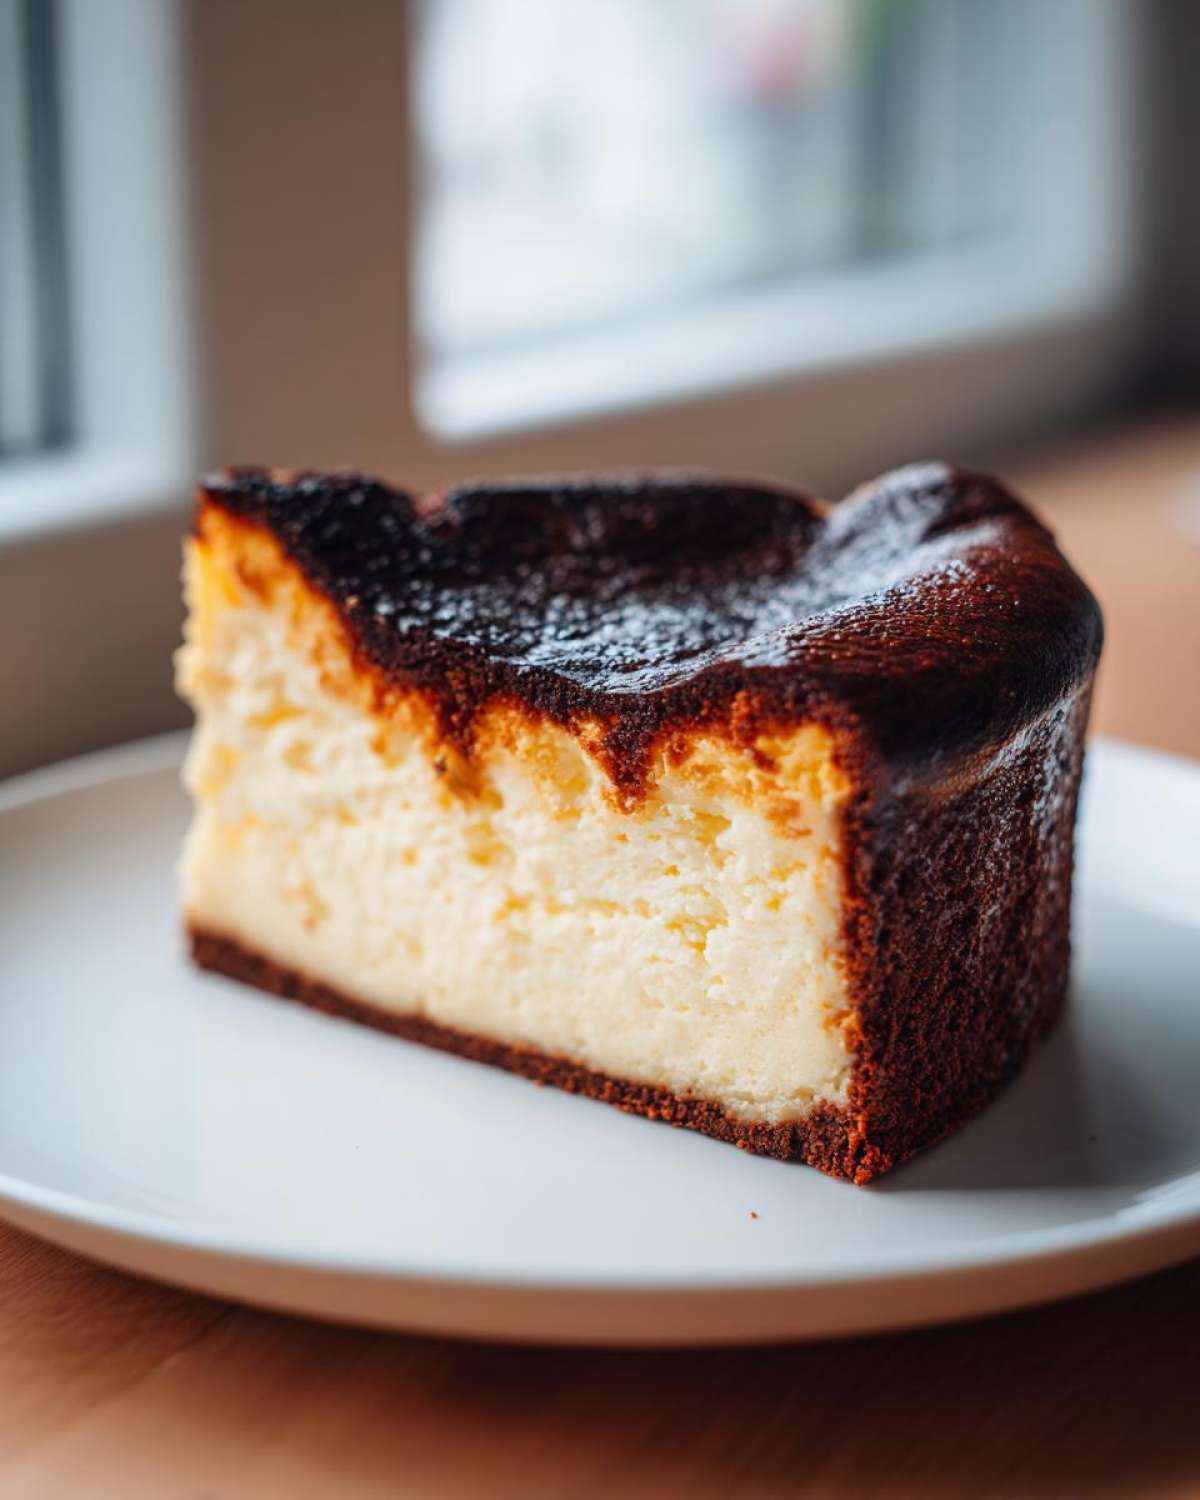
My biggest goal when I started perfecting this was hitting that perfect contrast—crustless, rich, and velvety smooth inside, while the outside gets intensely dark. It took a few tries, but I finally cracked the code for that melt-in-your-mouth texture without any lumps. I’m sharing my simplest blueprint for success right here, so you can serve up this impressive Spanish beauty tonight! For more baking tips and inspiration, check out my general baking adventures right here on the blog!
Why This is the Best Basque Burnt Cheesecake Recipe
What makes this recipe the absolute best? It’s all about stripping things back to the essentials, just like the original bakers in San Sebastian intended. We skip the fussy bottom crust entirely, making this a pure, decadent slice of No Crust Cheesecake. Forget the terrifying water bath too; we use incredibly high heat! This simple method guarantees that signature burn while ensuring you get a truly Velvety Cheesecake center every single time. It’s shocking how few ingredients are required for something so dramatic. If you want to see how I bake my favorite cookies, they are linked over here: the best homemade chocolate chip cookies.
Achieving the Signature Caramelized Top Dessert
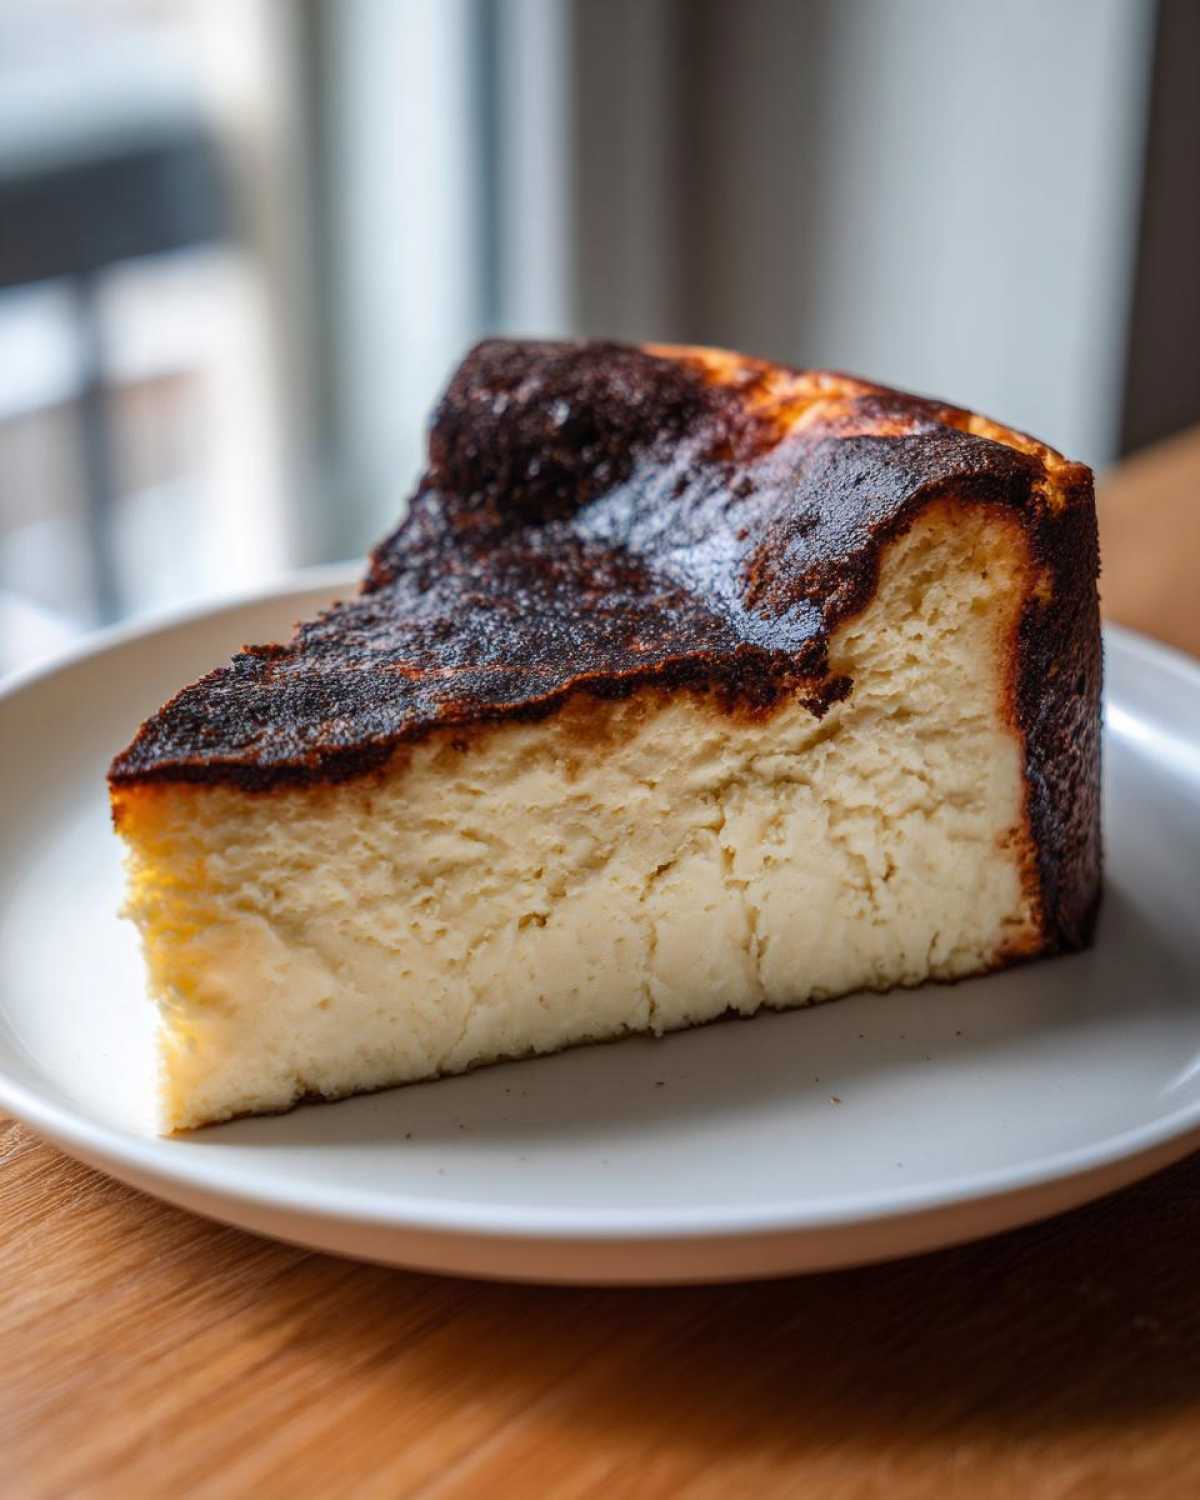
The high temperature—we hit it fast and hard—is what gives us that amazing, slightly bitter, deeply caramelized top dessert flavor we crave. It sounds scary, right? You’re basically torching the top in the oven! That intense heat quickly cooks the outside layer to that beautiful dark brown, almost black color. This contrast is everything; it cuts through the richness of the filling beautifully, which is exactly what the basque burnt cheesecake needs.
The Secret to a Creamy Cheesecake Recipe Center
The interior success comes down to two things: fat content and mixing gently. We use tons of full-fat cream cheese and heavy cream, naturally. The most vital part is not over-beating the batter once the wet ingredients are in. We want to minimize air bubbles!
Less air means less structure, which results in that incredible, mousse-like collapse as it cools. That’s the hallmark of a true, gorgeous basque burnt cheesecake—it jiggles wonderfully when it comes out because it’s barely set, turning into that perfect Creamy Cheesecake Recipe center later!
Gathering Ingredients for Your Basque Burnt Cheesecake
Now for the simplest shopping list you’ll meet all year! Seriously, making this basque burnt cheesecake won’t require a trip to a specialty market. We rely on just a handful of quality items to create magic. You’ll need a generous amount of cream cheese—we’re talking 900 grams—and about 480 ml of heavy cream.
Don’t forget the 6 large eggs and that 250 grams of standard sugar. A touch of salt and vanilla extract rounds out the flavor profile. Oh, and just 30 grams of all-purpose flour. That’s it! See? It’s truly a Minimal Ingredient Cheesecake marvel that proves you don’t need complexity for incredible flavor. If you’re loving this simple approach, you’ve got to try my moist date nut bread recipe next!
Ingredient Notes and Substitutions for Basque Burnt Cheesecake
The success here truly relies on good fats, so please listen up! Make absolutely certain your cream cheese is full-fat and totally softened; cold cream cheese leads to lumps, and we are banning lumps! For the cream, you must use heavy cream, definitely 35% fat content or higher. Low-fat versions just won’t give you that signature velvety collapse when it cools down.
I highly advise against substituting the cream cheese or cream, as they determine the texture of this basque burnt cheesecake. The flour? It’s just there to give the eggs a tiny bit of scaffolding; we don’t want to change the ingredient ratios!
How To Make Basque Cheesecake: Step-by-Step Instructions
This is where the real fun begins! Don’t let the baking time intimidate you; the active prep time is ridiculously short. First things first: get that oven screaming hot to 200°C (400°F). You need that heat! Then, line your 9-inch springform pan with parchment paper. Don’t try to make it neat—crumple it up first, then place it in the pan, making sure the edges stick up way high over the sides. That overhang is your best friend later!
Next, you mix everything. We are moving fast but gently. Start with that softened cream cheese until it’s smooth. Add the sugar only until it disappears. Then, one by one, eggs go in, mixing just enough so you don’t see streams of yolk floating around. Stop mixing the second the cream, vanilla, and salt are combined. You want this batter thin for a perfect basque burnt cheesecake experience! If you want to check out my favorite chocolate cake recipe for comparison, see German Chocolate Cake Recipe.
Preparing the Pan and Batter for the Crustless Spanish Dessert
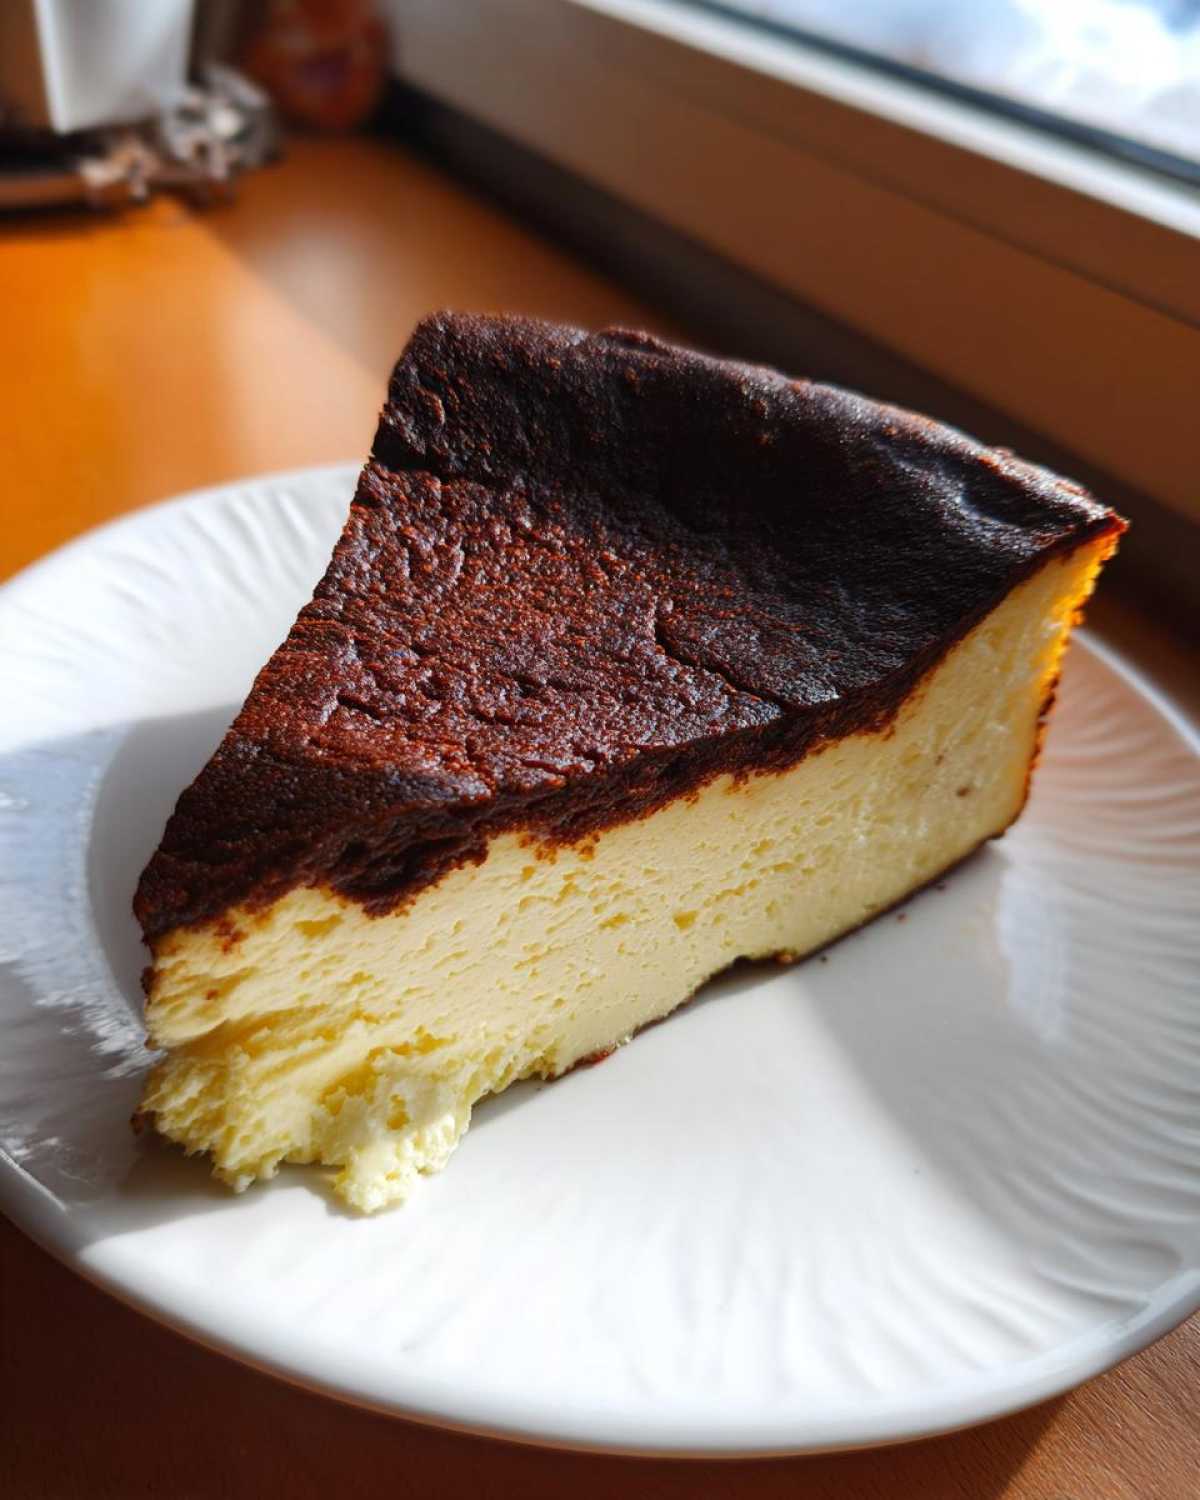
The parchment paper preparation is non-negotiable! Crumpling it adds a rustic texture to the sides of your Crustless Spanish Dessert, which is totally the look we’re going for. Don’t overmix the flour in at the end either. Sift it right over the top and fold it in maybe four or five times. The goal is just to incorporate, not to build gluten structures. We want that loose, liquid batter to pour right into that crinkled parchment nest.
Baking Time and Visual Cues for the Caramelized Top Dessert
Bake this magnificent thing for about 50 to 60 minutes. This is the moment of truth for your Caramelized Top Dessert. When it’s done, the outside MUST be dark brown, almost black in spots—don’t panic! That’s the magic working. The absolute giveaway that you’ve nailed the creamy texture is the jiggle. When you gently nudge the pan, the very center should wobble like unset gelatin. If it’s completely firm, you’ve baked it too long for that signature basque burnt cheesecake inside.
Cooling and Chilling: Setting Up Your Basque Burnt Cheesecake
Okay, this part is the true test of patience, but you absolutely cannot rush the cooling phase if you want that incredible payoff. Remember how the center was jiggling wildly when it came out of the oven? That’s normal! We need a two-step process to let the structure relax properly.
First, let the cheesecake sit right on the counter, still in its pan, for at least three hours. Resist the urge to poke it or peek too closely! This slow cooldown stabilizes the structure before the deep chill. If you want to check out my recipe for slow-cooked, comforting goodness, my old-fashioned creamy rice pudding requires a similar patience approach!
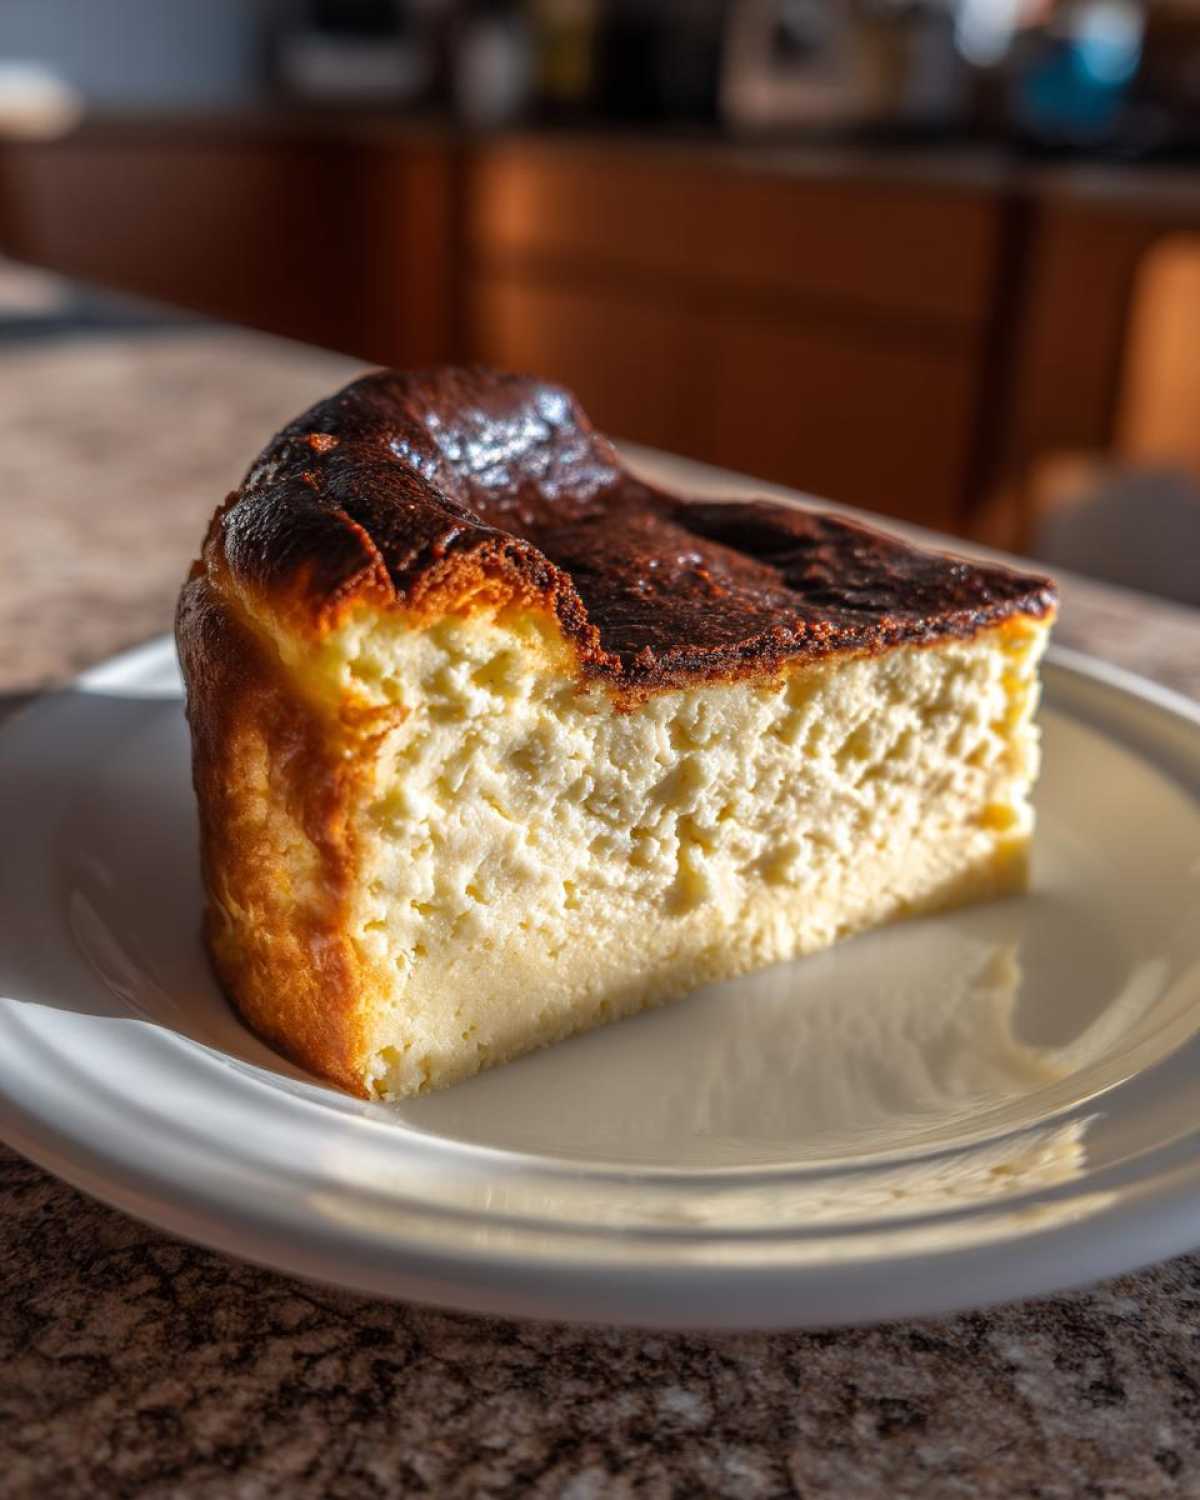
Once it’s completely cooled to room temperature, transfer the entire thing—pan and all—into the fridge. It needs a minimum of six hours, but seriously, overnight is your golden ticket. This chilling period is what transforms that wobbly center into the dense, Rich Cream Cheese Dessert texture you’ve been hoping for. Trust me; waiting pays off!
Tips for the Perfect Rustic Cheesecake Recipe
Part of the charm of the basque burnt cheesecake is its wonderfully imperfect, rustic look. Don’t stress about it coming out picture-perfect like a New York style cake; the crinkled parchment sides and the slightly uneven top are intentional! If you used the 9-inch pan recommended, you’re golden. If you decided to try an 8-inch pan, you’ll need to add maybe 5 to 10 extra minutes to that baking time. Keep an eye on that jiggle!
When it comes time to serve, this is my favorite part of the presentation. Once it’s fully chilled, gently peel away that overly tall, crinkly parchment paper. You don’t need a knife or a spatula underneath it—the cake should be firm enough to handle. Just grab the parchment edges, and peel it down and away from the sides slowly. It looks so impressive sitting right on the platter, showing off that beautifully charred surface we worked so hard for. If you’re looking for another amazing, hands-off recipe, you have to check out my tender crockpot steak bites!
Serving Suggestions for Your Impressive Dinner Party Dessert
This basque burnt cheesecake is so intensely rich and flavorful all on its own that it truly doesn’t need much fuss! Presentation is where you can shine without adding complicated layers. If you want to play up the sweetness of that caramelized top, a very light dusting of powdered sugar looks gorgeous sprinkled over the top right before serving.
For a bit of brightness, I always love pairing it with something tart. Fresh raspberries or bright sliced strawberries are just perfect on the side of the plate—the acidity keeps the richness from feeling too heavy. If you need a fantastic sweet side to balance out a big dinner, you have to try these easy moist strawberry muffins!
Storage and Reheating Instructions for Basque Burnt Cheesecake
Because this basque burnt cheesecake is so rich and creamy, the best flavor and texture actually come after chilling overnight! You can keep it airtight in the fridge for up to four days. Honestly, I don’t recommend reheating it at all. That amazing texture is designed to be served cool or just slightly above fridge temperature.
If you absolutely must serve it slightly warmer than fridge-cold, just pull it out about 30 minutes before slicing. That tiny bit of warming takes the chill off the cream cheese beautifully, making it ultra-velvety without compromising the structure.
Frequently Asked Questions About This Easy Baked Cheesecake
I know when you look at pictures of the finished product, you might have a few questions—I certainly did when I first started my Burnt Cheesecake Tutorial journey! Most folks worry about the look or the texture, but I promise, it’s all intentional. If you’re wondering about your San Sebastian Cheesecake creation, chances are the answer is down here. If you want to see how I make a fun, no-bake dessert, check out my Oreo Dirt Cake Recipe!
Is the top of the Basque Burnt Cheesecake supposed to be black?
YES! A thousand times, yes! If the top of your Basque Burnt Cheesecake isn’t deeply, richly browned—almost black in spots—it’s just not done right. That deep color is what creates the incredible, slightly bitter, molasses flavor that balances out all that creamy sugar inside. It’s the signature of the Caramelized Top Dessert!
Can I use a different size pan for this Basque Burnt Cheesecake?
You absolutely can, but you have to respect the physics of baking! If you scoop the same amount of batter into a smaller 8-inch pan, it will be deeper, so you need to add about 5 to 10 minutes to that bake time to let the middle set correctly. If you are using a loaf pan, you’ll need to watch it constantly; the sides cook faster than the middle, so a larger, shallower pan is always easier!
Why is my cheesecake batter so thin before baking?
Oh gosh, this trips everyone up! If your batter seems way too runny compared to a standard American cheesecake, congratulations—you’ve done it right! This isn’t a thick, dense batter; it needs to be quite liquidy so that when it bakes, it melts and then collapses down into that signature velvety cheesecake texture we love so much. Have faith in the thinness and let the high heat do the heavy lifting!
Share Your Basque Burnt Cheesecake Creations
I’m dying to see all your ridiculously charred and unbelievably creamy masterpieces! Seriously, tag me on social media or drop a comment below letting me know how this basque burnt cheesecake turned out for you. Did you manage that perfect center jiggle? If you love easy party food, give my Cowboy Caviar recipe a try next time you host!
PrintUltra Creamy and Easy Basque Burnt Cheesecake
Make a rich, crustless Basque Burnt Cheesecake with a velvety center and a deeply caramelized exterior. This recipe is simple and requires no water bath.
- Prep Time: 15 min
- Cook Time: 60 min
- Total Time: 7 hours 15 min
- Yield: 10 servings
- Category: Dessert
- Method: Baking
- Cuisine: Spanish
- Diet: Vegetarian
Ingredients
- 900 g cream cheese, softened
- 250 g granulated sugar
- 6 large eggs
- 480 ml heavy cream (35% fat)
- 1 teaspoon vanilla extract
- 1/4 teaspoon salt
- 30 g all-purpose flour
Instructions
- Preheat your oven to 200°C (400°F). Line a 9-inch springform pan with two layers of parchment paper, allowing the paper to overhang the sides significantly.
- In a large bowl, beat the softened cream cheese until smooth.
- Add the sugar and beat until just combined. Do not overmix.
- Add the eggs one at a time, mixing briefly after each addition until incorporated.
- Pour in the heavy cream, vanilla extract, and salt. Mix on low speed until the batter is uniform.
- Sift the flour over the batter and mix gently until no streaks of flour remain. The batter will be thin.
- Pour the batter into the prepared pan.
- Bake for 50 to 60 minutes. The top should be very dark brown, almost black, and the center should still jiggle significantly when gently shaken.
- Remove the cake from the oven and let it cool completely on a wire rack at room temperature for at least 3 hours. The center will set as it cools.
- Once cool, chill the cheesecake in the refrigerator for at least 6 hours, or preferably overnight, before serving.
- To serve, carefully remove the overhanging parchment paper.
Notes
- For a smaller cake, you can use an 8-inch pan, but increase the baking time by 5 to 10 minutes.
- If you want a loaf pan version, use a standard loaf pan lined well with parchment paper. Adjust baking time based on depth.
- The high heat creates the signature burnt exterior while the inside remains creamy. Do not worry if the center looks very soft when you remove it.
Nutrition
- Serving Size: 1 slice
- Calories: 450
- Sugar: 35
- Sodium: 250
- Fat: 33
- Saturated Fat: 20
- Unsaturated Fat: 13
- Trans Fat: 0.5
- Carbohydrates: 30
- Fiber: 0.5
- Protein: 9
- Cholesterol: 180