

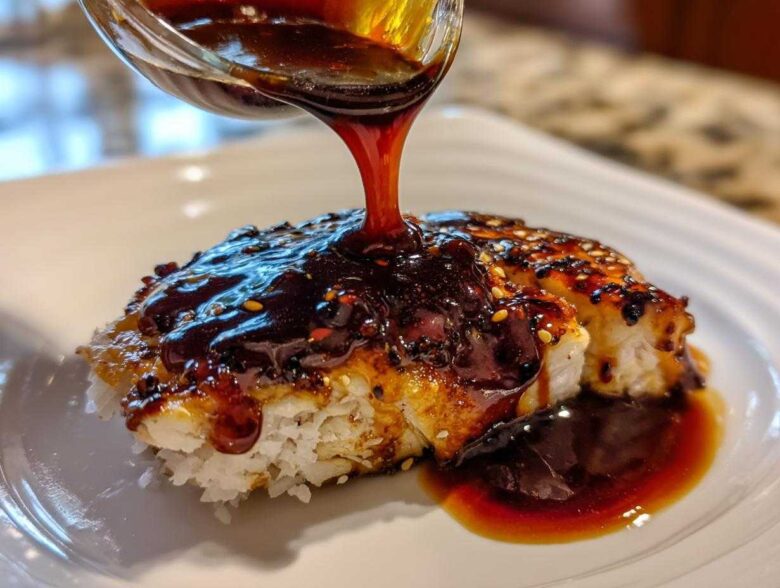
Honestly, how many jars of that super-sweet, sometimes watery bottled stuff have we all bought? I swear, mine always tastes like brown food coloring and sugar, never that deep, savory punch you actually want. That’s why I finally perfected my own version. This is, hands down, the **best 5-minute homemade teriyaki sauce** you’ll ever try, and trust me when I say it works just as beautifully as a thick glaze as it does soaking into meat as a quick marinade. I spent ages messing with the ingredient ratios—trying to get that perfect savory-sweet balance—so you don’t have to waste any time hunting for the right **teriyaki sauce**. It’s simple, fast, and tastes like perfection.
Why This Homemade Teriyaki Sauce Recipe Beats Store-Bought
The main reason I insist everyone switch to this recipe is flavor. You just can’t beat the freshness you get when you throw your own ginger and garlic into the pan. Store-bought stuff often relies on thickeners and preservatives just to keep it looking appealing on the shelf. This is the **best homemade sauce** because it’s bright, complex, and tastes like something you’d pay top dollar for at a decent Japanese restaurant. Check out my main blog just right here for more kitchen wizardry!
Plus, you have total control! When you **make teriyaki sauce at home**, you know exactly what’s in it. No weird fillers, no mystery sodium levels. It’s the **easy teriyaki sauce** solution for weeknights, and I promise, once you taste this, you won’t go back to the jarred stuff hanging out in the back of your fridge.
The Speed Factor: Making teriyaki sauce at home in Minutes
I know what you’re thinking: fancy sauce takes forever, right? Wrong! This whole thing—from grabbing the soy sauce to turning off the heat—takes about ten minutes total, five of which are just gentle simmering. You can whip this up while your rice is steaming or while your chicken is just starting to brown. It’s that shockingly fast. It’s all about using those simple pantry staple sauces we all keep on hand.
Essential Ingredients for Perfect Homemade Teriyaki Sauce
When you’re aiming for the best homemade sauce, the quality of your starting items really shines through, even when the recipe is this easy. I’ve listed out exactly what you need below, but honestly, these are all things I usually have sitting in the pantry on any given Tuesday. You want that savory sweet sauce flavor explosion, and these ingredients deliver it without fail.
- 1/2 cup soy sauce (I tend to use low-sodium, just because things get salty fast!)
- 1/2 cup mirin (sweet rice wine—this is crucial for authentic flavor!)
- 1/4 cup packed brown sugar (Don’t use white sugar, the molasses adds so much depth!)
- 1 tablespoon grated fresh ginger (Please grate it fresh; the jarred stuff just isn’t the same)
- 1 clove garlic, minced finely
- 1 teaspoon cornstarch mixed with 1 tablespoon cold water (This is our magic thickener!)
I know this recipe looks amazing alongside fluffy rice pilaf, which you can read about right here! This combination of fresh aromatics and real wine makes this far superior to anything off the shelf.
Ingredient Notes and Simple Soy Glaze Substitutions
Okay, let’s talk about the tricky ones. If you open your cabinet and realize you are out of mirin, don’t panic and throw in the towel! My grandma used to substitute it by mixing 1/2 cup of dry sherry with about 1 teaspoon of sugar. It’s not identical, but it gives you that lovely wine note you need for a great **simple soy glaze**.
The cornstarch and water mixture is called a slurry, and it’s non-negotiable for getting that perfect thick consistency that clings nicely to your grilled chicken. Mix that cornstarch thoroughly into *cold* water before adding it to the simmering sauce; otherwise, you’ll end up with little clumps, and nobody wants that!
Step-by-Step Instructions for Your Quick Teriyaki Marinade
This is where the magic happens, and I swear, you won’t believe how fast this comes together. First, you need your small saucepan. Get all your liquids and aromatics in there: the soy sauce, the mirin, that packed brown sugar, your fresh ginger, and that minced garlic. Give it a quick whisk just to combine everything before you turn the heat on. I like to think of this as the cozy stage before the action starts. This entire blend is what will become your amazing homemade **teriyaki sauce**!
Next up, bring that mixture to a gentle simmer over medium heat. You just want to see little bubbles starting around the edge, nothing violent. Keep stirring constantly until that sugar totally melts away—you don’t want any grainy bits sticking to the bottom. Now for the thickening part! Slowly whisk in your cornstarch slurry (that cornstarch and cold water mix—remember?).
You have to keep whisking once you add the slurry, or you’ll get lumps, and trust me, you want this **quick teriyaki marinade** to be silky smooth. It only takes about one or two minutes after adding the slurry for the sauce to thicken up enough that it starts sticking to your spoon. If you’re making green beans, check out my recipe for amazing Chinese Green Beans; this sauce is perfect for those too!
Achieving the Right Consistency for Your Teriyaki Sauce
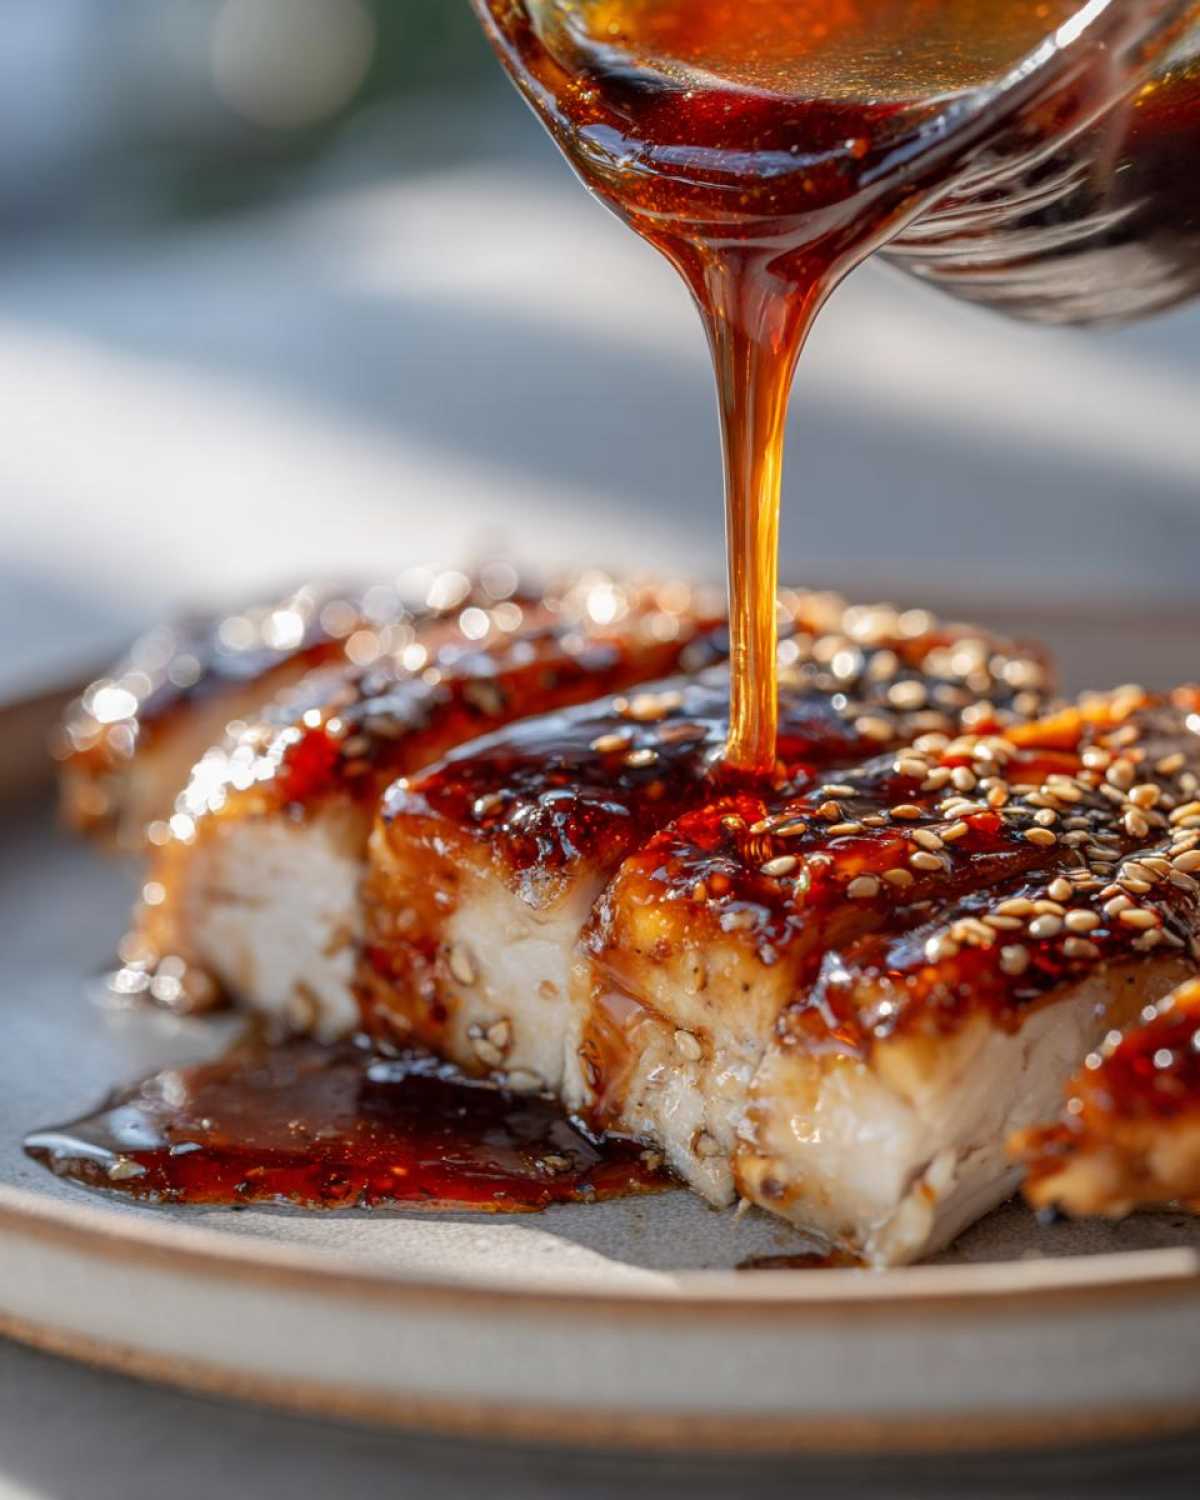
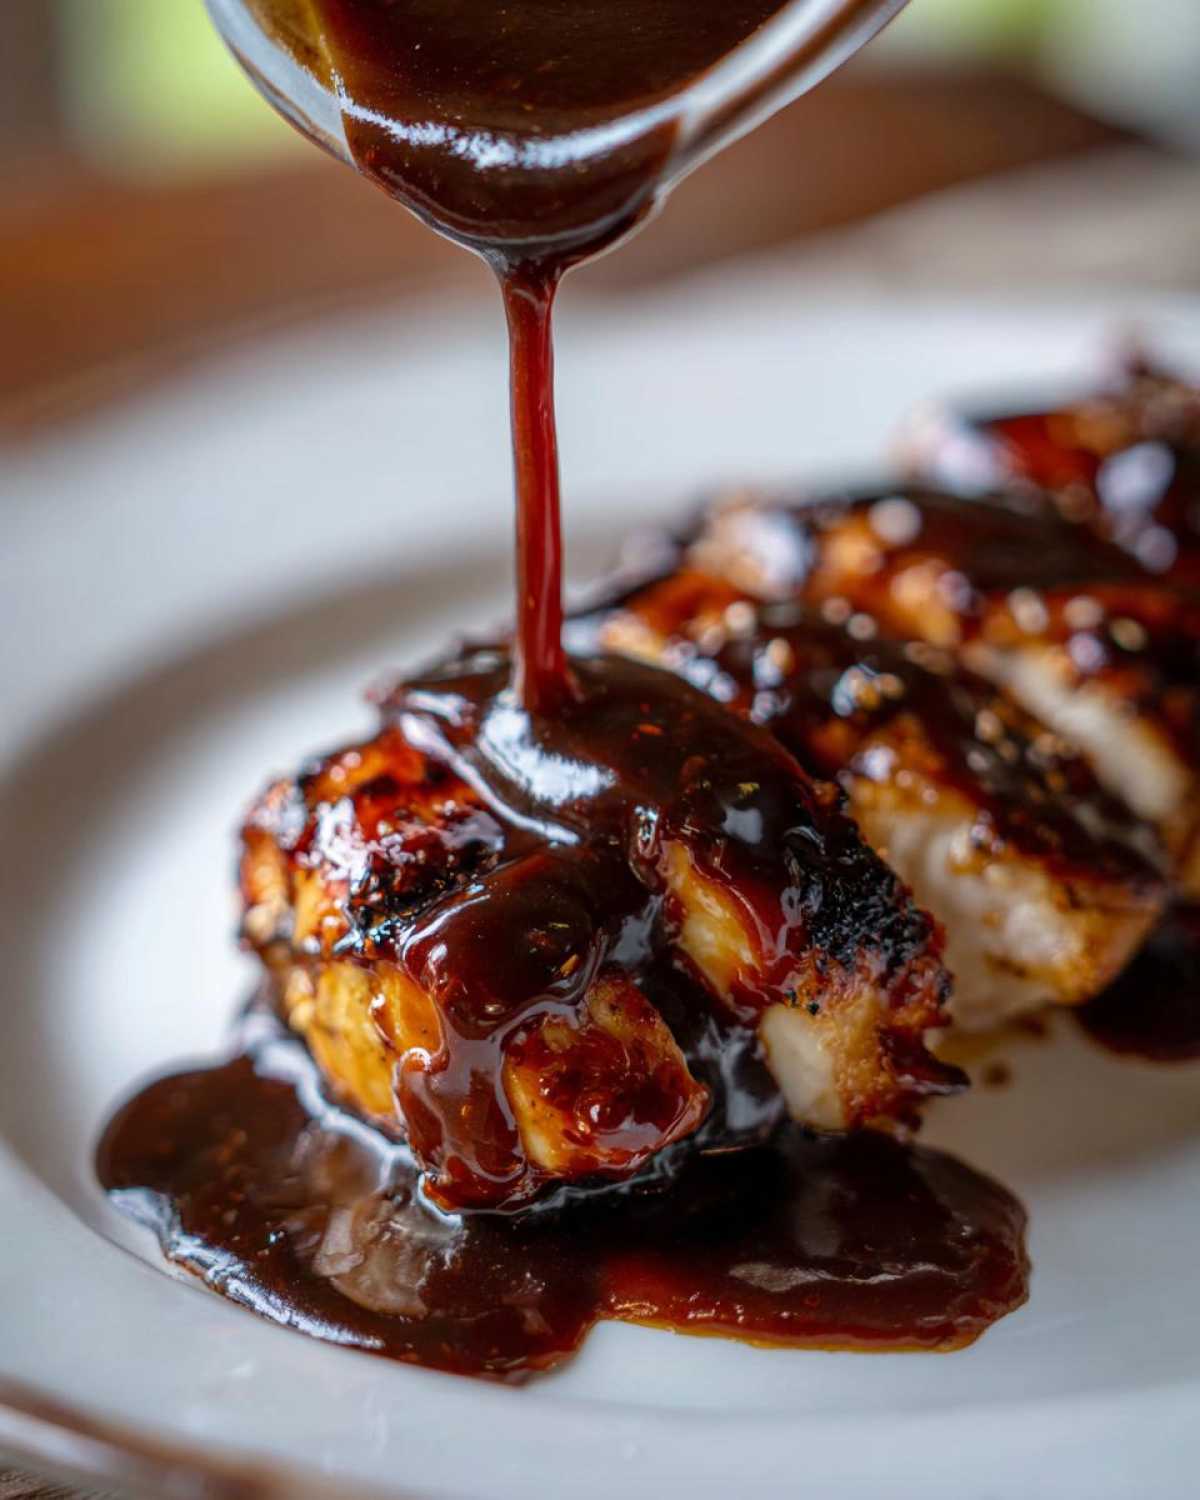
The visual cue here is super important. When it’s ready, the sauce should thicken enough that when you pull the spoon out, the sauce coats the back of it nicely, holding the trail you just wiped across it for a second. That’s when you pull it immediately off the heat! Don’t be tempted to cook it another minute over the flame, or you’ll end up with something closer to caramel than sauce. It thickens up just a touch more as it cools down, so slightly under-thickening on the stove is actually the secret to perfect results later.
Versatile Uses for This Easy Teriyaki Sauce
Now that you have this gorgeous homemade mixture, you need to know what to do with it! This **teriyaki sauce** is fantastic because it pulls double duty. If you’re planning ahead, use about half as a quick **teriyaki marinade** for chicken thighs or even some firm tofu. Just let it sit for at least half an hour—thirty minutes is all you need since this is packed with flavor!
The other half is for finishing the dish. I love making **teriyaki glaze ideas** for salmon fillets; you brush it on during the last few minutes of broiling. It caramelizes beautifully without burning. If you’re making a stir-fry, pour it in right at the end, after the veggies are crisp-tender. That quick burst of heat activates the cornstarch and creates that shiny, glossy coating you see in restaurants. It’s the perfect companion for anything you grill, bake, or toss in a wok—seriously, it even makes boring steamed broccoli taste amazing!
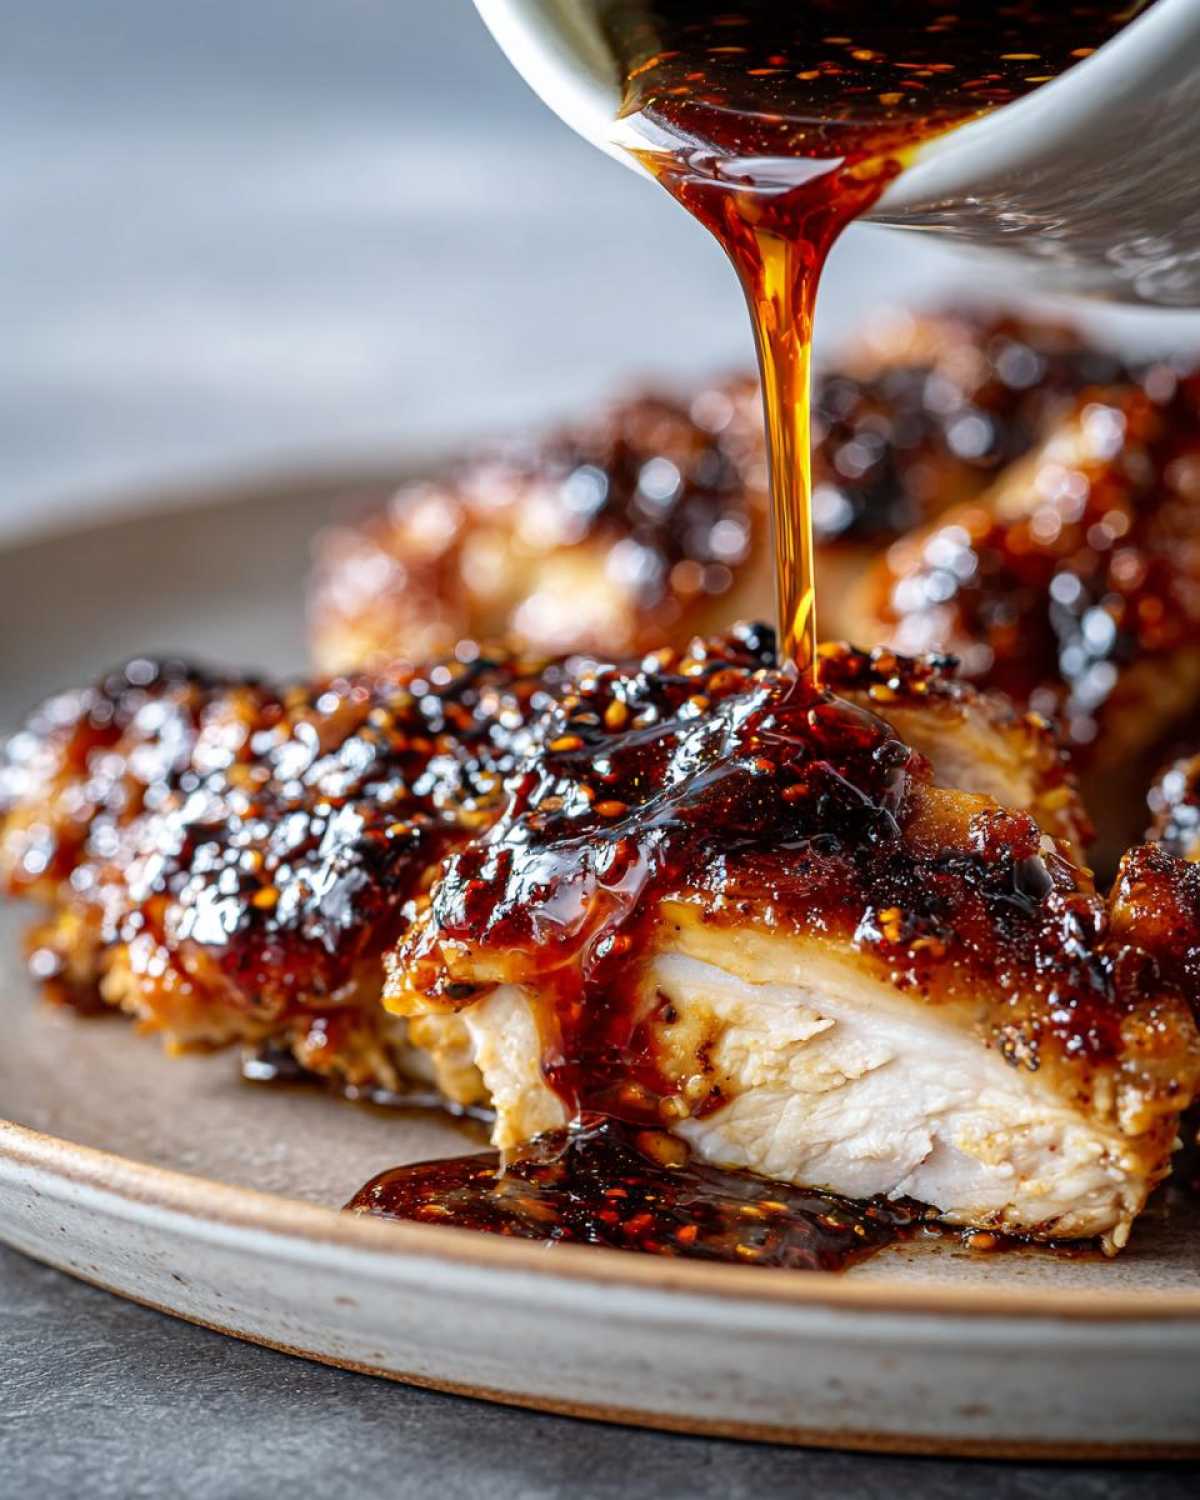
If you’re looking for marinating tips, especially for things like tuna steak, you should check out my guide to marinating techniques. This recipe makes the absolute best **teriyaki chicken sauce** base, too!
Making teriyaki sauce at home: Tips for Success
So, you’ve mastered the basic cook time, but how do you truly elevate this **teriyaki sauce** to a flavor masterpiece? My biggest tip that I learned through trial and error is tasting *before* you thicken it! Once that sauce is simmering, grab a clean spoon and test it. If it tastes too sharp or salty, add just a tiny pinch more of brown sugar. If it seems a bit flat, a tiny splash more mirin does the trick.
Also, I always keep a bottle of low-sodium soy sauce handy. If you use regular soy sauce, your final product might be overwhelmingly salty when it concentrates. If you forget the low-sodium, taste it early! This prevents you from ending up with sauce that’s too intense when it cools down.
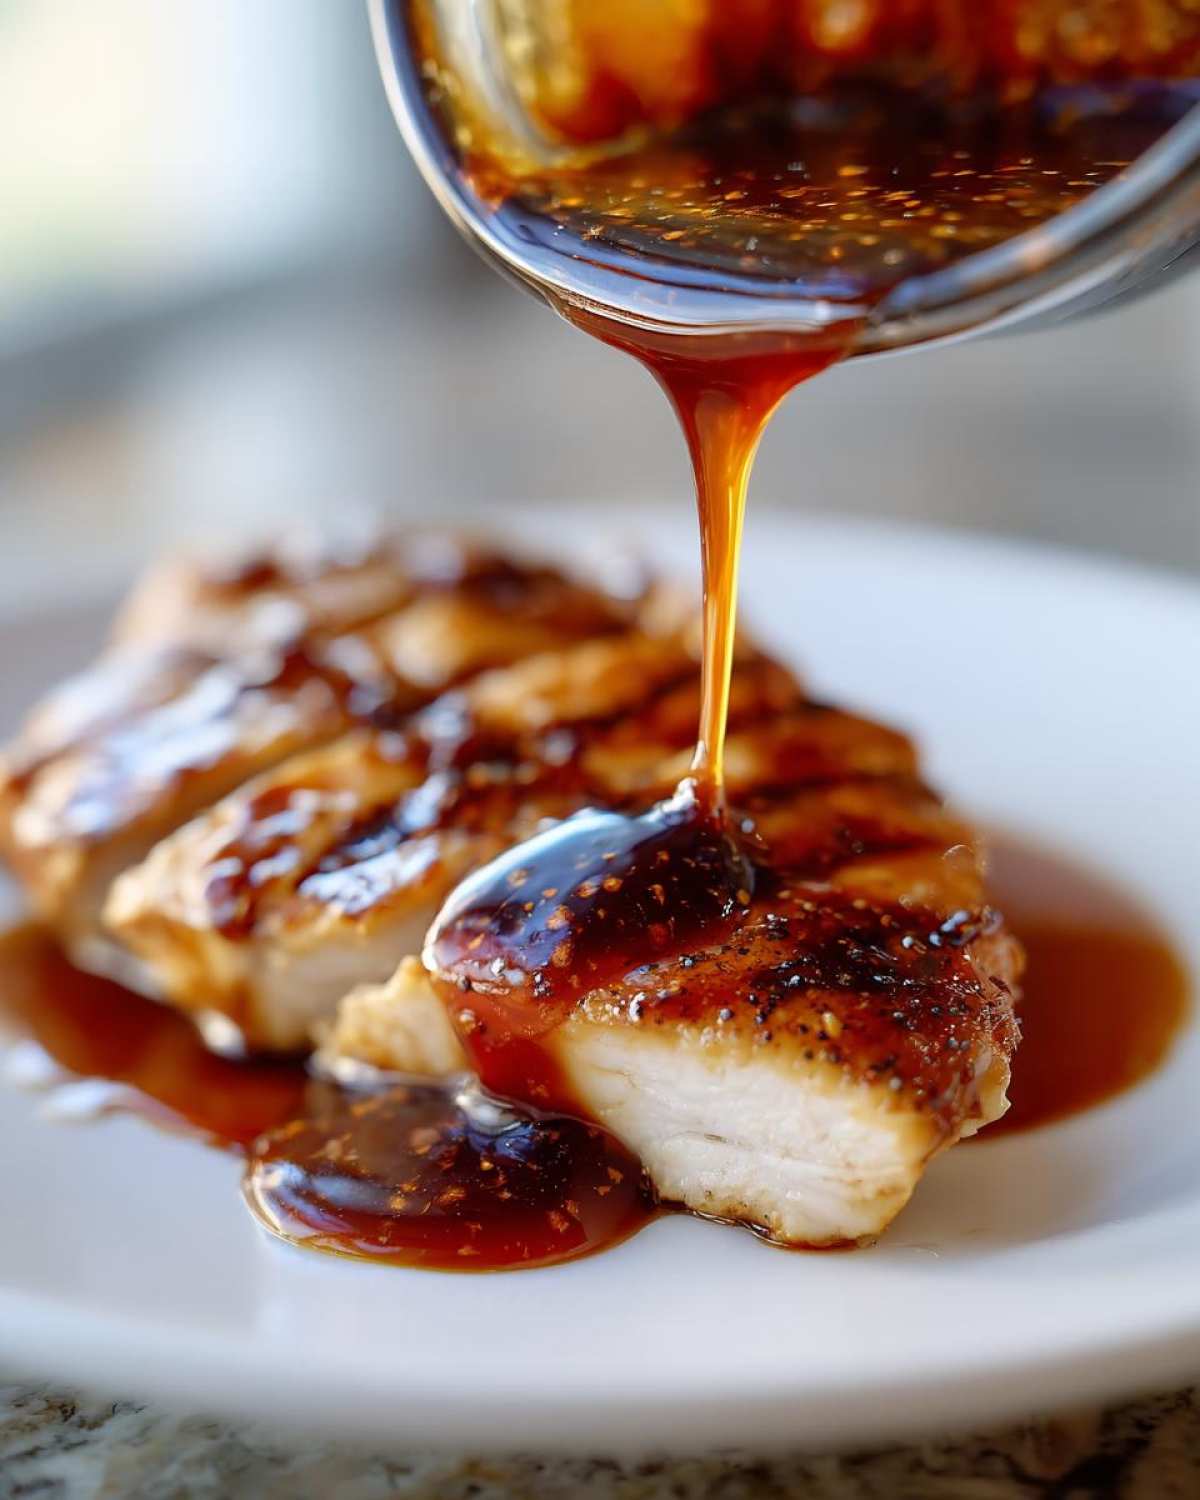
For super smooth storage, make sure you whisk out any stray bits of garlic or ginger before jarring it up. For more homemade dipping sauce inspiration, check out my mayonnaise recipe!
Storage and Reheating Instructions for Homemade Teriyaki Sauce
Because this whole batch comes together so fast, you might end up with extra sauce! If you don’t use it all immediately over your stir-fry, you absolutely need to save it. Pop any leftovers into a clean jar or an airtight container—glass works best for me. You can keep this gorgeous sauce in the refrigerator for about a week, maybe even up to ten days if you’re careful with your storage.
Now, here’s the thing you need to know about storing homemade sauce: it will look different when it comes out of the fridge! That little bit of cornstarch we used to thicken it means the sauce will solidify quite a bit when it gets cold. Don’t panic and think you ruined it; it’s just chilling out.
When you’re ready to use the cold, semi-solid sauce, just scoop the amount you need into a very small saucepan—or even a microwave-safe bowl. You want to reheat it gently. If you use the stovetop, keep the heat really low, maybe even just slightly above the lowest setting, and whisk it as it warms up. It should liquefy right back into that glossy, perfect consistency in just a minute or two. If you use the microwave, do short, 10-second bursts.
Be super careful not to let it boil hard when you reheat it! Remember, we only lightly cooked it the first time to activate the cornstarch. If you scorch it or boil it hard, the sauce can get gummy or start separating, and trust me, nobody wants to salvage sad, gummy sauce.
Frequently Asked Questions About Making teriyaki sauce at home
I know you’ve got questions, because when I first started making my own batch of this **Asian sauce recipe**, I had a million! It’s so much better than relying on the store-bought stuff, but sometimes you need that little pointer to feel confident. What you’re making here is truly the ultimate pantry staple sauce, but here are the things readers usually ask me about first.
Can I make a healthy teriyaki alternative using less sugar?
Yes, you absolutely can try! Since the brown sugar plays a role in both the flavor and the viscosity (how thick it gets), reducing it will change the final product a tiny bit. If you cut the sugar down by half, the sauce will be thinner, so you might need to compensate by increasing the cornstarch slurry slightly, maybe adding half a teaspoon more. Or, you can use a zero-calorie sweetener, but I find that those don’t caramelize quite the same way, so I just stick to using less of the real deal for my **healthy teriyaki alternative**.
Can I use regular sugar instead of brown sugar?
You *can*, but please don’t if you can help it! Regular white sugar gives you a very one-note sweetness. Brown sugar is my secret for that deep, molasses-y background note that makes this **homemade teriyaki sauce recipe** taste so rich. If you absolutely must use white sugar, try adding just a splash of molasses (maybe a teaspoon) to mimic that flavor. Otherwise, it just doesn’t hit the same mark as that lovely **savory sweet sauce** we are aiming for.
What is the best way to use this sauce as a quick teriyaki marinade?
This recipe shines as a **quick teriyaki marinade** because the flavor is already so potent! For things like chicken breast, pork chops, or even firm vegetables like bell peppers or onion wedges, you don’t need hours. Thirty minutes is honestly the minimum I recommend, just to let the soy sauce and ginger start doing their work. If you have more time, go for 2 to 4 hours in the fridge. For something delicate like shrimp, just toss it immediately before it hits the grill or pan—no more than 15 minutes!
For more tips on using marinades effectively, especially when cooking rice, take a peek at my notes on fluffy rice pilaf!
Nutritional Estimates for This Asian Sauce Recipe
I know, I know, nobody is making this **Asian sauce recipe** thinking it’s a health food, but it’s good to have a general idea, right? Since so many people are looking for a healthier alternative, I wanted to give you a baseline. This is based on a serving size of just two tablespoons, which is a good amount for glazing a piece of fish or tossing into a single serving of noodles.
Keep in mind these numbers are just estimates! Different brands of soy sauce, especially for sodium levels, can make a huge difference in the final tally. We used our standard mixture to come up with these rough figures:
- Serving Size: 2 tablespoons
- Calories: 65
- Sugar: 10g
- Sodium: 550mg (See? That’s why I always push the low-sodium soy sauce!)
- Fat: 0g
- Protein: 1g
- Carbohydrates: 15g
Since this is a homemade item and not something produced in a certified lab, I always throw in a quick note about that. Always check out my full disclaimer page right here before making any major kitchen decisions based on my kitchen math! It’s useful information for all my pantry staple sauces.
Share Your Homemade Teriyaki Sauce Creations
Alright, my friends, we’ve reached the end of the road for this amazing, lightning-fast recipe! I’ve given you all my secrets for making the **teriyaki sauce** that I rely on every single week. Now it’s your turn to jump in and let me know how it went for you!
Did you use it on a big batch of grilled chicken? Did you dunk crispy tofu quarters in it? Or maybe you made a huge stir-fry for dinner last night? Please, please, please drop a comment below and tell me what you paired it with! I live for reading about everyone’s culinary adventures in their own kitchens.
If you loved this recipe and you’re ready to see more quick fixes and game-changing pantry staple recipes, consider hopping over to my contact page to send me a note or check out my latest updates right here. Happy cooking, and enjoy that fantastic homemade flavor!
PrintThe Best 5-Minute Homemade Teriyaki Sauce: Better Than Store-Bought
Make superior teriyaki sauce in five minutes using basic pantry ingredients. This recipe works perfectly as a thick glaze or a quick marinade for meat or vegetables.
- Prep Time: 5 min
- Cook Time: 5 min
- Total Time: 10 min
- Yield: About 1 1/4 cups
- Category: Condiment
- Method: Stovetop Cooking
- Cuisine: Japanese Inspired
- Diet: Low Fat
Ingredients
- 1/2 cup soy sauce
- 1/2 cup mirin (sweet rice wine)
- 1/4 cup packed brown sugar
- 1 tablespoon grated fresh ginger
- 1 clove garlic, minced
- 1 teaspoon cornstarch mixed with 1 tablespoon cold water (slurry)
Instructions
- Combine the soy sauce, mirin, brown sugar, grated ginger, and minced garlic in a small saucepan.
- Place the saucepan over medium heat and bring the mixture to a gentle simmer, stirring until the sugar dissolves completely.
- Once simmering, slowly whisk in the cornstarch slurry.
- Continue to cook, stirring constantly, for about 1 to 2 minutes until the sauce thickens enough to coat the back of a spoon.
- Remove from the heat immediately. The sauce will thicken slightly more as it cools.
- Use immediately as a sauce or marinade, or store in an airtight container in the refrigerator.
Notes
- For a thicker glaze, increase the cornstarch to 1.5 teaspoons.
- If you do not have mirin, substitute with 1/2 cup dry sherry mixed with 1 teaspoon of sugar.
- This sauce is excellent for glazing grilled chicken, salmon, or stir-fried vegetables.
Nutrition
- Serving Size: 2 tablespoons
- Calories: 65
- Sugar: 10
- Sodium: 550
- Fat: 0
- Saturated Fat: 0
- Unsaturated Fat: 0
- Trans Fat: 0
- Carbohydrates: 15
- Fiber: 0
- Protein: 1
- Cholesterol: 0