

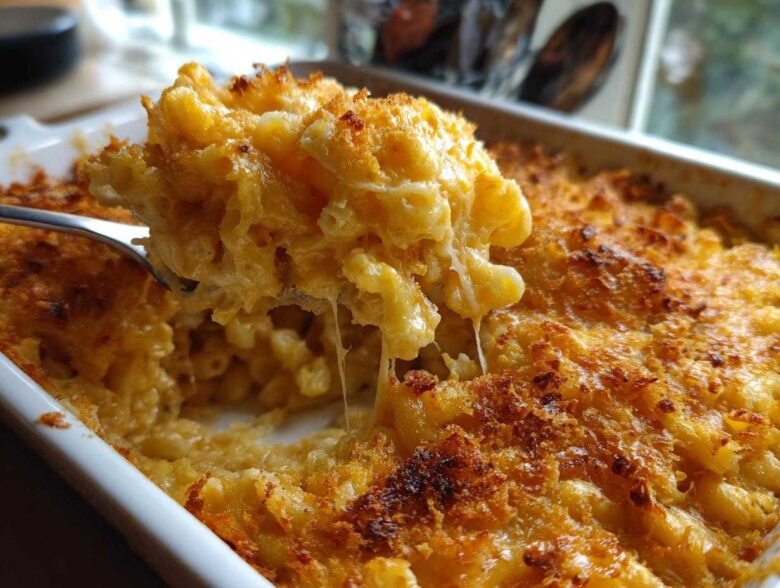
Oh, honey, is there anything that shouts ‘home’ louder than a piping-hot dish of cheesy goodness straight from the oven? I think not! Pasta, cheese, and a little crunch—it’s pure magic, right? For years, I chased that perfect bite, trying to conquer the dreaded dry edges and grainy messes that so many baked mac and cheese recipes leave you with. Well, I cracked the code!
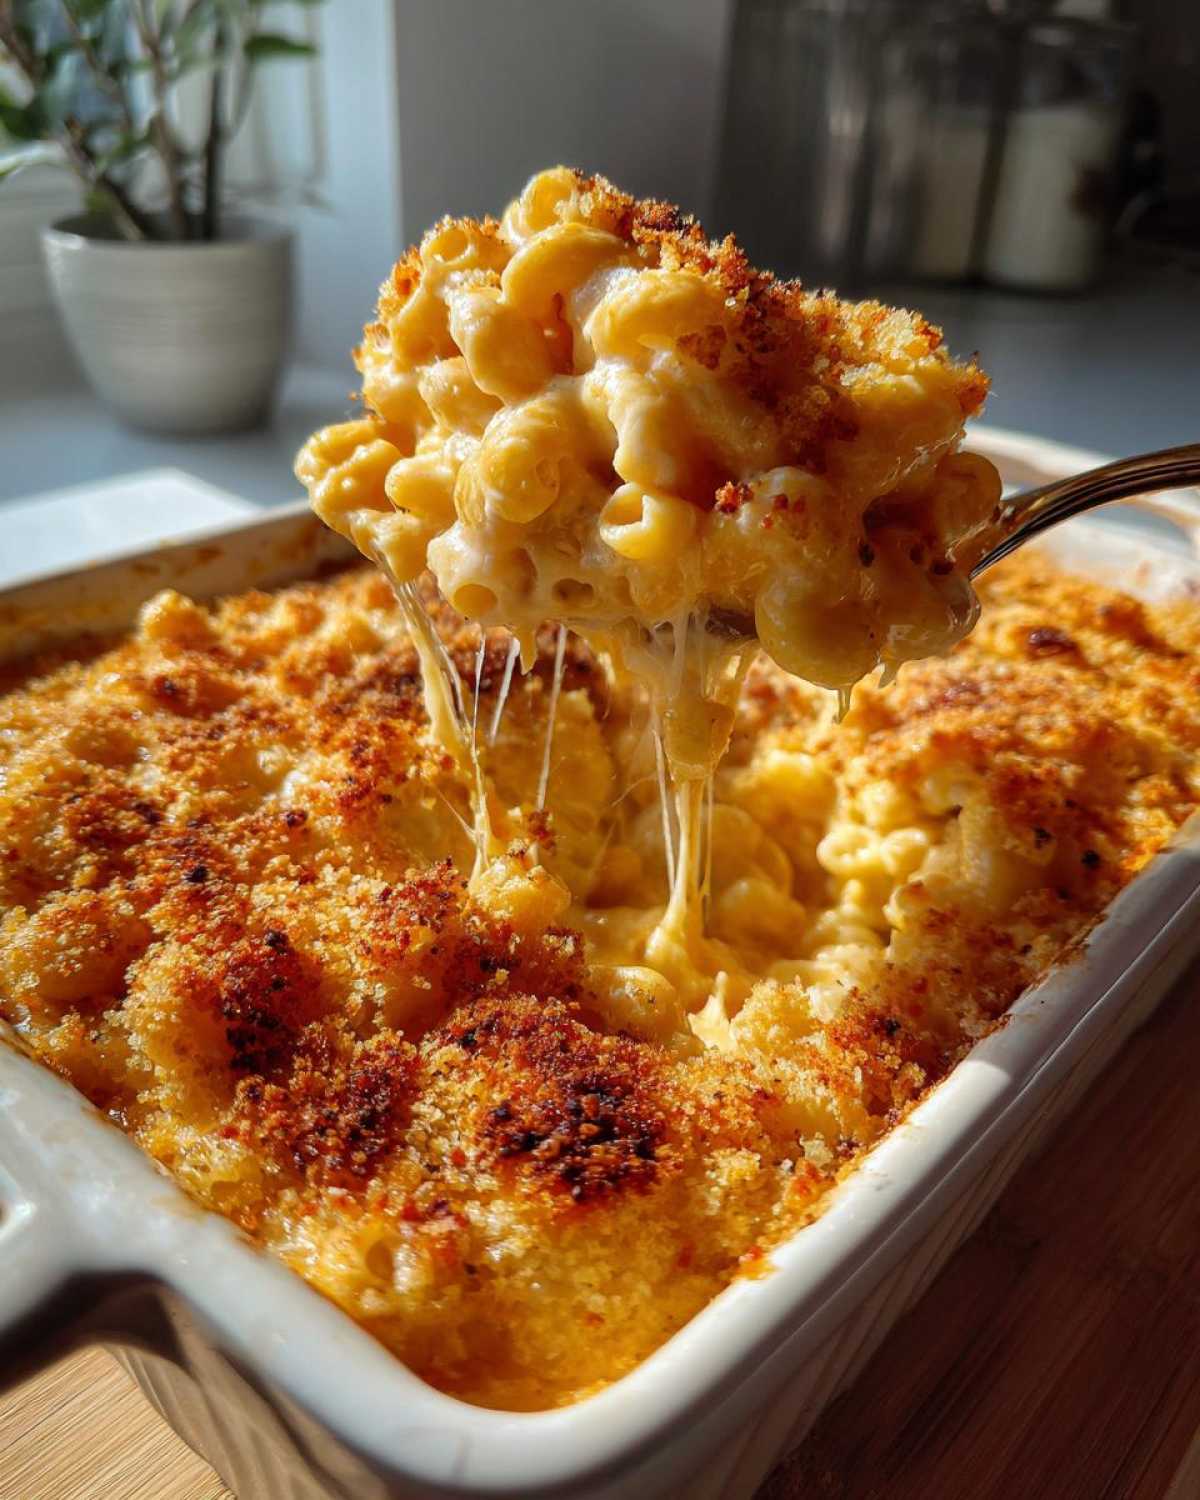
This isn’t just any casserole; this is my Ultimate Creamy Baked Mac and Cheese. The secret weapon is totally in the sauce structure, which I perfected after way too many kitchen failures! We are talking about a sauce so velvety smooth you can only dream about it, topped with glorious, golden, crunchy Panko. Trust me, this homemade baked pasta is what family dinners are made of, and you’re going to want to save this one. If you like mastering casseroles, you should definitely check out my guide on making the ultimate customizable egg bake casserole, too!
Why This is the Ultimate Creamy Baked Mac and Cheese Recipe
Look, I know why you clicked on this. You want the Ultimate Comfort Food that doesn’t turn into a sad, dry brick after five minutes in the oven. My promise to you is absolutely No Dry Baked Mac and Cheese here! I’ve spent ages perfecting the balance of fat, liquid, and cheese so that every single noodle stays perfectly encased in velvety sauce, even after it’s baked.
This recipe shines because it handles two major pasta problems that plague home cooks everywhere: sauce stability and texture. You get that beautiful, bubbly presentation, but underneath, it’s pure luxury. If you’ve ever worried about making cookies, you should check out my foolproof guide to the best homemade chocolate chip cookies while you’re here!
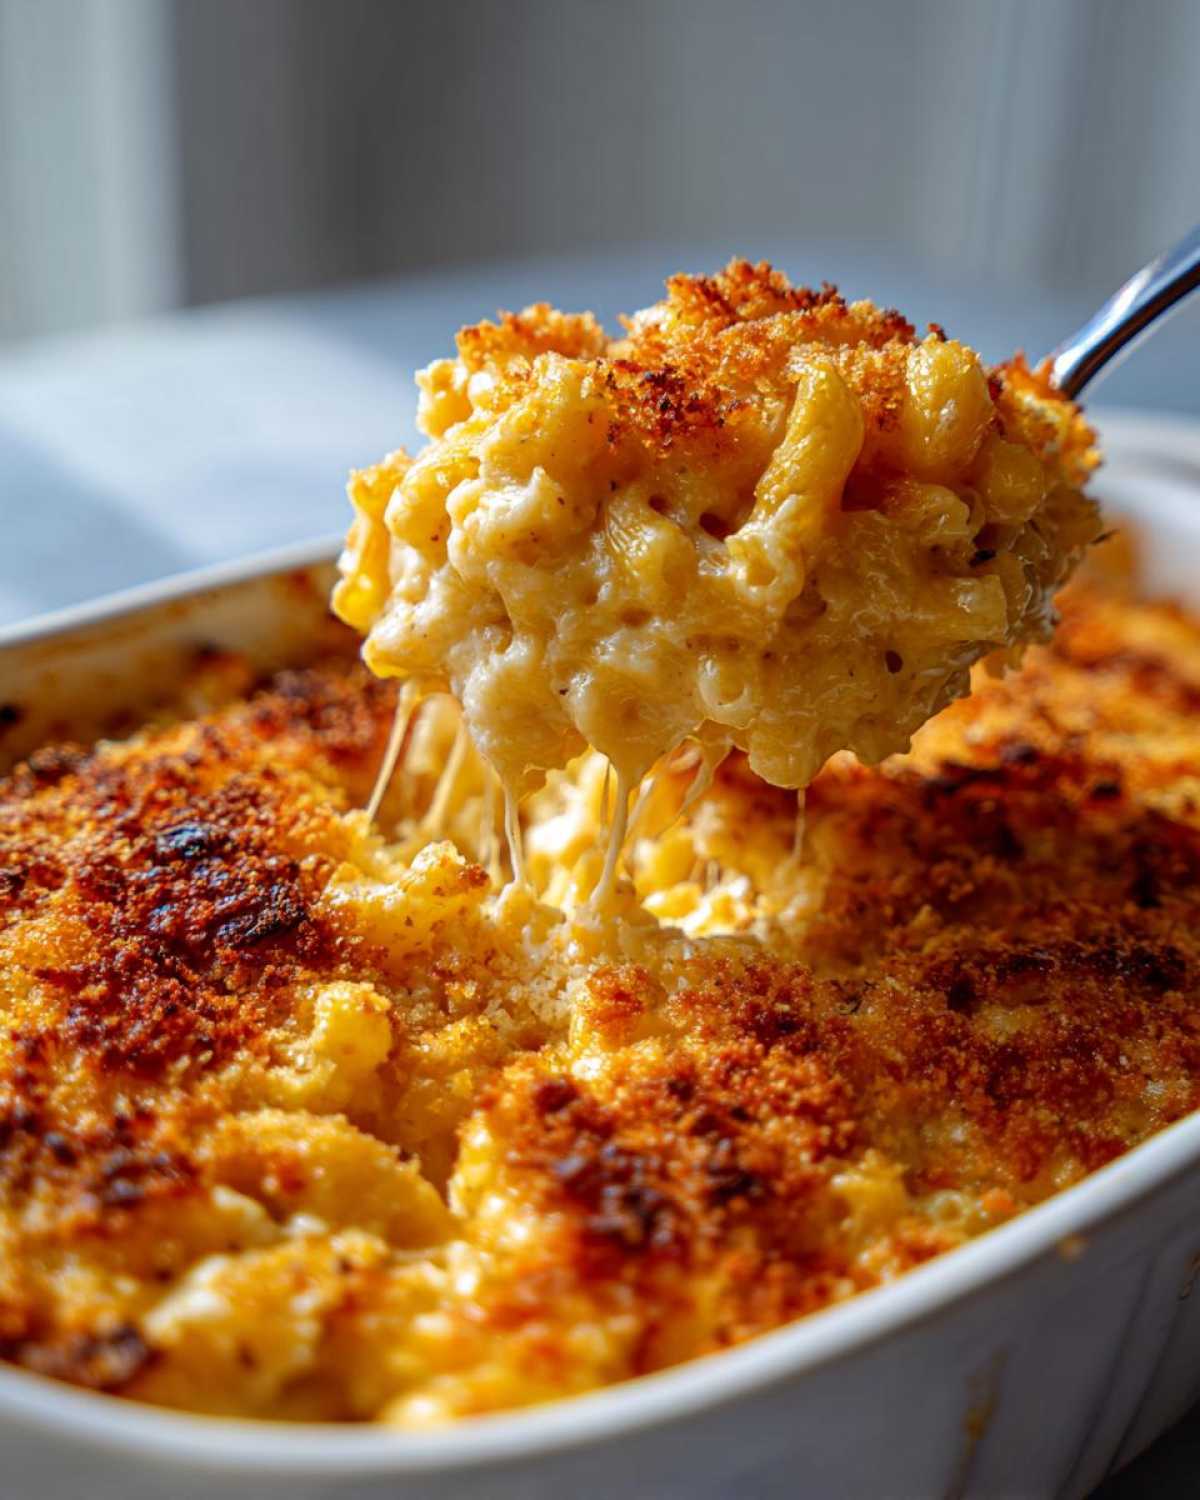
Foolproof Roux Based Cheese Sauce Technique
The absolute key to success is starting with a proper Roux Based Cheese Sauce. Don’t let the French term scare you! It’s just butter and flour cooked together first, and it acts like glue for your sauce. By cooking the flour out, you eliminate that raw, pasty taste, and it ensures that when the milk goes in, it thickens beautifully and evenly. This process guarantees an impossibly creamy result that won’t break or get grainy when baked!
The Perfect Blend for Rich Baked Mac and Cheese Flavor
You can’t just rely on cheddar, darling. A great baked mac and cheese needs layers of flavor! We use a trio here: Sharp Cheddar for that classic tang, Gruyere for a nutty depth that melts like a dream, and Monterey Jack because it’s the ultimate smooth melter. This combination ensures your baked mac and cheese is complex but still deeply satisfying.
Ingredients for Your Creamy Baked Mac and Cheese
Okay, let’s talk about what goes into this masterpiece! Remember what I always say: simple ingredients handled the right way make the magic happen. You’ll be happy to know this doesn’t require a trip to some specialty store, but there is one non-negotiable rule, and I’ll tell you right now—you must shred your own cheese!
Pre-shredded cheese is coated in stuff to keep it from clumping in the bag, but that “stuff” stops your beautiful roux from becoming smooth. I learned that the hard way, and nobody wants gritty cheese sauce! If you want that gorgeous, silky finish, please grab blocks of cheese and shred them yourself. Now, gather your supplies! If you need inspiration for making other silky sauces, you might enjoy looking at my easy homemade alfredo sauce recipe!
- 1 pound elbow macaroni (the foundation!)
- 6 tablespoons unsalted butter (for building the roux, trust me)
- 1/2 cup all-purpose flour
- 4 cups whole milk, warmed (warming it up helps prevent lumps, a big tip!)
- 1 teaspoon salt
- 1/2 teaspoon black pepper
- 1/4 teaspoon nutmeg (don’t skip this; it’s a secret warmth provider)
- 1/4 teaspoon cayenne pepper (just a whisper for depth, not heat)
- 8 ounces sharp cheddar cheese, freshly shredded
- 4 ounces Gruyere cheese, freshly shredded
- 4 ounces Monterey Jack cheese, freshly shredded
- 1 cup Panko breadcrumbs (these make the crunch fantastic)
- 2 tablespoons melted butter (for coating those lovely Panko crumbs)
How to Prepare the Best Mac and Cheese Casserole
Now we get to the fun part! Turning those gorgeous ingredients into the actual dish you’ll be dreaming about later. This whole process takes us from Stovetop to Oven Pasta in under 45 minutes, which is frankly amazing for how rich this turns out. It’s all about sequencing. We race through the pasta while building the sauce, so everything hits the oven at the right time.
Cooking the Pasta for Perfect Baked Mac and Cheese
First things first, get that noodle water boiling! Cook your elbow macaroni according to the package directions, but listen closely—drain it when it’s just shy of done. We are talking al dente, maybe even a minute less than the box says. Why? Because it’s going to finish cooking in that luxurious cheese sauce in the oven. If you cook it soft now, it’ll turn into mush later. Drain it well and set it aside while we make the heart of the dish.
Making the Foolproof Roux Based Cheese Sauce
Grab your biggest saucepan! Over medium heat, melt your 6 tablespoons of butter. Once it’s shimmering, whisk in that flour right away. That’s your roux, and you need to whisk it constantly for a full minute. This cooks out the raw flour taste. Then, here’s the important part: slowly whisk in that warm milk, a little at a time so lumps don’t form. Keep stirring gently until the mixture clings nicely to the back of a spoon. It should take about 5 to 7 minutes to reach that perfect coating thickness. Don’t let it boil hard, just simmer gently.
Combining and Topping Your Baked Mac and Cheese
Take the sauce completely off the heat before you add the cheese—this prevents it from separating! Add your sharp cheddar, Gruyere, and Jack in handfuls, stirring gently until every bit melts smooth before adding the next batch. Once it’s silky, fold in the cooked pasta until every noodle is glistening. Now for the crunch! Toss those Panko breadcrumbs with the 2 tablespoons of melted butter and sprinkle them evenly over the top of your creamy base in the prepared dish. Don’t push them down; we want them loose and crispy!
Baking and Resting the Cheesy Baked Pasta
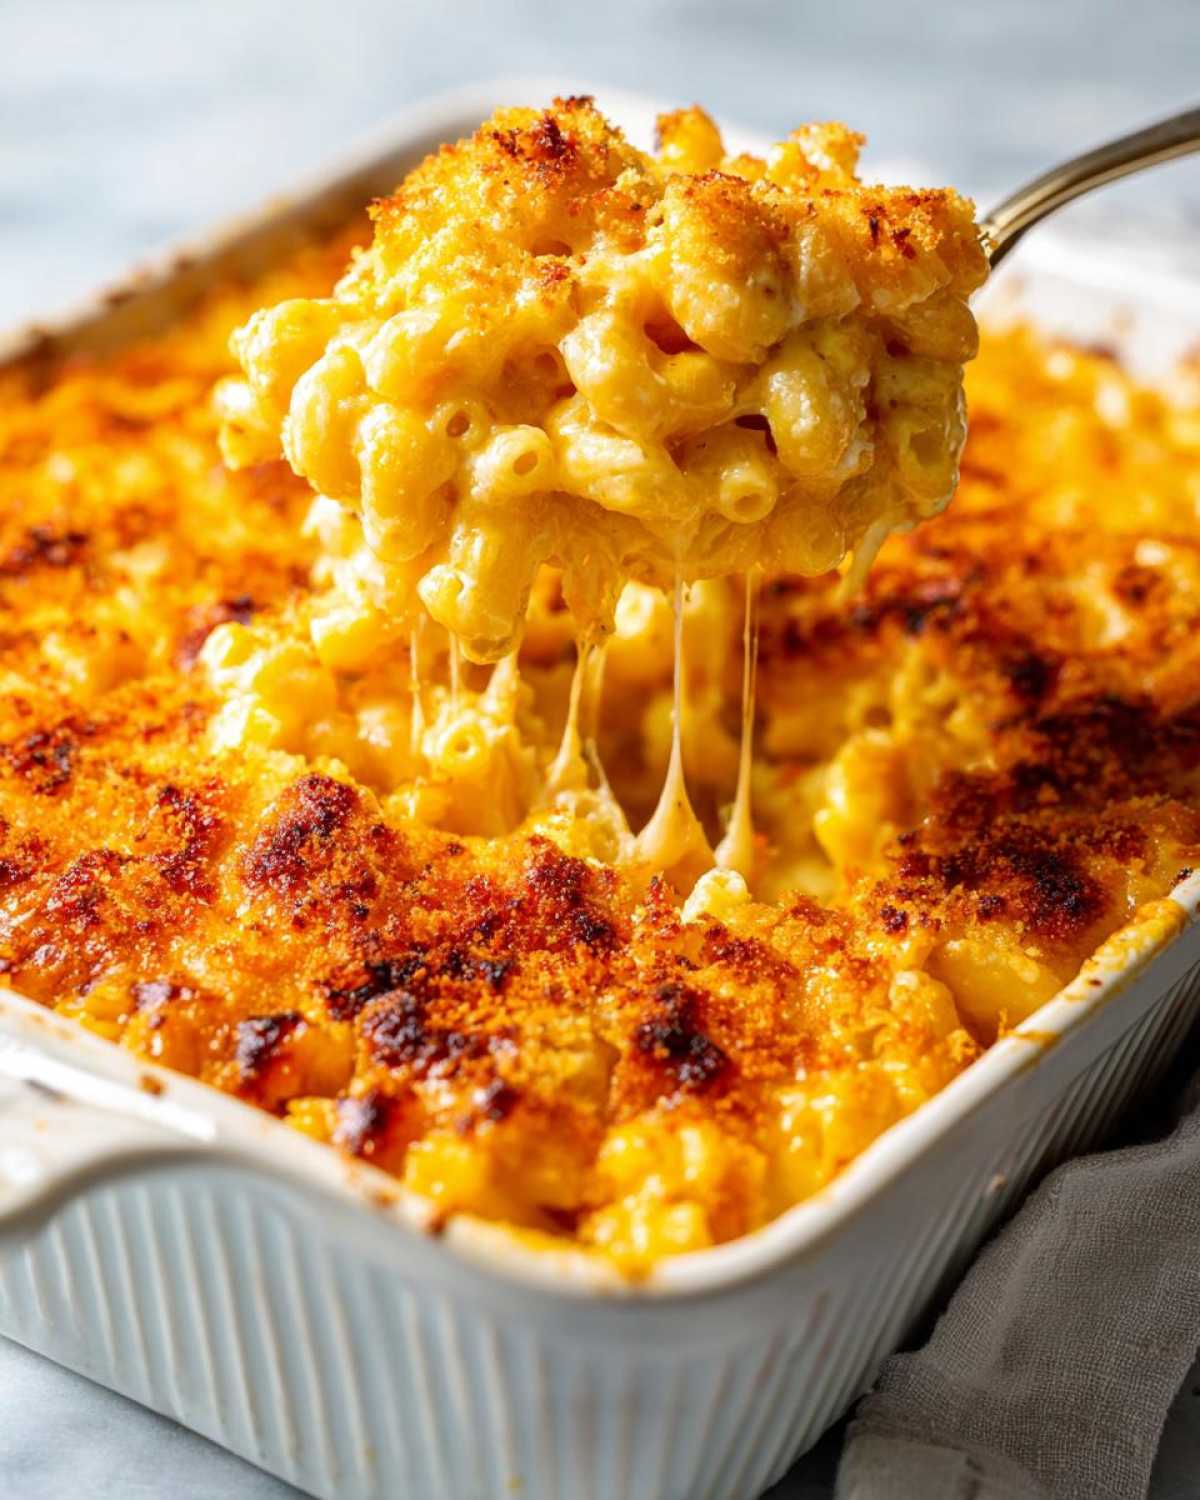
Slide that beauty into your preheated 375°F oven. Bake it for about 20 to 25 minutes. You’re looking for two things: the sauce should be bubbling enthusiastically around the edges, and that Panko topping should be deep golden brown. This is the hardest part, but you must resist cutting into it immediately! Let the cheesy baked pasta rest on the counter for a full five minutes. This resting time allows the sauce to set up just a tiny bit, making sure your slices hold their shape perfectly without running everywhere. Dig in and enjoy the best casserole you’ve ever made!
If you’re looking for other amazing baked goods to try out, you absolutely have to attempt this easy Italian bread recipe; the crust comes out exactly right!
Tips for Achieving Next-Level Creamy Baked Mac and Cheese
I’ve got a few little secrets pulled straight from my years of testing, which are basically just expansions on what Grandma swore by. These aren’t optional if you want that restaurant-quality texture. I mean, we’ve already covered the roux, but the details around the fat and the cheese are what separate the good mac and cheese from the truly legendary stuff. You’ll also want to see my tips on the best moist carrot cake recipe if you want to see similar science applied to baking!
If you follow these three rules, you will never have grainy sauce or dry pasta again. Promise!
Rule One: Shred Your Own Cheese, Seriously.
I mentioned this before, but I’m hammering it home because it is so often ignored! Pre-shredded cheese comes dusted with cellulose or potato starch to keep it from sticking together in the bag. When that dust hits your wonderfully hot but gentle cheese sauce base, it doesn’t melt right. It just sits there as little gritty particles floating instead of emulsifying smoothly. I learned the hard way that going the block route is the only way to ensure that smooth, glossy coat we are aiming for in our creamy baked mac and cheese.
Rule Two: The Milk Needs a Gentle Warm-Up.
Don’t shock your roux! When you introduce cold milk to that warm flour and butter mixture, the temperature drops too fast, and you get lumps faster than you can whisk. I learned this trick from an old culinary school textbook. Just pop your whole milk in the microwave for about 45 seconds until it’s warm to the touch—not hot, just warm. Then, add the warm milk to the roux slowly, whisking constantly. It absorbs the fat base much more calmly, and you end up with a sauce that flows like silk instead of clumping up like cement.
Rule Three: The Cheese Goes Off Heat. Always.
This is the biggest game-changer for those worried about graininess. As soon as the thickened sauce is off the burner, *then* you start adding your shredded cheeses in batches. If you try to melt the cheese over direct heat, the protein in the cheese tightens up too fast, squeezing out all the delicious fat, which leaves you with that awful, oily, grainy texture. Taking it off the heat allows the residual warmth to melt everything gently, keeping all that gorgeous fat suspended beautifully in the sauce. That residual melt is pure velvety gold!
Making Easy Baked Macaroni Variations
Once you master the base recipe for the Best Mac and Cheese Casserole, you can really start having some fun. Baking macaroni isn’t just for holidays anymore; this is so easy it fits right into a Tuesday night dinner rotation! But I love having a few tricks up my sleeve to jazz things up when I’m feeling fancy or when I’m cooking for a crowd.
Sometimes you want that deep, smoky richness, and sometimes you want pure decadence. I put together a couple of ways I love to tweak this recipe based on my mood. If you enjoy that authentic Southern flavor, you might also want to check out my recipe for buttermilk pie—a classic old-fashioned Southern recipe that tastes like sunshine!
Southern Style Baked Mac and Cheese Additions
If you want to lean into that deep, slightly spicy, soulful vibe, a few simple additions take this straight to Southern Style Mac and Cheese territory. First, when you’re seasoning the sauce (right before adding the cheese), mix in about half a teaspoon of smoked paprika. It brings this really beautiful, warm background color and flavor that just *feels* like a Southern kitchen.
Also, don’t be afraid of a little kick! My Aunt Clara used to sneak in a small dash of Louisiana-style hot sauce right at the end. You won’t taste the vinegar, I promise, but it cuts through the richness perfectly and wakes everything up. It’s subtle, but mighty!
Gourmet Mac and Cheese Upgrades
Now if you’re having guests over and you want to transform this into a fancy side dish—or heck, a main course—you elevate it! This is where we step into Gourmet Mac and Cheese territory. My favorite thing to add? Caramelized onions! Slowly cook onions until they are deep brown and sweet, then fold them into the pasta mixture before topping.
For serious flavor bombs, try adding thick chunks of crispy cooked bacon right into the mix. Or, if you’re feeling really decadent for a holiday table, make the basic sauce and then stir in just a tiny drizzle of truffle oil right before pouring it into the baking dish. It makes the whole house smell like a five-star restaurant. That little bit of earthy richness makes this cheesy baked pasta dish unforgettable!
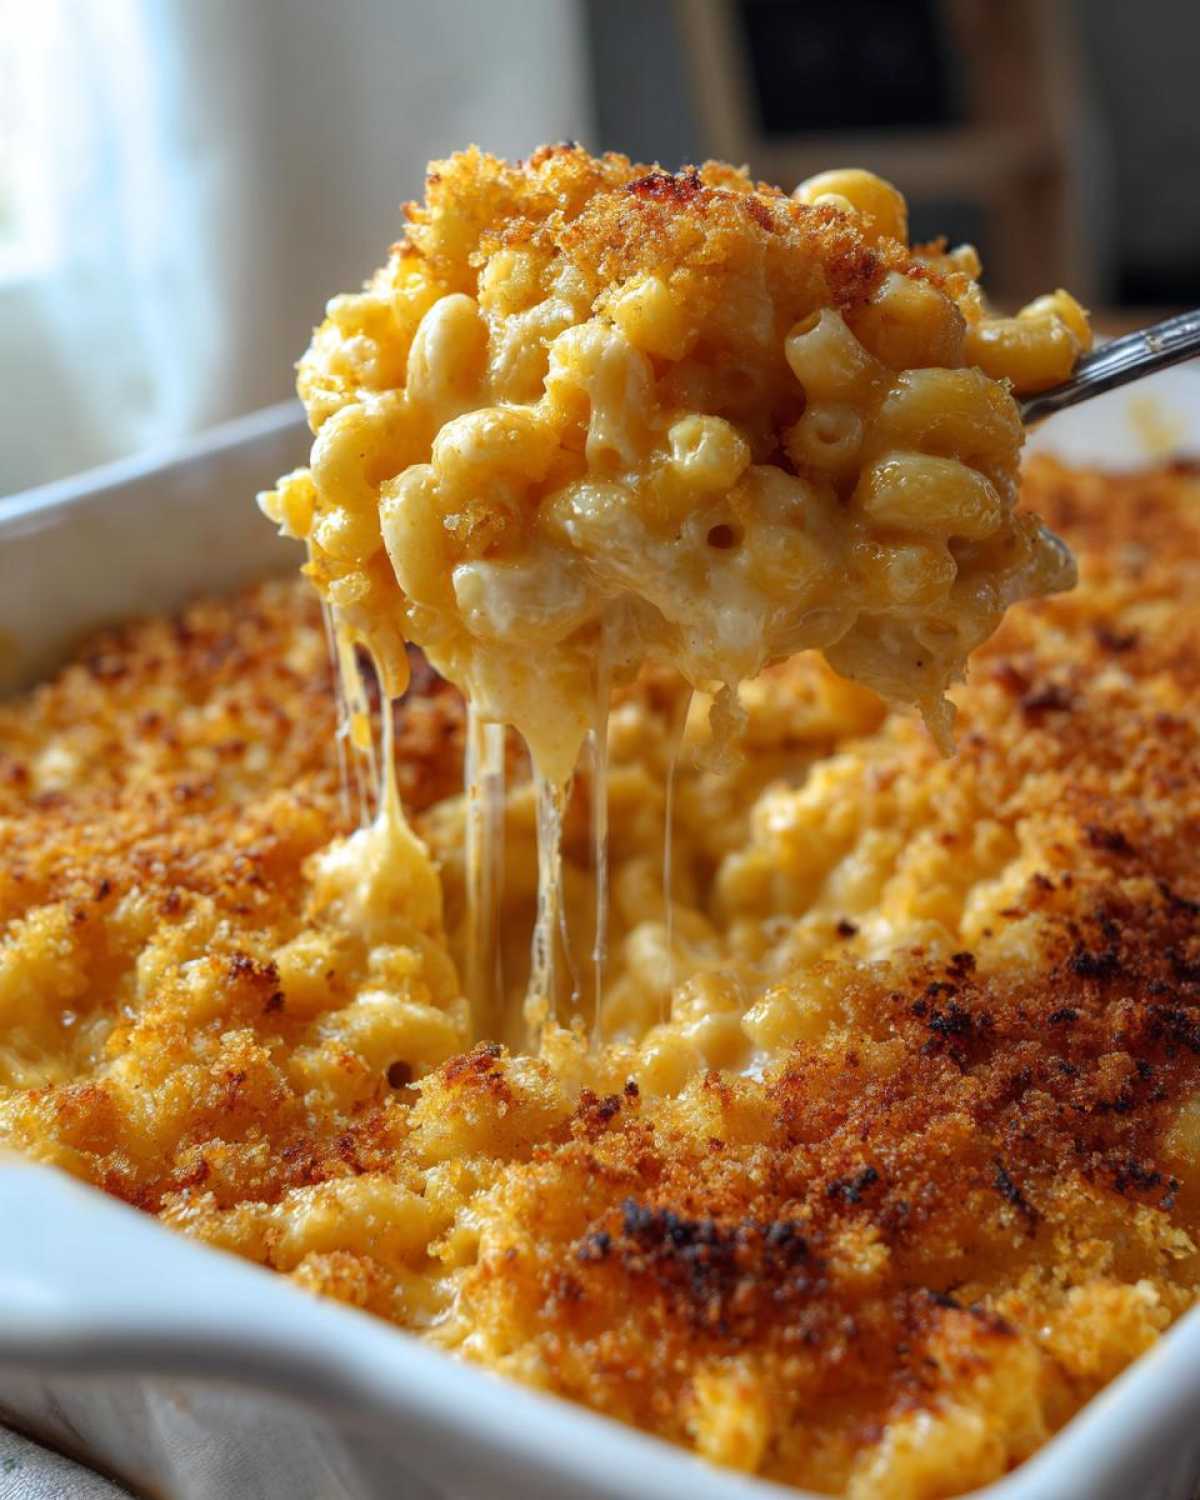
Serving Suggestions for Your Homemade Baked Pasta
This baked mac and cheese is so incredibly rich and hearty that it really demands something on the plate to cut through all that goodness, you know? It’s the ultimate indulgent centerpiece for any meal, but to make it a truly satisfying plate—especially when feeding the whole family—you need contrast in texture and flavor. That’s where smart sides come in!
When I’m planning out Family Dinner Ideas centered around this cheesy casserole, I always lean toward bright, fresh, or slightly acidic flavors. Think about it: a sharp, vinegary crunch next to creamy, salty cheese? Heaven!
You absolutely cannot go wrong with a simple, crisp green salad. I’m talking about mixed greens tossed with a vibrant Dijon vinaigrette or maybe even a quick squeeze of fresh lemon juice. That little bit of acidity helps reset your palate between bites of the rich sauce. Keep the dressing light; we already have plenty of fat in the main dish!
For veggies, stick to things that roast up nicely and get a little bit of char. Roasted broccoli or Brussels sprouts are fantastic because the slight bitterness and char stand up beautifully to the cheddar and Gruyere. If you need a guaranteed winner that your kids will actually eat, try making my garlic parmesan roasted broccoli recipe; it’s always a huge hit alongside heavy comfort food like this.
If you’re serving this for a big holiday dinner where you need more structure, smoked pulled pork or some barbecue chicken offers a great savory counterpoint. But for a busy weeknight when you just need something fast, a side of steamed green beans finished with toasted almonds and a pinch of salt is all you need to round out this beautiful cheesy baked pasta experience.
Storing and Reheating Leftover Baked Mac and Cheese
Listen, if you manage to have leftovers of this Ultimate Creamy Baked Mac and Cheese, you deserve a medal, because it’s usually demolished in minutes! But just in case you’re lucky enough to save some, we need to handle leftovers carefully. The biggest enemy for stored mac and cheese is dryness, especially after it sits in the fridge because that sauce tightens up like a drum.
The good news is that thanks to that fantastic roux base, this recipe holds up better than almost any other I’ve tried. You can safely keep it in the refrigerator for about three to four days. Store it tightly covered in an airtight container. I always use the same 9×13 dish but cover it first with plastic wrap pressed right down onto the surface of the pasta, and then put the lid on top of that. That prevents that dry skin from forming when it chills.
The Best Way to Reheat Baked Mac and Cheese
If you want it to taste almost exactly as good as fresh—creamy and bubbly—you have to use the oven. Don’t even bother with the microwave unless you are starving and only heating up a tiny portion! The microwave heats unevenly and can turn those little pockets of sauce into cement.
When you reheat in the oven, you need to protect it. Place your serving (or the whole dish) in an oven-safe container and cover it tightly with foil. Here’s the real trick: before you put the foil on, drizzle a tablespoon or two of whole milk or even a small pat of butter right over the top of the portion you’re reheating. That steamy environment created by the foil and the added liquid will bring the sauce right back to life!
Set your oven to a lower temperature—around 325 degrees Fahrenheit—and let it warm through slowly for about 15 to 20 minutes. If you removed the foil to crisp the top a little bit near the end, great, but keep it covered for most of the reheating time.
Quick Microwave Fixes (When You’re in a Rush)
Okay, sometimes life is crazy, and you just need a bowl fast. If you’re microwaving a single portion, place it in a microwave-safe bowl. Before you zap it, stir in just a tiny splash of milk—maybe a teaspoon to start. Stir it well after about 45 seconds. Keep heating in short 30-second bursts, stirring between each one. The stirring mixes the milk into the tightened sauce, helping it loosen up. It won’t have that perfect golden crust, but it will definitely satisfy that cheesy craving!
Frequently Asked Questions About Baked Mac and Cheese
It’s totally normal to have questions when you’re talking about something as important as the ultimate comfort food! People always ask me about the texture and timing, so I put the most common ones right here so you can get that perfect dish without stressing. If you’re looking for more cozy dinner inspiration after conquering this casserole, you’ve got to see my chicken noodle soup recipe; that’s pure nostalgia in a bowl!
Can I make this Creamy Baked Mac and Cheese ahead of time?
Yes, you absolutely can! And honestly, it’s a lifesaver for holidays or big gatherings. The best way is to fully assemble the dish—mix the pasta and sauce, put it in the casserole dish, and top it with the breadcrumbs—but *don’t bake it*. Cover the whole thing tightly with plastic wrap and foil and store it in the fridge for up to 24 hours. When you’re ready to bake, take it out about 30 minutes before you want to put it in the oven just to let it take the chill off a little bit. You might need to add an extra 5 to 10 minutes to the total bake time since it’s colder going in, but the results are still fantastic!
What is the secret to No Dry Baked Mac and Cheese?
I know, I know, it seems like a myth sometimes, but it’s all about the sauce consistency right before it goes into the oven. The secret is twofold: first, use whole milk. Low-fat milk doesn’t have enough fat content to create that stable emulsion when combined with the cheese, leading to separation and dryness during baking. Second, remember when I said the sauce needs to thickly coat the back of a spoon? When you add the pasta, the sauce should look almost *too* loose, like it’s soupy because the noodles will soak up a surprising amount of liquid as they bake! If the sauce looks perfect and slightly thick on the stovetop, it will absolutely bake up dry.
Share Your Ultimate Comfort Food Experience
So, that’s it—my complete guide to creating the most unbelievably creamy, crunchy, perfect baked mac and cheese you’ve ever had the pleasure of eating. I really hope you love this recipe as much as my family does! It’s such a staple for us, whether it’s just Tuesday night or we’re serving it as the star Holiday Side Dish.
Now, I truly want to hear from you! Making food should always be a conversation. Did you try the Gruyere? Did you use bacon like I suggested in one of the gourmet variations? Tell me everything in the comments below! I read every single one, and your feedback helps me keep making sure these recipes are the absolute best we can offer.
If you tried this homemade baked pasta and it lived up to the hype, please give it a star rating above the comments section. It helps other people find this recipe when they’re hunting for the perfect cheesy bake!
If you snap a picture of your golden, bubbly casserole—and you absolutely should, because mine always looks amazing—tag me on social media! I love seeing your beautiful results. And hey, if you need another crowd-pleasing stunner for your next get-together, you’ve got to check out my recipe for the foolproof seven-layer dip. It always disappears first!
Happy baking!
PrintUltimate Creamy Baked Mac and Cheese with Crunchy Panko Topping

A recipe for rich, creamy baked macaroni and cheese featuring a blend of sharp cheeses and a crisp breadcrumb topping.
- Prep Time: 15 min
- Cook Time: 30 min
- Total Time: 45 min
- Yield: 8 servings
- Category: Casserole
- Method: Baking
- Cuisine: American
- Diet: Vegetarian
Ingredients
- 1 pound elbow macaroni
- 6 tablespoons unsalted butter
- 1/2 cup all-purpose flour
- 4 cups whole milk, warmed
- 1 teaspoon salt
- 1/2 teaspoon black pepper
- 1/4 teaspoon nutmeg
- 1/4 teaspoon cayenne pepper
- 8 ounces sharp cheddar cheese, shredded
- 4 ounces Gruyere cheese, shredded
- 4 ounces Monterey Jack cheese, shredded
- 1 cup Panko breadcrumbs
- 2 tablespoons melted butter (for topping)
Instructions
- Preheat your oven to 375 degrees Fahrenheit. Grease a 9×13 inch baking dish.
- Cook the macaroni according to package directions until al dente. Drain well and set aside.
- While the pasta cooks, prepare the cheese sauce. Melt 6 tablespoons of butter in a large saucepan over medium heat.
- Whisk in the flour and cook for 1 minute, stirring constantly to form a roux.
- Gradually whisk in the warm milk until the mixture is smooth. Continue cooking, stirring often, until the sauce thickens enough to coat the back of a spoon, about 5 to 7 minutes. Do not let it boil rapidly.
- Remove the saucepan from the heat. Stir in the salt, pepper, nutmeg, and cayenne pepper.
- Add the shredded cheddar, Gruyere, and Monterey Jack cheeses to the sauce in handfuls, stirring until each addition is completely melted and smooth before adding the next. Taste and adjust seasoning if needed.
- Add the cooked, drained macaroni to the cheese sauce and stir gently until all the pasta is evenly coated.
- Pour the mixture into the prepared baking dish.
- In a small bowl, toss the Panko breadcrumbs with 2 tablespoons of melted butter. Sprinkle the breadcrumbs evenly over the top of the macaroni and cheese.
- Bake for 20 to 25 minutes, or until the sauce is bubbly and the topping is golden brown and crisp.
- Let the mac and cheese rest for 5 minutes before serving.
Notes
- Shred your own cheese from blocks; pre-shredded cheese contains anti-caking agents that can make your sauce grainy.
- Warming the milk slightly before adding it to the roux helps prevent lumps in the sauce.
- For a deeper cheese flavor, reserve about 1/2 cup of the shredded cheese and stir it in after removing the sauce from the heat.
Nutrition
- Serving Size: 1 serving
- Calories: 550
- Sugar: 6
- Sodium: 650
- Fat: 35
- Saturated Fat: 20
- Unsaturated Fat: 15
- Trans Fat: 1
- Carbohydrates: 40
- Fiber: 2
- Protein: 25
- Cholesterol: 95