


Welcome to Whisk Daily: Making the BEST Creamy & Easy Homemade Chocolate Pudding
Hello friends! I’m Amaya, and I’m thrilled you stopped by our kitchen.
Kenji and I believe few things beat a truly great dessert.
That’s why we are sharing our absolute favorite recipe.
This is truly the best chocolate pudding you will ever taste.
Forget those dry boxed mixes, please!
We perfected this creamy, easy homemade chocolate pudding over many years.
After moving from Kyoto to NYC, sharing comfort food feels even more important.
We want to bring that warmth right to your table.
Get ready for rich, silky perfection.
It’s simple, I promise you that.
Why This Homemade chocolate pudding Recipe Wins
Why bother making pudding from scratch?
Simple: the taste difference is huge.
Boxed mixes just can’t touch this flavor depth.
We use real cocoa and butter here.
This creates an incredibly luxurious mouthfeel.
You get that desired creamy pudding texture easily.
It truly tastes like a decadent treat.
Yet, it’s surprisingly quick to put together.
You control every single ingredient.
That’s the joy of making things yourself.
This recipe hits that sweet spot perfectly.

Quick Prep, Ultimate Comfort
This recipe is designed for busy cooks like us.
It offers big flavor fast.
- Prep takes just ten minutes total.
- The flavor is deep and satisfying.
- It’s pure, comforting nostalgia.
- You get a silky smooth result.
It’s the perfect simple dessert after dinner.
You won’t believe how fast it comes together.
Ingredients for Rich chocolate pudding
Gathering your ingredients is the first step.
Having everything ready helps everything flow smoothly.
I always lay mine out on the counter first.
This makes sure I don’t miss a thing.
We need just a few simple pantry staples here.
They combine for amazing flavor, trust me.
For the best result, please use whole milk.
It gives the pudding its rich body.
Here is exactly what you need for four servings:
- 1/4 cup unsweetened cocoa powder
- 1/2 cup granulated sugar
- 1/4 cup cornstarch for thickening
- 1/4 teaspoon salt to balance the sweet
- 2 cups whole milk, no substitutes here please
- 2 large egg yolks, separated carefully
- 2 tablespoons unsalted butter, cut into pieces
- 1 teaspoon pure vanilla extract
Using high-quality cocoa makes a huge difference.
It deepens that beautiful chocolate color.
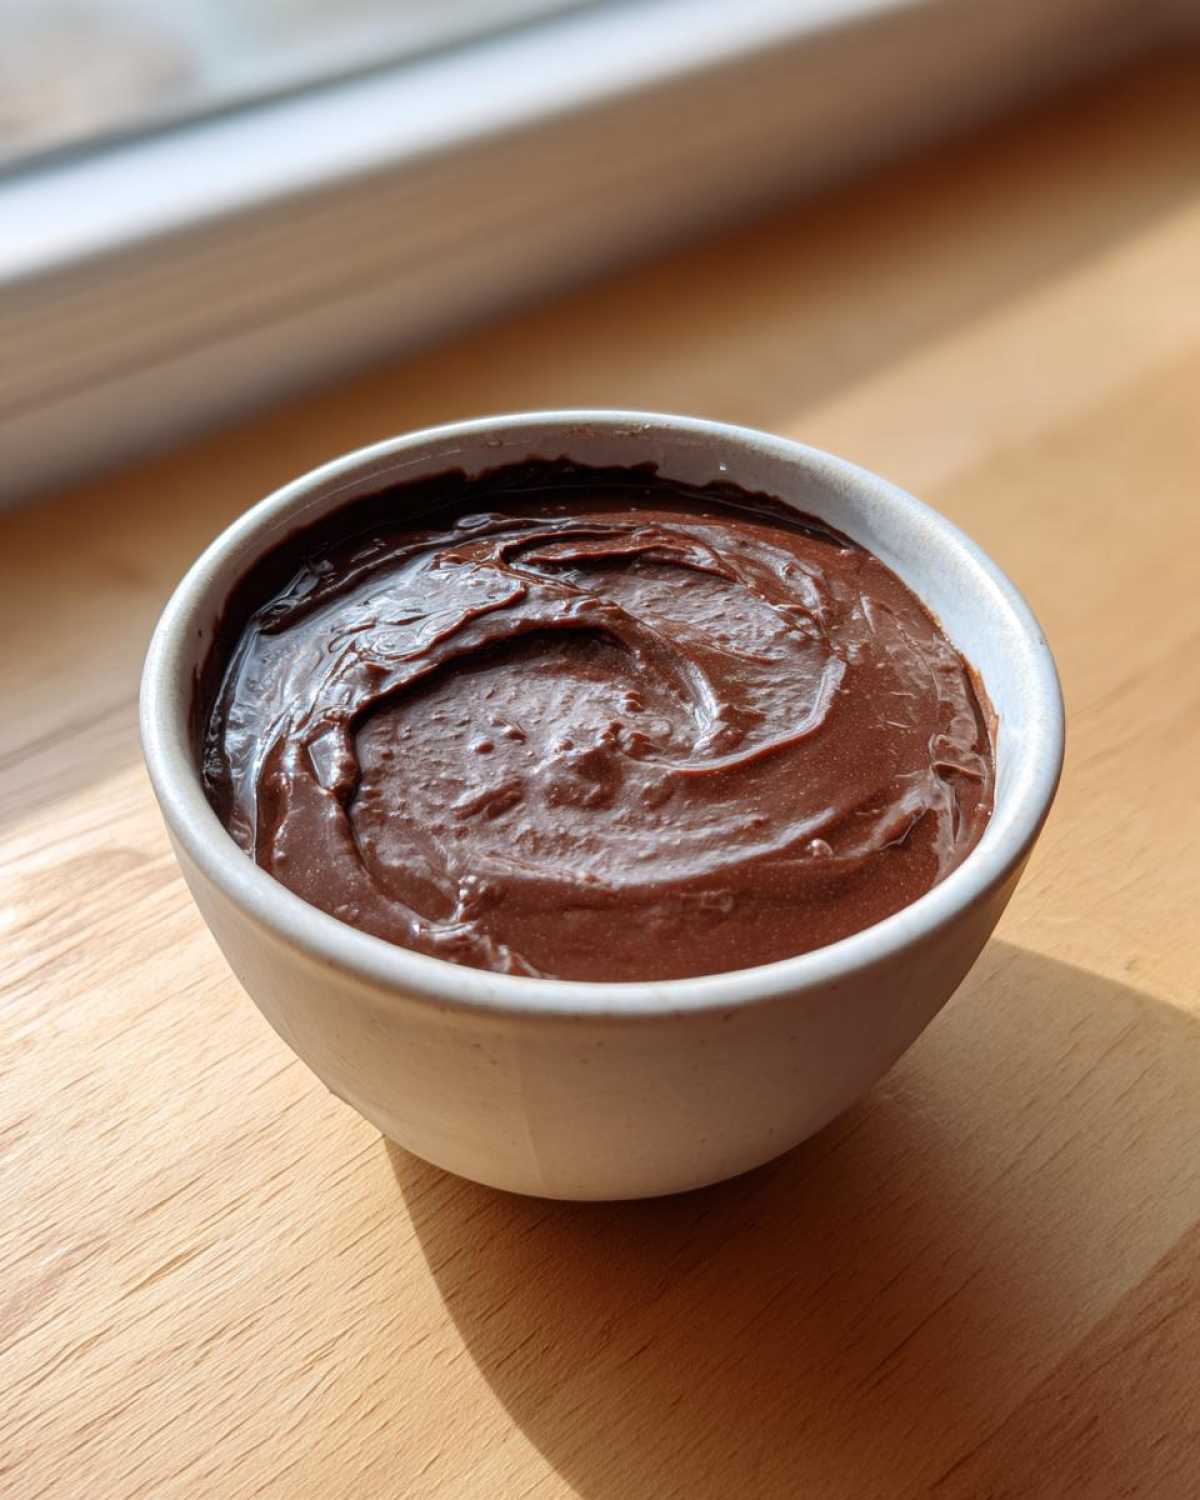
Essential Equipment List
You don’t need fancy gadgets for this dessert.
My kitchen tools are simple and reliable.
These basics help you achieve that creamy pudding.
Make sure you have these items ready to go:
- A medium saucepan for cooking.
- A good whisk to avoid lumps.
- A rubber spatula for scraping sides.
- Small bowls for separating ingredients.
- Plastic wrap for chilling properly.
Having these things handy makes cooking fun.
Step-by-Step Instructions for Perfect chocolate pudding
Now we get to the fun part!
Making this rich chocolate pudding is very straightforward.
Just follow these steps closely for success.
I’ll guide you through every crucial moment.
We want that silky smooth texture.
Let’s begin making this amazing stovetop dessert.
Combining Dry Ingredients and Milk
Grab your medium saucepan right now.
Whisk the cocoa powder, sugar, cornstarch, and salt together.
Make sure these dry items mix well first.
This prevents hidden pockets of starch later.
Next, slowly pour in the whole milk.
Whisk continuously as you pour the milk in slowly.
Keep whisking until the mixture looks completely smooth.
You should see absolutely no dry lumps remaining.
Cooking to the Right Thickness
Set your stovetop to medium heat now.
You must stir this constantly with your whisk.
Do not walk away from the stove area.
The mixture will start to get hot quickly.
Cook it for about five to eight minutes.
You’ll know it’s ready when it thickens a lot.
Look for the moment it just starts to bubble on top.
This signals the starch has activated fully.

Tempering Egg Yolks Safely
This next part is super important, listen closely.
We need to protect those delicate egg yolks.
Lightly whisk your two egg yolks in a small bowl.
Now, scoop about half a cup of the hot pudding.
Drizzle that hot liquid very slowly into the yolks.
Whisk the yolks the entire time you pour slowly.
This gently raises the yolk temperature, see?
Then, pour that warmed yolk mixture back into the pan.
Stir well over low heat for one more minute.
Never let it boil after the yolks go in!
Finishing and Chilling Your chocolate pudding
Take the saucepan right off the hot burner.
Stir in the butter pieces until they melt fully.
Then, mix in the vanilla extract until smooth.
Your amazing homemade pudding is nearly done.
Pour it into your serving bowls immediately.
Here’s the secret tip for no skin:
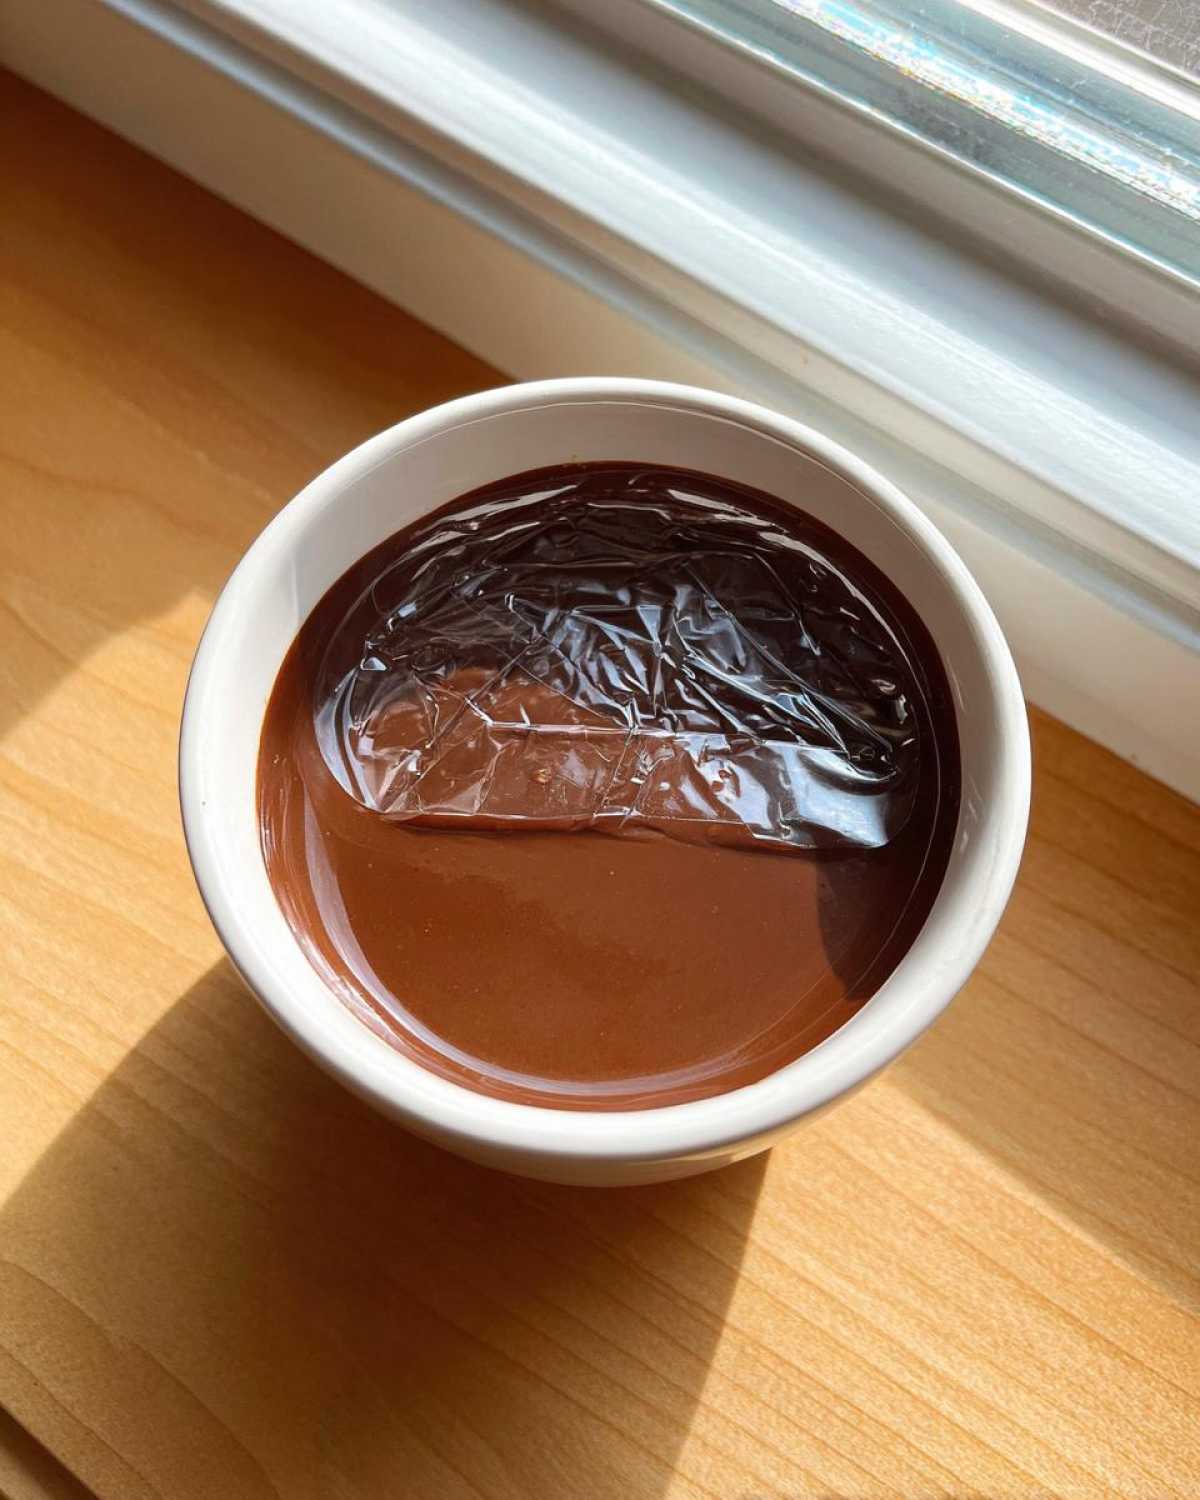
Press plastic wrap directly onto the pudding surface.
This keeps the air from drying it out.
Chill everything in the fridge for two hours minimum.
It needs time to set up perfectly cold.
Tips for the Smoothest chocolate pudding
Achieving that perfect, silky texture takes just a little know-how.
I learned these tricks over many kitchen attempts.
First, focus on your cocoa choice.
Using high-quality dark cocoa powder really deepens the flavor profile.
It gives your final product a beautiful, rich look.
Technique matters when thickening, too.
If you want a slightly thinner result than ours,
just reduce the cornstarch by one teaspoon.
Remember that tempering step we discussed?
Always temper those egg yolks slowly.
This simple action stops curdling dead in its tracks.
It’s the key to truly creamy pudding.
Storing and Reheating Your Homemade Dessert
This fresh dessert tastes best when served cold.
Keep your pudding covered tightly in the fridge.
It stays wonderfully fresh for about four days.
Always use that plastic wrap trick we mentioned.
Press it right onto the surface for best results.
Reheating is possible, but be gentle.
Whisk a splash of milk into a small portion.
Warm it slowly over very low heat.
Stir until just warm, not hot.
Frequently Asked Questions About chocolate pudding
I know you might have a few lingering questions.
Cooking from scratch always brings up new ideas.
Here are some common things readers ask me.
Can I make this recipe vegan?
That’s a great question for an easy dessert!
You can substitute the whole milk easily.
Use a rich, unsweetened plant milk instead.
Oat or soy milk works best for richness.
Skip the egg yolks and increase cornstarch slightly.
How do I guarantee a super creamy pudding texture?
Texture is everything for homemade pudding.
My biggest tip for creamy pudding is constant stirring.
Keep that whisk moving when it cooks.
Also, don’t skip the butter after removing it from heat.
The fat content really smooths everything out.
My pudding is too thick after chilling. What happened?
That usually means too much cornstarch was used.
Next time, measure your cornstarch carefully.
If it’s too thick now, just whisk in a tiny bit of cold milk.
Do this until you reach your preferred consistency.
It will loosen up nicely when stirred.
Sharing Your Experience with Our Recipe
We truly hope you loved making this dessert.
Kenji and I cherish hearing from you all.
Our kitchen feels complete when you share results.
Did this recipe bring comfort to your family?
Tell us how your chocolate pudding turned out.
Did you try any fun variations this time?
Please leave a rating for us below.
Five stars means the world to us!
Also, drop any questions in the comments section.
We read every single comment personally.
Happy cooking, my friends!
PrintBEST creamy chocolate pudding: 5 terrific steps

Make the best creamy and easy homemade chocolate pudding from scratch. This recipe delivers a rich, silky texture that beats any store-bought mix.
- Prep Time: 10 minutes
- Cook Time: 10 minutes
- Total Time: 2 hours 10 minutes
- Yield: 4 servings
- Category: Dessert
- Method: Stovetop
- Cuisine: American
- Diet: Vegetarian
Ingredients
- 1/4 cup unsweetened cocoa powder
- 1/2 cup granulated sugar
- 1/4 cup cornstarch
- 1/4 teaspoon salt
- 2 cups whole milk
- 2 large egg yolks
- 2 tablespoons unsalted butter
- 1 teaspoon vanilla extract
Instructions
- In a medium saucepan, whisk together the cocoa powder, sugar, cornstarch, and salt.
- Gradually whisk in the milk until the mixture is smooth and there are no lumps.
- Place the saucepan over medium heat. Cook, stirring constantly with a wooden spoon or whisk, until the mixture thickens significantly and just begins to boil. This takes about 5 to 8 minutes.
- Reduce the heat to low. In a small bowl, lightly whisk the egg yolks. Slowly temper the yolks by whisking about 1/2 cup of the hot pudding mixture into the yolks.
- Pour the tempered yolk mixture back into the saucepan. Continue to cook over low heat, stirring constantly, for 1 more minute. Do not let it boil after adding the yolks.
- Remove the saucepan from the heat. Stir in the butter and vanilla extract until fully combined and smooth.
- Pour the pudding into individual serving dishes or a single bowl. Press plastic wrap directly onto the surface of the pudding to prevent a skin from forming.
- Chill in the refrigerator for at least 2 hours, or until completely cold and set. Serve cold.
Notes
- For an extra rich flavor, use high-quality dark cocoa powder.
- If you prefer a thinner pudding, slightly reduce the cornstarch amount.
- Always temper the egg yolks to avoid scrambling them when adding them to the hot milk mixture.
Nutrition
- Serving Size: 1 serving
- Calories: 280
- Sugar: 35g
- Sodium: 150mg
- Fat: 13g
- Saturated Fat: 7g
- Unsaturated Fat: 6g
- Trans Fat: 0g
- Carbohydrates: 35g
- Fiber: 3g
- Protein: 8g
- Cholesterol: 95mg