

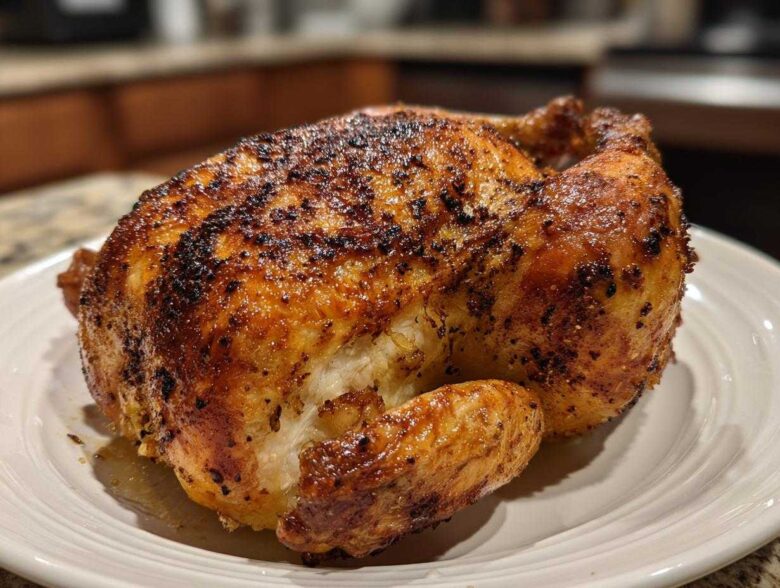
Oh, friend, let’s talk about the Everest of home cooking: the perfectly cooked whole chicken. I swear I spent years battling dry breasts and flabby skin. It felt like you either got unbelievably juicy meat OR skin that crackled when you touched it, but never both! Well, stop worrying right now, because I finally cracked the code. What I’m sharing with you today is my absolute favorite, fail-proof method—The Best Oven Roasted Whole Chicken with Crispy Skin. This technique has become my go-to for everything from busy weeknight dinners to that special, cozy Sunday roast. It’s simple, it’s reliable, and trust me, you will never buy a rotisserie chicken again!
Why This Oven Roasted Whole Chicken Recipe Delivers Juicy Meat and Crispy Skin
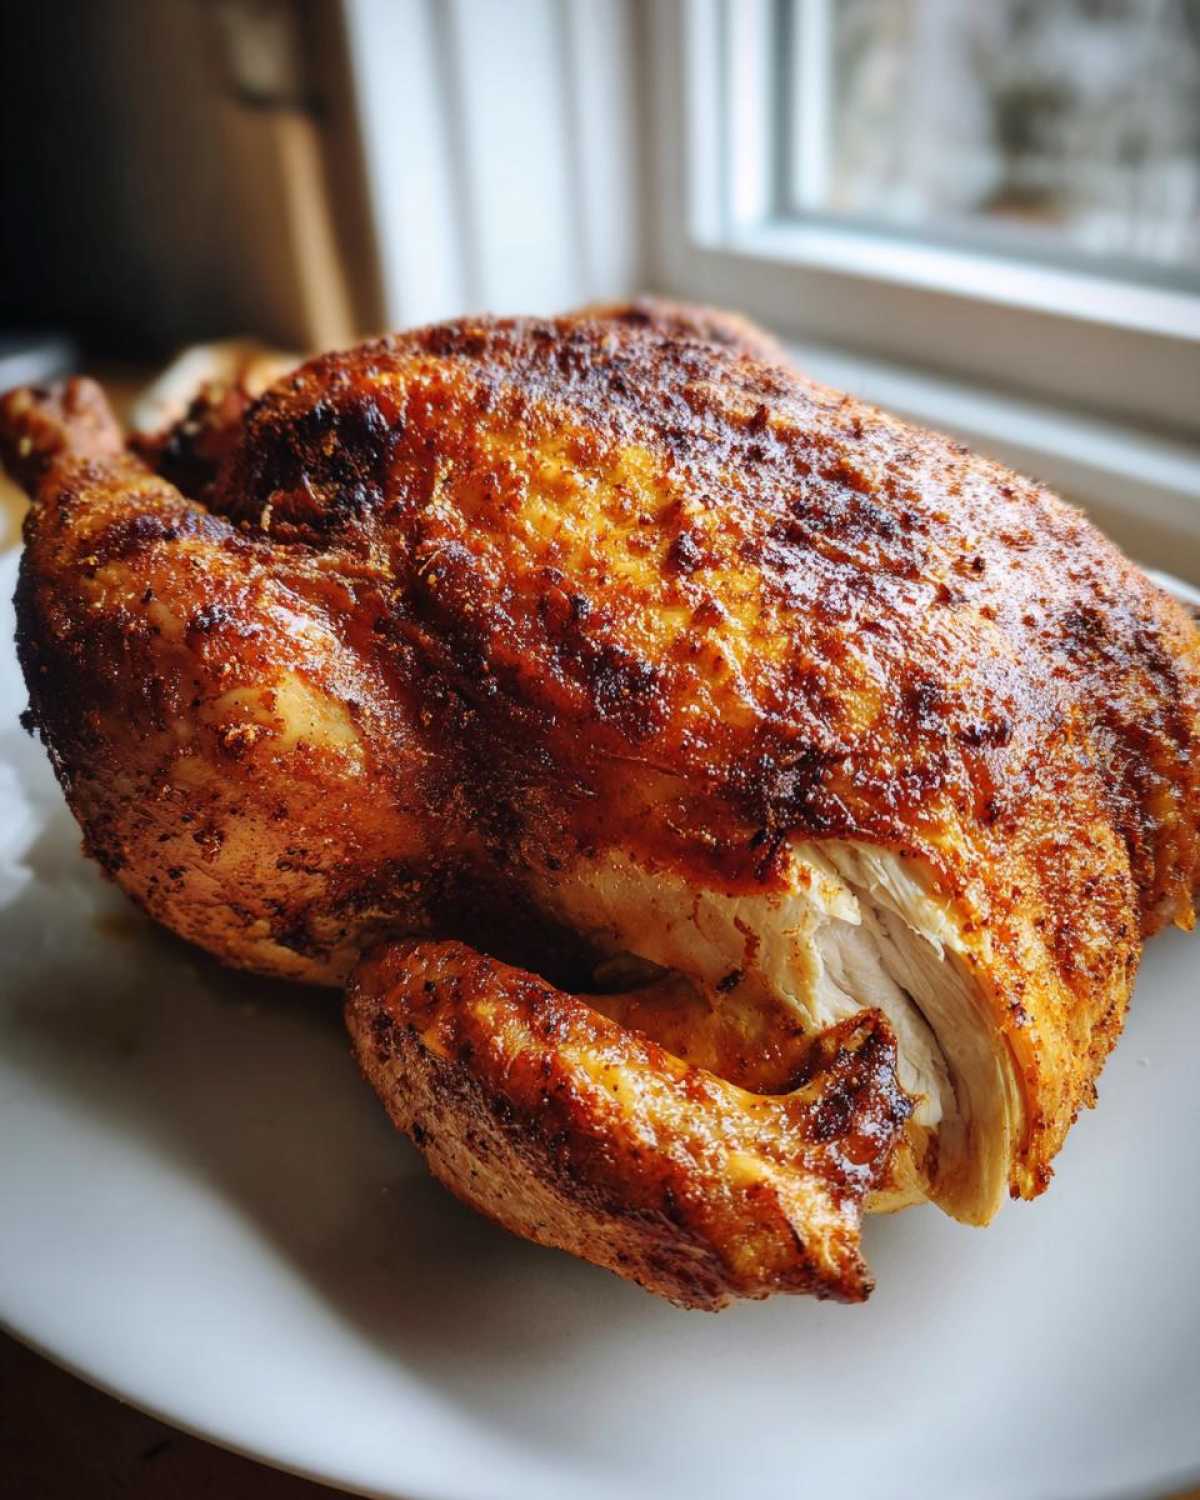
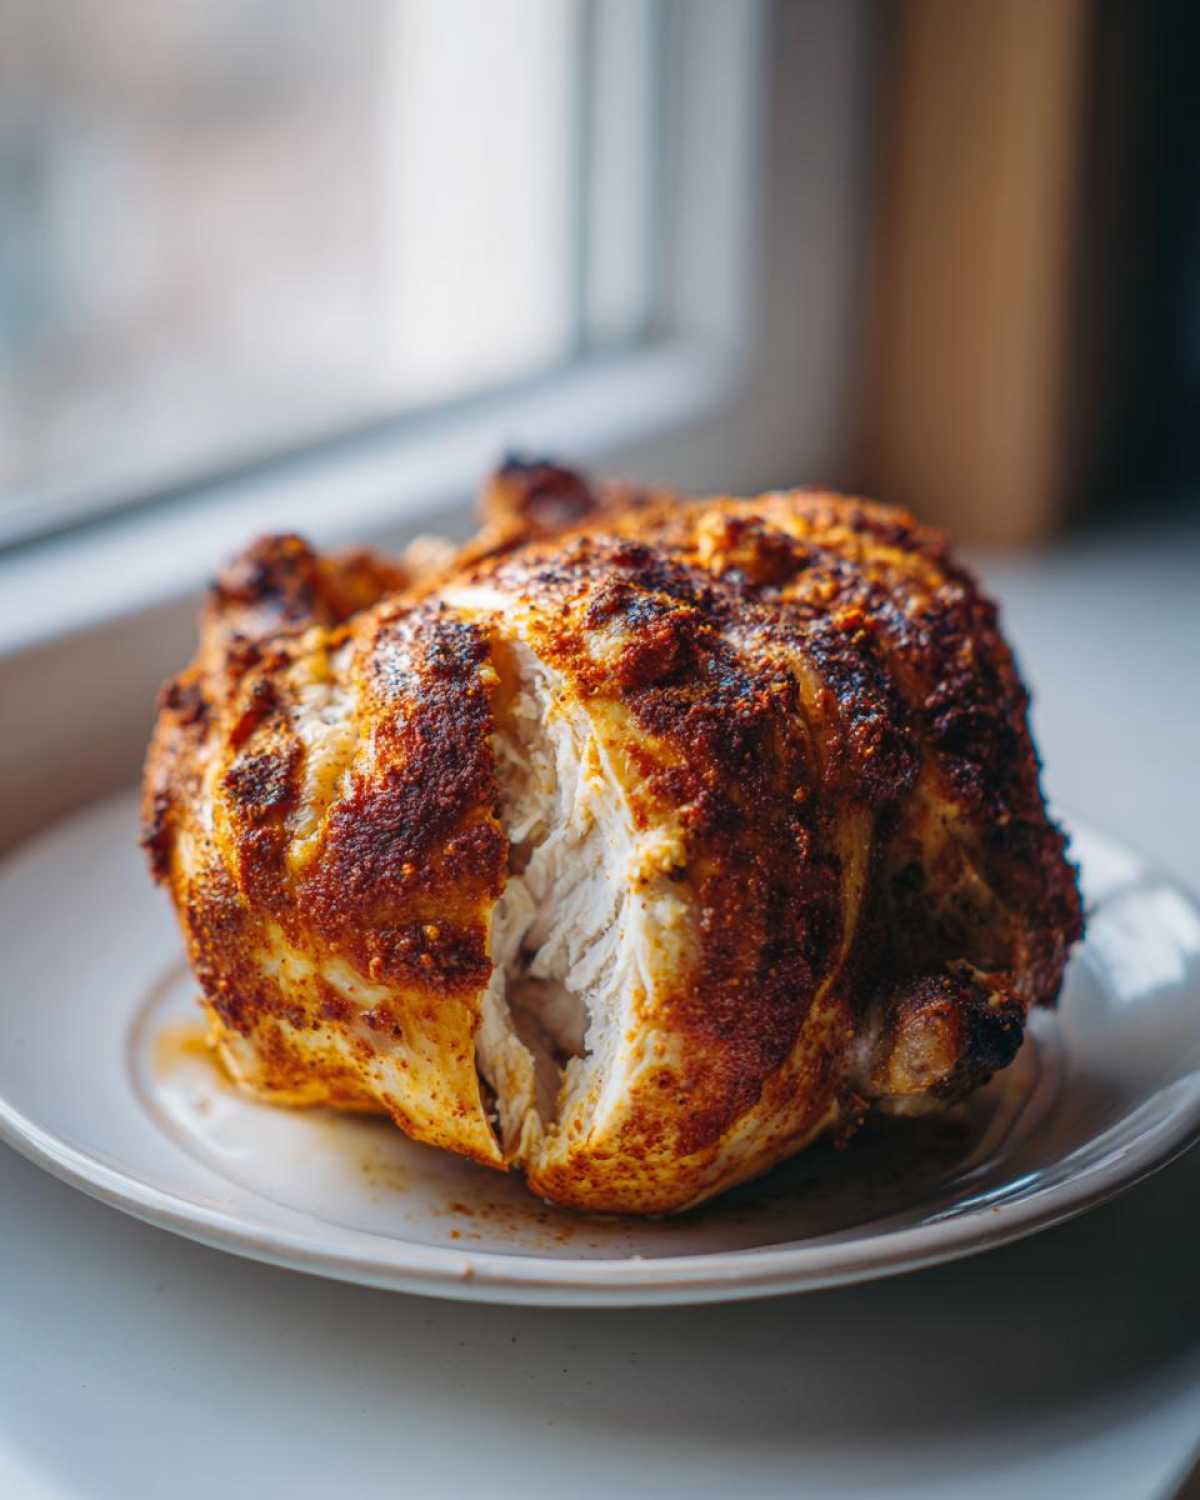
Honestly, the secret to getting that amazing combo—meat so tender you barely need a knife, and skin that shatters when you touch it—isn’t fancy brining; it’s all about technique and a little bit of oven trickery. Most folks cook their poultry at one temperature, and that’s where things go wrong! We use a high blast of heat right at the start. That initial 425°F burst is what locks in the moisture and starts crisping up all that skin moisture we worked so hard to remove.
After that initial blast, we drop the heat way down. This lets the inside cook gently and evenly while the exterior keeps developing that beautiful color. If you’ve ever felt like you were just making a giant baked bird, this method for a whole chicken changes everything. It gives you that amazing, golden-brown exterior that looks straight out of a cookbook, but it tastes even better because it’s genuinely juicy inside. It’s all about respecting the science! I even followed a similar principle when trying to get my beef meatloaf moist, and it worked wonders!
Key Techniques for a Perfect Whole Chicken
- Patting the skin aggressively dry with paper towels before seasoning. Seriously, bone dry!
- Rubbing the seasoning mix (especially the oil) evenly over every inch of skin.
- Starting the temperature high (425°F) and knocking it down to 375°F after 15 minutes.
- Allowing the bird to rest, tented loosely, for a full 15 minutes after it comes out of the oven.
Ingredients for Your Simple Roast Whole Chicken
Okay, the beauty of this simple roast whole chicken recipe is that it doesn’t need a million fancy things. We’re relying on simple herbs and some high-quality fat to do the heavy lifting. You just need to grab one bird and a few pantry staples. It really highlights how powerful a good quality herb roasted chicken can be when you let the ingredients shine. Make sure you have a meat thermometer handy; it’s your best friend here!
Here is exactly what you need to gather up:
- 1 whole chicken (about 4 lbs – try to get a good quality bird; it makes a difference!)
- 2 tablespoons olive oil (use a good, light one)
- 1 tablespoon kosher salt (don’t substitute table salt here, please!)
- 1 teaspoon black pepper (freshly cracked is best)
- 1 teaspoon dried thyme
- 1 lemon, halved
- 4 cloves garlic, smashed firmly with the side of your knife
- 2 sprigs fresh rosemary
How to Prepare the Best Whole Chicken Method
This whole chicken recipe sounds complicated because it has two different oven temperatures, but trust me, it’s so easy once you see it laid out. The key is moving quickly between steps while the oven is preheating. You’re basically setting the stage for that delicious, crispy skin right at the very beginning! We want to trap all those beautiful juices in the cavity while the outside gets golden and delicious.
Remember that note about refrigerating it uncovered? If you have time the day before, take 10 minutes tonight to rub it down, put it on a wire rack on a rimmed baking sheet, and pop it uncovered into the fridge. That dry-brining step works magic! If you’re doing this last minute, no sweat, just make sure you follow the drying instructions super carefully.
Prepping the Whole Chicken for Maximum Crispiness
First things first: preheat that oven to 425°F. This is non-negotiable! While it heats up, you need to get the bird ready. Pull out any giblets or the neck that are hiding in the cavity—I usually just toss those, but some people save them for stock. The absolute most important physical step is drying. Use a whole stack of paper towels and pat EVERY SINGLE surface of the chicken dry. Top, bottom, sides, legs—I mean *bone dry*. If there’s moisture left, you’ll get steamy skin, and we definitely don’t want that.
Now, mix up that oil, salt, pepper, paprika, and thyme into a paste. Get in there and rub it everywhere! Don’t forget underneath the wings and under the leg tucks. For the inside, we load it up with flavor: cram those lemon halves, the smashed garlic, and the rosemary sprigs right into the cavity. This infuses the steam with aromatics as it cooks, keeping the meat moist from the inside out. This preparation is what paves the way for phenomenal results!
Roasting Stages for a Juicy Whole Chicken
Once prepped, place your bird breast-side up in your roasting pan. We kick things off hot! Roast at 425 degrees for exactly 15 minutes. This is the secret weapon for the crispy skin aspect of this whole chicken cooking guide. After those 15 minutes, you’re going to drop the heat down significantly to 375°F. Don’t peek too much, just turn it down and let it settle in for the next 60 to 75 minutes. You need to keep an eye on your thermometer, though! You are aiming for an internal temperature of 165°F right in the thickest part of the thigh, making sure you don’t hit bone. This two-stage cooking is what ensures the breast doesn’t overcook before the dark meat is done, giving you that perfectly juicy result every time.
Once it hits temp, pull it out! That resting period is crucial—I know you want to carve it instantly, but covering it lightly with foil and letting it rest for 15 full minutes is what lets all those juices redistribute back into the meat. Don’t skip that part, or all your hard work on the herb roasted chicken will end up on your platter instead of inside the bird!
Tips for Success When Cooking Your Whole Chicken
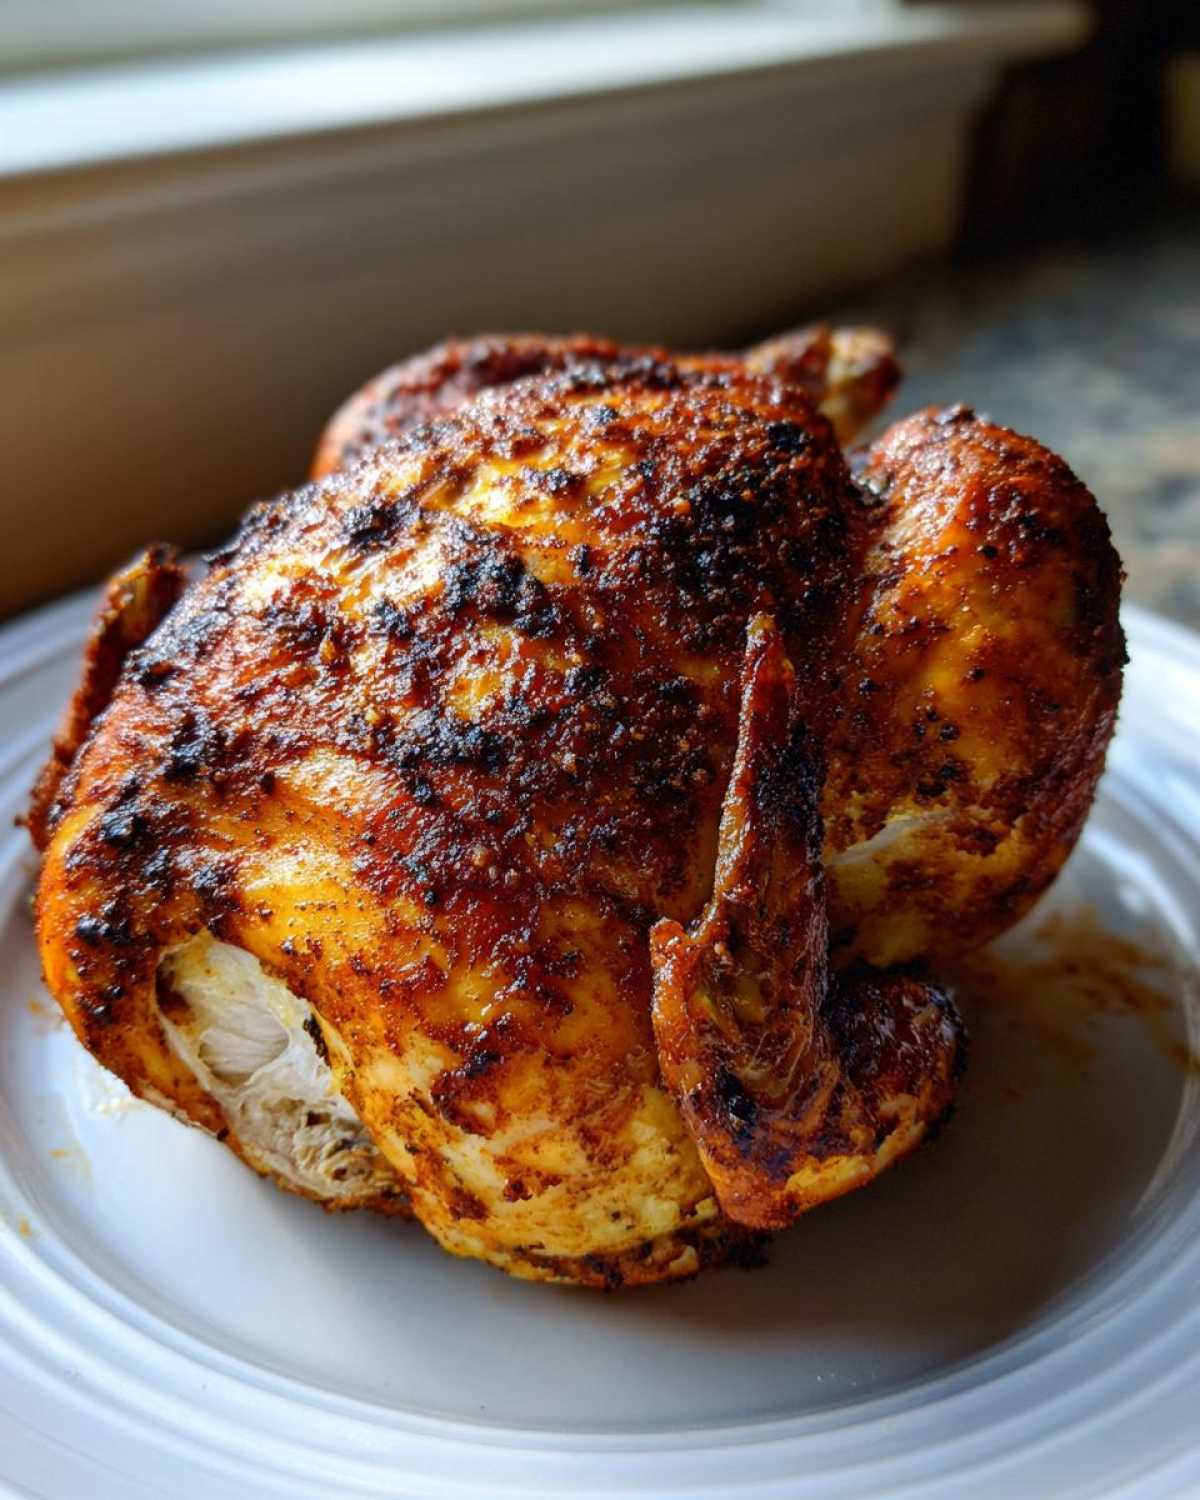
Look, I know life gets crazy, and sometimes you need a win the night before you even start cooking. That’s why my number one tip for making this the *best* whole chicken you’ve ever baked is a little bit of advanced planning. If you can manage to prep this bird the day before, you absolutely should. Don’t cover it! Just rub it with the spices, leave it uncovered on a rack in the fridge, and let that cold air work its magic.
That overnight rest, which we call ‘dry brining’ in fancy cooking circles, dries out the skin even further than patting it down right before roasting. When the skin is bone-dry going into that high heat, you guarantee yourself that deeply browned, crackling skin we are dreaming about. It’s the difference between good and *phenomenal*!
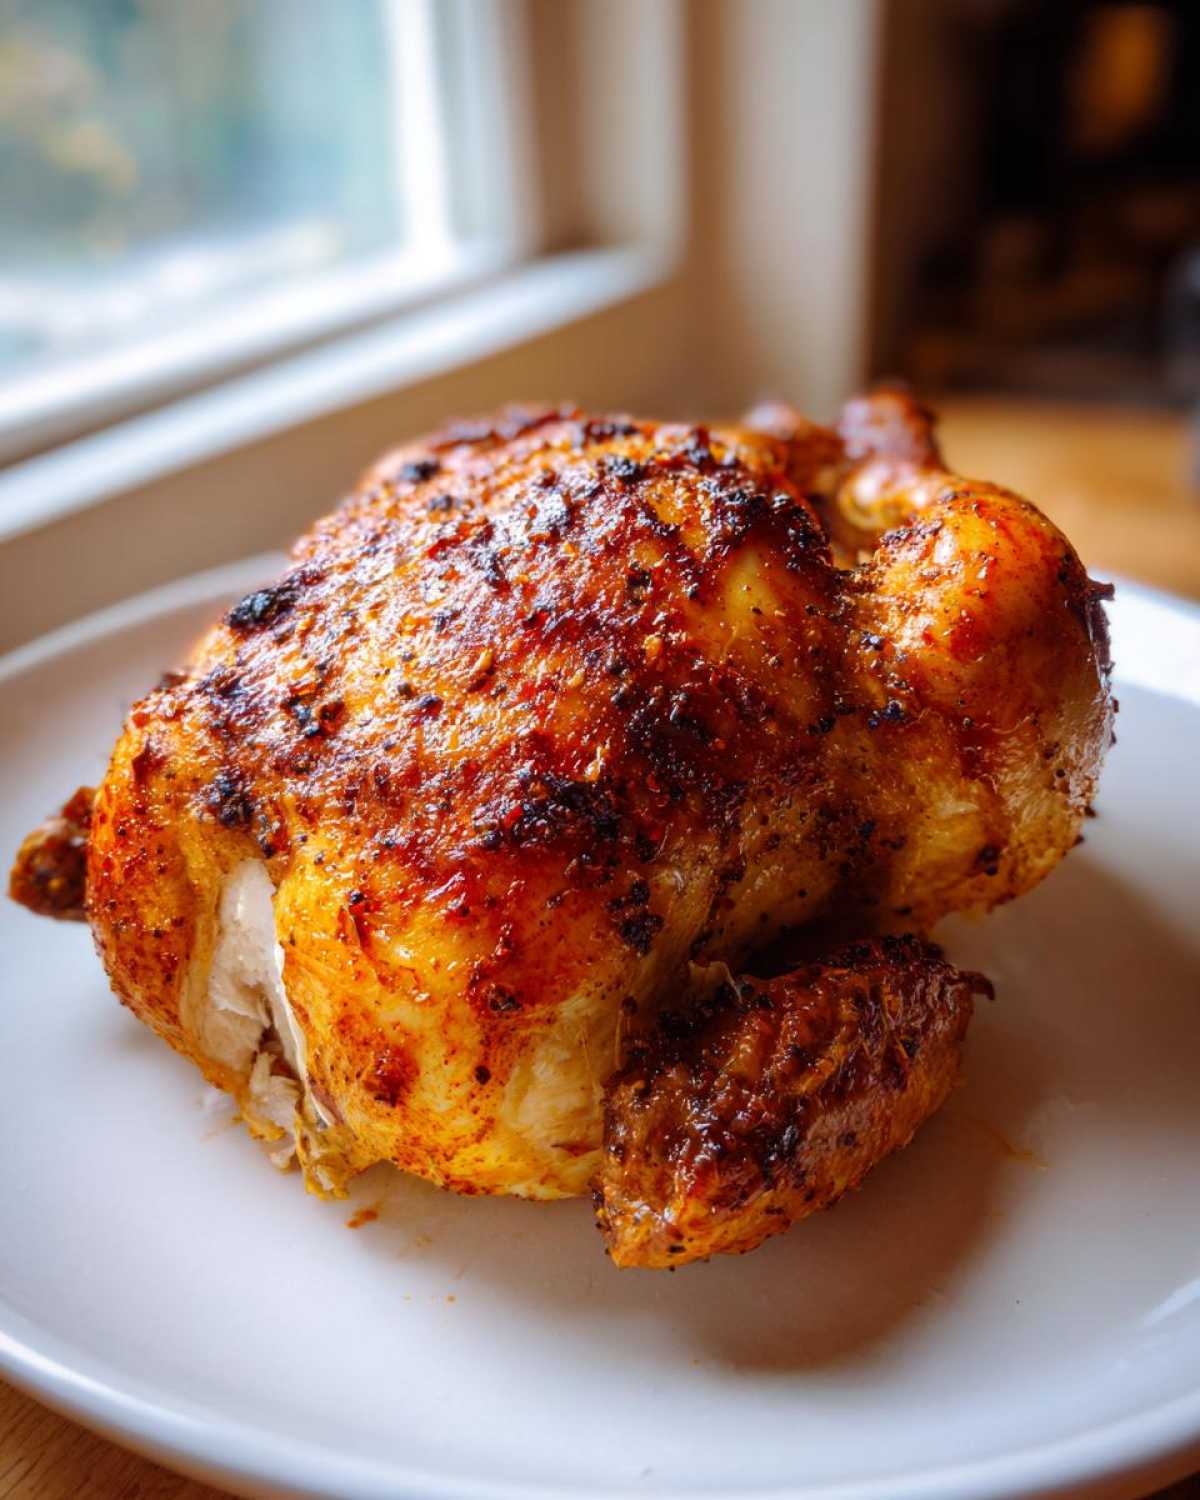
Now, let’s talk about heat shields. Sometimes, especially if your chicken is a little plumper near the breasts, you might notice that gorgeous skin getting a bit too dark during that second, slower roasting phase at 375°F. Don’t panic, and definitely don’t stick the thermometer in there to check the temp too early! Instead, just grab a small square of aluminum foil and loosely tent it over the breast meat. This shields it from the direct radiant heat, allowing the thighs and rest of the bird to catch up without burning your masterpiece. It’s a protective shield, really, and it saves the look of the final product.
And finally, don’t let those gorgeous pan drippings go to waste! Those little bits stuck to the bottom of your roasting pan hold more flavor than anything. You don’t even need a complicated recipe for gravy. Just pour off most of the rendered fat, add a splash of water or broth, scrape up the browned bits with a wooden spoon, and you instantly have the base for a fantastic sauce. Or, if you want to see how to use leftovers in a totally different way, check out this article on roasting timing essentials—the concepts are identical for keeping meat moist a day later!
Serving Suggestions for Your Classic Roast Whole Chicken
Now that you’ve mastered cooking the bird—it’s tender, it’s juicy, and that skin!—you need sides that can keep up with this showstopper. We aren’t making anything fussy here; this is satisfying, family-style comfort food, so the sides should be easy but delicious.
My first suggestion, hands down, has to be roasted potatoes. When you pull that chicken out, just toss some chopped potatoes (Yukon golds work best!) right into that big roasting pan with the drippings—seriously, do it! The potatoes soak up all that rendered fat, thyme, and garlic flavor floating around the bottom of the pan. Talk about budget-friendly flavor! If you’re looking for a dedicated guide on getting them shatteringly crisp, you absolutely must check out how I make my crispy oven roasted potatoes; they’re usually breakfast potatoes, but they’re perfect next to roast chicken.
Secondly, you always need something green to cut through the richness. Don’t overcomplicate this! A simple side of steamed green beans tossed with a squeeze of fresh lemon juice and a little flaky salt works wonders. Or, if you want something slightly sweeter, try balsamic-glazed Brussels sprouts. They get nice and caramelized, which complements the savory herbs on the roast chicken beautifully.
The goal here is simplicity. Let the main dish be the star, and these side dishes will just make the entire meal feel complete, warm the whole family up, and use all those amazing flavors you just created in the roasting pan!
Storage and Reheating Instructions for Leftover Whole Chicken
Okay, you cooked the perfect whole chicken, and now you have unbelievable leftovers! Don’t let those delicious bits go to waste. The good news is that this roast chicken keeps really well, but you need to treat the white meat and the dark meat differently when you go to reheat them. That’s my biggest piece of advice here: don’t just throw the whole carved bird back in the microwave!
First, make sure you get the meat off the carcass quickly. The sooner you get the chicken into an airtight container and into the fridge, the better. Stored properly in the refrigerator, you are looking at about three to four days max for the best quality leftovers. Any longer than that, and you risk drying out the breast meat too much when you try to warm it up days later.
Keeping That Juicy Whole Chicken Flavor
When it comes to reheating, the legs and thighs (the dark meat) are incredibly forgiving, thank goodness. They have more fat, so they usually reheat beautifully. You can reheat these pieces in a small covered dish in a 350°F oven for about 10 to 15 minutes, or even gently in a covered skillet on the stovetop with just a splash of broth or water. This gentle heat keeps the juices happily trapped inside.
The breast meat is the fussy one. If you try to reheat a whole breast fillet the same way, it ends up tasting like cardboard. My trick for reheating breast meat is to slice it thinly *before* reheating. Then, I either toss those thin slices into a quick soup, or I warm them up for just a couple of minutes in a pan over low heat with a light drizzle of good quality olive oil or chicken broth. Seriously, just enough time to take the chill off. If you’re using the meat cold the next day for sandwiches, even better!
Freezing for Future Simple Chicken Dinners
If you know you won’t get to the leftovers in four days, freezing is the answer! Again, separate the meat first—freeze the white meat and the dark meat in their own separate containers or freezer bags. Dark meat freezes better than breast meat, but both do quite well if sealed tightly. You can freeze the meat for up to three months. Next time you need a super fast, budget-friendly chicken dinner, you just thaw that meat out and shred it for tacos, chicken salad, or to top a quick green salad!
Frequently Asked Questions About Cooking a Whole Chicken
When you’re tackling your whole chicken, I know questions pop up! It’s natural; we all want that guarantee of juicy meat without fail. Here are some of the common things folks ask me when they’re trying to achieve that perfect crispy skin everyone raves about.
Can I use this recipe for an air fryer whole chicken?
That’s a great question, especially since air fryers are amazing at skin crisping! While the core flavor combination of herbs and lemon works, the air fryer cooks much faster and circulates heat incredibly aggressively. If you wanted to adapt this for an air fryer whole chicken, I’d strongly suggest cutting the total cook time way down and keeping the temperature below 400°F throughout. You might need to skip the two-stage temperature dip we use in the oven, as the environment is totally different. They might cook a 4-pound bird closer to 45 minutes to an hour total, so keep that thermometer handy!
How do I ensure the thigh meat cooks through without drying the breast meat?
This is the million-dollar question for any easy roast chicken! The breast meat cooks faster because it’s leaner and closer to the surface. The difference in temperature means we have to be smart. That’s why the thermometer is your best friend! You must check the temperature in the thickest part of the thigh, making sure that tip isn’t touching bone, because bone gets hotter than the meat beside it, which will trick you. Aim for 165°F in the thigh. While the thigh finishes cooking, the breast meat usually hovers around 155–160°F. When you pull the bird out and let it rest (which is crucial!), that retained heat will carry over and push the breasts safely up to 165°F while the thighs finish perfectly. It’s all about the rest for those juicy results!
If you’re still worried about the breast meat browning too fast during that final phase, just remember to loosely tent it with foil. That simple move shields the breast while letting the thighs keep cooking steadily—a classic trick for a perfect roast chicken!
Nutritional Estimates for This Simple Chicken Dinner
Whenever I share a recipe, especially something like a whole chicken dinner that feels substantial, people always want to know the breakdown. Since this recipe is so straightforward—mostly protein, herbs, and a little oil—it’s actually quite balanced! But remember, these numbers are just estimates based on a standard 4-pound bird and the exact amounts of oil and salt listed. If you trim off more skin or use less oil, things change! Always treat this as a helpful guide, not a strict lab result.
Here’s what you can generally expect per serving size (about 6 oz of cooked meat):
- Calories: 350
- Protein: 45g – That’s a solid punch of protein!
- Fat: 18g
- Saturated Fat: 5g
- Carbohydrates: 0g (Yes, zero! Thanks, no flour or sugar in the main rub!)
- Sodium: 450mg (This number depends heavily on how much salt you used in your rub, so be mindful if you are watching sodium intake.)
- Cholesterol: 140mg
Because this is such a simple, classic roast, we didn’t add any starchy sides to the cooking process itself (like potatoes roasted right in the pan), which keeps all the carbs out of this specific estimate. This is classic, clean eating at its best! For the full scientific breakdown and how these numbers can change, you should always read up on our general nutritional disclaimer here.
Share Your Perfect Roast Whole Chicken Experience
So there you have it! The absolute best technique I’ve found for roasting a whole chicken that stays unbelievably juicy inside while delivering that satisfying, shattering crust on the outside. I poured my heart into making sure this guide eliminated all the guesswork, especially around those tricky temperatures and the ever-important resting period. Now that you’ve tried it, I really, truly want to hear all about it!
Did you manage to get that crackle on the skin we were aiming for? Did your family notice the difference in moisture? Please drop a rating for this recipe right here on the blog—it genuinely helps other home cooks know they can trust this method. And hey, if you took a picture of your golden-brown bird fresh out of the oven, I would absolutely love to see it! Tag me or share it on social media; seeing your cooking successes makes my day. You can also explore more of my favorite family recipes over on the main blog page!
Happy roasting, everyone. I hope this simple chicken dinner brings as much joy to your table as it does to mine!
PrintSimple Oven Roasted Whole Chicken with Crispy Skin
Follow this straightforward method to cook a whole chicken that stays juicy inside and develops perfectly crisp skin.
- Prep Time: 15 min
- Cook Time: 1 hour 30 min
- Total Time: 1 hour 45 min
- Yield: 4 servings
- Category: Dinner
- Method: Oven Roasting
- Cuisine: American
- Diet: Gluten Free
Ingredients
- 1 whole chicken (about 4 lbs)
- 2 tablespoons olive oil
- 1 tablespoon kosher salt
- 1 teaspoon black pepper
- 1 teaspoon paprika
- 1 teaspoon dried thyme
- 1 lemon, halved
- 4 cloves garlic, smashed
- 2 sprigs fresh rosemary
Instructions
- Preheat your oven to 425 degrees Fahrenheit (220 degrees Celsius). Remove the giblets from the chicken cavity. Pat the entire surface of the chicken very dry using paper towels. This step is key for crispy skin.
- In a small bowl, mix the olive oil, salt, pepper, paprika, and thyme. Rub this mixture all over the outside of the chicken, covering the entire surface.
- Place the lemon halves, smashed garlic, and rosemary sprigs inside the chicken cavity.
- Place the chicken breast-side up in a roasting pan or a cast-iron skillet.
- Roast for 15 minutes at 425 degrees Fahrenheit.
- Reduce the oven temperature to 375 degrees Fahrenheit (190 degrees Celsius). Continue roasting for another 60 to 75 minutes, or until a meat thermometer inserted into the thickest part of the thigh registers 165 degrees Fahrenheit (74 degrees Celsius).
- Remove the chicken from the oven. Tent it loosely with foil and let it rest for 15 minutes before carving.
Notes
- For extra crispy skin, you can place the seasoned chicken in the refrigerator uncovered for 4 to 12 hours before roasting.
- If the skin starts browning too quickly during the final roasting stage, loosely cover the breast area with aluminum foil.
- Use the pan drippings to make a simple gravy or sauce.
Nutrition
- Serving Size: 6 oz cooked meat
- Calories: 350
- Sugar: 0
- Sodium: 450
- Fat: 18
- Saturated Fat: 5
- Unsaturated Fat: 13
- Trans Fat: 0
- Carbohydrates: 0
- Fiber: 0
- Protein: 45
- Cholesterol: 140