

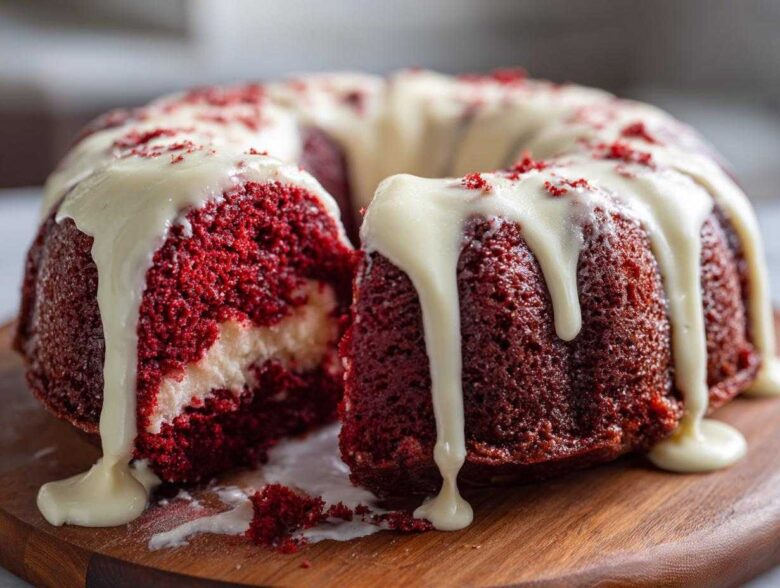
Oh, the holidays just aren’t complete without that perfect crimson slice, are they? We’ve all been there—you want that gorgeous, deep red cake, but it ends up dry or, worse, refusing to come out of the pan gracefully! Forget all those disappointing baking attempts, friends. I finally cracked the code on creating the ultimate moist red velvet bundt cake that looks every bit as stunning as one from a fancy bakery, using ingredients you probably have right now. I spent way too much time testing oil ratios and buttermilk amounts to get that perfectly velvety texture and that classic, whisper of cocoa flavor. Did you know that testing different recipes is why I kept coming back to this particular blog post on classic red velvet techniques? Trust me, this recipe delivers incredible moisture and that essential tangy cream cheese glaze you absolutely need.
Why This is the Best Red Velvet Bundt Cake Recipe
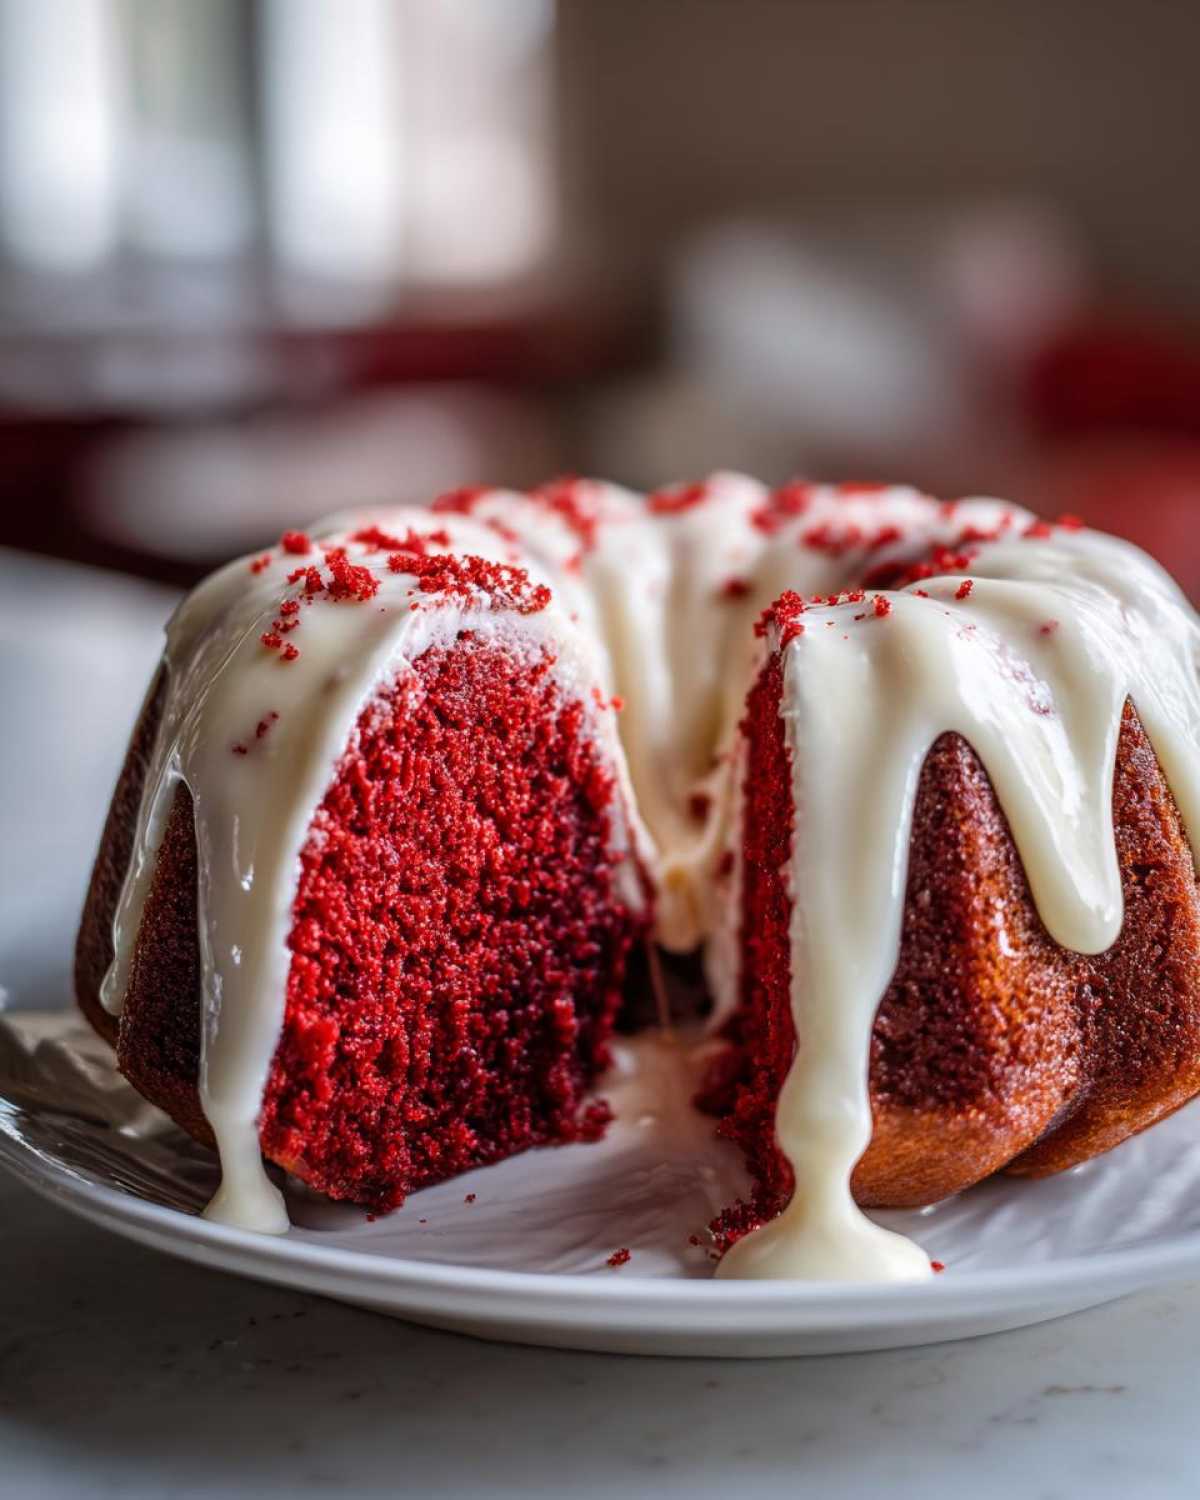
Honestly, I’ve tried a dozen different ways to make this cake, and this one wins every single time for sheer wow factor and texture. When you slice into this Moist Red Velvet Bundt Cake, you know instantly that you’ve done something special.
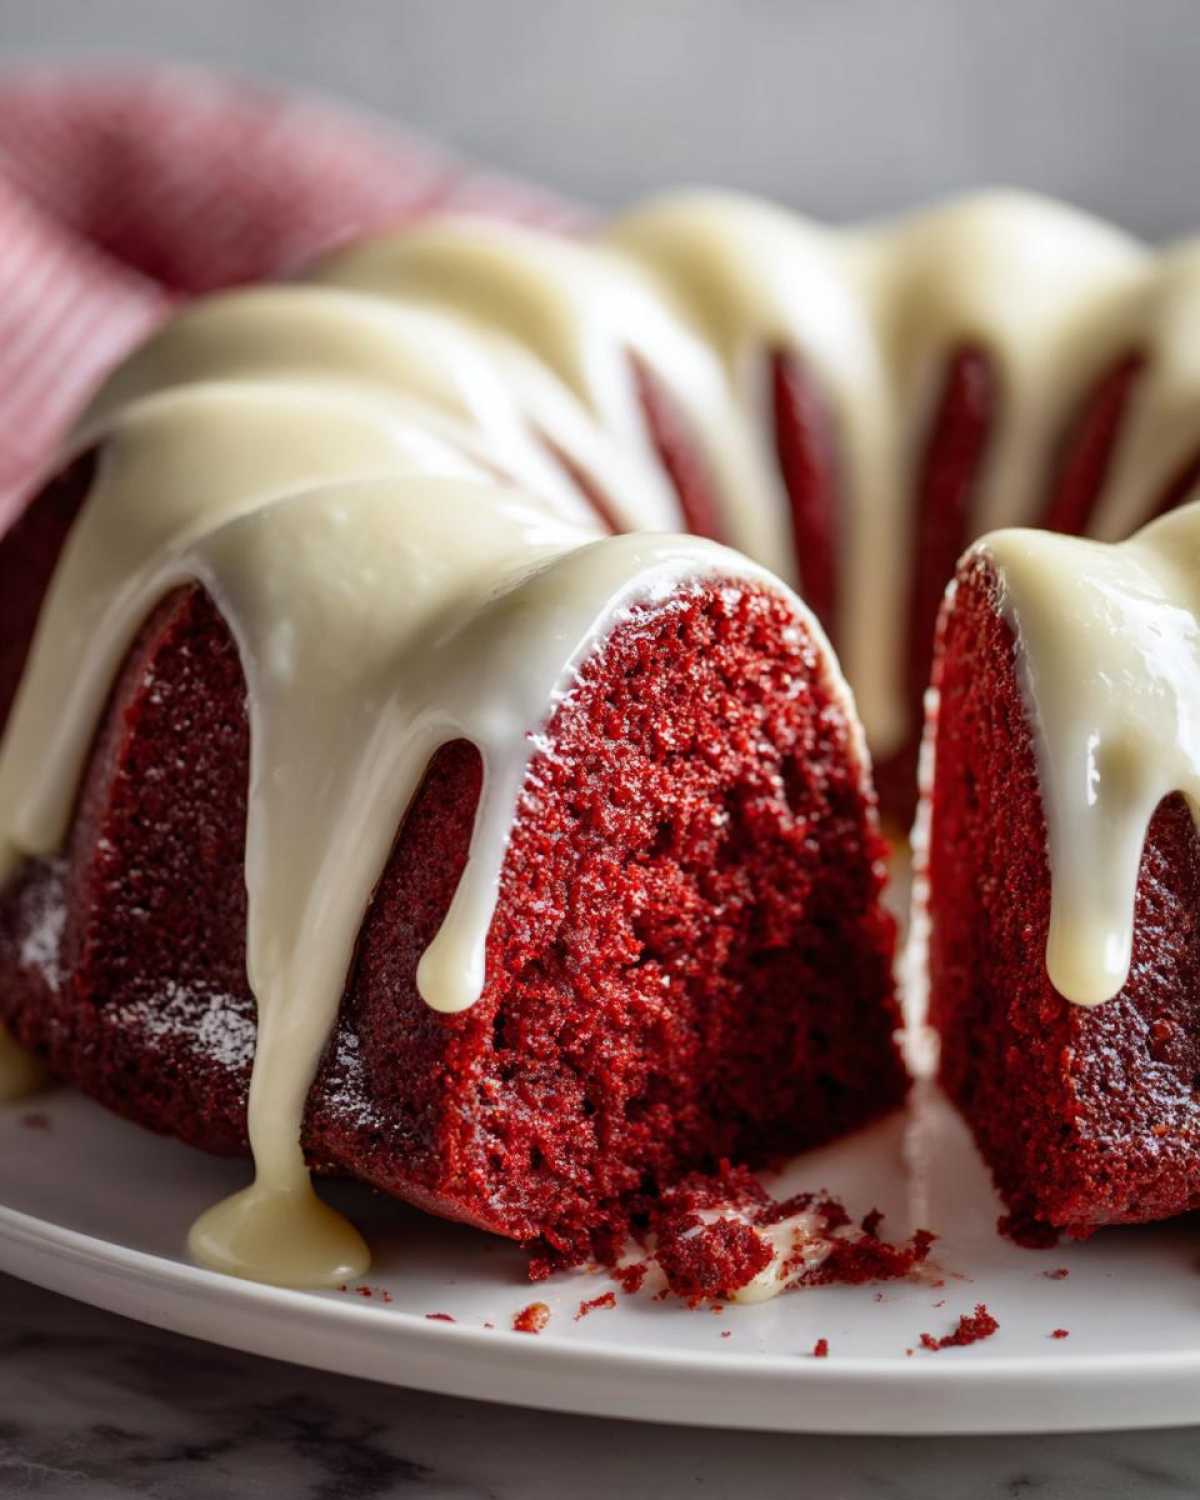
- You get that signature, slightly tangy **Classic Red Velvet Flavor** without needing tons of cocoa powder—just enough to give it depth.
- It utilizes oil instead of all butter, which is my biggest secret for ensuring this cake stays wonderfully moist for days. Seriously, try keeping one of these around for more than 24 hours; I dare you!
- The vinegar and buttermilk react perfectly with the baking soda to create those tiny air pockets, resulting in that sought-after, barely-there, velvety crumb. This is truly a **Bakery Style Bundt Cake** at home.
- It’s designed to look like a true **Showstopper Bundt Cake** once fully dressed in that tangy cream cheese topping. It’s stunning on any holiday table.
- This recipe is incredibly reliable, making it one of my go-tos for a guaranteed **No Fail Bundt Cake Recipe**, even when guests drop by unexpectedly.
- We use a generous amount of coloring here, giving you that deep, festive red that makes it perfect for any **Festive Red Velvet Baking** occasion.
If you want to read more about how making sure your ingredients are temperature-correct helps with moisture, you should check out my tips over on my sour cream coffee cake post—the science for a tender crumb is almost identical!
Ingredients for a Showstopper Red Velvet Bundt Cake
Okay, listen up! Getting that perfect texture for your Red Velvet Bundt Cake starts way before you turn on the mixer. Every single item needs to be ready to go. I’m super particular about making sure my buttermilk and eggs are at room temperature; this is key for a smooth, uniform batter that bakes beautifully. You cannot cheat this step, or you risk a slightly rubbery texture! It’s all about getting that tender result we keep talking about. You’ll notice we use oil here instead of butter for the main batter—that’s the insurance policy for that incredible moisture!
Here are the essentials for the cake itself:
- 2 1/2 cups all-purpose flour
- 1 1/2 cups granulated sugar
- 1 teaspoon baking soda
- 1 teaspoon salt
- 1 tablespoon unsweetened cocoa powder
- 1 cup vegetable oil
- 1 cup buttermilk, room temperature
- 2 large eggs, room temperature
- 1 teaspoon white vinegar
- 1 teaspoon vanilla extract
- 1 1/2 teaspoons red food coloring (liquid or gel—I prefer gel for maximum color!)
I’ve experimented with using less coloring, but if you want that deep, rich red color that screams ‘showstopper,’ you need to commit to the full amount. While you’re organizing, make sure your cream cheese and butter for the topping are actually softened, not melted! It makes a huge difference in the final drizzle.
For the Tangy Cream Cheese Glaze for Bundt Cake
This glaze is what pulls the whole magnificent dessert together. It’s simple, but that little bit of tang cuts through the richness of the cake perfectly. You need:
- 1/2 cup cream cheese, softened
- 1/4 cup unsalted butter, softened
- 2 cups powdered sugar
- 1 teaspoon vanilla extract
- 1 tablespoon milk or heavy cream
If you are building up to baking this, maybe enjoy looking at my favorite cookie recipes while you wait for your ingredients to warm up—just to keep the baking mood going!
Mastering the Moist Red Velvet Bundt Cake Instructions
Okay, this is where the magic happens! You have the ingredients ready—everything happy at room temperature—so let’s get this stunning Red Velvet Bundt Cake into the oven. Remember how I mentioned technique is everything? For a bundt cake especially, technique means preventing any sticky disaster when we try to release it later. People often use non-stick sprays now, but I live by the old-school butter-and-flour method, or even better, homemade cake goop if I’m feeling fancy! You want that gorgeous, deep pattern of the pan to look perfect when you flip it out.
Preparing the Pan and Dry Ingredients
First things first: get that oven cranked up to 325 degrees Fahrenheit. This recipe loves a slightly lower and slower bake, which really helps keep the crumb soft. Now for the pan—this is non-negotiable! Take plenty of softened butter or shortening and grease every single nook and cranny of your 10-cup bundt pan. I rub it in with a pastry brush to make sure I hit every ridge. Then, dust it generously with flour, turning the pan until the entire interior is coated, tapping out any extra. Seriously, give it more attention than seems necessary; a stuck bundt cake is a true baking heartbreak!
While that’s happening, mix up your dry stuff. Just grab a large bowl and whisk the flour, sugar, baking soda, salt, and that small amount of cocoa powder together. Whisking really helps distribute the leaveners evenly, which is important because we aren’t mixing this batter for very long later on.
Mixing the Red Velvet Bundt Cake Batter
Time for the wet ingredients! In another bowl, whisk your oil, your room-temperature buttermilk, those two eggs, vanilla, and vinegar. Now, for the star of the show—add your red food coloring and mix until it’s a uniform, electric red. Don’t be shy here!
Now, pour all the red wet mixture right into the dry ingredients. Please, for the love of velvet, mix this on the lowest speed only until you just see the streaks of flour disappear. Overmixing is the enemy of tenderness! That tiny bit of acid from the vinegar interacting with the baking soda is what gives us our lift, but too much mixing develops toughness. Stop when it’s mostly combined. You can read more about why gentle mixing makes baked goods softer over on my post about moist date nut bread; the principle is the same.
Baking and Cooling the Red Velvet Bundt Cake
Pour that beautiful red batter carefully into your prepped pan, spreading it out gently if needed. Pop it into that 325°F oven and set your timer for 50 minutes. You might need up to 60 minutes depending on your oven—always test it! You’re looking for a skewer inserted near the center to come out clean, or maybe just a few moist crumbs clinging to it. If it’s wet batter, give it another five minutes.
Here’s the trickiest waiting game: you must let that delicious Red Velvet Bundt Cake cool *in the pan* for exactly 15 minutes on a wire rack. This allows the structure to firm up just enough before attempting the flip flip! After 15 minutes, place your wire rack upside down over the pan and flip it quickly. It should release with a satisfying *thud*.
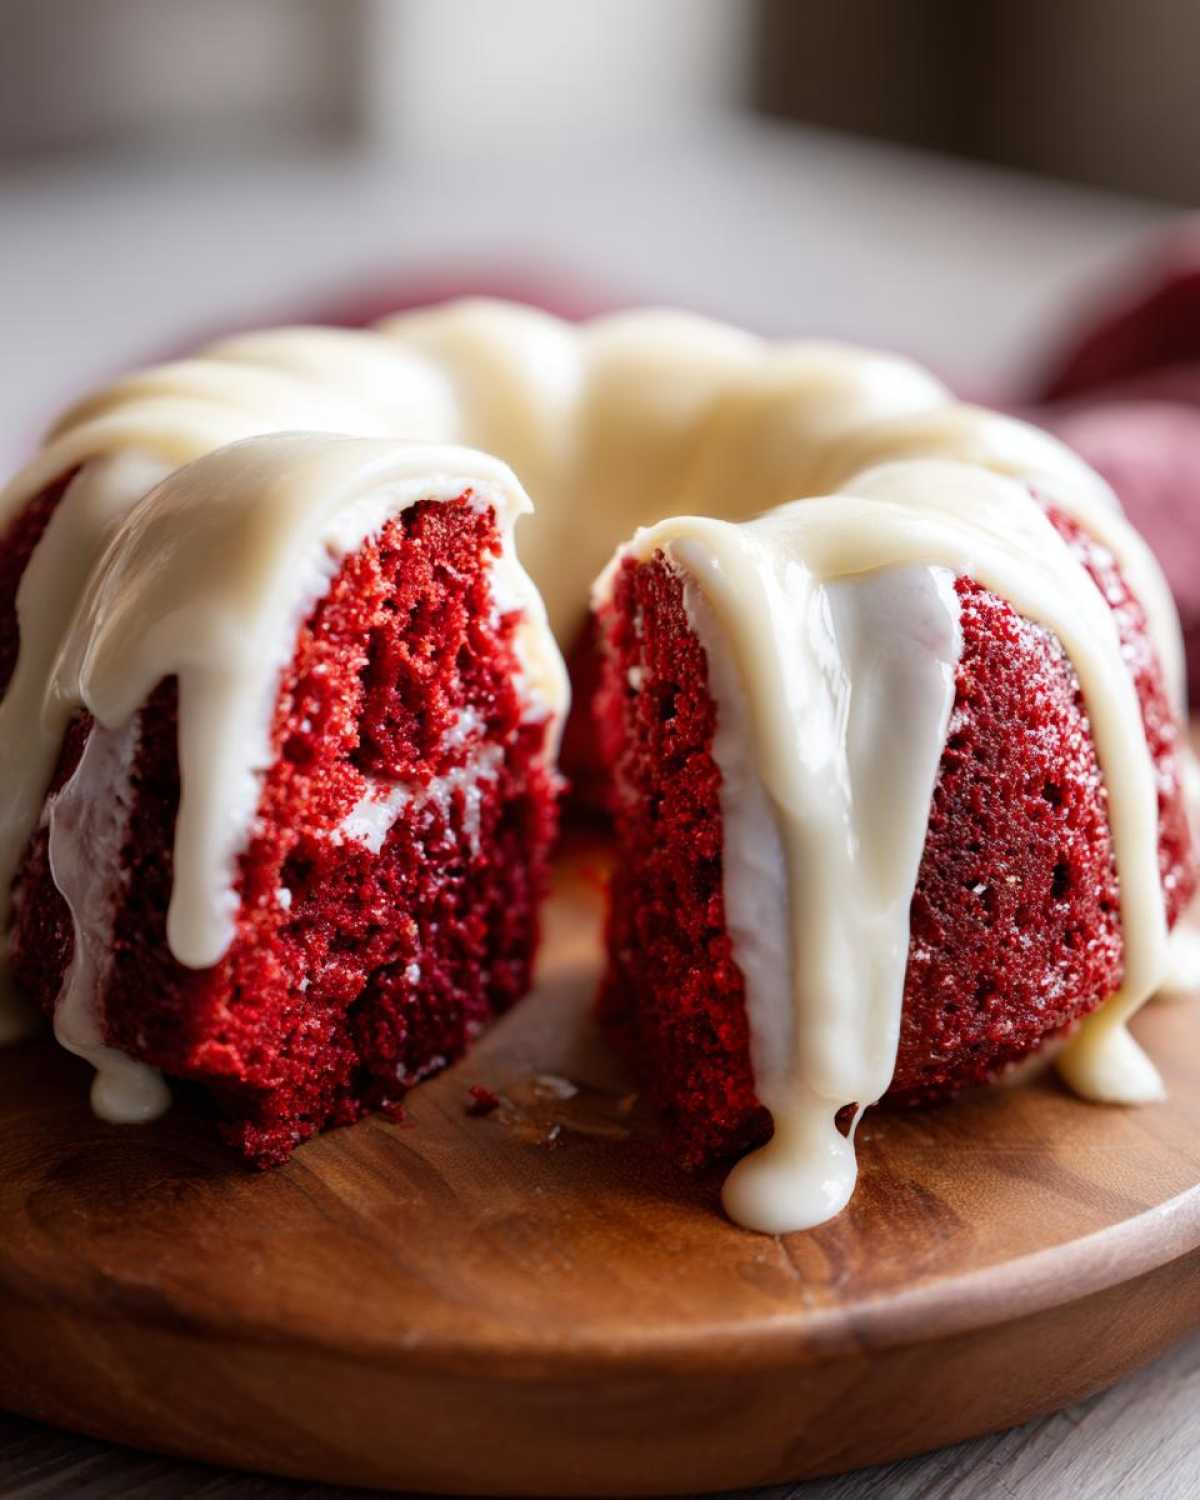
Keep letting it cool completely on the rack before you try to glaze it—otherwise, you’ll just have a sticky red puddle!
Creating the Perfect Cream Cheese Glaze for Bundt Cake
Now that your gorgeous Red Velvet Bundt Cake is completely cool—and I mean stone-cold, don’t rush this part!—it’s time for the tangy, slightly sweet blanket that ties everything together. We aren’t looking for a thick, cake-covering frosting here; we want a beautiful, slightly messy, artful drizzle that drips down those deep flutes of the bundt pan. That’s why mastering the consistency of this Cream Cheese Glaze for Bundt Cake is so important.
Remember those softened cream cheese and butter amounts we prepped? Get those into your mixing bowl. You need to beat them until they are perfectly smooth before you even *think* about adding the powdered sugar. If there are lumps in your butter or cheese, your glaze will be lumpy, and that’s just unacceptable for a showstopper like this!
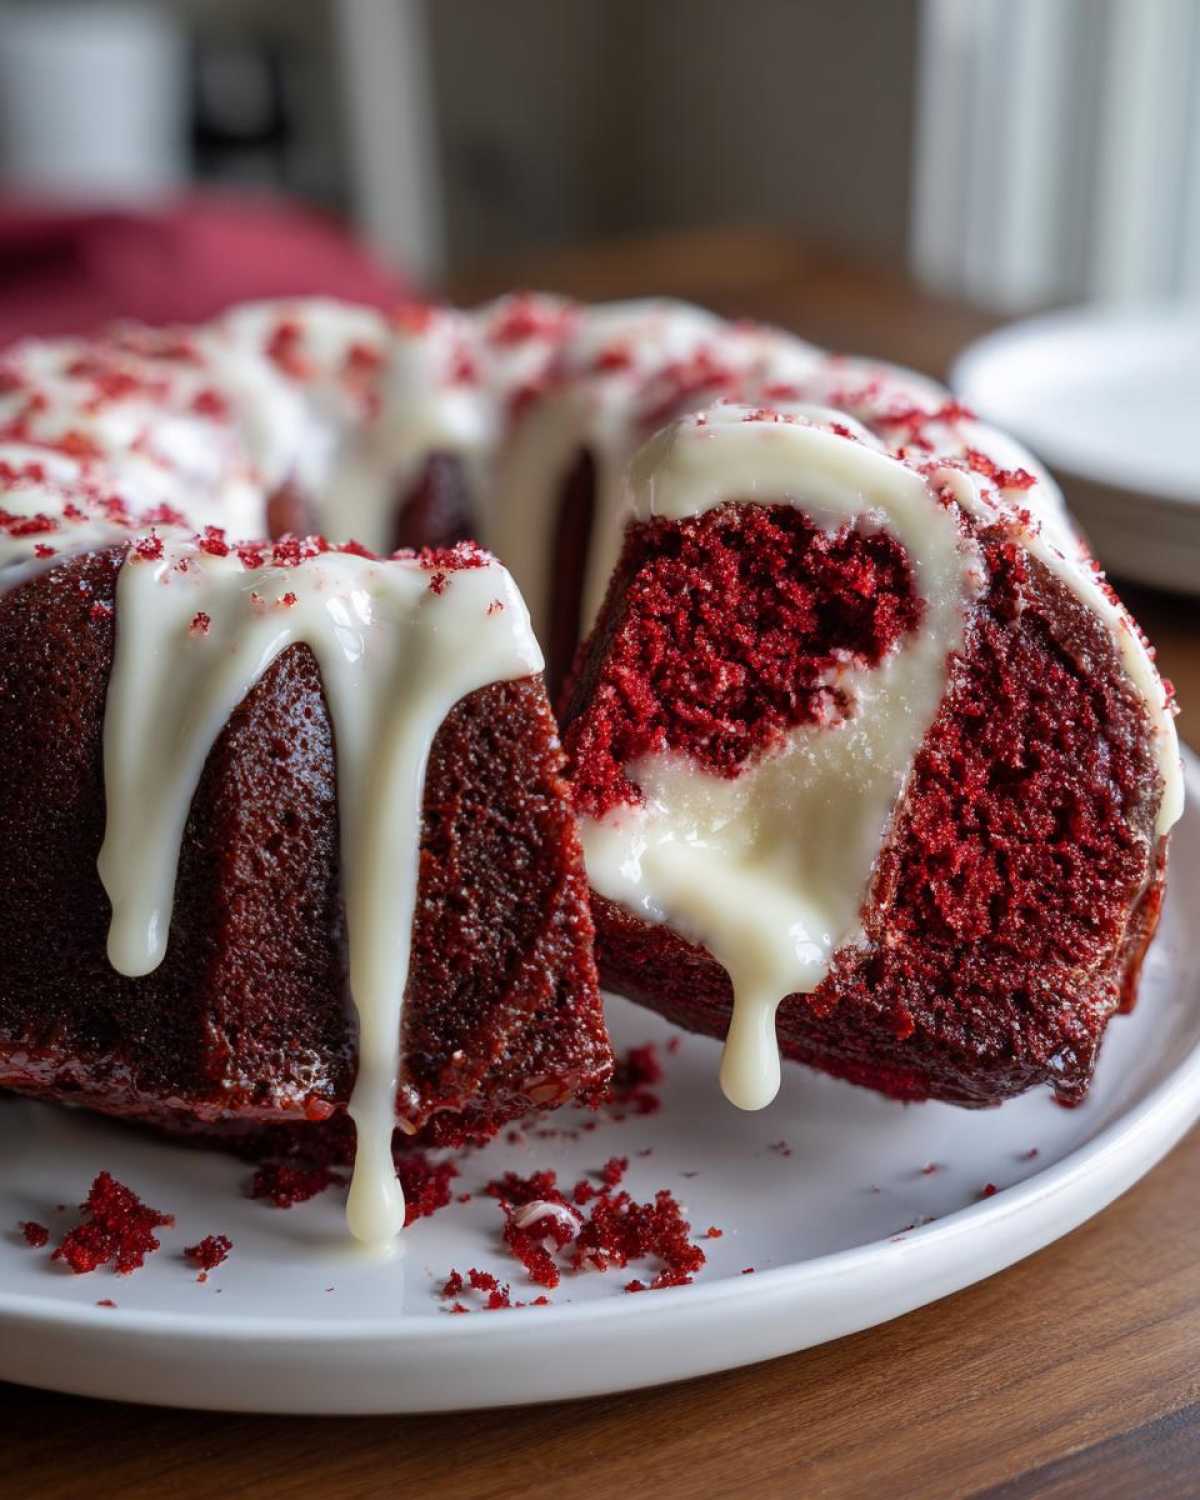
See how your glaze is looking a little thick? I promise you, this is normal when you first add the powdered sugar. That’s why we only add the milk or cream, one teaspoon at a time! I usually start with just one tablespoon, beat it well, and then decide if it needs another teaspoon to make it pourable but not runny. If you watch my video on making easy vanilla frosting, you’ll notice the same slow addition technique.
When the consistency is just right—it should slowly ribbon off your spoon but still hold its shape for a second—get ready to decorate. Make sure you are glazing over a cooling rack with a sheet pan underneath because, yes, gravity is going to pull a good amount of this lovely topping right down the sides. Drizzle it slowly and deliberately all over that deep red surface. It sets up surprisingly fast, so work with confidence! Watching that tangy glaze set against the rich red layer is the final reward after all your hard work on this Red Velvet Bundt Cake!
Tips for a No Fail Bundt Cake Recipe
You know, even with the best measurements in the world, sometimes the oven itself is the wild card, especially with something as delicate as a Deep Red Velvet Dessert. Since we are aiming for absolute perfection here, I’ve picked up a few extra tricks over the years to make sure this recipe is truly foolproof, no matter whose kitchen it’s being baked in. Those notes about room temperature ingredients? They aren’t just suggestions; they are commandments for tender baking!
First, let’s talk about that temperature control again with the buttermilk and eggs. Cold ingredients hate being mixed with room-temperature oil and sugar; they seize up, and you end up with globs of unincorporated egg white or curdled batter. When you bring them both to room temperature, they emulsify beautifully, trapping air, which leads right back to that moist, soft texture we’re obsessed with. It sounds like an extra step, but honestly, just pulling them out 30 minutes before I start prepping keeps everything running smoothly.
Another point on color—if you use the liquid food coloring, you’ll notice the color fades slightly as it bakes. If you want that incredibly vibrant shade that lasts, spend the extra few bucks on the gel food coloring. It’s much more concentrated. I usually start with just under the full teaspoon and then add a few extra dots once the batter is mixed, just to heighten that deep red intensity before it hits the oven. You want enough color saturation so that even after baking, the red pops against the white glaze.
And here is my little secret weapon for guaranteeing a perfect bake on any big, dense cake like this Red Velvet Bundt Cake: I always use an oven thermometer. Seriously! Don’t trust the dial. Most home ovens run about 25 degrees hot or cold, and that small difference can mean the difference between a perfectly cooked center and a slightly gummy one. A cheap little oven thermometer clipped to the rack lets you know exactly what temperature heat you’re dealing with. Trust me, once you check, you’ll see why some of your older recipes were failing!
You can read more about general moisture-retaining techniques over on my guide for the best moist carrot cake recipe—a lot of the science behind keeping fats and moisture locked into those denser cakes is transferable!
Storage and Reheating Instructions for Your Red Velvet Bundt Cake
Once you’ve admired your beautiful, glazed creation, you naturally have to think about saving leftovers—not that there will be many, I promise! Since we used that fantastic cream cheese glaze, storage is straightforward. You can keep slices wrapped tightly at room temperature for about two days. If you need to keep it longer, pop it into the fridge, though I always recommend letting it come back toward room temp before serving again. A quick 15 seconds in the microwave, believe it or not, revives that wonderful velvet texture beautifully!
Variations on the Classic Red Velvet Bundt Cake
While this recipe is my absolute favorite way to make a pure, deep red velvet experience, I know sometimes we get the urge to play mad scientist in the kitchen! The great thing about this Red Velvet Bundt Cake base is that it’s so sturdy and moist that it can handle a few fun twists without collapsing into a crumbly mess. It’s flexible, which is just what you want in a signature holiday bake!
One modification that I absolutely adore, especially around birthdays or super special occasions, is turning this into a Red Velvet Cake with Cheesecake Swirl. It’s easier than you think! Right before you pour the batter into the pan, you take about 8 ounces of softened cream cheese, mix it with a little sugar and an egg yolk, and then dollop it into the batter. You use a knife or skewer to gently swirl it around—don’t overdo it! You just want those beautiful pockets of creamy tang baked right into your rich cake.
For those of you who might want that specific texture associated with those famous little cakes from national chains, you can swap out the drizzle for a much thicker topping. Instead of a thin glaze, beat your cream cheese/butter mixture with the powdered sugar until it’s stiff enough to hold its shape using a hand mixer. Then, you can spread it on thick, making it more of an actual frosting. It’s heavier, but boy, is it decadent! It makes the cake feel even more substantial, leaning into that Bakery Style Bundt Cake vibe.
If you want a subtle flavor shift, try switching out the vanilla extract for almond extract, or even adding a tiny splash of espresso powder to deepen that chocolate note even more. Just be careful with extracts—they are potent! Experimenting with extracts is half the fun, kind of how I got into making that amazing German chocolate cake because I decided to try toasted coconut with my frosting.
Honestly, though, no matter what you add, keeping that perfect moisture level from the oil and buttermilk ensures whatever version of the Red Velvet Bundt Cake you end up with will be a huge hit. This recipe provides the perfect stage for your creativity!
Answering Common Questions About Making a Red Velvet Bundt Cake
When you’re trying to achieve that perfect, silky texture, I always get questions about the inevitable hiccups. Baking a magnificent **Red Velvet Bundt Cake** from scratch involves a few chemistry tricks, so don’t worry if you run into a snag! Here are some of the things I hear most often when people are attempting their first Homemade Red Velvet Cake. It’s usually just one tiny adjustment that makes all the difference.
I’ve even linked over to my favorite buttermilk pie recipe because I talk about buttermilk so much—it’s just such a magical ingredient!
Why is my Red Velvet Bundt Cake dense instead of velvety?
This is the #1 issue people have, and 99% of the time, it’s one of two culprits. First, you mixed too much! Remember how I stressed not overmixing when combining the wet and dry ingredients? Too much mixing develops the gluten in the flour, and that turns your cake chewy or heavy, right? Second, check your ingredients’ temperatures. If your eggs and buttermilk were cold, they don’t blend properly into that room-temperature oil/sugar mix, leading to a curdled batter that packs down into a tighter crumb. For a truly velvety rich red cake, room temperature is your best friend!
Can I skip the red food coloring entirely?
Yes, you absolutely can, but you won’t have a *red* velvet cake! Technically, traditional red velvet gets its color from a chemical reaction between the vinegar, buttermilk, and natural cocoa—which used to turn things slightly reddish-brown generations ago. Today, that reaction isn’t strong enough to counteract the dark color of modern cocoa powder. If you skip the coloring, you will have a lovely, slightly reddish-brown cake that tastes very similar, but it won’t give you that iconic look for your Holiday Bundt Cake Ideas. I say, if you’re going to make it, go all the way!
What should I use if I don’t have buttermilk for this Moist Red Velvet Bundt Cake?
Don’t panic if the carton is empty! Buttermilk is essential because its acidity activates the baking soda, giving us lift while tenderizing the crumb, which is critical for achieving that signature moisture. If you realize you’re out, you can make a very quick substitute. For every cup of buttermilk needed, just take regular milk and stir in one tablespoon of white vinegar or lemon juice. Let that mixture sit on the counter for about five to ten minutes until it looks slightly curdled or thickened. It works like a charm for this Classic Red Velvet Flavor!
Is making a bundt cake harder than a layer cake?
Honestly, I find the bundt version easier, which is why I love this Easy Red Velvet Bundt version for big gatherings. You save all the time and stress of leveling, stacking, and frosting multiple layers. A bundt cake is truly a one-and-done deal once it comes out of that beautiful pan. However, the main challenge swings entirely to pan preparation! If you grease and flour that pan meticulously, you’ll spend less time worrying than you would trying to get two layers perfectly even. Once you master the pan prep, these are brilliant for making an Elegant Bundt Dessert.
Serving Suggestions for This Elegant Bundt Dessert
Now that you have this magnificent, deep red creation cooling and ready for its sweet cream cheese crown, you have to think about what you’re going to serve it with! Honestly, this Red Velvet Bundt Cake is so rich and flavorful all on its own, it doesn’t need much fuss, which is perfect when you’re going for that easy elegance factor.
For a daytime gathering or a nice brunch situation, I always serve this with a strong, hot coffee—maybe even an Americano. The bitterness helps balance the sweetness of the glaze beautifully. If it’s a weekend afternoon, a simple pot of black tea works perfectly. It’s refined, but effortless!
If you want to add a little something fresh to the plate, don’t reach for heavy sauces. Instead, place just a small mound of fresh raspberries or maybe some sliced strawberries right next to the slice of cake. The bright acidity of the berries cuts through the richness of the cream cheese and the cake itself, making every bite feel lighter. It looks absolutely stunning on a white platter!
Remember, this is a centerpiece dessert—a true Holiday Bundt Cake Idea! So, keep the plating simple: a beautiful slice on a nice plate, maybe a little dusting of powdered sugar on the side of the plate for contrast, and let that intense red speak for itself. No need for complicated garnishes when the cake is this good!
PrintUltimate Moist Red Velvet Bundt Cake with Tangy Cream Cheese Glaze
A recipe for a rich, moist red velvet bundt cake featuring a classic flavor profile and topped with a simple, tangy cream cheese glaze.
- Prep Time: 20 min
- Cook Time: 60 min
- Total Time: 80 min
- Yield: 12 servings
- Category: Dessert
- Method: Baking
- Cuisine: American
- Diet: Vegetarian
Ingredients
- 2 1/2 cups all-purpose flour
- 1 1/2 cups granulated sugar
- 1 teaspoon baking soda
- 1 teaspoon salt
- 1 tablespoon unsweetened cocoa powder
- 1 cup vegetable oil
- 1 cup buttermilk, room temperature
- 2 large eggs, room temperature
- 1 teaspoon white vinegar
- 1 teaspoon vanilla extract
- 1 1/2 teaspoons red food coloring (liquid or gel)
- 1/2 cup cream cheese, softened
- 1/4 cup unsalted butter, softened
- 2 cups powdered sugar
- 1 teaspoon vanilla extract
- 1 tablespoon milk or heavy cream
Instructions
- Preheat your oven to 325 degrees Fahrenheit. Grease and flour a 10-cup bundt pan well.
- In a large bowl, whisk together the flour, sugar, baking soda, salt, and cocoa powder. Set aside.
- In a separate medium bowl, whisk together the oil, buttermilk, eggs, vinegar, and vanilla extract until combined. Add the red food coloring and mix until the batter is uniformly red.
- Pour the wet ingredients into the dry ingredients. Mix on low speed until just combined. Do not overmix the batter.
- Pour the batter evenly into the prepared bundt pan.
- Bake for 50 to 60 minutes, or until a wooden skewer inserted into the center comes out clean.
- Let the cake cool in the pan on a wire rack for 15 minutes. Invert the cake onto the wire rack and allow it to cool completely before glazing.
- To make the glaze, beat the softened cream cheese and butter together until smooth. Gradually add the powdered sugar, beating until creamy. Add the vanilla extract and milk, beating until the glaze is smooth and pourable. Add more milk, one teaspoon at a time, if the glaze is too thick.
- Drizzle the cream cheese glaze over the cooled cake. Allow the glaze to set before slicing and serving.
Notes
- Using room temperature buttermilk and eggs helps create a more uniform and tender crumb structure.
- For the deepest red color, use a high-quality gel food coloring instead of liquid coloring.
- If you prefer a thicker frosting over a glaze, reduce the amount of milk added to the cream cheese mixture.
Nutrition
- Serving Size: 1 slice
- Calories: 450
- Sugar: 55
- Sodium: 300
- Fat: 24
- Saturated Fat: 7
- Unsaturated Fat: 17
- Trans Fat: 0
- Carbohydrates: 58
- Fiber: 1
- Protein: 4
- Cholesterol: 45