

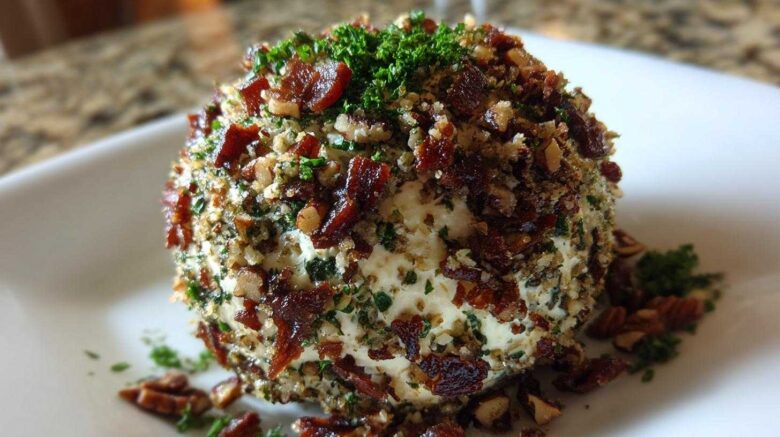
Why This Cheese Ball Recipe Stands Out
When Kenji and I think of gatherings, we think of comfort. Our simple cheese ball recipe is pure comfort food.
It’s a classic for a reason, truly. This isn’t some fancy, complicated dish. It’s the centerpiece everyone crowds around.
I remember making this for our first big New York holiday party. People kept asking for the recipe!
It proves that simple ingredients blend beautifully. We use sharp cheddar here. That gives it a wonderful bite.
This appetizer always brings smiles. It’s a hug in dip form, really. We learned that food connects people best.
Sharing recipes like this is why we started Whisk Daily. It’s our favorite way to welcome new friends.
Gathering Your Ingredients for the Perfect Cheese Ball Recipe
Before we start mixing, let’s get organized. A great cheese ball recipe starts with quality components.
Having everything ready makes the process so much quicker. Trust me on this prep work!
We want a smooth base for this classic cheese ball recipe. That means paying attention to the cream cheese.
Essential Components
- 8 ounces cream cheese, fully softened. This is key for texture.
- 4 ounces shredded sharp cheddar cheese. Use the good stuff.
- 2 tablespoons Worcestershire sauce. It adds depth.
- 1 teaspoon garlic powder.
- 1/2 teaspoon onion powder.
Flavor Enhancers and Coating
These additions make our appetizer pop!
- 1/4 cup finely chopped fresh parsley.
- 1/4 cup finely chopped fresh chives. Fresh herbs matter a lot.
- 1/2 cup finely chopped pecans. Toasting them first is a nice trick.
- 1/4 cup crumbled cooked bacon. Make sure it’s cooled completely.
Equipment Needed for Your Easy Cheese Ball Recipe
You don’t need fancy gear for this. Keep it simple, friends.
Good tools make any cooking project smoother. Let’s see what we need first.
Mixing and Shaping Tools
- One medium mixing bowl.
- A sturdy spatula or wooden spoon.
- Plastic wrap for chilling time.
Preparing the Bacon
The bacon must be cooked and cooled. I usually cook extra!
Crumble it finely before mixing it in later.
Hot bacon will melt your soft cheese base instantly. Don’t rush this part!
Step-by-Step Instructions for the Best Cheese Ball Recipe
Now for the fun part! Making this classic cheese ball recipe is very straightforward. Just follow these steps closely.
We’re aiming for a beautifully blended, spreadable base. Remember that texture is everything here.
Mixing the Cream Cheese Base
Grab your softened cream cheese first. It must be truly soft. Cold cheese lumps up badly.
Add the shredded cheddar cheese next. Mix these cheeses well together. Then add the Worcestershire sauce. Stir in the garlic powder and onion powder too.
Mix this until it looks totally smooth. I use a sturdy spatula for this job. This takes about two minutes.
Incorporating Fresh Herbs
Next, we fold in the fresh flavor! Gently mix in the chopped parsley and chives.
Don’t overmix once the herbs are in. We want them visible throughout the mixture. This keeps the color nice.
Fold them in just until they disappear evenly. This is important for flavor distribution.
Forming and Coating the Cheese Ball Recipe
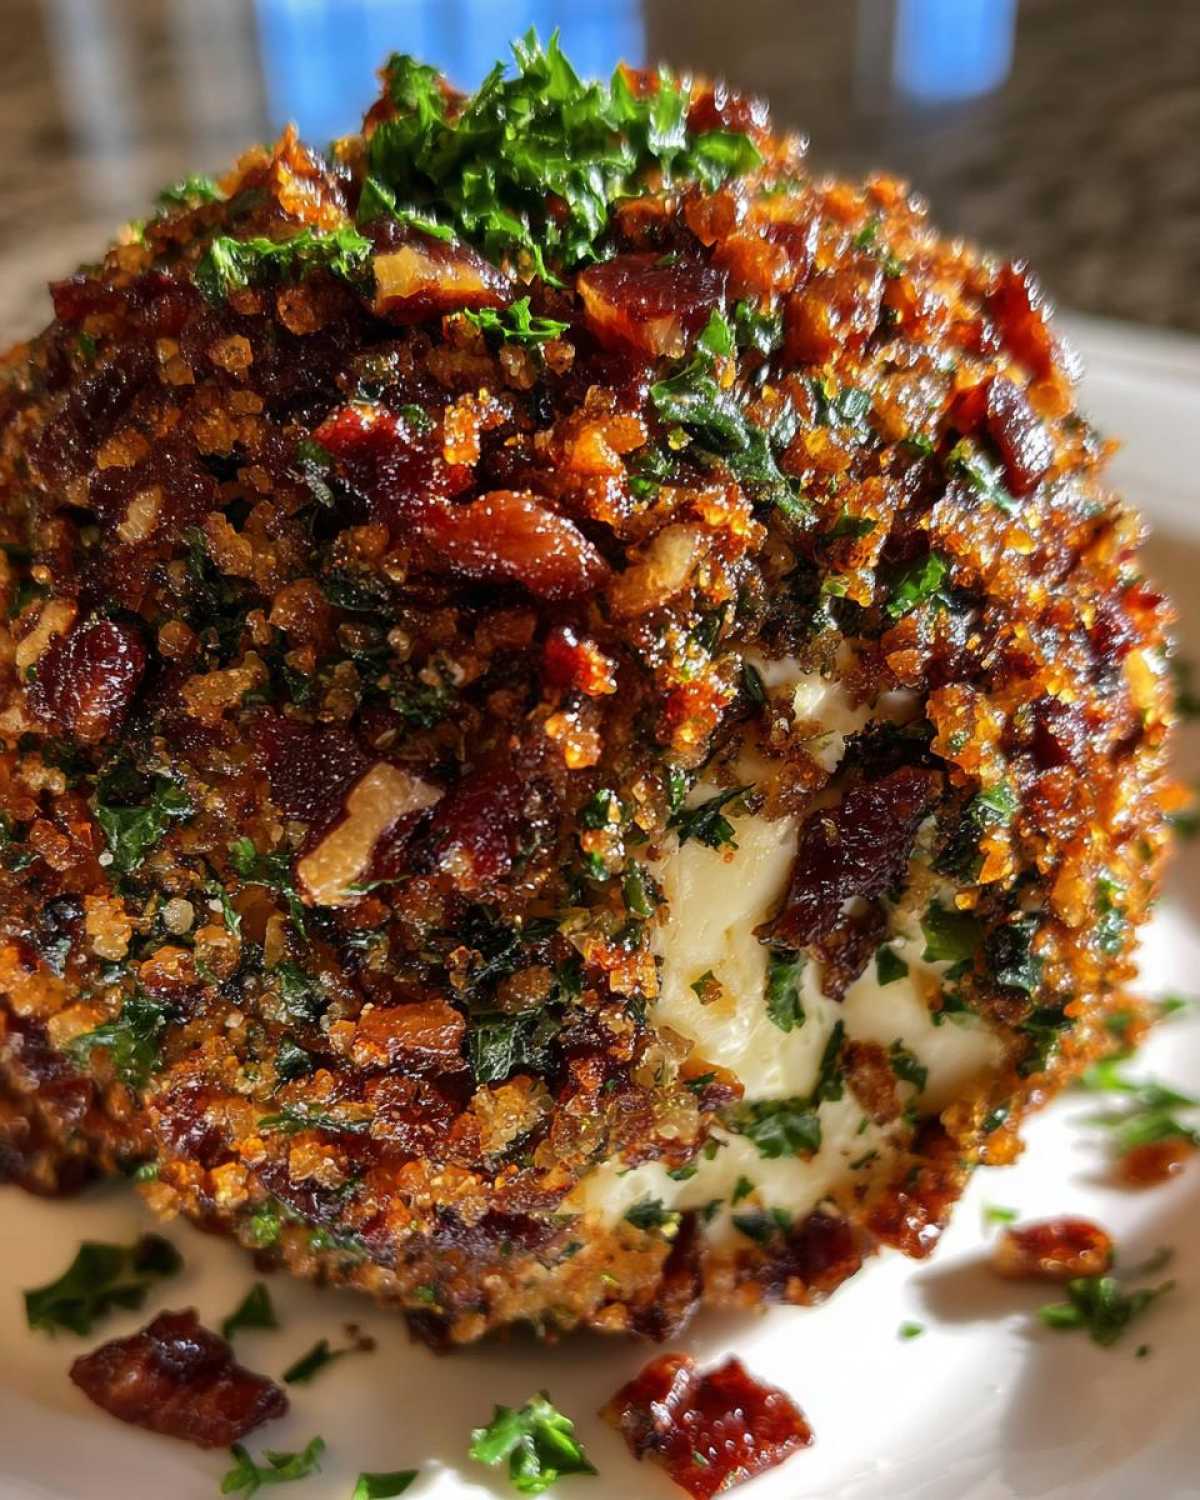
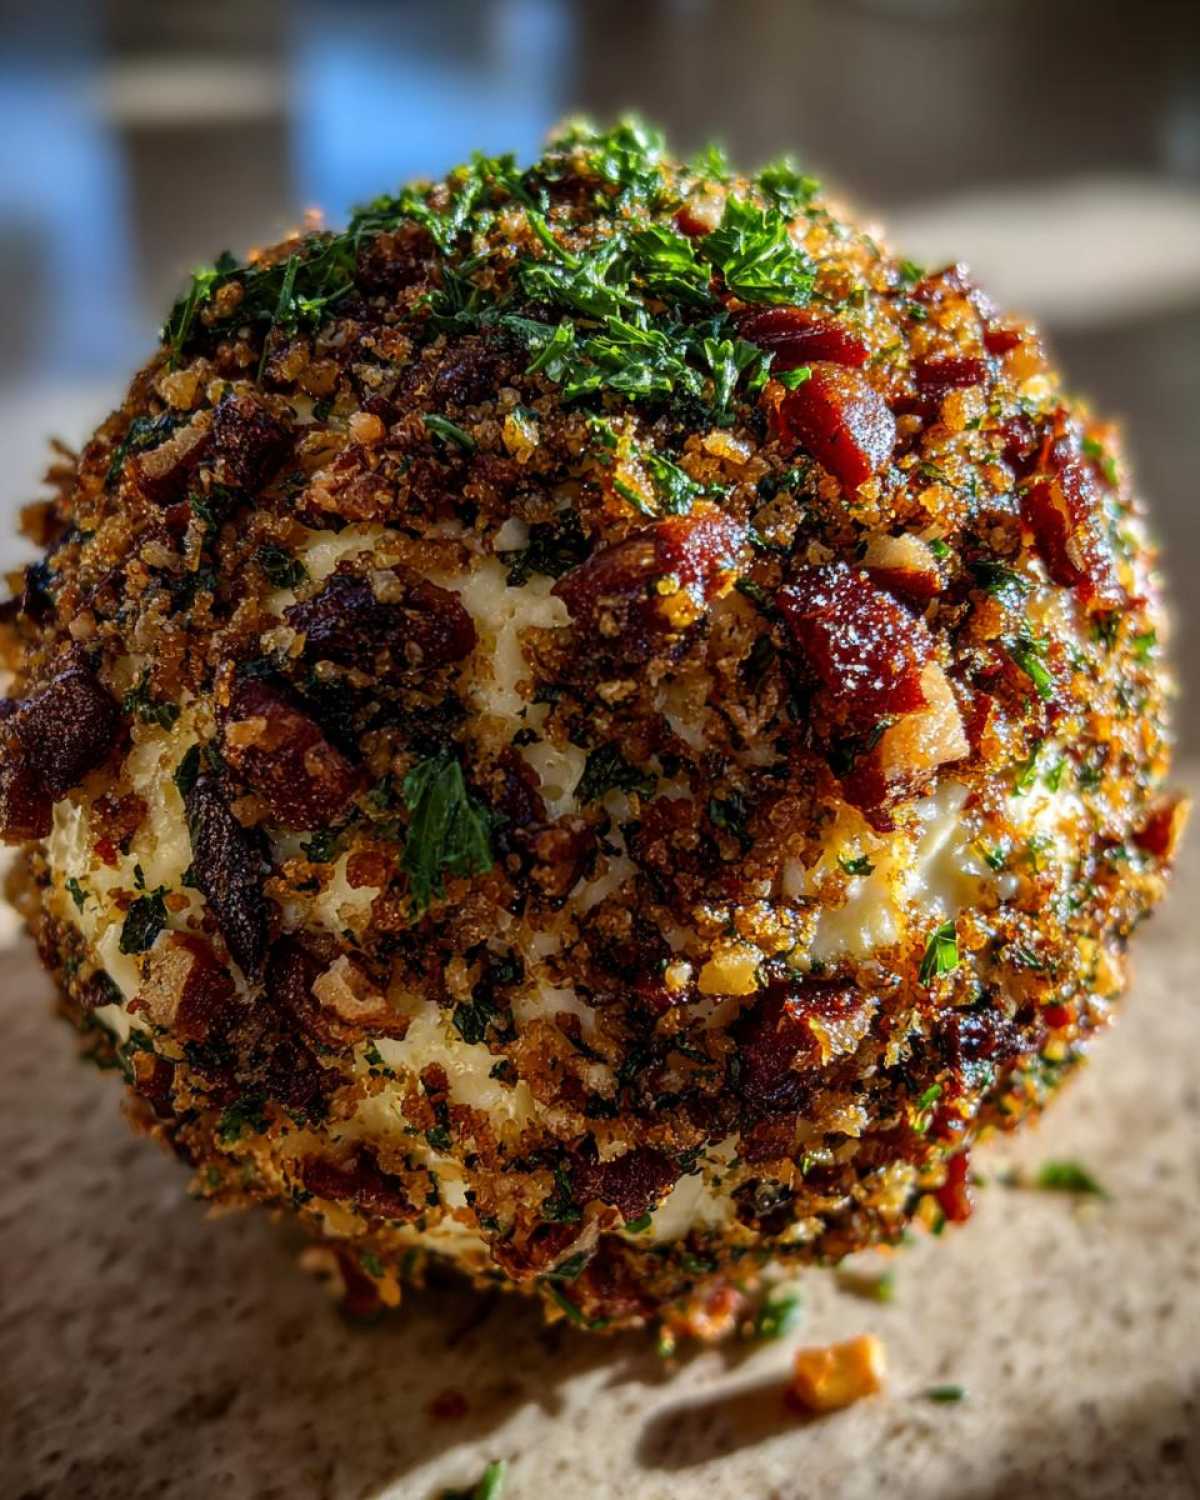
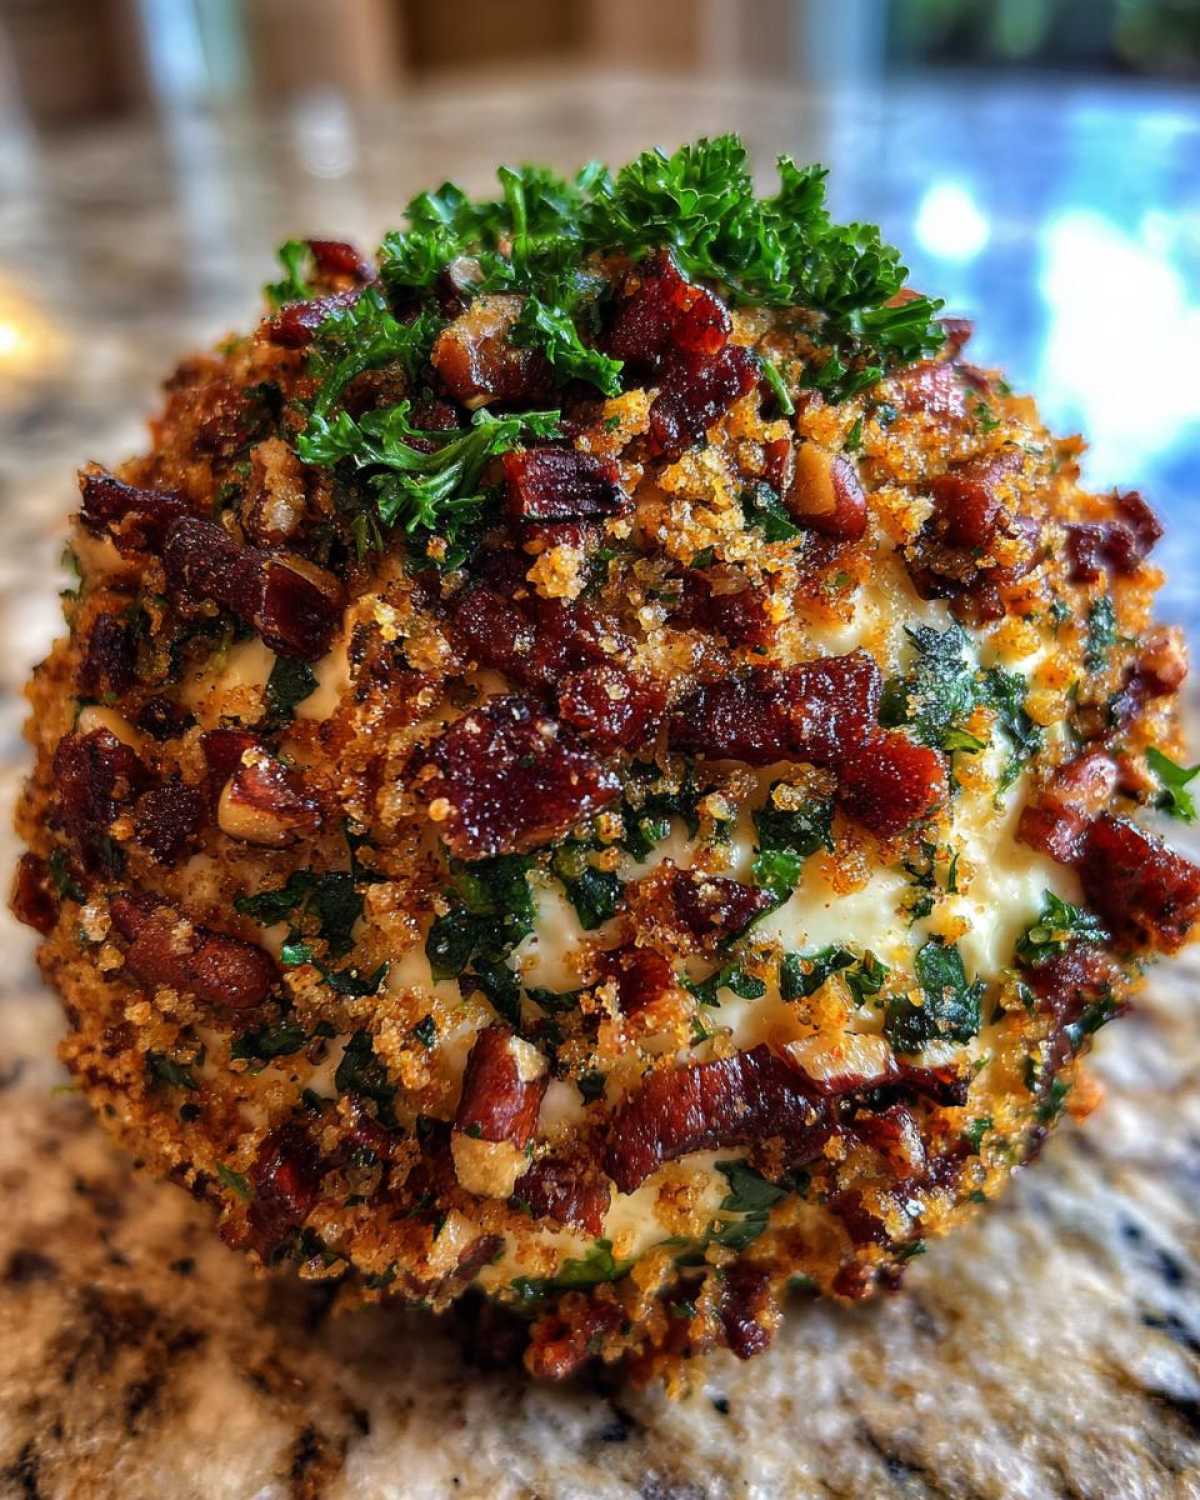
Time to shape our masterpiece. Use your clean hands for this step. Form the mixture into one even ball shape.
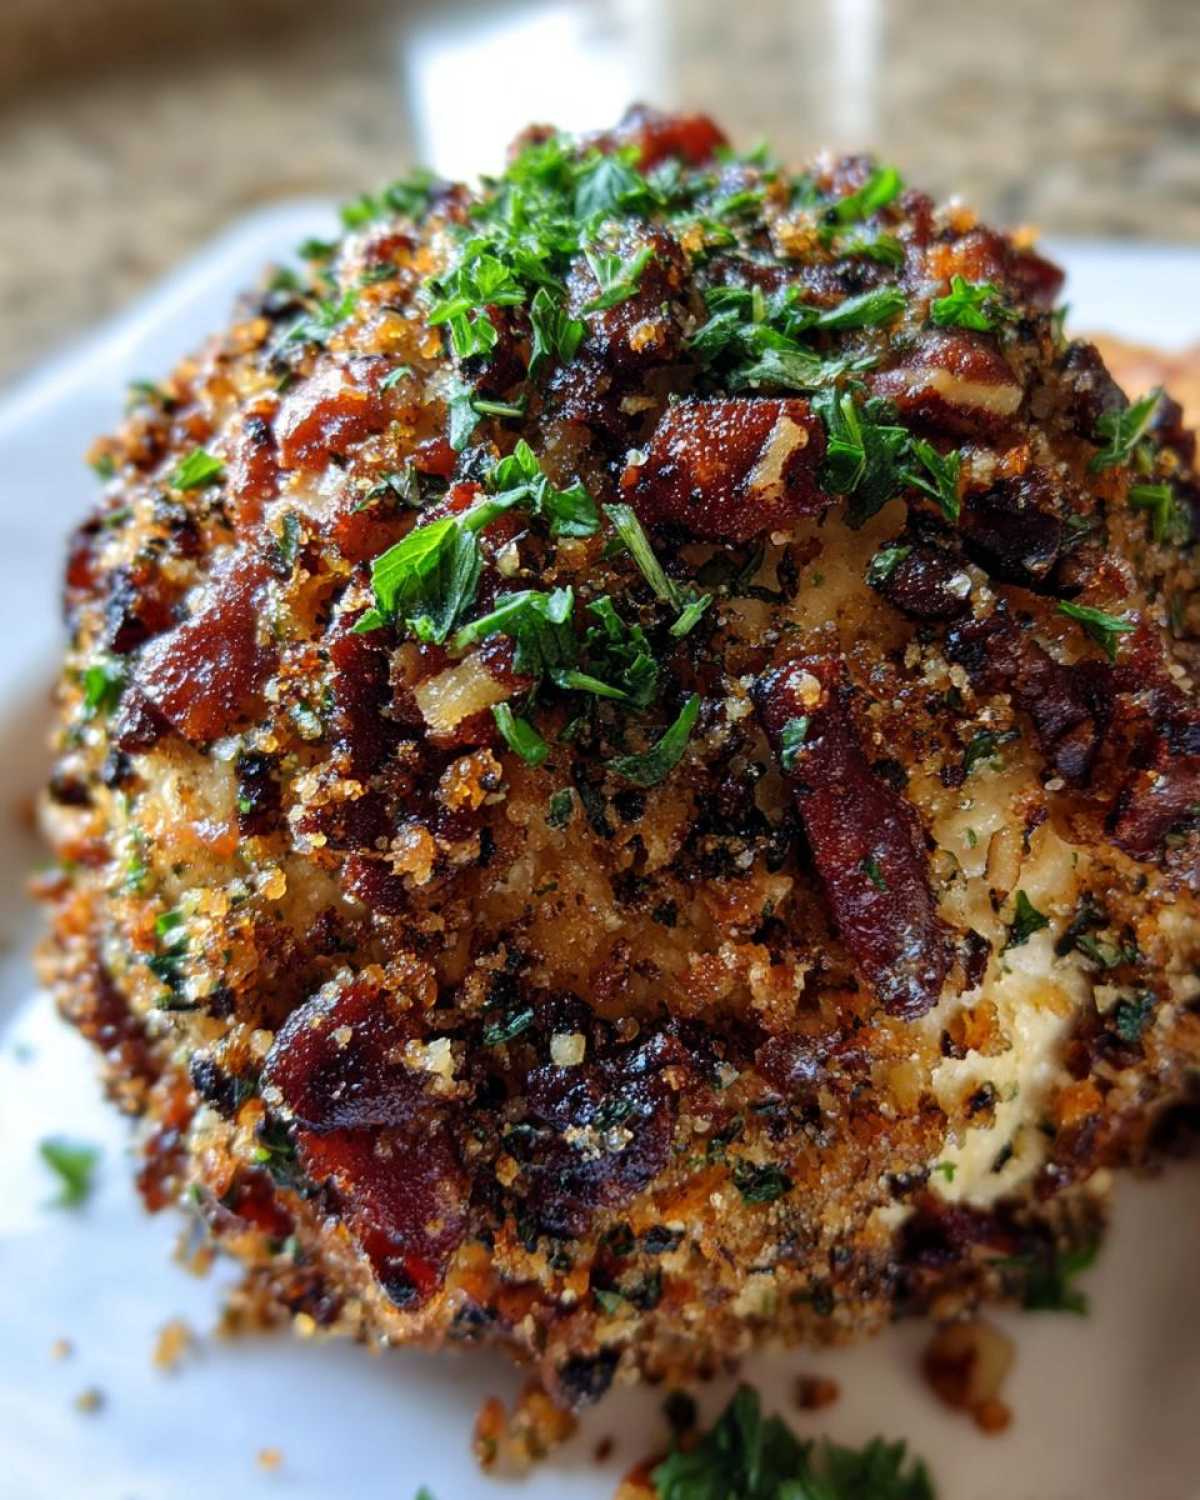
In a separate shallow dish, combine your pecans and bacon crumbles. Spread them out nicely.
Roll the cheese ball over the coating mixture. Press gently but firmly. You want a thick, even layer coating.
The Crucial Chilling Time
Wrap the coated ball tightly in plastic wrap now. This keeps the coating stuck on well.
Chill it in the refrigerator for at least two hours. This step makes it firm enough to serve.
If you skip chilling, it just slumps over. Nobody wants a melted cheese puddle!
Tips for Success with Your Cheese Ball Recipe
Getting this cheese ball recipe right is simple with a few tricks. I’ve learned these lessons over many parties.
Follow these small details for the best, creamiest results every time. Your guests will thank you for it.
Texture Management
That cream cheese must be fully softened. I mean room temperature soft. It blends like silk then.
When serving, pull the ball out early. Let it sit out for 15 minutes. This softens it slightly for spreading.
It shouldn’t be melty, just easier to scoop. Cold cheese is too hard to enjoy.
Make-Ahead Guidance
This appetizer is a host’s best friend. You can make it ahead of time. Yes!
Wrap it tightly and refrigerate it for up to two full days. It tastes great even after sitting.
This frees up your day before the big event. Cooking should be fun, not stressful.
Serving Suggestions for Your Party Appetizer
What you serve alongside your appetizer matters greatly. The right dipper completes the experience.
We love seeing the different ways people enjoy this classic snack. Think about texture contrast.
A creamy ball needs something crisp alongside it. That crunch is very satisfying.
Dippers and Carriers
- Sturdy, buttery crackers work wonderfully well.
- Thin pita chips offer a great crunch too.
- For a lighter option, try crisp celery sticks.
- Carrot sticks add a nice color contrast.
- Pretzel crisps stand up well to the rich cheese.
Storing Leftover Cheese Ball Recipe Portions
Did you have a huge party? Don’t worry about leftovers. This cheese ball recipe stores beautifully.
Wrap any remaining portion tightly in plastic wrap. Keep it sealed in the refrigerator right away.
It keeps well for about four days after the party. This is great for quick snacks later.
We often enjoy the leftovers on toast the next morning! It is surprisingly good this way.
Reheating and Refreshing
When you pull it out later, it will be very firm. That is normal after refrigeration.
Just let the cheese ball sit out first. Give it about 15 to 20 minutes on the counter.
This short tempering time softens it up. Then it spreads perfectly again. No microwave needed here!
Frequently Asked Questions About the Cheese Ball Recipe
I get so many questions about this favorite cheese ball recipe. It’s a popular party dip for good reason!
Here are a few things readers often ask me, Amaya, about making this appetizer.
Can I make this cheese ball recipe vegetarian?
That is a great question! Our main recipe uses bacon for that salty crunch. It’s delicious.
But yes, you can easily make this a vegetarian cream cheese appetizer. Simply skip the bacon entirely.
Instead, double the amount of chopped pecans. Or try toasted, chopped walnuts for a different flavor profile. Some people use dried cranberries too!
How long does a homemade cheese ball last?
When stored properly after making your cheese ball recipe, it lasts well. Keep it tightly wrapped in the fridge.
It stays fresh for about four days easily. This makes it perfect for a weekend gathering.
If it sits out for serving, wrap it up quickly afterwards. Do not leave it out for hours.
It’s best eaten within 48 hours for peak freshness.
Sharing Your Whisk Daily Creations
I truly love hearing from you all. Did you make this recipe?
Tell me how your cheese ball turned out! Did you try any fun coatings?
Leave a quick star rating below the recipe card. Your feedback helps others cook too.
Share your kitchen adventures with us. We read every single comment here.
Understanding the Nutrition in This Cheese Ball Recipe
We focus on flavor here, not calorie counting! This classic cheese ball recipe is rich and satisfying.
It is meant for sharing at celebrations. Enjoy this delicious party appetizer moderately.
Nutritional facts are always estimates, of course. They depend on exact ingredient brands.
This data reflects our standard serving size. Remember to account for your crackers too!
PrintAmazing cheese ball recipe: 1 perfect bite

Make this classic cream cheese ball coated in bacon, fresh herbs, and crunchy pecans. It is a simple, crowd-pleasing appetizer perfect for holidays and parties.
- Prep Time: 15 minutes
- Cook Time: 10 minutes (for bacon)
- Total Time: 2 hours 25 minutes
- Yield: 1 large cheese ball (serves 12-16)
- Category: Appetizer
- Method: No-Bake
- Cuisine: American
- Diet: Vegetarian
Ingredients
- 8 ounces cream cheese, softened
- 4 ounces shredded sharp cheddar cheese
- 2 tablespoons Worcestershire sauce
- 1 teaspoon garlic powder
- 1/2 teaspoon onion powder
- 1/4 cup finely chopped fresh parsley
- 1/4 cup finely chopped fresh chives
- 1/2 cup finely chopped pecans
- 1/4 cup crumbled cooked bacon
Instructions
- Combine the softened cream cheese, cheddar cheese, Worcestershire sauce, garlic powder, and onion powder in a medium bowl. Mix until smooth and fully incorporated.
- Stir in the chopped parsley and chives until evenly distributed throughout the cheese mixture.
- Shape the cheese mixture into a ball using your hands or a spatula.
- In a shallow dish, combine the chopped pecans and crumbled bacon.
- Roll the cheese ball in the pecan and bacon mixture, pressing gently so the coating adheres completely.
- Wrap the cheese ball tightly in plastic wrap. Chill in the refrigerator for at least 2 hours, or until firm.
- Serve chilled with crackers, pita chips, or vegetable sticks.
Notes
- For the best texture, make sure your cream cheese is fully softened before mixing.
- You can prepare this cheese ball up to 2 days ahead of time. Keep it wrapped and refrigerated.
- If you prefer a different flavor, try coating it only in toasted walnuts or dried, finely chopped herbs.
- Allow the cheese ball to sit at room temperature for about 15 minutes before serving for easier spreading.
Nutrition
- Serving Size: 1 ounce (approx.)
- Calories: 110
- Sugar: 1g
- Sodium: 180mg
- Fat: 9g
- Saturated Fat: 5g
- Unsaturated Fat: 4g
- Trans Fat: 0g
- Carbohydrates: 1g
- Fiber: 0g
- Protein: 5g
- Cholesterol: 25mg