

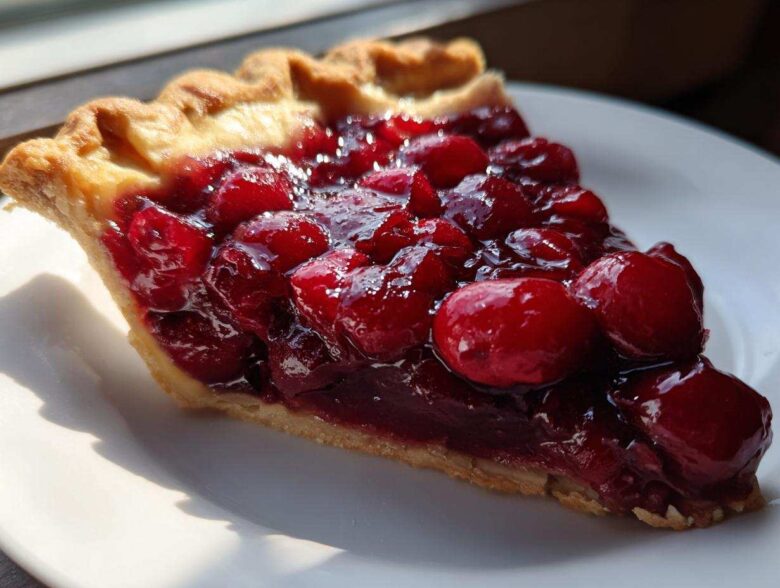
Oh my goodness, you simply HAVE to ditch the canned stuff for your next holiday pie! I spent years fighting with that awful watery sludge that always leaked out the bottom crust, and honestly, it ruined more than one perfect baking day. That’s why I locked myself in the kitchen until I cracked the code for the ultimate **cherry pie filling**. This recipe? It’s the one. It consistently delivers unbelievably thick and juicy filling from scratch every single time. Whether you’ve got beautiful fresh cherries from the farmers market or a bag of frozen ones lurking in the back of your freezer, this method handles them magically. Trust me, once you see how easy it is, you’ll never look back!
Why This Is The Best Homemade Cherry Pie Filling Recipe (Thick & Juicy)
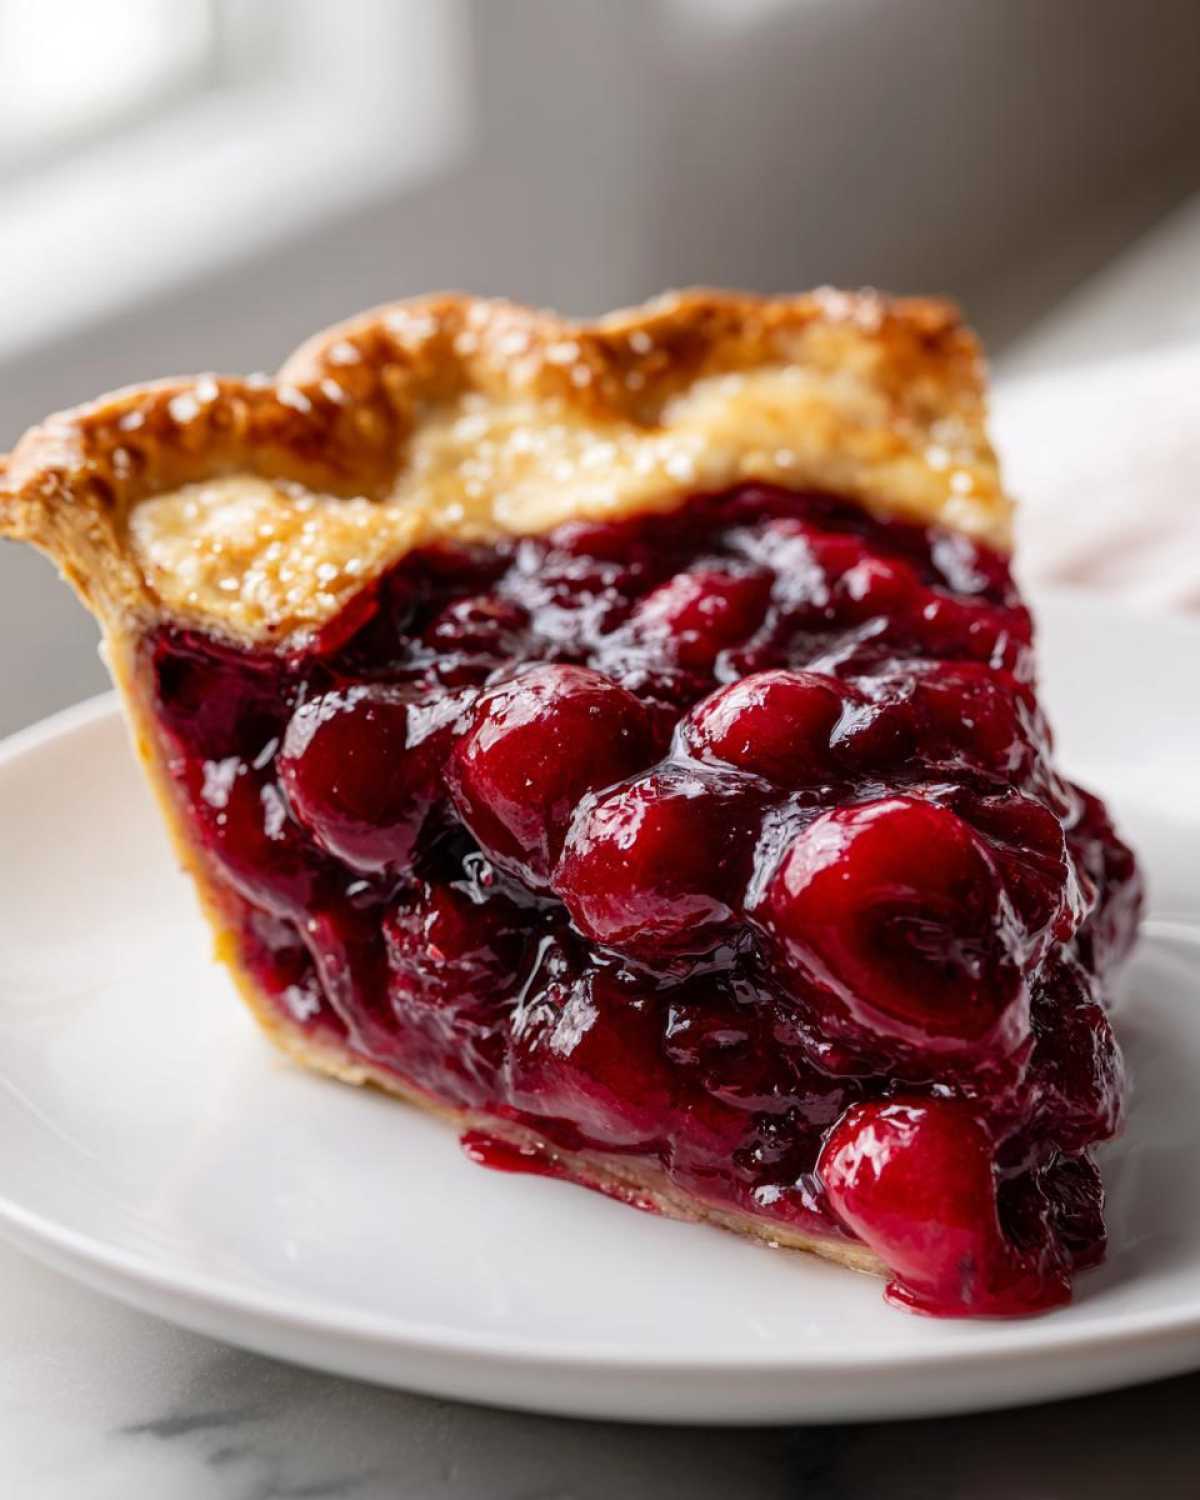
I’m telling you, seeing that perfectly set, glistening filling in your slice is unmatched. This formula isn’t just some random mix; it’s engineered to beat runoff and sogginess. We’ve solved the classic pie filler struggle! I think this recipe became my go-to after I managed to get a beautiful one to survive a cross-country move without leaking a drop. You can check out some of my other tried-and-true favorites over on my main food blog updates, but this filling recipe stands alone.
Achieving Perfect Texture: The Secret to Thick Cherry Pie Filling
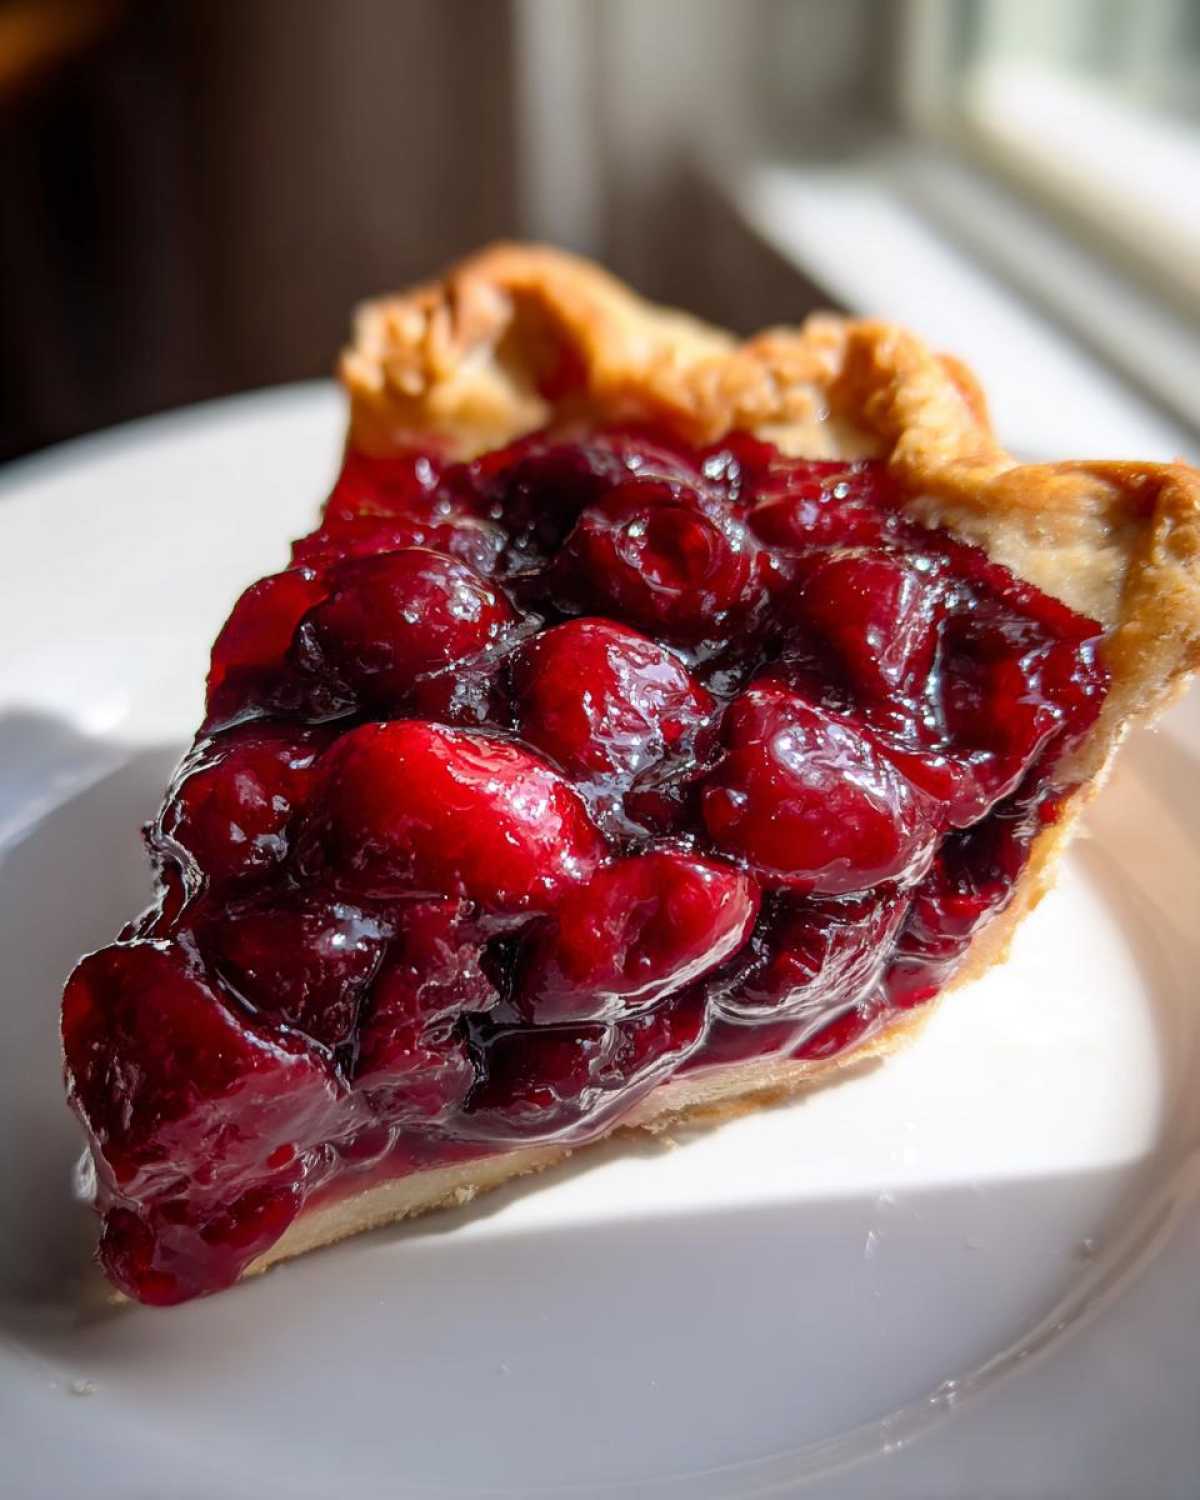
The absolute key to avoiding that runny mess everyone hates is respecting the slurry. We don’t just dump cornstarch in willy-nilly! Mixing it perfectly into cold water first creates this amazing gel when it hits the heat. This method guarantees you get that beautiful, scoopable **Thick Cherry Pie Filling**. Remember, even if it looks a little loose when you take it off the stove, don’t panic! It sets up beautifully as it cools down.
Sweet Tart Cherry Filling Flavor Profile
You want that real bakery flavor, right? That’s not just sugar and fruit! The small additions of lemon juice and especially the almond extract are game-changers. The lemon cuts through the sweetness, giving you that perfect pucker, and the almond just enhances that rich cherry flavor. It creates a truly sophisticated **Sweet Tart Cherry Filling** that tastes exactly like something an expert pastry chef would serve.
Ingredients for Your Juicy Cherry Filling From Scratch
Okay, let’s talk about what you need to pull off this incredible **Juicy Cherry Filling From Scratch**. It’s shockingly simple, which is why I love it for weeknight desserts. Make sure you have everything measured out before you even think about turning on the stove—we move fast once we start cooking!
- 4 cups pitted sweet or tart cherries (fresh or frozen—seriously, either works!)
- 1 cup granulated sugar
- 1/4 cup cornstarch
- 1/4 cup cold water
- 1 tablespoon lemon juice
- 1/2 teaspoon almond extract
- 1/4 teaspoon salt
Ingredient Notes and Substitutions for Cherry Pie Filling
If you’re grabbing frozen cherries, listen close: Do NOT thaw them first! Toss them straight from the freezer into the pot. This keeps them firmer longer. If you are using very sweet cherries, you can dial that sugar back to 3/4 cup; they’ll still be sweet enough. But if you’re using tart cherries, stick to the full cup of sugar. That almond extract, even though it’s just a tiny bit, really bumps up the fruit flavor, so don’t skip it! It’s a classic trick for the **Best Cherry Pie Filling**.
How To Make Cherry Pie Filling: Step-by-Step Instructions
Alright, get your apron on, because this part is quick and exciting! Since we are using frozen cherries sometimes and want this done fast, efficiency is everything on the stovetop. We’re using the best method available to get that glorious texture we talked about. If you’re worried about lumps, don’t be—the secret is right here in the first step for the **Easy Cherry Pie Filling**! If you love this method for pie filling, wait until you see how I use timing in my ultimate chocolate chip cookie recipe!
Preparing the Cornstarch Slurry for Thick Cherry Pie Filling
First things first: we make the slurry! Grab a small bowl—definitely not the big mixing bowl, you don’t want to waste time washing it later. Whisk that cornstarch and the cold water together really well. You need to mix it until it looks totally smooth, like thin milk without any powder hiding at the bottom. That complete integration is what stops your **Thick Cherry Pie Filling** from having white, grainy clumps in it later on.
Cooking and Thickening the Homemade Cherry Filling
Now, place your cherries, sugar, and salt into a medium saucepan and set the heat to medium. Stir those around until they start bubbling gently and the sugar melts away—about five to seven minutes usually does the trick. Once it’s bubbling, slowly pour in that slurry you just made while stirring nonstop! Keep stirring constantly until the whole thing comes to a boil and thickens up nicely. You absolutely must let it boil for a full minute; that activates the cornstarch perfectly. Then, yank it off the heat and stir in the lemon juice and that secret almond flavor bomb!
Tips for Success When Making Cherry Filling With Frozen Cherries
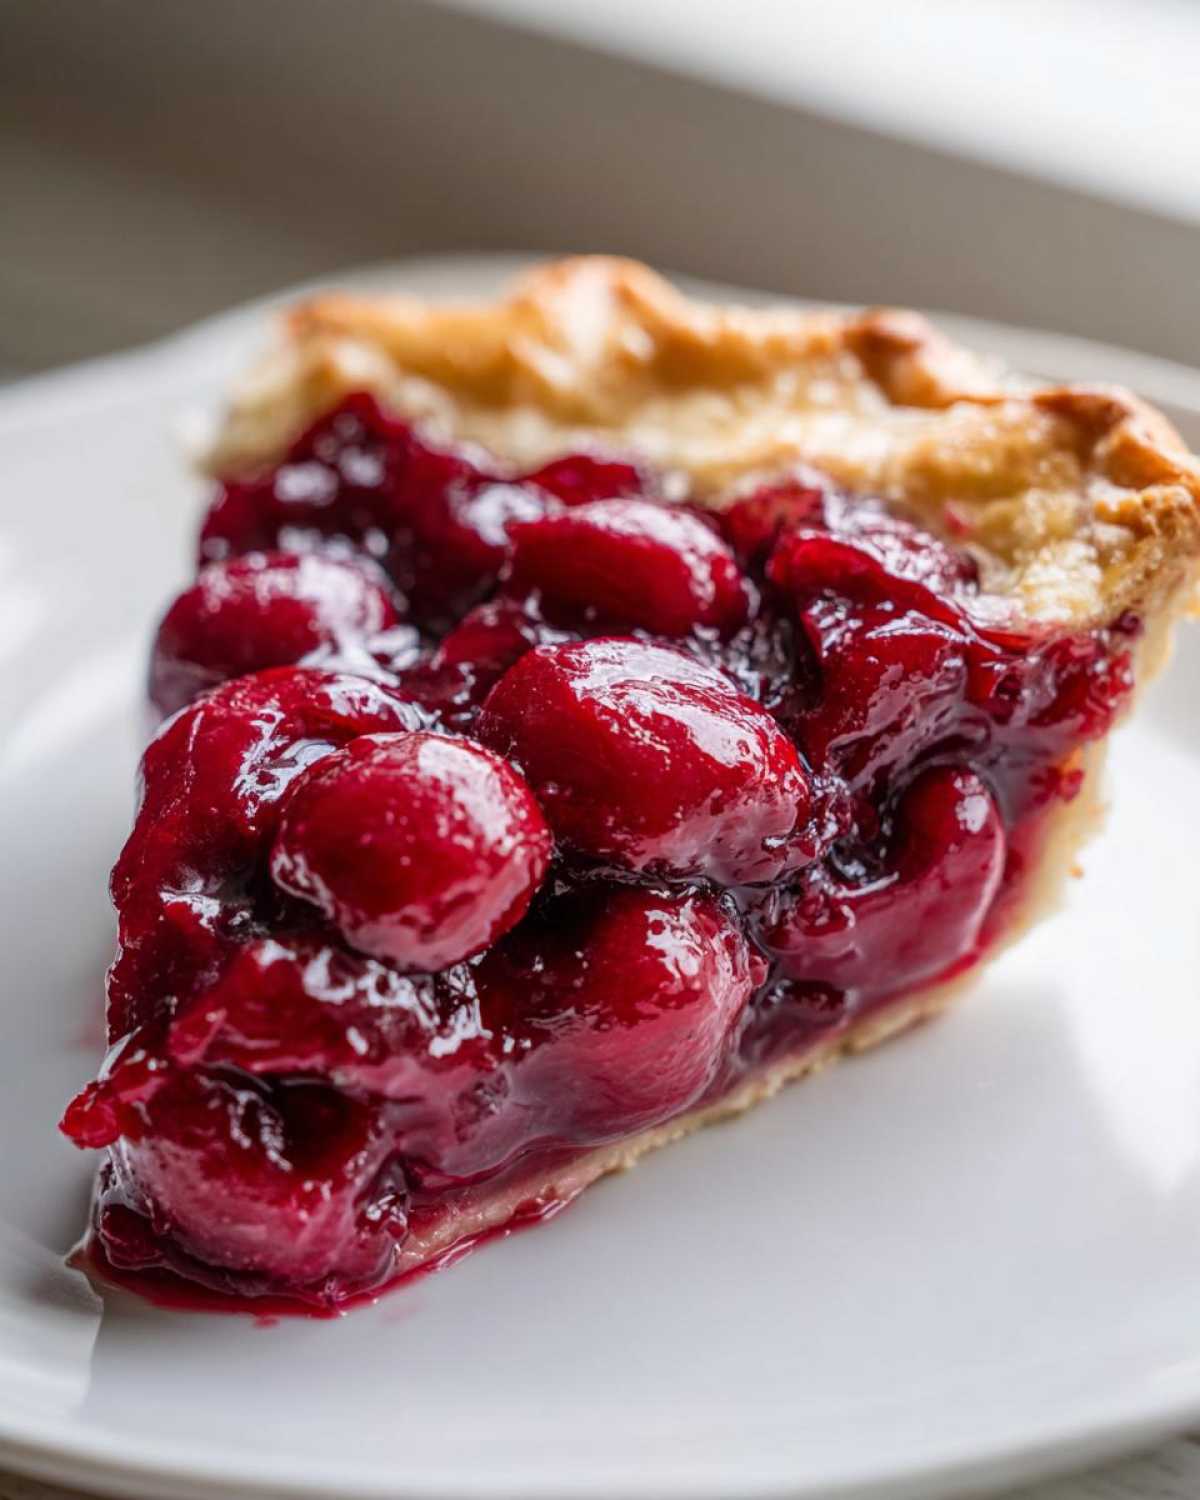
Listen, the cooling process isn’t just something you do to avoid burning your mouth; it’s absolutely crucial for the texture of your **Cherry Filling With Frozen Cherries**! I learned this the hard way once when I tried to pour my hot filling directly into a pre-baked pie shell. Oh boy, was that a mistake! It looked like cherry soup immediately. The filling has to cool down completely—like totally room temperature—for the cornstarch to finish setting up and create that fantastic, heavy gelatin.
If you accidentally end up with filling that’s still a bit loose after cooling, please don’t throw it out! I’ve saved runny batches before. Just pop the whole mixture back into a small saucepan, whisk in one extra teaspoon of cornstarch mixed with a splash of cold water, bring it back to a quick boil for thirty seconds, and re-cool. It never fails. You can see more ways I troubleshoot tricky dessert bases over at my main blog page. Always let it chill before it touches any crust!
Versatility: Using Your Homemade Cherry Pie Filling Beyond Pies
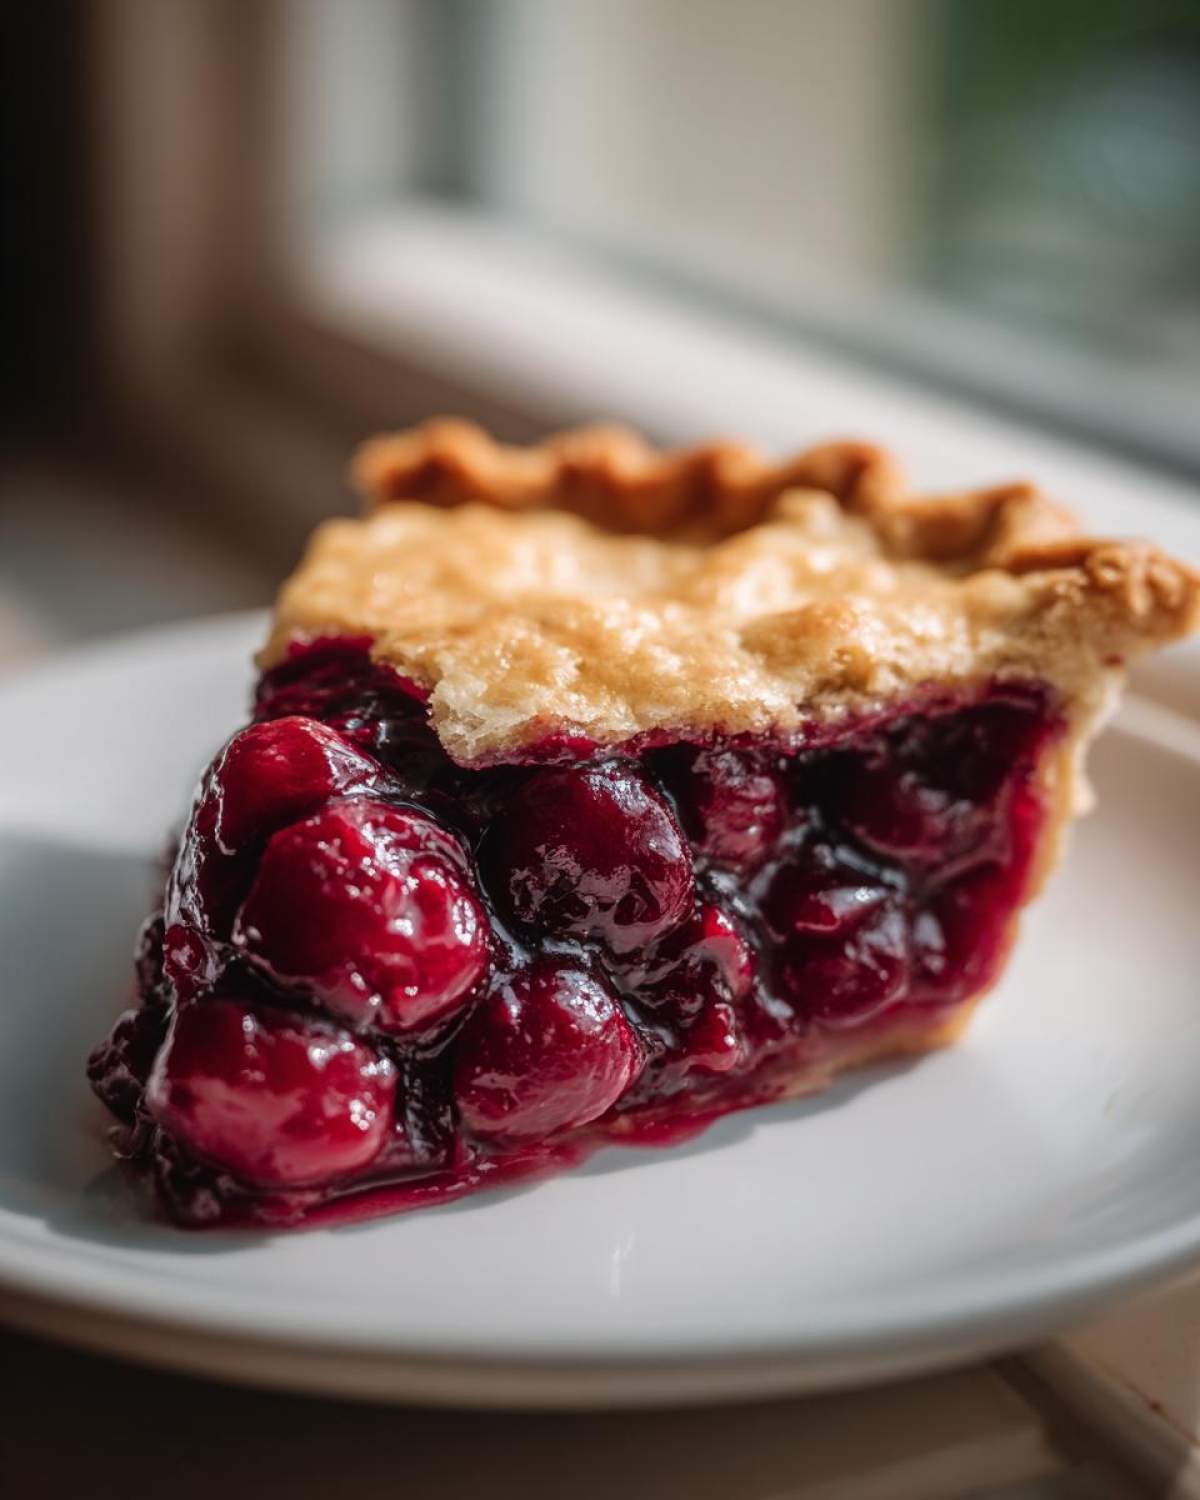
Just because we made this incredible **cherry pie filling** doesn’t mean it’s relegated only to pie plates! Honestly, that would be a crime, considering how much time we put into making it thick and flavorful. I often make a double batch just so I have jars of this fantastic topping ready to go.
Think about it: this is essentially the perfect, homemade fruit compote. We’re talking about the ultimate **Homemade Dessert Toppings** right here! I love drizzling this warm (or cold!) over a slice of plain cheesecake—it looks so professional. It’s also divine spooned over pancakes or waffles when I’m feeling fancy on a Sunday morning.
I’ve even used it as the decadent center for little tarts, or just served it straight up over a scoop of vanilla ice cream. If you haven’t tried an amazing fruit sauce over leftover creamy rice pudding, you are missing out on life. It’s rich, it’s tangy, and it beats anything you can buy in a can!
Storage and Make-Ahead Tips for Cherry Pie Filling
The best part about making this filling from scratch is that you get to bake when *you* want to bake! You don’t have to wait for peak cherry season to enjoy pie night. Once this filling is completely cooled down (remember that crucial cooling step!), you can pop it right into airtight containers in the fridge. It stays perfectly thick and delicious for about two weeks tucked away in there.
Now, if you’re feeling ambitious, this is also a great recipe to use if you want to get ahead for the holidays and look into long-term storage. This particular recipe works wonderfully for preservation—it just needs a standard water bath setup. If you haven’t dabbled in home canning yet, you should definitely look into a simple Canning Cherry Pie Filling Guide online before you start! Reheating is easy too; just warm it gently on the stovetop, stirring often, until it reaches your desired temperature. Sometimes I even think the flavor deepens overnight!
Frequently Asked Questions About Making Cherry Pie Filling
I totally get it; you’re about to start baking and suddenly you have a hundred little questions popping up! It’s okay! I made this recipe so many times until I found the perfect balance for all you home bakers out there. Here are the things folks ask me the most, especially about getting that perfect consistency!
Can I skip the cornstarch in this cherry pie filling recipe?
Oh, please don’t! I know it feels like just one more ingredient to measure, but skipping the cornstarch is the express lane to a soupy, sad pie. This recipe is specifically designed around the power of cornstarch mixed into that cold slurry to create that signature, glorious **Thick Cherry Pie Filling**. If you skip it, you’ll end up with a sweet cherry soup that leaks right out the bottom of your beautiful crust. It’s the binder that holds all the juiciness in check!
How do I make this cherry filling recipe without cornstarch?
If you absolutely can’t use cornstarch for some reason—maybe you’re out or have an allergy—you can try swapping it, but I won’t lie, the texture changes a bit. You could use arrowroot powder, but you’d typically need a little less of it, and it can sometimes give a slightly glossy, almost jelly-like sheen instead of that bakery look. If you MUST avoid cornstarch, try using 3 tablespoons of tapioca starch mixed with the cold water instead. But for this specific recipe aiming for that classic feel, cornstarch is truly the easiest way to go. If you’re looking for other easy recipes, check out my moist date nut bread!
What is the difference between using fresh vs. frozen cherries for this cherry pie filling?
This is the best news about this **Homemade Cherry Pie Filling Recipe**: it truly doesn’t care if your fruit is fresh or frozen! The game-changer is just how you handle them. If you use frozen cherries, you add them straight into the saucepan—do not thaw them first! Thawing them releases all their juices prematurely. If you use fresh cherries, just make sure they are completely pitted first, of course. Fresh cherries might let out just a tiny bit less immediate liquid than the frozen ones, but the cooking time balances that out perfectly. Either way, you end up with fantastic results!
Estimated Nutritional Information for Homemade Cherry Pie Filling
I always include what I know about the nutrition, just because we all like to keep tabs, right? Now, remember, this is just an estimate based on dividing the whole batch by the serving size noted in my kitchen breakdown. It’s not certified science, just a good ballpark figure for the amazing flavor you’re getting!
- Serving Size: 1/2 cup
- Calories: 220
- Sugar: 35g
- Sodium: 50mg
- Fat: 0.5g
So, while we’ve got a bit of sugar because HEY, it’s dessert, look at that low fat! That’s the beauty of a fruit-based filling cooked on the stovetop rather than something swimming in butter. Enjoy responsibly!
Ready to Bake Your Next Dessert?
Well, that’s it! You’ve officially mastered the thickest, juiciest **cherry pie filling** this side of the Mississippi. I’m so excited for you to try this out, especially the moment you cut into that first slice and realize nothing runny is coming out! That’s the best moment, seriously.
When you make this up, please come back here right away and let me know how it went! Did you use fresh or frozen? Was your filling picture-perfect thick? Drop a comment below; I read every single one, and I love hearing about your triumphs!
If you end up making a whole pie—and I sincerely hope you do—I’d love to see photos of your finished creation! Tag me on social media! And hey, if you’re looking for other easy, rewarding bakes, you absolutely have to try my recipe for super moist strawberry muffins next time you have extra berries lying around. Happy baking to you!
PrintThick and Juicy Homemade Cherry Pie Filling

Make a thick, sweet, and tart cherry pie filling from scratch using fresh or frozen cherries. This recipe yields a perfect texture for pies, cheesecakes, or toppings.
- Prep Time: 10 min
- Cook Time: 15 min
- Total Time: 25 min
- Yield: About 5 cups of filling
- Category: Dessert Filling
- Method: Stovetop Cooking
- Cuisine: American
- Diet: Vegetarian
Ingredients
- 4 cups pitted sweet or tart cherries (fresh or frozen)
- 1 cup granulated sugar
- 1/4 cup cornstarch
- 1/4 cup cold water
- 1 tablespoon lemon juice
- 1/2 teaspoon almond extract
- 1/4 teaspoon salt
Instructions
- If using frozen cherries, do not thaw them first. Place cherries in a medium saucepan.
- In a separate small bowl, whisk together the cornstarch and cold water until smooth. This is your slurry.
- Add the sugar and salt to the saucepan with the cherries. Stir gently.
- Cook the cherry mixture over medium heat, stirring occasionally, until the juices begin to bubble and the sugar dissolves, about 5 to 7 minutes.
- Slowly pour the cornstarch slurry into the bubbling cherry mixture while stirring constantly.
- Continue to cook, stirring constantly, until the mixture thickens significantly and boils for 1 minute. This ensures the cornstarch activates fully.
- Remove the saucepan from the heat. Stir in the lemon juice and almond extract.
- Let the filling cool completely before using it in your pie crust or dessert. The filling will thicken more as it cools.
Notes
- For a deeper color, add 1 teaspoon of cherry juice concentrate or a drop of red food coloring when adding the lemon juice.
- If you prefer a less sweet filling, reduce the sugar to 3/4 cup, especially if using sweet cherries.
- This filling can be canned using a standard water bath canning method for long-term storage.
Nutrition
- Serving Size: 1/2 cup
- Calories: 220
- Sugar: 35
- Sodium: 50
- Fat: 0.5
- Saturated Fat: 0
- Unsaturated Fat: 0.5
- Trans Fat: 0
- Carbohydrates: 55
- Fiber: 3
- Protein: 1
- Cholesterol: 0