

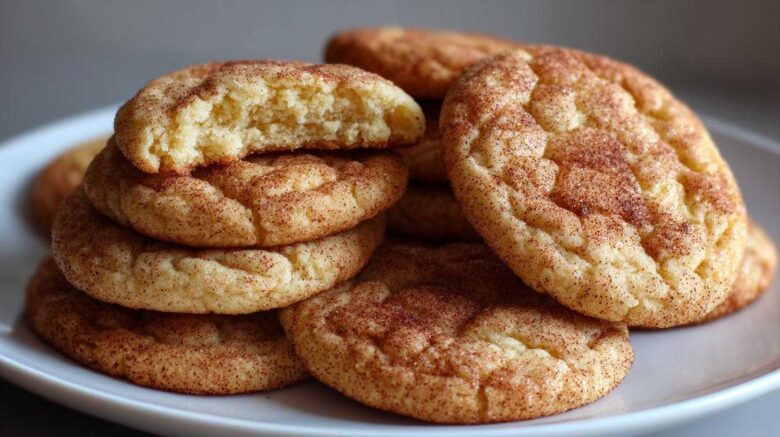
There’s something truly special about a classic Snickerdoodle cookie. It’s that perfect balance of chewy, buttery goodness, all wrapped up in a delightful cinnamon-sugar hug. I remember the first time I made these with my own children. Their eyes lit up at the sweet, spicy aroma filling our kitchen. It’s more than just a cookie; it’s a memory in the making, a little taste of pure joy that brings smiles to every face. These classic Snickerdoodle cookies are a testament to simple ingredients creating something truly magical.
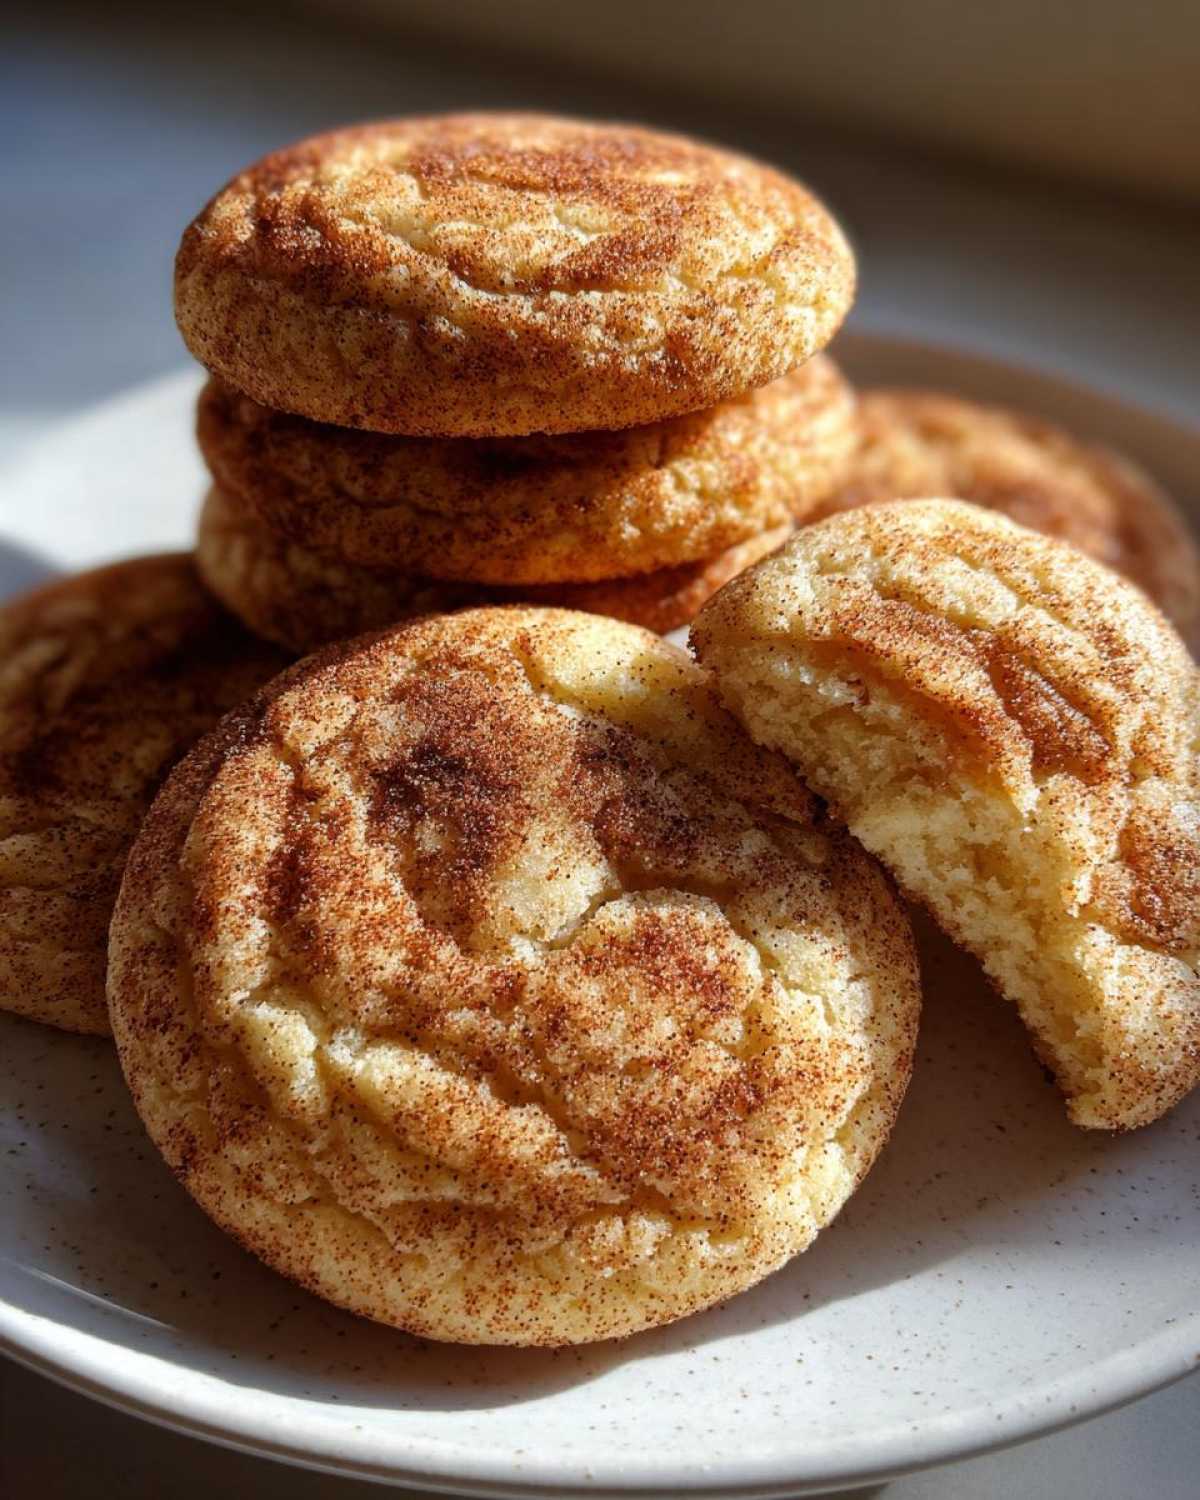
Why You’ll Love These Classic Snickerdoodle Cookies
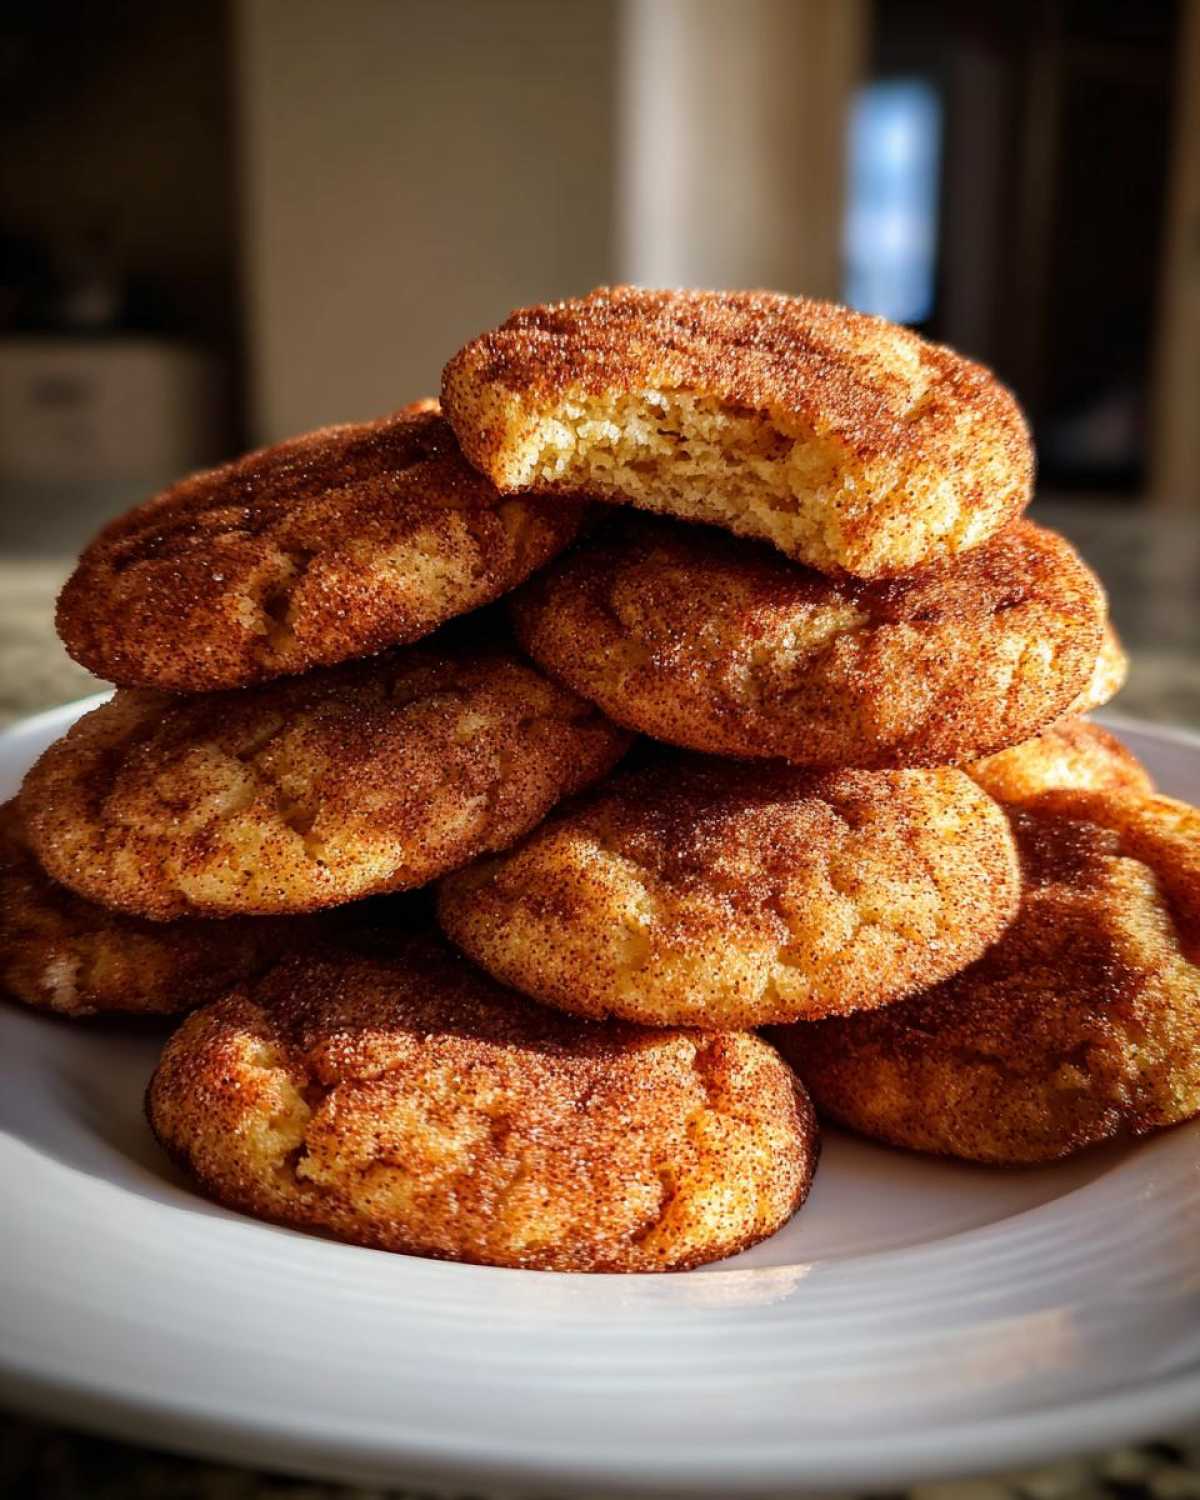
These classic Snickerdoodle cookies are a dream come true for any home baker. They’re incredibly quick and easy to whip up. You’ll get that perfect chewy texture inside with slightly crisp edges. Plus, they’re a fantastic family-friendly treat. The warm cinnamon-sugar flavor is simply irresistible. They are a guaranteed hit for any occasion.
A Touch of Nostalgia: My Classic Snickerdoodle Cookie Memories
My fondest memories often involve the scent of baking. When I was a little girl, my grandmother, Nana Rose, would make classic Snickerdoodle cookies every Sunday. The house would fill with that comforting cinnamon aroma. She’d let me help roll the dough balls in the sugar mixture. My small hands, dusted in cinnamon, felt so important. Those cookies were our special Sunday treat. Now, when I make them, I feel her love in every bite. It’s a sweet connection to my past.
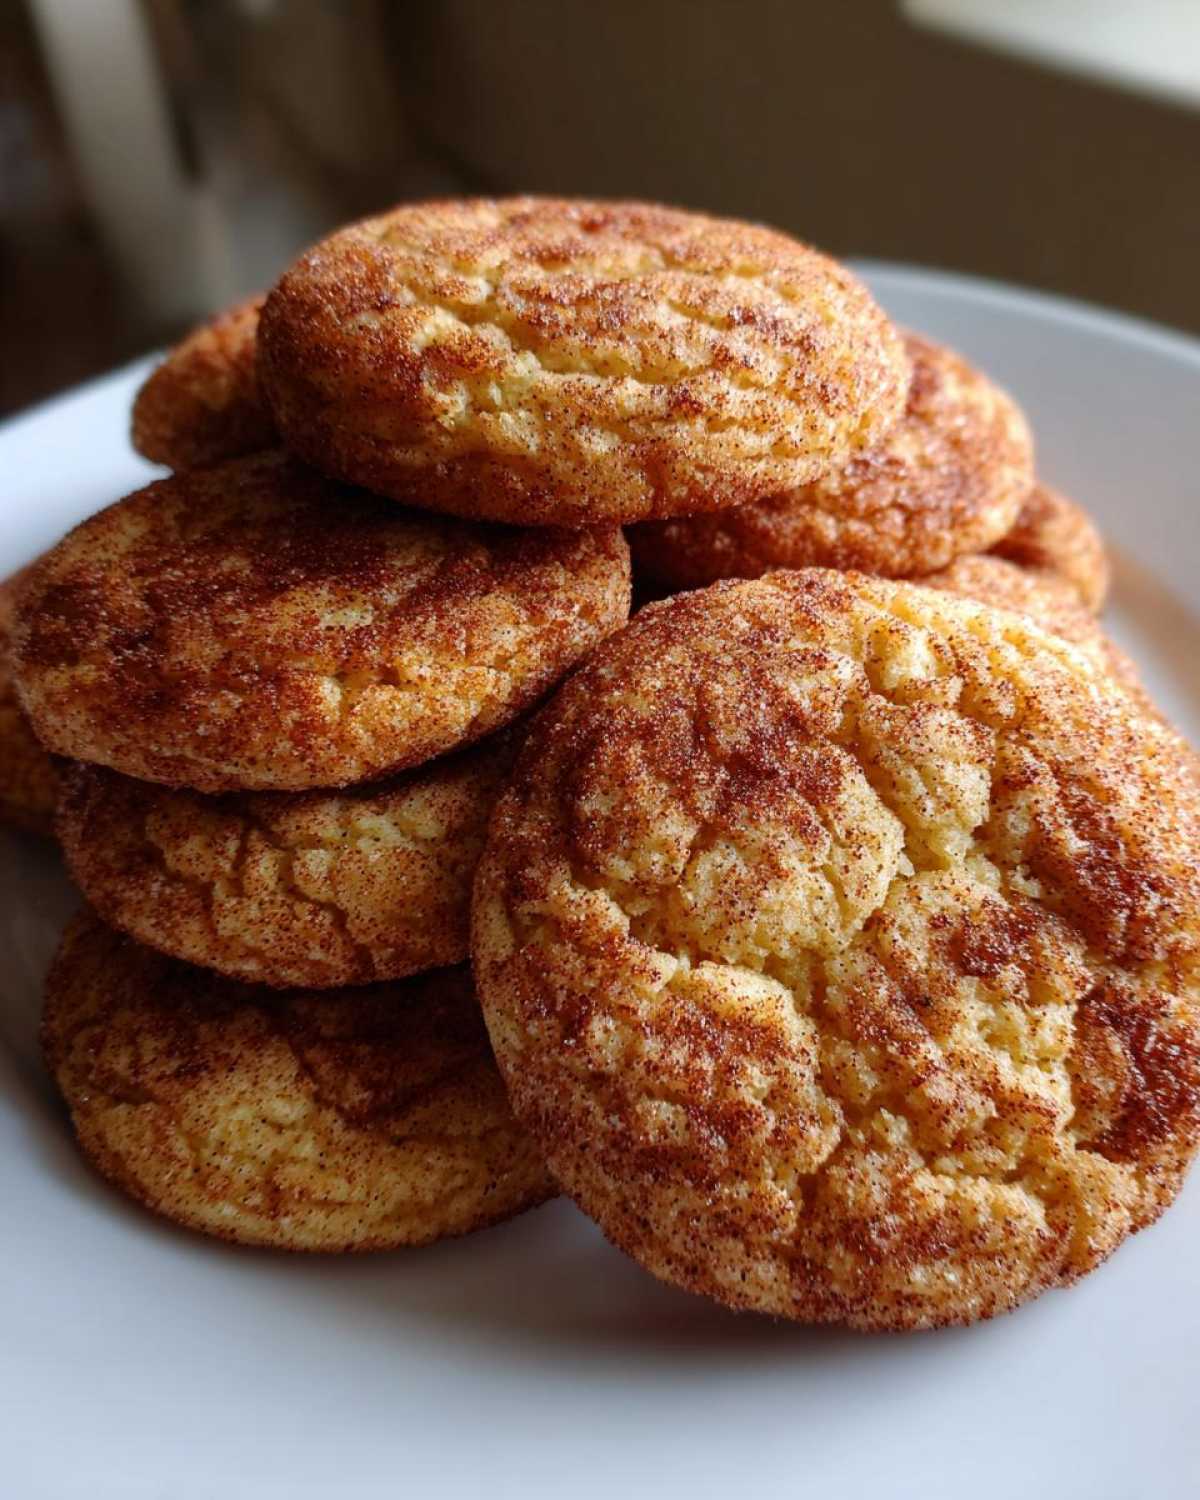
Gathering Your Ingredients for Classic Snickerdoodle Cookies
To bake up a batch of these delightful classic Snickerdoodle cookies, you’ll want to gather a few pantry staples. Having everything ready makes the baking process smooth and enjoyable. Let’s get our ingredients organized so we can start mixing!
Essential Dry Ingredients for Classic Snickerdoodle Cookies
We’ll start with our dry ingredients. You’ll need 2 3/4 cups of all-purpose flour for the base. Then, 2 teaspoons of cream of tartar give classic Snickerdoodles their signature tangy flavor. Baking soda, 1 teaspoon, helps them rise. A pinch of salt, 1/4 teaspoon, balances the sweetness.
The Wet Ingredients That Make Classic Snickerdoodle Cookies Sing
For our wet ingredients, we need 1 cup of softened unsalted butter. This makes them wonderfully buttery. Next, 1 1/2 cups of granulated sugar adds sweetness. We’ll also use 2 large eggs for binding and richness. Finally, 1 teaspoon of vanilla extract enhances all those lovely flavors.
The Perfect Cinnamon-Sugar Coating for Classic Snickerdoodle Cookies
Don’t forget the star topping! For that irresistible outer layer, you’ll need 2 tablespoons of granulated sugar mixed with 1 teaspoon of ground cinnamon. This simple coating is what makes classic Snickerdoodle cookies so special.
Step-by-Step Guide to Perfect Classic Snickerdoodle Cookies
Let’s get baking! Making these classic Snickerdoodle cookies is a fun process. Follow these simple steps for delicious results every time. We’ll go from dough to delightful in no time.
Preparing Your Classic Snickerdoodle Cookie Dough
First, preheat your oven to 375°F (190°C). Line your baking sheets with parchment paper. In a big bowl, cream together the softened butter and 1 1/2 cups of sugar. Beat until it’s nice and fluffy. Then, add the eggs one by one. Stir in the vanilla extract. In another bowl, whisk together the flour, cream of tartar, baking soda, and salt. Slowly add the dry stuff to the wet stuff. Mix until it’s just combined. Be careful not to overmix the dough!
Coating and Shaping Your Classic Snickerdoodle Cookies
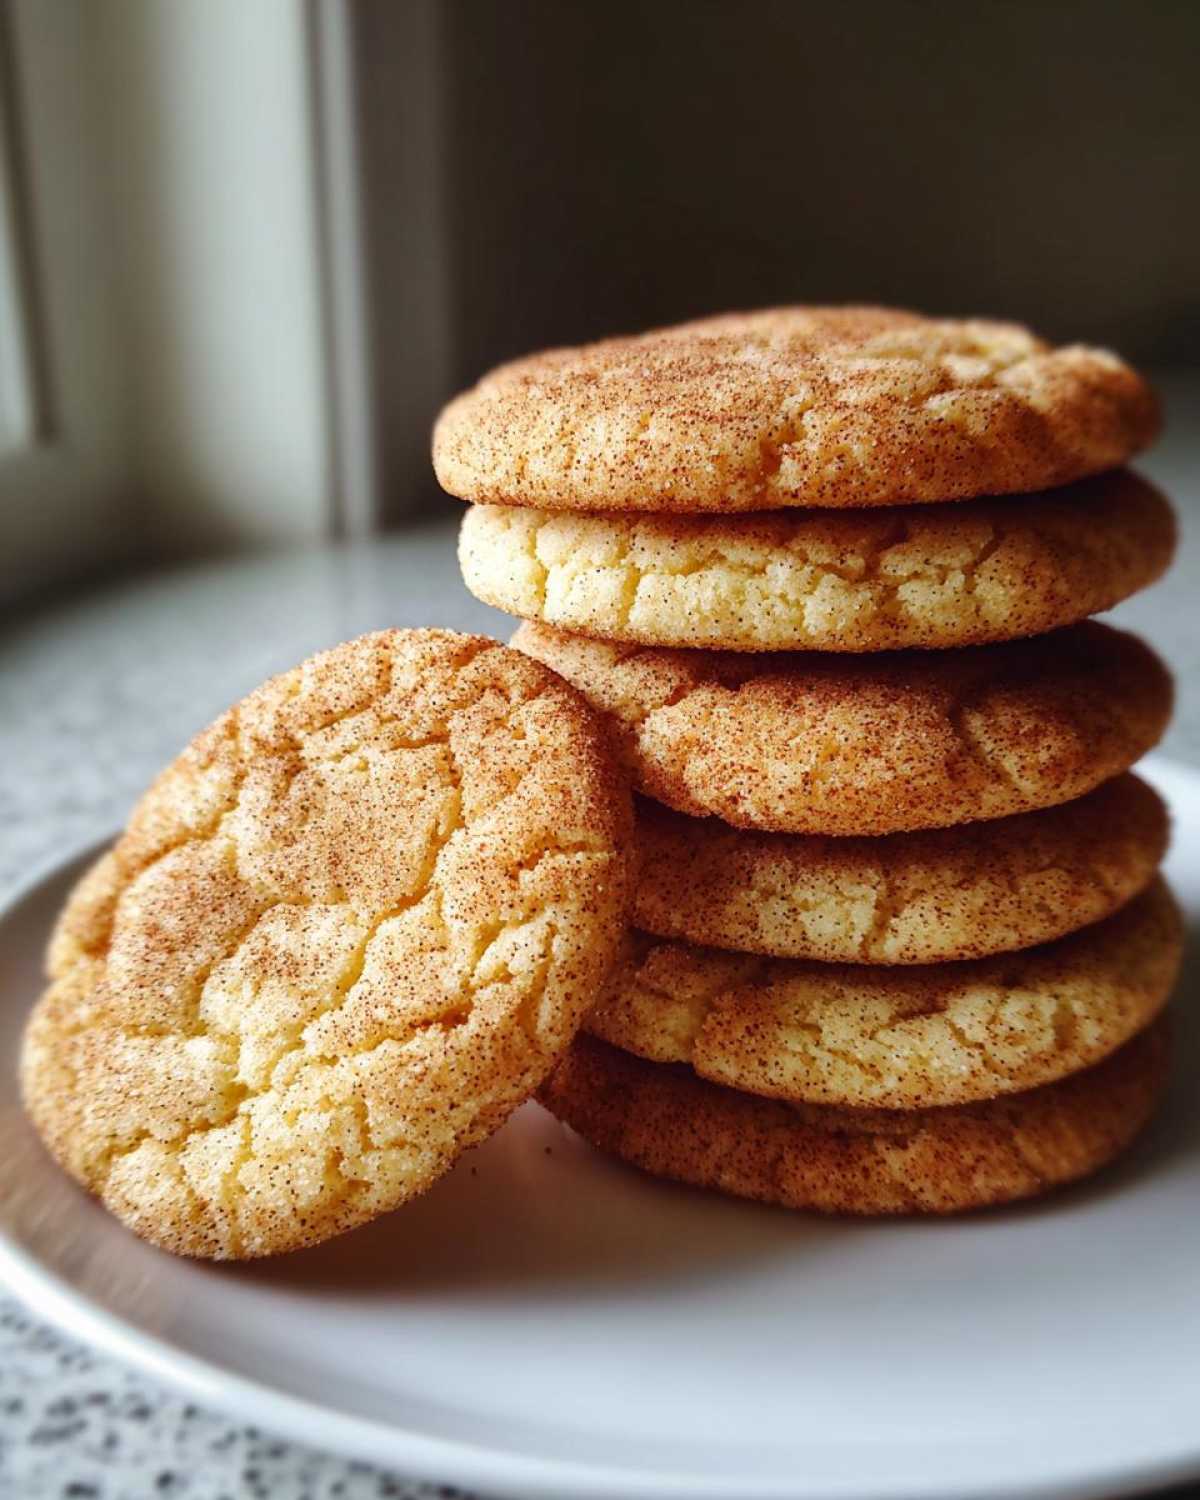
Now for that yummy coating. In a small bowl, mix the 2 tablespoons of sugar with the 1 teaspoon of cinnamon. This is our magic dust! Roll the cookie dough into 1-inch balls. My kids love doing this part. Dip each dough ball into the cinnamon-sugar mix. Make sure it’s coated all over. This gives them that signature sweet crunch. It’s a simple step that makes a big difference.
Baking Your Delicious Classic Snickerdoodle Cookies to Perfection
Place the coated dough balls onto your prepared baking sheets. Leave about 2 inches between them. They will spread a bit. Bake for 9 to 11 minutes. You want the edges to be lightly golden. The centers should still look a little soft. This is key for that chewy texture. Don’t overbake them! They’ll continue to cook a bit on the hot pan.
Cooling Your Classic Snickerdoodle Cookies Properly
Once they’re out of the oven, let the cookies cool on the baking sheets for a few minutes. This helps them set up. Then, carefully move them to a wire rack. Let them cool completely there. This step is important for getting that perfect chewy center and slightly crisp edge. Patience now leads to cookie perfection later!
Tips for Unforgettable Classic Snickerdoodle Cookies
Baking classic Snickerdoodle cookies is usually straightforward, but a few little tricks can make them truly unforgettable. I’ve learned these through many batches, and they really do make a difference. Let’s make sure your cookies are perfect every time!
Achieving the Perfect Classic Snickerdoodle Cookie Texture
Want them chewier? Bake them for just 9 minutes. For a slightly crispier edge, try 11 minutes. The centers should still look a bit soft when you take them out. They finish cooking on the hot pan, giving you that ideal texture.
Handling Soft Dough for Classic Snickerdoodle Cookies
If your dough feels too soft to roll, don’t worry! Just pop the bowl in the fridge for about 30 minutes. This makes it firmer and much easier to handle. You’ll get perfectly round balls for coating. It’s a simple step that saves a lot of frustration.
Frequently Asked Questions About Classic Snickerdoodle Cookies
Got questions about making these classic Snickerdoodle cookies? I’ve got answers! People often ask about variations or common issues. I’m happy to help clear things up.
Can I make these cookies vegan?
While this is a classic recipe, you can try substituting the butter with a vegan butter stick and using a flax egg (1 tablespoon flaxseed meal mixed with 3 tablespoons water, let sit for 5 minutes) instead of regular eggs. The texture might change slightly, but it’s worth a try for a vegan version of these easy cookies.
Why are my cookies flat?
Flat cookies often happen if your butter was too soft or melted, or if you added too much sugar. Make sure your butter is softened, not melted. Also, creaming the butter and sugar properly until light and fluffy is super important for lift. This classic snickerdoodle recipe is usually quite forgiving, though!
How long do these cookies stay fresh?
Stored in an airtight container at room temperature, classic Snickerdoodle cookies usually stay fresh for about 3-5 days. They tend to stay wonderfully chewy during this time. They’re a perfect make-ahead treat for any gathering.
Nutritional Snapshot of a Classic Snickerdoodle Cookie
Keep in mind that the nutritional details for these classic Snickerdoodle cookies are estimates. They can change based on the specific ingredients and brands you use. Baking is an art, and every kitchen is a little different!
Sharing the Joy of Classic Snickerdoodle Cookies
I truly hope you adore making and tasting these classic Snickerdoodle cookies as much as I do! Did you try them? Please leave a comment below and share your experience. A rating would be wonderful too! I’d love to see your creations, so feel free to tag us on social media. Happy baking, everyone!
PrintClassic Snickerdoodle Cookies: 11 Minutes to Joy

Learn how to make classic Snickerdoodle cookies. These cookies are wonderfully chewy, buttery, and coated in a sweet cinnamon-sugar mix. They are a perfect treat for family gatherings and are sure to be a hit with kids.
- Prep Time: 15 minutes
- Cook Time: 10 minutes
- Total Time: 25 minutes
- Yield: 24 cookies
- Category: Dessert
- Method: Baking
- Cuisine: American
- Diet: Vegetarian
Ingredients
- 1 cup (2 sticks) unsalted butter, softened
- 1 1/2 cups granulated sugar
- 2 large eggs
- 1 teaspoon vanilla extract
- 2 3/4 cups all-purpose flour
- 2 teaspoons cream of tartar
- 1 teaspoon baking soda
- 1/4 teaspoon salt
- For the cinnamon-sugar coating: 2 tablespoons granulated sugar, 1 teaspoon ground cinnamon
Instructions
- Preheat your oven to 375°F (190°C). Line baking sheets with parchment paper.
- In a large bowl, cream together the softened butter and 1 1/2 cups granulated sugar until light and fluffy.
- Beat in the eggs one at a time, then stir in the vanilla extract.
- In a separate bowl, whisk together the flour, cream of tartar, baking soda, and salt.
- Gradually add the dry ingredients to the wet ingredients, mixing until just combined. Do not overmix.
- In a small bowl, combine the 2 tablespoons of granulated sugar and 1 teaspoon of cinnamon for the coating.
- Roll the cookie dough into 1-inch balls.
- Roll each ball in the cinnamon-sugar mixture to coat evenly.
- Place the coated dough balls about 2 inches apart on the prepared baking sheets.
- Bake for 9-11 minutes, or until the edges are lightly golden and the centers are still slightly soft.
- Let the cookies cool on the baking sheets for a few minutes before transferring them to a wire rack to cool completely.
Notes
- For chewier cookies, bake for a shorter time. For crispier cookies, bake for a minute or two longer.
- You can chill the dough for 30 minutes before rolling if it is too soft to handle.
- Ensure your cream of tartar is fresh for the best texture.
Nutrition
- Serving Size: 1 cookie
- Calories: 150
- Sugar: 12g
- Sodium: 50mg
- Fat: 8g
- Saturated Fat: 5g
- Unsaturated Fat: 3g
- Trans Fat: 0g
- Carbohydrates: 18g
- Fiber: 1g
- Protein: 2g
- Cholesterol: 30mg