

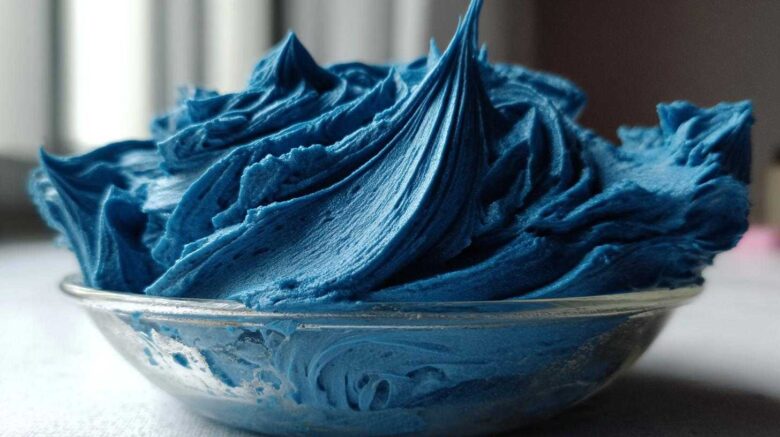
Welcome to the Kitchen of Our Hearts: Mastering the Perfect cookie icing recipe
Hello friends! I’m Amaya, and decorating cookies brings me so much joy. It’s like painting with sugar!
Kenji and I have spent decades sharing food stories. Now, in our new New York kitchen, we share our best secrets. Getting that perfect, smooth finish takes practice. That’s why I’m thrilled to share my favorite cookie icing recipe with you today.
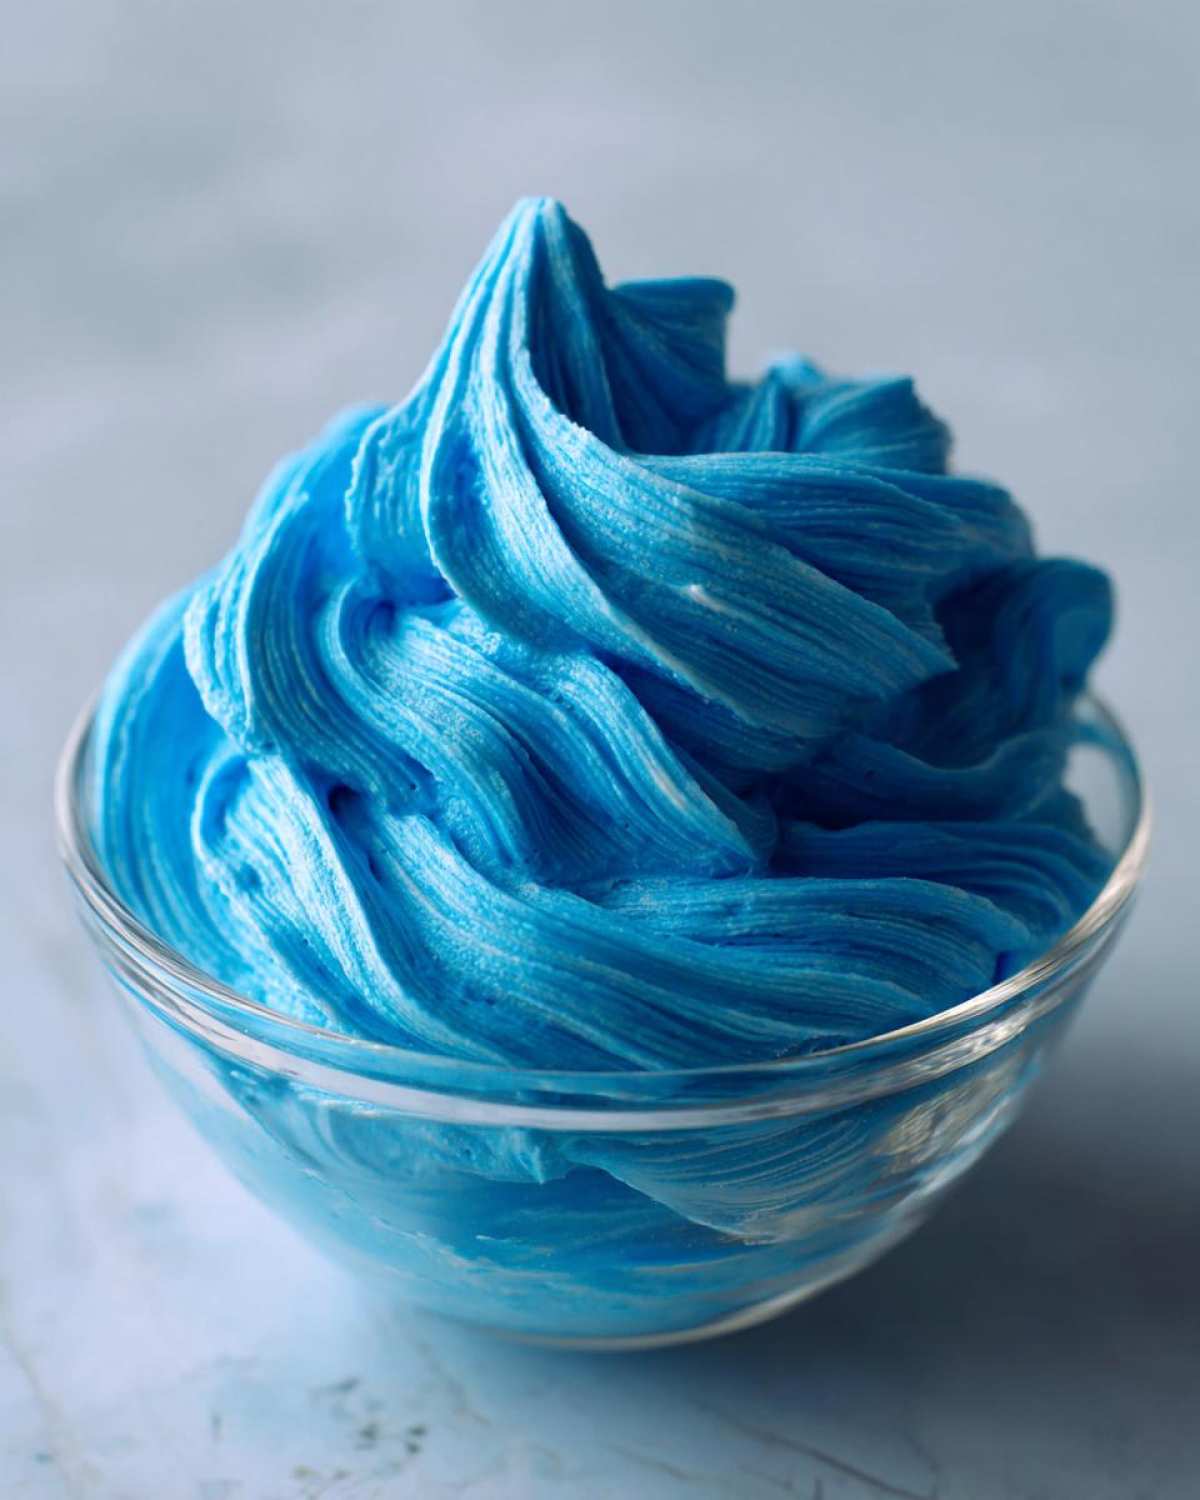
This is the reliable base I use for all our holiday cookies. It dries beautifully hard.
It’s simple enough for beginners, too. I promise you’ll love these results.
Why This cookie icing recipe Works for Perfect Decorations
You want icing that looks professional, right? I get it. My biggest frustration used to be runny icing.
This specific cookie icing recipe solves that problem instantly. It sets up firm and smooth every single time. It gives you that beautiful, glossy look we all admire.
It’s truly beginner-friendly, too. You don’t need fancy equipment here. You just mix, beat, and decorate! This reliability is why I trust it for gifts.
Essential Ingredients for Your cookie icing recipe
The magic is in a few key components. Forget complicated syrups or fussy steps.
Meringue powder is our secret weapon here. It gives the icing its necessary structure.
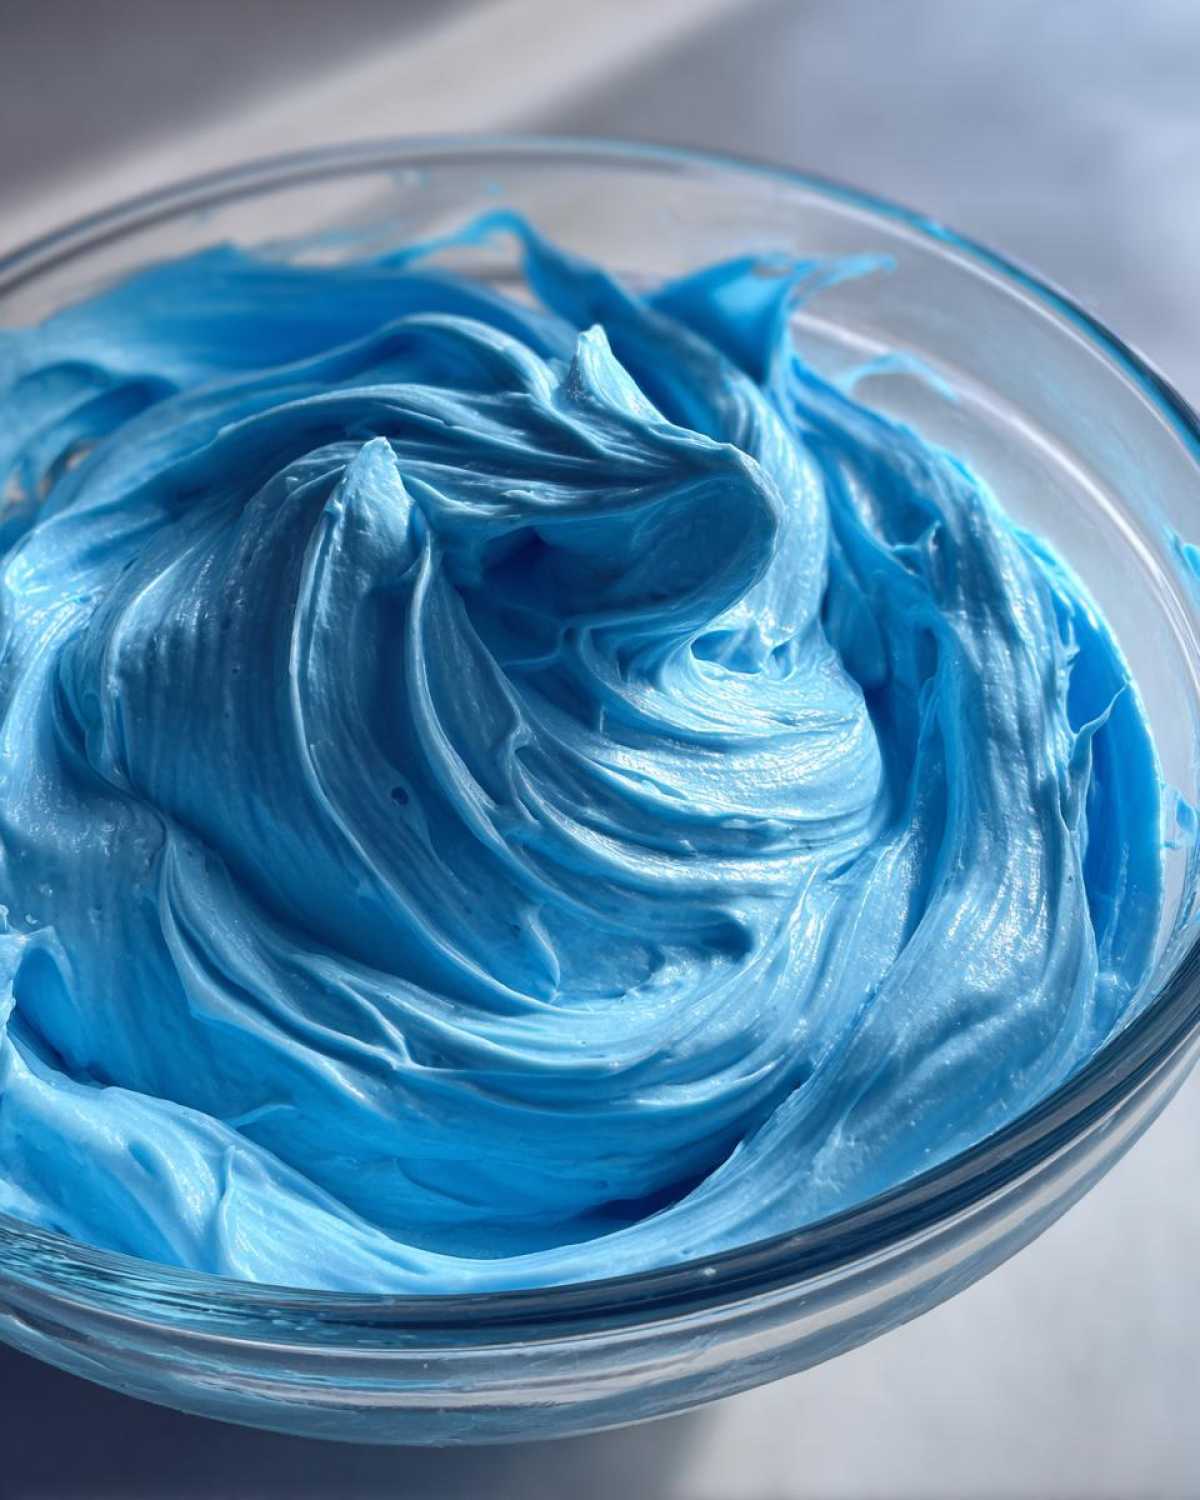
This powder helps the glaze dry completely hard. That’s how your decorated cookies stack up nicely.
Ingredient Clarification and Preparation
Always start with sifted powdered sugar. This step avoids those annoying lumps. Nobody likes lumpy icing.
Use warm water; it helps everything dissolve nicely. Also, if you color it, use gel food coloring. Liquid drops can thin your mixture too much.
Remember, consistency is everything in cookie decorating. We build that perfect texture carefully.
Getting Started: Preparation for Your cookie icing recipe
Let’s get mixing! This whole process takes about ten minutes, not including drying time. That’s fast decoration prep.
Set up your bowl and have your electric mixer ready to go. Speed is key here for that smooth texture.
Mixing and Achieving Stiff Peaks
First, whisk your dry things together. Sifted sugar and meringue powder go in first.
Next, pour in the warm water and vanilla extract. Start the mixer on low speed. Then, bump it up to medium speed for five minutes.
You are looking for stiff, glossy peaks forming in the bowl. This shows the structure is developing well.
Adjusting Consistency for Outlining and Flooding
Now comes the fun, slightly tricky part. Consistency matters a lot.
For outlining edges, keep the icing quite thick. It needs to hold its shape firmly.
For flooding centers, thin it slowly with tiny water drops. If it settles in ten seconds, it’s perfect for flooding.
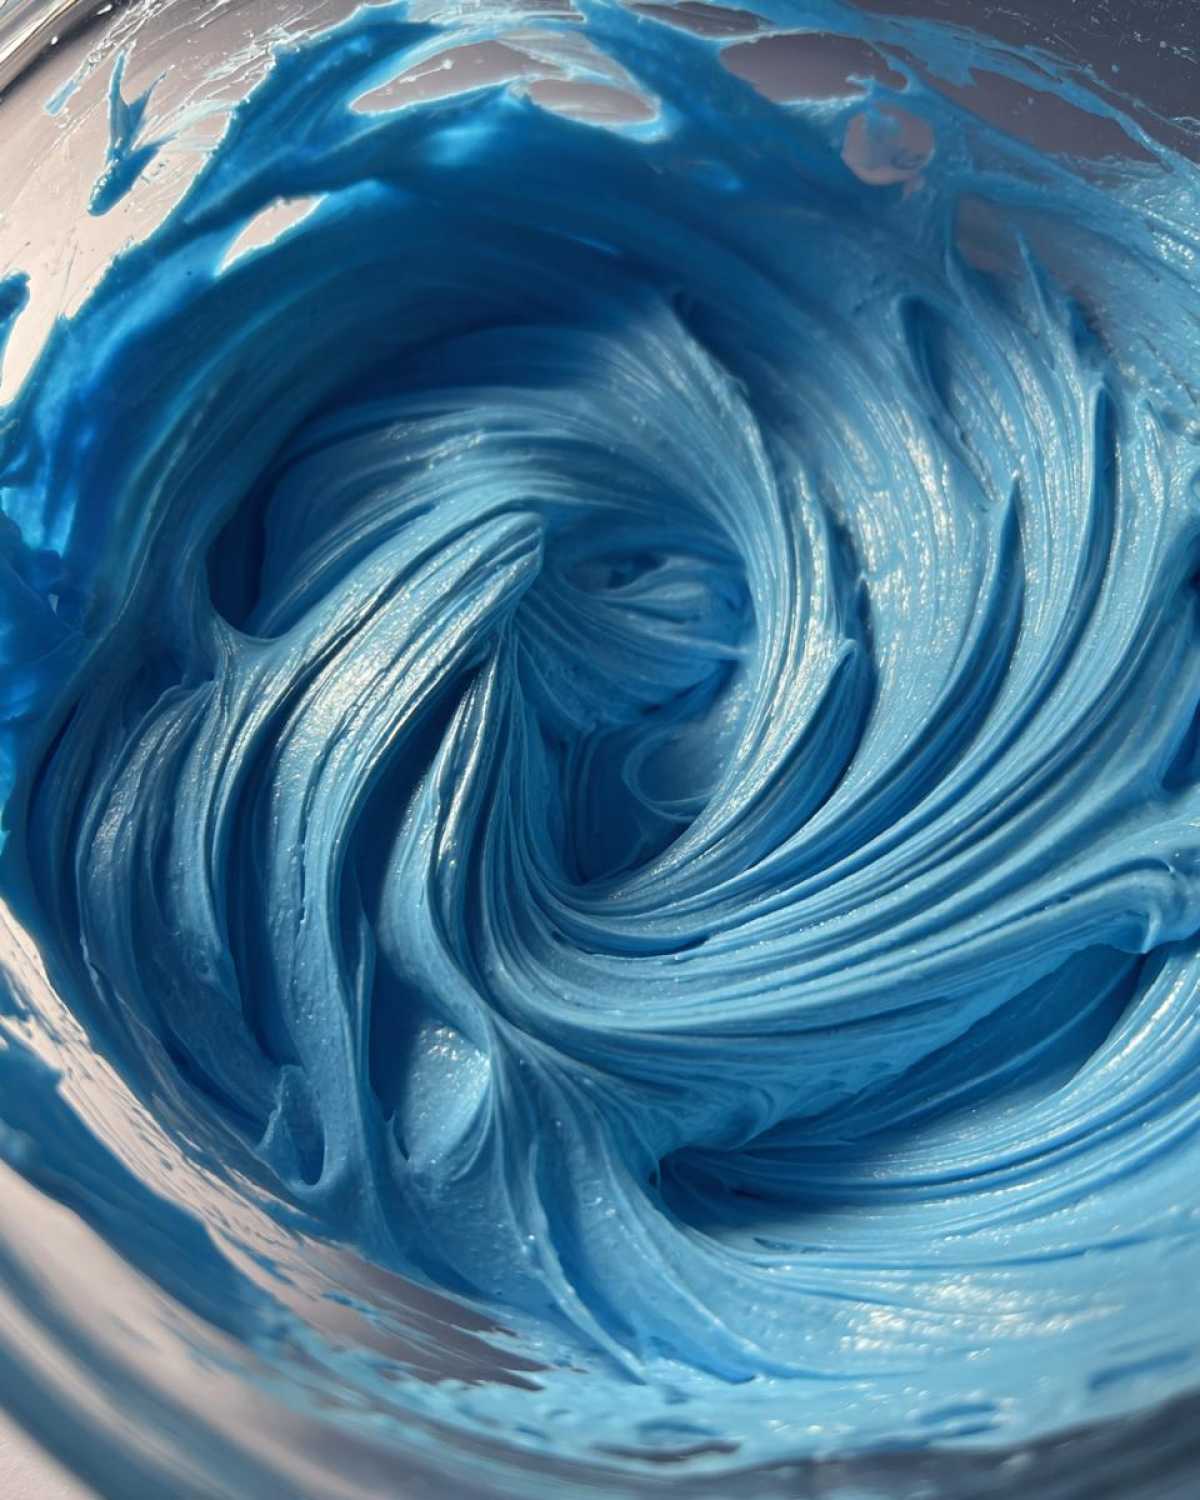
Coloring and Coloring Your cookie icing recipe
Time to add some flair to your base icing. This is where the cookies truly come alive!
Divide your smooth icing into bowls first. Then, add your colors slowly. Gel food coloring works best here.
Use just one drop at a time. Too much liquid ruins the texture we worked for. Mix each color until it is uniform.
Be patient while mixing thoroughly. You want no streaks showing through the final color.
Expert Tips for a Flawless cookie icing recipe Application
Once your icing is mixed, application needs care. I learned this decorating for many years.
Always apply your icing to completely cool cookies. Warm cookies cause melting, which is a disaster.
Cover the bowl tightly when not using it. Plastic wrap pressed directly onto the surface stops it from drying out too fast.
Patience Pays Off: Drying Times for Stackable Cookies
Drying time is not optional; it is crucial. This is how we get those stackable cookies.
If you outline a cookie, let that border dry first. I often let outlines sit overnight.
Only flood the center once the outline feels firm to the touch. Rushing this ruins the clean line.
Fully dry cookies handle gifting and shipping better. That hard shell protects your artwork.
Simple Fixes When Your cookie icing recipe Is Off
Don’t panic if the texture isn’t quite right initially. We can adjust this cookie icing recipe easily.
Is it too thick for flooding? Add water one teaspoon at a time only. Mix slowly after each addition.
If it seems too runny, grab more sifted powdered sugar. Add it one tablespoon slowly until it stiffens up.
These small adjustments keep your decorating session smooth sailing. For more baking tips, check out our general blog.
Frequently Asked Questions About This cookie icing recipe
I know you might have a few lingering questions. That’s normal when trying a new decorating method!
I want you to feel confident using this cookie icing recipe. Let’s clear up the most common concerns right now.
This recipe is often called a perfect royal icing alternative. It gives you that hard finish without the fuss.
Can I substitute meringue powder in this cookie icing recipe?
Meringue powder is truly essential here. It provides the protein needed for a firm, hard set. For more information on food science in baking, you can consult resources like the U.S. Food and Drug Administration.
It’s what helps your sugar cookie icing that dries hard. Substituting it with plain egg whites is tricky.
Egg whites need pasteurization and careful handling. Meringue powder is much safer and easier for home bakers.
Stick with the powder for the best, most reliable results every time.
How long does this cookie icing recipe take to dry completely?
Drying time depends on humidity, my dear. Always factor in your local weather conditions.
Outlines usually dry within an hour or two. Flooded areas take longer to set up fully.
For cookies that need stacking, plan for at least six hours. Overnight drying is always the safest bet.
If you want them truly rock hard for shipping, wait a full 24 hours.
Storing Leftover cookie icing recipe
Don’t toss any extra icing you have left over! That smooth glaze is too good to waste.
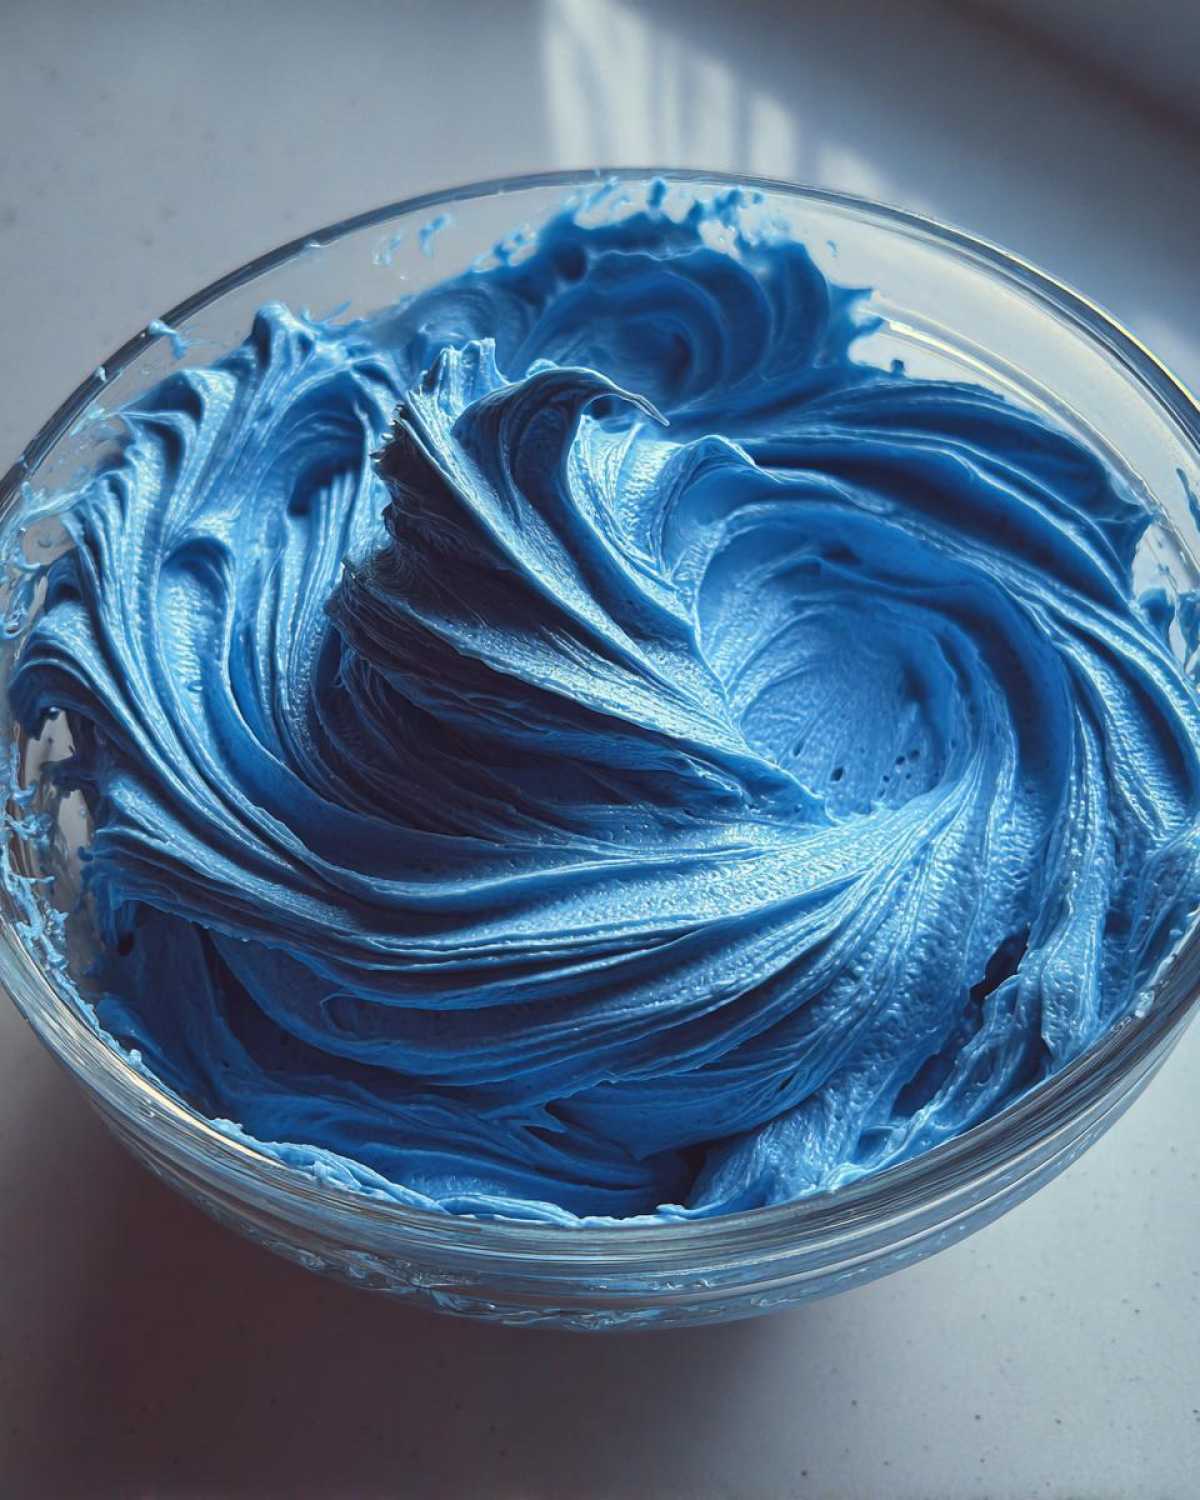
Keep it airtight at room temperature. Plastic wrap pressed directly on top works wonders.
This helps your leftover cookie icing recipe stay good for up to three days. Next time you bake, you are ready!
Share Your Decorated Creations
Now it’s your turn to shine in the kitchen! I hope this recipe helps you.
Did you try this simple base?
Tell me how your cookies turned out below. Your feedback helps our whole community grow.
I can’t wait to hear about your beautiful designs!
PrintBest cookie icing recipe: 4 Flawless secrets

This recipe gives you a simple, beginner-friendly cookie icing that dries firm and smooth. It is perfect for decorating cut-out sugar cookies that need to stack or be gifted, offering a reliable, glossy finish.
- Prep Time: 10 minutes
- Cook Time: 0 minutes
- Total Time: 10 minutes plus drying time
- Yield: Enough to generously cover about 2 dozen average-sized cookies
- Category: Baking Decoration
- Method: Mixing/Beating
- Cuisine: American
- Diet: Vegetarian
Ingredients
- 3 cups Powdered Sugar, sifted
- 4 tablespoons Meringue Powder
- 6 tablespoons Warm Water
- 1 teaspoon Vanilla Extract (or desired flavoring)
- Food Coloring (optional)
Instructions
- In a medium bowl, whisk together the sifted powdered sugar and meringue powder until fully combined.
- Add the warm water and vanilla extract to the dry ingredients.
- Beat with an electric mixer on low speed until just combined, then increase to medium speed and beat for 3 to 5 minutes until the icing is smooth, glossy, and holds stiff peaks.
- Check the consistency. For outlining, the icing should be quite thick. For flooding, add water one teaspoon at a time until the icing flows smoothly off the whisk and settles back into the bowl within 10 seconds.
- Divide the icing into separate bowls if you plan to use multiple colors. Add gel food coloring one drop at a time, mixing thoroughly.
- Use the icing immediately or cover it tightly with plastic wrap pressed directly onto the surface to prevent hardening.
- Apply the icing to cooled cookies. Let the outlined layer dry completely (this can take several hours or overnight) before flooding. Allow the flooded cookies to dry fully until hard before handling or packaging.
Notes
- Sift your powdered sugar to prevent lumps in the final icing.
- Meringue powder is essential for the icing to dry hard. Do not substitute with egg whites unless you adjust the recipe significantly.
- If the icing is too thin, add more sifted powdered sugar, one tablespoon at a time.
- If the icing is too thick, add water, one teaspoon at a time.
- Store extra icing in an airtight container at room temperature for up to three days.
Nutrition
- Serving Size: 1/4 cup
- Calories: 180
- Sugar: 45g
- Sodium: 15mg
- Fat: 0g
- Saturated Fat: 0g
- Unsaturated Fat: 0g
- Trans Fat: 0g
- Carbohydrates: 46g
- Fiber: 0g
- Protein: 1g
- Cholesterol: 0mg