

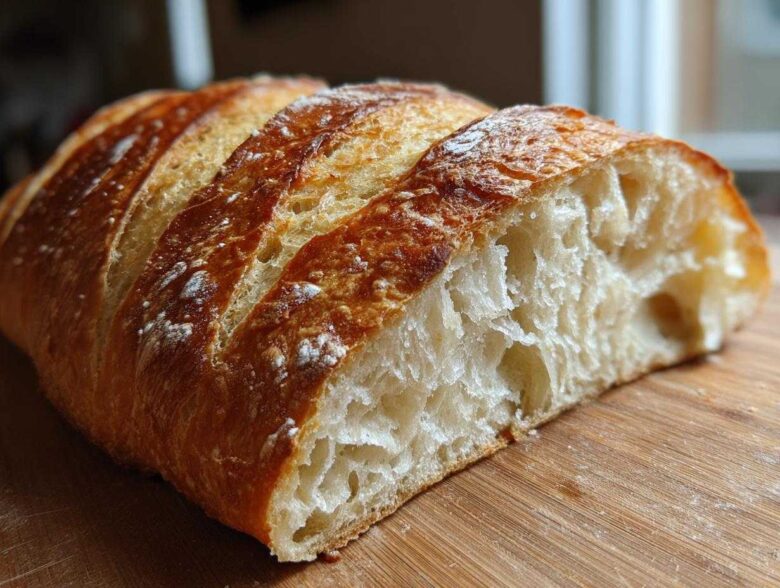
Oh my gosh, friend, there is nothing—absolutely NOTHING—that beats the sound of that first slice being cut into a fresh loaf, right? That little crackle of the crust followed by the soft ‘poof’ as the steam escapes? That smell takes me right back to the best little bakeries I used to sneak into as a kid. I spent years chasing that perfect combination, and I finally nailed it. Seriously, I’m handing you my secrets today for the easiest homemade French bread you will ever touch. Forget the long fermentation times and intimidating steps; this version gets you that soft, fluffy interior with the crackly, bakery-style crust in under two hours total. You deserve that bakery magic without needing a four-alarm kitchen setup!
Why This Is the Best Easy Homemade French Bread Recipe
I know what you’re thinking: making proper French bread takes all day, right? Wrong! This recipe is my go-to because it hits all the right notes without keeping you chained to the kitchen. Seriously, it’s ready to eat faster than you can decide what to slather on it!
- Seriously speedy: We are talking under two hours total for the whole thing!
- Texture perfection: It’s super soft inside but has that satisfying crunch when you tap the top.
- Simple steps: This is pure fun, not fussy baking. Perfect for beginners!
Achieving Bakery Style Bread Texture at Home
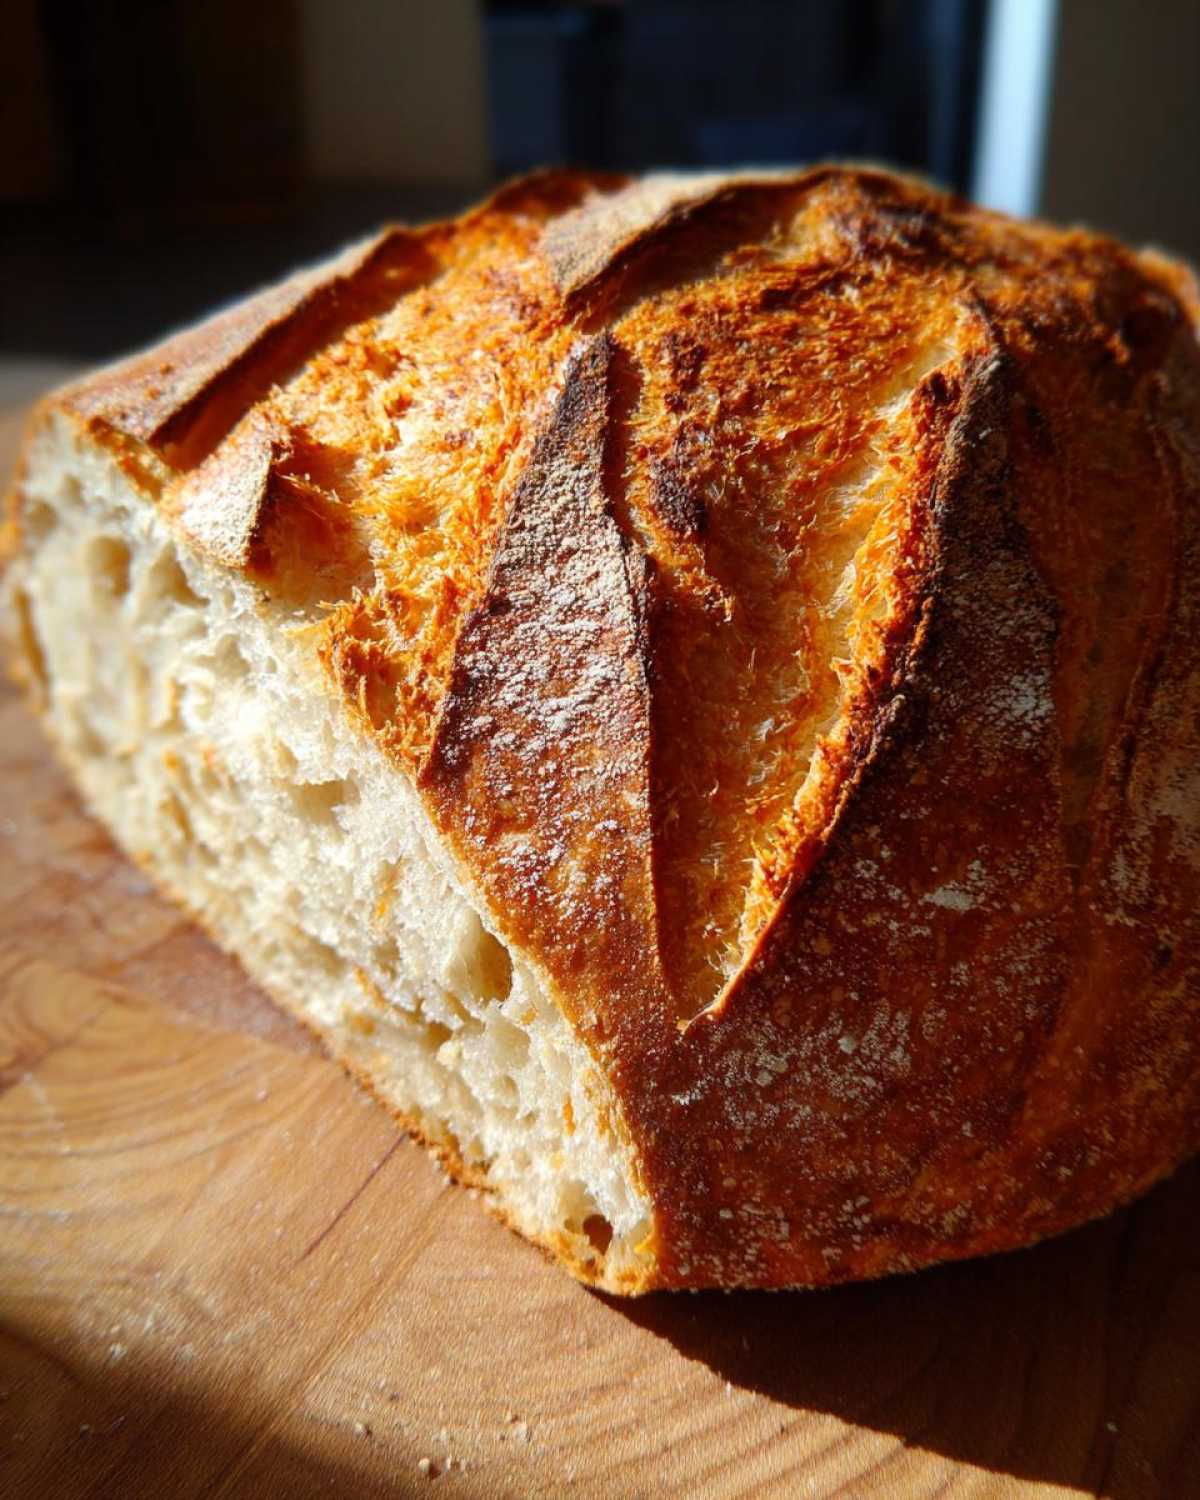
The secret weapon for that amazing crusty exterior bread? Steam! It’s that simple pan of hot water we pop in the oven alongside the loaf. That extra moisture cooks the outside just right, giving you that authentic Bakery Style Bread feel. Meanwhile, the yeast and the oil promise a tender crumb that melts in your mouth.
Essential Ingredients for Perfect French Bread
When you keep the ingredient list short and sweet like this, the quality of the ingredients really shines through! This recipe isn’t messing around with a million fussy things. We’re focusing on the core elements to guarantee that delicious, classic flavor. Trust me, measuring carefully is half the battle won here, especially with the water temperature!
You’ll need just seven things, plus the egg white for that lovely golden finish. If you’re looking for a crunchy side to go with your baking project, you might want to check out this garlic lemon asparagus recipe for later!
- 3 excellent cups of all-purpose flour (no need for anything fancy here).
- 1 teaspoon of plain salt.
- 1 package (that’s about 2 1/4 teaspoons) of active dry yeast—make sure it’s fresh!
- 1 cup of warm water. This is crucial—it needs to be between 105 and 115°F. Too cold, and the yeast sleeps; too hot, and you kill it!
- 1 tablespoon of sugar to wake up that yeast right away.
- 1 tablespoon of good quality olive oil.
- 1 egg white, beaten really well. This is our secret for brushing the top for that perfect sheen.
Step-by-Step Instructions for Your Easy French Bread
Now for the fun part! Watching this simple dough transform is seriously satisfying. We’re going through the steps as written because they are tried and true, and they lead straight to the glorious result: amazing homemade French bread. Don’t rush the rest times; that’s where the flavor and texture really build up!
Mixing and Kneading the Soft French Bread Dough
First up, get your yeast going! Mix that warm water, sugar, and yeast together and just let it sit on the counter for five minutes. If it gets foamy, great news—your yeast is alive and ready to work! Then, mix in your oil. In a separate bowl, whisk your flour and salt, then slowly add the dry stuff to the wet until it looks kind of shaggy. Dump that mass out onto a floured spot on your counter. Kneading is essential for that beautiful elasticity we want for our Soft French Bread at Home. Work it firmly for a solid 6 to 8 minutes until it feels smooth and stretchy under your hands.
First Rise and Shaping Your Loaf
Find yourself a clean bowl, give it a tiny coat of oil, and pop your kneaded dough inside. Cover it up so it doesn’t dry out, and then just leave it alone in a warm spot for about an hour, maybe a little more, until it’s doubled. Once it’s puffy, gently—and I mean *gently*—punch it down. You don’t want to crush all that air we worked so hard to make! Now shape it into that classic long loaf right onto your parchment-lined baking sheet. Cover it again for a quick 20-minute nap while the oven heats up. If you want more great baking inspiration, check out the main blog!
Baking Techniques for a Crusty Exterior Bread
Time for the magic that gives you that amazing crunch! Preheat your oven way up high to 400°F, and remember that shallow pan of water trick we talked about? Get that in there while it preheats too; steam is everything for a Crusty Exterior Bread. Right before it goes in, brush the top of your loaf gently with that beaten egg white—this gives it color and shine. Then, take a super sharp knife and slice three diagonal lines across the top. Bake for about 25 to 30 minutes. You’re done when it’s gorgeous golden brown and sounds hollow when you tap the bottom!
Tips for Making the Best Homemade Bread
You’ve got the basics down, but listen up, because a couple of little things I learned over the years can really elevate this from great to absolutely show-stopping. These are the little nuggets of wisdom that prove you’re on your way to mastering Baking Homemade Bread Tips.
If you want that super shattering crust—the kind that screams *artisan*—try this trick: Once the loaf is in the oven, give the interior walls of the oven a quick spritz of water every few minutes for the first ten minutes of baking. Don’t drench the bread, just add more steam to the air. Be careful, it steams up fast!
Also, sometimes I swap out some of the all-purpose flour for bread flour if I know I’m making sandwiches out of the loaf the next day. Bread flour has more protein, which gives you a slightly chewier texture. If you’re making something light and fluffy, stick to the all-purpose flour we listed. If texture is your game, check out my recipe for homemade granola clusters—it’s all about that crunch!
Variations for Your Quick French Bread Recipe
The beauty of this dough is how forgiving it is! Once you have your first perfect loaf under your belt, you can start playing around without worrying about ruining the whole thing. Because this is such a Quick French Bread Recipe, you can experiment easily during that short 20-minute second rise. It’s the perfect time to add things right before baking.
Try folding in some fresh rosemary and dried thyme when you’re shaping the dough. The herbs just perfume the whole house! Or, for something savory, mix in about a half cup of grated Parmesan cheese right before you shape it. It gets this gorgeous golden, crispy topping. Speaking of savory, these roasted Brussels sprouts are amazing alongside a warm slice!
Serving Suggestions for Your Dinner Side Bread
Once you’ve got that perfect, warm loaf cooling on the rack, the biggest struggle is waiting to use it! This versatile French bread isn’t just for fancy dinners, though. It’s my absolute favorite Dinner Side Bread because it’s perfect for scraping up every last bit of sauce. If it’s chilly out, tearing off a big chunk to dunk into a bowl of my ultra-creamy creamy tomato soup? Honestly, that’s my idea of heaven.
It’s also great split open—drizzled with a little garlic butter and thrown under the broiler for a few minutes. Instant garlic bread for pasta night! You’ll find yourself making this loaf every week just for the leftovers!
Storage and Reheating Instructions for French Bread
Okay, the hardest part is over—you have a loaf! But how do you keep that beautiful crust from turning sad and chewy? If you plan to eat it all today, keeping it on the counter cut-side down is best. Don’t put it in a plastic bag; that’s the enemy of crusty bread!
If you have extras (ha! Unlikely, but work with me), wrap the whole loaf tightly in aluminum foil before freezing. When you’re ready to enjoy it later, unwrap it completely, give it a quick spritz of water on the crust, and pop it into a 350°F oven for about 8–10 minutes. That heat and moisture work wonders to bring that crust right back to life!
Frequently Asked Questions About Make French Bread from Scratch
Baking for the first time can bring up so many little questions! Don’t sweat it—that’s why I’m here to share everything I’ve learned the hard way so you don’t have to. Getting that first loaf of homemade French bread to come out perfect is easier than you think once you know these tricks.
Can I skip the egg white wash on my French Bread?
You totally can skip it if you absolutely hate brushing things onto dough! The egg white wash is mostly cosmetic, giving the crust that gorgeous, slightly shiny, deep golden color. If you skip it, your loaf will still be delicious inside, but the exterior will likely look a little duller, maybe more matte. If you’re feeling lazy, just dust a little flour over the top instead!
What if my dough doesn’t double in size?
Oh, the dreaded flat spot! This almost always comes down to temperature. First, always check that your water for the yeast was truly between 105°F and 115°F. If that was spot on, check your room temperature. If your kitchen is chilly, the yeast just gets sleepy. Try moving the covered bowl into the oven—but make sure the oven is OFF! Sometimes just moving it to the top of the fridge helps generate a bit more warmth for that rise. Don’t worry too much; if you’ve kneaded it well, it’ll usually take off eventually. For more confidence in your rise, check out my guide on beginner bread baking.
Is this recipe suitable for making small baguettes instead?
Yes! This dough is lovely for smaller shapes, too. If you divide your dough into two or three smaller pieces and shape them into skinny logs, you’re making mini-baguettes! The main thing is that they will bake faster because they have less mass. I’d start checking them around 18 to 20 minutes. You can definitely use this base for a great Baguette Recipe Easy.
Estimated Nutritional Data for This Fluffy Loaf Recipe
I always like to give a little heads-up on what’s in the loaf—you know, just so you can decide if this is a ‘toast at midnight’ bread or a ‘dinner side’ bread! Remember, since we are making this from scratch, these numbers are always an estimate based on standard pantry ingredients. When you bake at home, you control the salt and oil, so you can always tweak it to be exactly what you want!
The data below is calculated based on the recipe yielding one loaf, divided into standard serving sizes:
- Serving Size: 1 slice
- Calories: About 150
- Fat: 1.5 grams (mostly good stuff from the oil!)
- Saturated Fat: Only about 0.3 grams
- Trans Fat: 0 grams, thank goodness.
- Carbohydrates: Roughly 30 grams
- Sugar: Only 2 grams (most of that comes from waking up the yeast!)
- Protein: About 4 grams
- Fiber: 1 gram
- Sodium: Approximately 250mg
- Cholesterol: 5mg
See? Not too bad for a loaf of pure, crusty happiness! It’s a wonderful, simple base for whatever you’re having for dinner.
PrintEasy Homemade Soft and Crusty French Bread
A simple recipe for making soft, fluffy French bread at home with a desirable crusty exterior, suitable for beginners.
- Prep Time: 20 min
- Cook Time: 30 min
- Total Time: 1 hour 50 min
- Yield: 1 loaf
- Category: Baking
- Method: Baking
- Cuisine: French
- Diet: Vegetarian
Ingredients
- 3 cups all-purpose flour
- 1 teaspoon salt
- 1 packet (2 1/4 teaspoons) active dry yeast
- 1 cup warm water (about 105-115°F)
- 1 tablespoon sugar
- 1 tablespoon olive oil
- 1 egg white, beaten (for brushing)
Instructions
- In a large bowl, mix the warm water, yeast, and sugar. Let stand for 5 minutes until foamy.
- Stir in the olive oil.
- In a separate bowl, whisk together the flour and salt.
- Gradually add the flour mixture to the wet ingredients, mixing until a shaggy dough forms.
- Turn the dough out onto a lightly floured surface. Knead for 6 to 8 minutes until the dough is smooth and elastic.
- Lightly oil a clean bowl. Place the dough in the bowl, turning to coat. Cover the bowl with plastic wrap or a clean towel.
- Let the dough rise in a warm place for 60 to 75 minutes, or until doubled in size.
- Gently punch down the dough. Shape it into a long, even loaf on a baking sheet lined with parchment paper.
- Cover the loaf loosely and let it rest for a second rise for 20 minutes.
- Preheat your oven to 400°F (200°C). Place a shallow pan of water on the bottom rack to create steam.
- Brush the top of the loaf lightly with the beaten egg white. Make three diagonal slashes across the top of the dough with a sharp knife.
- Bake for 25 to 30 minutes, or until the crust is golden brown and the internal temperature reaches 200°F (93°C).
- Cool on a wire rack before slicing.
Notes
- For a crispier crust, spray the inside walls of the oven with water a few times during the first 10 minutes of baking.
- If you prefer a chewier texture, use bread flour instead of all-purpose flour.
- This bread is excellent served warm with butter or used for sandwiches.
Nutrition
- Serving Size: 1 slice
- Calories: 150
- Sugar: 2
- Sodium: 250
- Fat: 1.5
- Saturated Fat: 0.3
- Unsaturated Fat: 1.2
- Trans Fat: 0
- Carbohydrates: 30
- Fiber: 1
- Protein: 4
- Cholesterol: 5