

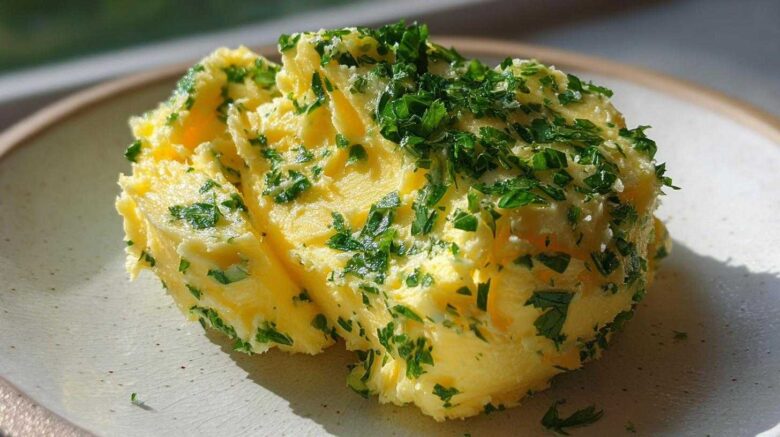
Whisk Daily Welcomes You: Making the Best Homemade garlic butter
Welcome to our kitchen, friends! I’m Kenji, and Amaya and I are thrilled you stopped by.
We believe simple food brings the most joy. That is why we adore making easy homemade garlic butter.
This compound butter is magic for any meal. It truly elevates everything it touches.
Even in our busy move to New York, this recipe stayed constant. It reminds us of home.
It takes just minutes to mix up this flavorful spread. You will never buy the jarred stuff again.
Get ready to taste the difference fresh ingredients make!
Why You’ll Love This Easy Homemade garlic butter
Honestly, I think this is one of the best things you can keep in your fridge. It’s a flavor powerhouse.
The payoff for so little work is just incredible. I mean, who doesn’t want instant flavor?
We focus on speed here at Whisk Daily. This recipe delivers big taste fast.
It’s the ultimate secret weapon for weeknight dinners. Plus, you can prep it ahead of time.
Here are a few reasons this spread stays on our counter:
- It takes mere minutes to prepare from start to finish.
- The flavor beats anything store-bought, hands down.
- It works wonders on so many different dishes.
- You control exactly what goes into your food.
Speed and Simplicity of Your garlic butter
The active prep time is only about ten minutes. That’s right, ten minutes!
You just soften the butter and mix everything in one bowl. No cooking needed at all.
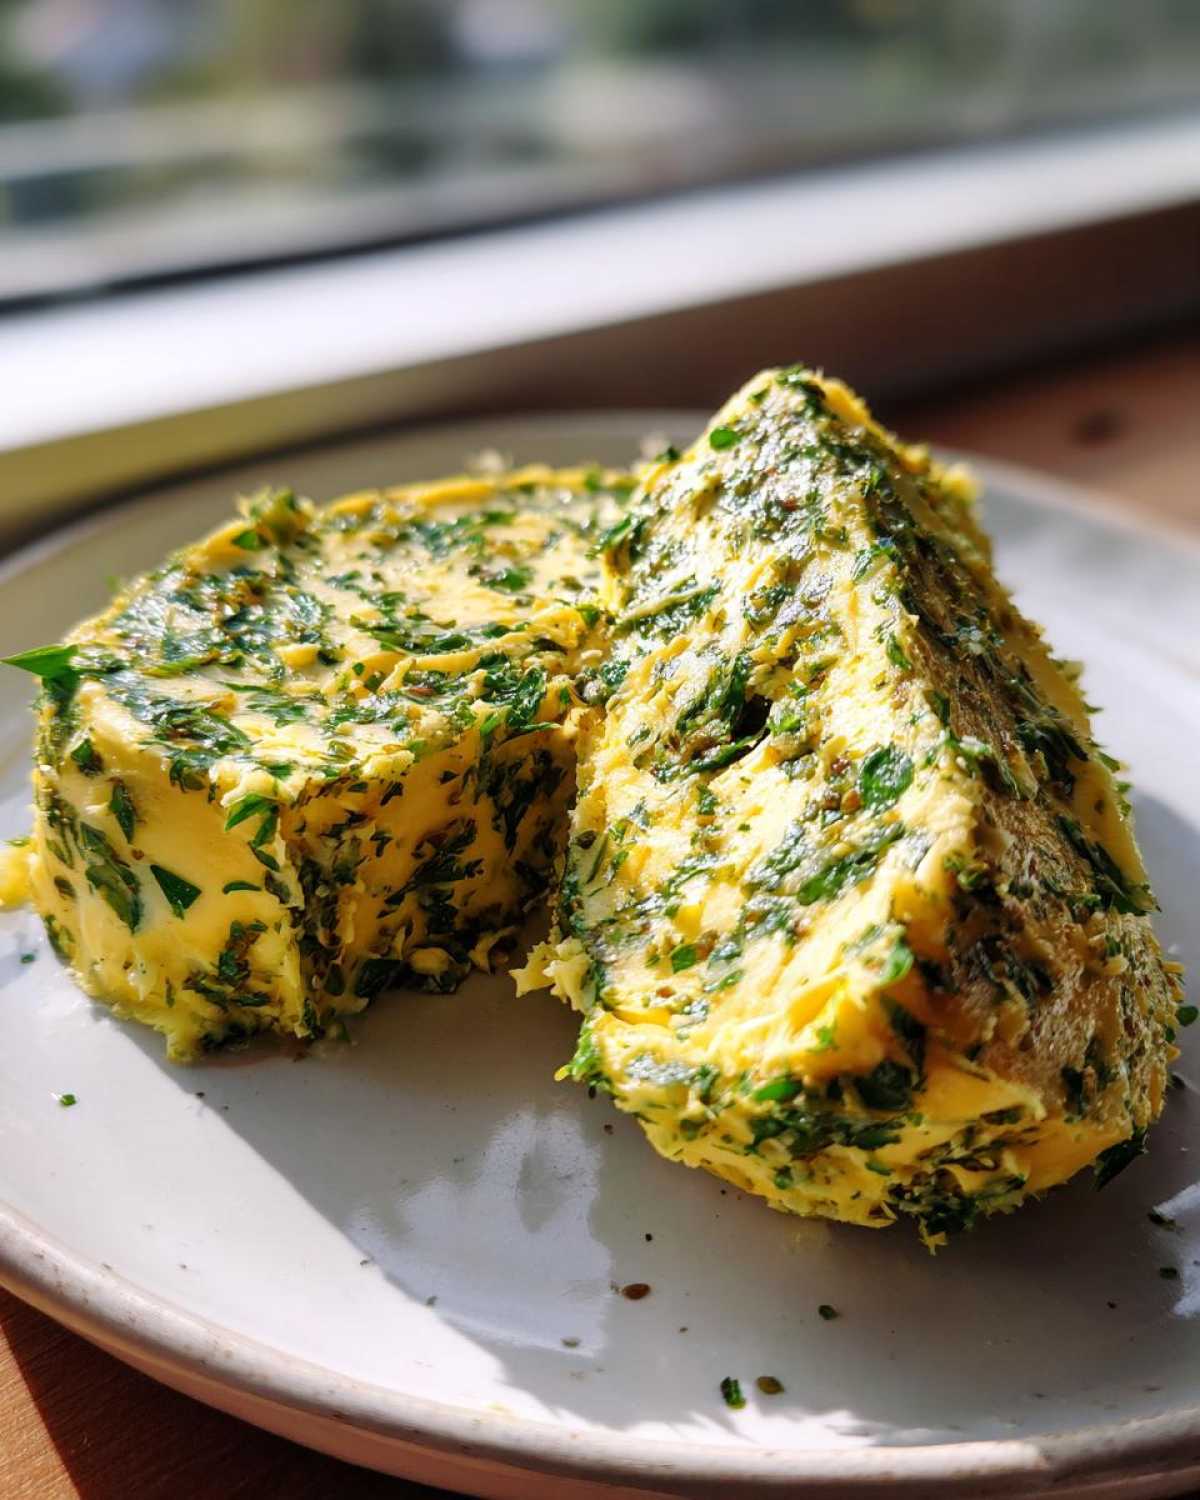
It’s just stirring until it looks beautifully marbled and fragrant.
We use a simple fork for mixing. Keep the process easy, just like we promise.
Unmatched Versatility for Every Meal
This simple spread opens up so many cooking doors.
Imagine melting a slice over a perfectly cooked steak. That’s pure bliss.
It makes even plain bread taste like it came from a fancy bakery.
Toss it with steamed green beans or toss it through hot pasta. It improves everything!
Essential Ingredients for Perfect garlic butter
To make the best compound butter, ingredient quality really matters.
Since there are so few components, each one shines through.
We want your homemade garlic butter to taste amazing, of course.
Let’s look at what you need for this flavor bomb.
Butter and Garlic Foundation
Start with one cup of unsalted butter. It must be softened, not melted.
Softened butter mixes smoothly with the other bits.
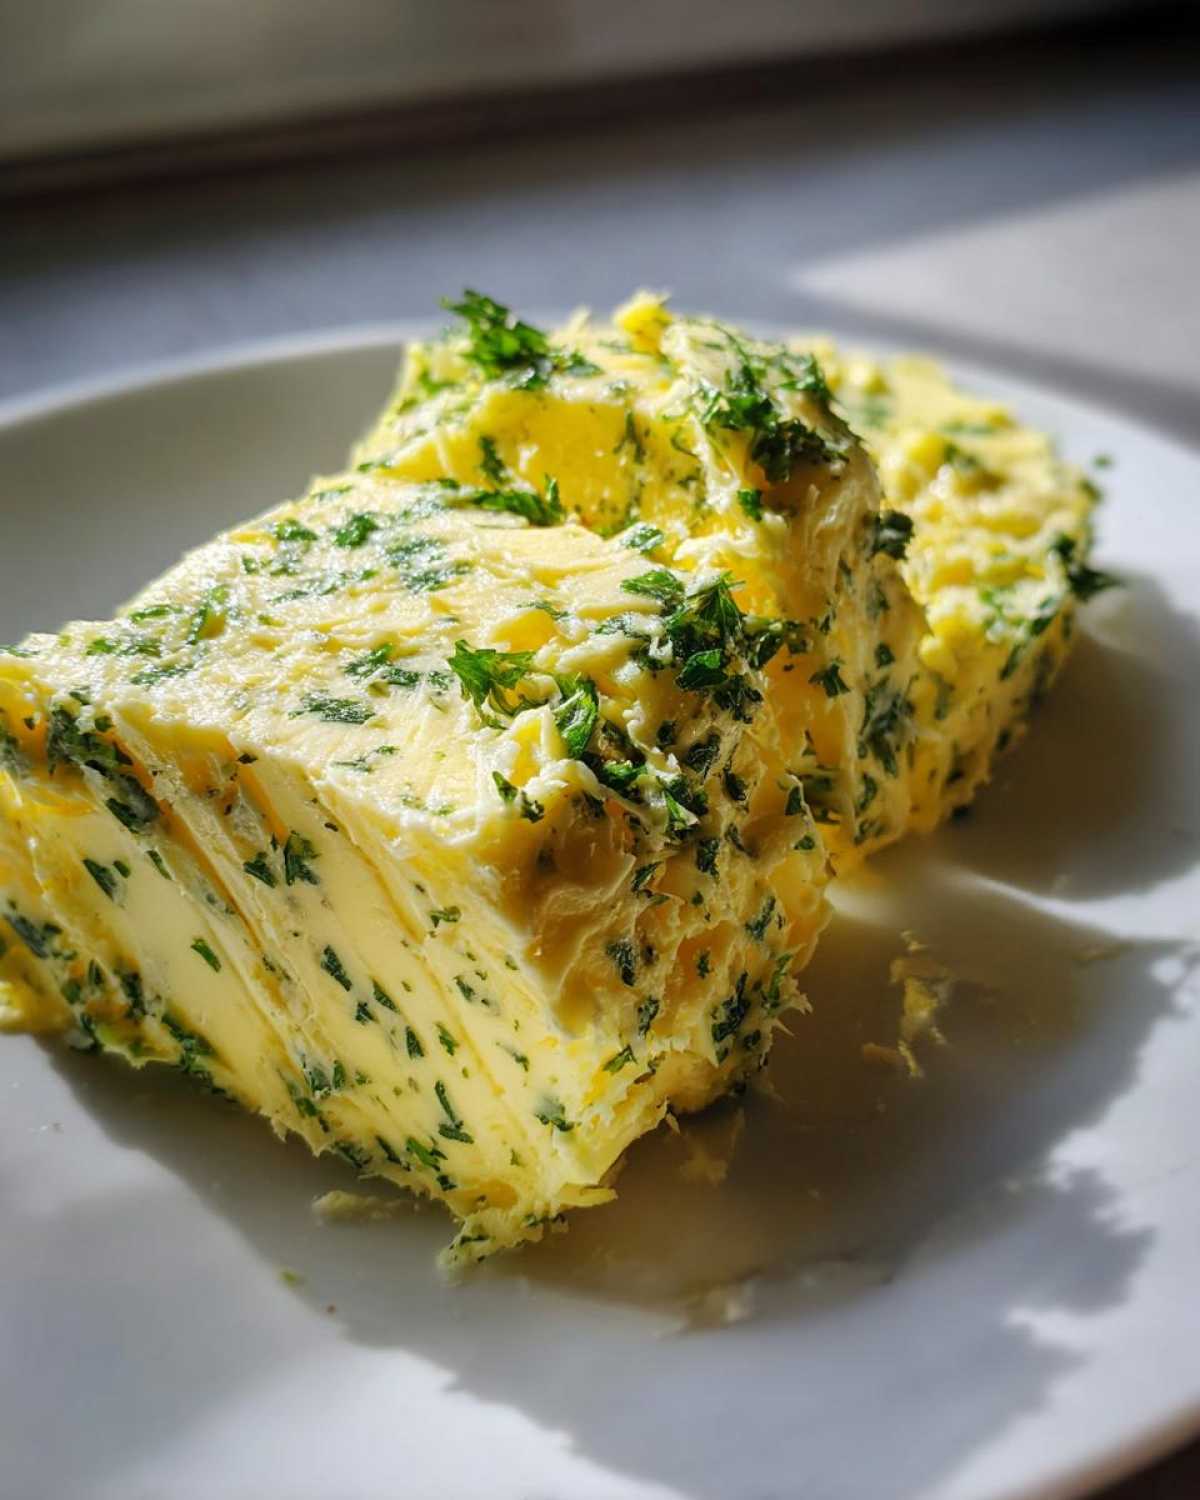
Use about six cloves of fresh garlic, minced very fine.
For a deeper, sweeter taste, try roasting the garlic first.
Flavor Boosters: Herbs and Seasoning
Fresh parsley is key here; don’t use the dried stuff.
Finely chop about a quarter cup of that bright green herb.
A teaspoon of coarse salt and pepper balances everything nicely.
A splash of fresh lemon juice adds a welcome, zesty lift.
How to Prepare Your Simple garlic butter Recipe
Now for the fun part, bringing all those lovely ingredients together.
This is where the transformation happens, my friends.
We make quick work of combining everything in a simple bowl.
Combining the garlic butter Ingredients
First, put that softened butter into a medium-sized bowl.
Next, add your minced garlic and chopped fresh parsley.
Toss in the salt and pepper right on top.
If you want that bright flavor, add the lemon juice now.
Use a fork or a small spatula to mix it all up well.
Keep stirring until the mixture looks perfectly blended and uniform.
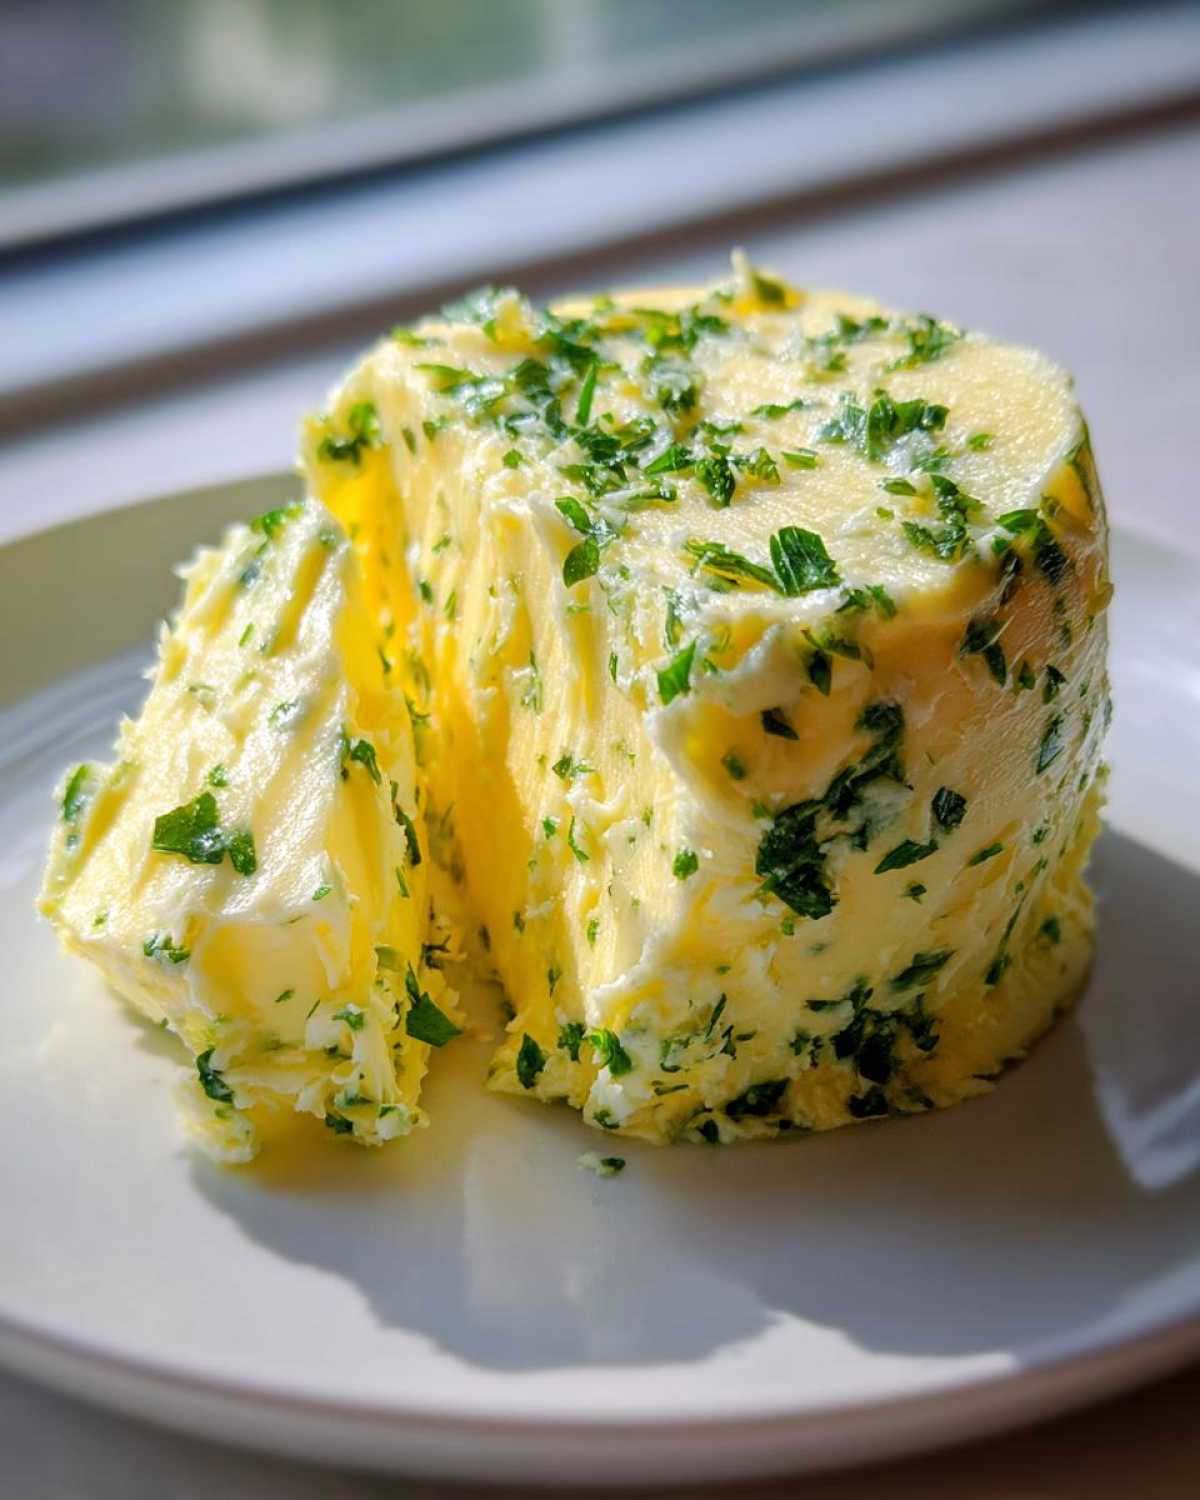
Taste a tiny bit here. Do you need more salt?
Adjust your seasoning until it tastes just right for you.
Shaping and Chilling the garlic butter Log
Time to get this mixture ready for its nap in the cold.
Scoop the prepared mixture onto plastic wrap or parchment paper.
Work quickly to shape it into a tight, even log.
Twist the ends of the wrap very firmly to seal it well.
This tight seal keeps the shape perfect while it rests.
Pop that log into the refrigerator right away.
You must chill it for at least thirty minutes there.
This chilling time helps the butter firm up nicely for slicing later.
Tips for Success Making Restaurant-Style garlic butter
Getting that rich, deep flavor takes just a tiny bit more effort.
I learned some tricks over the years, even in Kyoto.
These little steps make a huge impact on the final taste.
Follow these tips for truly impressive results at home.
Choosing the Right Butter Quality
Please, use the best unsalted butter you can find.
Butter is the main ingredient here, remember that!
Better butter means richer flavor when it melts.
It makes a noticeable difference in everything you cook.
Amaya insists on European-style butter for the best texture.
Flavor Variations for Your homemade garlic butter
Don’t be afraid to experiment with your seasoning blend.
You can easily customize this spread for any mood.
Want some heat? Add half a teaspoon of red pepper flakes.
That makes a wonderful spicy garlic butter instantly.
Try adding a little dried rosemary too, it’s delicious.
These small tweaks keep things fun in the kitchen.
Storage and Reheating Your Compound garlic butter
Making a big batch is smart cooking, if I do say so myself.
This way, you always have some ready when inspiration strikes.
Proper storage keeps your compound butter tasting fresh and bright.
We never want that fresh flavor to fade away.
Here is how we handle saving our extra homemade garlic butter.
Refrigeration and Freezing Guidelines
Keep your butter log tightly wrapped in the fridge.
It stays perfectly good for about two weeks there.
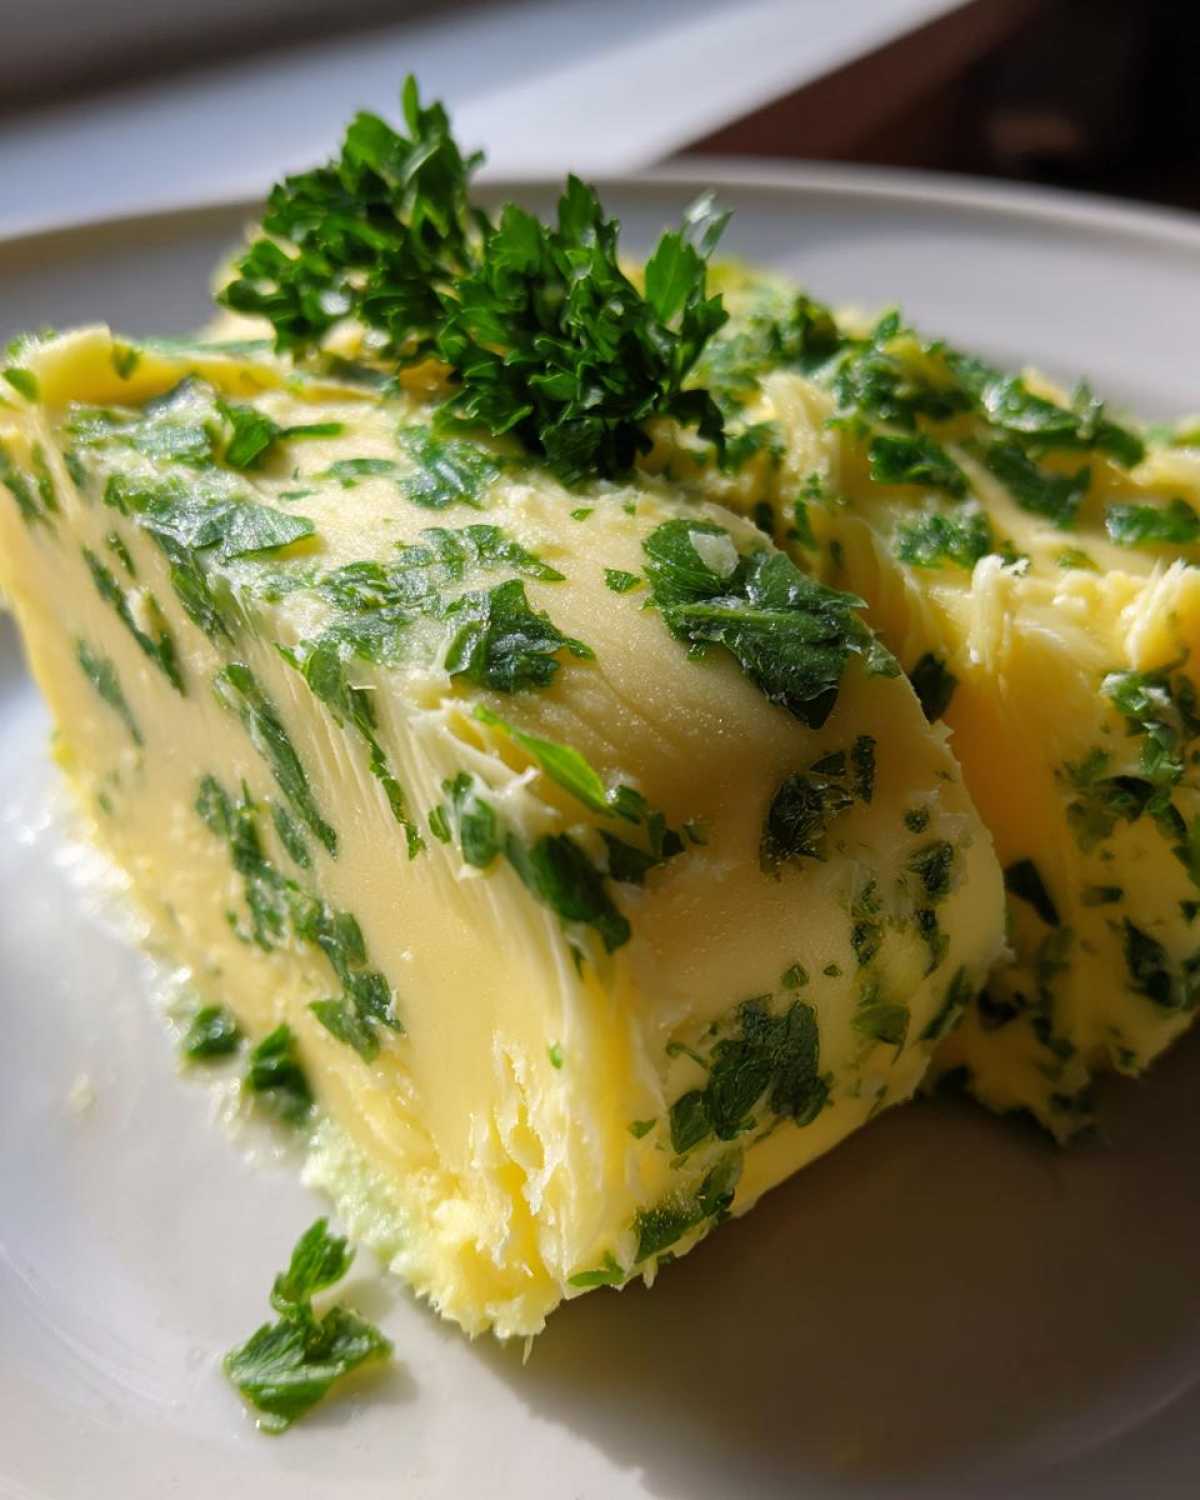
If you need longer storage, the freezer is your friend.
Wrap it extra tight before freezing it solid.
You can keep it frozen for up to three whole months.
When you need some, just slice off what you plan to use.
Frequently Asked Questions About garlic butter
We get so many questions about this simple spread!
You all are as enthusiastic as we are about flavor.
Here are answers to some common cooking queries.
These should help you master your homemade garlic butter.
Can I use salted butter instead of unsalted butter in this garlic butter recipe?
I suggest sticking to unsalted butter if you can.
This gives us total control over the final salt level.
If you only have salted butter, reduce the added salt significantly.
Taste often as you mix the ingredients together.
How long does homemade garlic butter last?
It keeps quite well when stored properly, thankfully.
In the refrigerator, it lasts up to two weeks.
For longer keeping, wrap it well and freeze it.
It lasts for about three months in the freezer.
What is the best way to use this garlic butter immediately after making it?
Oh, the immediate gratification is the best part!
Slice a thick round and let it melt over hot steak.
It’s also amazing brushed onto bread while it toasts.
That quick application really shows off the fresh flavor.
Estimated Nutritional Values for garlic butter
Now, let’s talk a little about what goes into this rich spread.
We know many of you track your intake carefully.
While we focus mostly on flavor here, knowing the basics helps.
This butter is certainly rich, as expected from its main ingredient.
Please remember these numbers are just a gentle guide.
The actual values change based on your butter brand and garlic amount.
Share Your Whisk Daily Creations
We truly hope you loved making this simple recipe.
Now that you have your perfect homemade garlic butter,
we want to hear all about it!
Cooking is so much better when shared with others.
Did you try roasting the garlic first?
Was the spicy version a hit at your table?
Please rate this recipe using the stars below.
Your feedback helps other home cooks, too.
Send us a picture of your creation!
Show us how you used your fresh compound butter.
Tag us on social media too, if you can.
We love seeing our recipes in your kitchens.
Happy cooking, from our family to yours!
PrintAmazing 10-Minute Homemade garlic butter Secret

Create rich, flavorful garlic butter easily at home. This compound butter uses simple ingredients and works wonderfully on bread, steak, pasta, or vegetables. You can customize it with herbs or a little spice.
- Prep Time: 10 minutes
- Cook Time: 0 minutes
- Total Time: 10 minutes (plus 30 minutes chilling)
- Yield: Approximately 1 cup
- Category: Condiment/Sauce
- Method: Compound Butter Mixing
- Cuisine: American/General
- Diet: Vegetarian
Ingredients
- 1 cup (2 sticks) unsalted butter, softened
- 6 cloves garlic, finely minced (or roasted for deeper flavor)
- 1/4 cup fresh parsley, finely chopped
- 1 teaspoon coarse salt
- 1/2 teaspoon black pepper
- 1 tablespoon fresh lemon juice (optional, for brightness)
Instructions
- Place the softened butter into a medium bowl.
- Add the minced garlic, chopped parsley, salt, and pepper to the butter.
- If you are using it, stir in the lemon juice now.
- Use a fork or spatula to mix all ingredients together until they are completely combined and the butter is uniformly colored.
- Taste the mixture and adjust salt or garlic to your preference.
- Transfer the garlic butter onto a sheet of plastic wrap or parchment paper.
- Roll the butter into a tight log shape. Twist the ends to seal it securely.
- Chill the log in the refrigerator for at least 30 minutes to firm up before slicing or using.
Notes
- For a restaurant-style flavor, consider roasting the garlic first before mincing and mixing it in.
- Store homemade garlic butter in the refrigerator for up to two weeks or freeze it for up to three months.
- To make a spicy version, add 1/2 teaspoon of red pepper flakes with the other seasonings.
- Always use high-quality butter for the best taste outcome.
Nutrition
- Serving Size: 1 Tablespoon
- Calories: 100
- Sugar: 0g
- Sodium: 60mg
- Fat: 11g
- Saturated Fat: 7g
- Unsaturated Fat: 4g
- Trans Fat: 0g
- Carbohydrates: 0g
- Fiber: 0g
- Protein: 0g
- Cholesterol: 30mg