

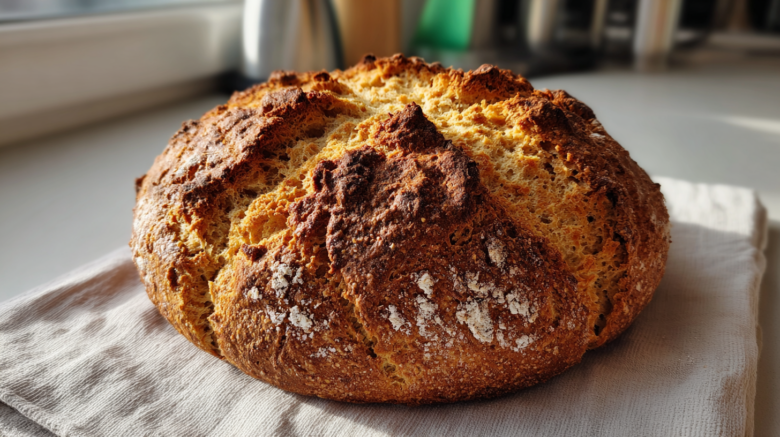
Welcome to Our Kitchen: Making Amazing Soda Bread
Hello friends! I am Amaya, and Kenji and I are thrilled to share this simple recipe. We are making classic soda bread today. It is truly magic in a bowl. This quick bread needs no yeast at all. You can have fresh bread ready fast. It’s perfect for busy weeknights.
Why This Easy Soda Bread Recipe Works for You
You will love how fast this comes together. Prep time is only ten minutes. Poof, it’s done! You get a wonderfully soft inside crumb. The crust bakes up perfectly crisp too. This recipe gives you perfect results every time. You deserve easy, delicious baking.
Our Approach to Traditional Irish Soda Bread
We honor the old ways here. Traditional Irish soda bread uses just a few things. Our method keeps things simple for you. Even if you are new to baking, try this bread. It honors tradition while fitting modern life.
Ingredients for Your Perfect Soda Bread Loaf
Gathering your items is the first fun step. This recipe needs very few pantry staples. We keep the ingredient list short and sweet. You will see how simple baking can be.
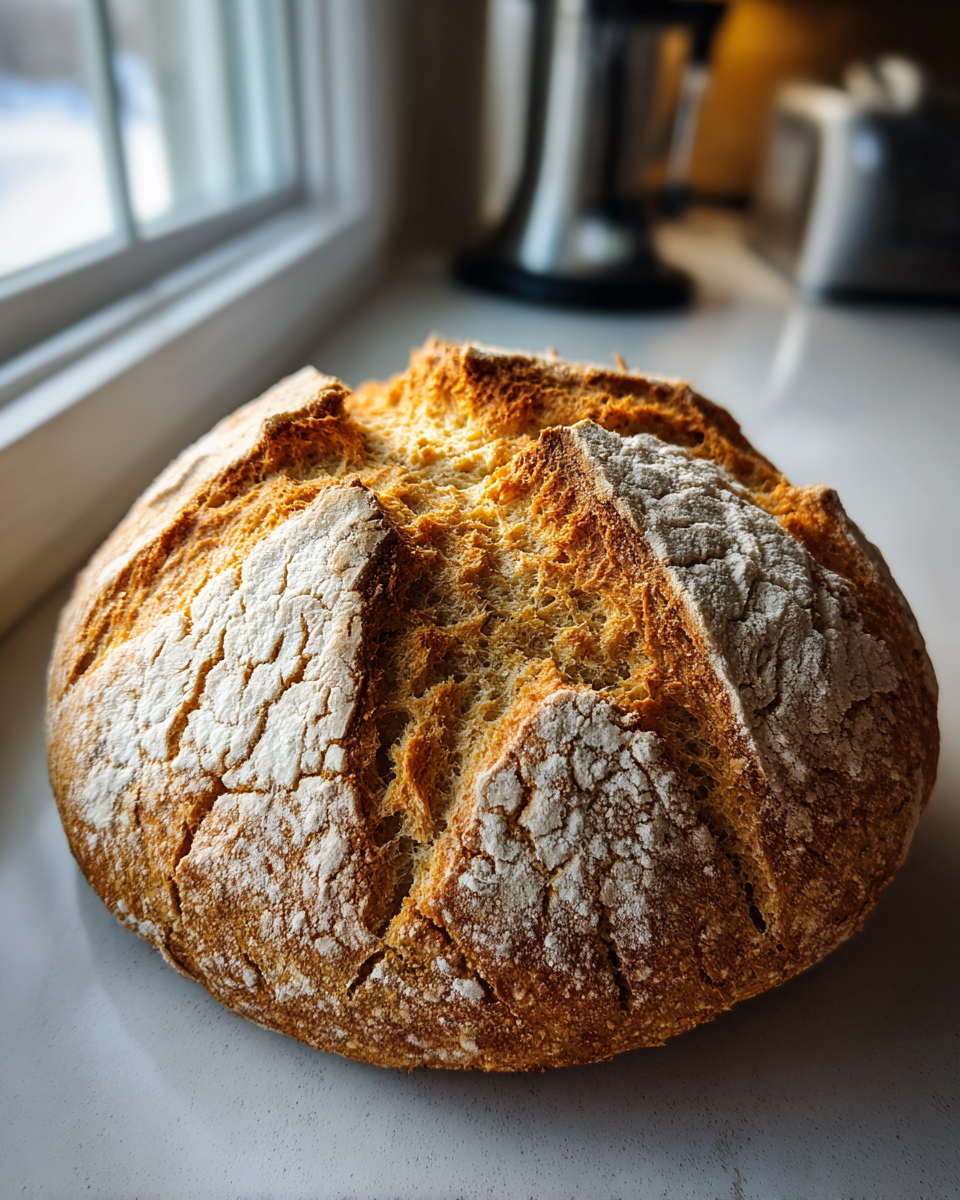
Measuring Flours and Leaveners for Soda Bread
We start with four cups of all-purpose flour. Next, add one teaspoon of baking soda. The baking soda is our helper here. It makes the bread rise up nicely.
Do not forget the salt, just one teaspoon needed. These dry tools work together well. They form the base of our quick bread.
Understanding Buttermilk Requirements
You need one and a half cups of buttermilk now. This liquid reacts strongly with the soda. It creates the lift we want. If you lack buttermilk, don’t fret! Mix one and a half tablespoons of vinegar into regular milk. Let that mixture sit for five short minutes.
Equipment Needed for Baking Soda Bread
You don’t need fancy tools for this bread. Baking soda bread is wonderfully simple. I use basic things from my kitchen drawers. Having the right tools helps things run smoothly. Let’s look at what you need ready.
Essential Baking Surfaces
Grab a large mixing bowl first. You need room to work your dough. A sturdy wooden spoon works best for mixing. This keeps the dough from getting tough.
Next, prepare your baking surface. Use a standard baking sheet. Lining it with parchment paper is smart. This stops your beautiful loaf from sticking. You want that crisp bottom intact!
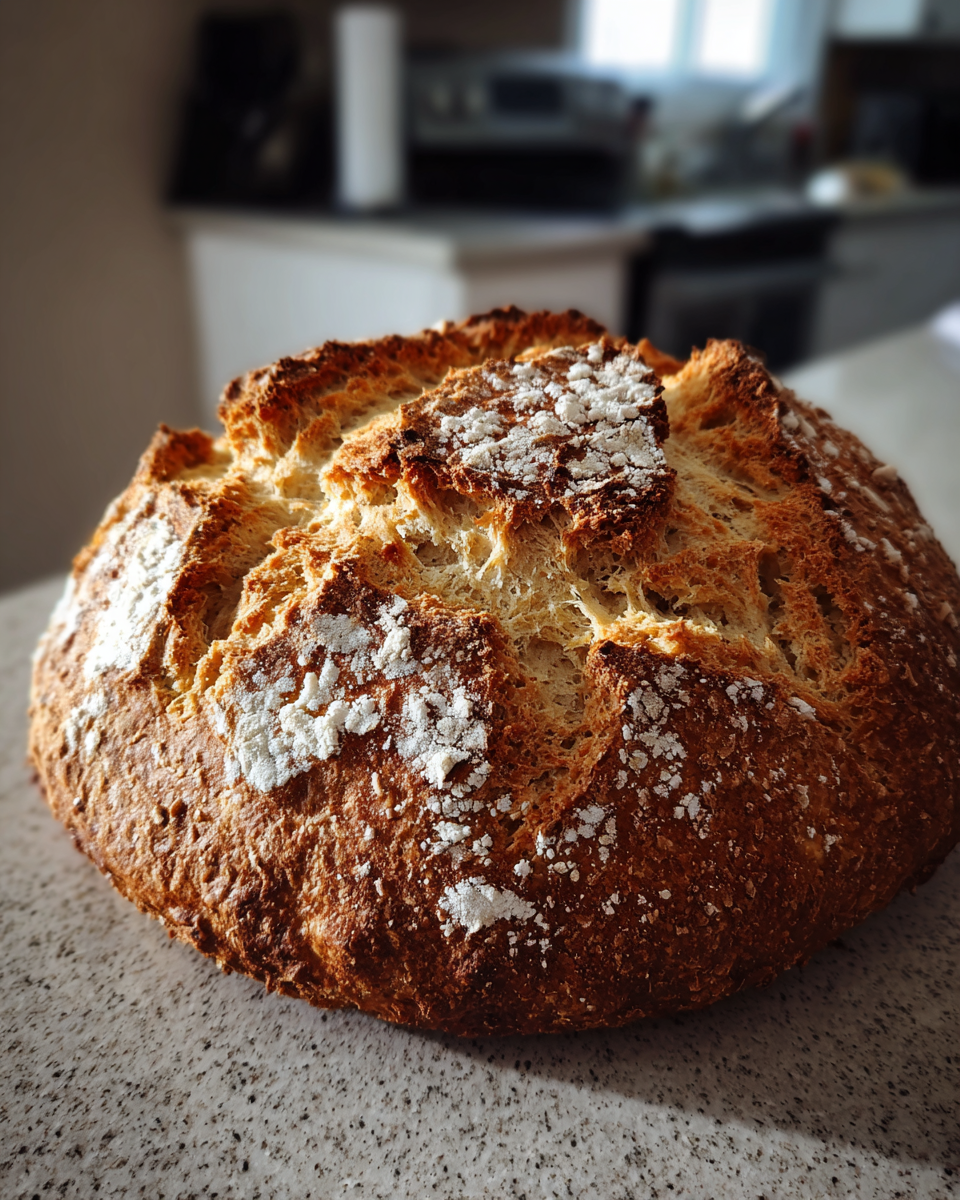
Step-by-Step Instructions for Classic Soda Bread
Now for the fun part! Baking this bread is fast. Preheat your oven right away to 400 degrees Fahrenheit. This heat needs time to build up. We want that perfect crust starting quickly.
Preparing the Dry Mix
Take your large bowl now. Add the flour, baking soda, and salt in there. Whisk them together well. This step spreads the leavener evenly. Make a deep little hole in the center. Think of it like a tiny volcano crater.
Mixing the Soda Bread Dough Gently
Pour all your buttermilk right into that center well. Use your wooden spoon to mix. Stir only until the flour disappears. Stop mixing right then. Seriously, do not overmix the dough. A shaggy, rough dough means success. Overmixing makes the bread tough.
Shaping and Scoring Your Soda Bread Loaf
Lightly flour a clean surface for the dough. Turn the sticky dough out onto it. Quickly pat the dough into a round shape. Aim for about two inches tall exactly. Place this round loaf on your prepared baking sheet. Take a sharp knife next. Cut a deep cross right into the top. This score helps the heat get inside.
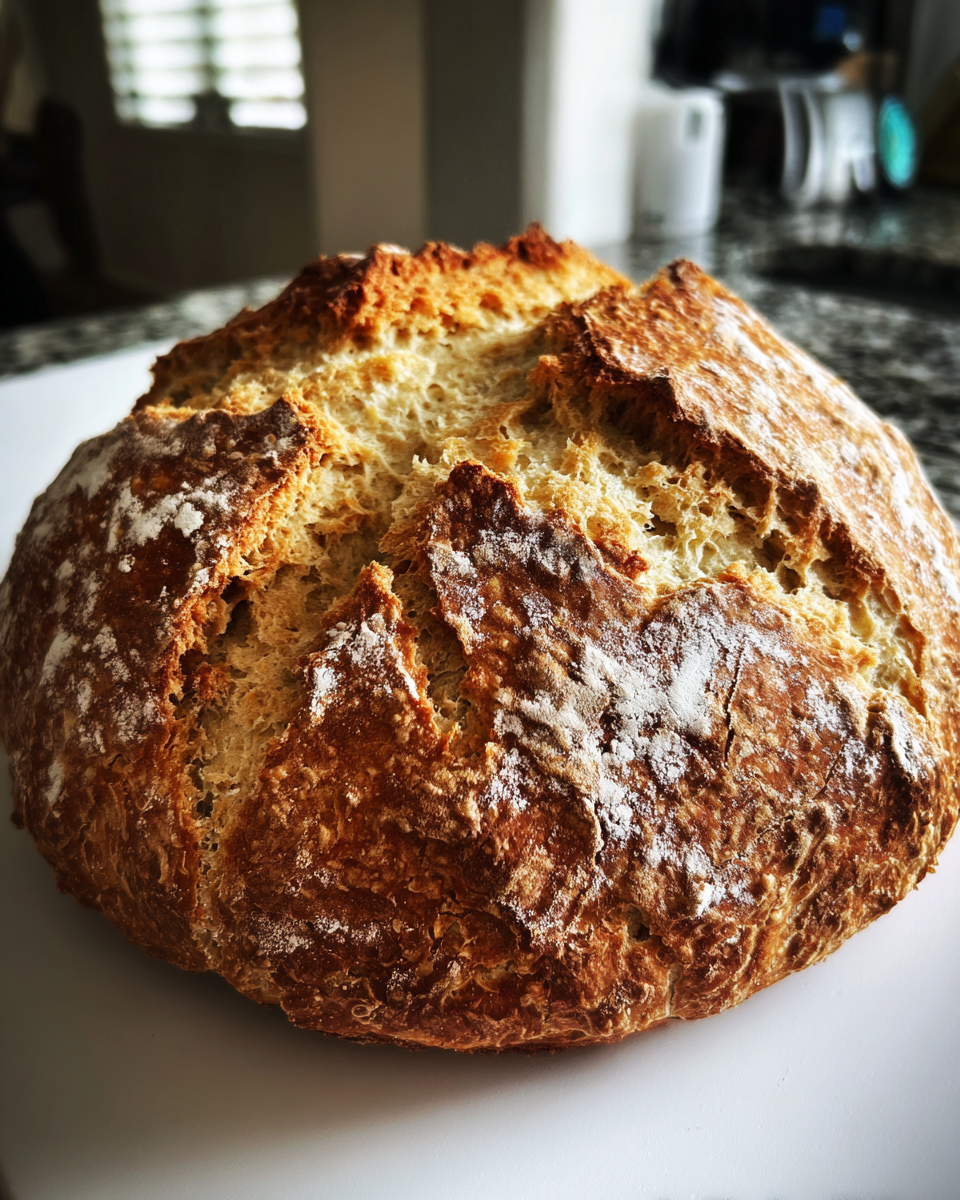
Baking Times and Testing for Doneness
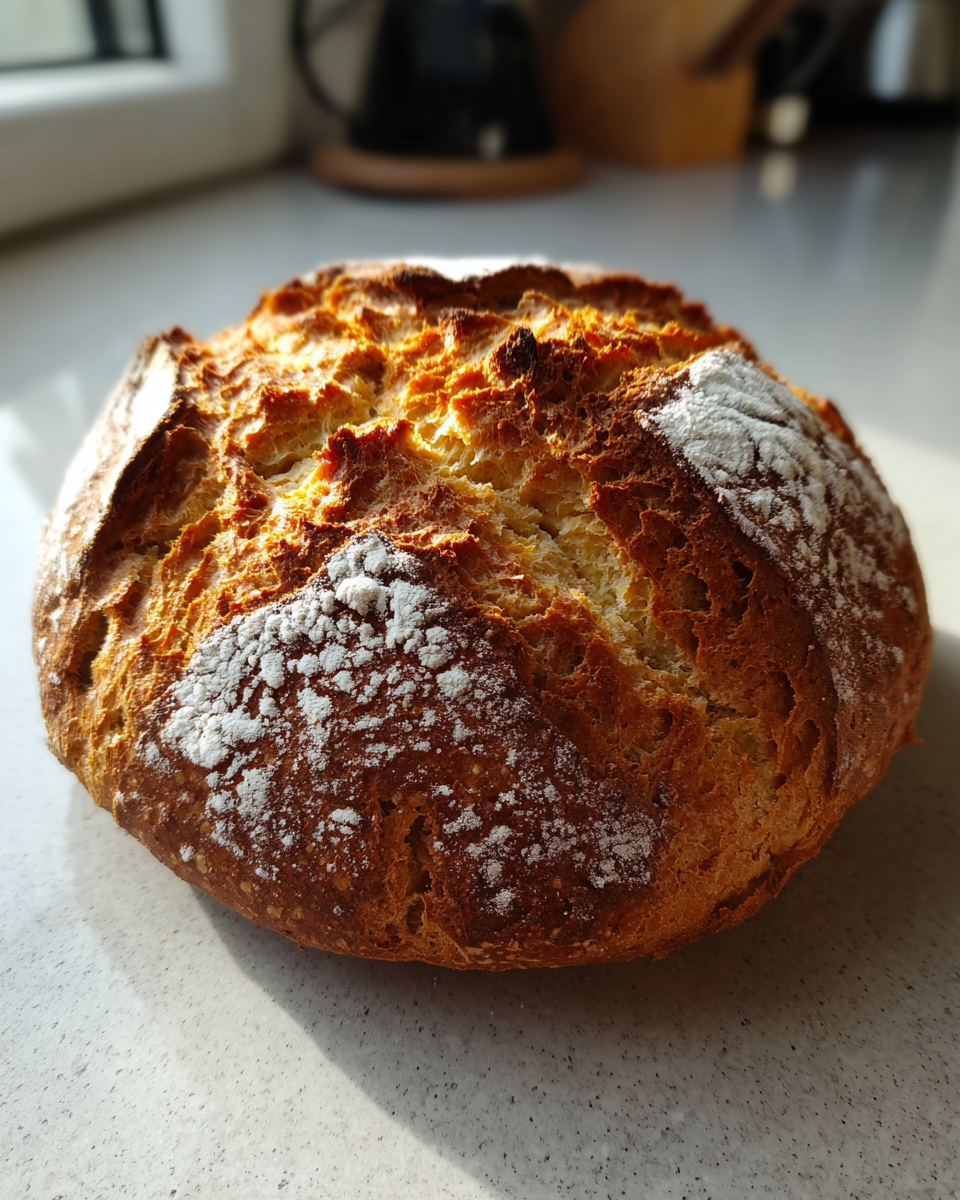
Slide the sheet into the hot oven now. Bake for thirty to forty minutes total. The crust should look deep golden brown. You must test for doneness later. Gently tap the bottom of the loaf. If it sounds hollow, it’s done cooking. Let it cool fully on a rack before slicing it.
Tips for Achieving Expert Soda Bread Texture
Even with this easy recipe, texture matters greatly. I want your loaf to sing! A tender center is key. A slightly crisp exterior feels just right. A few small tricks make a big difference here. These tips come from my years of baking.
Achieving a Crisp Crust on Your Soda Bread
Want a crust that shatters just so? I have a simple secret for you. Before it goes into the oven, brush the top. Use a little extra buttermilk for this. Brush it on lightly over the whole top. This little step boosts the browning. It gives you that wonderful, crisp bite.
Handling Dough Sensitivity
Remember when I said not to overmix? That is crucial for tenderness. When you mix flour and liquid too long, gluten forms. Too much gluten makes the bread heavy. It becomes dense and chewy, not light. We want quick, gentle mixing only. Stop when the ingredients just come together. That shaggy look is your friend!
Delicious Variations of Homemade Soda Bread
This basic soda bread recipe is a wonderful base. It is just waiting for your touch! I love how flexible this bread is. You can keep it plain and simple. Or you can dress it up easily for any meal. Think about what flavors you love today.
We can easily turn this into a savory treat. Sweet additions also work beautifully here. Let’s look at some ways to change up your loaf.
Making Savory Cheddar and Herb Soda Bread
My children always ask for the cheese version. It makes an amazing side dish. You add these extras right near the end. Wait until the dough is just combined. Then, gently knead in your additions. Use about one cup of shredded sharp cheddar cheese. Fresh herbs are great too. Try one tablespoon of chopped chives.
Mix them in carefully, just until spread out. Do not work the dough too much now. Shape it quickly and score the top. The cheese melts beautifully while baking. It adds a salty, savory depth.
Adjusting Sweetness in Your Soda Bread
Are you craving something a little sweeter? That is a simple fix, I promise. You can adjust the sweetness easily. Just add one tablespoon of plain sugar. Mix this sugar in with your dry ingredients. This is done before you add the buttermilk liquid. That small amount brightens the flavor. It never makes it taste like a cake. It just rounds out the edges nicely.
Frequently Asked Questions About Soda Bread
I know baking brings up many questions. I get them all the time here. This quick bread is simple but unique. Let’s clear up a few common worries. Knowing these details helps your baking success. You’ll feel more confident making this bread.
Can I Substitute the Buttermilk in This Soda Bread?
Yes, you absolutely can substitute buttermilk. If you run out, don’t panic. We use the milk and vinegar trick. Mix one and a half tablespoons of white vinegar. Add that to one and a half cups of regular milk. Let that mixture sit for five minutes. It will curdle slightly. This homemade version works just as well. It creates that needed acid for the reaction.
How Long Does Homemade Soda Bread Stay Fresh?
Homemade soda bread tastes best the day it bakes. That crust is at its peak freshness then. It usually stays good for two full days. Store it tightly wrapped at room temperature. Do not put it in the fridge too soon. The cold air dries out the crumb fast. Reheating helps restore some texture later.
Storing and Reheating Your Leftover Soda Bread
What happens when you have extra bread? It happens often here! This bread is best hot from the oven. But leftovers are still quite tasty. Proper storage keeps it good longer. We want to protect that nice crumb texture.
Always cool your loaf completely first. Never wrap warm bread tightly. Trapped steam makes it soggy fast. Once cool, wrap it well. Use plastic wrap or foil tightly. Store it at room temperature only. Refrigeration is the enemy of fresh bread.
When you are ready to eat it again, reheat it. This brings back some of that fresh magic. Cut a thick slice of the bread. Wrap that slice loosely in foil. Pop it into a 350 degree oven. Warm it for about ten minutes. The crust softens then crisps up again nicely. Enjoy your second helping of homemade bread!
Understanding the Nutrition in Your Soda Bread Slice
We focus on flavor first, always. But knowing what is in our food helps too. I want to share some numbers with you. This information is just an estimate, mind you. Every kitchen is different, right?
This is based on one generous slice serving. It gives you a general idea of the makeup. Think of it as helpful guidance, not strict rules.
- Serving Size: One slice
- Calories: Around 240 per slice
- Carbohydrates: Roughly 50 grams
- Protein: About 7 grams
- Total Fat: Very low, around 1 gram
You see it is mostly carbs from the flour. It has a small bit of protein too. Enjoying food is about balance, my friends. This simple soda bread fits nicely into many diets. It’s made with whole, real ingredients. That’s what matters most to Kenji and me.
Share Your Baking Journey with Us
We poured our hearts into this recipe for you. Now it is your turn to shine!
Did you try this easy soda bread? Tell us how it went! Did you add cheese or herbs?
We love hearing your baking stories. Kenji reads every single comment. We want to see your beautiful loaves. Share your successes and your funny little baking mishaps.
This kitchen is open to everyone. Leave a note below for us to read. Happy baking, dear friends. Come back soon for more recipes!
PrintAmazing Soda Bread: 40 Minute Magic Bread

Make this classic Irish soda bread easily. This quick bread requires no yeast and mixes up fast. It is perfect for beginners and creates a tender crumb with a crisp crust. Use this as a base for savory additions like cheese or herbs.
- Prep Time: 10 minutes
- Cook Time: 40 minutes
- Total Time: 50 minutes
- Yield: 1 loaf (8 servings)
- Category: Bread
- Method: Baking
- Cuisine: Irish
- Diet: Vegetarian
Ingredients
- 4 cups all-purpose flour
- 1 teaspoon baking soda
- 1 teaspoon salt
- 1.5 cups buttermilk
Instructions
- Preheat your oven to 400°F (200°C).
- In a large bowl, whisk together the flour, baking soda, and salt.
- Make a well in the center of the dry ingredients.
- Pour in the buttermilk all at once.
- Mix gently with a wooden spoon until just combined. Do not overmix; a shaggy dough is correct.
- Turn the dough out onto a lightly floured surface.
- Quickly shape the dough into a round loaf, about 2 inches high.
- Place the loaf on a baking sheet lined with parchment paper.
- Score a deep cross into the top of the loaf with a sharp knife.
- Bake for 30 to 40 minutes, or until the crust is deep golden brown and the loaf sounds hollow when tapped on the bottom.
- Cool on a wire rack before slicing and serving.
Notes
- For a crisper crust, you can brush the top lightly with buttermilk before baking.
- If you prefer a sweeter bread, add 1 tablespoon of sugar to the dry ingredients.
- If you do not have buttermilk, mix 1.5 tablespoons of lemon juice or white vinegar into 1.5 cups of regular milk and let it sit for 5 minutes before using.
- For savory variations, knead in 1 cup of shredded sharp cheddar cheese and 1 tablespoon of chopped fresh herbs (like chives or parsley) just before shaping the loaf.
Nutrition
- Serving Size: 1 slice
- Calories: 240
- Sugar: 1g
- Sodium: 450mg
- Fat: 1g
- Saturated Fat: 0.5g
- Unsaturated Fat: 0.5g
- Trans Fat: 0g
- Carbohydrates: 50g
- Fiber: 2g
- Protein: 7g
- Cholesterol: 5mg