

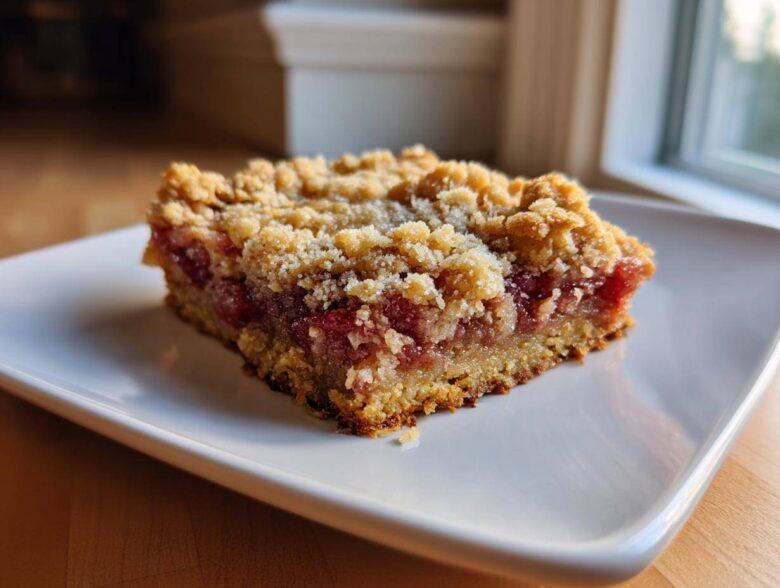
Oh my gosh, when spring rolls around, my kitchen instantly screams for those classic sweet-tart fruit bakeries! There is just nothing like the combination of bright strawberries and slightly sour rhubarb. For years, though, making baked goods like this without gluten felt like a total guessing game. The filling was always great, but the crust? Forget about it! It either crumbled into dust or turned into a weird, gummy brick. Honestly, perfecting these Gluten-Free Strawberry Rhubarb Bars took me a solid year of testing, but trust me—we cracked the code!
I finally found that sweet spot where you get a beautiful, buttery, shortbread-like base that actually holds together, paired with that gorgeous bubbly fruit center. This recipe is my absolute go-to spring dessert because it’s easy, doesn’t require fancy techniques, and manages to taste incredibly rich despite being completely gluten-free. You get the perfect bar format that travels well and slices beautifully, which is exactly what we need when summer potlucks start rolling around.
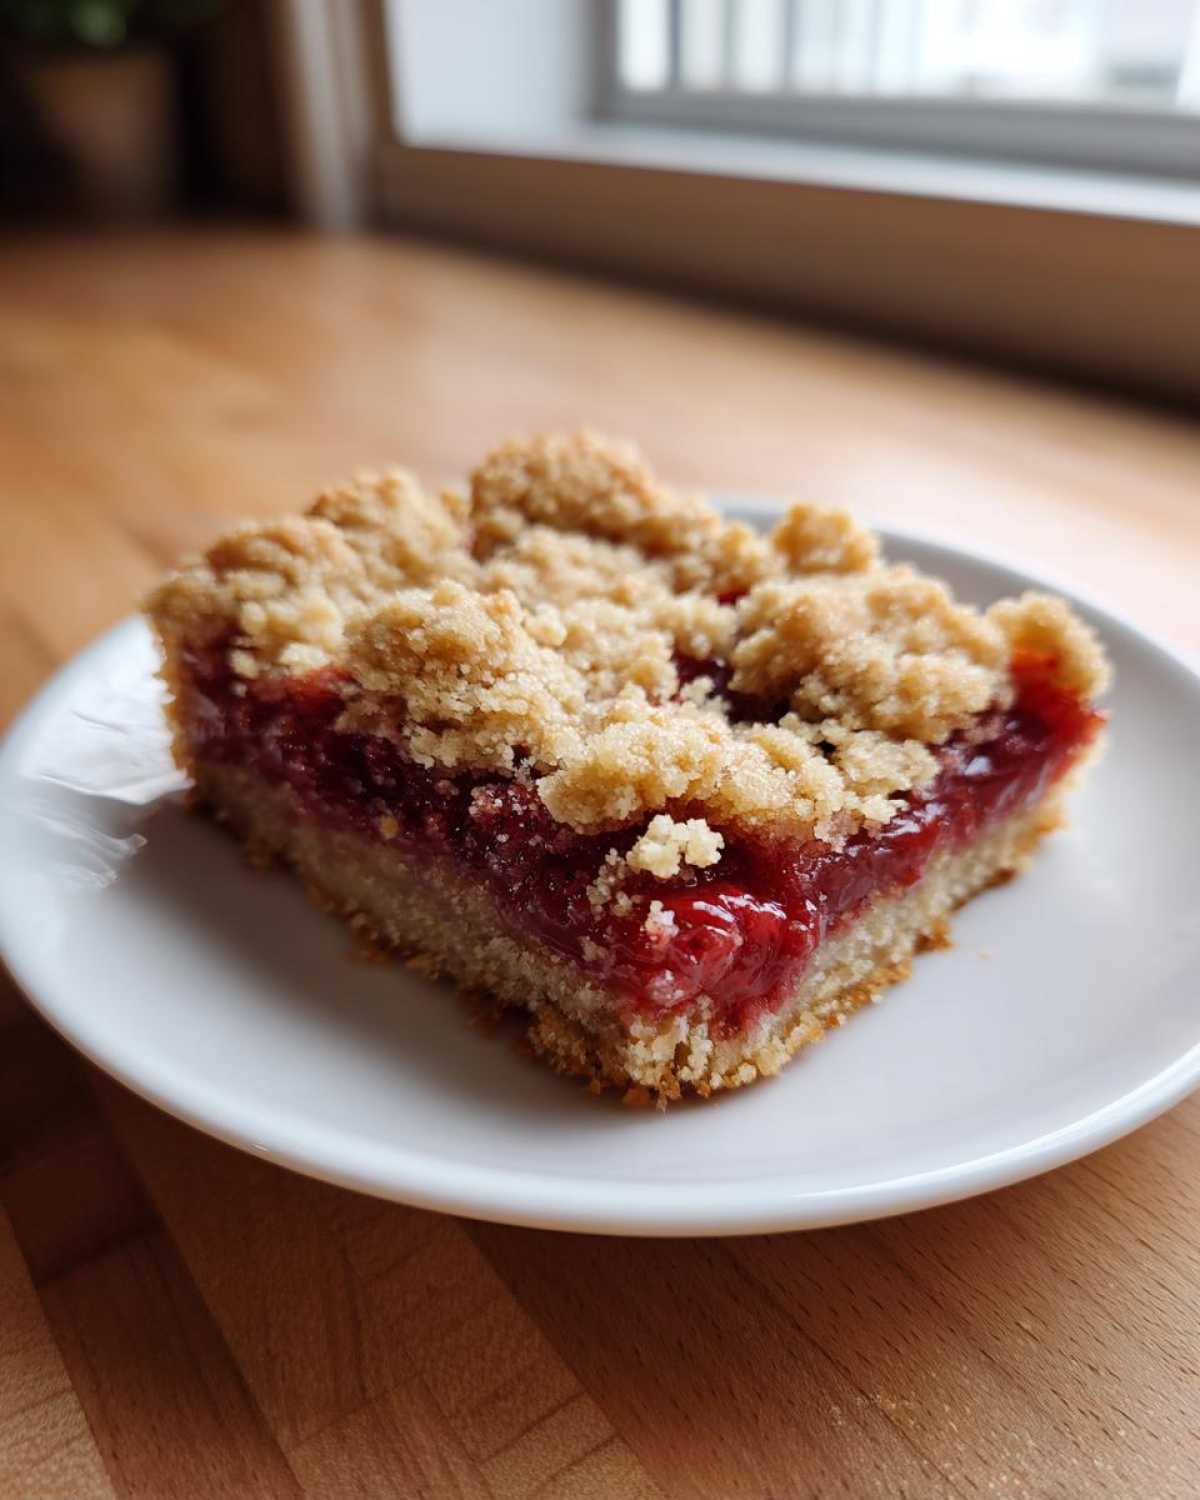
Why This is the Best Gluten-Free Strawberry Rhubarb Bars Recipe (Texture & Flavor Focus)
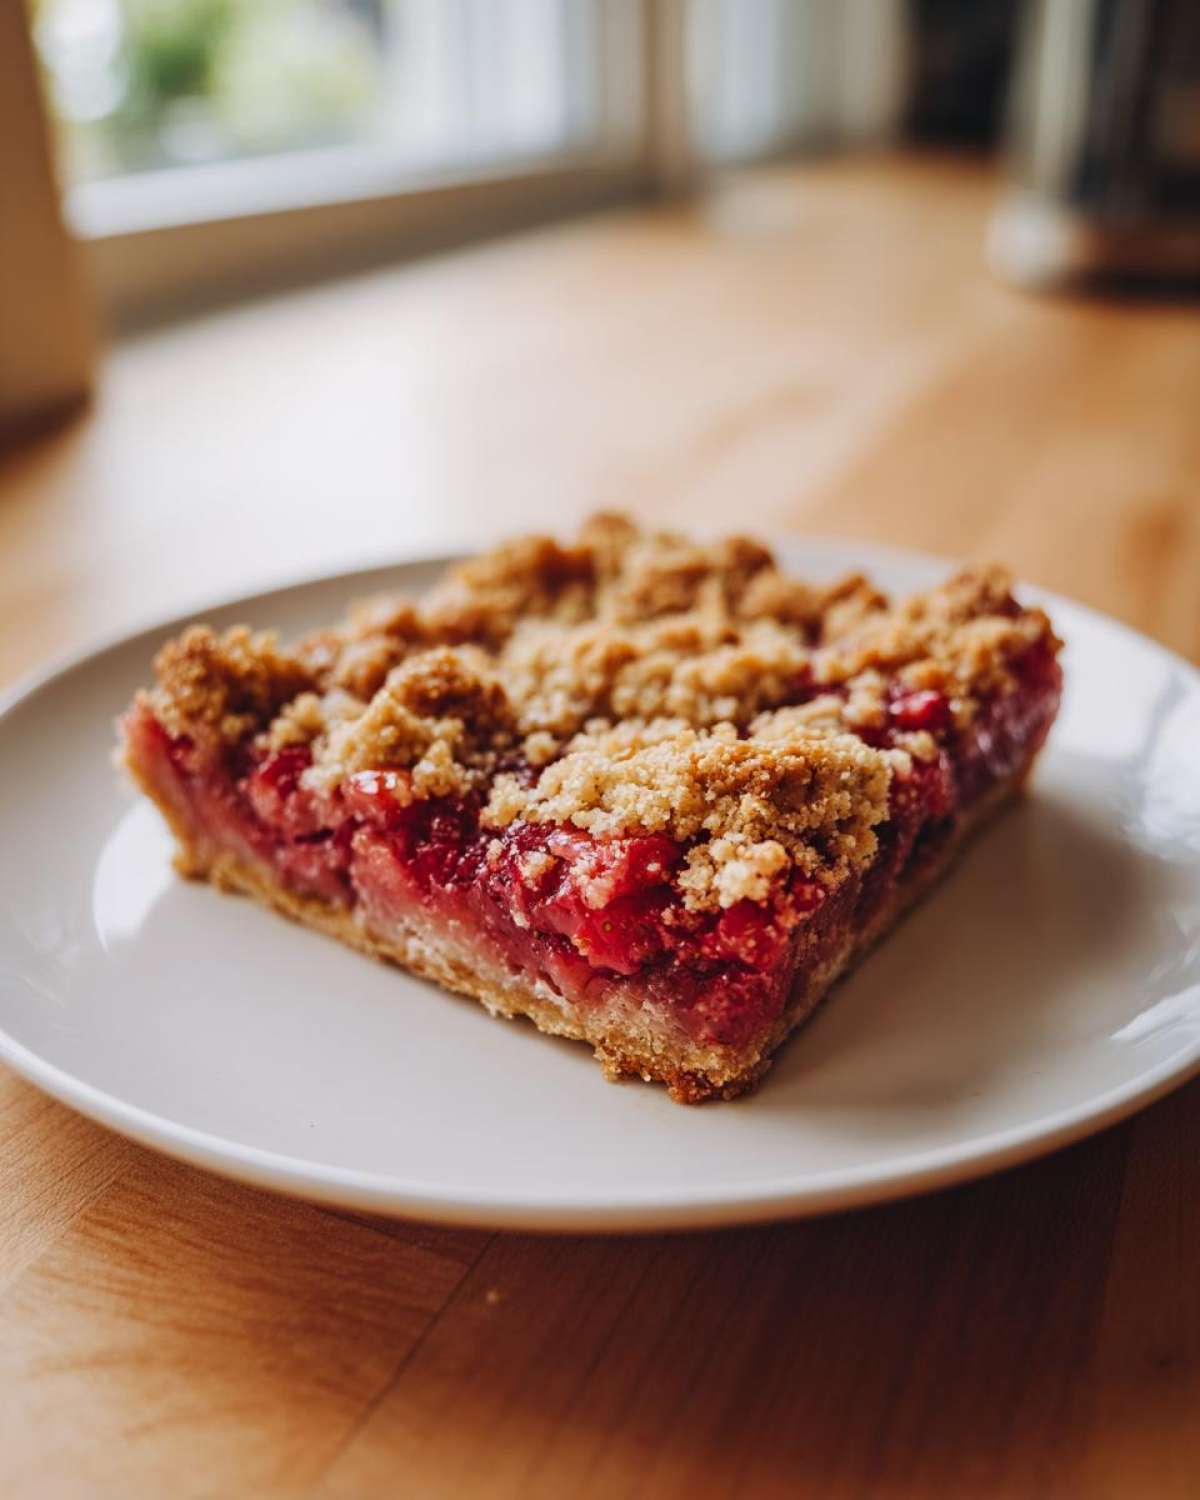
What makes this recipe truly special, honestly, is that you forget it’s gluten-free until someone tells you! The trick lies entirely in the texture balance, which is everything for a good bar—we want the crumble on top, but we need that crust to stay put when you pick it up. The tartness of the rhubarb is fierce when it’s fresh, so I layer in the sweet strawberries to mellow it out just enough. That combination, baked into an 8×8 pan, gives you the perfect, sturdy bar size that slices cleanly!
I’ve thrown out so many rock-hard GF crusts over the years, but this one stays tender. If you check out my general baking tips over at my main blog page, you’ll see I talk a lot about using specific flour combos for structure. That’s what wins here.
Achieving the Perfect Gluten Free Crumb Bars Texture
The secret to that hold-together crumb is the marriage of two flours in the crust! We’re using a standard gluten-free all-purpose blend, usually one that already has xanthan gum because that’s our binder. But then I sneak in some almond flour, and wow, does that make a difference.
The almond flour brings natural fats, which keeps the shortbread base tender, preventing that dry, sand-like texture you sometimes get from pure GF blends. You’re aiming for a base that presses down firmly, and a topping that crumbles nicely over the fruit but still has enough structure to toast up golden brown. When done right, you get that fantastic chewiness from the fruit layer contrasting beautifully with the buttery crumble. It’s the best of both worlds!
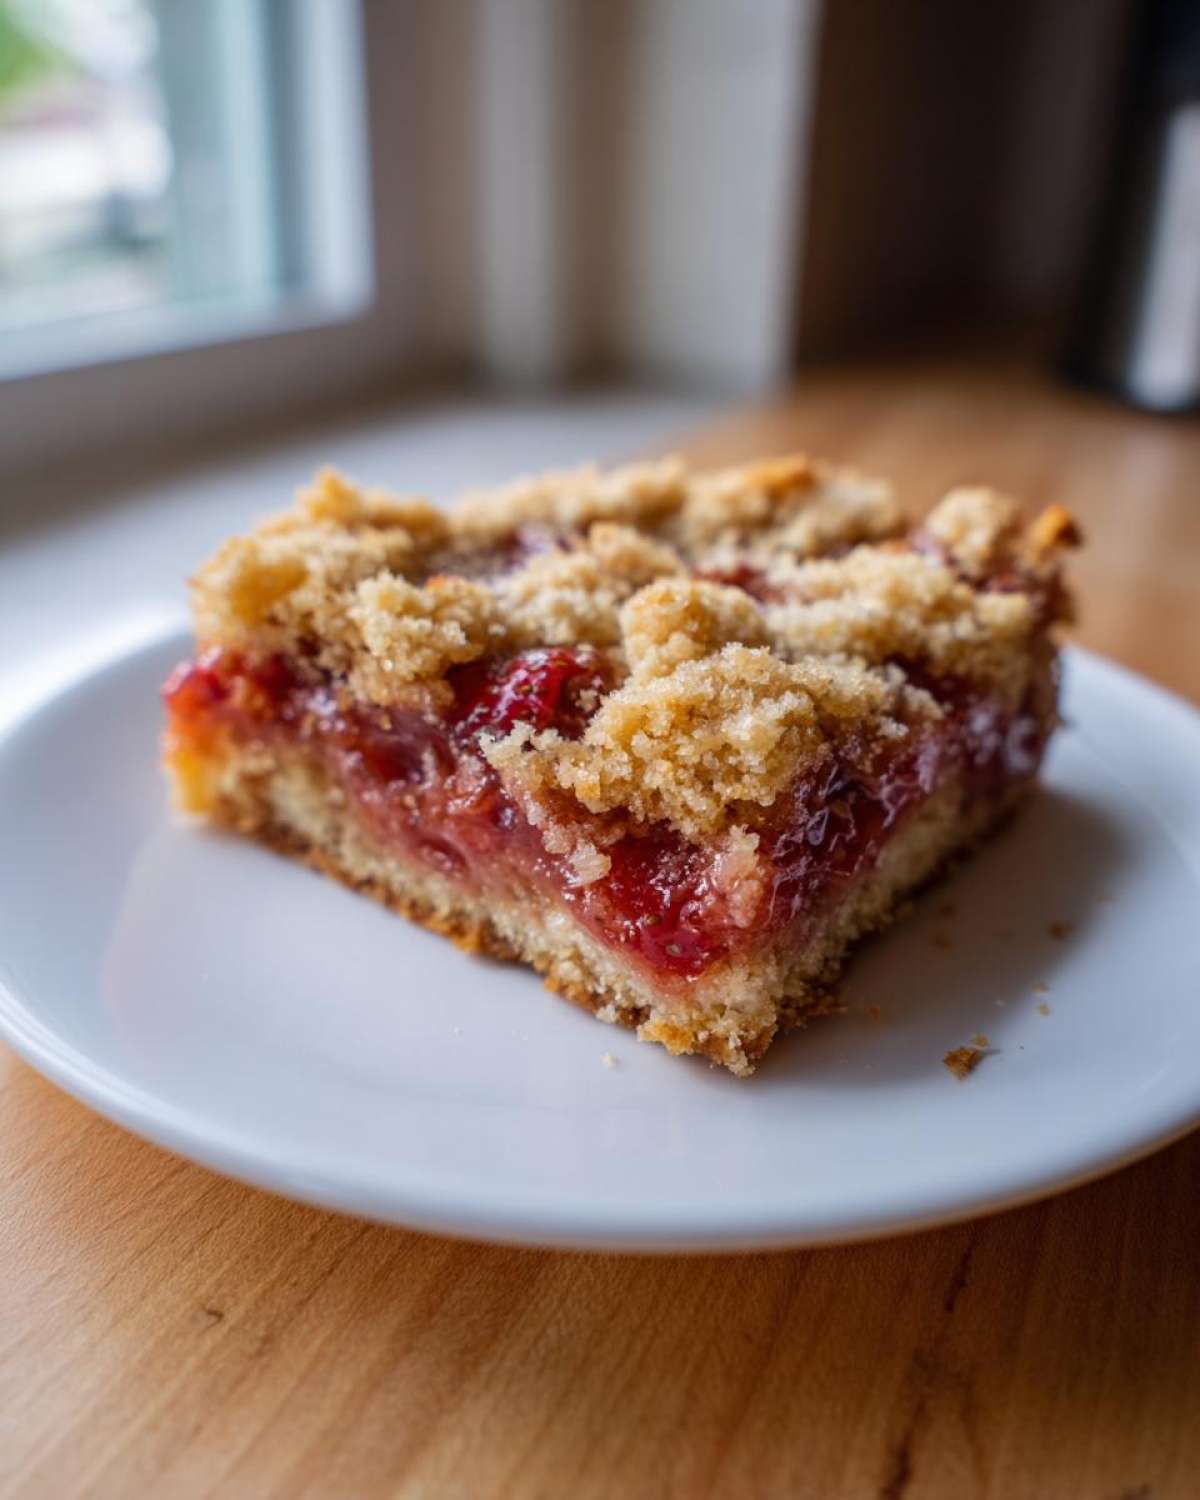
Gather Your Ingredients for Gluten-Free Strawberry Rhubarb Bars
This recipe is straightforward, but because we are dealing with gluten-free flours and temperamental fruit, precision matters here more than ever. Don’t try to substitute the butter for oil here; we need those cold chunks to create pockets in the crust! Also, make sure your rhubarb is chopped up nicely—no giant, intimidating pieces allowed, please.
When you gather everything, pay close attention to the notes for the flours and the fruit prep. It makes the mixing process go so much smoother, and honestly, it’s way less messy than trying to measure things out while the butter is already melting in the bowl! If you need a reminder on how I prep my kitchen for low-mess baking, I wrote a quick guide on keeping things tidy.
Here is exactly what you need on your counter:
- 1 1/2 cups gluten-free all-purpose flour blend (with xanthan gum)
- 1/2 cup almond flour
- 1/2 cup granulated sugar
- 1/4 teaspoon salt
- 1/2 cup cold unsalted butter, cut into cubes
- 1 large egg yolk
- 2 tablespoons cold water
- 2 cups chopped fresh rhubarb
- 2 cups sliced fresh strawberries
- 1/2 cup granulated sugar
- 2 tablespoons cornstarch or tapioca starch
- 1 teaspoon vanilla extract
- 1 tablespoon lemon juice
Step-by-Step Instructions: How to Make Gluten Free Rhubarb Strawberry Bars Recipe
Okay, put on your apron, because this is where the magic happens! Making the Gluten Free Rhubarb Strawberry Bars Recipe is really about controlling temperature—both of your ingredients and your oven. Grab that 8×8 pan and make sure you line it with parchment paper right away, leaving those overhangs on two sides. That overhang is your best friend for lifting these bars out later, trust me; trying to pry a fudgy GF bar out from the bottom edge is a recipe for tears!
If your kitchen is already warm, or if you’re using really soft butter, stop for a second and pop the flour/butter mixture into the freezer for about five minutes before adding the liquid. Cold dough equals a flakier, less greasy crust, especially when you’re working with gluten-free flours that can sometimes absorb fat too quickly!
Preparing the Gluten Free Crust and Topping
First things first: get that oven preheated to 350°F (175°C). In your bowl, whisk together your GF blend, almond flour, that first half-cup of sugar, and the salt. You want this completely uniform before you introduce the fat. Now, take your cold butter cubes and work them in quickly. I use my fingers for this part because I can *feel* when the texture is right—you want pea-sized crumbs, nothing bigger. It should look shaggy!
Then, you add the liquid—just the egg yolk and the two tablespoons of ice-cold water. Mix it just until everything barely holds together into a shaggy mass. Stop mixing immediately! Seriously, overmixing GF dough is the highway to Gummy Town. Once it’s a dough, divide it. Press two-thirds of that dough evenly into the bottom of your prepared pan for the base layer. The remaining one-third? Set it aside; that’s going to be our beautiful, textured topping later.
Mixing the Strawberry Rhubarb Filling
Now for the star of the show! In a separate bowl, combine your fresh rhubarb and strawberries. Now, the secret weapon here is the starch. We need about two tablespoons of cornstarch or tapioca starch. This has to coat all those beautiful juices the fruit is going to release. If you skip the starch, you’ll get a soupy mess instead of a thick, jammy filling inside your bars.
Toss in the remaining half cup of sugar, the vanilla, and the lemon juice for that final zing. Mix it gently until everything looks coated. You want the fruit to be slightly macerated, giving off a little juice, but you don’t want to mash the fruit into absolute mush.
Assembly and Baking Your Gluten Free Strawberry Rhubarb Bars
Time to layer things up! Pour that gorgeous fruit mixture right over the pressed crust. Use a spatula to spread it out evenly so you don’t disturb the base too much. Then, take that last one-third of your dough and just crumble it randomly over the top of the fruit. I like small crumbles and a few larger pieces for texture contrast.
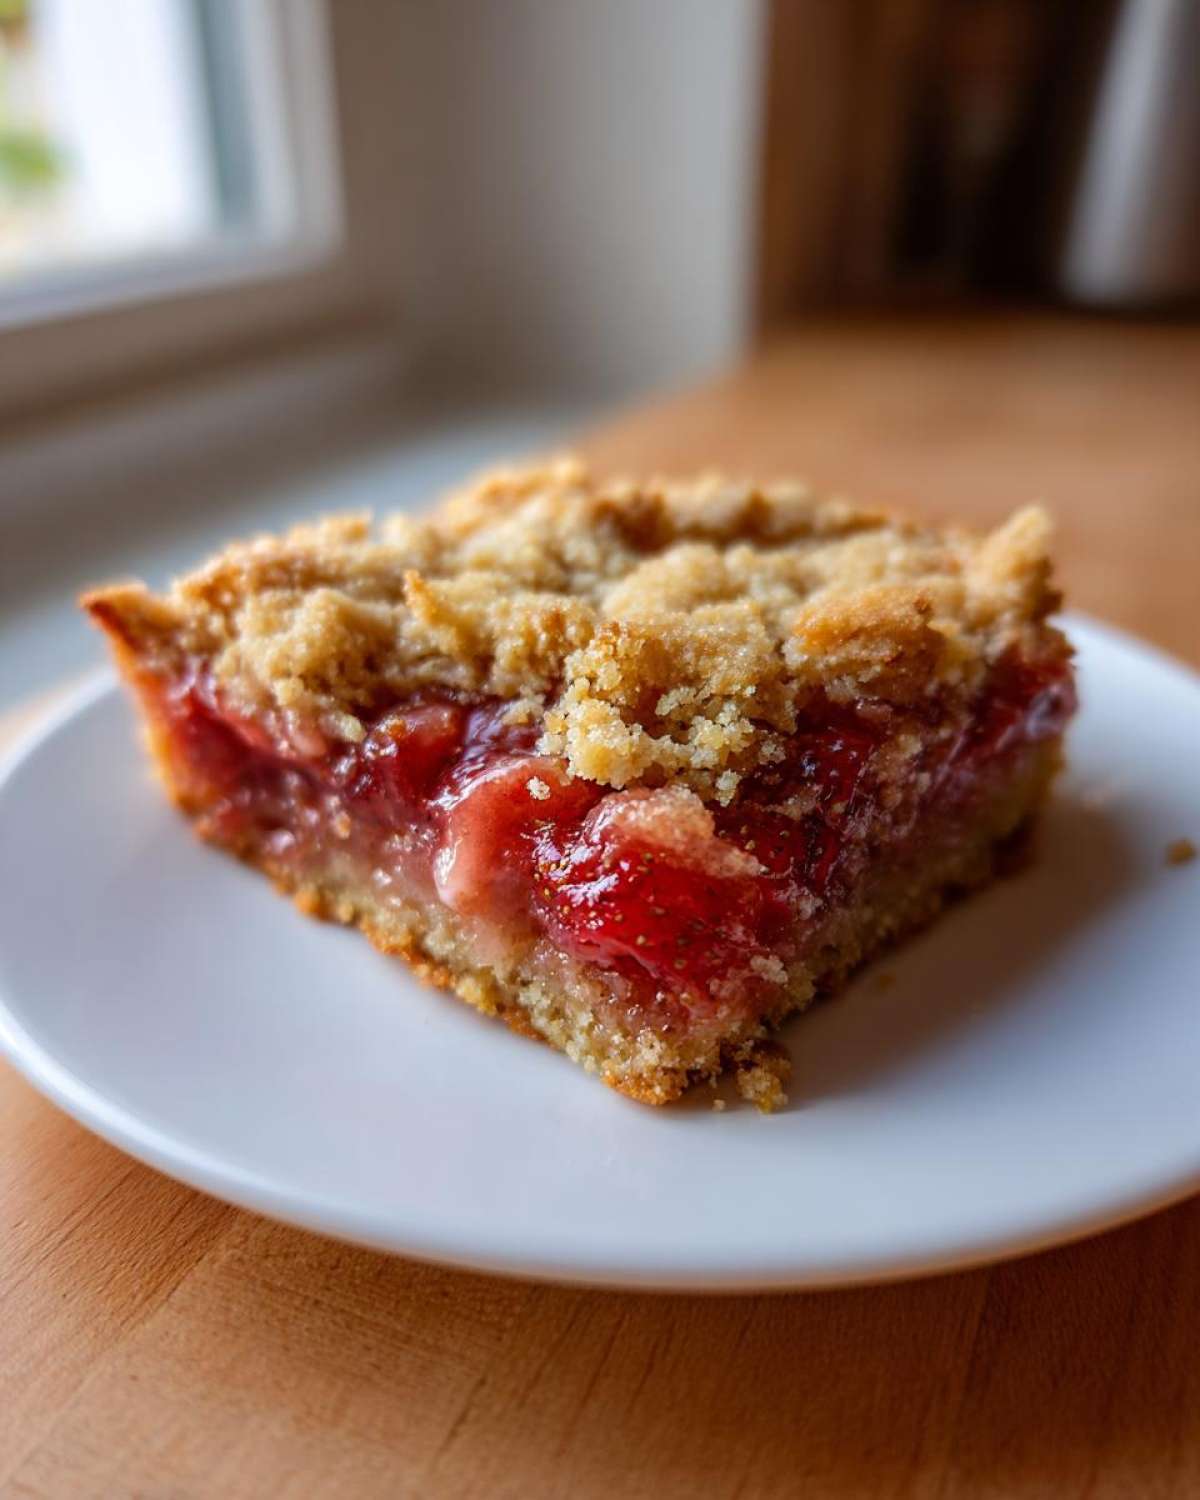
Bake this beauty for about 45 to 55 minutes. You’re looking for that topping to be deeply golden brown, and you should see the filling aggressively bubbling up around the edges—that bubbling means the starch is doing its job and thickening everything! The most crucial step, the one that separates successful bar bakers from the frustrated ones, is the cooling. You absolutely MUST let these cool completely, ideally for two hours on the counter or even an hour in the fridge using that parchment sling you created. If you cut them warm, they will fall apart. I promise you, patience here equals a perfect square!
If you want to see a technique I use for testing my cookie dough consistency, which is helpful for any dough, check out my guide on making amazing homemade chocolate chip cookies; the concepts of cold butter apply across the board!
Ingredient Notes and Substitutions for Almond Flour Strawberry Rhubarb Bars
I know the ingredients list can look tricky when you see two different flours, but I think this combination for our Almond Flour Strawberry Rhubarb Bars is worth the effort! The almond flour isn’t just filler; it brings a subtle, nutty sweetness and keeps the crust incredibly moist, which is a lifesaver in gluten-free baking.
If you want things a little chewier—more like a soft shortbread than a firm crust—you can try swapping out the specific gluten-free all-purpose blend for oat flour entirely in the crust portion. Just make sure you add that half teaspoon of xanthan gum if your blend didn’t already have it; that’s the glue holding everything together!
If you’re missing the almond flour specifically, you can usually replace it one-for-one with more of your GF blend, but the texture will be slightly drier. For the best results, try to stick to the recipe, especially since we’re trying to keep these bars from turning into dry dust! For inspiration on keeping fruit baked goods moist, you should peek at the tips I shared on my super moist strawberry muffins; the principles carry over.
And a quick note on the xanthan gum: if your blend includes it, skip adding any extra. If it doesn’t, that tiny bit we add makes sure your dough has enough structure to be pressed and crumbled without disintegrating completely!
Tips for Success When Making Gluten Free Crumb Bars
Even with the perfect ingredients, sometimes gluten-free baking throws us a curveball! I’ve learned a few things over the years making these types of crumb bars—things that weren’t strictly written on the recipe card but are vital for success. Think of these as the extra encouragement you need before you start assembling!
My absolute number one rule, and this is non-negotiable for the base, is freezing the butter. When I say cold, I mean freezer-cold butter cubes mashed into the dry ingredients. This ensures those fat pockets stay distinct. When they melt in the oven, they create steam, which gives you that lovely, delicate, flaky texture instead of a dense, greasy patch at the bottom of your Gluten Free Crumb Bars.
Here are a few other little tricks that guarantee success in my kitchen:
- The Parchment Sling is Mandatory: I mentioned it before, but I’ll say it again—never skip the overhanging parchment paper if you plan on lifting these bars out neatly. Gluten-free crusts are notorious for sticking just enough to rip when you try to cut them in the pan. Lifting them out onto a cutting board is the *only* safe way to ensure perfect squares.
- Don’t Trust the Color Alone: When baking fruit bars, especially with a pale almond flour/GF crust, you really need to watch for the filling bubbling. If the top looks slightly pale but the fruit juices aren’t bubbling thickly in the center, keep baking! If the topping browns too fast, just make a small piece of foil tent and lay it over the top like a little hat.
- The Chill Factor is Your Friend: Remember how I stressed letting them cool completely? That’s because the starches and gluten-free binders need time to set up without the heat of the oven. If you slice them warm, they won’t hold their shape properly. If you’re in a real hurry, pop the whole pan into the fridge for an hour after it hits room temperature. The cold firms up the butter in the crust, giving you sharp, clean cuts.
If you’re looking for another great make-ahead treat where chilling is key, you have to try my recipe for date and nut bread; chilling that dough base really impacts the final texture too!
Serving Suggestions for Easy Gluten Berry Rhubarb Dessert Bars
Now that you’ve waited (impossibly long) for these beauties to cool and sliced them into perfect squares, how should you eat them? Honestly, they are fantastic all on their own. They travel well, they’re sturdy enough for a picnic lunch, and they are just zingy enough for a mid-afternoon snack.
But if you want to turn these Easy Gluten Berry Rhubarb Dessert Bars into a proper dessert centerpiece, I have two favorite ways to dress them up, especially when that fruit filling is still slightly warm beneath the topping.
First, you absolutely must try them with vanilla bean ice cream. The contrast between the tart, almost hot filling and the cold, creamy ice cream is just dreamy. If you need a good base recipe for creamy desserts, check out my old-fashioned creamy rice pudding; it shares that same rich, cozy foundation!
Alternatively, since the flavor profile here is so bright and slightly acidic, they pair wonderfully with a strong cup of coffee or a hot cup of black tea in the morning. They make a surprisingly good breakfast treat when you need something more exciting than plain toast!
Storage and Make Ahead Gluten Free Desserts
One of the things I love most about a really sturdy bar recipe like this—especially since we finally nailed the crispy-yet-tender crust—is that these are fantastic Make Ahead Gluten Free Desserts! You don’t have to stress about getting them made right before guests arrive. In fact, I actively encourage waiting a bit before slicing them because the flavor only deepens after a day in the fridge.
If you’re making these for a party or just want to have a wholesome snack ready for the week, storage is super simple. Keep them right there in that 8×8 pan, loosely covered with foil or plastic wrap. They are quite happy sitting on the counter at room temperature for a good two to three days. Because of the high sugar and fruit content, they hold up beautifully without drying out!
Now, if you want to stash them away for a rainy day—or maybe for a long weekend coming up—you can absolutely freeze them! Just make sure you slice them first. Trust me on this; trying to cut a rock-solid frozen bar is nearly impossible, and you’ll just end up with crumbs.
Here’s the process for freezing:
- Cool the bars completely and slice them into 16 squares.
- Lay the squares out on a baking sheet lined with parchment paper, making sure none of the pieces are touching.
- Place that sheet into the freezer for about two hours until they are fully solid—this is called flash freezing, and it keeps them from sticking together later!
- Once frozen solid, stack them in an airtight, freezer-safe container, separating the layers with small squares of parchment paper. They will keep perfectly for up to three months!
When you want one, just pull the number you need out of the container and let them thaw on the counter for about 30 minutes. They taste just as good as fresh! If you’re looking for other great make-ahead treats that don’t require turning on the oven, I’ve got a killer recipe for no-bake Oreo Dirt Cake that flies off the table every single time!
Frequently Asked Questions About Gluten-Free Strawberry Rhubarb Bars
I get so many questions when people first try this recipe, mainly focused on substitutions or making sure the texture works out. It’s smart to ask! Gluten-free baking, especially fruit bars, requires a little insider knowledge. Here are the common things I hear and my best answers based on years of fiddling with this recipe.
Can I use frozen fruit instead of fresh for these Gluten-Free Strawberry Rhubarb Bars?
Oh, that’s a great question, especially when fresh rhubarb isn’t readily available! Yes, you absolutely can use frozen fruit, but you MUST adjust the process slightly. Frozen fruit releases way more liquid when it thaws and bakes, which can make your crust soggy—the ultimate nightmare for a bar recipe!
If using frozen rhubarb and strawberries, don’t thaw them first. Toss them directly into the bowl with the sugar and starch. You might need to increase the starch by about one extra teaspoon, just to be safe. Also, be prepared for the baking time to increase by about 5 to 10 minutes, because that frozen center takes longer to cook through.
What can I substitute for almond flour if I have a nut allergy?
This is important! Since the almond flour is crucial for moisture and richness in the crust, you can’t just skip it or swap it for regular GF flour; that will make the crust too dry and crumbly. If you need to avoid nuts entirely, I recommend substituting the 1/2 cup of almond flour with an equal amount of finely ground rolled oats (make sure they are certified gluten-free!).
Oats give you that slight chewiness and healthy fat content that mimics the almond flour nicely. If you use oats, though, you might find the dough a *tiny* bit softer, so pop the base dough into the fridge for an extra 10 minutes before pressing it into the pan. It helps everything firm up before it hits the heat!
How can I make these Gluten Free Rhubarb Strawberry Bars dairy-free?
Yes, you can often make these bars dairy-free pretty easily, though it does impact the flavor slightly since butter is so key to that shortbread base. For the 1/2 cup of cold butter, use a high-quality vegan butter stick. You want one that bakes up solidly, not the tub-style spreads. Make sure that vegan butter is cut into cubes and kept ice cold, just like the real stuff!
The dairy-free switch usually only affects the crust component of these Gluten Free Rhubarb Strawberry Bars. The fruit filling is naturally dairy-free, of course. If you plan on serving them with ice cream, just make sure you have your favorite vegan vanilla scoop ready to go!
Do these bars taste better if I make them ahead of time?
Absolutely! I think a lot of fruit bars, especially ones with a strong tart component like rhubarb, benefit hugely from a little rest. When they first come out of the oven, the flavors are sharp, and the textures are still setting up. If you let them cool completely and then chill them in the fridge for a few hours, the filling thickens beautifully, the crust firms up even more, and the sweetness balances out the rhubarb perfectly.
If you’re looking for other recipes that taste amazing after sitting overnight, you should check out my recipe for tender garlic butter steak bites; prepping those ahead of time actually makes them even more flavorful the next day!
Estimated Nutritional Data for Gluten-Free Strawberry Rhubarb Bars
Now, I have to be really honest here, because I am a home cook, not a certified nutritionist! This section is based on the ingredients I used in the recipe above—especially the type of GF flour blend and the amount of butter. The data below is an estimate based on dividing the entire recipe into 16 squares. If you swap out the sugar for a different sweetener or use low-fat butter substitutes, the numbers will change drastically!
I always think it’s helpful to see the big picture, especially when dealing with baked goods. Here’s what you can generally expect per bar:
- Serving Size: 1 bar
- Calories: 210
- Sugar: 18g
- Fat: 12g (This is where the butter does its work!)
- Carbohydrates: 25g
- Protein: 3g
- Sodium: 55mg
See that sugar content? That comes mostly from the fruit release and the sugar needed in the crust to get that classic shortbread flavor. That’s why I never feel the need to drizzle extra icing on top—it’s already perfectly sweet and tart!
Share Your Spring Dessert Bar Recipes Experience
I have shared all my hard-won secrets for making these gorgeous Spring Dessert Bar Recipes come out perfectly, even without gluten, and now I need to hear from you!
Baking is always more fun when you can share the results, right? If you give these Gluten-Free Strawberry Rhubarb Bars a try, please hop down into the comments section below and let me know how they turned out for you. Did the crust hold up like I promised? Are your rhubarb stalks tasting perfectly tart?
Seriously, leave me a star rating if you loved them! Knowing that this recipe is making it onto your family tables brings me so much joy. It’s what keeps me tweaking and testing in my own kitchen!
If you’re looking for another bright, amazing dish to balance out all that sweetness, you absolutely have to check out my recipe for creamy lemon chicken. It’s completely different, but it’s fast, flavorful, and uses up kitchen time perfectly!
PrintGluten-Free Strawberry Rhubarb Bars
Make simple, delicious gluten-free bars featuring a buttery crust and a sweet-tart strawberry rhubarb filling.
- Prep Time: 20 min
- Cook Time: 50 min
- Total Time: 1 hour 10 min
- Yield: 16 bars
- Category: Dessert
- Method: Baking
- Cuisine: American
- Diet: Gluten Free
Ingredients
- 1 1/2 cups gluten-free all-purpose flour blend (with xanthan gum)
- 1/2 cup almond flour
- 1/2 cup granulated sugar
- 1/4 teaspoon salt
- 1/2 cup cold unsalted butter, cut into cubes
- 1 large egg yolk
- 2 tablespoons cold water
- 2 cups chopped fresh rhubarb
- 2 cups sliced fresh strawberries
- 1/2 cup granulated sugar
- 2 tablespoons cornstarch or tapioca starch
- 1 teaspoon vanilla extract
- 1 tablespoon lemon juice
Instructions
- Preheat your oven to 350°F (175°C). Line an 8×8 inch baking pan with parchment paper, leaving an overhang on two sides for easy removal.
- In a medium bowl, whisk together the gluten-free flour blend, almond flour, 1/2 cup sugar, and salt for the crust.
- Cut in the cold butter using a pastry blender or your fingers until the mixture resembles coarse crumbs.
- Mix the egg yolk and cold water into the flour mixture until a dough just comes together. Do not overmix.
- Press two-thirds of the dough evenly into the bottom of the prepared pan to form the crust.
- In a separate bowl, combine the chopped rhubarb, strawberries, 1/2 cup sugar, cornstarch, vanilla extract, and lemon juice. Mix gently until the fruit is coated.
- Spread the fruit filling evenly over the crust layer.
- Crumble the remaining one-third of the dough mixture over the top of the fruit filling.
- Bake for 45 to 55 minutes, or until the topping is golden brown and the filling is bubbly.
- Let the bars cool completely in the pan on a wire rack before lifting them out using the parchment paper overhang. Cut into squares.
Notes
- For a chewier texture, use oat flour instead of the gluten-free all-purpose blend for the crust.
- If your gluten-free flour blend does not contain xanthan gum, add 1/2 teaspoon to the dry ingredients.
- These bars taste best after chilling for at least one hour before slicing.
Nutrition
- Serving Size: 1 bar
- Calories: 210
- Sugar: 18
- Sodium: 55
- Fat: 12
- Saturated Fat: 7
- Unsaturated Fat: 5
- Trans Fat: 0
- Carbohydrates: 25
- Fiber: 2
- Protein: 3
- Cholesterol: 35