

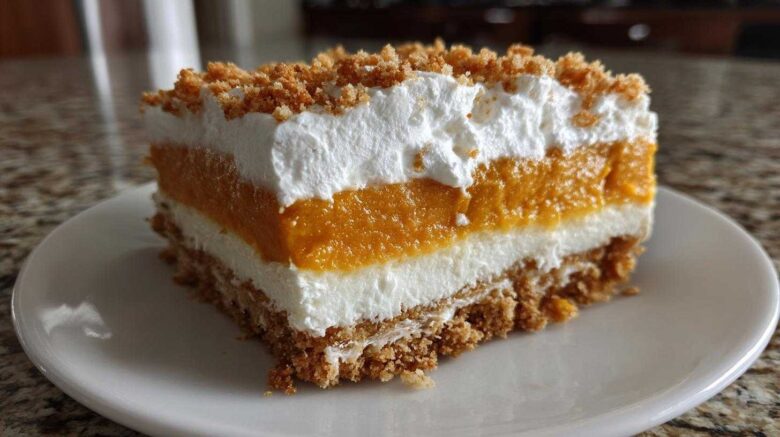
Fall always brings such wonderful memories for me. I remember one crisp autumn afternoon, not too long ago, when Amaya and I hosted a potluck for our new friends here in New York. I wanted something special, but also easy. Something that felt like a warm hug, but without the fuss of baking. That’s when I thought of my No-Bake Pumpkin Lush, also known as dessert lasagna!
This dish has always been a secret weapon in my kitchen. It’s truly a marvel of simplicity and flavor. I love seeing people’s faces light up when they take that first bite. It has all the comforting tastes of fall, layered perfectly. Plus, the fact that it’s a no-bake wonder means I can spend more time chatting with loved ones. It really was the star of our potluck that day. Everyone asked for the recipe!
And you know what? That’s exactly why I’m sharing it with you today. I believe delicious food doesn’t have to be complicated. This recipe proves it. It’s perfect for any gathering, big or small.
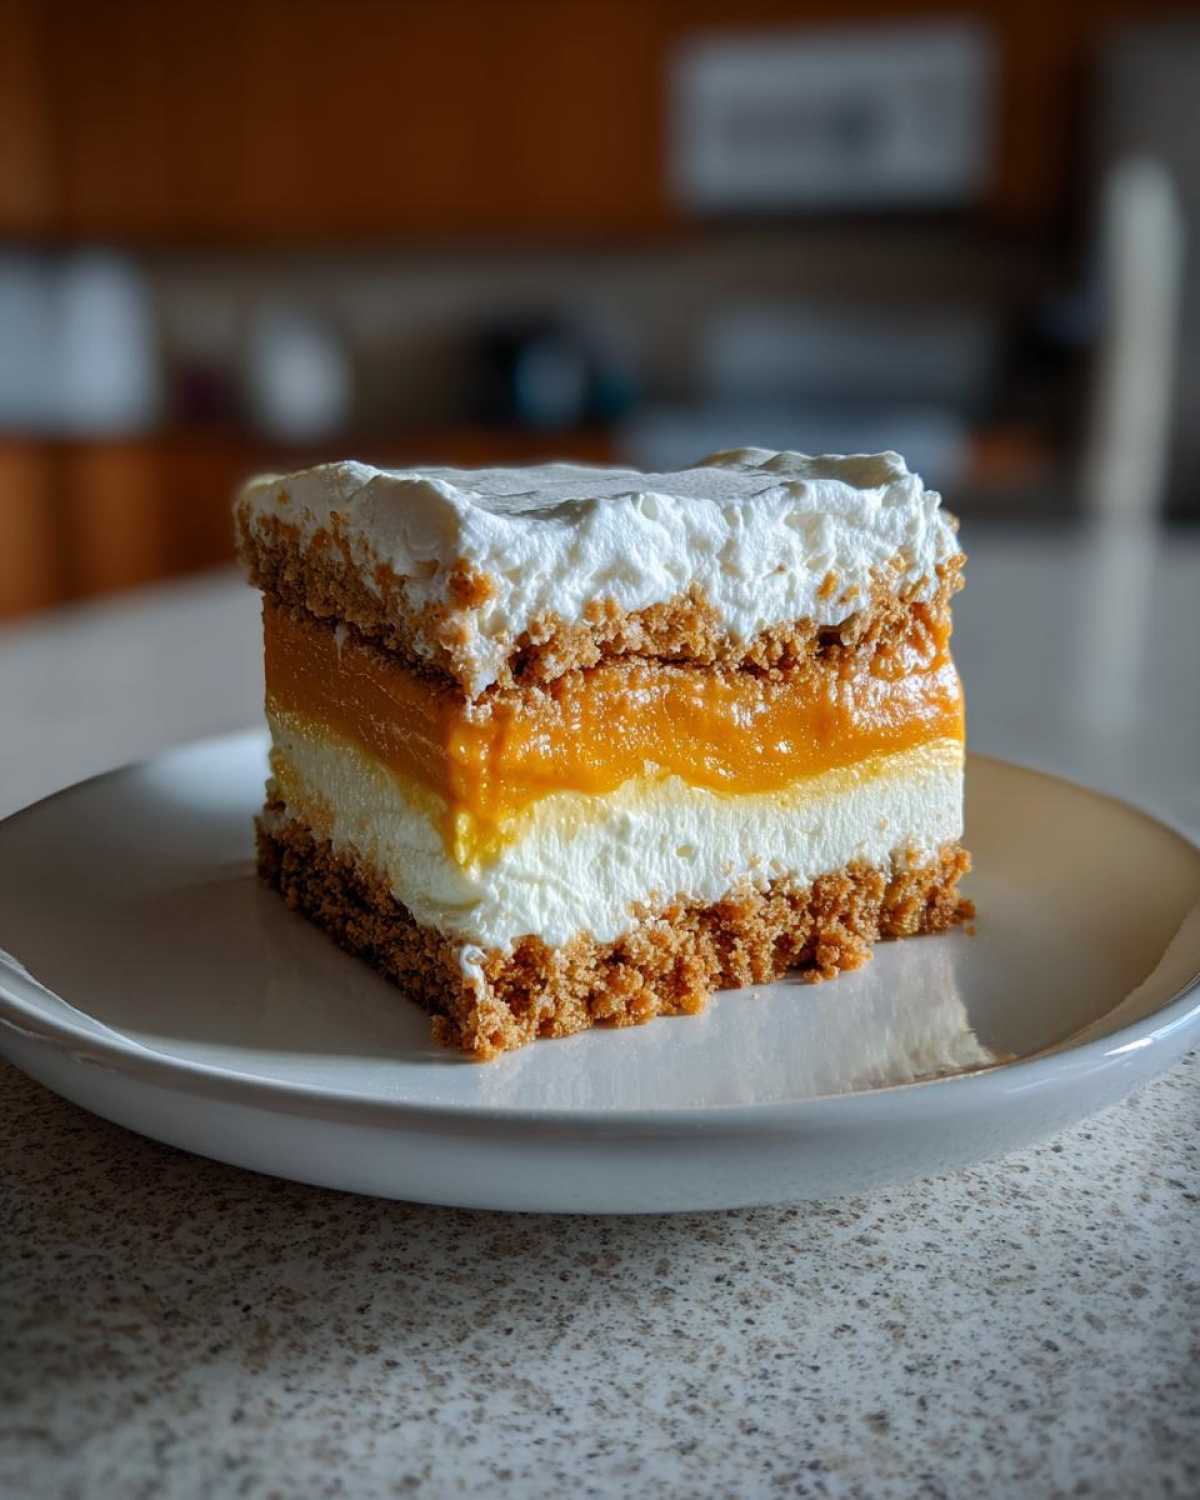
Why You’ll Love This No-Bake Pumpkin Lush
I truly believe this no-bake pumpkin lush will become a new favorite in your home. It’s a real crowd-pleaser, perfect for any fall get-together. Here’s why I think you’ll love making and sharing it:
- Effortless Elegance: It looks fancy, but it’s so simple to put together.
- Make-Ahead Magic: You can prepare it hours, even a day, before serving. This frees up your time!
- Irresistible Flavor: The combination of creamy pumpkin and sweet spice is just divine.
- No Oven Needed: Keep your kitchen cool and save energy.
- Perfect for Any Occasion: From casual dinners to holiday feasts, it fits right in.
The Easiest No-Bake Pumpkin Lush
When I say easy, I mean it! This no-bake pumpkin lush needs no baking at all. You just layer simple ingredients, chill it, and then enjoy. It’s truly a recipe anyone can master. Even new cooks will feel like a pro.
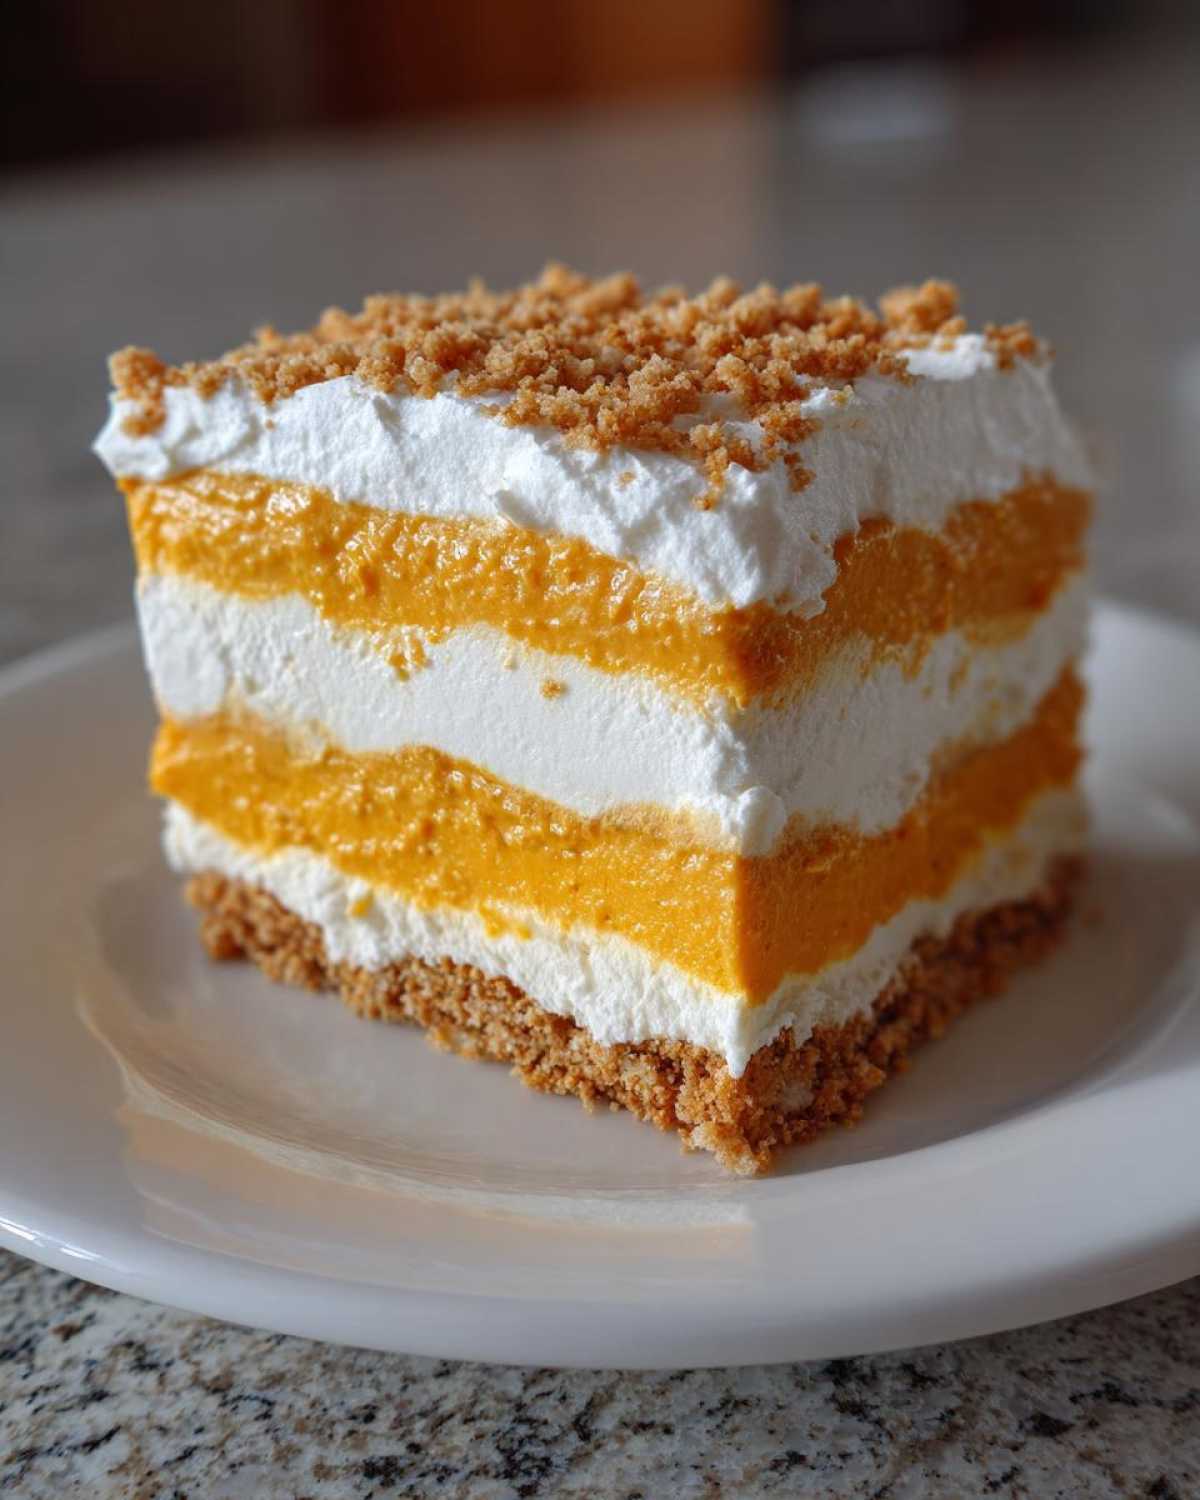
Essential Ingredients for Your No-Bake Pumpkin Lush
Gathering your ingredients is the first step to making this wonderful no-bake pumpkin lush. I’ve found that having everything ready makes the process so smooth. Here’s what you’ll need for this delightful dessert:
- 1 (14.4 ounce) package graham crackers, crushed
- ½ cup unsalted butter, melted
- 1 (8 ounce) package cream cheese, softened
- 1 cup powdered sugar
- 1 (15 ounce) can pumpkin puree
- ½ cup milk
- 1 (5.1 ounce) package instant vanilla pudding mix
- 1 teaspoon pumpkin pie spice
- 1 (8 ounce) container frozen whipped topping, thawed
Preparing Your No-Bake Pumpkin Lush Ingredients
Proper ingredient prep is key for the best no-bake pumpkin lush. Make sure your cream cheese is soft; it helps create a smooth layer. Thawing the whipped topping fully also ensures it spreads nicely. These small steps really make a difference. They give you that perfect texture every time.
Step-by-Step Guide to Making No-Bake Pumpkin Lush
Now, let’s get to the fun part: assembling your delicious no-bake pumpkin lush! I promise, these steps are super straightforward. Just take your time, and you’ll have a beautiful dessert. It really comes together quickly. Follow these instructions carefully for the best results.
- First, combine your crushed graham crackers and melted butter. Mix them well in a medium bowl. This creates your base.
- Then, press this mixture evenly into your 9×13 inch baking dish. Use the back of a spoon if needed.
- Next, in a large bowl, beat the softened cream cheese and powdered sugar. Do this until it’s smooth and creamy.
- Carefully spread this cream cheese layer over the graham cracker crust. Be gentle!
- In another large bowl, whisk together the pumpkin puree, milk, instant vanilla pudding mix, and pumpkin pie spice. Whisk until it’s well combined and slightly thick.
- Gently spread this pumpkin mixture over the cream cheese layer. Take your time here.
- Finally, spread the thawed whipped topping over the pumpkin layer. This is your final touch.
- Cover the dish with plastic wrap. Refrigerate for at least 4 hours. Overnight is even better. This lets the layers set perfectly.
- When ready, slice and serve chilled. Enjoy your amazing dessert!
Crafting the Perfect No-Bake Pumpkin Lush Crust
The crust is the foundation of your no-bake pumpkin lush. Start by crushing those graham crackers finely. Then, mix them completely with the melted butter. Press this mixture firmly into your dish. Make sure it’s an even layer. A good, solid crust holds everything together beautifully.
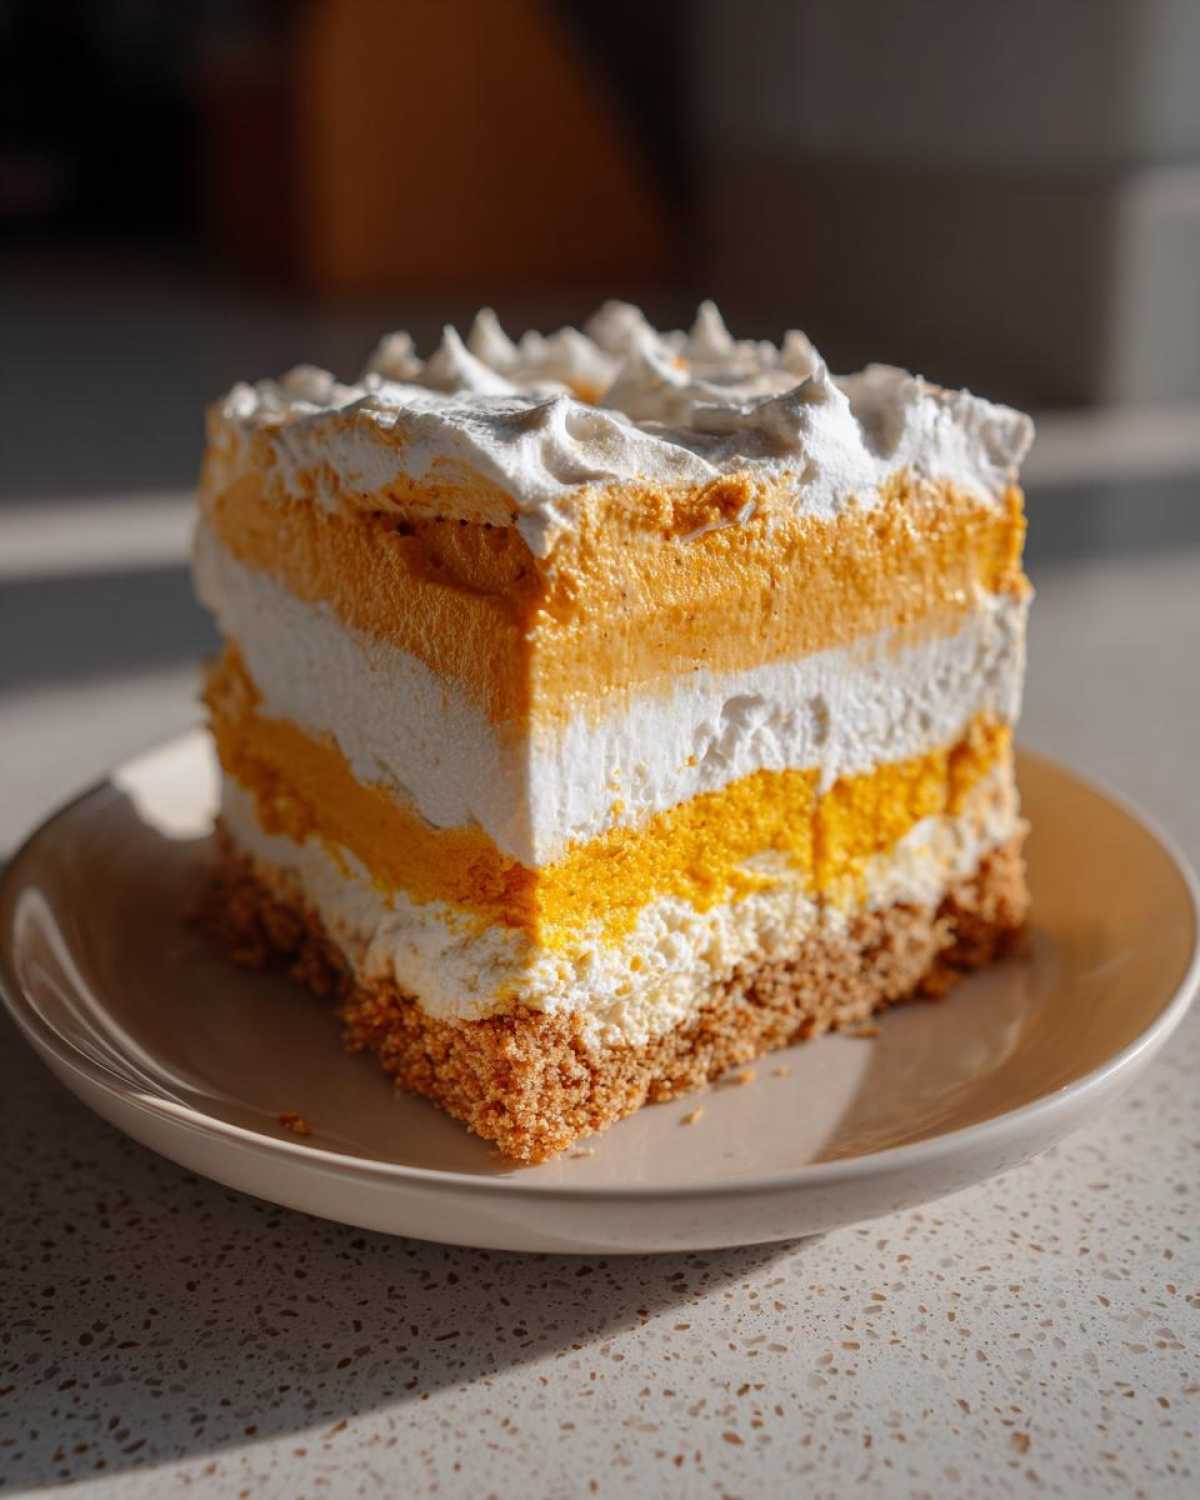
Layering Your No-Bake Pumpkin Lush
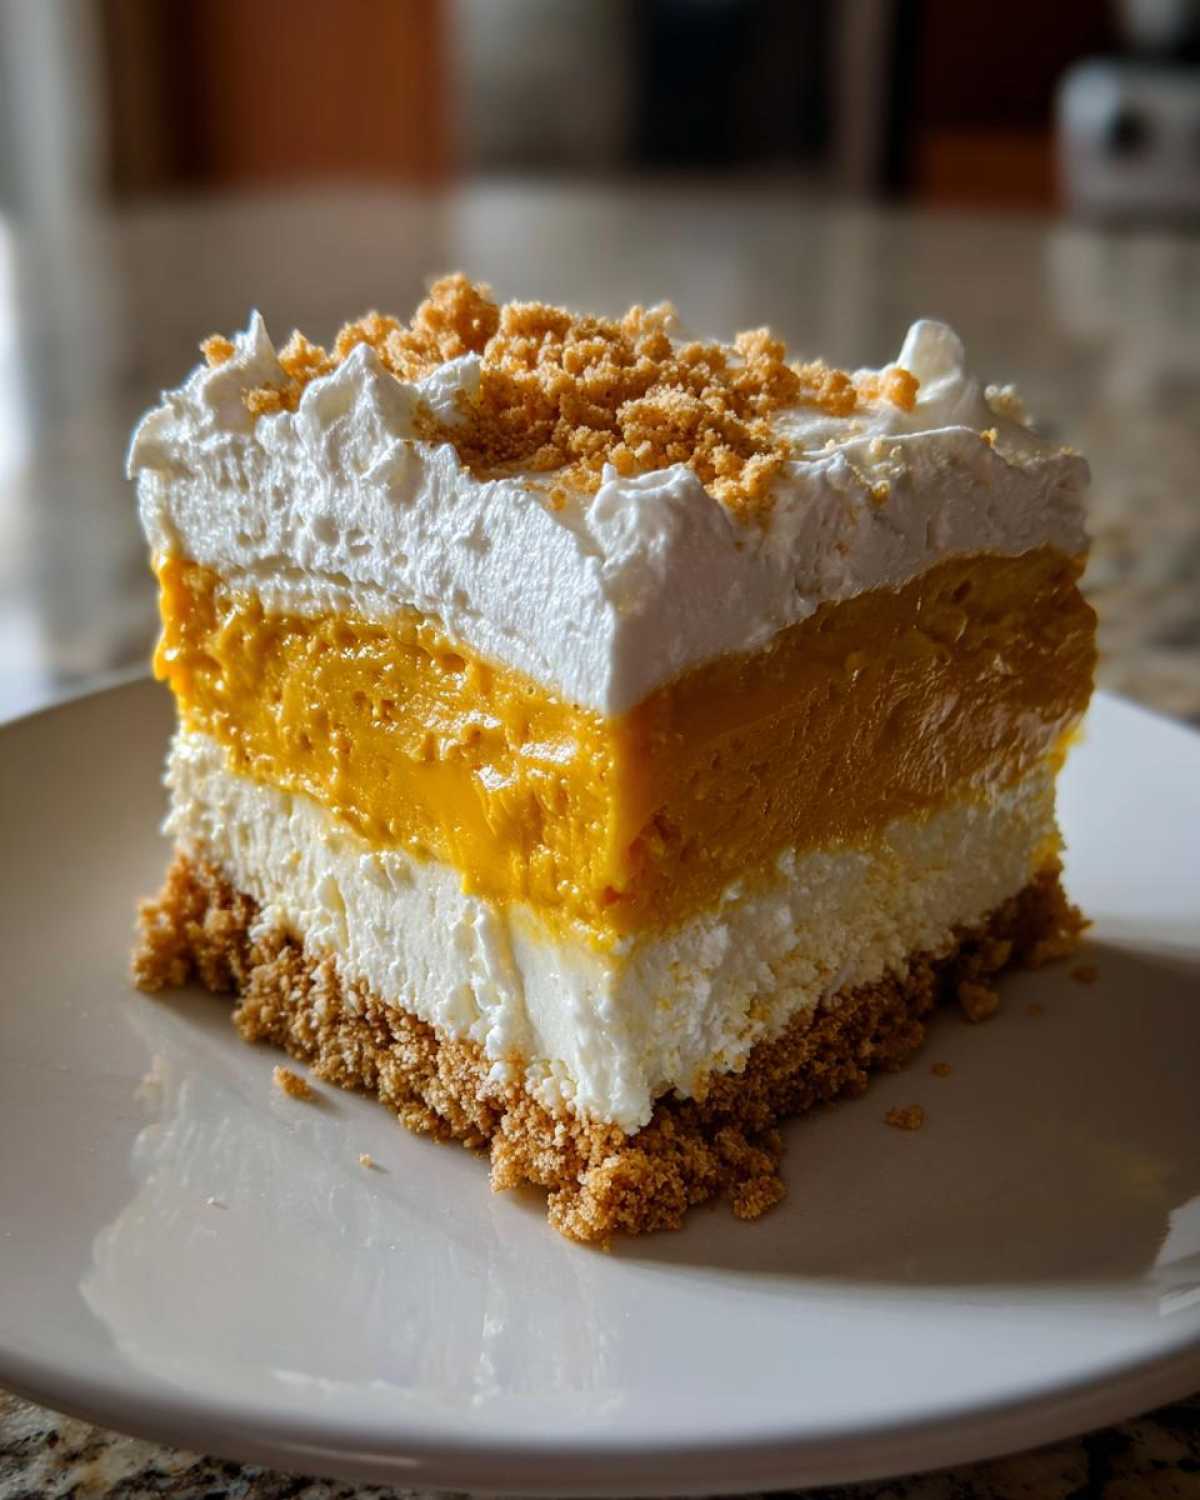
Layering is where your no-bake pumpkin lush comes to life. First, spread the creamy cheese mixture smoothly over the crust. Then, gently add the pumpkin layer. Make sure it’s even. Finally, top it with the whipped topping. Spread it carefully to the edges. This creates those distinct, pretty layers.
Tips for a Flawless No-Bake Pumpkin Lush
I’ve made this no-bake pumpkin lush countless times. Over the years, I’ve picked up a few tricks. These tips will help you make yours absolutely perfect. Always ensure your cream cheese is super soft. This makes it so much easier to get a smooth, lump-free layer. Also, don’t rush the chilling time. That long chill is crucial. It helps all the layers set firmly. This way, your slices will be clean and beautiful. For a little extra flavor, sometimes I add a pinch more spice. Trust your taste buds!
Making Your No-Bake Pumpkin Lush Ahead
One of the best things about this no-bake pumpkin lush is you can make it ahead. I often prepare it the day before. This frees up so much time on event day. It also allows the flavors to truly meld together. Your dessert will taste even better. It’s perfect for busy schedules.
Storing Your No-Bake Pumpkin Lush
Once your no-bake pumpkin lush is set, proper storage is important. This keeps it fresh and delicious. Always cover the dish tightly with plastic wrap. This prevents it from drying out. It also keeps other fridge smells away. Store it in the refrigerator. It will stay good for up to 3-4 days. I find it tastes best within the first two days. Enjoy every cool, creamy bite!
Common Questions About No-Bake Pumpkin Lush
I often get asked about making this no-bake pumpkin lush. It’s wonderful to see so many of you trying it! Here are some common questions I hear. I hope these answers help you create your perfect dessert. Don’t be afraid to experiment a little. Cooking should be fun.
- Can I use different cookies for the crust? Yes, absolutely! Crushed shortbread or gingersnap cookies work beautifully. They add a lovely, different flavor.
- Can I use homemade whipped cream? You certainly can! Just be sure it’s stabilized. This helps it hold its shape.
- How long does it last in the fridge? When covered well, your no-bake pumpkin lush will last 3-4 days. It’s usually gone long before then!
- Can I freeze it? I don’t recommend freezing this dessert. The texture can change. It’s best enjoyed fresh from the fridge.
Can I Substitute Ingredients in My No-Bake Pumpkin Lush?
Yes, you can often substitute ingredients in your no-bake pumpkin lush. As I mentioned, different cookies work for the crust. You can also try different instant pudding flavors. Vanilla is classic, but maybe butterscotch for a change? Feel free to get creative with it.
Estimated Nutritional Information for No-Bake Pumpkin Lush
I know many of you like to keep track of nutritional values. This no-bake pumpkin lush provides an estimated look at that. A single slice is roughly 350 calories. It has about 18g of fat and 45g of carbohydrates. You’ll also find around 4g of protein. Remember, these are estimates. Exact values can change based on the specific brands you use. They can also vary by exact serving size.
Share Your No-Bake Pumpkin Lush Creations
I absolutely love seeing what you create in your kitchens! If you make this no-bake pumpkin lush, please share it. Tag me on social media. Or, leave a comment below. Tell me how it turned out. Did you make any fun changes? Your feedback means so much to me. Please also consider rating the recipe. It helps others discover this delightful dessert!
PrintNo-Bake Pumpkin Lush: 1 Amazing Dessert Mistake You’ll Never Make
This no-bake pumpkin lush, also known as dessert lasagna, is a layered fall dessert. It features a cookie crust, a creamy cream cheese layer, pumpkin pudding, and a whipped topping. It’s an easy, make-ahead dish perfect for potlucks or holidays.
- Prep Time: 30 minutes
- Cook Time: 0 minutes
- Total Time: 4 hours 30 minutes
- Yield: 12 servings
- Category: Dessert
- Method: No-Bake
- Cuisine: American
- Diet: Vegetarian
Ingredients
- 1 (14.4 ounce) package graham crackers, crushed
- ½ cup unsalted butter, melted
- 1 (8 ounce) package cream cheese, softened
- 1 cup powdered sugar
- 1 (15 ounce) can pumpkin puree
- ½ cup milk
- 1 (5.1 ounce) package instant vanilla pudding mix
- 1 teaspoon pumpkin pie spice
- 1 (8 ounce) container frozen whipped topping, thawed
Instructions
- Combine crushed graham crackers and melted butter in a medium bowl. Press mixture evenly into the bottom of a 9×13 inch baking dish.
- In a large bowl, beat softened cream cheese and powdered sugar with an electric mixer until smooth and creamy. Spread this mixture over the graham cracker crust.
- In another large bowl, whisk together pumpkin puree, milk, instant vanilla pudding mix, and pumpkin pie spice until well combined and slightly thickened. Carefully spread the pumpkin mixture over the cream cheese layer.
- Gently spread the thawed whipped topping over the pumpkin layer.
- Cover the dish with plastic wrap and refrigerate for at least 4 hours, or preferably overnight, to allow the layers to set.
- Slice and serve chilled.
Notes
- For a richer crust, you can substitute crushed shortbread cookies or gingersnap cookies for graham crackers.
- Ensure cream cheese is at room temperature for a smooth, lump-free layer.
- Adjust pumpkin pie spice to your taste preference.
- This dessert can be made up to 24 hours in advance.
Nutrition
- Serving Size: 1 slice
- Calories: 350
- Sugar: 35g
- Sodium: 250mg
- Fat: 18g
- Saturated Fat: 10g
- Unsaturated Fat: 5g
- Trans Fat: 0g
- Carbohydrates: 45g
- Fiber: 2g
- Protein: 4g
- Cholesterol: 30mg