

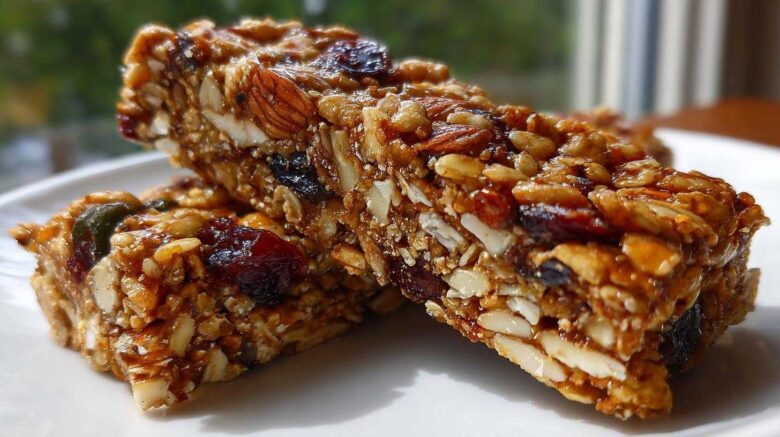
Delicious No-Bake Trail Mix Granola Bars: Your Ultimate Homemade Snack
Are you searching for a simple, satisfying snack that fuels your day? Look no further! These no-bake trail mix granola bars are a game-changer. They are incredibly easy to whip up, require zero oven time, and are wonderfully customizable. Imagine a delightful blend of hearty oats, crunchy nuts, chewy dried fruits, all held together with a touch of sweetness. It’s like a treasure chest of goodness in every bite. We think of them as our little edible hugs.

Why You’ll Love These No-Bake Trail Mix Granola Bars
You’ll adore these bars for so many reasons!
- They are super quick to make.
- The process is delightfully easy.
- You can customize every ingredient.
- They offer a healthy, wholesome boost.
- Perfect for busy schedules or a midday pick-me-up.
These no-bake trail mix granola bars truly are a snack marvel.
Kenji and Amaya’s Kitchen Story
Our journey with food began long ago in Kyoto. Kenji was drawn to Amaya’s family eatery. He jokes that ramen first caught his eye. But it was Amaya’s spirit and her passion for recipes that truly won him over. Food has always been our language of love. We spent our early days exploring markets together. Kenji loved recreating Amaya’s family dishes. It was his way of showing affection. Sharing those cherished recipes was Amaya’s deepest act of trust. Our kitchen has always been the heart of our home. It witnessed our celebrations and our quiet moments. We passed our love for cooking to our children there. Now, we’ve moved to New York City. We wanted to be closer to our family. This blog, Whisk Daily, bridges our past and present. It’s a tribute to our traditions and our new adventures. We believe cooking connects us. We hope our simple treats, like these no-bake granola bars, bring joy to your home too.
Crafting Your Perfect No-Bake Trail Mix Granola Bars
Let’s get down to business and create these fantastic no-bake trail mix granola bars! This section is all about the simple magic that happens in your kitchen. We’ll gather our wholesome ingredients and then follow a straightforward process. You’ll see just how easy it is to bring these delicious, homemade bars to life. No fancy equipment needed, just a bowl and a little bit of love. Get ready to assemble a snack that’s both satisfying and incredibly adaptable to your tastes.
Essential Ingredients for No-Bake Trail Mix Granola Bars
Here’s what you’ll need to gather for your delicious creation:
- 1 cup rolled oats (not instant oats, please!).
- 1/2 cup mixed nuts, roughly chopped. Think almonds, walnuts, or cashews.
- 1/4 cup pumpkin seeds or sunflower seeds for that lovely crunch.
- 1/4 cup dried fruit, chopped. Cranberries, raisins, or apricots work wonderfully.
- 1/4 cup honey or pure maple syrup for natural sweetness.
- 1/4 cup your favorite nut butter, like peanut or almond butter.
- 1 teaspoon pure vanilla extract for a warm flavor note.
- A pinch of salt to balance all the sweetness.
Simple Steps to Make No-Bake Trail Mix Granola Bars
- Start by placing your rolled oats, chopped nuts, seeds, and dried fruit into a large mixing bowl. Give them a quick stir.
- In a separate, smaller bowl, whisk together the honey or maple syrup with your nut butter. Add the vanilla extract and that pinch of salt. Keep whisking until the mixture is smooth and creamy.
- Now, pour this lovely wet mixture over your dry ingredients. Grab a sturdy spoon or spatula. Mix everything together really well. You want every single oat and nut coated in that sticky goodness.
- Get an 8×8 inch baking dish ready. Line it with parchment paper. This makes removing the bars so much easier later.
- Transfer the mixture into the prepared dish. Press it down very, very firmly. Use the bottom of a glass or your hands. The firmer you press, the better your bars will hold together.
- Cover the dish and pop it into the refrigerator. Let it chill for at least 1 hour. This is crucial for setting the bars.
- Once firm, lift the whole slab out using the parchment paper. Cut it into your desired bar shapes.
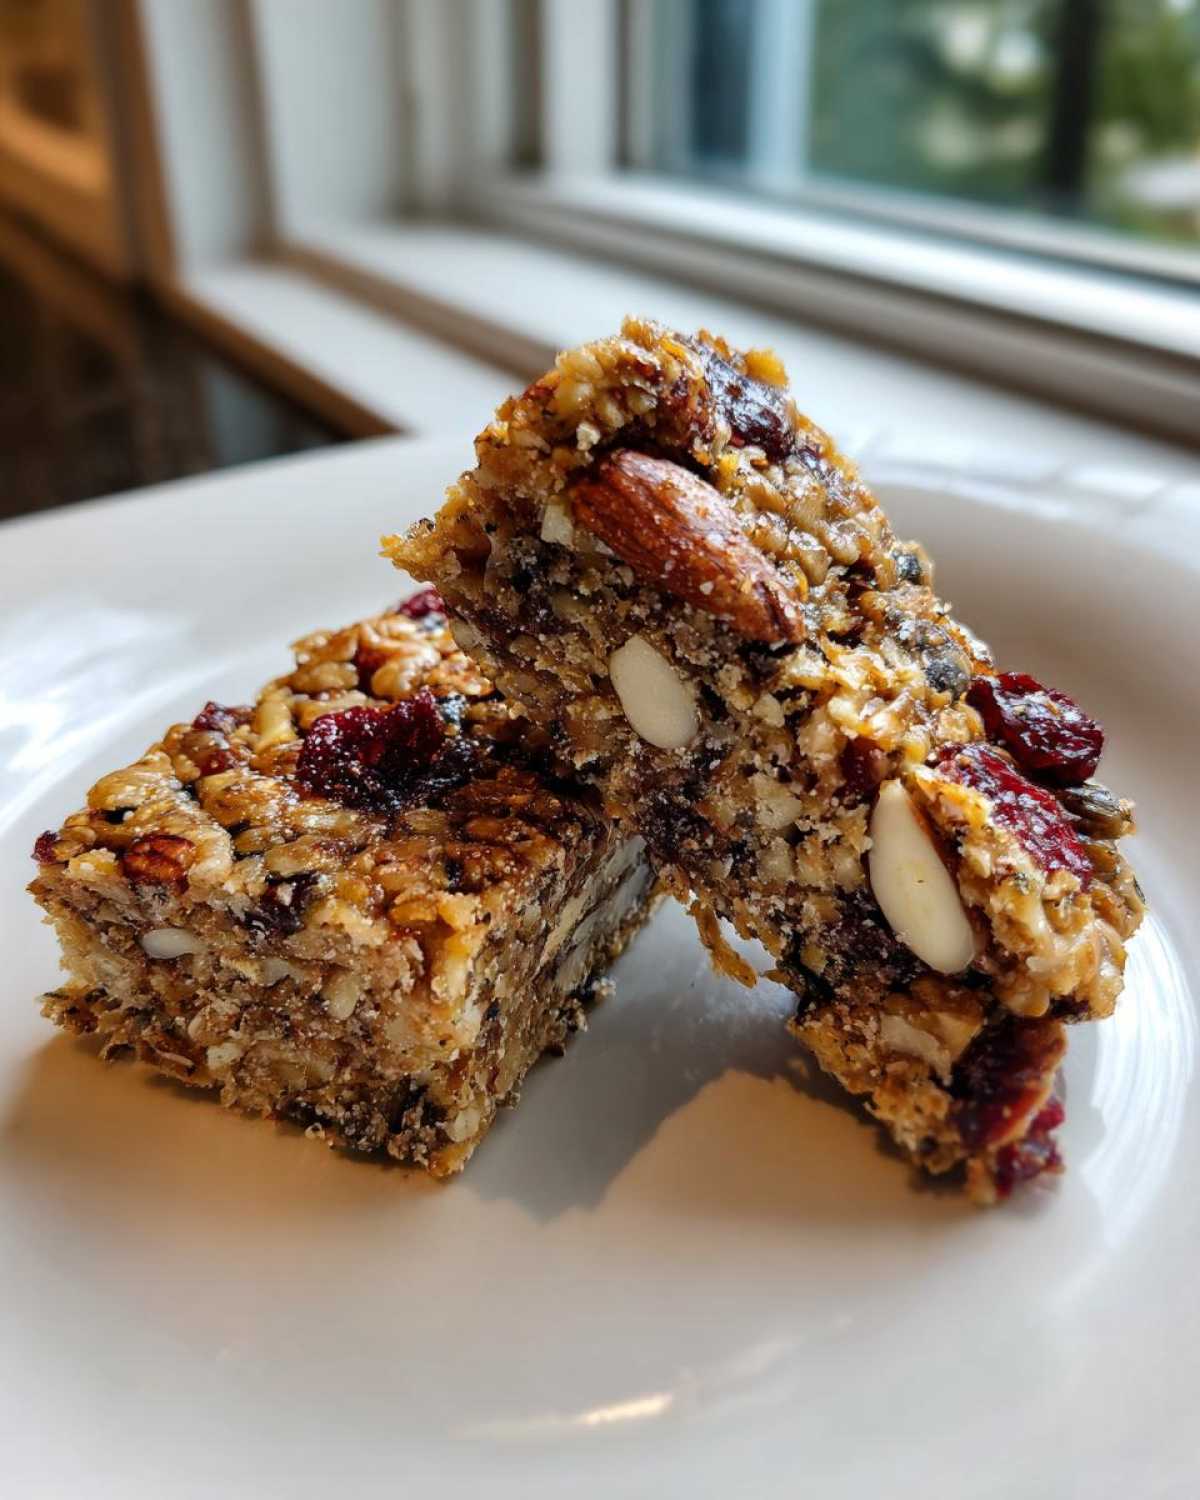
Tips for Perfect No-Bake Trail Mix Granola Bars
Want to ensure your bars are just right? Here are a few quick tips.
- Press the mixture into the pan as firmly as you can. This is key for sturdy bars.
- Always use parchment paper. It prevents sticking and makes cleanup a breeze.
- Be patient with the chilling time. A full hour (or even a bit longer) makes a big difference.
Customization Ideas for Your No-Bake Trail Mix Granola Bars
The beauty of these no-bake trail mix granola bars lies in their endless possibilities! Think of them as your personal snack canvas. Don’t be afraid to get creative and make them truly your own. We love how easily you can adapt the recipe to suit your family’s tastes or what you have on hand. This is your chance to play with flavors and textures, creating the ultimate homemade granola bars that everyone will adore. Let your imagination run wild!
Flavor Boosters and Texture Enhancers
Want to jazz up your bars even more? Try these wonderful additions!
- 1/4 cup mini chocolate chips for a sweet surprise.
- 1/4 cup shredded coconut for a tropical twist.
- 1-2 tablespoons chia seeds or flax seeds for a firmer texture and extra fiber.
- A sprinkle of cinnamon for warmth.
- A handful of extra chopped nuts for more crunch.
These little extras make your no-bake granola bars truly special.

Storing and Enjoying Your No-Bake Trail Mix Granola Bars
Once you’ve made these delightful no-bake trail mix granola bars, you’ll want to keep them fresh and tasty. Proper storage is key to enjoying them over several days. We find that keeping them chilled really helps maintain their structure and that satisfying chewiness. Remember, these are homemade, so they don’t have the preservatives of store-bought versions. Following these simple storage tips will ensure your delicious homemade granola bars are ready whenever a snack craving strikes.
Optimal Storage for Freshness
To keep your no-bake trail mix granola bars tasting their best, store them in an airtight container. Place this container in the refrigerator. They will stay fresh and delicious for up to one week. Keeping them cool prevents them from becoming too soft. This simple step guarantees a great snack anytime.
Frequently Asked Questions About No-Bake Trail Mix Granola Bars
We know you might have a few questions as you whip up these wonderful no-bake trail mix granola bars. It’s natural when trying a new recipe! We’ve gathered some common queries to help you along. These homemade granola bars are so versatile, and we want to make sure you feel confident in customizing them. Whether you’re wondering about substitutions or how to get that perfect texture, we’ve got you covered. Let’s dive into making these healthy snacks just right for you!
Can I swap the type of nuts or dried fruit in my no-bake granola bars?
Absolutely! Feel free to use your favorite nuts and dried fruits. Other nuts like pecans or macadamia nuts work well. Try chopped dates or dried cranberries for a different sweetness and texture.
How do I make my no-bake trail mix granola bars stick together better?
Press the mixture very firmly into the pan. This is the most important step! Ensure your wet ingredients are well combined and sticky enough to bind everything together.
Are these no-bake trail mix granola bars a healthy snack option?
Yes, they are! Packed with oats, nuts, and seeds, they offer whole grains, healthy fats, and protein. They’re a much healthier choice than many processed snacks.
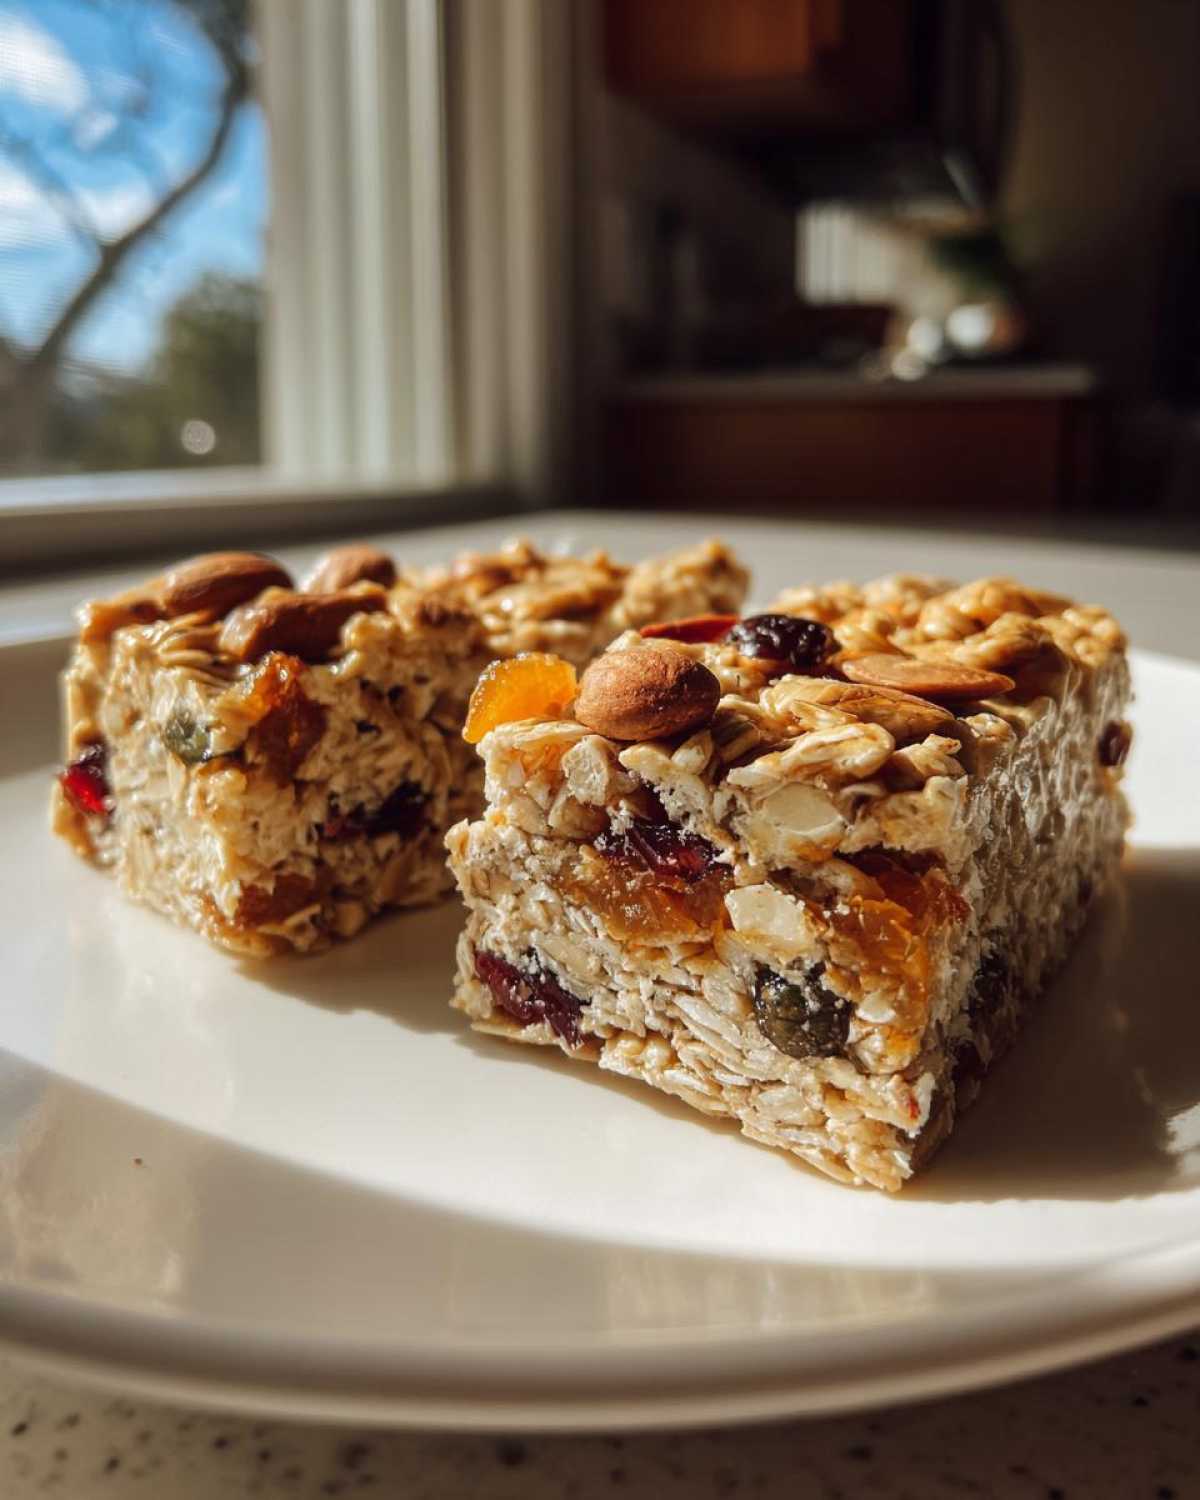
Share Your Delicious No-Bake Trail Mix Granola Bar Creations!
We’ve shared our love for these easy no-bake trail mix granola bars, and now it’s your turn! Did you try making them? We’d be absolutely thrilled to hear about your experience. Please take a moment to rate this recipe and leave a comment below with your thoughts or any fun variations you discovered. Sharing your creations with us and the Whisk Daily community truly makes our day!
PrintTrail Mix Granola Bars: Delicious No-Bake Snack Duo

Create your own delicious and healthy no-bake granola bars with this easy recipe. Customize them with your favorite nuts, seeds, dried fruits, and sweeteners for a perfect anytime snack.
- Prep Time: 15 minutes
- Cook Time: 0 minutes
- Total Time: 1 hour 15 minutes
- Yield: 8-10 bars
- Category: Snacks
- Method: No-Bake
- Cuisine: American
- Diet: Vegetarian
Ingredients
- 1 cup rolled oats
- 1/2 cup mixed nuts (like almonds, walnuts, cashews)
- 1/4 cup pumpkin seeds or sunflower seeds
- 1/4 cup dried fruit (like cranberries, raisins, chopped apricots)
- 1/4 cup honey or maple syrup
- 1/4 cup nut butter (like peanut butter or almond butter)
- 1 teaspoon vanilla extract
- Pinch of salt
Instructions
- Combine oats, nuts, seeds, and dried fruit in a large bowl.
- In a separate bowl, whisk together honey or maple syrup, nut butter, vanilla extract, and salt until smooth.
- Pour the wet ingredients over the dry ingredients and mix thoroughly until everything is evenly coated.
- Press the mixture firmly into an 8×8 inch baking dish lined with parchment paper.
- Refrigerate for at least 1 hour, or until firm.
- Cut into bars and enjoy!
Notes
- Feel free to add chocolate chips or shredded coconut for extra flavor.
- For a firmer bar, add 1-2 tablespoons of chia seeds or flax seeds.
- Store bars in an airtight container in the refrigerator for up to a week.
Nutrition
- Serving Size: 1 bar
- Calories: 200-250
- Sugar: 10-15g
- Sodium: 50-100mg
- Fat: 10-15g
- Saturated Fat: 1-2g
- Unsaturated Fat: 9-13g
- Trans Fat: 0g
- Carbohydrates: 20-25g
- Fiber: 3-5g
- Protein: 5-7g
- Cholesterol: 0mg