

Welcome to Our Kitchen: Making Perfect Peanut Butter Blossoms
Hello there, friends! I’m Kenji, and Amaya and I are thrilled you’re here.
We’re diving into a true classic today.
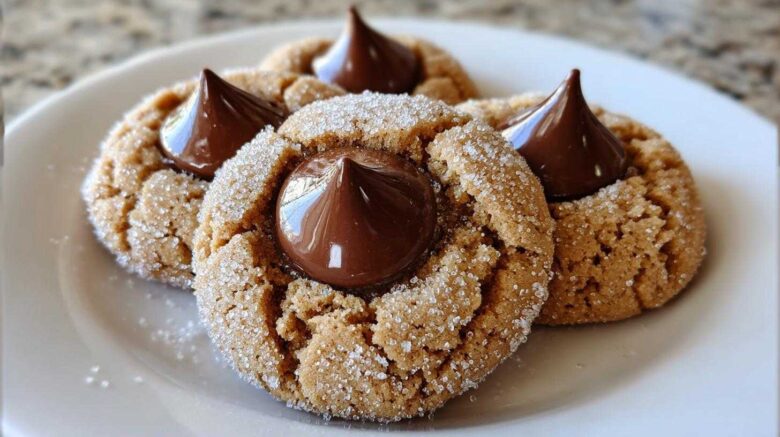
We’re making the most wonderful Peanut Butter Blossoms.
This recipe is pure holiday magic for us.
It always brings smiles to our grandkids’ faces.
This cookie is simple comfort food, truly.
Our Story of Love, Life, and the Joy of Cooking
Amaya and I have cooked together for decades.
We started our journey back in Kyoto, Japan.
Food was always our shared language.
We moved to New York City recently.
We brought our love for good cooking with us.
Our kitchen connects us to our past.
Why These Peanut Butter Blossoms Are Special
What makes this cookie a winner?
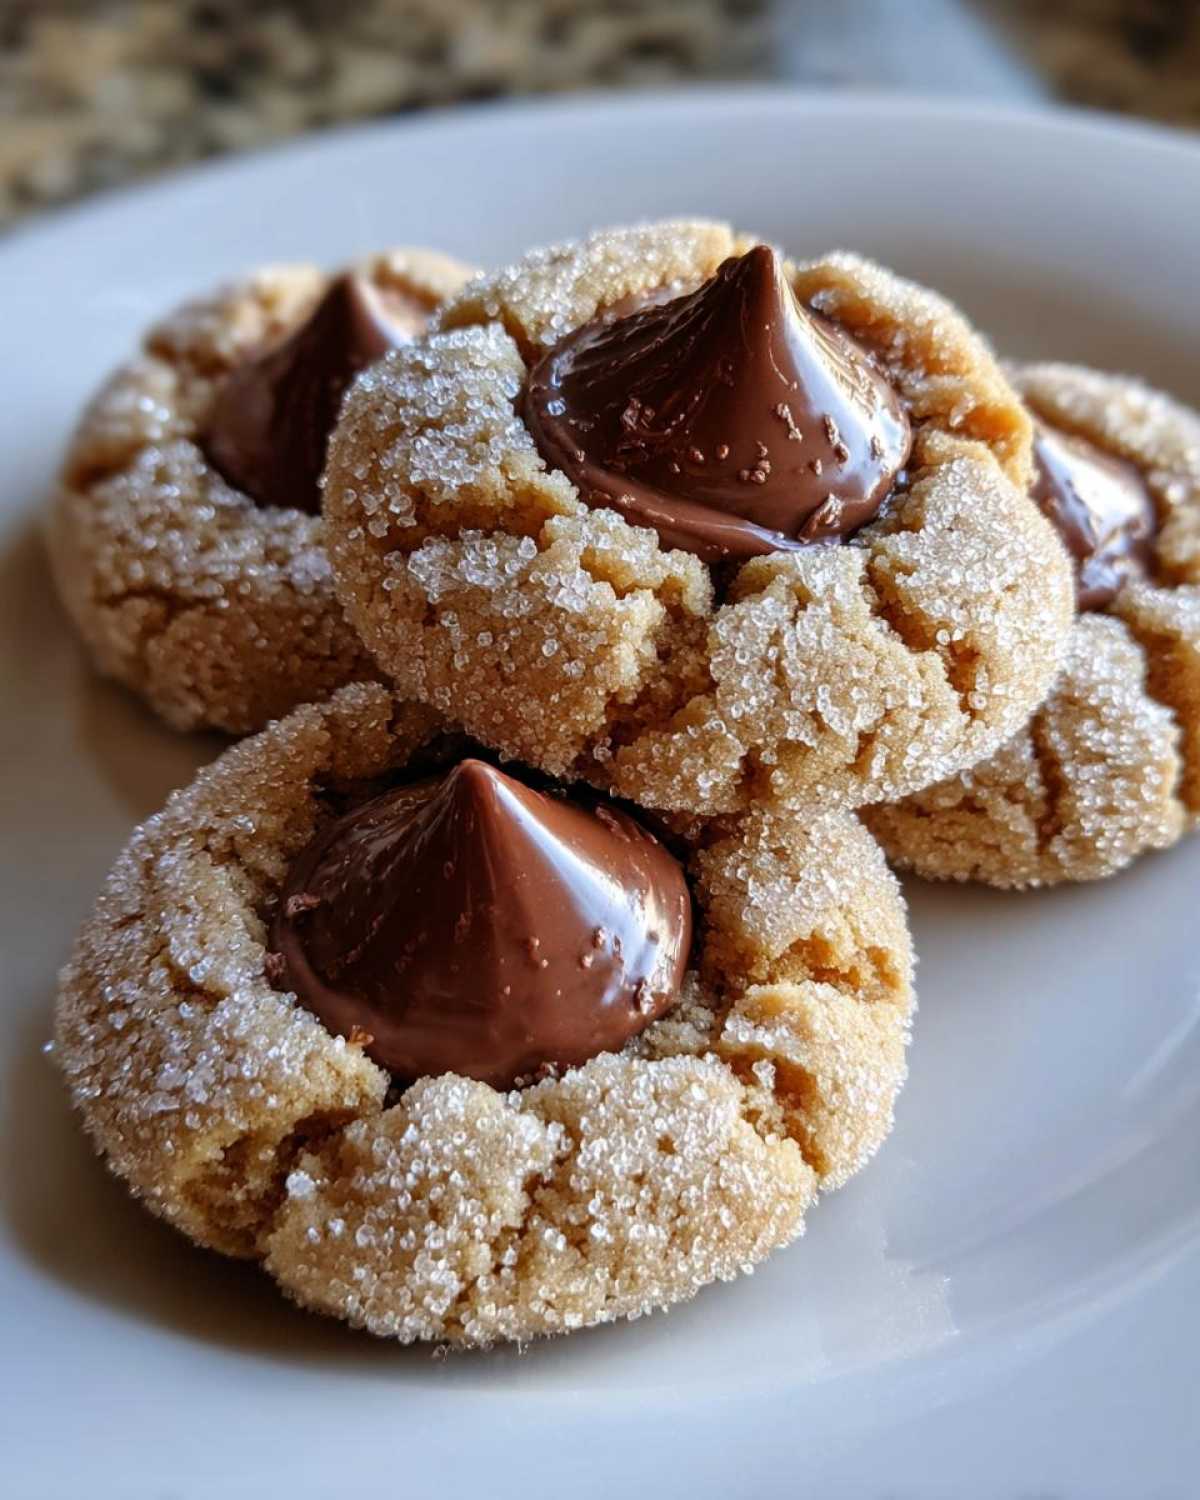
It’s all about that chocolate center, isn’t it?
That little Hershey’s Kiss just melts perfectly.
You need that beautiful chocolate spot right there.
These are the ultimate festive holiday cookies.
They taste like happy memories to me.
Gathering Ingredients for Your Peanut Butter Blossoms
Let’s get our kitchen ready for action.
Gathering everything first makes baking smooth.
You’ll need just a few simple things.
We’ll use standard pantry staples here.
Don’t substitute the butter type, please!
Having your items ready is key for success.
Essential Components Explained
We group our ingredients for clarity.
We have the fats, the sweets, and the structure.
Then comes the best part, the chocolate.
Butter and Sugar Requirements
You need one cup of butter softened.
Remember, softened means room temperature, not melted.
We will use two cups of granulated sugar total.
One cup goes into the dough mix.
The other cup is for rolling the dough balls.
Preparing the Chocolate Kiss Center
For the iconic top, you need chocolate.
Make sure you have one full 12-ounce bag.
These must be unwrapped before baking starts.
Trust me, unwrapping them later is a mess!
Equipment Needed for Baking Peanut Butter Blossoms
Getting your tools ready helps everything flow.
You don’t need fancy gadgets for this recipe.
I keep my tools simple when I bake.
You will need these items handy:
- Large mixing bowls.
- Electric mixer for creaming.
- Baking sheets lined with parchment paper.
- A small plate for rolling sugar.
- A small spoon or scoop for dough balls.
Step-by-Step Instructions for Classic Peanut Butter Blossoms
Let’s make these beautiful cookies together now.
Follow these steps closely for the best results.
We need to get our oven warm first.
Mixing the Dough Base
Preheat your oven to 375 degrees Fahrenheit.
Line those baking sheets with parchment paper.
Cream the softened butter and one cup of sugar.
Mix them until they look light and fluffy.
Beat in the peanut butter and eggs now.
Don’t forget that splash of vanilla extract.
Combining Dry and Wet Mixtures
Whisk your flour, soda, and salt separately.
Add the dry mix slowly to the wet base.
Mix until it’s just combined, that’s all.
Please, do not overmix the dough mixture.
Overmixing makes the cookies tough, sadly.
Forming and Coating the Peanut Butter Blossoms
Pour the second cup of sugar onto a plate.
Roll the dough into nice, even 1-inch balls.
Roll each ball completely in that sugar.
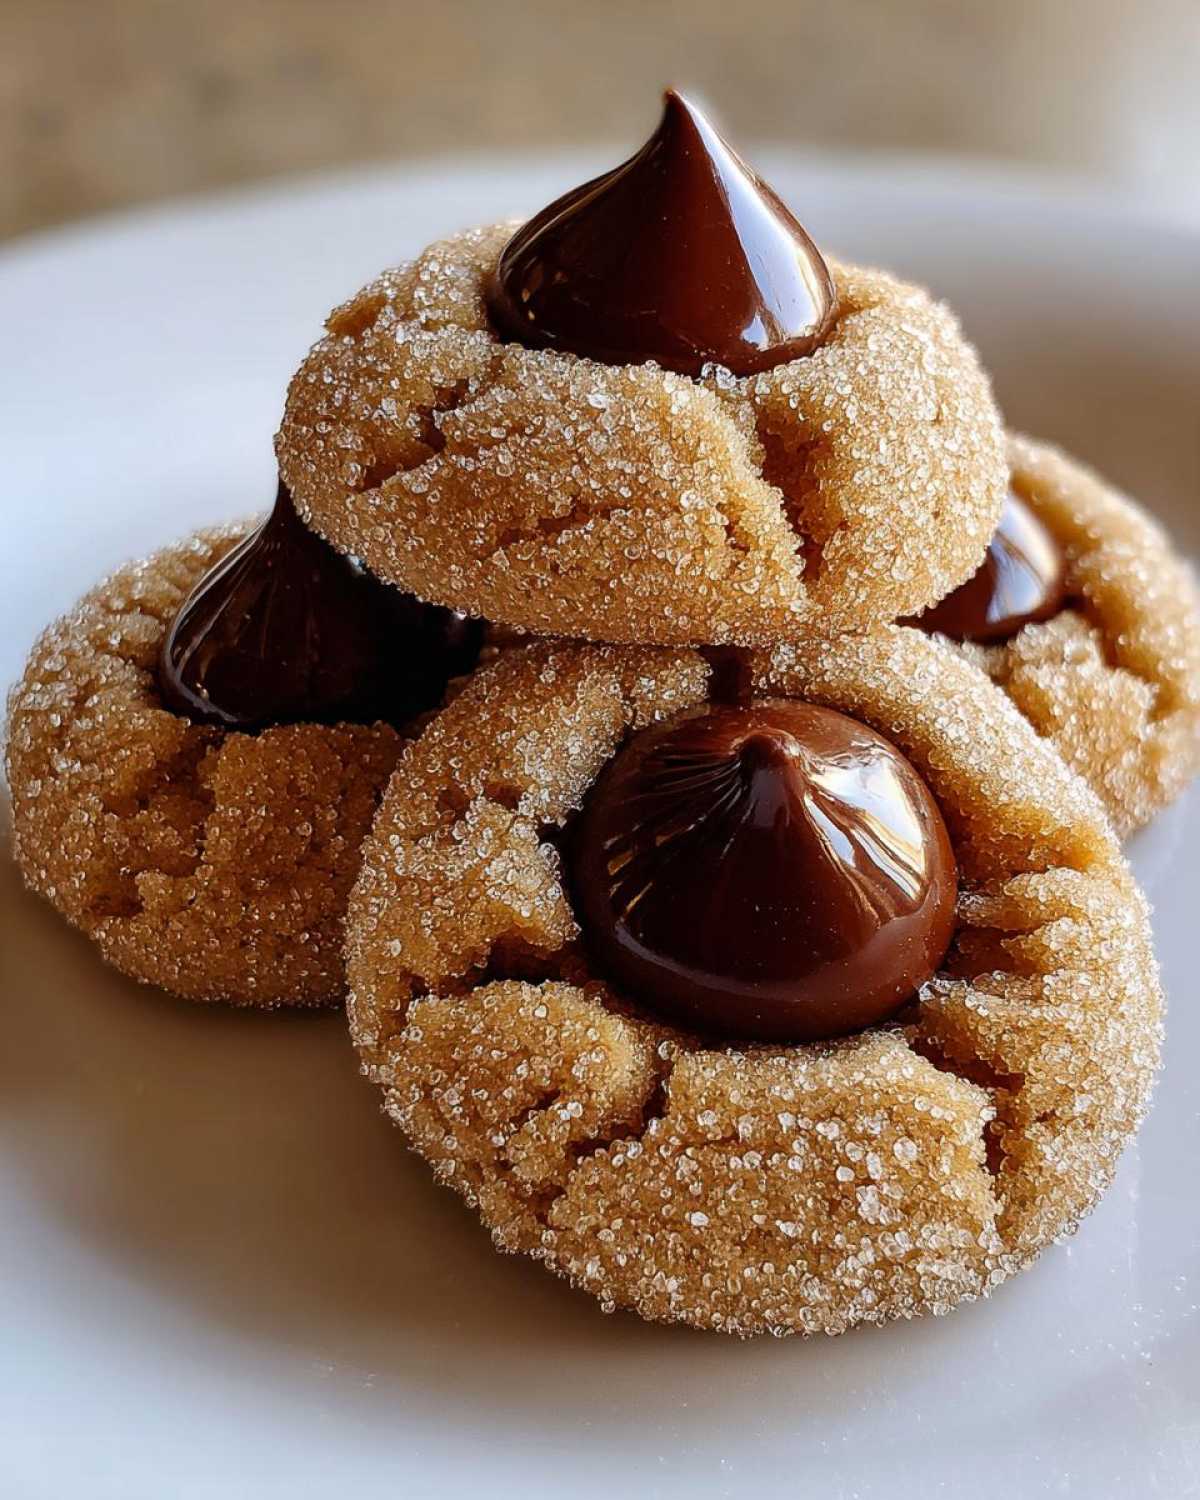
You want a full, thick sugar coating there.
Place them two inches apart on the sheet.
Baking and Adding the Chocolate Kiss Center
Bake these for about eight to ten minutes.
They should look slightly puffed up, not brown.
Take them out of the hot oven right away.
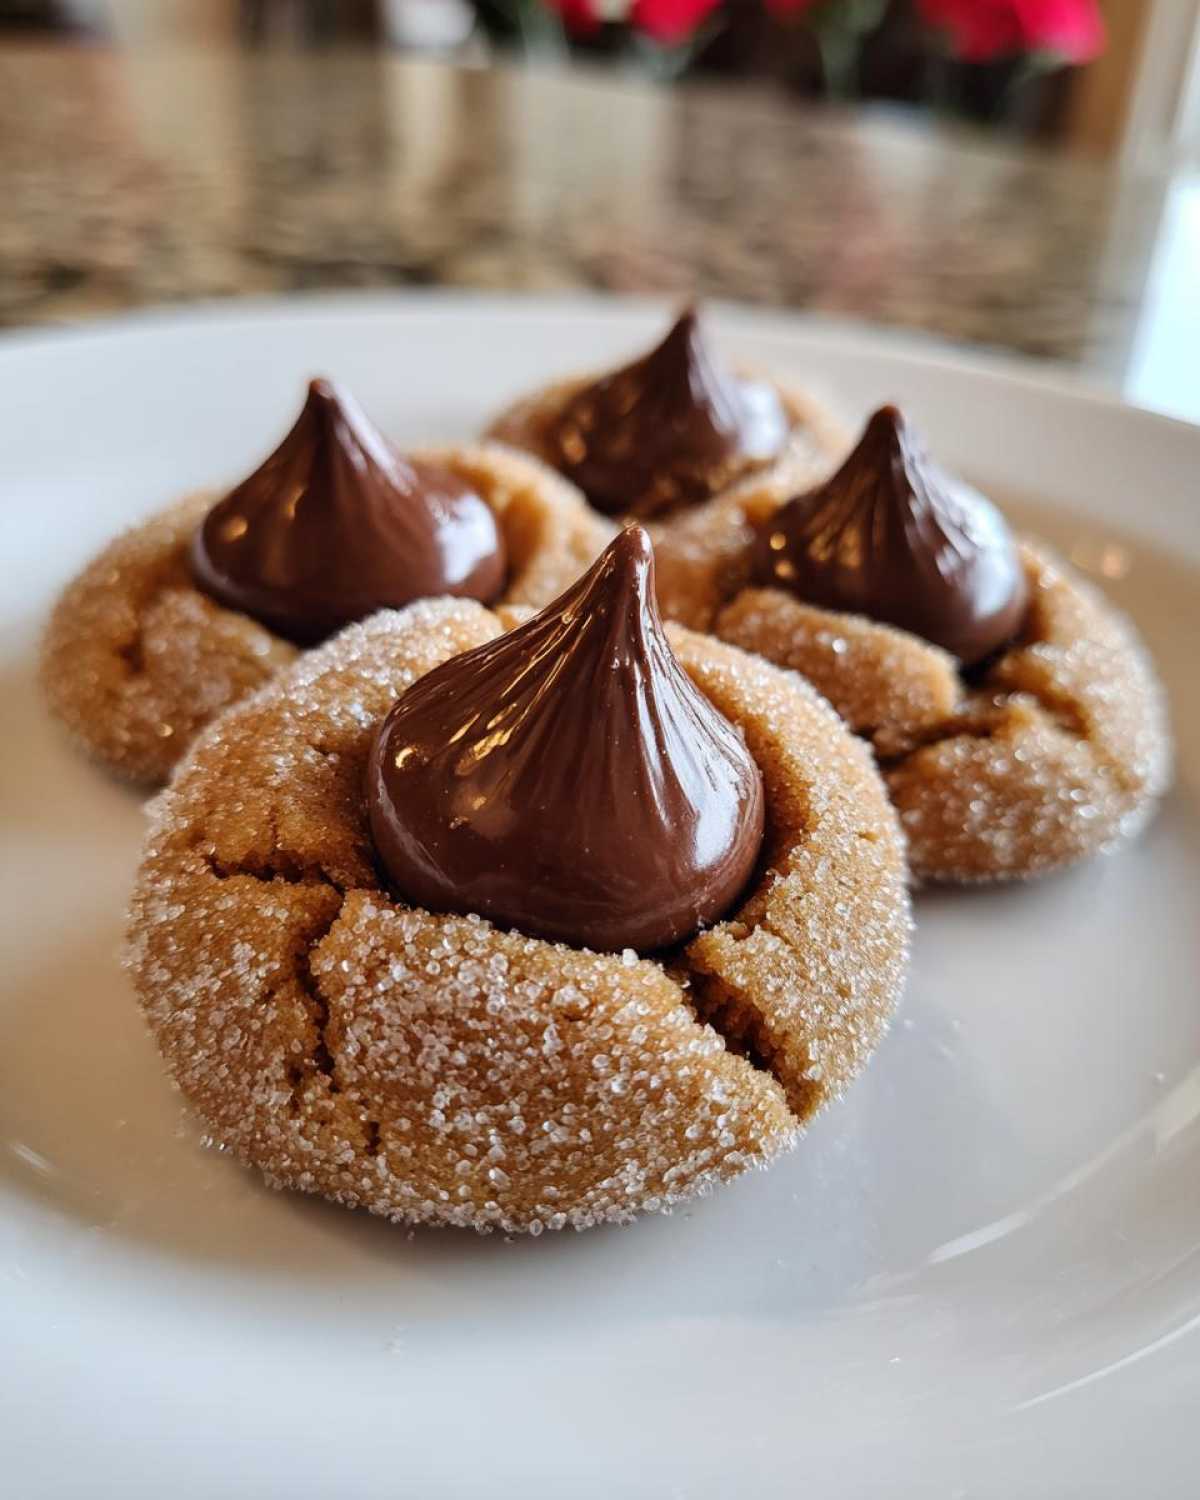
Press one unwrapped chocolate kiss into the center.
You must do this immediately while they are warm.
The residual heat softens the chocolate just right.
Let them sit five minutes before moving them.
Pro Tips for Perfect Peanut Butter Blossoms
I want your cookies to look just like ours.
Amaya and I learned a few tricks over time.
These small steps make a huge difference.
They help you avoid common baking issues.
Follow these little secrets for great results.
Baking should always be fun, not frustrating.
Achieving the Signature Crinkled Texture
The sugar coating is truly important here.
Roll those dough balls generously in sugar.
This creates that beautiful, crackled surface.
It’s what makes these holiday cookies recognizable.
Mastering the Chocolate Press
Timing is everything when adding the chocolate.
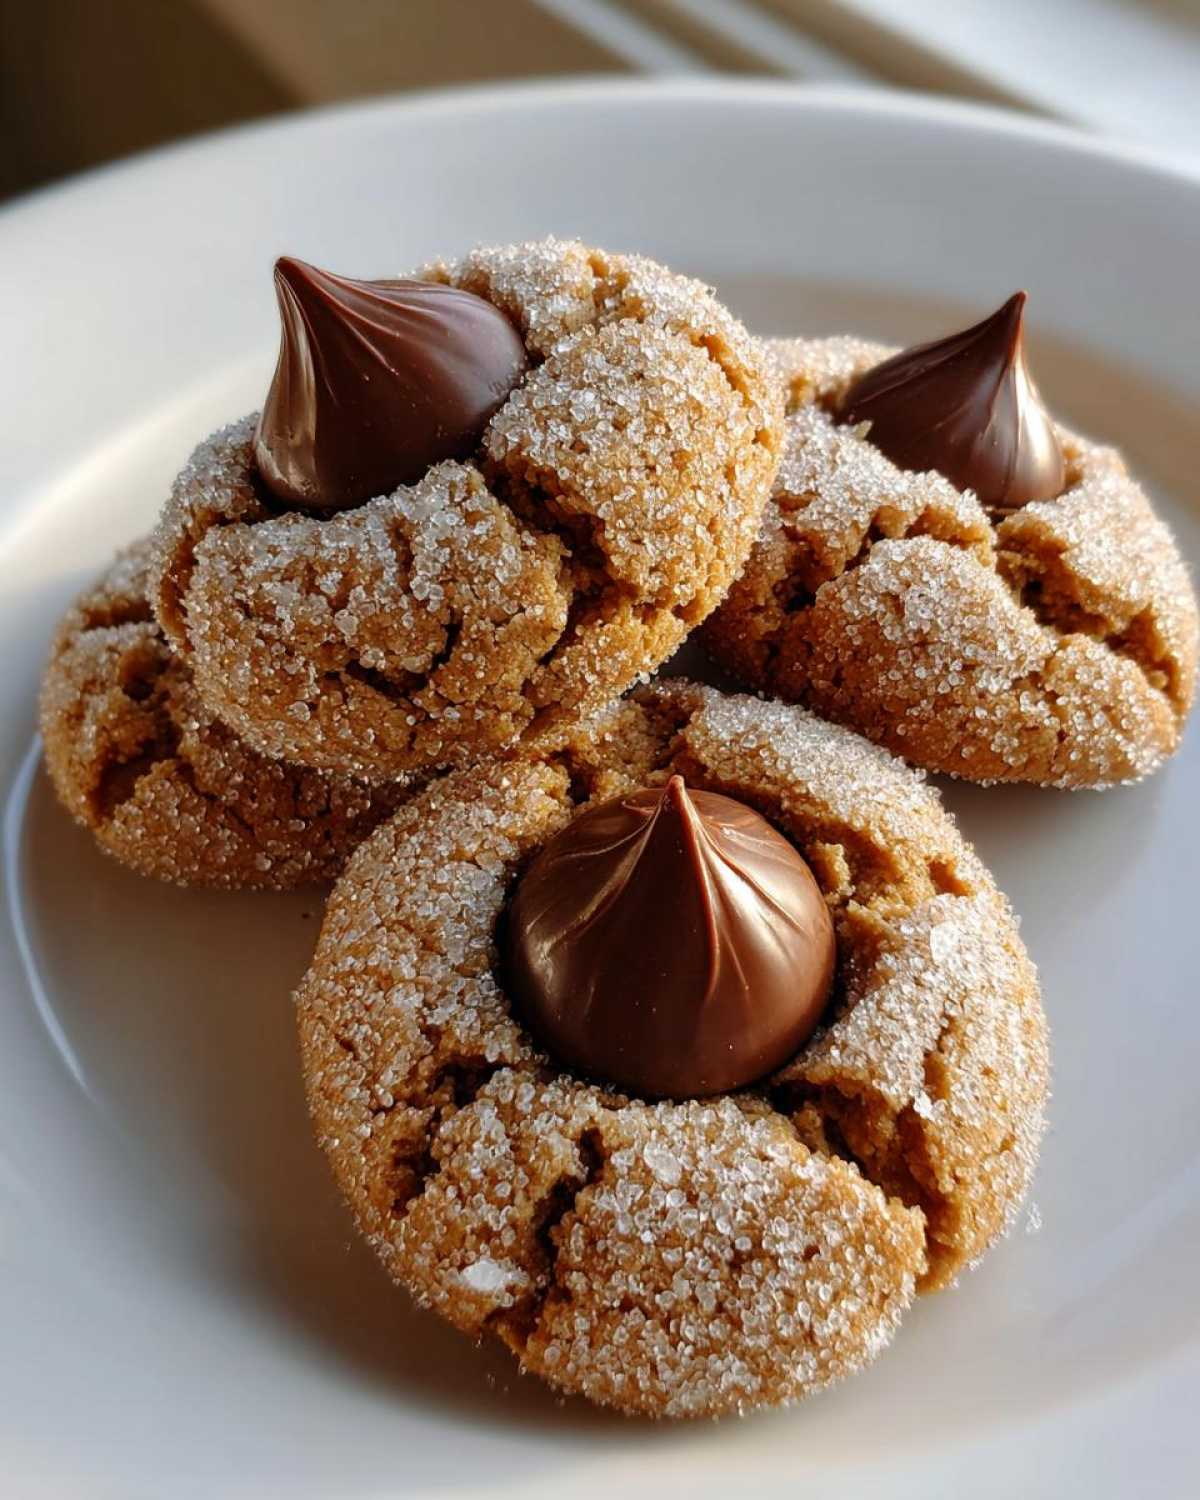
Press the chocolate kiss in right away.
If you wait even a minute too long, you’ll have trouble.
The cookie will set up quickly after leaving the oven.
Waiting causes the chocolate to crack the cookie top.
Work fast to get that perfect impression.
Frequently Asked Questions About Peanut Butter Blossoms
Baking always brings up some questions, doesn’t it?
I know Amaya and I had these same questions early on.
Here are answers for your batch of Peanut Butter Blossoms.
We want your holiday cookies to turn out perfectly.
Let’s tackle the common hurdles right now.
Can I use a different type of peanut butter in my Peanut Butter Blossoms?
Yes, you certainly can try it.
We prefer creamy peanut butter here.
It blends much smoother in the dough base.
Crunchy peanut butter works too, of course.
Just know it will change the interior texture slightly.
The final cookie will be less uniform.
How long do these holiday cookies stay fresh?
These delicious chocolate kiss cookies keep well.
Store them in an airtight container at room temperature.
They usually stay fresh for about one week.
Try not to stack them too high, though.
Why did my chocolate kiss crack the cookie when I pressed it in?
This is almost always a timing issue.
You must press the chocolate kiss immediately.
If the cookie cools even a bit, it firms up.
A firm cookie resists the press.
This pressure then causes a crack on the surface.
Work quickly right out of the oven!
Serving Suggestions for Your Peanut Butter Blossoms
These cookies are wonderful all by themselves.
They look so festive on a holiday platter.
For a special treat, pair them with cold milk.
A warm cup of spiced cider is great too.
They look especially nice next to shortbread.
Serve them after a lovely Christmas dinner.
Storing and Reheating Your Peanut Butter Blossoms
Keeping these cookies fresh is simple.
We store them at room temperature always.
Use an airtight container for best results.
This keeps that soft texture inside.
Do not try to reheat these cookies.
They are best eaten as they cool.
Understanding the Nutrition of Peanut Butter Blossoms
We love that you are curious about the details.
Baking is science mixed with love, after all.
I want to share some estimated nutrition facts.
These numbers are based on standard ingredient amounts.
They are just a helpful guide for you.
This is an estimate for one cookie serving.
For general nutritional guidelines on baked goods, you can consult resources like the U.S. Food and Drug Administration.
Estimated Nutritional Data Per Cookie
Here is what we generally see per cookie.
Remember, this is just an approximation.
Your exact numbers will vary slightly.
Enjoy these classic holiday cookies!
- Calories: About 150 (This is an estimate.)
- Fat: Approximately 8 grams.
- Carbohydrates: Around 17 grams.
- Protein: Roughly 3 grams.
- Sugar: Near 12 grams.
Share Your Peanut Butter Blossoms Experience
We poured our hearts into this recipe.
Now, we want to hear from you!
Did your Peanut Butter Blossoms turn out well?
Please leave a rating below for us.
Share a photo of your chocolate kiss cookies.
We love seeing your baking success.
PrintAmazing 150-Calorie Peanut Butter Blossoms Joy
Make classic Peanut Butter Blossoms, a beloved holiday cookie with a perfect chocolate kiss center. Kenji and Amaya share their warm, encouraging recipe with you.
- Prep Time: 20 minutes
- Cook Time: 10 minutes
- Total Time: 30 minutes
- Yield: About 3 dozen cookies
- Category: Dessert
- Method: Baking
- Cuisine: American
- Diet: Vegetarian
Ingredients
- 1 cup (2 sticks) unsalted butter, softened
- 1 cup granulated sugar
- 1 cup creamy peanut butter
- 2 large eggs
- 1 teaspoon vanilla extract
- 2 1/4 cups all-purpose flour
- 1 teaspoon baking soda
- 1/2 teaspoon baking powder
- 1/2 teaspoon salt
- About 1 cup granulated sugar for rolling
- 1 bag (12 ounces) Hershey’s Kisses, unwrapped
Instructions
- Preheat your oven to 375°F (190°C). Prepare baking sheets with parchment paper.
- In a large bowl, cream together the softened butter and 1 cup of sugar until light and fluffy.
- Beat in the peanut butter, eggs, and vanilla extract until well combined.
- In a separate bowl, whisk together the flour, baking soda, baking powder, and salt.
- Gradually add the dry ingredients to the wet ingredients, mixing until just combined. Do not overmix.
- Pour the remaining 1 cup of sugar onto a shallow plate.
- Roll the dough into 1-inch balls. Roll each ball thoroughly in the sugar until completely coated.
- Place the sugared balls about 2 inches apart on the prepared baking sheets.
- Bake for 8 to 10 minutes. The cookies will look slightly puffed but not deeply golden.
- Immediately after removing the cookies from the oven, press one unwrapped chocolate kiss gently into the center of each warm cookie. The residual heat will soften the chocolate slightly.
- Let the cookies cool on the baking sheets for 5 minutes before transferring them to a wire rack to cool completely.
Notes
- For the best texture, make sure your butter is truly softened, not melted.
- Rolling the dough balls generously in sugar gives the cookies their signature crackled look.
- Press the chocolate kiss in right away; if you wait too long, the cookie will set and the chocolate might crack the cookie when pressed.
- Store the finished cookies in an airtight container at room temperature.
Nutrition
- Serving Size: 1 cookie
- Calories: Approx 150
- Sugar: Approx 12g
- Sodium: Approx 70mg
- Fat: Approx 8g
- Saturated Fat: Approx 3g
- Unsaturated Fat: Not Specified
- Trans Fat: Not Specified
- Carbohydrates: Approx 17g
- Fiber: Approx 0.5g
- Protein: Approx 3g
- Cholesterol: Approx 15mg