

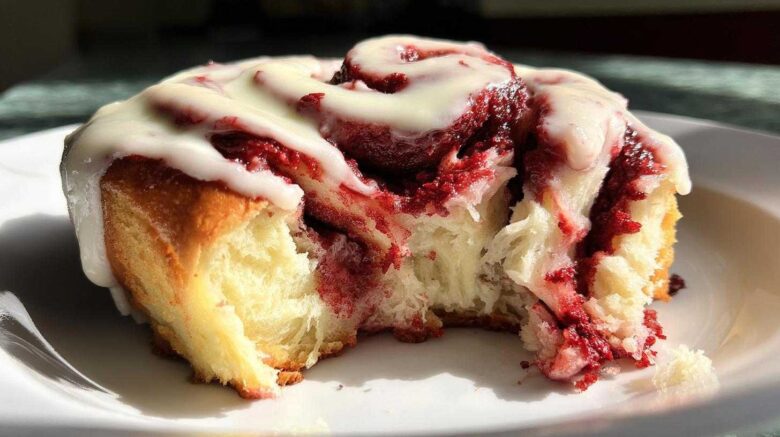
The Joy of Baking: Why You Need These red velvet cinnamon rolls
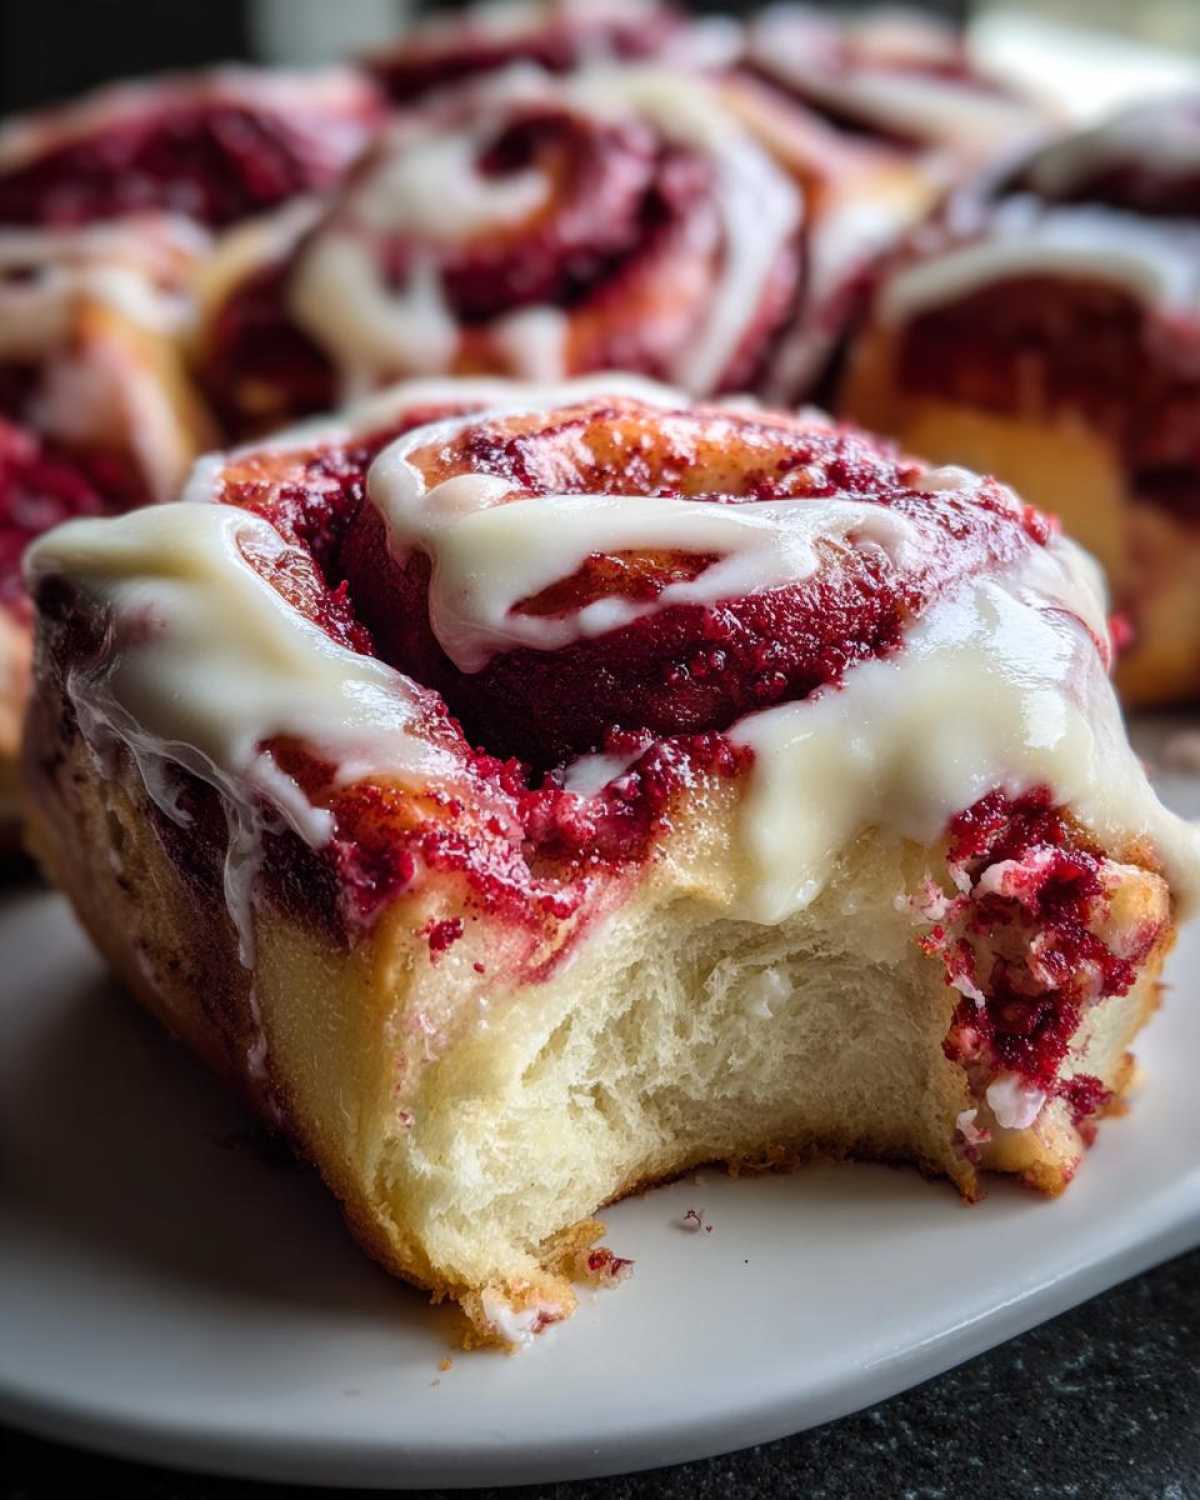
Oh, friends, let me tell you about a real showstopper. I’m talking about truly spectacular red velvet cinnamon rolls. These aren’t your average morning pastry, no siree. When Kenji first smelled these baking, he swore it was Valentine’s Day early! We’ve taken that deep, lovely cocoa flavor. We pair it with the softest, fluffiest dough imaginable. That signature bright red color just makes everything feel special. And that luxurious cream cheese glaze? It melts right in. Trust me, making these delicious red velvet cinnamon rolls will brighten any ordinary day.
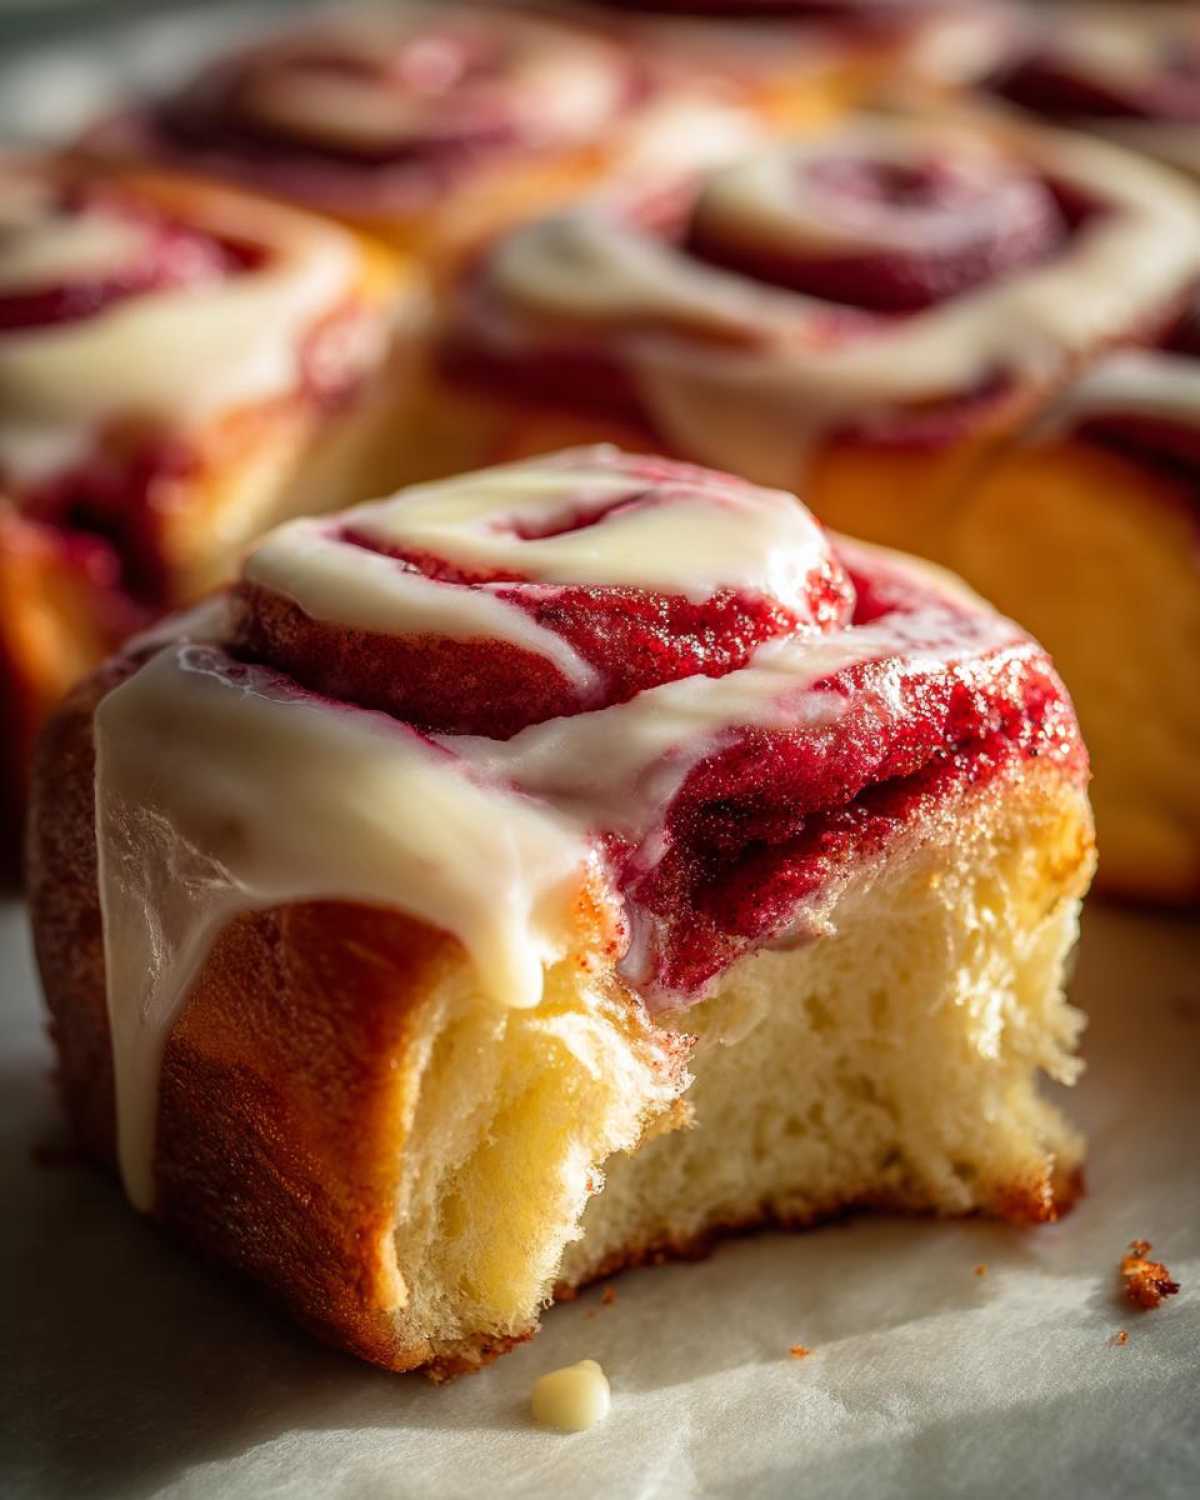
Gathering Ingredients for Your Fluffy red velvet cinnamon rolls
Gathering your supplies is half the fun, isn’t it? For these fluffy rolls, quality ingredients truly sing. I always treat baking like a little science experiment. Getting the temperature right matters a lot. Let’s look closely at what we need for this adventure.
Dough Ingredients Explained
The dough needs attention first. Make sure your milk is just warm. We need it between 105 and 115 degrees Fahrenheit. This wakes up the yeast perfectly. You’ll need active dry yeast, of course. Don’t forget the sugar and salt. We also add vinegar for that classic buttermilk tang. The red food coloring is key here for that deep red velvet look.
The Perfect red velvet cinnamon rolls Filling
The filling is where the magic texture comes from. The butter must be truly softened, not melted. Softened butter spreads so much better. You’ll mix that with brown sugar. Make sure it’s packed well when measuring. Then, mix in the ground cinnamon. This blend creates those beautiful swirls inside your warm rolls.
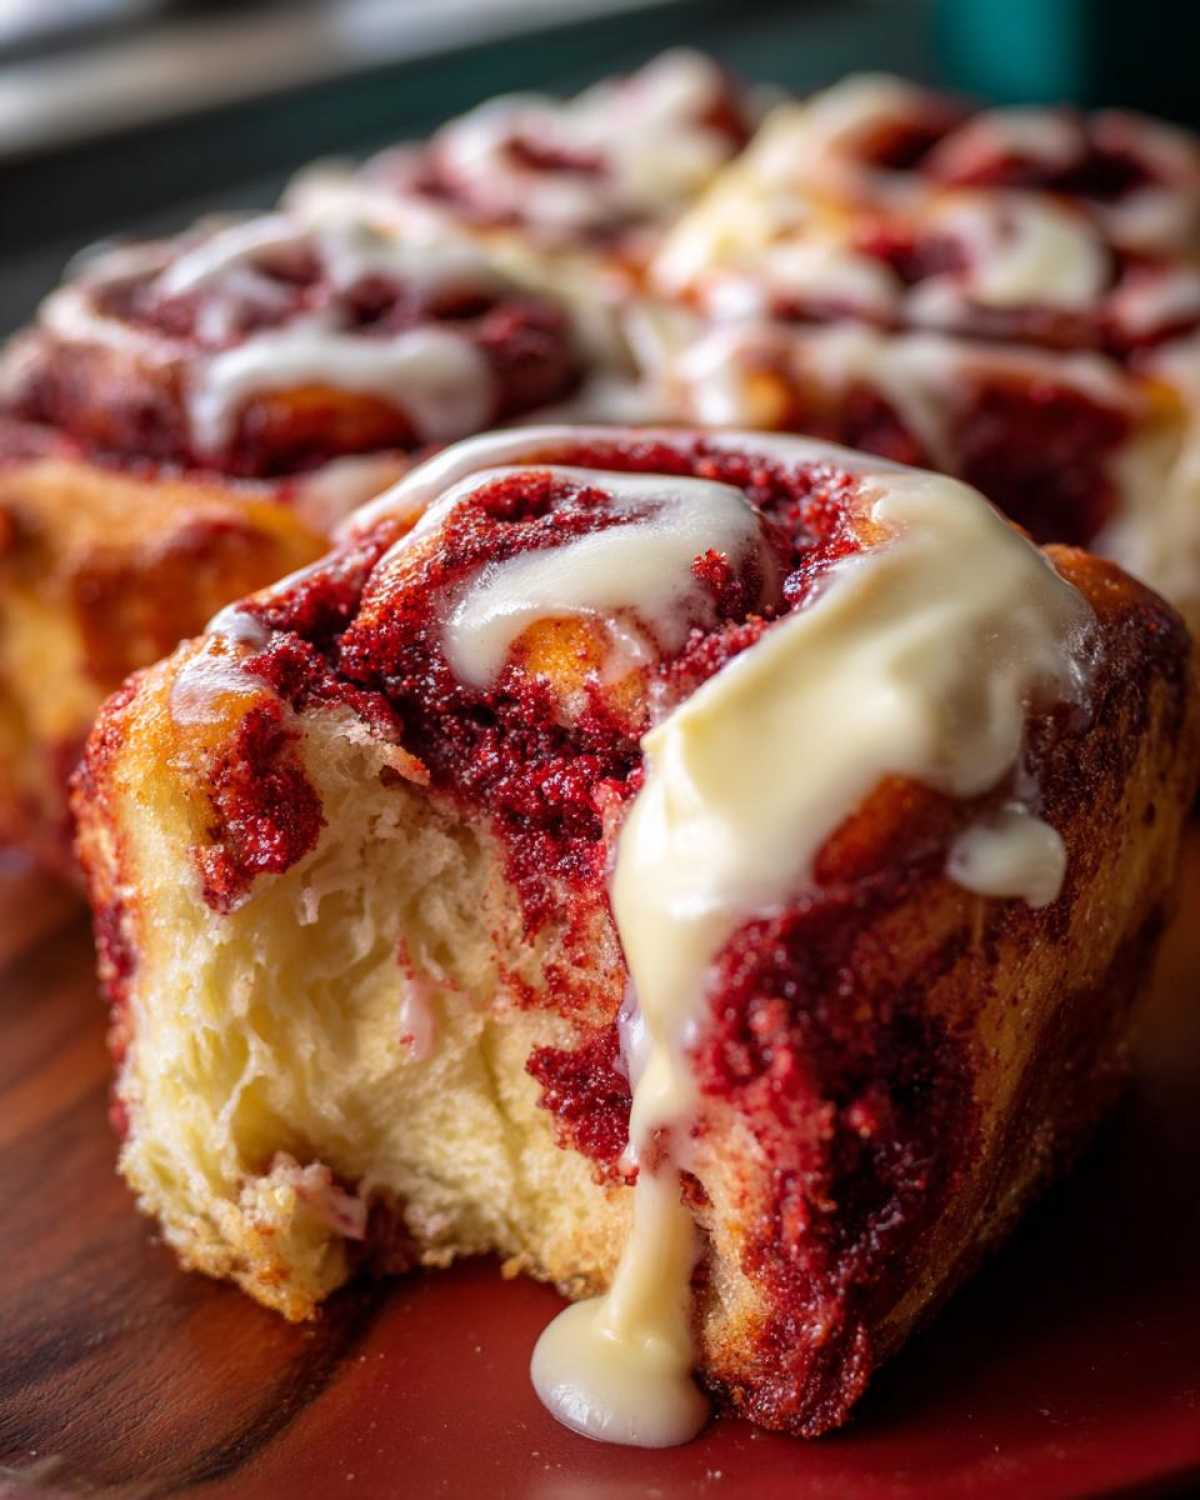
Crafting the Luxurious Cream Cheese Glaze
This glaze makes the whole experience. Both the cream cheese and the other butter must be fully softened. Beat them until they look completely smooth first. This prevents lumps later, which I hate! Sift your powdered sugar for the best texture. Adjust the final thickness using milk or cream, just a splash at a time.
Essential Equipment for Making red velvet cinnamon rolls
Before we start mixing, let’s check our tools. Having everything ready makes baking smoother. I always lay out my bowls first. You don’t want to hunt mid-recipe!
- A big mixing bowl for the dough.
- A standard 9×13 inch baking dish.
- A rolling pin for that big rectangle.
- Unscented dental floss or a sharp knife.
- A handheld or stand mixer for the glaze.
These simple items help us get those perfect soft cinnamon rolls.
Step-by-Step Instructions for Perfect red velvet cinnamon rolls
Now for the fun part! We turn those lovely ingredients into something spectacular. Follow these steps closely. I promise you’ll get those gorgeous, fluffy rolls.
Creating and Proofing the Red Velvet Dough
First, wake up that yeast. Pour your warm milk into a large bowl. Add the yeast right on top. Let it sit for five minutes. You want it foamy, like a little happy cloud.
Next, stir in the sugar and egg. Add the melted butter and vanilla too. Don’t forget that splash of vinegar! Now, pour in the red food coloring. Mix it all up well.
In another bowl, whisk your flour, salt, and cocoa powder. Gradually add these dry bits to your wet mix. Stir until a shaggy dough appears. Lightly flour your counter space now. Knead that dough for about seven minutes. It should feel smooth and springy when done. Place it in an oiled bowl. Cover it up tight. Let it rise for one to one and a half hours. It needs to double its size completely.
Assembling and Rolling the red velvet cinnamon rolls
While that dough rests, make your glaze. Set the glaze aside for later. Once the dough is puffy, gently punch it down. Roll it out into a big rectangle. Aim for about 12 by 18 inches on your surface.
Spread that softened butter evenly across the dough. Get it right to the edges. Now, mix your brown sugar and cinnamon together. Sprinkle this mixture all over the buttered surface. Be generous here!
Start rolling from one long side. Roll it up very tightly, like a jelly roll. Pinch the final seam closed so it stays put. Use floss or a sharp knife. Cut the log into twelve even pieces. Place these beauties into your greased baking dish.
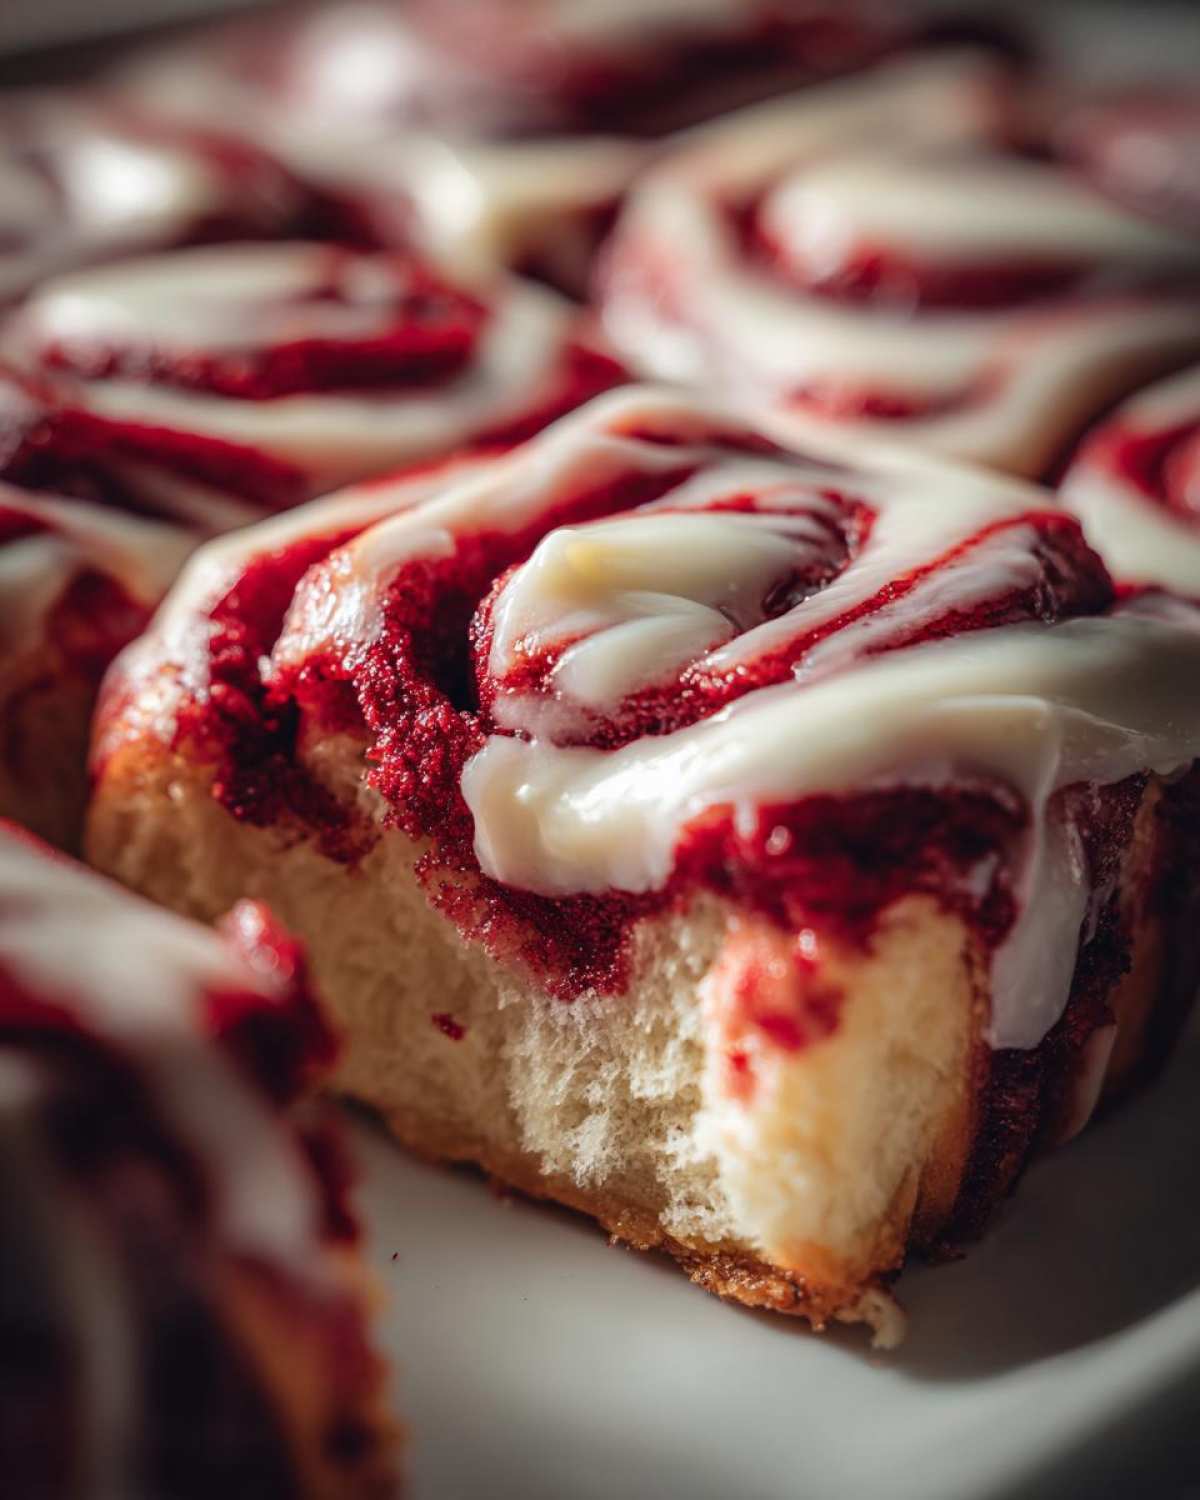
The Final Rise and Baking
Cover the dish again, please. Let the rolls rest for thirty minutes more. This second rise makes them extra soft. Preheat your oven to 350 degrees Fahrenheit now. This is 175 degrees Celsius for my friends overseas. Baking temperature conversions can be helpful!
Bake the rolls for 20 to 25 minutes. Watch the edges; they get lightly golden. If they brown too fast, just tent the dish with foil. Keep baking until the centers are set firm.
Glazing Your Warm red velvet cinnamon rolls
This step is crucial for flavor. Take the rolls out of the oven. Do not wait even a moment! Spread that rich cream cheese glaze right over the warm tops. The warmth melts the glaze slightly. This lets it seep into every swirl. Enjoy these warm, gooey treats!
Tips for Making Your red velvet cinnamon rolls Truly Exceptional
I’ve made this recipe countless times for family gatherings. I learned a few tricks along the way. These small changes make a big difference. You want the best flavor and look, right?
Achieving Deep Red Color and Tang
For that iconic, deep red, skip the liquid food coloring. Gel paste gives you the best punch of color. Use a high-quality brand for true results. If you crave extra tang, I suggest adding buttermilk powder. Just a half teaspoon in the dry mix works wonders. It deepens that lovely red velvet profile.
Handling and Storage Quick Tips
Cleanup can be a drag, I know. Line your baking dish with parchment paper first. Leave some overhang on the sides. This lets you just lift the whole batch out later. Easy peasy!
If your rolls start browning too fast in the oven, don’t panic. Just loosely cover the dish with aluminum foil. This shields the tops. It lets the insides finish baking perfectly.
Common Questions About red velvet cinnamon rolls (FAQ)
Baking new things always brings questions. I remember my first time trying these! People often ask about getting that perfect texture. Are you aiming for super fluffy rolls?
What if I don’t have time to wait for yeast to rise?
- You can try a quick dough substitute. Using store-bought biscuit dough speeds things up greatly. It won’t be quite as fluffy, though.
- The rise time is what builds that amazing texture. Patience really pays off here.
How thick should my cream cheese glaze be?
I like my glaze thick enough to spread. It should drip slowly, not run off completely. Add the milk just a teaspoon at a time. This keeps your glaze luxurious.
Can I make these ahead of time for a holiday breakfast?
Yes, you certainly can! Assemble the rolls in the dish. Cover them tightly. Keep them in the fridge overnight. Add an extra 30 minutes to the second rise before baking them. They are wonderful for a special holiday breakfast!
Sharing Your red velvet cinnamon rolls Creations
I truly hope you loved making these. Baking is always better when shared, you know? Did your family enjoy the rich flavor? Tell me how they turned out for you!
Leave a comment below describing your baking journey. Did the cream cheese glaze melt just right? I love seeing your beautiful photos. Kenji and I read every single message.
Nutritional Information Disclaimer
Please remember that homemade treats vary widely. Nutritional data depends on brands used. Exact values are not guaranteed here. This recipe is for enjoyment, not strict dietary tracking.
PrintGlorious 12 red velvet cinnamon rolls So soft

Make these soft, fluffy Red Velvet Cinnamon Rolls featuring that signature cocoa tang and deep red color, all topped with a rich, tangy cream cheese glaze. These rolls are perfect for a special breakfast or holiday treat.
- Prep Time: 45 minutes
- Cook Time: 25 minutes
- Total Time: 2 hours 40 minutes (includes rising time)
- Yield: 12 rolls
- Category: Dessert
- Method: Yeast Dough Baking
- Cuisine: American
- Diet: Vegetarian
Ingredients
- 1 cup warm milk (105-115F)
- 2 1/4 teaspoons active dry yeast
- 1/2 cup granulated sugar
- 1 large egg
- 1/4 cup unsalted butter, melted
- 1 teaspoon vanilla extract
- 1 1/2 teaspoons white vinegar
- 2 tablespoons red food coloring (or gel paste for deep color)
- 3 1/2 cups all-purpose flour, plus more for dusting
- 1 teaspoon salt
- 1/4 cup cocoa powder
- 1/2 cup (1 stick) unsalted butter, softened (for filling)
- 3/4 cup packed light brown sugar (for filling)
- 1 tablespoon ground cinnamon (for filling)
- Cream Cheese Glaze: 8 oz cream cheese, softened
- 1/2 cup (1 stick) unsalted butter, softened
- 3 cups powdered sugar, sifted
- 1 teaspoon vanilla extract
- 1-2 tablespoons milk or heavy cream
Instructions
- Activate the yeast: In a large bowl, combine warm milk and yeast. Let stand for 5 minutes until foamy.
- Add sugar, egg, melted butter, vanilla, vinegar, and red food coloring to the yeast mixture. Stir well.
- In a separate bowl, whisk together flour, salt, and cocoa powder.
- Gradually add the dry ingredients to the wet ingredients, mixing until a shaggy dough forms.
- Knead the dough on a lightly floured surface for 5-7 minutes until smooth and elastic.
- Place the dough in a lightly oiled bowl, turning to coat. Cover and let rise in a warm place for 1 to 1.5 hours, or until doubled in size.
- While the dough rises, prepare the cream cheese glaze by beating the cream cheese and butter until smooth. Gradually add powdered sugar, vanilla, and a splash of milk until you reach a thick, spreadable consistency. Set aside.
- Punch down the risen dough. Roll it out into a large rectangle, about 12×18 inches.
- Spread the softened butter evenly over the dough surface.
- In a small bowl, mix the brown sugar and cinnamon. Sprinkle this mixture evenly over the buttered dough.
- Starting from the long edge, tightly roll the dough into a log. Pinch the seam closed.
- Slice the log into 12 equal rolls using unscented dental floss or a sharp knife.
- Place the rolls in a greased 9×13 inch baking dish. Cover and let them have a second rise for 30 minutes.
- Preheat your oven to 350F (175C).
- Bake for 20-25 minutes, or until the centers are set and the edges are lightly golden.
- Remove from the oven and immediately spread the prepared cream cheese glaze generously over the warm rolls. Serve warm.
Notes
- For a deeper red color, use high-quality red gel food coloring instead of liquid drops.
- If you prefer a tangier flavor, add 1/2 teaspoon of buttermilk powder to the dry ingredients.
- To make cleanup easy, line your baking dish with parchment paper, leaving an overhang on the sides.
- If the rolls brown too quickly during baking, loosely tent the dish with aluminum foil.
Nutrition
- Serving Size: 1 roll
- Calories: 450
- Sugar: 45g
- Sodium: 350mg
- Fat: 25g
- Saturated Fat: 15g
- Unsaturated Fat: 10g
- Trans Fat: 0g
- Carbohydrates: 55g
- Fiber: 2g
- Protein: 6g
- Cholesterol: 75mg