

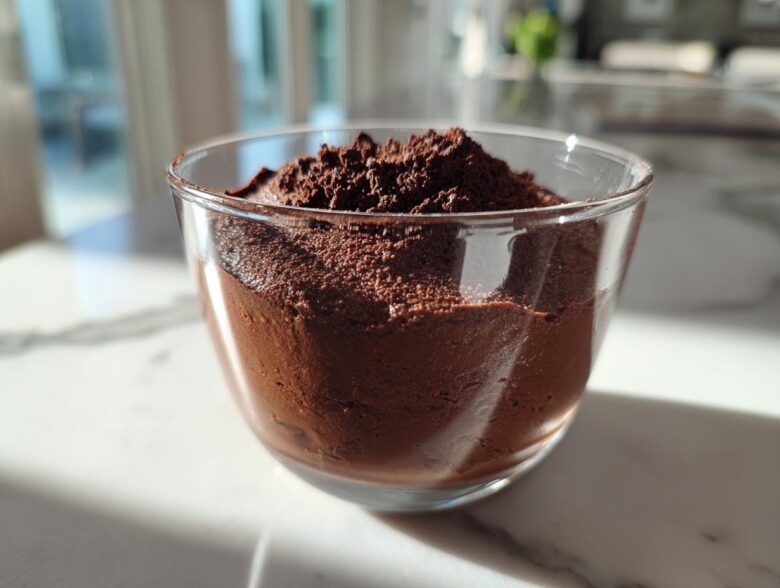
Okay, listen up! Have you ever scrolled through dessert photos late at night, dreaming of something incredibly elegant, decadent, but absolutely zero effort? Me too! That’s why I finally cracked the code on what I now call the ultimate **chocolate mousse** recipe—and trust me, it skips the oven entirely. Forget complicated techniques; this is my refined, beginner-friendly method for achieving that classic, airy French texture right in your own kitchen.
After wrecking probably half a dozen batches trying to get the egg whites folded correctly (oops!), I simplified things without losing that rich, unbelievable 70% dark chocolate flavor. This recipe is my go-to for date nights or when company shows up unexpectedly. It transforms simple ingredients into the most gorgeous, velvety mousse imaginable. If you want an easy, no-bake dessert that tastes like it came from a fancy Parisian patisserie, stick right here with me!
Why This Easy Chocolate Mousse Recipe Works So Well
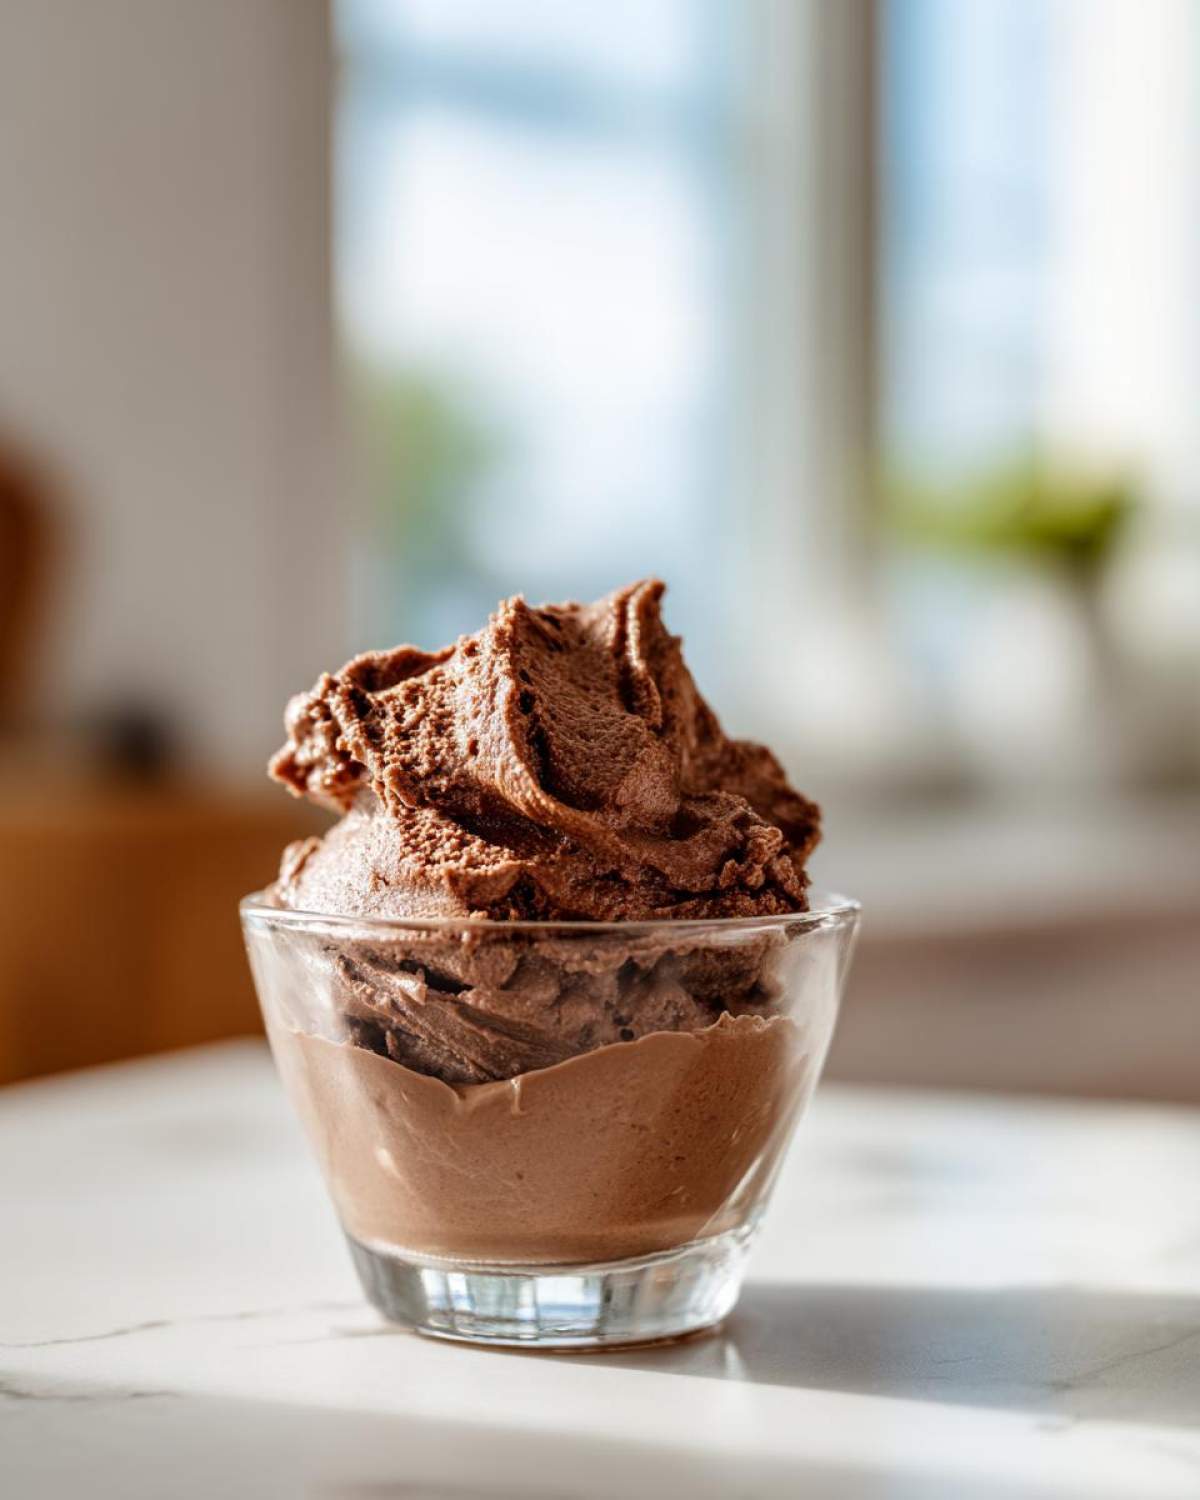
When I tell people this is my favorite **no bake dessert**, they usually don’t believe me because it tastes so incredibly complex. But honestly, the magic is in the brilliant combination of techniques borrowed from classic French pastry masters, adapted for speed and ease. You get that perfect balance every single time, which is why I keep coming back to this!
- It’s completely **no bake dessert** friendly—just a little melting and a whole lot of whipping!
- The texture is unmatched; it’s light as air yet stubbornly rich.
- It requires only minimal hands-on time, giving you more time to panic about plating. (Don’t worry, plating is easy too!)
- It’s perfect for making ahead of time for your next big gathering or just a quiet night in; check out how simple this no-bake eclair cake is if you’re looking for other quick wins!
Achieving a Truly Creamy Chocolate Mousse Texture
This is where beginners often struggle, but it’s simple once you know the trick. We use two aerating agents: the heavy cream and the egg whites. The whipped cream gives us instant density and richness, while the stiff, glossy egg whites, folded in carefully, trap all those lovely air bubbles. Remember that word: *gently*. If you beat out that air while folding, you end up with heavy chocolate cement instead of airy mousse. Slow and steady wins this race!
The Secret to a Rich Chocolate Dessert Flavor
You cannot skimp here. The flavor of your final **rich chocolate dessert** lives and dies by the quality of your chocolate bar. I insist on using a good 70% cacao dark chocolate. Anything less tastes flat and overly sweet. Here’s my little trick to give it an extra mysterious depth: right after you melt the chocolate and butter, stir in about a teaspoon of instant espresso powder. You won’t taste coffee, I promise, but it magically enhances the intensity of the dark chocolate. Wow!
Gathering Ingredients for Your Chocolate Mousse
Okay, let’s get everything lined up before we start the meltdown. Since this is a **chocolate mousse recipe** and not a baked cake, using high-quality components really matters. You really only need a handful of things, but precision is key so everything whips up beautifully. I always lay mine out on the counter, mise en place style, before I even turn on the stove—it saves SO much stress later on!
Here’s what you need to gather up. Don’t forget to grab your chocolate early so it can be chopped finely; it melts so much faster that way. If you’re looking for something else spectacular to accompany this treat, I highly recommend checking out my favorite chocolate chip cookie recipe for later!
- Six ounces of really good quality dark chocolate—I’m talking 70% cacao, chopped up small.
- Half a cup of unsalted butter, cut into little cubes.
- A quarter cup of plain granulated sugar.
- One teaspoon of vanilla extract.
- A tiny pinch, about a quarter teaspoon, of salt to balance the sweetness.
- Four big eggs! You must separate these—yolks in one bowl, whites in another, completely clean bowl for the whites!
- And finally, one full cup of heavy whipping cream. Make sure it’s cold!
Step-by-Step Instructions for the Best Chocolate Mousse
This is the part I get most excited about, but honestly, it’s where you need to pay close attention! Getting the temperature right is absolutely critical when working with the eggs, otherwise, you risk cooking them too early. Take your time on these steps, and you’ll have the **best chocolate mousse** imaginable. If you’re new to this, remember that technique is just as important as the ingredients themselves. If you love hands-on dessert making, you might also enjoy my guide to homemade chocolate pudding!
Melting Chocolate and Preparing the Base for Chocolate Mousse
First things first, we need that beautiful, smooth base. Set up a double boiler—that’s just a heatproof bowl (make sure it doesn’t touch the water!) sitting snugly over a saucepan with simmering water. Toss in your chopped dark chocolate and the cubed butter. Stir constantly until it’s all liquid velvet. Seriously, keep stirring until there isn’t a single lump left. Now, this is the crucial part for beginners: take the bowl off the heat source! Let it sit for about five minutes. It needs to cool down just enough so it won’t scramble those delicate egg yolks in the next step. Once slightly cooled, whisk in your sugar, vanilla, and salt until everything is perfectly combined.
Whipping Cream and Egg Whites for Easy Chocolate Mousse
While that chocolate base is cooling down, pivot to your aeration components. You need two separate, perfectly clean, and dry bowls—especially for the egg whites! Any trace of grease or yolk will stop them from whipping up properly. For your heavy cream, beat it until you hit stiff peaks; that means when you lift the beater, the tips stand straight up like little mountain caps. Then, tackle those four egg whites in their own bowl. Beat them until they are glossy, stiff, and hold their shape firmly when you tilt the bowl. No slouching allowed; we are building structure here!
Folding Techniques for a Velvety Mousse Texture
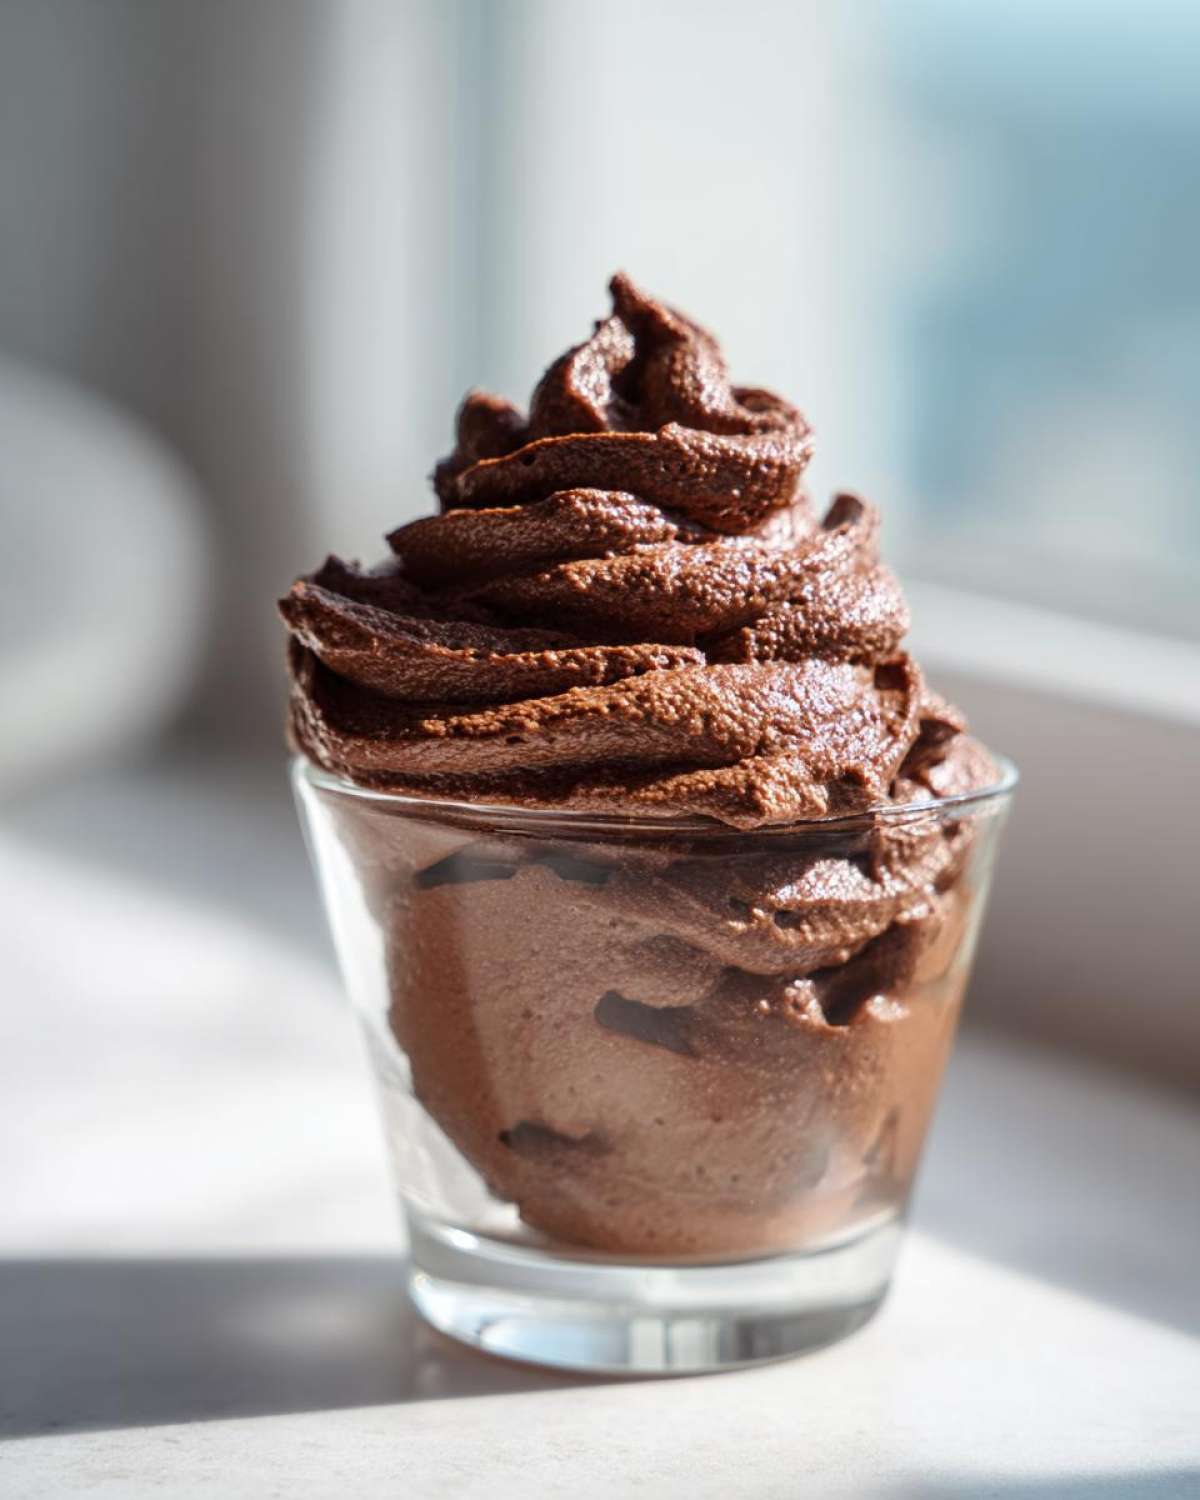
We have to marry these fluffy, airy components with the heavy chocolate base without deflating all our hard work! I use a specific method that guarantees that **velvety mousse texture**. Start by taking about a third of your whipped cream and just stir it briskly into the slightly warm chocolate mixture. This step is called ‘lightening the base’—it makes the heavy chocolate base less dense so it mixes better with the rest of the airier ingredients. Next, gently take half of your stiff egg whites and *fold* them in using a big rubber spatula. Cut down the middle and sweep up the side of the bowl. Repeat that motion until they are mostly incorporated. Do the same with the remaining egg whites and the rest of the whipped cream, folding until it’s *just* combined. You want to see no major streaks, but stop mixing the second you think you’re done. Better to have a few tiny white streaks than a sad, flat mousse!
Tips for the Perfect Homemade Chocolate Mousse
Alright, we’ve got the process down, but sometimes even following the steps perfectly doesn’t stop funny things from happening! I learned this the hard way once when I rushed the folding—I got impatient because they were supposed to be **chocolate dessert ideas** for a party that evening. I folded too vigorously, and by the time I checked the mousse in the serving cups, it had deflated almost entirely. It still tasted fantastic, but the texture just wasn’t that gorgeous, light cloud I was aiming for. So, my biggest piece of advice here is patience; don’t rush the chilling and definitely don’t beat the air out when folding!
If you’re trying to make a rich dinner and need a satisfying finish, this mousse is perfect, but if you wanted to pair it with something hearty, take a peek at my recipe for the juiciest meatloaf for another night!
Ingredient Quality for Superior Chocolate Mousse
Seriously, I can’t stress this enough for your **homemade chocolate mousse**: use the best chocolate you can afford. You are literally eating melted chocolate that’s been aerated. If you use waxy, cheap baking chips, your **chocolate mousse** will taste waxy and cheap. Aim for bars with that high cacao percentage—70% is my absolute sweet spot. And remember that cooling step after melting? If the chocolate is too hot when the yolks meet it, you turn your beautiful base into slightly scrambled chocolate pudding. Keep the temperature down!
Alternative Methods for a Simple Mousse Recipe
I know some folks are nervous about using raw egg whites, and that is totally fair! If you are worried about that step, you don’t have to skip the dessert entirely. You can absolutely make a fantastic, slightly denser, but still delicious **simple mousse recipe** by omitting the eggs completely. Instead of folding in the egg whites, just whip that whole cup of heavy cream until stiff peaks form, and fold that glorious fluff into the chocolate mixture along with the already folded-in portion of cream. It won’t be quite as light as the egg-white version, but it sets beautifully and is super reliable if you’re worried about technique!
Serving and Storing Your Decadent Chocolate Mousse
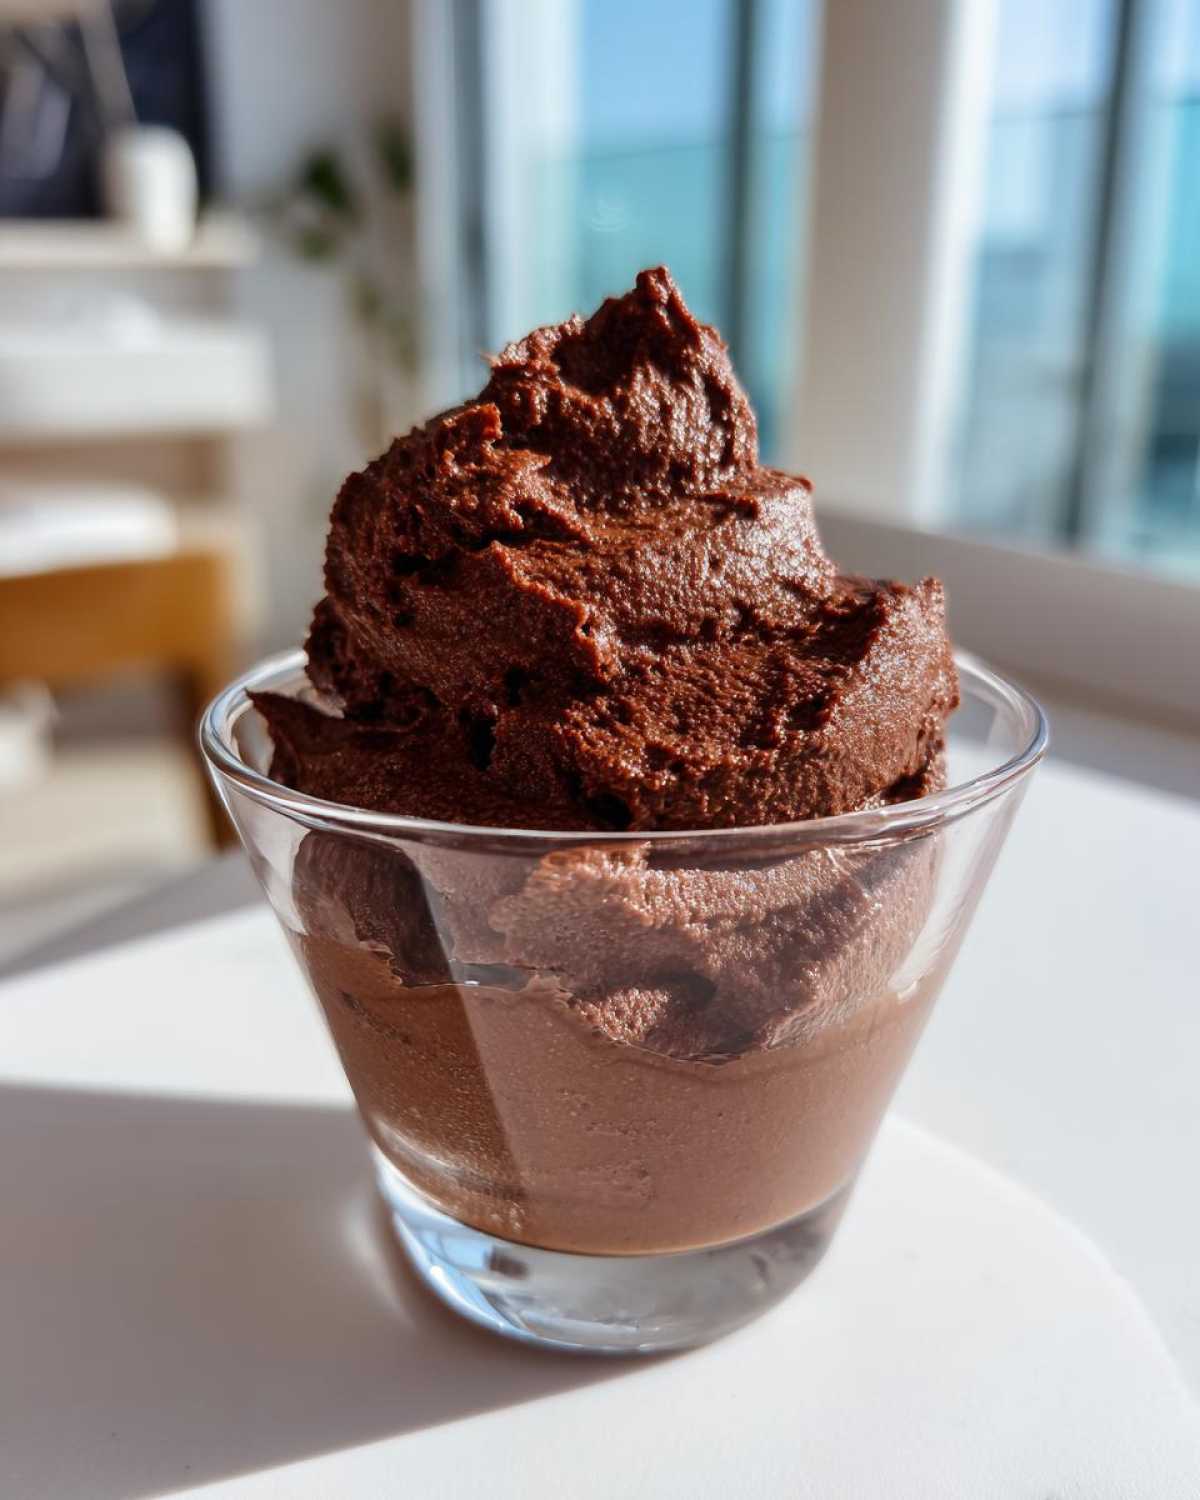
So you’ve folded perfectly, you’ve piped it into pretty little glasses, now what? The absolute hardest part of this whole process is waiting! This **chocolate mousse** needs time to chill and firm up properly, so don’t even think about tasting that spoonful you sneak from the bowl. I insist on at least four hours in the refrigerator. If you can manage overnight? Even better. That resting time allows the fats to solidify just enough, giving you that luxurious mouthfeel without being heavy.
When it comes time to serve this **elegant dessert**, presentation counts! I love using small clear ramekins or wine glasses so you can see the lovely airy texture. Garnish is minimal because the mousse is the star. A light dusting of high-quality unsweetened cocoa powder or a few fresh raspberries works miracles. It looks fancy, but trust me, you made it while the oven was off! If you need another stunning, easy makeup item for a crowd, you have to try my apple crisp recipe.
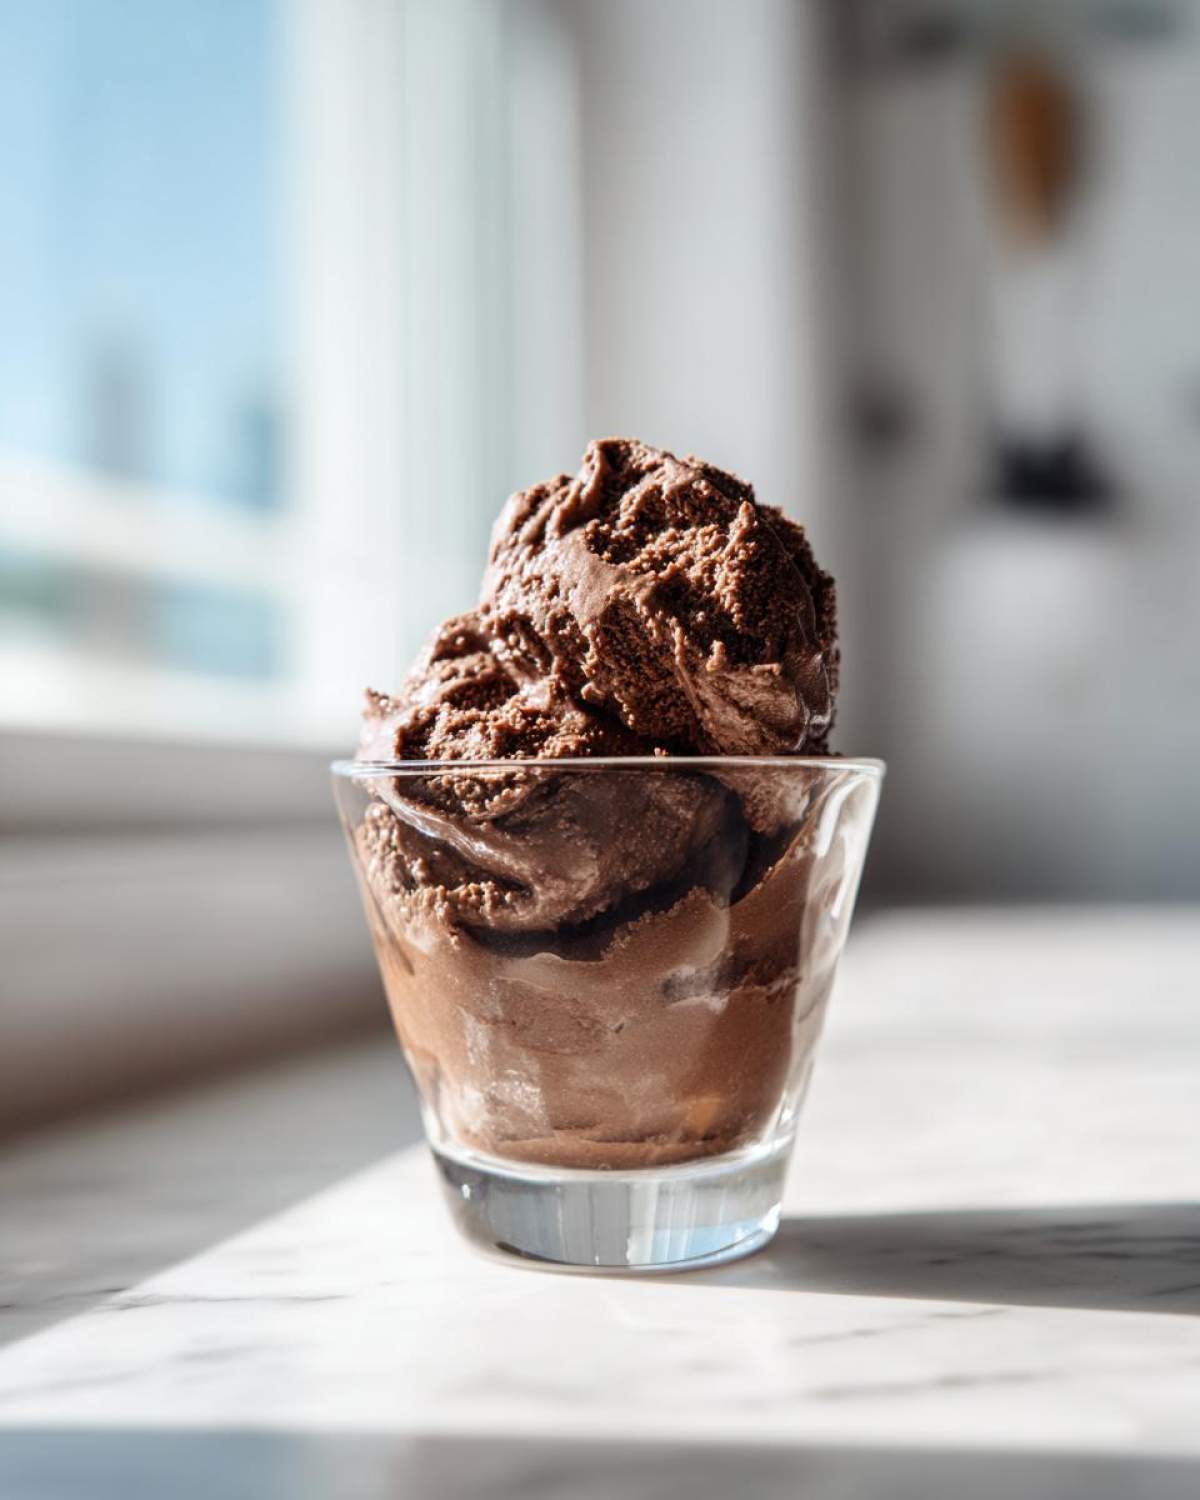
If you happen to have leftovers (unlikely, but I can dream!), cover those dishes tightly with plastic wrap. This rich chocolate dessert stays wonderfully fresh in the fridge for up to three days. The texture might just get a tiny bit denser on day three, but it’s still heavenly!
Variations on the Classic Chocolate Mousse
While my dark chocolate version is perfection in my book—it’s that deep, grown-up indulgence—I totally get that sometimes you need a little flavor twist, especially if you’re making this **chocolate mousse** for a crowd! Mixing things up is easy, since the base recipe is so stable. You just slip the extra flavor in at the right moment so it integrates beautifully without collapsing all that precious air we whipped into it.
Here are a couple of easy ways I switch this up when I feel like getting creative. If you’re making a batch for a gathering, you can divide the base mixture into two bowls before folding in the egg whites and cream, and flavor each one differently. Easy peasy!
Mocha Mousse Magic
If you want a flavor that just screams ‘gourmet dessert at home,’ you have to try adding coffee. Remember that espresso powder I told you to put in the melted chocolate for depth? If you really love that mocha vibe, dissolve a full teaspoon of espresso powder into about two teaspoons of hot water first, then let that tiny bit of super-concentrated coffee cool slightly before you whisk it into the chocolate mixture along with the yolks. It makes the chocolate taste even *more* chocolatey. It’s magic, I swear! You can dust the top with cocoa powder or even a drizzle of melted white chocolate for extra flair.
Orange Zest Brightness
For something that feels really elegant, especially around the holidays or as a palate cleanser, a hint of citrus is perfect. You are going to wait until the very end of the process, right after you mix in the last of the whipped cream during the folding stage. Zest one whole orange using a microplane—you only want the bright orange part, not the bitter white pith underneath! Fold that zest in gently with the final addition of the egg whites. That burst of fresh orange lifts the richness of the dark chocolate beautifully. It makes it taste incredibly sophisticated!
Raspberry Swirl Delight
This one is more visual and requires a little extra patience during chilling, but the outcome is stunning! Take about half a cup of good quality raspberry jam or seedless raspberry puree. If it’s too thick, warm it up for just a few seconds in the microwave so it loosens up nicely. Once your mousse is spooned into the individual serving cups, take a small spoon and dollop little bits of the raspberry mixture on top of each one. Then, take a cocktail stick or a skewer and gently swirl it down into the mousse maybe twice. Don’t over-swirl, or you just end up with pink mousse! You want defined ribbons. This variation makes for a stunning date night dessert, too!
Frequently Asked Questions About Making Chocolate Mousse
I get so many questions about this recipe once people see how simple it is! It feels luxurious, so naturally, people worry about technique or food safety. Don’t panic! Most of the concerns I hear are easily fixed with a quick adjustment or a little reassurance. We’re here to make sure you end up with the **best chocolate mousse** on the first try. If you’re looking for another great make-ahead treat, that date nut bread freezes so well!
Can I skip the raw eggs in this no bake dessert?
That is the most common question after the first time people see the ingredients list! If you are at all worried about eating raw egg whites, like I mentioned earlier, you absolutely can skip them. This won’t give you *exactly* the same cloud-like texture, but it results in a genuinely **creamy chocolate mousse** that is foolproof. Just skip separating the eggs! Instead, whip the full cup of heavy cream until stiff peaks form. Then, fold that entire amount into your cooled chocolate base after you’ve incorporated the egg yolks—wait, scratch that! If you skip the eggs entirely, you just melt the chocolate and butter, stir in the sugar, vanilla, and salt, and then gently fold in the *entire* cup of whipped cream. It becomes a super satisfying, super rich, safer **no bake dessert**. You miss a little airiness, but the decadence remains!
How long does this easy chocolate mousse last in the fridge?
Because this version uses butter and is heavily dairy-based, it does best when eaten sooner rather than later, but honestly, it lasts surprisingly well! If you cover your individual serving dishes tightly with plastic wrap—making sure the wrap doesn’t touch the surface of the mousse if possible—it stays perfectly firm and delicious for about three days in the refrigerator. After day three, the texture starts to get noticeably firmer, more like a rich French ganache than a fluffy mousse. So, three to four days is my personal limit for this **easy chocolate mousse**!
Why do I need to use chocolate chunks instead of chocolate chips?
Sticking strictly to the recipe for the **rich chocolate dessert** flavor means using high-quality chocolate bars chopped into chunks! Chocolate chips are designed to hold their shape during baking—that means they contain stabilizers that prevent them from melting smoothly. If you use chips, you risk getting a grainy, clumpy base when you try to melt them with the butter. Trust me, the chocolate will resist you! Chopping a good bar melts cleanly into that beautiful, smooth consistency you need before you even start folding.
Can I make this ahead for a party?
Yes, please do! This is the absolute best part of this **simple mousse recipe**. While you *can* eat it after the minimum four hours of chilling, it achieves peak perfection after about eight to twelve hours—overnight is fantastic. Since it’s already chilled and set, you just pull the little glasses out of the fridge about fifteen minutes before you serve them. That way, they aren’t ice-cold, and the flavor really blooms when they warm up just slightly. It’s the ultimate make-ahead **elegant dessert**!
Estimated Nutritional Snapshot for This Rich Chocolate Dessert
I always get asked about the macros when I share recipes, especially since this **rich chocolate dessert** feels so impossibly decadent! Now, I’m a baker, not a nutritionist—so please take these numbers with a big grain of salt, just like you would with any recipe guide. I ran the numbers based on the full ingredient list, assuming four servings, but keep in mind how much chocolate quality (and maybe how much you sneak while folding!) can change things.
This is a true indulgence, folks, using full-fat butter, eggs, and heavy cream. It’s definitely not a light snack, but it is absolutely worth every single calorie for a special occasion like a **date night dessert** or a quiet celebration. Next time you check the charts, remember this is gourmet goodness!
- Serving Size: 1 serving (Yields 4)
- Calories: Approximately 450 per serving
- Fat: Around 35g (Heads up: 20g of that is saturated fat from the cream and butter!)
- Protein: About 8g
- Sugar: Roughly 25g (That’s the glory of dark chocolate talking!)
- Cholesterol: Quite high at 250mg, purely from the egg yolks and dairy.
If you’re counting calories or watching macros, this is something you enjoy mindfully. When you make this **chocolate mousse** at home using my tips, you control the quality, and that’s what matters most!
Share Your Chocolate Mousse Creations
Well, that’s it! You’ve made the silkiest, richest, easiest **chocolate mousse** that requires zero oven time. I’m so excited for you to try this **gourmet dessert at home**. Please, please, please don’t be shy!
When you whip up a batch of this, I desperately need to know how it turned out for you. Did you add the espresso powder? Did you stick to the simple dusting or go for a fancy raspberry swirl? Drop a rating down below using the stars—it helps other bakers trying to decide if this **chocolate mousse recipe** is right for them.
And if you snap a picture? Tag me! I absolutely love seeing your final creations. Finding new chocolate dessert ideas makes my day, and sharing yours proves that anyone can make an impressive dessert. Happy baking (or, well, happy *no-baking*)!
PrintEasy No-Bake Dark Chocolate Mousse
Make a rich, creamy, and decadent dark chocolate mousse without turning on your oven. This simple recipe is perfect for beginners and special occasions.
- Prep Time: 20 min
- Cook Time: 5 min
- Total Time: 25 min
- Yield: 4 servings
- Category: Dessert
- Method: No-Bake
- Cuisine: French
- Diet: Vegetarian
Ingredients
- 6 ounces good quality dark chocolate (70% cacao recommended), chopped
- 1/2 cup unsalted butter, cut into pieces
- 1/4 cup granulated sugar
- 1 teaspoon vanilla extract
- 1/4 teaspoon salt
- 4 large eggs, separated
- 1 cup heavy whipping cream
Instructions
- Place the chopped dark chocolate and butter in a heatproof bowl set over a saucepan of simmering water (ensure the water does not touch the bottom of the bowl). Stir until completely melted and smooth. Remove from heat and stir in the sugar, vanilla extract, and salt. Let the mixture cool slightly, about 5 minutes.
- Whisk the egg yolks into the slightly cooled chocolate mixture one at a time until fully incorporated. Set aside.
- In a separate clean, dry bowl, beat the heavy whipping cream with an electric mixer until stiff peaks form. Set aside.
- In another clean, dry bowl, beat the egg whites until stiff, glossy peaks form.
- Gently fold one-third of the whipped cream into the chocolate mixture to lighten it. Then, gently fold in the remaining whipped cream until just combined. Do not overmix.
- Carefully fold in the beaten egg whites in two additions, working gently to keep the mixture airy.
- Spoon or pipe the mousse into individual serving dishes or small glasses.
- Chill in the refrigerator for at least 4 hours, or until firm and set.
Notes
- For a deeper flavor, add 1 teaspoon of instant espresso powder to the melted chocolate mixture.
- If you prefer a lighter texture, you can substitute the egg whites with 1 cup of whipped cream, folding it in gently at the end.
- Use high-quality chocolate; the flavor of the mousse depends entirely on it.
Nutrition
- Serving Size: 1 serving
- Calories: 450
- Sugar: 25
- Sodium: 120
- Fat: 35
- Saturated Fat: 20
- Unsaturated Fat: 15
- Trans Fat: 0
- Carbohydrates: 30
- Fiber: 3
- Protein: 8
- Cholesterol: 250