

Hello, friends! I’m Amaya, and welcome to Whisk Daily.
Kenji and I adore sharing our kitchen stories.
We bring decades of cooking experience here.
Today, we share something truly special.
It is the ultimate elegant dessert.
We focus on that perfect, silky texture.
Making a creamy dessert can sometimes feel tricky.
But fear not, my dear bakers!
I have refined this recipe over many years.
It yields a beautiful, delicate custard.
This recipe guarantees success for you.
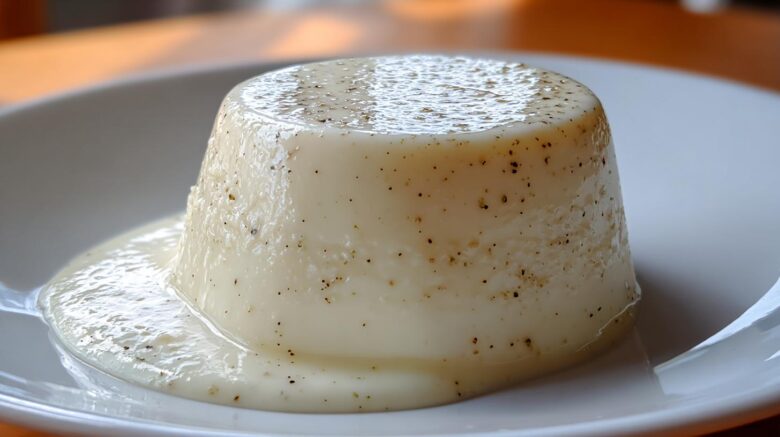
Let’s make the best Vanilla Bean Panna Cotta.
Our Quest for the Perfect Vanilla Bean Panna Cotta
This Italian inspired dessert looks simple.
Its elegance lies in its texture.
It should tremble just so.
It must melt smoothly on your tongue.
Too firm, and it tastes rubbery.
Too soft, and it collapses sadly.
That perfect wobble is our goal.
My family’s reputation rested on this.
We worked hard for the ideal Vanilla Bean Panna Cotta.
Follow my steps closely for that dream result.
You deserve a flawless finish.
Why You’ll Love This Vanilla Bean Panna Cotta Recipe
I know you want that show-stopping dessert.
This recipe delivers elegance easily.
It requires very little hands-on time.
You get maximum impact for minimum fuss.
Here is why this recipe is a winner.
- Achieves that sought-after, silky texture every time.
- Uses simple ingredients you likely have on hand.
- Perfect for making ahead of any gathering.
Key Attributes of This Italian Inspired Dessert
This creamy dessert is wonderfully straightforward.
The prep time is only about fifteen minutes.
Cooking takes just ten minutes on the stove.
It fits easily into a busy schedule.
Plus, it’s a lovely vegetarian option.
It’s a classic Italian inspired treat.
Equipment Needed for Silky Texture
Gathering your tools first is smart.
It keeps the process flowing smoothly.
Good equipment helps achieve that perfect Vanilla Bean Panna Cotta.
We want zero lumps or bumps, right?
Having everything ready means no scrambling later.
This prevents overheating the delicate cream.
Essential Tools for Success
You do not need fancy gadgets here.
Just standard kitchen items work great.
I suggest having these things ready to go.
- A small bowl for blooming gelatin.
- A medium saucepan for heating the cream.
- A whisk for gentle mixing.
- A fine-mesh sieve is absolutely crucial.
- Four individual ramekins or small glasses.
- Plastic wrap for covering the tops.
That fine-mesh sieve is your best friend.
It catches tiny bits of vanilla or gelatin.
It is the secret to a truly smooth finish.
Using ramekins lets you serve elegant portions.
Remember to have those ready before starting.
Ingredients for Your Vanilla Bean Panna Cotta
The quality of your ingredients matters greatly.
They form the backbone of this dessert.
For a rich, creamy flavor, use good heavy cream.
These few items create magic together.
They lead us to the best Vanilla Bean Panna Cotta.
Here is exactly what you need for four servings.
- 2 cups Heavy Cream (full fat works best).
- 1/2 cup Granulated Sugar (standard white sugar).
- 1 Vanilla Bean (the star of the show!).
- 1 packet Unflavored Gelatin (about 2 1/4 teaspoons).
- 1/4 cup Cold Water (for blooming the gelatin).
Notes for Ingredient Clarity
Let’s talk specifics for texture success.
The vanilla bean needs special attention.
You must split it lengthwise carefully.
Then, scrape out all those tiny black seeds.
Those seeds give the best flavor and look.
Do not throw away the empty pod yet!
Gelatin blooming is also important.
Sprinkle the gelatin over the cold water.
Do this evenly, like a light snow falling.
Let it sit undisturbed for five full minutes.
This lets the powder fully absorb the water.
It prevents grainy bits in your final cream dessert.
How to Prepare Vanilla Bean Panna Cotta Step-by-Step
Now for the fun part, friends!
We bring everything together here.
Follow these actions carefully for success.
This process makes the best Vanilla Bean Panna Cotta.
It moves quickly once you start mixing.
Be ready to move from step to step.
Step 1: Blooming the Gelatin
First, address your gelatin immediately.
Pour the cold water into a small bowl.
Gently sprinkle the gelatin over the water.
Do not stir it at all right now.
Let this mixture sit quietly for five minutes.
It needs time to fully absorb that liquid.
Step 2: Infusing the Cream Base
Next, grab your medium saucepan.
Combine the heavy cream and the sugar.
Add the scraped vanilla bean seeds.
Toss the empty pod into the cream too.
Heat this mixture on medium heat.
Stir it until the sugar disappears completely.
Watch the edges for steam forming.
Stop heating right before it bubbles.
Boiling ruins the texture we want.
Take the pan off the warm burner now.
Remove and throw away the vanilla pod.
It has given all its flavor.
Step 3: Achieving the Silky Smooth Result
Time to add the bloomed gelatin mixture.
Whisk it gently into the warm cream.
Keep whisking until it dissolves fully.
No little gelatin specks should remain visible.
This step is key for our Vanilla Bean Panna Cotta.
Next, we strain the liquid mixture.
Pour the liquid through a fine-mesh sieve.
Use a clean bowl underneath the sieve.
This catches any impurities or seeds.
This straining guarantees a silky result.
It’s a step I never skip.
Step 4: Chilling and Setting
Carefully pour the smooth liquid into ramekins.
Pour evenly into your four serving dishes.
Cover each dish with plastic wrap.
Make sure the wrap touches the liquid surface.
This stops that dreaded skin from forming.
Refrigerate for at least four hours minimum.
It needs time to set completely firm.
Tips for Perfect Vanilla Bean Panna Cotta Texture
Getting that amazing wobble takes attention.
It is all about the texture here.
I have learned a few tricks over the years.
These tips help secure your success.
They ensure your Vanilla Bean Panna Cotta shines.
We want pure, creamy perfection always.
Mastering the Gelatin Dissolution and Chilling
Remember Step 3 from earlier?
Make sure that gelatin is totally gone.
Whisk until you see no granules at all.
Undissolved gelatin makes lumpy dessert.
That ruins the silky texture we seek.
Do not rush the chilling time either.
Patience is a cook’s best virtue.
Four hours is the minimum time needed.
Sometimes it needs five or six hours.
Check it gently once it feels firm.
Rushing this step leads to sad results.
Never try to speed up refrigerator time.
Technique for Elegant Unmolding
Do you want to serve it on a plate?
Unmolding takes a tiny bit of courage.
It makes for a very grand presentation.
Dip the base of the ramekin briefly.
Use hot tap water for just a quick dip.
This loosens the set cream edges.
Do not let water get inside the dessert.
Invert the ramekin onto your serving plate.
Give it a little gentle shake if needed.
It should slide right out beautifully.
This final touch elevates the whole experience.
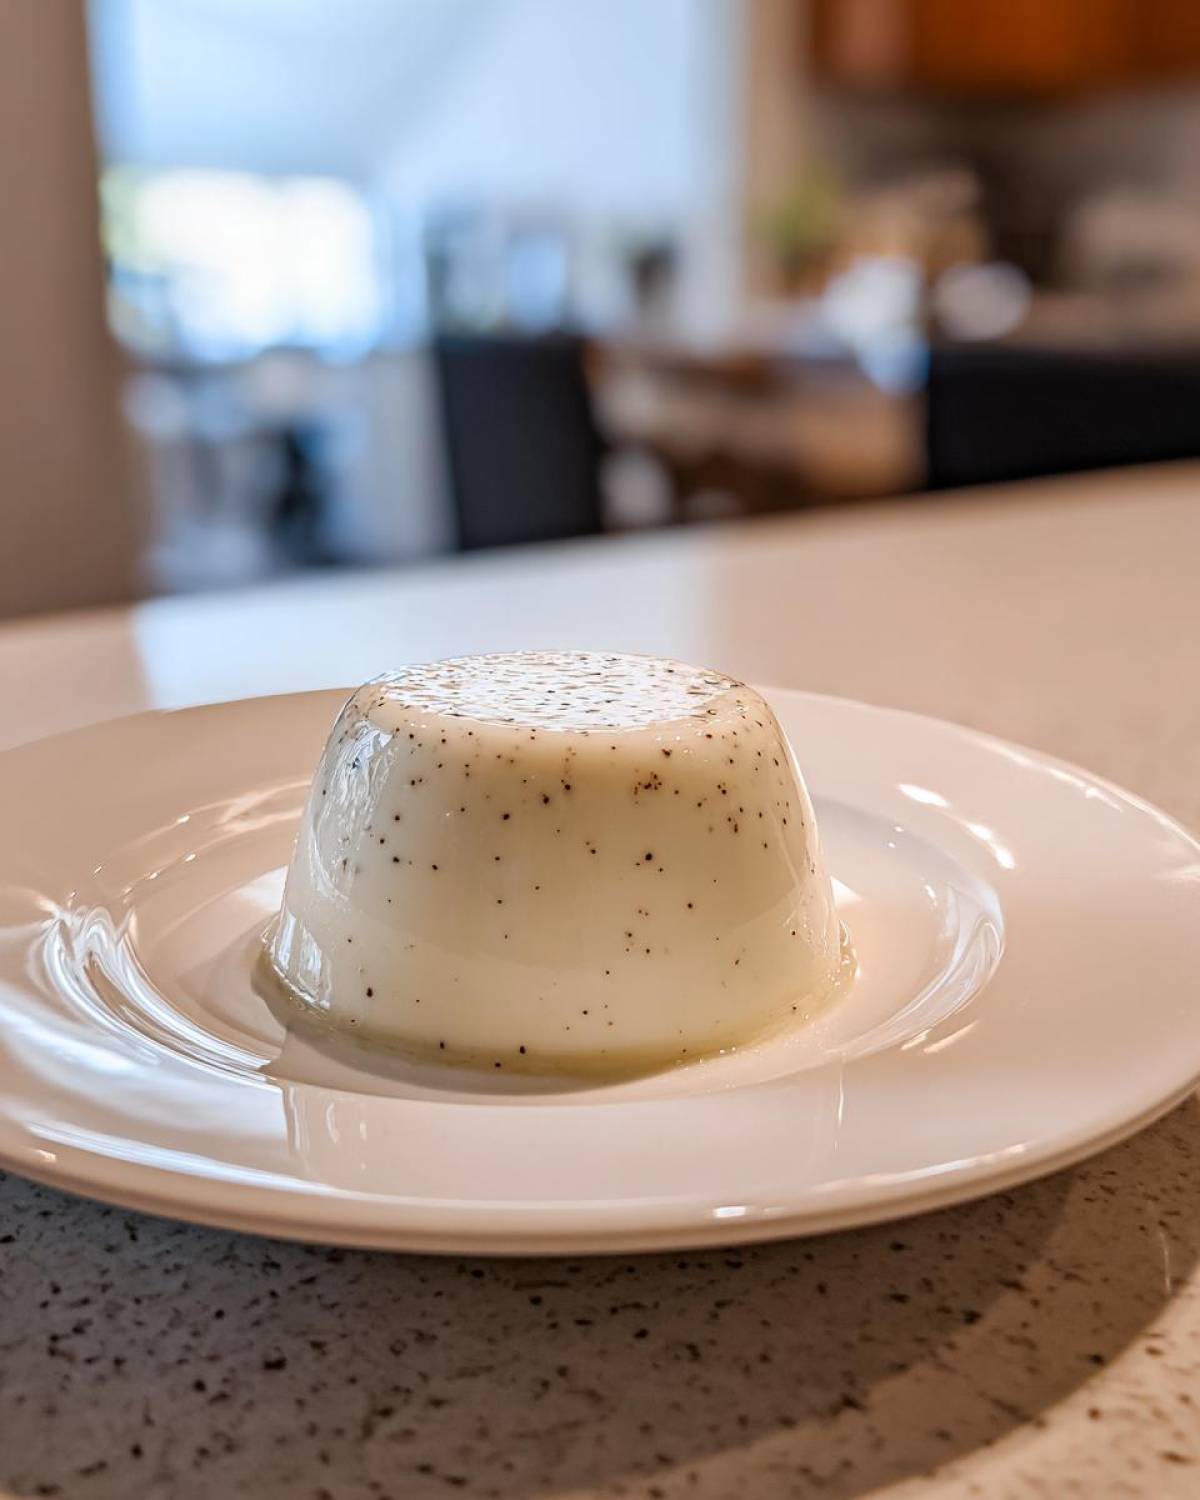
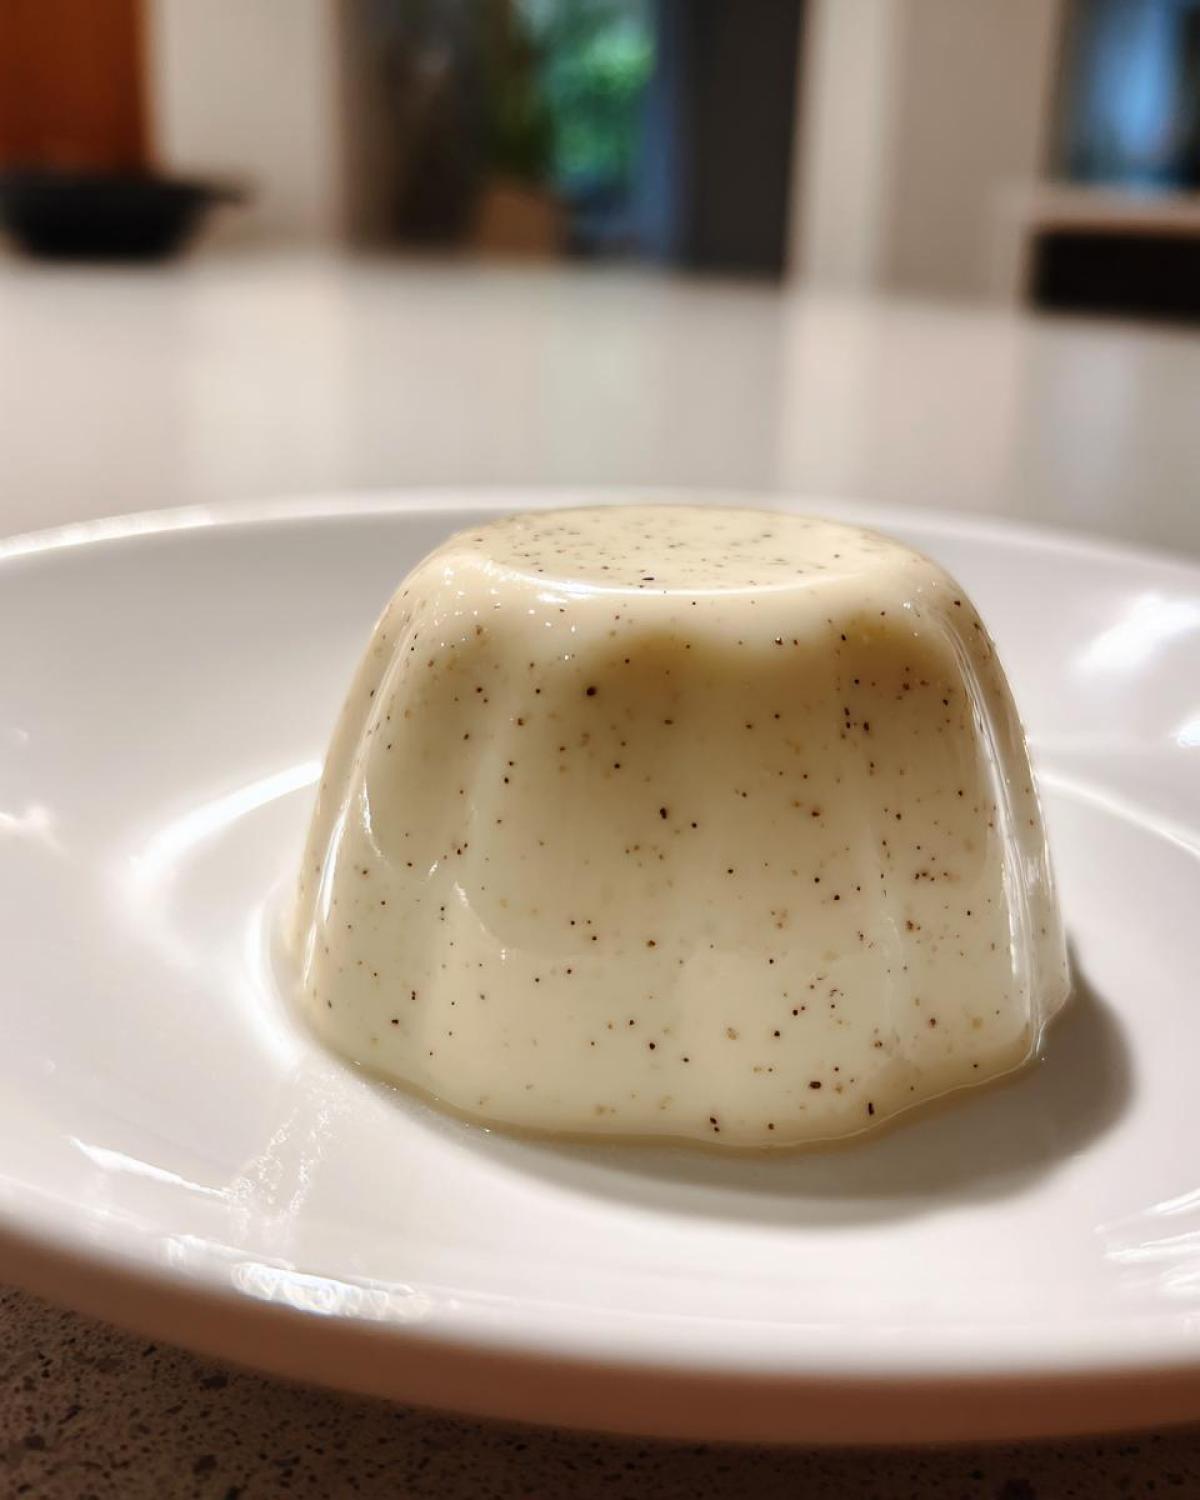
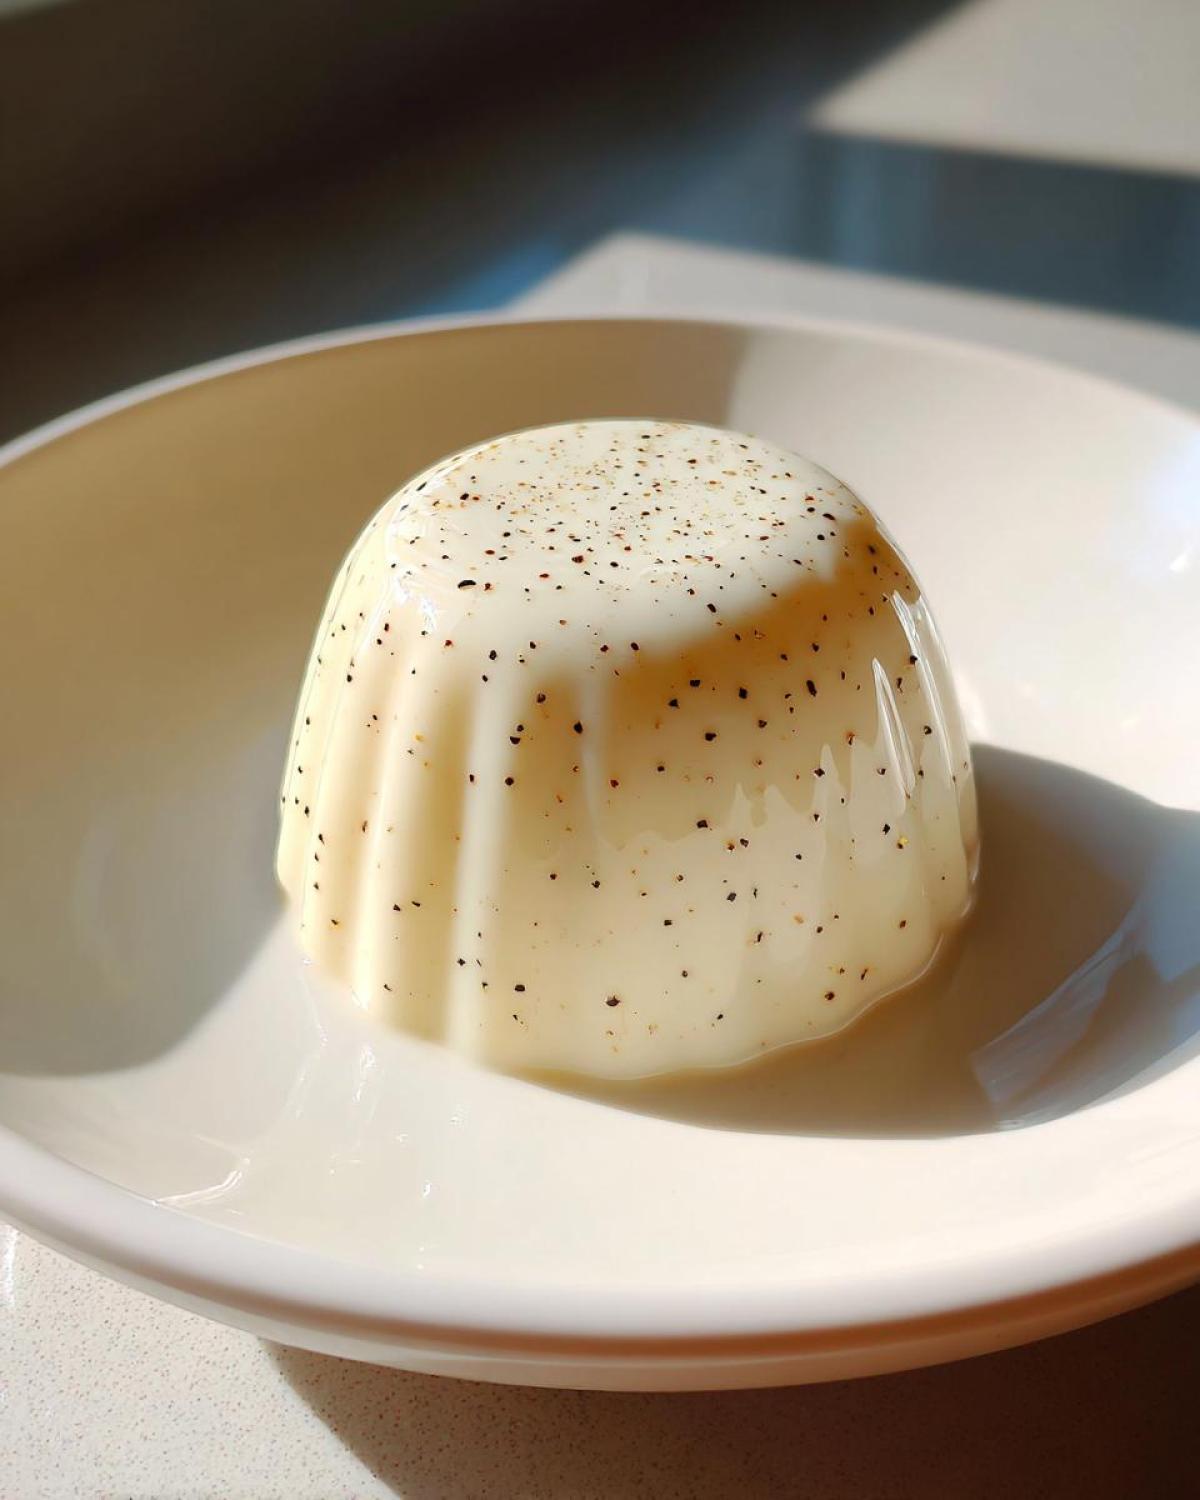
It makes serving your Vanilla Bean Panna Cotta special.
Frequently Asked Questions About This Cream Dessert
I always get so many questions from you all.
Especially about getting the texture just right.
Here are some common queries I hear.
I hope these help your baking journey.
Let’s ensure your Vanilla Bean Panna Cotta is perfect.
Cooking should be fun, not confusing.
How do I know if my Vanilla Bean Panna Cotta has set correctly?
This is the most important texture question.
You want that perfect, gentle wobble.
After chilling for at least four hours, test it.
Gently touch the surface of the dessert.
It should feel firm to the touch.
It should not leave a noticeable imprint.
If it seems too wobbly or liquidy, chill more.
It needs more time in the cold air.
A properly set cream dessert holds its shape.
It still jiggles slightly when you move the dish.
That slight movement shows a beautiful set.
It means you nailed the gelatin ratio.
Can I use vanilla extract instead of a real bean?
Yes, you absolutely can use extract.
However, the flavor changes a bit.
Real vanilla bean gives a deeper, richer taste.
You’ll miss those pretty black specks too.
If you must substitute, use one teaspoon of good extract.
Add it after removing the cream from the heat.
What happens if my cream mixture boils?
Oh, I’ve done that before, trust me!
If the cream boils, the result changes.
Boiling can sometimes weaken the gelatin’s power.
Your final dessert might not set firmly enough.
It could end up too soft or soupy.
If it boils even slightly, take it off fast.
Can I make this dessert ahead of time?
Absolutely! This is great for planning.
You can safely make this a day ahead.
It tastes even better the next day.
Just keep those ramekins well covered.
The chilling time allows flavors to marry.
Plan to serve it chilled straight from the fridge.
Storing and Reheating Your Dessert
Making this lovely Vanilla Bean Panna Cotta ahead saves stress.
It’s a wonderful makeup-ahead dessert.
You can prepare it one day before serving.
Chilling overnight actually improves the flavor.
The cream absorbs that vanilla essence fully.
This makes for a richer end product.
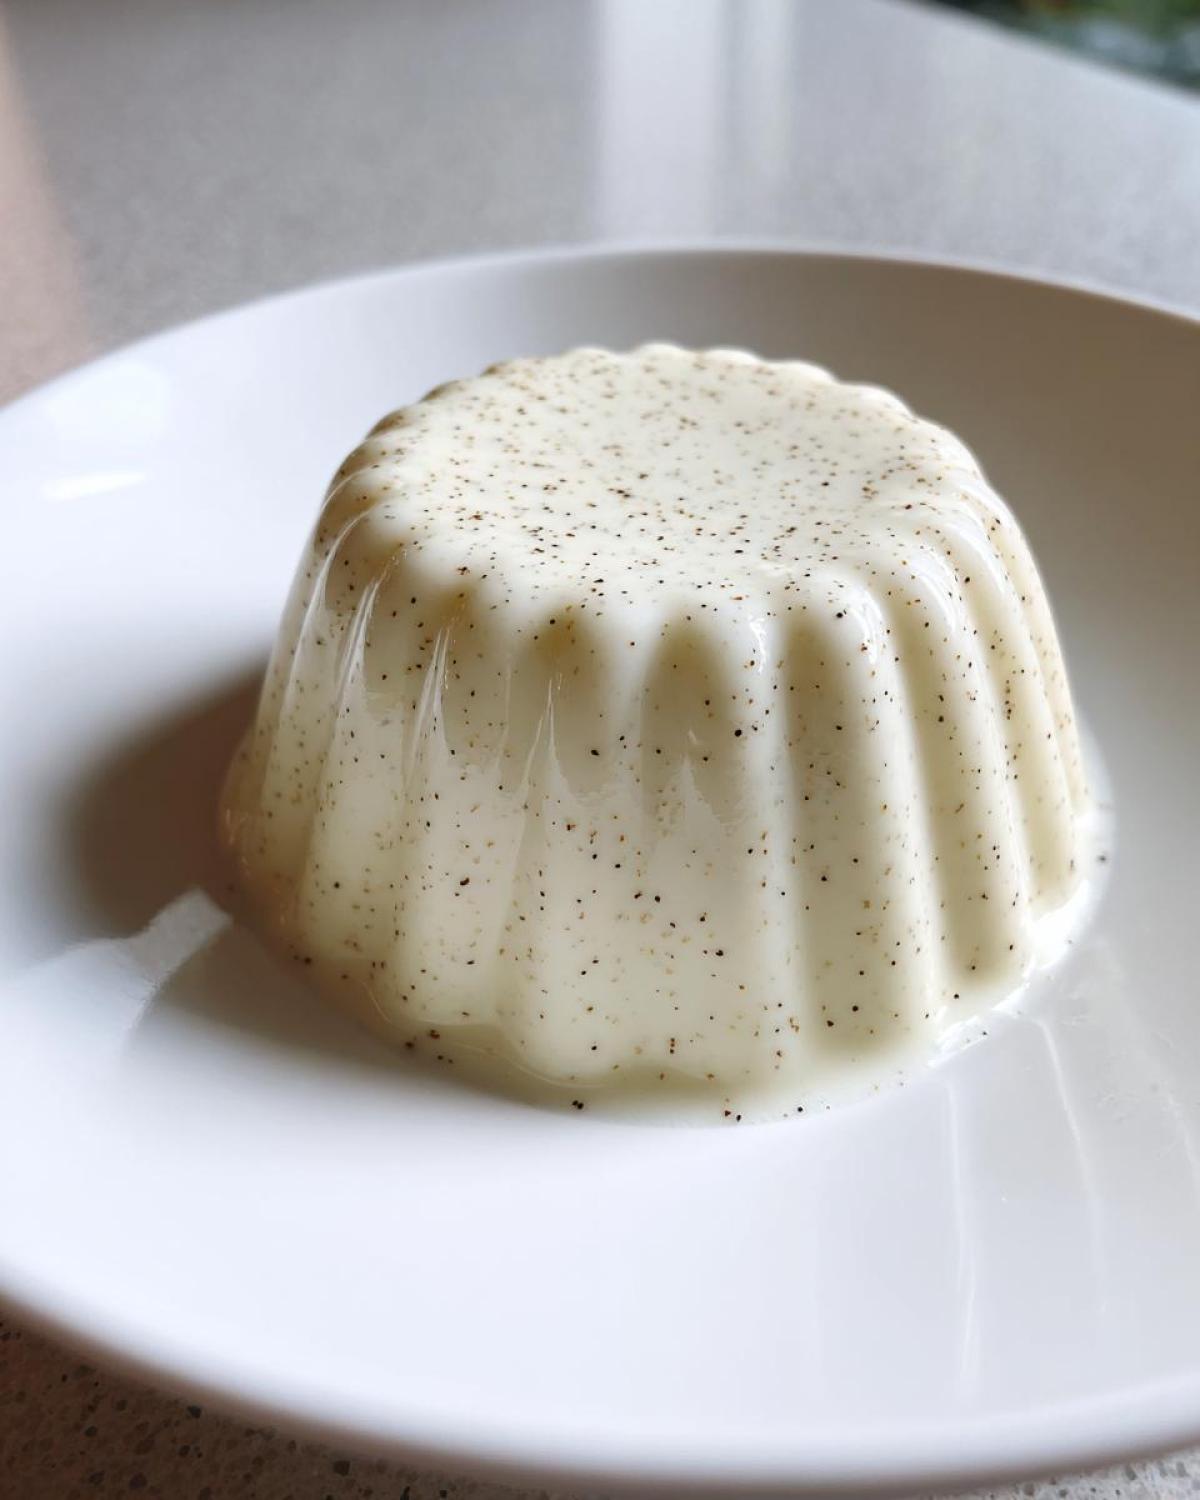
Keep your finished desserts covered tightly.
Plastic wrap touching the surface is best.
This keeps fridge odors out easily.
Refrigeration works perfectly for up to three days.
After that, the texture might start changing.
We don’t want a tough, rubbery dessert.
Serving is simple, whether unmolded or not.
If serving in the ramekin, just pull it out.
Let it sit on the counter five minutes first.
This takes the harsh chill off the cream.
It releases more flavor when slightly warmer.
If you unmold your Vanilla Bean Panna Cotta,
remember the quick hot water dip trick.
Serve it immediately after plating it.
We never reheat this creamy dessert.
Heat will melt the gelatin structure completely.
It must always be served cold.
Sharing Your Culinary Creation
Now the kitchen part is done, my friends.
The real joy is sharing your dessert.
I hope you loved making this treat.
Did you achieve that perfect wobble?
Tell Kenji and me all about it!
We live for your success stories.
Did you try the unmolding technique?
Was the presentation stunning?
Please rate this recipe below for others.
Your feedback truly helps our little blog.
Share your favorite toppings too!
A little berry sauce is nice.
We cherish every memory you make.
Cooking connects us across the miles.
Thank you for inviting us into your home.
Enjoy every spoonful of your dessert.
Happy cooking from Amaya and Kenji!
PrintPerfect Vanilla Bean Panna Cotta’s 4 Silky Secrets
Make this Vanilla Bean Panna Cotta for an elegant dessert. You are looking for that perfect, silky smooth texture. Follow these steps for success.
- Prep Time: 15 minutes
- Cook Time: 10 minutes
- Total Time: 4 hours 25 minutes
- Yield: 4 servings
- Category: Dessert
- Method: Stovetop and Chilling
- Cuisine: Italian Inspired
- Diet: Vegetarian
Ingredients
- 2 cups Heavy Cream
- 1/2 cup Granulated Sugar
- 1 Vanilla Bean, split and scraped
- 1 packet Unflavored Gelatin (about 2 1/4 teaspoons)
- 1/4 cup Cold Water
Instructions
- Pour the cold water into a small bowl. Sprinkle the gelatin evenly over the water and let it bloom for 5 minutes.
- In a medium saucepan, combine the heavy cream and sugar. Scrape the seeds from the vanilla bean pod into the cream mixture. Add the scraped pod to the pan as well.
- Heat the cream mixture over medium heat, stirring occasionally, until the sugar dissolves and the mixture just begins to steam around the edges. Do not let it boil.
- Remove the saucepan from the heat. Remove and discard the vanilla bean pod.
- Add the bloomed gelatin mixture to the warm cream. Whisk gently until the gelatin is completely dissolved and no granules remain.
- Pour the mixture through a fine-mesh sieve into a clean bowl to catch any undissolved bits or impurities, ensuring a smooth result.
- Carefully pour the liquid into individual ramekins or serving glasses.
- Cover each serving dish with plastic wrap, touching the surface of the liquid to prevent a skin from forming.
- Refrigerate for at least 4 hours, or until completely set and firm to the touch.
Notes
- For the smoothest texture, make sure the gelatin is fully dissolved before chilling.
- Chilling time is crucial; do not rush this step if you want a perfect wobble.
- To unmold the panna cotta, briefly dip the bottom of the ramekin in hot water before inverting onto a plate.
Nutrition
- Serving Size: 1 serving
- Calories: 350
- Sugar: 20g
- Sodium: 50mg
- Fat: 30g
- Saturated Fat: 18g
- Unsaturated Fat: 12g
- Trans Fat: 1g
- Carbohydrates: 22g
- Fiber: 0g
- Protein: 5g
- Cholesterol: 100mg