

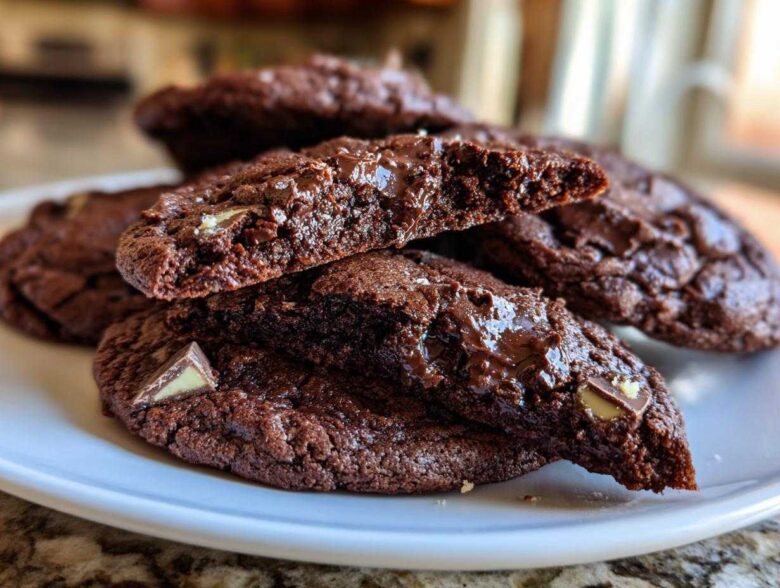
Oh my gosh, friend, if you are looking for that perfect, rich, chocolate craving fix that just screams holiday cheer, you’ve come to the absolute right place! Forget those dry, crumbly cookies you sometimes get stuck with. I’m here to share my recipe for the ultimate soft and chewy double chocolate andes mint cookies. Seriously, these are my absolute MVP for any cookie exchange, and they disappear faster than I can bake them.
The secret here isn’t just throwing some mint candies in; it’s about building the world’s best dark chocolate cookie base first. Every bite of this dough is pure, fudgy happiness before you even get to that cool, refreshing snap of mint. I still remember the first time I brought these to my office party—people were practically lining up for the recipe card! Trust me, once you nail this technique for your christmas cookie recipes, you won’t look back.
Why You Will Love These Andes Mint Cookies (Chewy Chocolate Mint Cookies)
Why mess around with subpar recipes when you can just go straight for the best? These chocolate mint cookies are everything you want when that intense chocolate craving hits, especially during the holidays. I tested so many batters to get this right, and I promise you won’t be disappointed!
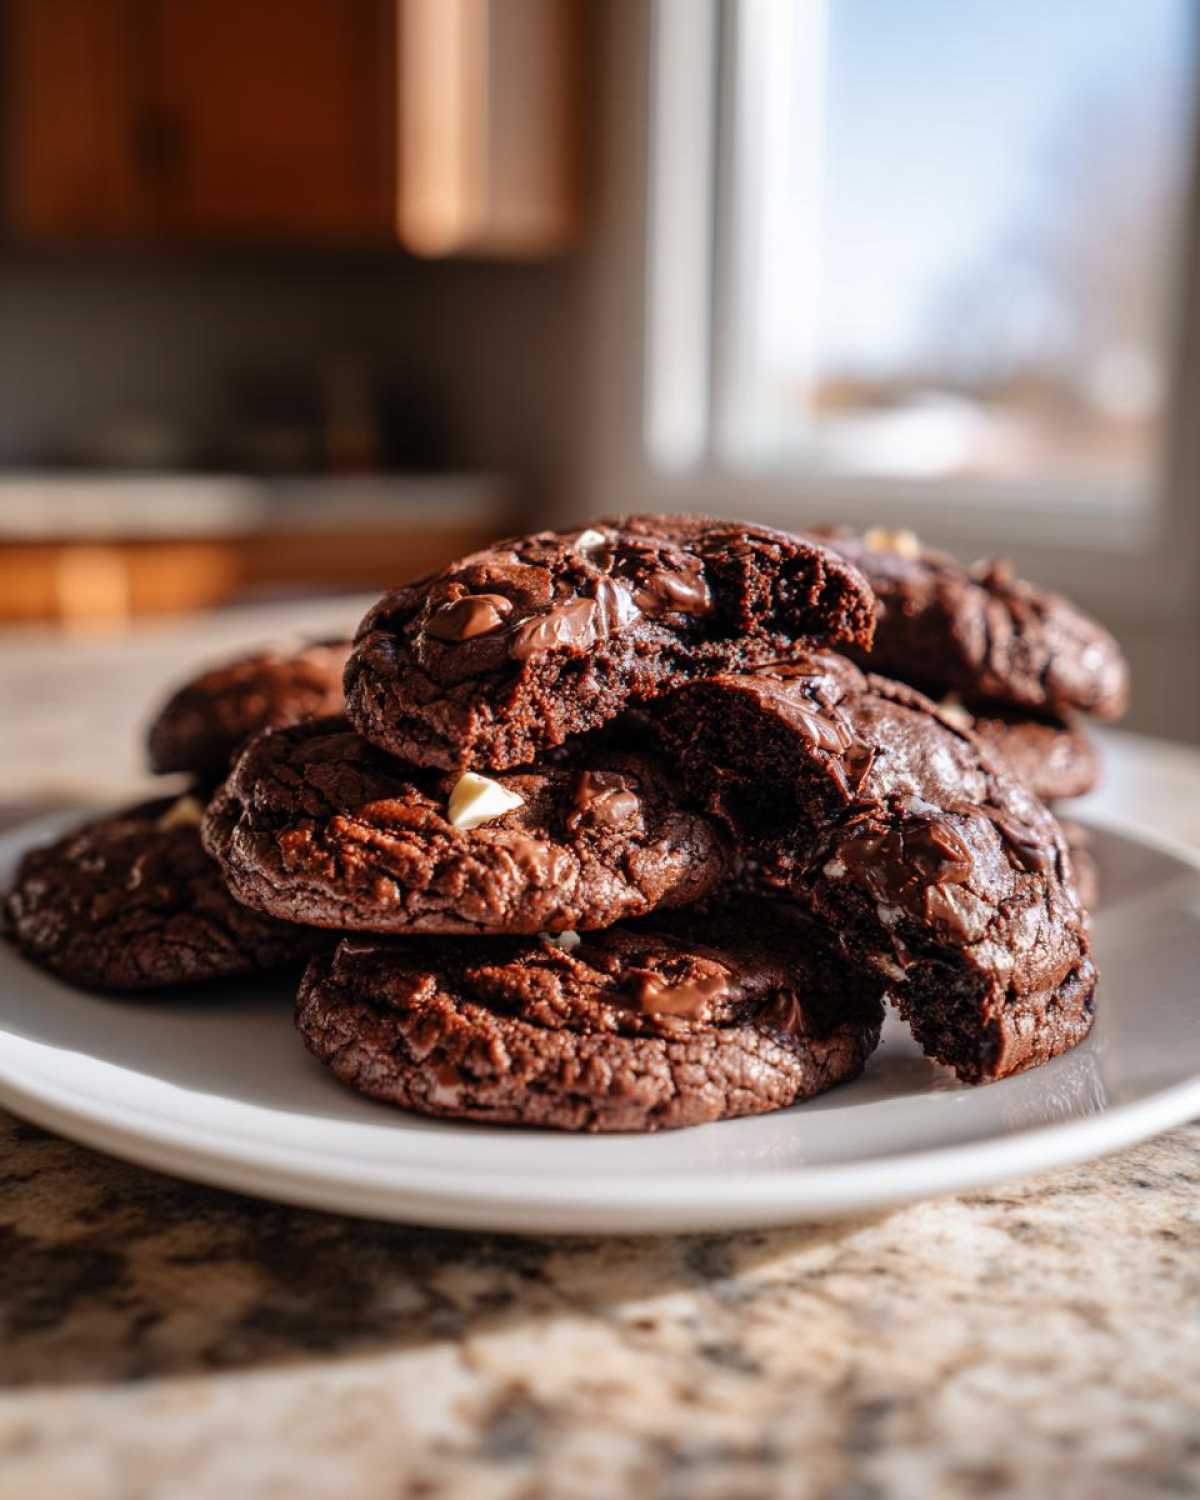
- They are seriously double chocolate! We use rich cocoa powder in the batter so you get that deep, rich chocolate flavor desserts base supporting the mint.
- Texture perfection! These are not supposed to spread out thin; they stay thick and pack that phenomenal chewy chocolate cookies texture we all hunt for.
- The mint punch is spot on. Chopping the Andes Mints means you get refreshing, cool pops of flavor in every single bite. They make the ultimate festive mint treats.
- They hold up amazing for cookie exchange recipes! They look beautifully dark and indulgent on any platter.
If you’re looking for my tried-and-true secrets for achieving that perfect chewiness every single time, I wrote a whole post about it over here: my main post on chewy cookies.
Essential Ingredients for Soft and Chewy Andes Mint Cookies
Okay, let’s talk about what goes into these magical little bites of heaven. When you’re aiming for that perfect soft and chewy texture, every ingredient matters, especially when you’re dealing with rich flavor profiles like this one. You’ll see we’re using both white and brown sugar—that’s non-negotiable for the right moisture balance!
Make sure your butter is nice and softened, but not melted; we need it to cream properly. We are going heavy on the cocoa powder here to make sure these are deep and dark, not just pale brown cookies dipped in mint. Don’t skimp on the mixing prep for the butter and sugar, seriously!
Now for the main attraction: the mints! You’ll need a full cup of Andes Mints, roughly chopped, stirred right into the dough. I like to use my largest knife and just chop them myself until they’re chunky—I don’t want them pulverized. If you want that extra festive look, grab an extra half-cup to press onto the tops before they bake. That little mint piece melts just a bit and makes them look incredible on a platter.
Ingredient Notes and Substitutions for Your Andes Mint Cookies
See how we use both sugars? The granulated sugar helps with spread and crisp edges, but the light brown sugar—make sure it’s packed in there!—brings the moisture and that hint of molasses that deepens the rich chocolate flavor desserts profile. You want a good, dark cocoa powder here, too; the cheap stuff just won’t give you that deep, satisfying color or flavor.
If you really want those thick, almost brownie-like cookies, go ahead and chill the dough for about 30 minutes before scooping. That just helps everything firm up a bit so they bake thicker rather than flatter. If you skip the chilling, you’ll get a slightly thinner, but still wonderfully fudgy mint cookies style result. It’s just a preference thing, but either way, they are dynamite!
Step-by-Step Instructions for Perfect Andes Mint Cookies
Alright, this is where the fun really starts! Don’t worry, even though these are packed with flavor, the actual process for these andes mint cookies is super straightforward. Just follow my steps—especially the timing—and you’ll have the most beautiful batch of easy holiday baking treasures in less than an hour!
First things first: get that oven hot! Preheat everything to 350 degrees Fahrenheit. I always line my baking sheets with parchment paper. It’s just easier cleanup, and honestly, sometimes those fudgy cookies try to stick, so this is my insurance policy.

- You need to start by creaming the butter, granulated sugar, and that packed brown sugar together. I mean really cream them! You want that mixture to look light in color and fluffy, like soft whipped cream. That takes a good few minutes with an electric mixer, but it’s vital for texture!
- Next up, drop in those eggs one at a time, making sure each one is fully incorporated before you add the next. Finish this wet stage by mixing in the vanilla extract.
- In a separate bowl—I always use a medium one—whisk your dry stuff together: flour, that beautiful cocoa powder, baking soda, and salt. Whisk them well so the leavening agents are evenly distributed.
- This is the moment where you have to be gentle! Add the dry mixture to the wet ingredients slowly. Only mix on low speed until you just see the last streaks of flour disappear. Seriously, stop mixing! If you go too long here, you’ll activate too much gluten, and instead of getting chewy chocolate cookies, you’ll end up with hockey pucks. No one wants that!
- Once it’s *just* combined, fold in that cup of roughly chopped Andes Mints. Use a spatula for this folding part, not the mixer.
- Scoop your dough onto those parchment-lined sheets. I use a regular tablespoon for scooping, aiming for nice, hefty balls. If you saved those extra mint pieces, gently press a few right onto the very top of each mound.
- Bake them for 10 to 12 short minutes. Don’t overbake them!
- Let them hang out on the hot baking sheet for about 5 minutes after they come out of the oven. This helps them set up before you try to move them. Then, carefully move them over to a wire rack to finish cooling completely.
Baking Tips for Achieving Gooey Andes Mint Cookies
The biggest giveaway that your gooey chocolate cookies are ready is what’s happening in the center versus the edge. You should look for visual cues: the edges of the cookie will look completely set, maybe a bit dull, but the very center—right where those mint chunks are—should still look slightly soft, maybe even a touch underdone. That’s the perfection point!
If you’re using a darker metal pan, they often bake faster, so check early! When they come out, if you try to pick one up right away, it’s going to break, no matter how perfectly you baked it. That 5-minute rest on the hot pan is crucial because it allows the melted chocolate and butter to firm up just enough so they don’t fall apart when you transfer them to the cooling rack. It’s the secret to keeping that soft center intact while ensuring the cookie is stable enough to handle!
And don’t forget, if you baked them slightly underdone (which is my favorite way!), they will continue to cook a tiny bit on the sheet during that cooling time. We are aiming for that divine moment where the melted mint inside is still soft and gooey later on!
If you’re looking for other simple baking projects to get you through the season, check out my guide on quick holiday baking inspiration!
Making Your Andes Mint Cookies Festive: Variations and Glazes
Once you have that perfect, soft-baked base, you can definitely dress these andes mint cookies up a bit! They are already amazing for any platter of holiday mint desserts, but if you want to take them over the top, let’s talk toppings. My favorite way to make them extra special for parties is with a little drizzle, which really pulls in that mint flavor and makes them look so professional.
To make that drizzle, just melt about a quarter cup of white chocolate chips—make sure they are good quality!—and stir in just a tiny drop, maybe a quarter teaspoon, of peppermint extract. Be careful with the extract; it’s strong! Then you just zigzag it across the cooled cookies. Wow, they turn into genuine festive mint treats when you do that!
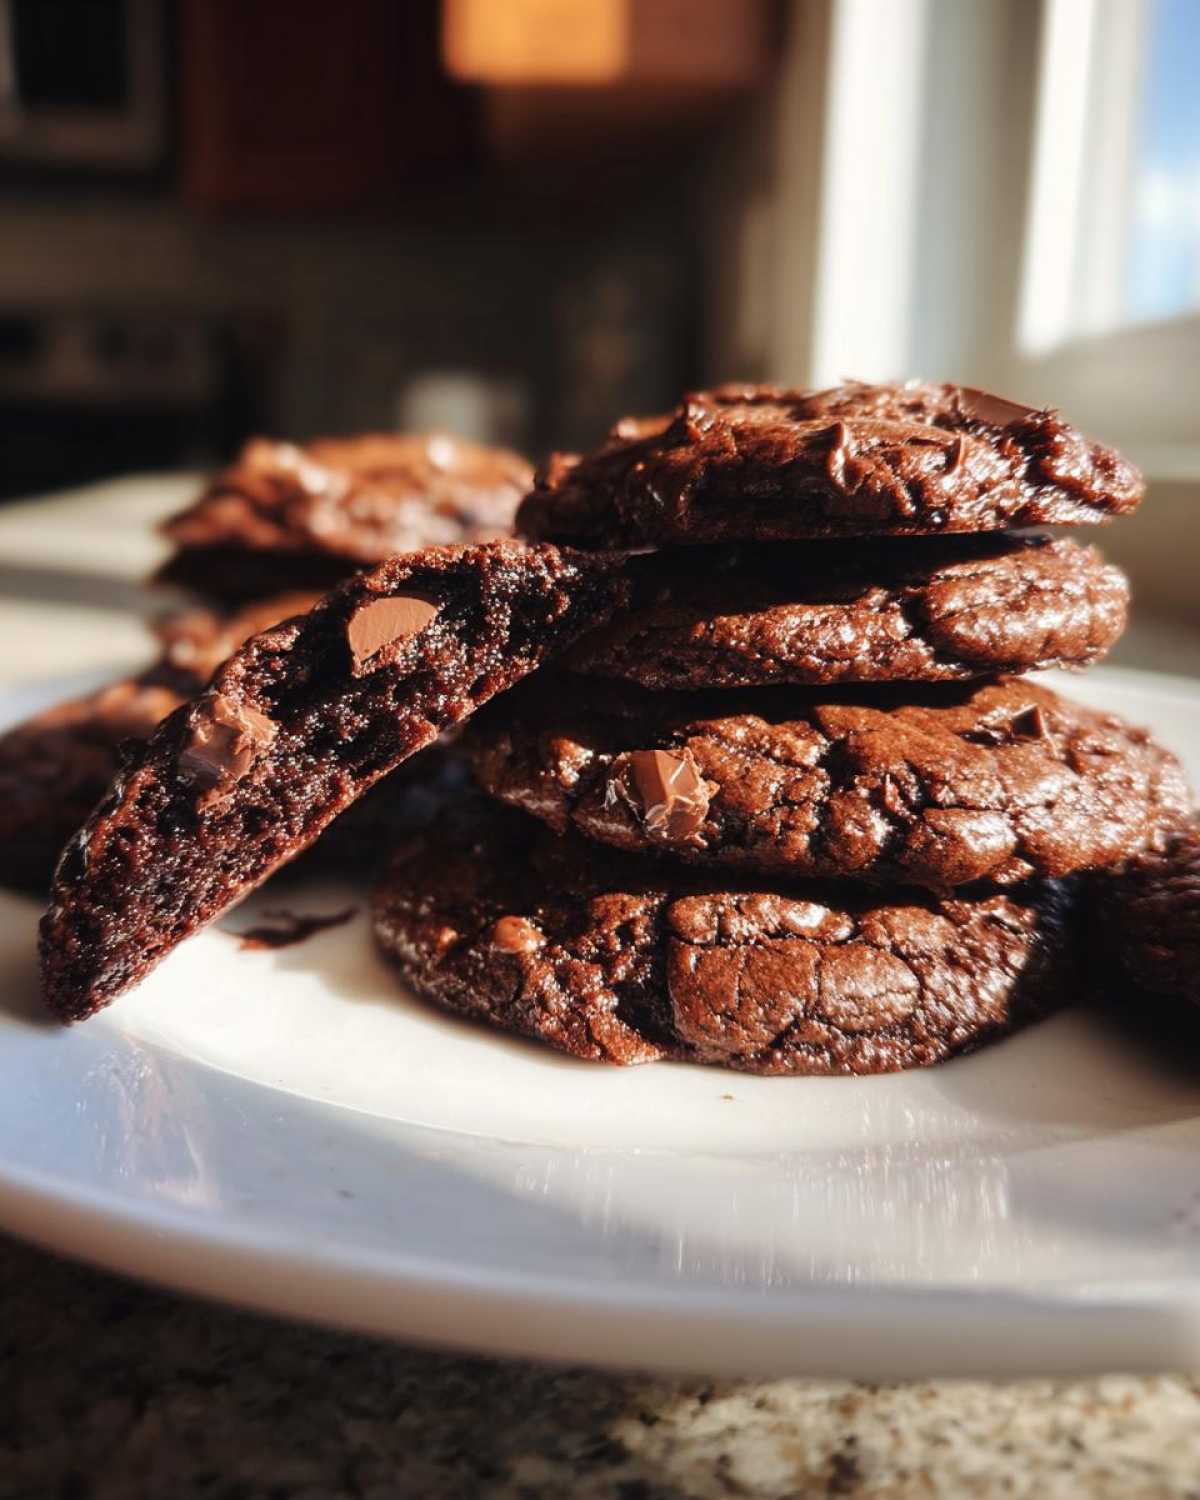
If you want to play around with the texture, you can try turning them into something closer to copycat andes mint brownie cookies. Honestly, the best cheat I found for that fudgier texture is to pull back the flour by about two tablespoons and swap it for an extra egg yolk. That extra richness really amps up the gooey factor while keeping the chocolate flavor front and center. It’s a small change, but it makes a huge flavorful difference!
Tips for Success When Making Double Chocolate Mint Cookies
Even though this recipe is simple, a few little things can make the difference between great cookies and absolutely legendary double chocolate mint cookies. You have to respect your ingredients, you know? The biggest tip I can give you involves temperature control, especially with the butter and eggs.
You absolutely must use room temperature eggs. Cold eggs hit that creamed butter and sugar mixture and shock it right away, which deflates all those beautiful air bubbles we worked so hard to create! If your eggs are cold, just put them in a bowl of warm (not hot!) water for about five minutes before you start creaming the butter. It really helps them incorporate smoothly.
And remember what I said about chilling the dough? If your kitchen is warm, or if you ended up mixing longer than you meant to, go ahead and pop that dough into the fridge for at least 30 minutes before scooping. Chilling solidifies the fats, which means the cookies spread less while baking, giving you that thick, amazing texture. It’s a fantastic trick if you want those seriously tall, hefty cookies. If you want to read more about general tips to get your baking just right, I dropped a quick guide over here:
My favorite baking inspiration tips always include checking your oven temperature!
Storage and Make-Ahead Options for Your Andes Mint Cookies
One of the best things about these andes mint cookies is how fantastic they are for making ahead! Since they are so rich and fudgy, they hold up incredibly well, which is just perfect for when you’re trying to get ahead of the rush during the holidays. Planning ahead is the key to surviving the busy season, right?
If you’ve baked them already, just let them cool completely—and I mean completely! Warm cookies will steam themselves silly in a container. Once cool, stack them between layers of wax paper inside a really good, airtight container. Keep them stored at room temperature. They should stay perfectly soft and chewy for about four days. Honestly, if you manage to keep them that long without snacking, you are a stronger person than I am!
Now, if you’re planning for big batches of easy holiday baking, freezing is your best friend. You have two options here, and both work great.
Freezing Cookie Dough Balls
This is my preferred method for quick holiday cookies. Scoop the dough balls just as you normally would, place them on a baking sheet lined with parchment paper, and freeze them until they are rock solid—usually about an hour or two. Once they are frozen solid, transfer those hard little dough orbs into a heavy-duty freezer bag. You can write the date and baking instructions on the bag, and they will keep perfectly for up to three months!
When you want a fresh batch, just pull what you need right from the freezer, preheat your oven, and add about 2 to 3 extra minutes to the baking time. You don’t even need to thaw them first! They bake up just as thick and glorious.
Freezing Baked Andes Mint Cookies
If you prefer to bake them all at once, you can freeze the cooled cookies too! Make sure they are completely cooled, and again, stack them with wax paper between layers in a freezer-safe container or bag. They are good for about two months frozen this way.
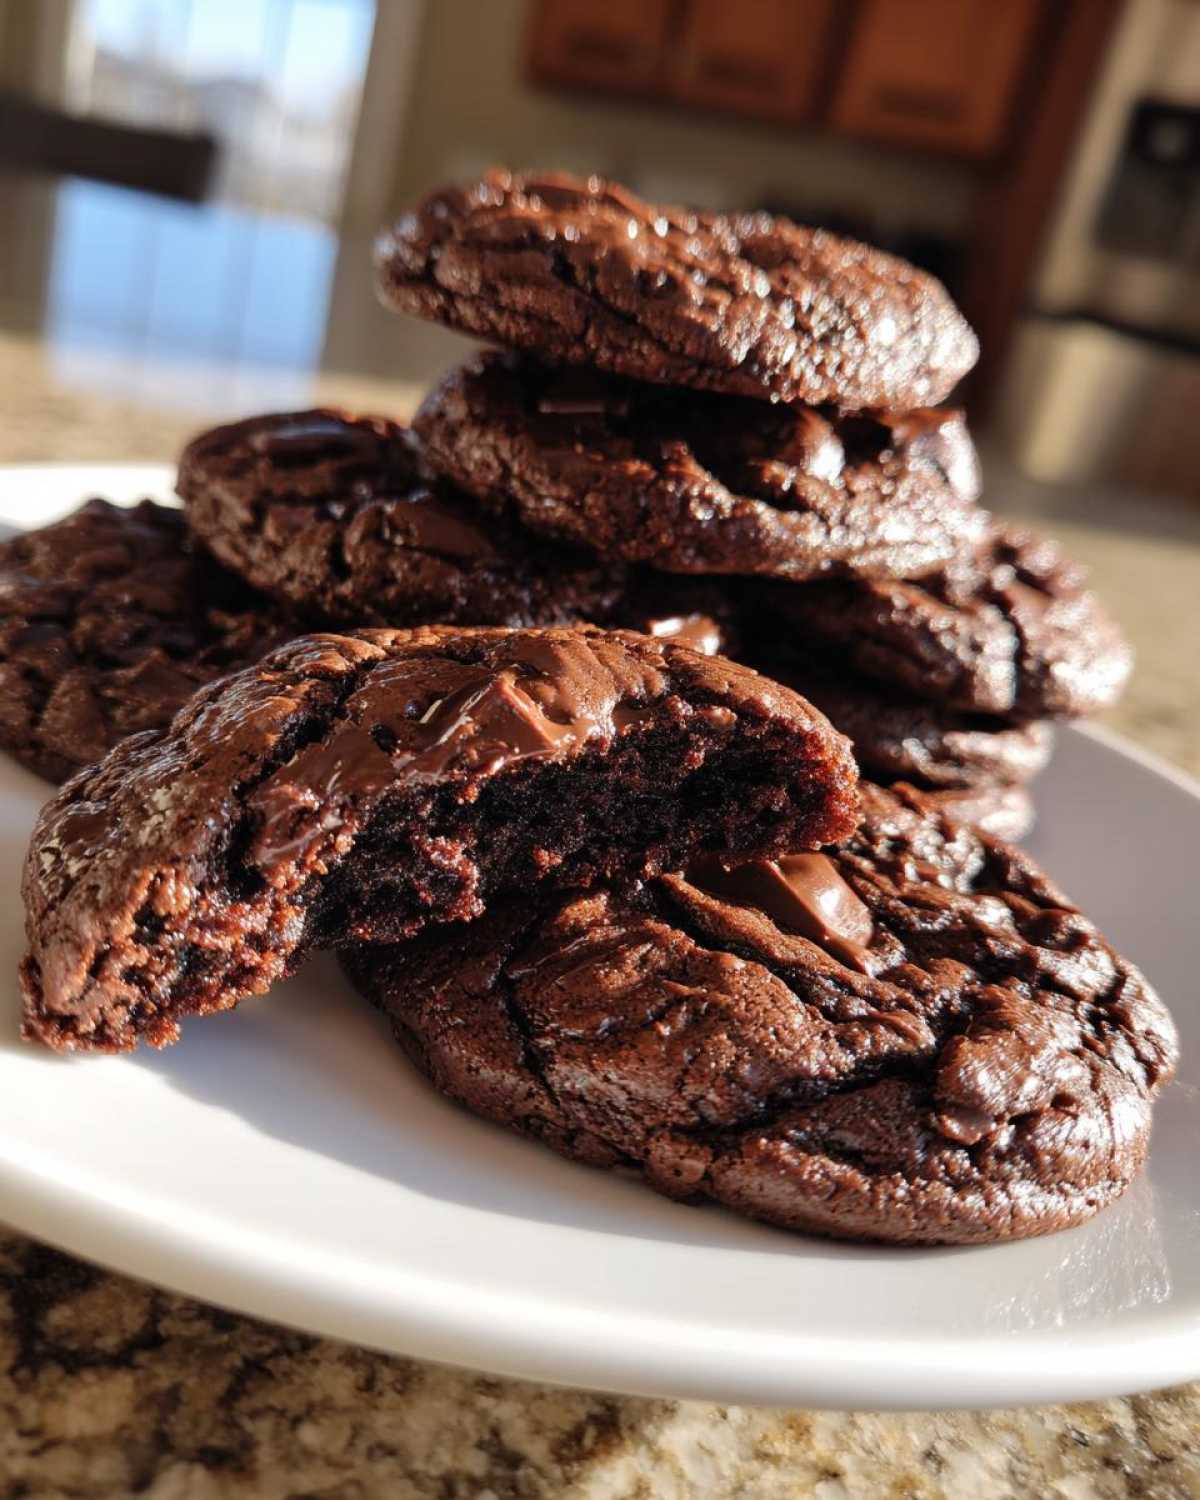
When you want to eat one, the thawing process is super quick. Just pull out what you need and let them sit on the counter for about 30 minutes, or pop them in the microwave for 10 seconds if you need that gooey center right now. They taste just as amazing as when they first came out of the oven!
Frequently Asked Questions About Andes Mint Cookies
I know you might have a few last-minute thoughts once you start getting ready to bake, so I wanted to answer a few of the questions I always get about these popular cookies! Don’t hesitate to try them out, even if you’re new to baking; these are very forgiving!
Can I use mint extract instead of chopped Andes Mints in these andes mint cookies?
Oh, you certainly *can* substitute mint extract for the actual candies, but you’re going to get a totally different experience, sweetie. If you use extract, you’ll get a strong, pure mint flavor throughout the entire cookie. But, you will lose that crucial texture component—that little bit of snap and burst of chocolate that happens when you bite into a real, chopped Andes Mint. I highly recommend using the actual candies for the best chocolate mint cookies.
What makes these the best homemade cookies for a cookie exchange recipe?
These are a massive hit at any gathering because they look so luxurious while being surprisingly easy to make! The intense, dark color from the cocoa powder makes them really stand out compared to pale sugar cookies. Plus, everyone loves getting a chewy chocolate cookies base with a mint surprise inside. They package beautifully, they transport well, and they are always a crowd-pleaser, making them perfect for any cookie exchange recipes box!
How do I make these into fudgy mint cookies?
If you are chasing that extra-fudgy mint cookies vibe, I have two quick secrets that work perfectly with this dough. The easiest way is definitely chilling the dough before you scoop and bake! As I talked about earlier, chilling keeps the butter firm, which results in a thicker cookie that bakes up denser and chewier—more fudgy than cakey. If you’re in a real rush, slightly increasing the fat content by maybe just a tablespoon of extra butter works wonders for fudginess, too, but chilling is usually enough to get you there!
Estimated Nutritional Data for Andes Mint Cookies
Look, I’m not a nutritionist by any stretch of the imagination, but I know when I’m bringing a batch of these andes mint cookies to a party, people are going to ask what’s inside! Because this recipe is so decadent—it’s double chocolate, after all—it clocks in with a good amount of richness. These are definitely a treat, not an everyday snack, but oh boy, are they worth every single glorious bite!
I ran this recipe through my go-to calculation program just so you have a rough idea of what you are looking at per cookie. Remember that this is based on dividing the whole batch (24 cookies) by the total ingredients, so your actual results might vary slightly depending on how generous your scoops are, but this gives you a solid ballpark figure.
- Serving Size: 1 cookie
- Calories: About 210 calories
- Sugar: Around 22g (That’s that good brown sugar and the mints talking!)
- Fat: Approximately 11g total, with about 7g coming from saturated fat (hello, butter and chocolate!).
- Carbohydrates: Roughly 28g
- Protein: About 2g
- Sodium: Around 110mg
So, there you have it! A wonderfully rich, fudgy cookie coming in at just over 200 calories. That feels pretty reasonable for a deeply satisfying, homemade mint chocolate dessert idea, especially when you consider the quality of the cocoa and the real butter we put in there.
Just a little note, though: these figures are estimates based on standard ingredient calculations. If you decide to add extra drizzle or use really dark chocolate chips instead of Andes Mints, those numbers might shift a hair! Just enjoy the fact that you made these amazing homemade christmas goodies yourself!
Share Your Favorite Holiday Mint Treats
Whew! We did it! Now you have the blueprint for what I truly believe are the absolute best andes mint cookies out there—soft, chewy, and exploding with that cool mint flavor paired with deep chocolate. I am so excited for you to try these, whether they’re headed to a huge party or just waiting on your counter for a mid-afternoon hug!
I always want to hear how things turn out in your kitchen, so please, once you bake them, come back and leave a rating! Let me know in the comments if you pressed extra mints on top or if you tried that fun white chocolate drizzle I mentioned.
And hey, if you haven’t finished your holiday baking list yet, I have tons more fun things coming up on the blog that you’ll adore. If you loved the intense chocolate flavor here, check out my main baking archive page for some other incredible christmas cookie recipes that will keep your ovens warm all season long. Happy baking, friend, and enjoy every single chewy, minty bite!
PrintSoft and Chewy Double Chocolate Andes Mint Cookies

Make rich, fudgy chocolate cookies packed with chopped Andes Mints for a perfect holiday treat.
- Prep Time: 15 min
- Cook Time: 12 min
- Total Time: 27 min
- Yield: 24 cookies
- Category: Dessert
- Method: Baking
- Cuisine: American
- Diet: Vegetarian
Ingredients
- 1 cup (2 sticks) unsalted butter, softened
- 1 1/2 cups granulated sugar
- 3/4 cup packed light brown sugar
- 2 large eggs
- 1 teaspoon vanilla extract
- 1 3/4 cups all-purpose flour
- 3/4 cup unsweetened cocoa powder
- 1 teaspoon baking soda
- 1/2 teaspoon salt
- 1 cup Andes Mints, roughly chopped
- 1/2 cup Andes Mints, reserved for topping (optional)
Instructions
- Preheat your oven to 350 degrees Fahrenheit. Line baking sheets with parchment paper.
- In a large bowl, cream together the softened butter, granulated sugar, and brown sugar until light and fluffy.
- Beat in the eggs one at a time, then mix in the vanilla extract.
- In a separate bowl, whisk together the flour, cocoa powder, baking soda, and salt.
- Gradually add the dry ingredients to the wet ingredients, mixing on low speed until just combined. Do not overmix.
- Fold in the 1 cup of roughly chopped Andes Mints.
- Drop rounded tablespoons of dough onto the prepared baking sheets, spacing them about 2 inches apart. Press a few extra mint pieces onto the top of each dough ball if desired.
- Bake for 10 to 12 minutes. The edges should look set, but the centers will still look slightly soft.
- Let the cookies cool on the baking sheet for 5 minutes before transferring them to a wire rack to cool completely.
Notes
- For extra fudgy cookies, chill the dough for 30 minutes before scooping.
- If you want a slight mint glaze, melt 1/4 cup white chocolate chips with 1/4 teaspoon peppermint extract and drizzle over cooled cookies.
- Store cooled cookies in an airtight container at room temperature for up to 4 days.
Nutrition
- Serving Size: 1 cookie
- Calories: 210
- Sugar: 22g
- Sodium: 110mg
- Fat: 11g
- Saturated Fat: 7g
- Unsaturated Fat: 4g
- Trans Fat: 0g
- Carbohydrates: 28g
- Fiber: 1g
- Protein: 2g
- Cholesterol: 30mg