

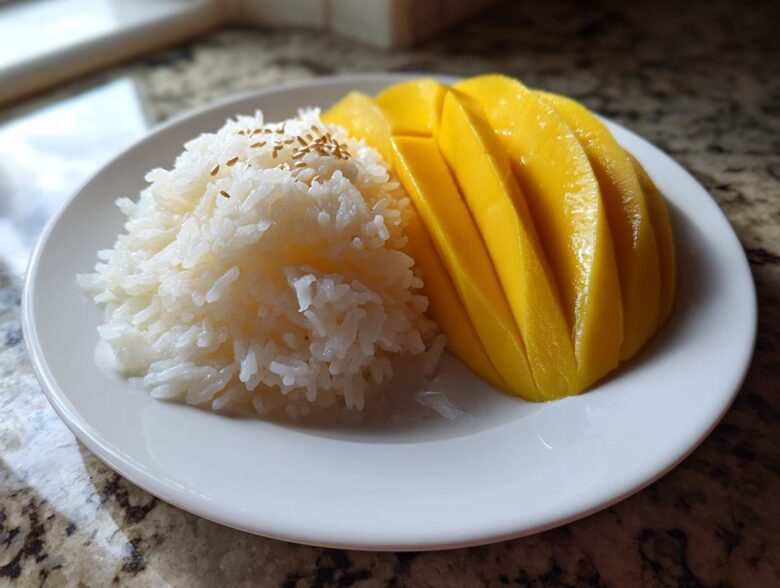
If there’s one dessert that immediately transports me straight to a bustling market in Bangkok, it’s that perfect marriage of warm, sweet rice and cool, luscious mango. Seriously, few things hit the spot like a really great Thai dessert recipe. I’ve fiddled with this forever because so many recipes get the coconut sauce wrong—either too watery or just sickeningly sweet. But after years of testing, I finally cracked the code for making truly authentic mango sticky rice right here in my own kitchen. Trust me when I say achieving that delicate balance between the salty creaminess soaking into the tender glutinous rice grains and the perfect sweetness of the fruit is what separates a good dessert from an absolutely mind-blowing one. You’re going to love how easy this is once you see the trick to the sticky rice! If you want a sneak peek at my other favorites while you’re here, check out my main Thai Mango Sticky Rice guide.
Why This Authentic Mango Sticky Rice Recipe Works (E-E-A-T Focus)
I’ve made this dessert more times than I can count, and what I learned is that shortcuts just ruin the magic of mango sticky rice. This method skips the bland, overly sweet sauce you find everywhere else. We manage the moisture perfectly so you don’t end up with a gooey mess!
- We soak the rice—this step is non-negotiable for the right chew!
- We use real, full-fat coconut milk, because “light” milk sinks to the bottom and tastes weak.
- The creamy coconut sauce has just enough salt to make the sweetness pop.
It’s the combination of these details that makes this feel like the real deal. I’ve even written about techniques I picked up perfecting other creamy dishes, like my old-fashioned stovetop pudding—it all comes down to technique!
Achieving the Perfect Coconut Sticky Rice Texture
You absolutely must rinse your glutinous rice until the water comes out clear—I mean *really* clear. If you skip this, all that excess starch turns into a gummy paste around your grains once they cook, and that’s what gives you that mushy texture nobody wants in their mango sticky rice.
After rinsing, you have to soak it. Four hours minimum! This allows the grain to hydrate evenly before it even sees steam. Trust me, soaking is what separates those beautiful, distinct, tender grains from a dense block of sadness.
Ingredients Needed for The Best Mango Sticky Rice
Okay, ingredient quality matters huge here, especially since there are so few moving parts! Don’t try to cheat on the rice or the milk; those are the superstars. You need two cups of proper glutinous rice, sometimes called sweet rice. And please, go for the full-fat can of coconut milk—the kind that separates with a thick cream layer on top. That cream is liquid gold for this recipe!
Here’s what you’ll need to gather up before you start the soaking process:
- 2 cups glutinous rice (sweet rice)
- 1 can (13.5 oz) full-fat coconut milk, divided
- 1/2 cup granulated sugar
- 1/2 teaspoon salt
- 1 tablespoon neutral oil (optional, for steaming)
- 2 large ripe mangoes, peeled and sliced
- 2 tablespoons toasted sesame seeds (for garnish)
I often find that using slightly less sugar in the soaking liquid helps the mango’s natural flavor shine, which is why I like to keep it moderate here. For that little extra richness later, sometimes I reference techniques from my creamy rice pudding methods when making my sauce.
Selecting Ripe Mangoes for Your Mango Sticky Rice
Choosing the mango is seriously the second most important job after sourcing the right rice. You want mangoes that yield just slightly when you give them a gentle squeeze—think perfectly ripe avocado, but less greasy! Avoid anything rock hard, as they won’t be sweet enough to balance the salty rice. My favorite is the Ataulfo or Honey mango if I can find them, but any sweet, non-fibrous variety works great for mango sticky rice.
Step-by-Step Instructions for Mango Sticky Rice
Alright, let’s get cooking! This is where the magic happens, and you’ll see how the three main components—the rice, the sweet sauce, and the fresh fruit—come together seamlessly. Timing is a little flexible here, but the steps need to be followed in order. The soaking (which you do way ahead of time!) makes the steaming part super fast. If you want to skip the steamer basket, I’ve got a great tip for using your rice cooker, which you can read more about here: rice cooker dessert recipe guide.
Preparing the Sweet Coconut Cream Sauce
This sauce has two jobs, so we have to divide it later. First, get about one cup of your full-fat coconut milk into a small saucepan. Add all your sugar and that crucial half teaspoon of salt. Heat this mixture gently on the stove over medium heat. You must stir constantly until that sugar is completely, totally dissolved. I cannot stress this enough: Do NOT let this boil! We just want warmth so the sugar melts; boiling the milk ruins the texture. Once it’s smooth, take it off the heat. Now, scoop out about one tablespoon of this luscious, warm liquid and set it aside in a tiny bowl—that’s for drizzling later. The rest stays with the saucepan for now.
Resting and Absorbing the Sweet Rice Pudding
Your rice should be steamed and piping hot, remember? Immediately dump that hot, tender glutinous rice into a sturdy mixing bowl. Now, pour about two-thirds of that warm coconut sauce you just made right over the rice. Maybe toss in a tiny pinch more salt if you’re feeling bold! Stir it just enough so the sauce gets mingled in. Then, here’s the second “non-negotiable” step: Cover that bowl TIGHTLY. Let it sit undisturbed for 15 minutes minimum. This resting period allows the rice grains to swell up and soak in all that creamy, sweet flavor. This is what turns it into that perfect sweet rice pudding consistency rather than just wet rice!
After it’s rested, give it one final gentle fluffing. The rice should be wonderfully sticky, deeply flavored, and ready to meet its golden fruit partner.
Tips for Making Perfect Mango Sticky Rice Every Time
I’ve ruined more batches of this dessert than I care to admit when I first started, so I learned a few things the hard way! If your sauce seems too thin after you’ve dissolved the sugar, don’t panic. Take that reserved portion of the sauce you set aside for drizzling and just add a tiny bit more sugar to it, heating it slightly until it thickens up—it’s way easier than trying to fix the main batch.
Also, when you cool your rice down, don’t put it in the fridge uncovered! It gets hard as a rock. If you have leftovers, make sure you cover it tightly or just portion it out into small containers immediately. Keeping that perfect texture in your mango sticky rice means managing moisture constantly. A little quick spray of water right before reheating in the microwave helps revive that beautiful stickiness!
Variations on the Classic Thai Dessert Recipe
While the classic preparation is pure perfection, sometimes you just want to jazz things up a little, right? I love playing around with garnishes for my homemade Thai sweets. The easiest way to switch things up without compromising the core flavor is by changing what you dust on top after the sauce drizzle. I often add toasted black sesame seeds mixed in with the white ones for a visual pop.
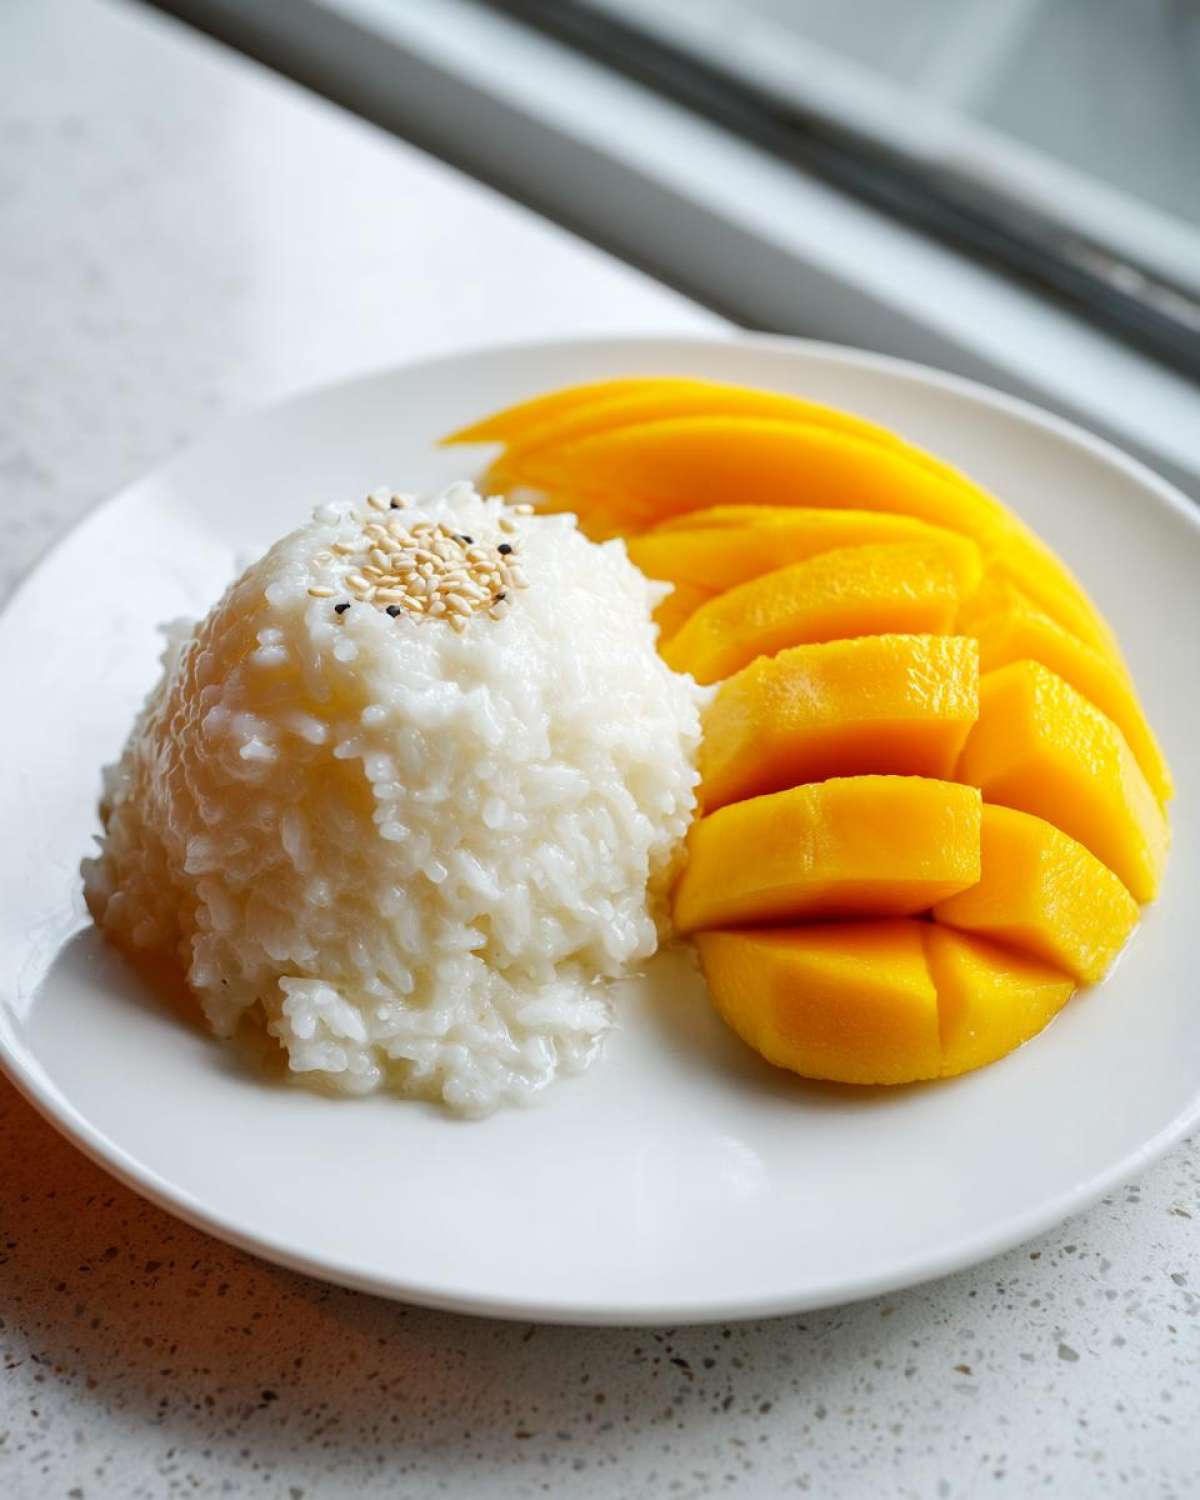
If you want to get a little adventurous with color and aroma, try dissolving a tiny bit of pandan extract into the coconut milk when you’re heating up the main sauce. That gorgeous green hue and floral scent make it feel extra special. It reminds me of the fancier desserts I see in those amazing Thai dessert shops—you can find some other fun ideas over at my guide on making sweets at home!
My absolute favorite variation, though? Adding crispy, toasted mung beans on top instead of sesame seeds for a serious crunch. It’s unexpected and so addictive!
Dietary Adjustments for Vegan Mango Sticky Rice
Here’s the wonderful thing about this phenomenal mango sticky rice: it’s naturally vegetarian, and honestly, it’s usually vegan right out of the box! Since we aren’t using dairy milk or butter anywhere in the recipe—it’s all about that beautiful coconut milk—you don’t have much to change.
The only time you might run into trouble is with the sugar. Some white sugars are processed using bone char, which isn’t vegan-friendly. If you are strictly vegan, just double-check that your granulated sugar is certified vegan, or simply substitute it with coconut sugar or even maple syrup for the sauce! Maple syrup works beautifully, especially since it pairs so well with that sweet coconut cream sauce.
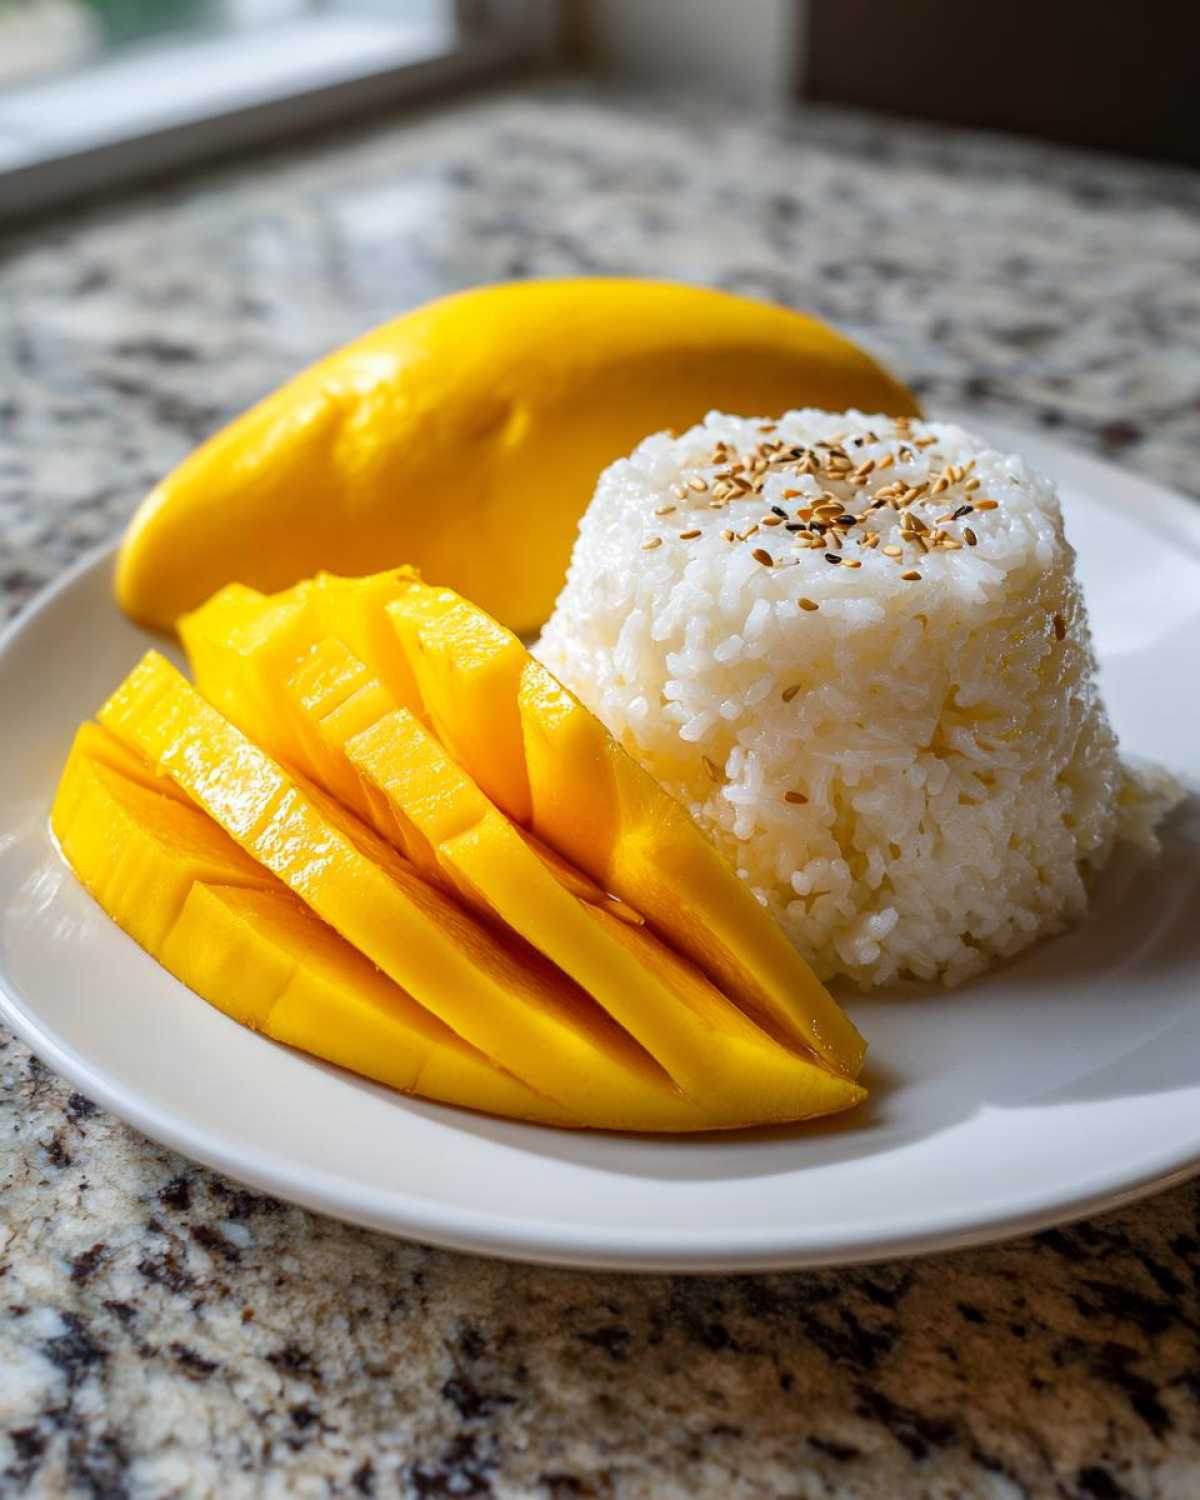
This makes it such an accessible, vegan mango sticky rice option for everyone to enjoy. It’s truly one of the easiest tropical fruit desserts to adapt!
Serving Suggestions for Your Glutinous Rice Dessert
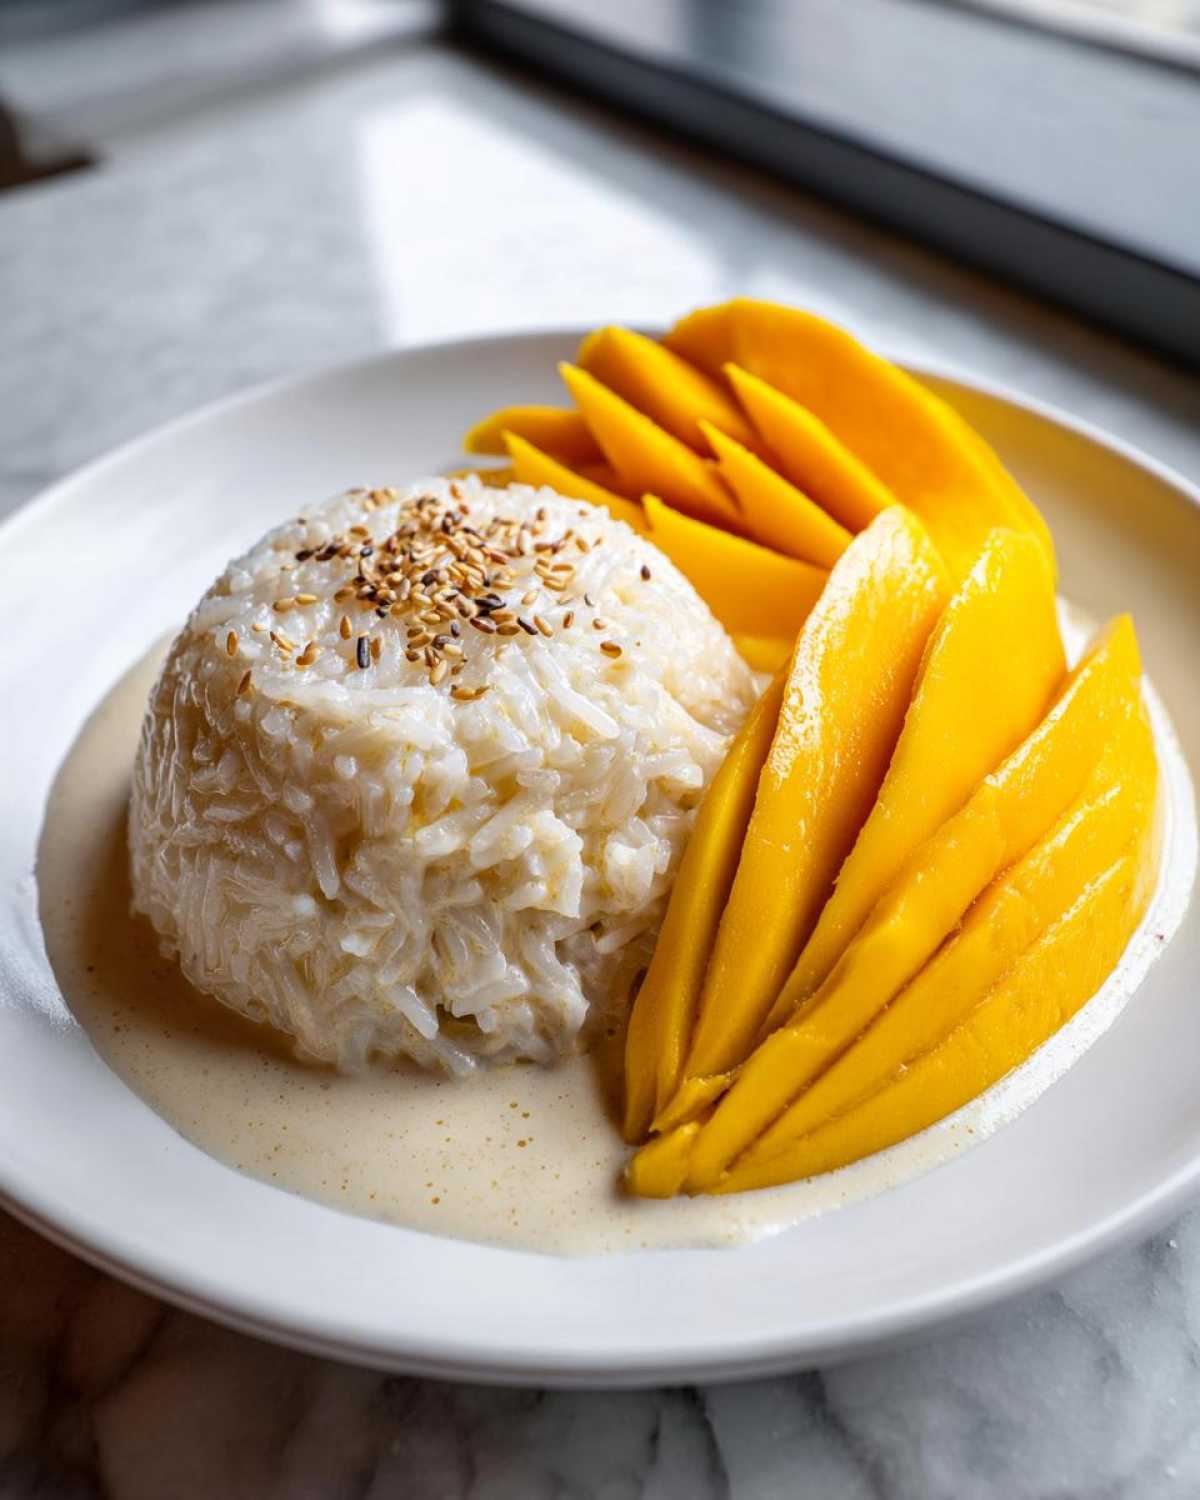
Plating this dessert is almost as fun as eating it—think bright colors and contrasting textures! You want that gorgeous Pinterest look, so serving temperature is key. Always serve the sticky rice warm, even slightly warm, against the cool, velvety slices of mango. It’s that temperature contrast that makes every bite so exciting.
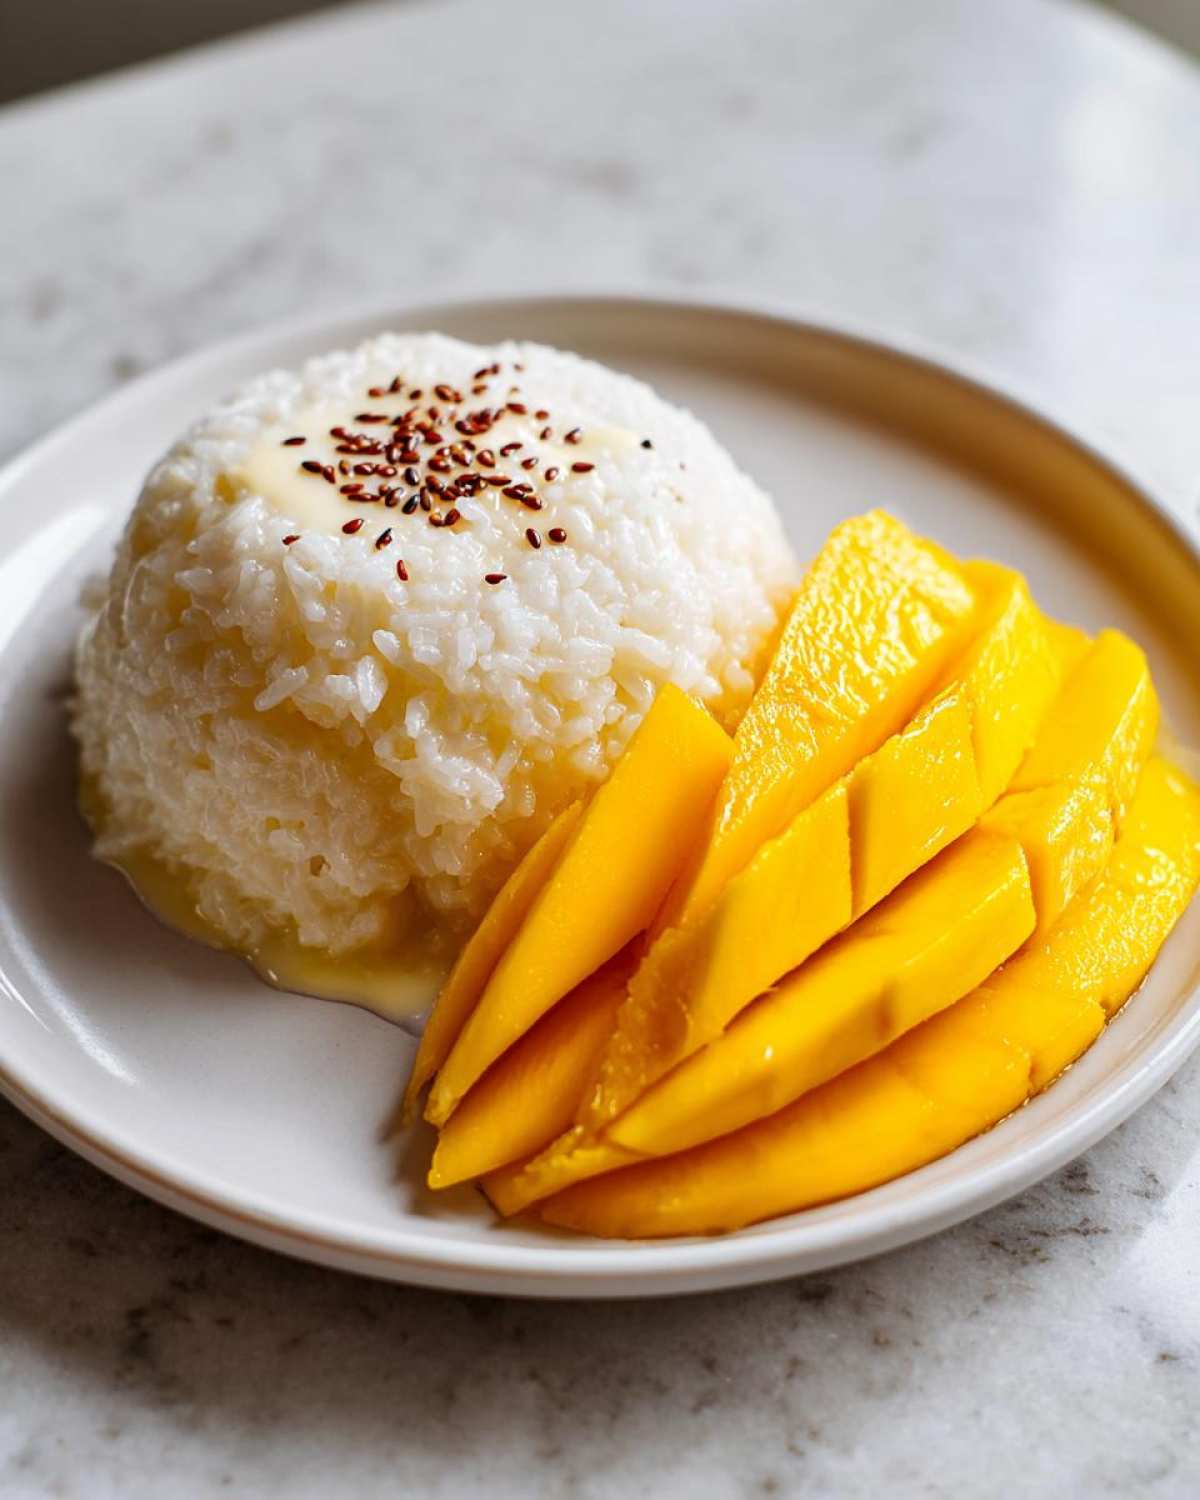
Spoon a nice neat mound of the creamy rice onto your plate. Arrange the mango slices elegantly leaning against the rice mound. Don’t be shy with that reserved, warm coconut cream sauce—drizzle it generously over the rice. Finally, shower everything with those toasted sesame seeds we mentioned earlier. It’s a stunning, simple tropical fruit dessert that looks like you tried way harder than you actually did! For more inspiration on plating gorgeous dishes, you can check out my tips for tropical fruit desserts.
Storage and Reheating Instructions for Leftover Mango Sticky Rice
Listen, making this mango sticky rice is a labor of love, and sometimes we just can’t finish the entire batch in one sitting—though trust me, I’ve tried! The good news is that leftovers store surprisingly well, but you have to handle the components separately. Never, ever store the fresh mango slices with the rice; the fruit gets slimy and sad overnight.
Your best bet is to store the sweet sticky rice, the drizzle sauce, and any leftover mangoes in totally separate, airtight containers in the fridge. The rice will inevitably firm up once it chills—that’s just what glutinous rice does, so don’t worry when you see it!
When you’re ready to enjoy your leftovers, ditch the idea of oven reheating; it’ll dry the rice into a brick faster than you can say “Khao Niew Mamuang.” Instead, reheat the rice gently in the microwave. I always add just a tiny splash—seriously, maybe a half teaspoon—of plain water or leftover coconut milk right over the portion before covering it with a damp paper towel. A few short bursts (maybe 20-30 seconds) should make it soft and sticky again.
Reheat your coconut drizzle sauce separately on the stovetop until it’s warm and pourable. Then, assemble it just like you did the first time: warm rice, cool mango slices, and a perfect shower of that creamy drizzle. It tastes almost as good the next day!
Frequently Asked Questions About Making Mango Sticky Rice
I know when you see a new recipe, a bunch of little questions pop up right away. Don’t worry, I’ve answered the ones I get asked the most about ensuring your mango sticky rice turns out absolutely perfect. If you try this and still have a hang-up, hop over to my easy mango dessert section and drop a comment!
Can I substitute regular white rice for glutinous rice in mango sticky rice?
Oh, honey, please don’t try this if you want the real deal! You really, really can’t substitute regular medium-grain or long-grain white rice. Those grains absorb liquid differently and they stay separate and fluffy when steamed, which is great for dinner, but terrible for dessert. Glutinous rice (sweet rice) is essential because it releases starch when soaked and steamed, which is what creates that signature, slightly gummy, wonderfully chewy texture that holds the coconut cream so beautifully. If you use regular rice, you’ll end up with sweet rice porridge—delicious, maybe, but definitely not authentic mango sticky rice!
How far ahead of time can I prepare the coconut sticky rice?
You can definitely make the sweet sticky rice base ahead of time, which is a lifesaver when company comes over! I usually prepare the rice and the main soaking sauce the morning of, or even the night before. Store the cooled rice tightly sealed in the fridge. The day you serve it, just reheat the rice very gently—remember my trick with a splash of water and the microwave—and then prepare your fresh mango slices and the topping sauce right before plating. Trying to store the entire assembled dish, especially with the mango, isn’t recommended because the texture of the fruit degrades too fast.
Why is my coconut sauce separating or looking oily?
That’s the beauty of full-fat coconut milk showing off! When you open the can, you’ll often see a thick layer of cream on top and watery milk underneath. That cream is mostly fat, and it’s what gives your sauce that rich mouthfeel. If your sauce looks oily after heating, it probably means you heated it too high! You want to dissolve the sugar gently. For the topping drizzle, you want that beautiful, slightly separated, thick cream on top because it sits perfectly on the rice. If you want it perfectly emulsified, just give it a good whisk after it cools down a bit.
Do I really need to toast the sesame seeds?
Toasting them isn’t strictly necessary for the flavor of the main dessert, but honestly, it takes 3 minutes and it is completely worth the effort! Un-toasted sesame seeds taste kind of flat. A quick toss in a dry skillet over medium heat until they are fragrant—you’ll smell it immediately!—really brings out their nutty flavor. It makes that final garnish pop and adds a crucial textural crunch against the soft fruit and creamy rice of your mango sticky rice!
PrintAuthentic Thai Mango Sticky Rice (Khao Niew Mamuang)
Make classic Thai Mango Sticky Rice at home using sweet glutinous rice soaked in rich coconut cream and served with fresh, ripe mangoes.
- Prep Time: 20 min
- Cook Time: 35 min
- Total Time: 55 min
- Yield: 4 servings
- Category: Dessert
- Method: Steaming
- Cuisine: Thai
- Diet: Vegetarian
Ingredients
- 2 cups glutinous rice (sweet rice)
- 1 can (13.5 oz) full-fat coconut milk, divided
- 1/2 cup granulated sugar
- 1/2 teaspoon salt
- 1 tablespoon neutral oil (optional, for steaming)
- 2 large ripe mangoes, peeled and sliced
- 2 tablespoons toasted sesame seeds (for garnish)
Instructions
- Rinse the glutinous rice thoroughly under cold water until the water runs clear. Soak the rice in water for at least 4 hours, or preferably overnight. Drain the soaked rice well.
- Steam the drained rice for 25 to 30 minutes until tender. Alternatively, cook the rice in a rice cooker using the same amount of water as you would for regular rice.
- While the rice steams, prepare the sweet coconut sauce: In a small saucepan, combine 1 cup of coconut milk, the sugar, and salt. Heat over medium heat, stirring until the sugar dissolves completely. Do not boil. Remove from heat.
- Transfer the hot, cooked sticky rice to a bowl. Pour about two-thirds of the warm coconut sauce over the rice. Stir gently until the liquid is absorbed. Cover the bowl and let it sit for 15 minutes to allow the rice to fully absorb the liquid.
- Prepare the topping sauce: Whisk the remaining 1/2 cup of coconut milk with 1 tablespoon of the reserved sweet sauce (or a small amount of sugar/salt if needed for balance). Heat briefly until warm.
- Serve the sticky rice warm or at room temperature. Place a portion of the sweet sticky rice on a plate, arrange sliced mangoes beside it, and drizzle the reserved topping sauce over the rice. Garnish with toasted sesame seeds.
Notes
- For a richer flavor, use only full-fat coconut milk.
- If you do not have a steamer, you can cook the soaked rice in a rice cooker using a 1:1 ratio of rice to water.
- Choose mangoes that are soft to the touch but not mushy for the best flavor.
Nutrition
- Serving Size: 1 serving
- Calories: 450
- Sugar: 30
- Sodium: 180
- Fat: 18
- Saturated Fat: 15
- Unsaturated Fat: 3
- Trans Fat: 0
- Carbohydrates: 68
- Fiber: 2
- Protein: 6
- Cholesterol: 0