

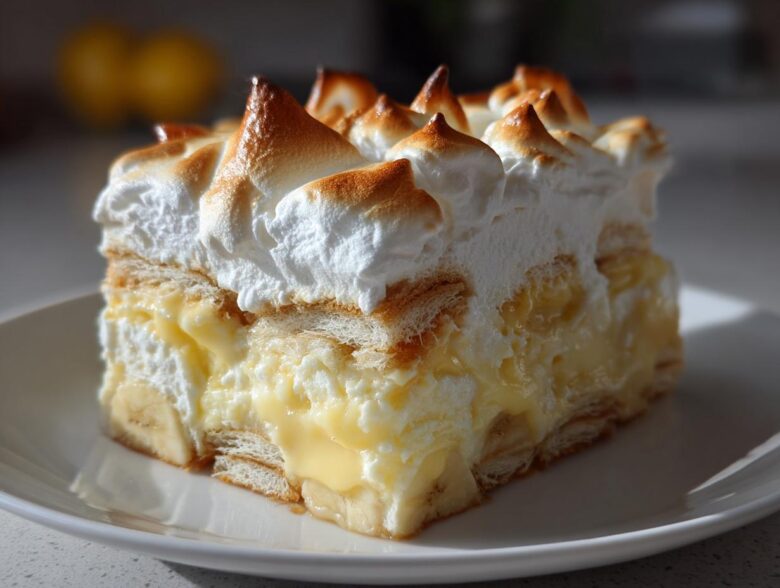
Oh, honey, if you’re looking for a dessert that tastes like a giant hug from your favorite Southern aunt, you’ve found it! Forget those sad, watery puddings; we are diving deep into the ultimate comfort food dessert today. This is my recipe for the **Best Old-Fashioned Southern Banana Pudding**, and yes, we are making it completely from scratch. I swear, the first time I finally nailed the homemade custard instead of reaching for a box, my life changed.
My grandmother always said a good banana pudding should be so rich and creamy that you need a fork, not a spoon. After years of tweaking the egg whites and the layering (trust me, it matters!), I finally captured her perfect version. This isn’t just a recipe; it’s the standard for every potluck we attend. Get ready for the creamiest, most classic banana pudding you will ever taste.
Why This Old-Fashioned Southern Banana Pudding Recipe Wins
There are a million quick desserts out there, but none hit the spot quite like this one. This recipe is the real deal—it’s made completely from scratch, which makes all the difference in flavor. If you want that superior, rich taste, you have to skip those instant mixes, trust me!
- It delivers that authentic, nostalgic taste that only an old fashioned banana pudding can offer.
- It holds up beautifully as a show-stopping potluck dessert idea.
- The homemade custard base creates the perfect luxurious texture.
Key Features of Our Creamy Banana Dessert
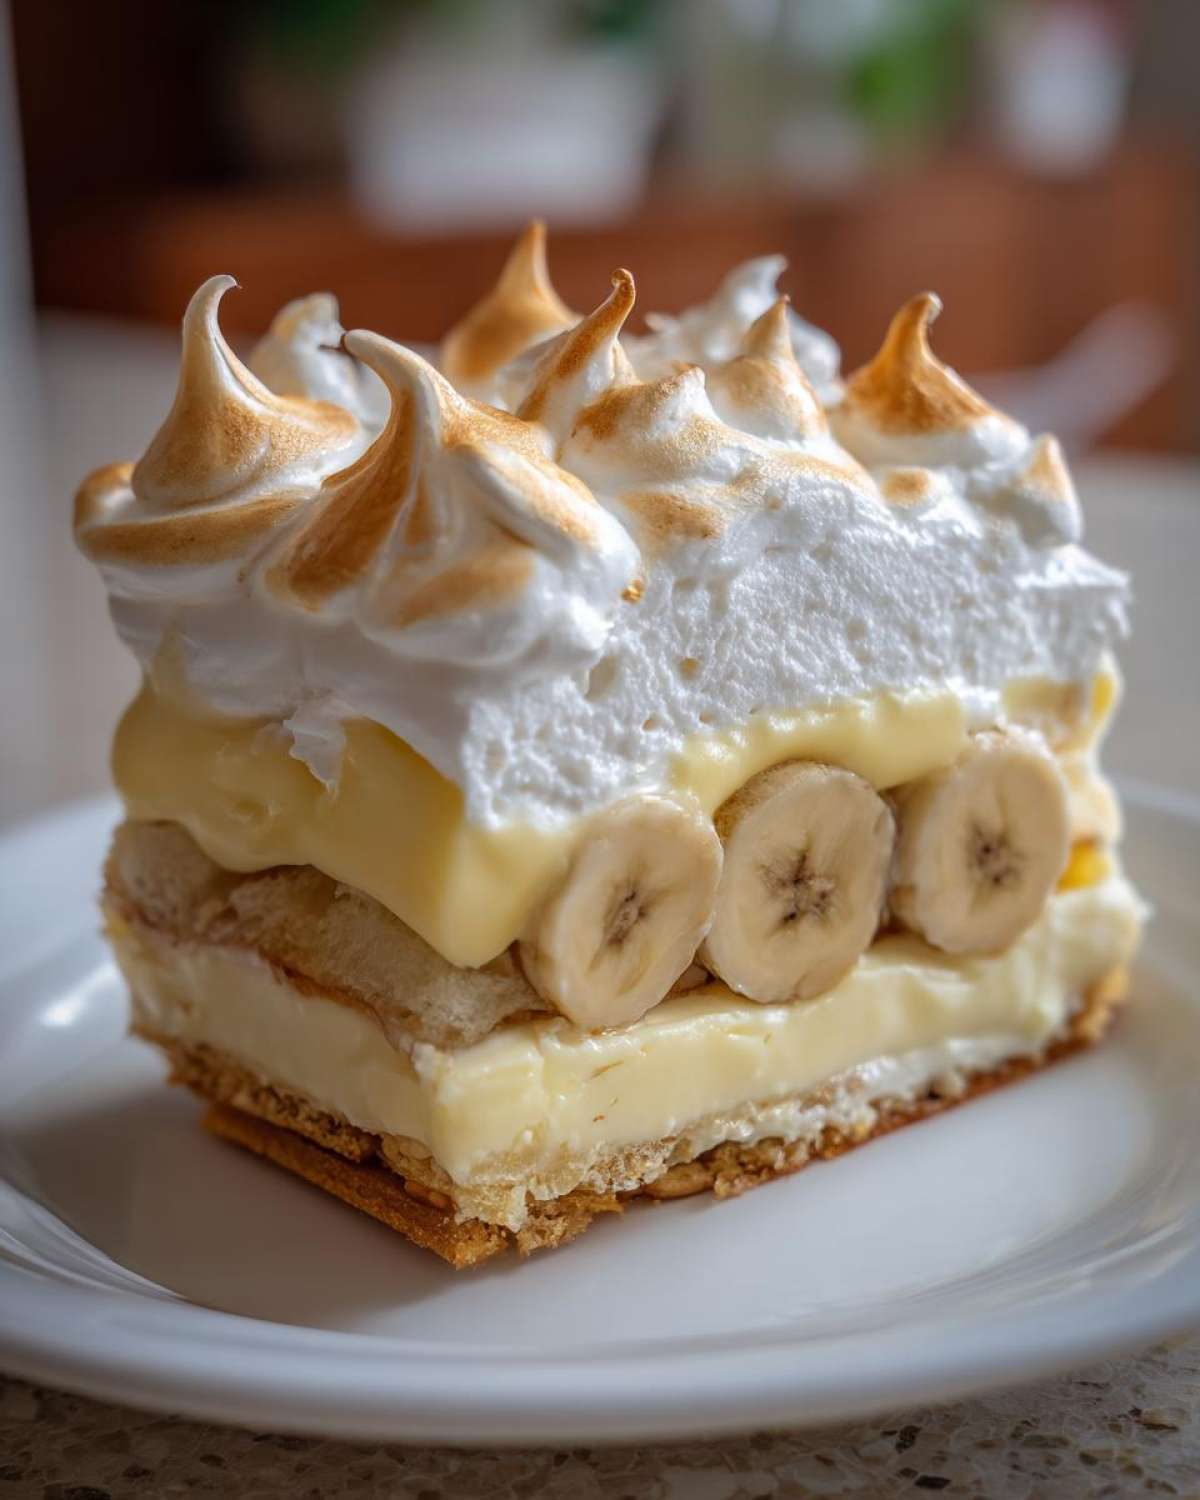
The secret sauce is definitely that silky, rich custard we cook right on the stove. It cools down to be perfectly dense without being gummy. And that soft, fluffy meringue on top? That’s pure Southern magic. We use traditional techniques, which means you get a quality, deeply flavored layered banana dessert that tastes like it took all day, even though it whips up pretty fast!
Ingredients for the Best Homemade Banana Pudding From Scratch
Okay, here’s what you need to gather up. Because this is a classic banana pudding recipe, we aren’t cutting corners on the richness. Everything here plays a specific role in making the custard base absolutely unbeatable compared to trying something quicker. Don’t substitute the evaporated milk here; it’s key for that true Southern banana pudding flavor!
This list yields about 8 happy servings. If you’re looking for other deep dives into rich recipes, I talk about my homemade chocolate pudding from scratch next!
- 1 (14 ounce) can sweetened condensed milk
- 1 (12 ounce) can evaporated milk
- 1 1/2 cups cold water
- 2 (3.4 ounce) packages instant vanilla pudding mix (Yes, we use the instant mix for stability in the base, but the eggs and meringue make it feel homemade!)
- 1 teaspoon vanilla extract
- 4 large eggs, separated (The yolks go in the pudding, the whites make the cloud-like meringue!)
- 1/2 cup granulated sugar
- 1/4 teaspoon cream of tartar
- 1 box (11 ounces) vanilla wafers
- 4 large ripe bananas, sliced
Step-by-Step Instructions for Classic Banana Pudding Recipe
Now for the fun part! This process might look long because we are aiming for the truly best banana pudding ever, but each step is quick. Make sure you have your 350°F oven preheated before you start bringing that meringue together, otherwise, you’ll be waiting around later. Remember, we are baking this just to kiss the meringue golden brown!
Preparing the Custard Base
First things first, grab a medium bowl! We need to mix the liquids that make this foundation so lush. Whisk together that entire can of sweetened condensed milk, the evaporated milk, and the cold water until they are fully combined—no streaks allowed. Then, toss in those two packages of instant vanilla pudding mix and the teaspoon of vanilla extract. Whisk that vigorously for about two full minutes. It’s going to look a little thinner than you expect, but don’t worry! Just set that bowl aside while we work on the cloud topping.
Crafting the Meringue for Baked Banana Pudding
This is where we use those egg whites. Seriously, make sure your bowl and your whisk attachments are absolutely spotless and grease-free—even a tiny drop of yolk or fat will stop the whites from singing! Beat those egg whites until they start forming soft, floppy peaks. Next, slowly rain in your granulated sugar and that little pinch of cream of tartar. Keep beating until those peaks are stiff, glossy, and look like beautiful, stiff white mountains. You should be able to turn the bowl upside down without fear!
Once the meringue is perfect, we have to lighten the pudding base. Gently fold about one-third of your stiff meringue into the pudding mixture first. This takes the thick density out of the pudding. After that’s incorporated and looser, fold in the rest of the meringue until it’s *just* combined. We want those airy pockets! Stop mixing the second you don’t see big streaks of white left.
Assembling and Baking Your Layered Banana Dessert
Time to build. Grab your big glass serving dish—this is traditionally a layered banana dessert! Start by laying down a layer of vanilla wafers across the bottom. Then, arrange half of your sliced bananas right over those wafers. Now, spoon half of your luscious pudding mixture right on top, making sure it covers everything. Repeat that process: wafers, bananas, and the rest of that creamy pudding.
Finally, the grand finale! Spread your meringue evenly over the very top layer of pudding. You absolutely must seal the edges right up against the side of the glass dish—this is crucial for stopping the meringue from weeping weirdly later. Pop that dish into the preheated 350°F oven for about 15 minutes, or until those peaks are just lightly kissed with golden brown color. Remember to let it cool completely and chill for at least four hours. Seriously, patience is rewarded here!
Tips for Success with Your Banana Pudding
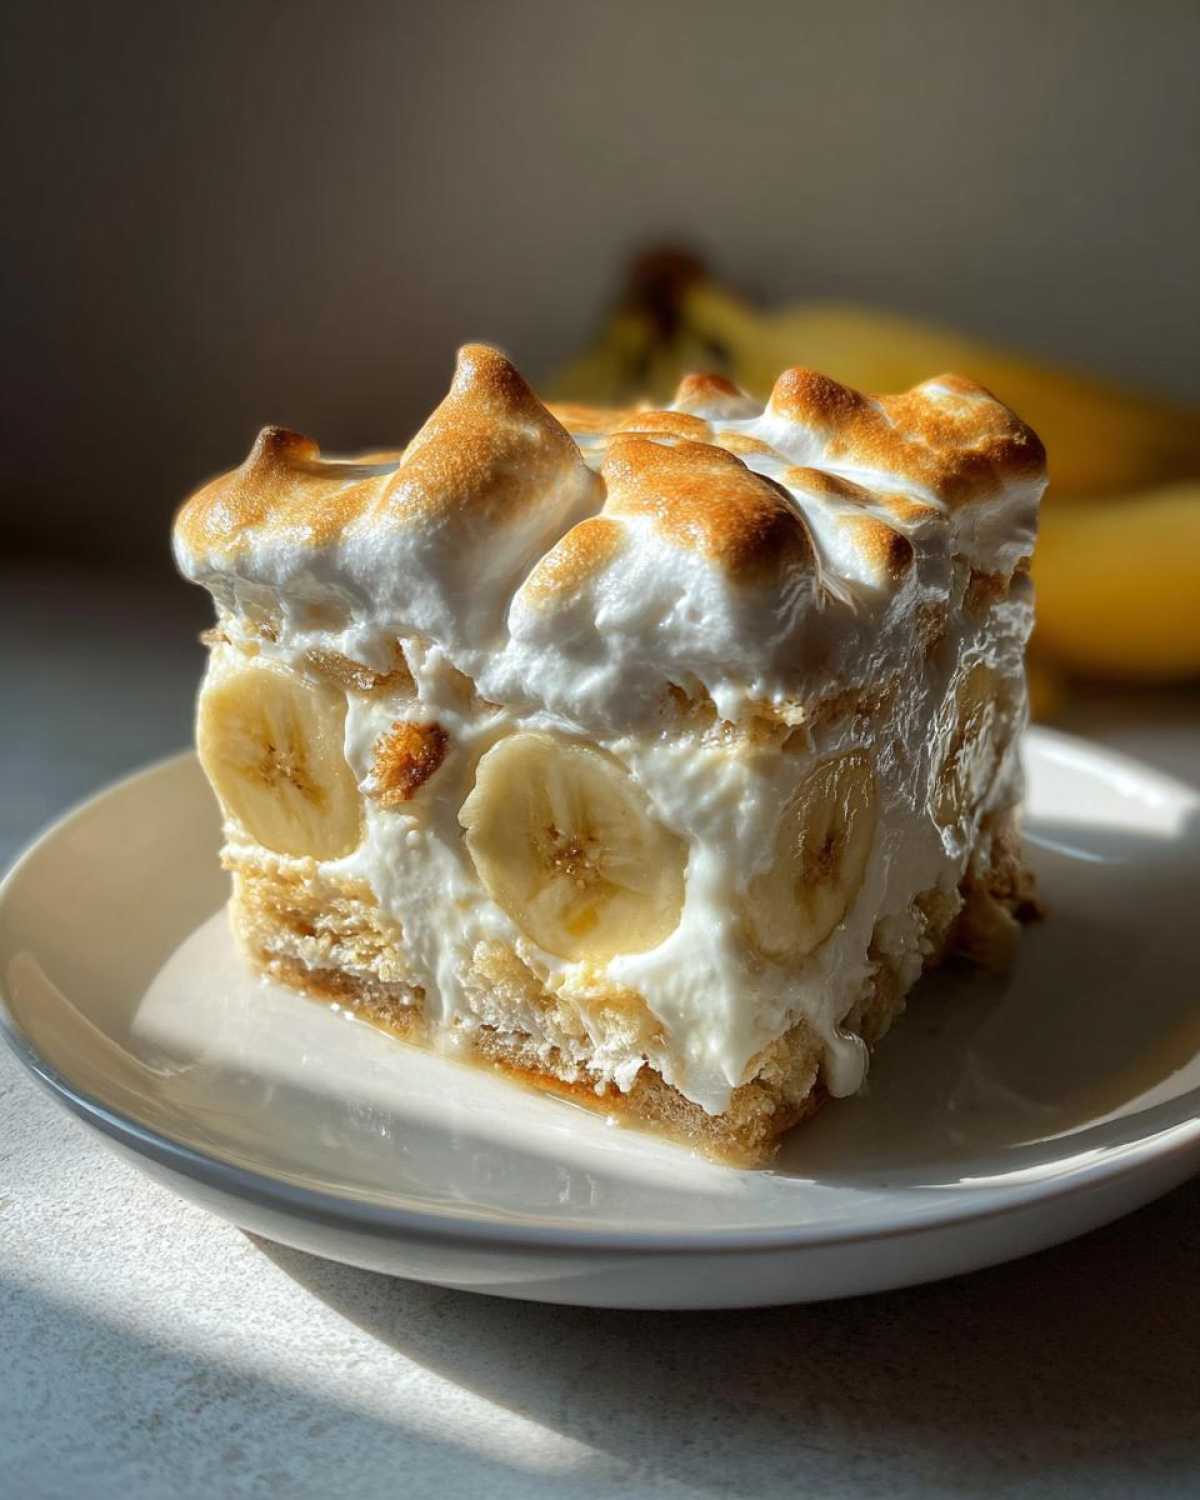
Achieving the title of ‘best banana pudding ever’ isn’t luck; it’s all in the timing! My biggest piece of advice, which I learned the hard way, is when to slice those fruit friends. You want to slice your bananas *immediately* before you start layering. If they sit out even for a few minutes, they start getting that bruised look, and nobody wants brown spots in their beautiful pudding!
Also, please, please practice restraint with the chilling time. I know you want to dig in the second it comes out of the oven, but the 4-hour chill is non-negotiable for this recipe. This is when the wafers soften perfectly into the mixture, transforming from a crisp cookie into that melt-in-your-mouth pudding texture. My personal touch for serving? I like to let it sit on the counter for about 15 minutes after taking it out of the fridge. It takes the chill off the rich custard just slightly, making that flavor truly pop. You can check out how I make my favorite chocolate chip cookies while you wait for this to chill!
Variations: Making Easy No Bake Banana Pudding
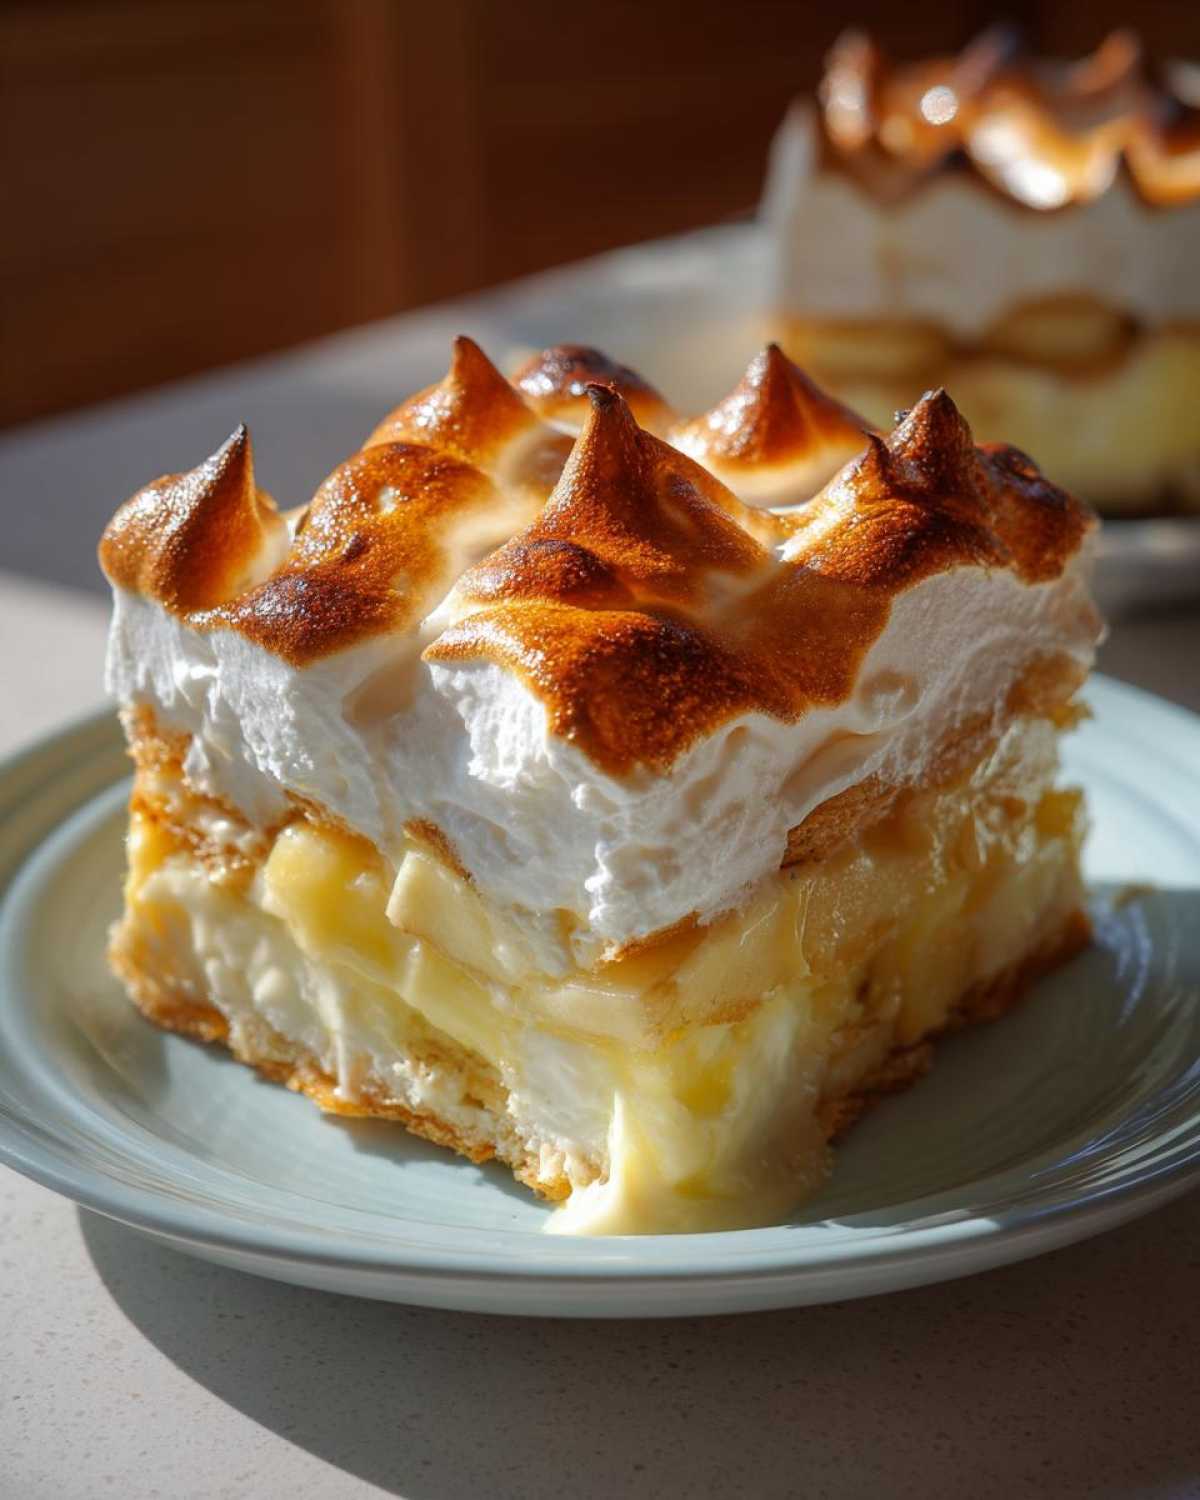
Look, I get it. Sometimes you need that amazing creamy banana dessert but you don’t have time for egg whites or baking, or maybe you just don’t want to turn on the oven in July. That’s totally fine! The good news is that this recipe is super adaptable, and we can easily turn it into an easy no bake banana pudding.
To convert this classic recipe into a no-bake version, you just skip steps 3 through 8 entirely—that means no egg whites, no sugar whipping, and no baking! When you get to the assembly stage (Step 5), just layer your wafers and bananas, and cover it with the pudding base we made in the custard section. Instead of meringue, you can top the finished pudding with a thick layer of stabilized whipped cream or even just more crushed vanilla wafers for that nice crunch.
This quick version lets you whip up the best banana pudding ever in about 25 minutes of mixing time! If you are looking for other no-bake showstoppers, you have to try my recipe for Oreo Dirt Cake next—it’s another guaranteed crowd-pleaser.
Strawberry Banana Pudding Recipe Twist
If you want to add a little brightness and color to your standard banana pudding, try swapping out about a third of your bananas for very thinly sliced fresh strawberries in a separate layer. Strawberries and the vanilla custard are just divine together!
When I do this, I like to start the layering with wafers, then a layer of bananas, then a layer of strawberries, then pudding, and repeat. The tartness from the berries perfectly cuts through the richness of the homemade custard. It feels lighter, even though we’re still using all that good, creamy stuff!
Storage and Make Ahead Dessert Tips for Perfect Banana Pudding
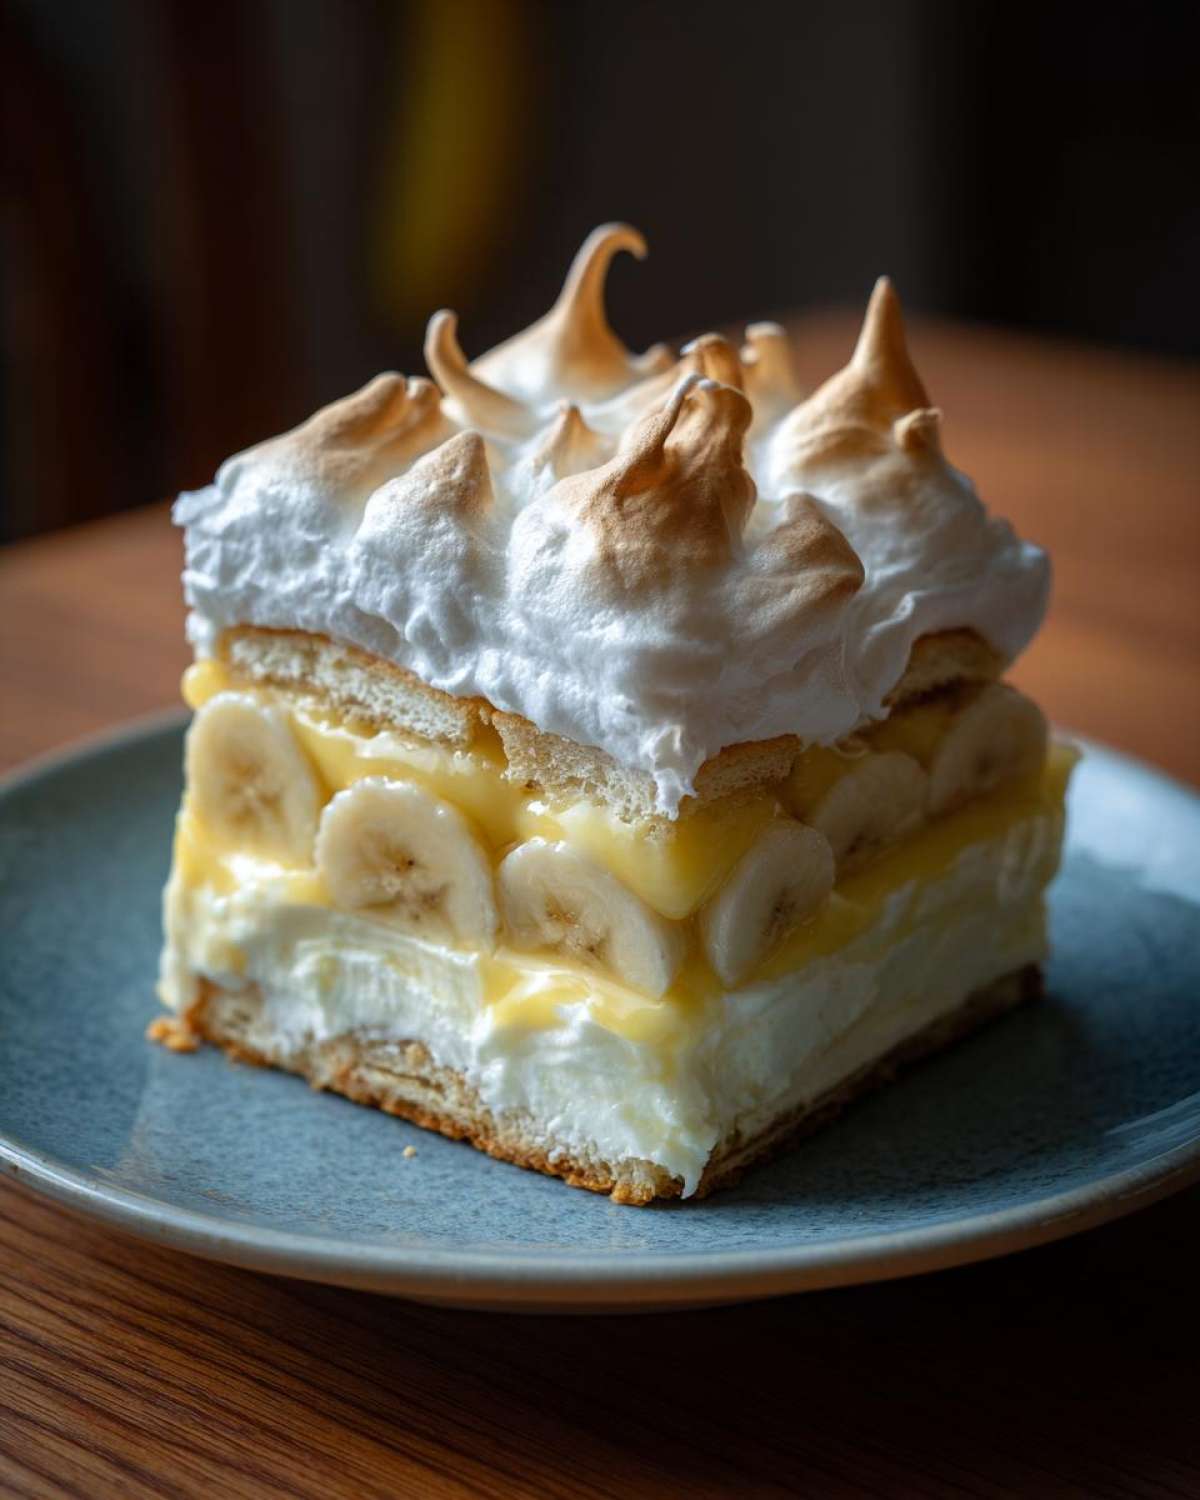
Since this is a fantastic make ahead dessert, let’s talk storage so your creation stays glorious! You absolutely must cover your dish tightly with plastic wrap once it’s completely chilled. I usually press a piece of plastic wrap directly onto the surface of the meringue if I’m worried about that, just to keep any fridge smells out.
This Southern banana pudding is truly best when it has a full night in the refrigerator—I’m talking 8 to 12 hours. That time lets those vanilla wafers soften up perfectly into the creamy custard, making the whole thing cohesive. You can safely keep this in the fridge for up to three days, but honestly, it’s usually gone by day two!
Frequently Asked Questions About Classic Banana Pudding
I get so many questions about this recipe because everyone has *some* version of banana pudding they grew up with! Here are the things I hear most often about making this the absolute best banana pudding ever.
Can I use store-bought pudding mix instead of making banana custard recipe?
That’s a fair question, especially if you’re looking for a quick and easy banana dessert! Technically, yes, you *can* speed up the custard base by relying only on the instant mix and the milks listed in Step 1, skipping the egg yolks. However, for this recipe, that’s cheating yourself out of true richness! The yolks we use create a real, thick, luxurious banana custard recipe. That homemade element is what elevates this from a simple bowl of cream to true Southern banana pudding!
What is the best way to prevent bananas from turning brown in banana pudding?
This is my number one kitchen annoyance! Brown bananas look sad, right? My tried-and-true method for my layered banana dessert is threefold. First, use bananas that are very ripe—almost too ripe for eating plain—because the flavor absorbs better. Second, slice them thinly right before layering. Third, and this is the trick I use for extra insurance: as soon as I slice them, I toss them very gently in a bowl with about a teaspoon of lemon juice. It stops that oxidation dead in its tracks!
If you’re planning ahead, remember the storage tips: chilling it overnight helps the bananas meld into the pudding, often disguising any minor browning that might occur. If you make the no refrigeration banana pudding variation, this is even more important!
If you want to explore other fantastic creamy stuff, check out my recipe for old-fashioned creamy rice pudding—it’s another winner!
Nutritional Estimates for This Creamy Banana Dessert
Now, let’s talk numbers. I know for a lot of us, this old fashioned banana pudding falls firmly into the ‘indulgence’ category, especially when we use all that butter and the full meringue topping. Just remember, this is a true comfort food dessert, so we enjoy it guilt-free!
I ran these ingredients through a few calculators based on standard pantry items, and here are the ballpark figures for one serving from this batch. Please, please know these are just estimates! If you use skim milk instead of evaporated milk, or if you skip the meringue entirely for a quick and easy banana dessert, these stats will change significantly. Always use these numbers as a rough guide only.
- Serving Size: 1 serving
- Calories: Approximately 410
- Total Fat: Around 12g
- Protein: About 9g
- Total Carbohydrates: Roughly 75g
- Sugar: This is the big one—around 55g (That’s from the condensed milk, sugar, and bananas!)
The cholesterol comes mostly from the egg yolks we use in that beautiful custard base. Even though we are trying to make the best banana pudding ever, it’s still heavy on the sugar because of the sweetened condensed milk, so keep that in mind when serving second helpings!
Share Your Perfect Banana Pudding Experience
Well, we made it! You’ve got the recipe for what I truly believe is the most incredible, deeply satisfying family favorite pudding out there. Now, I’m dying to know what you think. Did you try the baked meringue, or did you go rogue with the easy no bake banana pudding variation?
Here’s what I want you to do next: Head down to the comments section below, give this recipe a star rating—I’m hoping for 5!—and tell me how your Southern banana pudding turned out. Did you add a little extra vanilla? Did you use those slightly overripe bananas that melt right into the custard? I love hearing how you adapt these classic recipes for your own family gatherings.
Don’t be shy, let the community know what your favorite way to serve this creamy banana dessert is. Happy baking, y’all!
PrintBest Old-Fashioned Southern Banana Pudding
Make this creamy, layered banana pudding from scratch. This recipe yields a classic Southern dessert, perfect for gatherings.
- Prep Time: 25 min
- Cook Time: 15 min
- Total Time: 40 min
- Yield: 8 servings
- Category: Dessert
- Method: Baking
- Cuisine: American
- Diet: Vegetarian
Ingredients
- 1 (14 ounce) can sweetened condensed milk
- 1 (12 ounce) can evaporated milk
- 1 1/2 cups cold water
- 2 (3.4 ounce) packages instant vanilla pudding mix
- 1 teaspoon vanilla extract
- 4 large eggs, separated
- 1/2 cup granulated sugar
- 1/4 teaspoon cream of tartar
- 1 box (11 ounces) vanilla wafers
- 4 large ripe bananas, sliced
Instructions
- Prepare the custard base: In a medium bowl, whisk together the sweetened condensed milk, evaporated milk, and cold water.
- Add the instant vanilla pudding mix and vanilla extract to the milk mixture. Whisk for two minutes until slightly thickened. Set aside.
- Make the meringue: In a separate, clean bowl, beat the egg whites until soft peaks form. Gradually add the granulated sugar and cream of tartar, beating until stiff, glossy peaks form.
- Gently fold one-third of the meringue into the pudding mixture to lighten it. Then, fold in the remaining meringue until just combined. Do not overmix.
- Assemble the pudding: In a large glass serving dish, create a layer of vanilla wafers. Top the wafers with a layer of sliced bananas.
- Spoon half of the pudding mixture evenly over the bananas and wafers. Repeat the layers: wafers, bananas, and the remaining pudding.
- Spread the meringue evenly over the top layer of pudding, making sure to seal the edges to the dish.
- Bake: Place the dish in a preheated oven at 350°F (175°C) for about 15 minutes, or until the meringue is lightly golden brown.
- Cool completely before serving. Chill for at least 4 hours for the best texture.
Notes
- For a no-bake version, skip the meringue and egg whites. Instead, top the final pudding layer with crushed vanilla wafers or whipped cream.
- Slice bananas just before assembling to prevent browning.
- This dessert tastes best when made a day ahead.
Nutrition
- Serving Size: 1 serving
- Calories: 410
- Sugar: 55
- Sodium: 350
- Fat: 12
- Saturated Fat: 6
- Unsaturated Fat: 6
- Trans Fat: 0
- Carbohydrates: 75
- Fiber: 2
- Protein: 9
- Cholesterol: 75