

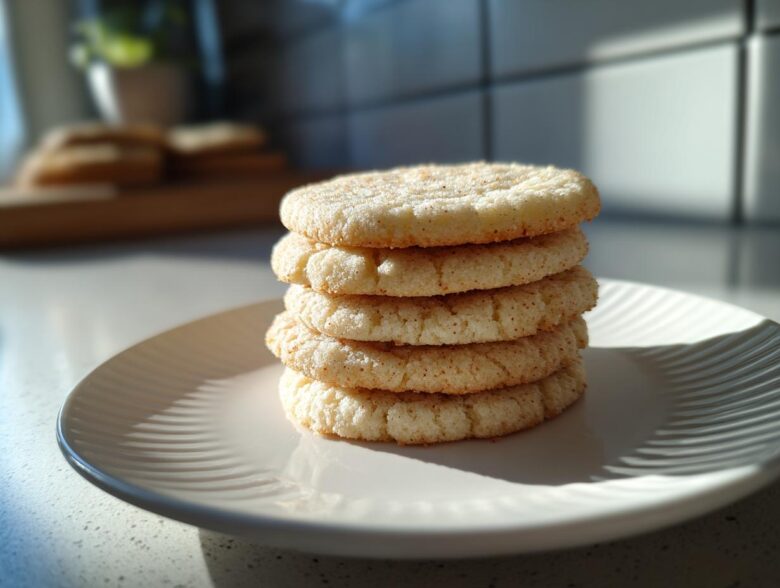
If you’ve ever wrestled with a batch of sugar cookies that spread into sad, sweet puddles the second they hit the oven, then you know the sheer frustration! I’ve been down that road a hundred times. Now, after years of scribbling notes on everything that worked (and didn’t), I’ve finally landed on my absolute gold standard.
Forget those crumbly, rock-hard discs that just serve as iced canvases. I’m sharing my secret to the best soft and chewy cut out sugar cookies recipe that actually keeps its shape! Seriously, this formula is no-fail. You get that perfect buttery taste, a melt-in-your-mouth center, and edges sturdy enough to handle the prettiest decorations. Once you try this version, you won’t ever look back. If you want to see my original notes on this, you can check out my main guide on this perfecting soft and chewy sugar cookies.
Why This is the Best Soft Sugar Cookies Recipe (EEAT Focus)
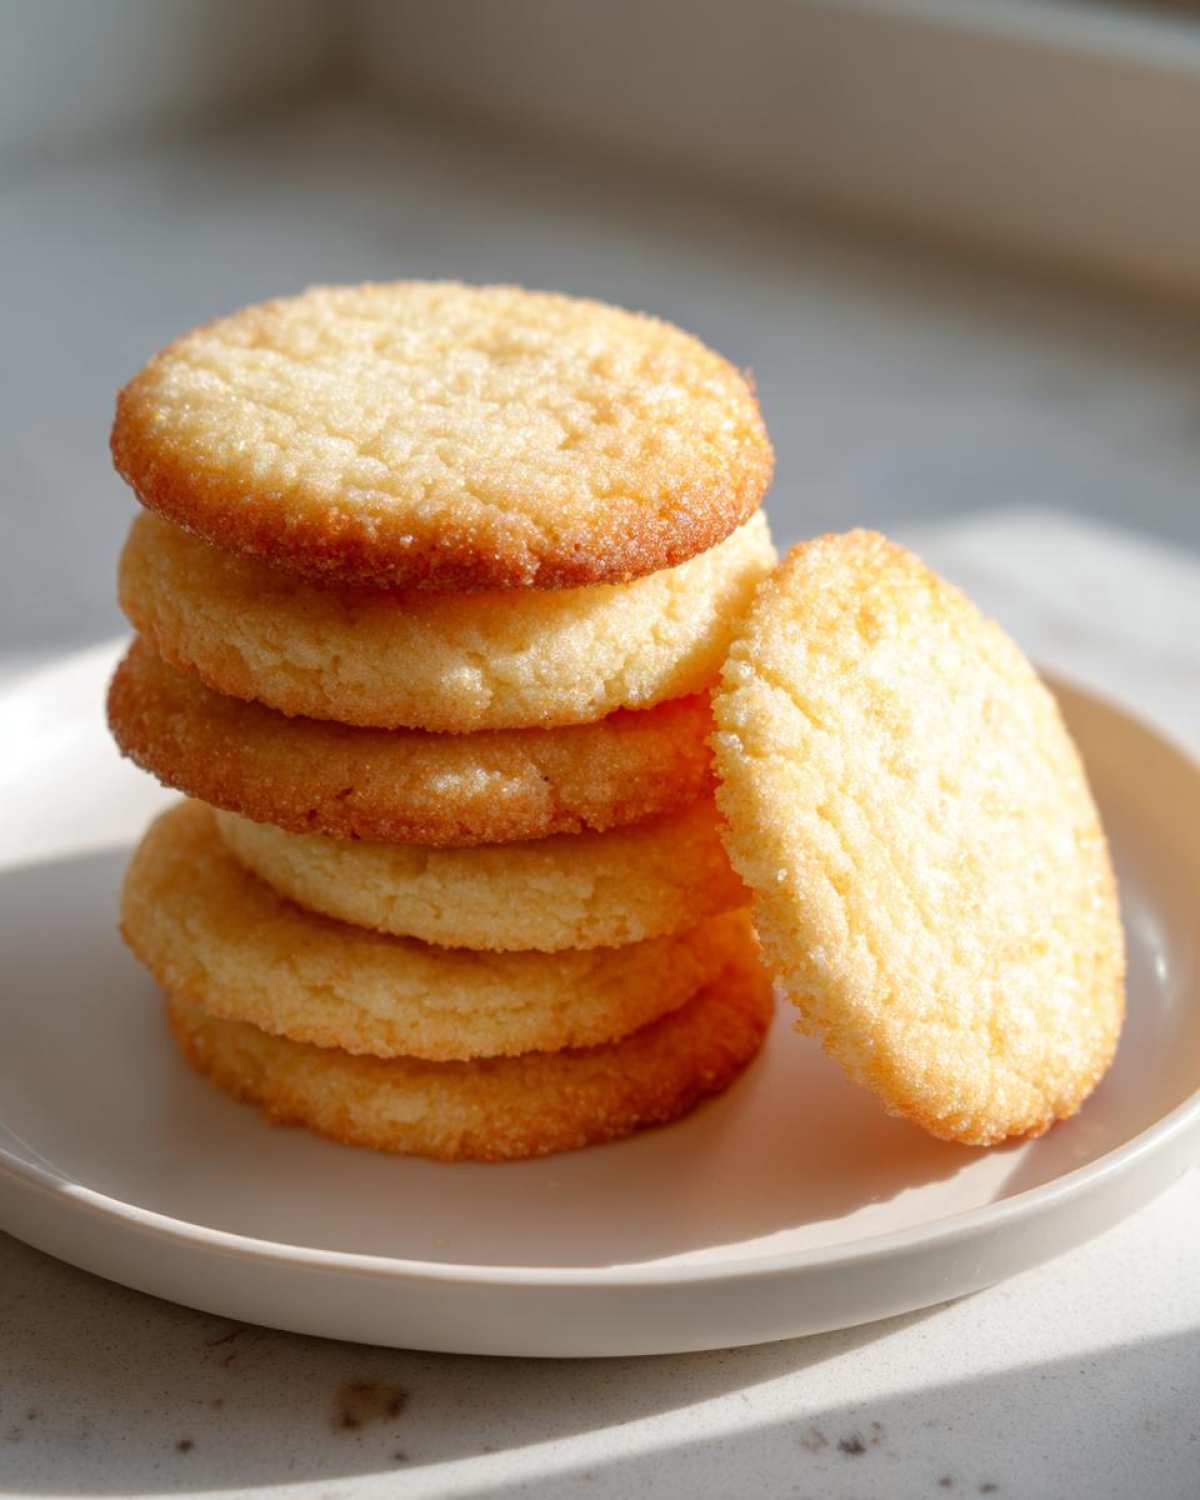
What makes these the best sugar cookie recipe out there? It all comes down to balance, honestly—and a few things I learned the hard way! So many cut-out recipes sacrifice chewiness for shape, right? Not ours. We want those beautiful edges, but we also want a cookie that practically dissolves the second it hits your tongue. That’s the magic of this formula.
Its structure comes from an exact ratio of fat to flour. The way we cream the butter and sugar creates microscopic air pockets that give us structure without making the cookie tough. This careful balance ensures you get those delightfully **chewy sugar cookies** that are still firm enough to handle rolling and cutting. I’ve tested countless versions, and this is the one that delivers bakery-style perfection every single time. For other buttery classics, take a peek at my guide on soft butter cookies!
Gathering Your Ingredients for Perfect Sugar Cookies
Alright, let’s talk about what you need to make these beautiful treats happen. Getting your ingredients ready—or your *mise en place* as the fancy folks say—is half the battle won. I’ve learned that these baking staples are super important, and a few small prep steps can make all the difference between a good cookie and a truly great one.
For this recipe to give you those soft centers and hold those crisp edges when you cut them, you’ll need these precise measurements:
- 2 3/4 cups all-purpose flour
- 1 teaspoon baking soda
- 1/2 teaspoon baking powder
- 1 cup unsalted butter, softened to room temperature (this is key!)
- 1 1/2 cups granulated sugar
- 1 large egg, coming up to room temperature
- 1 teaspoon vanilla extract
- 1/2 teaspoon almond extract
The full list is right there, but I want to talk about those little details, especially temperature. If your butter is too cold, it won’t cream properly, and you’ll end up with a dense cookie instead of the dreamy texture we are aiming for. If you forgot to take your butter out, don’t panic! Just cut it into small cubes and microwave it for about 10-12 seconds—it should be pliable, not oily.
Ingredient Notes and Substitutions for Your Sugar Cookies
That little bit of almond extract? That’s my secret weapon for those rich, bakery style cookies taste! It just brightens up the vanilla and makes the whole cookie taste more complex, even though it’s just simple sugar cookies. If you absolutely cannot stand almond, use 1 1/2 teaspoons of vanilla extract instead, but try the almond first, trust me!
Also, please make sure your baking soda and baking powder are fresh. Old leaveners mean you get flat spreading cookies, and nobody wants that mess. We need that little bit of lift for the perfect rise. For all the essentials you should always have on hand, take a look at my guide to must-have baking staples!
Step-by-Step Instructions for Easy Sugar Cookies
Now for the fun part! Don’t let the chilling step scare you off; these are honestly some of the most easy sugar cookies you’ll ever make when you follow a few key timing rules. We are building fantastic texture here, so grab your mixer and let’s get going. Remember, patience in these first steps pays off ten-fold when you bite into that finished cookie.
Mixing the Dough for Ideal Cut Out Sugar Cookies
First things first, get your dry stuff—flour, baking soda, baking powder—whisked together in a bowl and set it aside. It’s just waiting patiently. In your main mixing bowl, you’re going to cream that softened butter and sugar together until it looks truly light and fluffy, almost cloud-like. Seriously, don’t skimp here; you want volume!
Next, work in the egg and those lovely extracts. Once that’s smooth, it’s time for the flour mixture. This is crucial for perfect cut out sugar cookies: add the dry ingredients slowly and mix on low speed until you just see everything come together. If you keep mixing once the flour disappears, you’re developing gluten, and that turns a soft cookie into a tough one. Stop whipping as soon as you can’t see any white streaks anymore. Overmixing is the enemy of soft cookies!
Chilling and Rolling Out Your Sugar Cookies
Once the dough is mixed, divide it into those two halves, wrap those disks up tight in plastic wrap, and shove them into the fridge for at least an hour. Trust me on this timing—if you try to roll this dough out warm, it will stick everywhere, your shapes will warp, and you’ll end up frustrated. Chilling is what gives you beautiful, sharp edges for those decorative holiday cookies.
When you’re ready to roll, preheat that oven to 375 degrees F (190 degrees C) and line a baking sheet with parchment paper. Lightly flour your counter and tap out one disk. You want that dough about 1/4 inch thick. If it feels sticky, dust the top lightly with a tiny bit more flour. Use your favorite cutters and place those shapes onto your prepared sheet. This thorough chilling is the secret to successful cut out sugar cookies!
Baking Times and Cooling for Soft Sugar Cookies
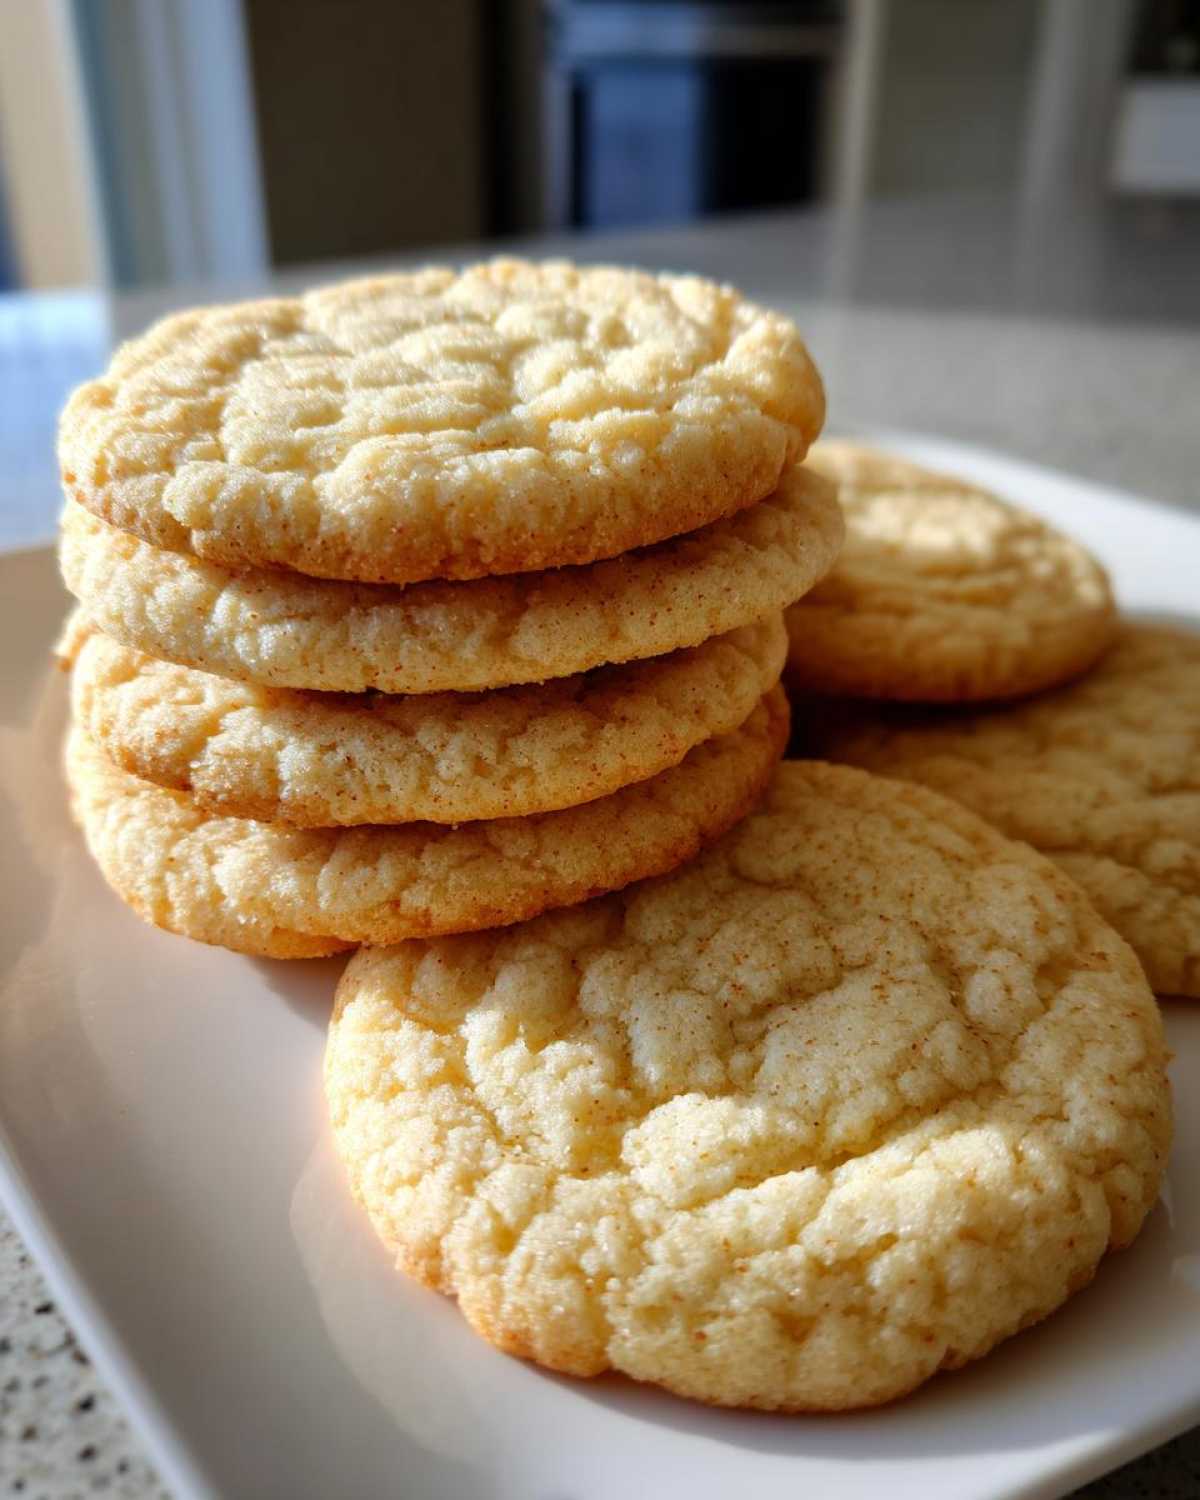
Pop the sheet into the hot oven. They don’t take long—usually 7 to 9 minutes is perfect. The visual cue I always look for as I’m trying to achieve those wonderfully soft sugar cookies is this: the edges should look just set, maybe a tiny bit golden, but the center should still look slightly pale and maybe a tiny bit puffy. That slight softness means they will firm up perfectly while cooling.
Pull them out, and here’s another tip: let them sit right on that hot baking sheet for a full five minutes before you even think about moving them. If you try to lift them right away, they’ll break. After five minutes of warming up on the tray, they’ll be sturdy enough to slide onto a wire rack to cool down completely before any decorating begins. You can find some great inspiration for your first batch in my guide to beginner cookie recipes!
Tips for Success with Cut Out Sugar Cookies
There are three little things that turn a good batch of cut out sugar cookies into a no fail cookie recipe every single time. First, if you notice the dough is getting too warm while you are cutting shapes, put the whole sheet back in the fridge for five minutes. Cold dough equals sharp edges!
Second, don’t be shy with your flour when rolling, but brush off the excess before baking. A thin layer of flour on the counter prevents sticking without adding too much flour to the surface of the cookie itself. Finally, when you transfer them to the oven rack, be gentle! Use a thin metal spatula for lifting, especially for the delicate points on stars or hearts. If you’re looking for other straightforward baking success stories, check out my tips on making the best homemade chocolate chip cookies!
Simple Sugar Cookie Decorating Ideas
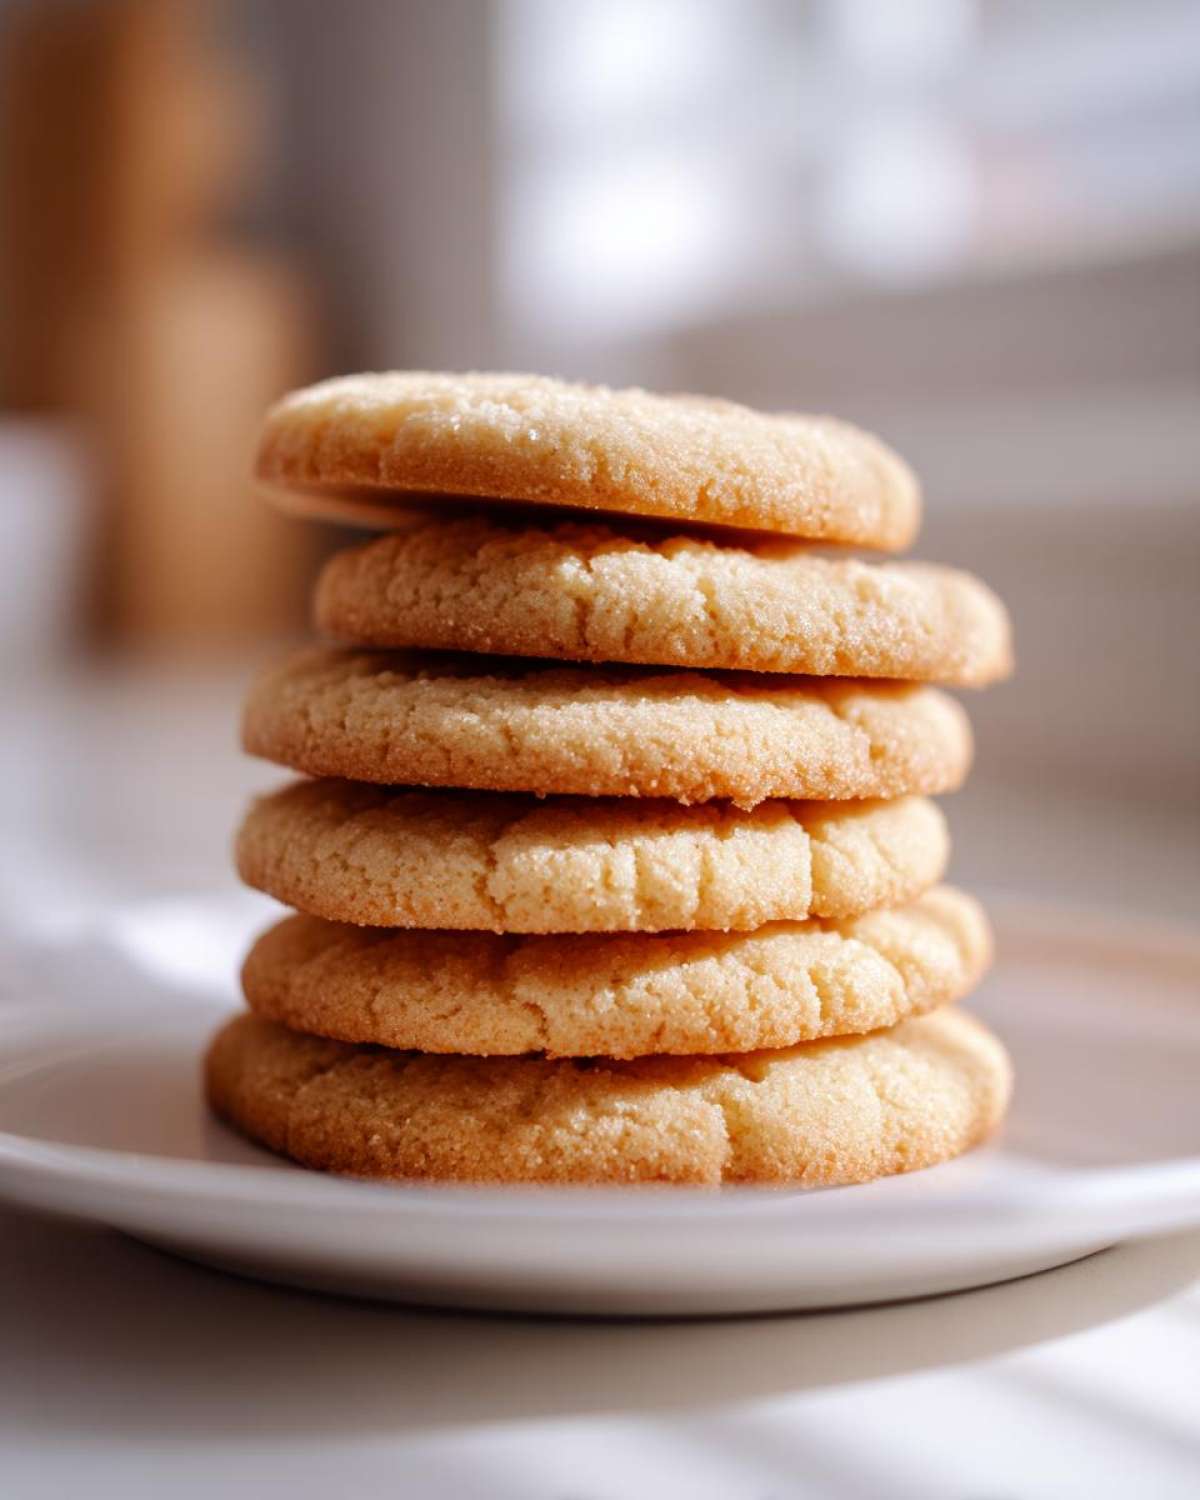
Once these beautiful, buttery rounds are totally cool—and I mean *totally* cool, or the icing melts everywhere—it’s time for the best part! Since these are already such wonderfully soft sugar cookies, you don’t need thick, heavy layers of sugary frosting. A simple glaze works wonders and keeps things light.
I usually whip up a small batch of simple powdered sugar glaze with a little milk and a tiny splash of vanilla. It sets up nicely but leaves that soft, melt-in-your-mouth feeling we worked so hard for. If you need something that dries hard and shiny for intricate holiday designs, you absolutely need to check out my foolproof guide on making royal icing that actually hardens right. It makes easy cookie decorating such a breeze, even for beginners. Just remember: thin coats dry faster, and vibrant sprinkles make everything feel instantly festive!
Storage and Reheating Instructions for Your Sugar Cookies
Now that you have these amazing, soft, and buttery cookies, we need to make sure they stay that way! Nobody wants to pull out a homemade treat only to find it went stale overnight. For these particular sugar cookies, storing them right is crucial to keep that “melt in your mouth cookies” quality we aimed for.
If you have undecorated cookies, it’s super simple. Wait until they are completely, totally cool—like, hours later cool—and stack them in an airtight container. You can slip small pieces of wax paper between the layers if you’re worried about them sticking, but usually, if they aren’t warm, they are fine stacked. They stay perfect like this for almost a full week. I’m serious, they barely change texture!
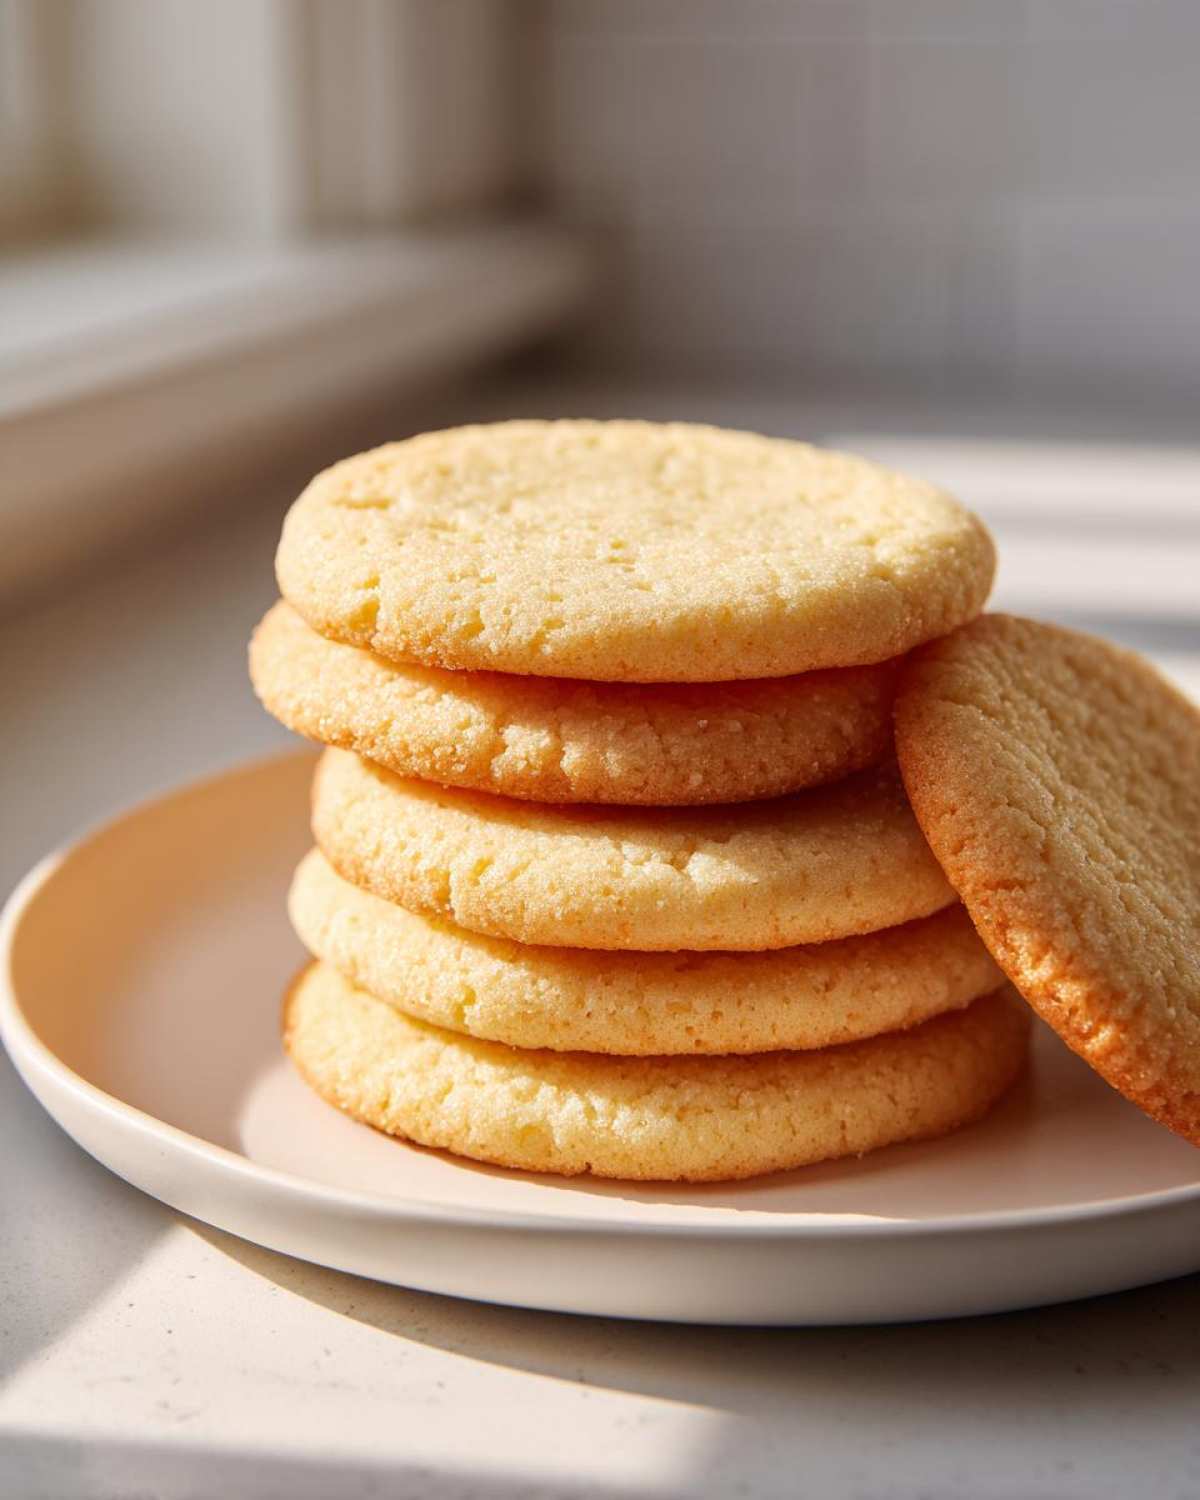
Now for the decorated ones—this depends on your icing. If you used a thick royal icing, they are also fine stored airtight at room temperature. Keep them away from direct sunlight or heat, because that can make the icing sticky or cause the colors to bleed. If you used a simple powdered sugar glaze or any soft buttercream, you might want to store them in a single layer or use parchment paper between layers, just to be safe.
I’ve never really had luck freezing the *decorated* ones; the icing usually gets weird when it thaws. But the plain, undecorated cookies? Absolutely! Once fully cooled, wrap those disks tightly in plastic wrap, then toss them in a freezer bag. They’ll be good for about three months, and when you want a fresh cookie, just let them thaw on the counter for an hour and then bake them off for 3-4 minutes. That little warm-up really brings back the fresh-baked flavor!
Frequently Asked Questions About These Sugar Cookies
I always get so many questions when people try this recipe for the first time! It truly is a fantastic base for all sorts of Christmas cookie recipes, but sometimes readers have tweaks they want to make. Here are a few of the most common things I hear about getting these sugar cookies absolutely perfect, just like those lovely bakery style cookies.
I’ve even included a link to my favorite recipe for a fruity twist on a classic cookie if you’re looking for delicious alternatives after you master this one: Fruit Pizza Sugar Cookie!
How do I make my sugar cookies chewy instead of crisp?
This is all about the oven timing, my friend! For maximum softness and chewiness, you want to pull these cookies out when they just look done on the edges, but the very center still looks slightly puffed up and maybe even a tiny bit underdone. If you wait until the center looks totally set and dry, they end up crisping up completely as they cool. So, aim for 7 minutes, check them, and if they need it, cook only one minute more. That slight softness when they come out guarantees a perfectly chewy sugar cookie later on!
Can I use shortening instead of butter in these sugar cookies?
Oh, the shortening debate! You absolutely *can* substitute some of the butter with shortening if you really want to guarantee they don’t spread at all, especially if you live somewhere super hot. However, I strongly caution against replacing all the butter. Butter is what gives these sugar cookies that incredible, rich, melt-in-your-mouth flavor. Shortening provides structure but zero flavor. If you must substitute, use half butter and half shortening. But honestly, if you chill the dough thoroughly like I taught you in the rolling section, you won’t have any spreading issues with the full butter version!
Nutritional Estimates for These Classic Sugar Cookies
I know some of you are counting macros, or maybe you’re just curious about what’s in these beautiful, buttery treats! While they are made with simple, classic ingredients, it’s always good to have a rough idea of what you’re looking at. Remember, these figures are just estimates because my kitchen certainly isn’t a certified lab!
The exact nutrition totally depends on the brand of butter or sugar you use, but here is a good ballpark figure based on the standard measurements we used for this recipe, serving size being one cookie:
- Serving Size: 1 cookie
- Calories: 140
- Sugar: 12g
- Sodium: 65mg
- Fat: 7g (4g saturated)
- Carbohydrates: 18g
- Protein: 2g
I always tell people that when you are baking favorites like these classic sugar cookies from scratch, the joy of making something so delicious far outweighs worrying about calories! Just remember, these estimates assume an average yield of about three dozen cookies. If you make yours bigger or smaller, the numbers will shift. Use this as a helpful guide, not a strict rulebook for your wonderful homemade sweet treats!
Share Your Homemade Sweet Treats
That’s it! You are now armed with what I truly believe is the most reliable, delicious recipe for sugar cookies out there. They are soft, they cut beautifully, and they are just begging for sprinkles!
I absolutely love hearing from you folks when you make one of my perfected recipes. If you give this chewy cut-out cookie a try, please don’t be shy! Come back here, leave a star rating—it helps everyone know this recipe is worth their oven time. Even better, snap a picture of your beautifully decorated cookies and tag me on social media! I love seeing how you make these fun festive cookies your own.
If you’ve got any questions while you’re baking, drop them in the comments below, and I’ll pop in to help you out. Happy baking, and enjoy every single buttery bite of those amazing homemade sweet treats! You can browse all my latest baking adventures over on my main blog page!
PrintBest Soft and Chewy Cut Out Sugar Cookies

This recipe yields soft, chewy sugar cookies that hold their shape well for easy cutting and decorating.
- Prep Time: 25 min
- Cook Time: 9 min
- Total Time: 84 min
- Yield: 3 dozen
- Category: Dessert
- Method: Baking
- Cuisine: American
- Diet: Vegetarian
Ingredients
- 2 3/4 cups all-purpose flour
- 1 teaspoon baking soda
- 1/2 teaspoon baking powder
- 1 cup unsalted butter, softened
- 1 1/2 cups granulated sugar
- 1 large egg
- 1 teaspoon vanilla extract
- 1/2 teaspoon almond extract
Instructions
- Whisk together flour, baking soda, and baking powder in a medium bowl. Set aside.
- In a large bowl, beat the softened butter and sugar with an electric mixer until light and fluffy.
- Beat in the egg, vanilla extract, and almond extract until combined.
- Gradually add the dry ingredients to the wet ingredients, mixing on low speed until just combined. Do not overmix.
- Divide the dough in half, flatten each half into a disk, wrap in plastic wrap, and chill for at least 1 hour.
- Preheat your oven to 375 degrees F (190 degrees C). Line baking sheets with parchment paper.
- On a lightly floured surface, roll out one disk of dough to about 1/4 inch thickness.
- Use cookie cutters to cut out shapes and place them on the prepared baking sheets.
- Bake for 7 to 9 minutes, or until the edges are set but the centers are still slightly soft.
- Let the cookies cool on the baking sheet for 5 minutes before transferring them to a wire rack to cool completely before decorating.
Notes
- For the best cut-out results, chill the dough thoroughly.
- If you prefer a slightly firmer cookie, bake for an extra minute.
- Almond extract provides a classic bakery flavor; you can substitute with more vanilla if preferred.
Nutrition
- Serving Size: 1 cookie
- Calories: 140
- Sugar: 12
- Sodium: 65
- Fat: 7
- Saturated Fat: 4
- Unsaturated Fat: 3
- Trans Fat: 0
- Carbohydrates: 18
- Fiber: 0
- Protein: 2
- Cholesterol: 25