

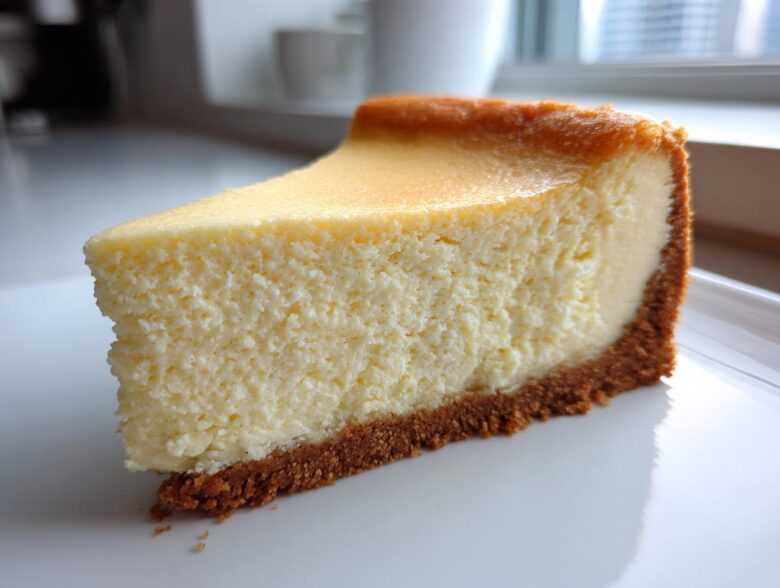
Okay, listen up, because I spent years fighting with sunken, cracked, and grainy desserts before figuring out this one perfect method. Seriously, I used to dread making cheesecake because the payoff never matched the panic! But I finally cracked the code, and I am so excited to share my absolute favorite cheesecake recipe with you. This isn’t just any dessert; this is the Best Never-Fail, Creamy New York Style Cheesecake with Graham Cracker Crust. It bakes up unbelievably rich, velvety smooth, and it practically begs you not to share. If you’ve been searching for how to make perfect cheesecake that wows everyone, stop looking. We’re going to master this together, and trust me, once you nail the cooling process, you’ll never look back. You can even check out my secret for making amazing chocolate chip cookies for dessert next week!
Why This is the Ultimate Creamy Cheesecake Recipe
What makes this cheesecake recipe different? It all boils down to a couple of non-negotiable steps that take you from ‘good’ to ‘incredible.’ I learned that you can’t rush the texture or the temperature management. This method focuses heavily on the water bath—don’t you dare skip it!—and making absolutely sure every component is perfectly tempered before it even sees the mixer. It’s about building trust in the process, which is why I feel so confident sharing this creamy cheesecake tutorial.
You might want to bookmark my guide on German Chocolate Cake for next time, but right now, we’re focused on this silky dream!
Achieving the Perfect Rich Dessert Texture
The secret to that dense, luxurious feel comes from using only full-fat cream cheese. Don’t try to go low-fat here; it just won’t behave! That rich base, combined with the gentle heat of the water bath, cooks the proteins evenly. That results in that signature velvety smooth dessert you crave. When you follow my cooling plan, you lock in all that beautiful structure.
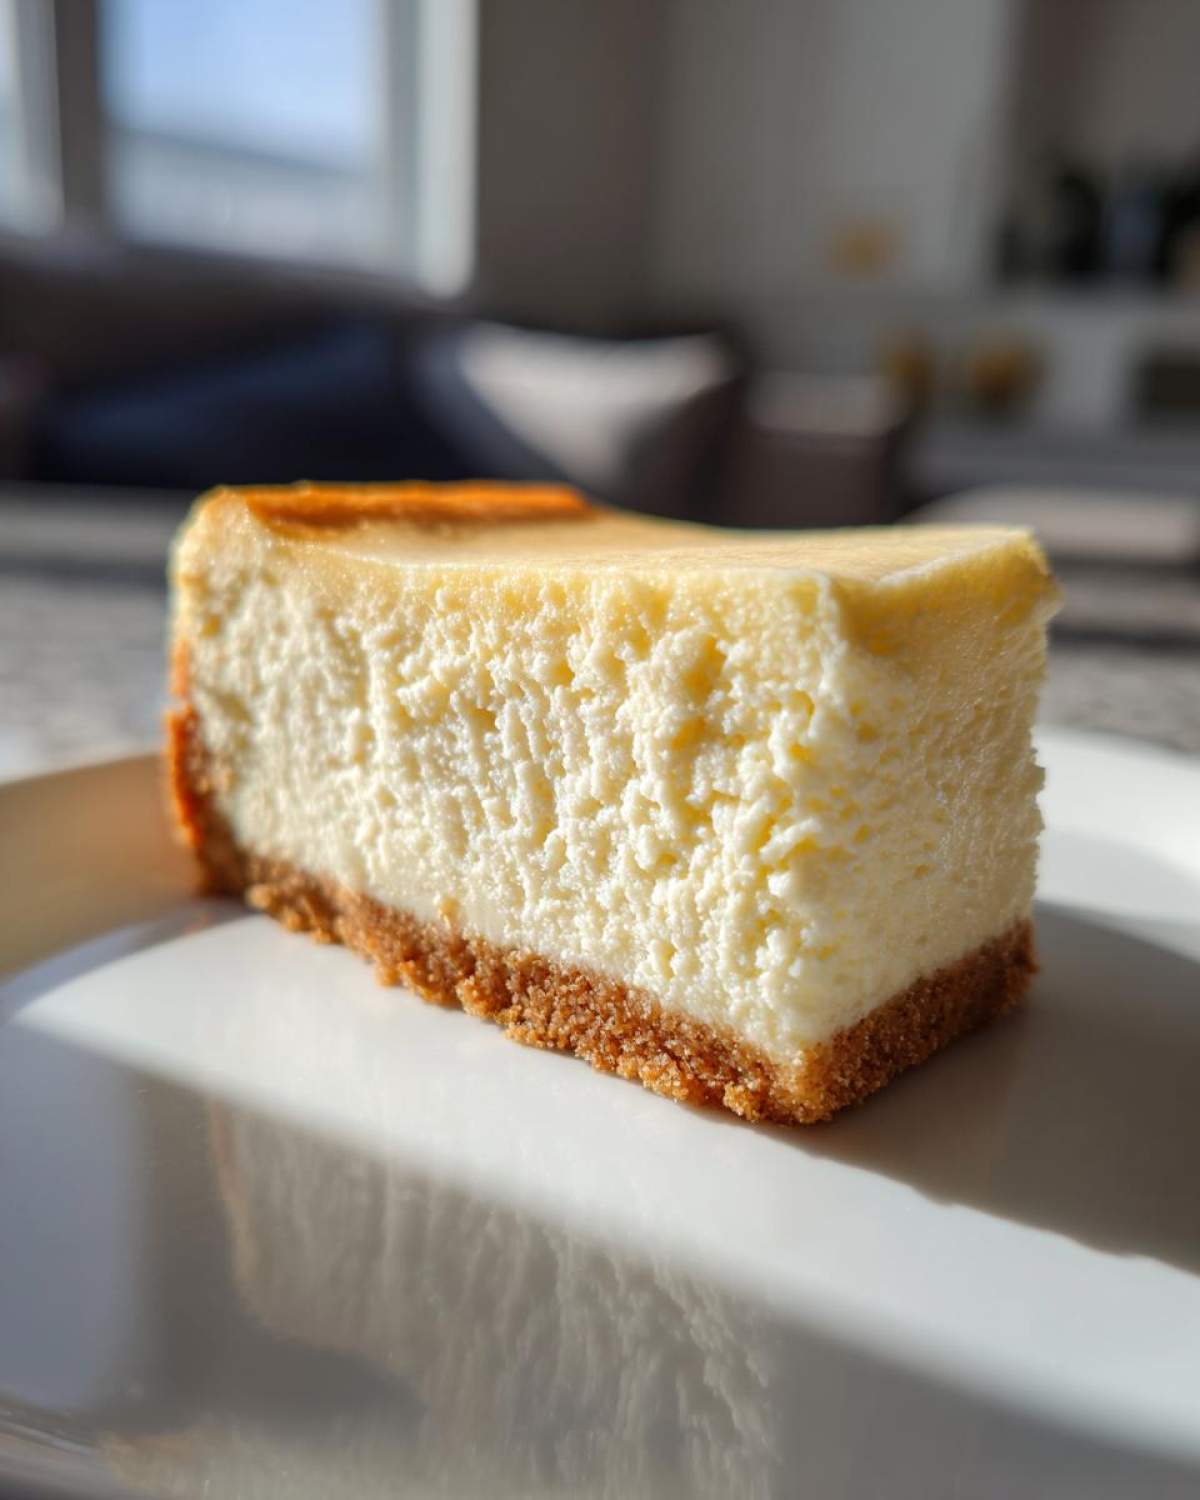
Tips for an Easy Homemade Cheesecake No Crack
Look, we all want an easy homemade cheesecake no crack, and that’s the goal here. The water bath, or *bain-marie*, is doing most of the heavy lifting by keeping the environment humid and preventing harsh, direct heat. But the second win for preventing a disaster is letting the cake get used to the temperature change slowly. We turn the oven off, prop the door, and let it hang out. That gradual temperature drop is your insurance policy against surface fissures in this fantastic cheesecake recipe.
Ingredients for Your Classic Cheesecake Recipe
Okay, ingredients are where the magic starts for this cheesecake recipe, and precision is key here because we are aiming for that ultra-creamy result. Don’t cheat by using ingredients straight from the fridge! Seriously, if you take one thing away, let it be that your cream cheese, eggs, and sour cream *must* be at room temperature. That’s how we guarantee a lump-free, gorgeous filling. Everything else is really straightforward, but don’t even think about swapping the full-fat cream cheese for anything else!
If you’ve ever had trouble with sticky baking releases, you might want to check out my guide for old-fashioned creamy rice pudding—I use a similar pan prep trick there, and it works wonders!
For the Best Graham Cracker Crust Recipe
We need just three things for the base: 1 1/2 cups of graham cracker crumbs, 1/4 cup of regular granulated sugar to help it firm up, and 6 tablespoons of unsalted butter that has been melted perfectly. Mix ’em up until they look like sandy beach wetness and then press it down hard into that springform pan—we want a strong foundation!
For the Tangy Cream Cheese Filling
Here’s the heavy hitter list: three full 8-ounce packages of softened cream cheese—remember, softened! Then, 1 1/2 cups of granulated sugar, 1 teaspoon of vanilla extract for that classic warmth, and just a tiny pinch of salt to balance the sweetness. Then we bring in the structure: 4 large eggs, room temperature, and finally, 1/2 cup of room-temperature sour cream to give it that amazing tangy cream cheese filling edge.
Simple Cheesecake Instructions for a New York Style Cheesecake From Scratch
Now for the fun part—we actually assemble this masterpiece! While I’ve got a great recipe for Date Nut Bread, nothing compares to this cheesecake recipe when you’re craving something truly decadent. I’ve broken down these simple cheesecake instructions into manageable chunks. Seriously, follow these steps closely, especially around the water bath, and you are practically guaranteed a perfect, sliceable result. This is how you make a new york cheesecake from scratch that tastes like it came from a fancy bakery!
Preparing the Crust and Pan
First things first, get your oven set to 325 degrees F. Before anything else, you need to wrap that 9-inch springform pan—and I mean *really* wrap it—with heavy-duty aluminum foil, like three layers thick. This foil is your shield against the water bath! Then, mix all your crust ingredients until it’s nicely crumbly, press it firmly into the bottom of the pan, and bake that crust for a quick 10 minutes. Let it cool down just a bit while you whip up the filling.
Mixing the Velvety Smooth Dessert Filling
Grab that big bowl and start beating your softened cream cheese until it looks totally smooth—no lumps allowed! Scrape the sides down so everything incorporates evenly. Next, beat in the sugar, vanilla, and salt until they are just mixed in. The crucial part: add your room temperature eggs one by one. Mix just until you see that egg disappear, then stop and mix the next one. Overmixing after the eggs go in is what causes air bubbles, leading to cracks! Finally, stir in the sour cream until you have a beautiful, velvety smooth dessert batter.
The Crucial Water Bath and Baking Steps for This Cheesecake Recipe
Pour your gorgeous filling right over that cooled crust. Now, set the springform pan inside a larger roasting pan. This is the water bath setup! Carefully pour hot water into the outer roasting pan until it comes halfway up the sides of your cheesecake pan. Bake this whole setup for about 60 to 75 minutes. You know it’s ready when the edges look set, but if you give the pan a tiny nudge, the very center still wobbles just a bit. That slight jiggle is the key to this cheesecake recipe being extra creamy!
Cooling and Chilling: The Secret to a Perfect Cheesecake Recipe
I know you’re dying to pull this beautiful cheesecake recipe out of the oven the second it looks done, but hold your horses! This cooling process is honestly the most important step for nailing that ‘no-crack’ guarantee. If you pull it straight into the cool room air, you’re asking for trouble, guaranteed. We need to gently coax it into settling down. I use this method every single time I make my ultimate cheesecake recipe, and it works like a charm.
First, turn the oven completely off, but do *not* take the cheesecake out. Just prop the door open about two inches—a wooden spoon works great for keeping it slightly ajar. Let it sit in that gentle heat for a full hour. This slow descent prevents the center from collapsing due to a sudden temperature shift. After that hour, take it out of the water bath and peel off that foil shield. Let it cool completely on a wire rack at room temperature before you even *think* about covering it or moving it to the fridge. It needs at least six hours, but honestly, overnight is best for the truly perfect texture you get from this cheesecake recipe. Maybe check out my recipe for sour cream coffee cake while you wait for the chilling time!
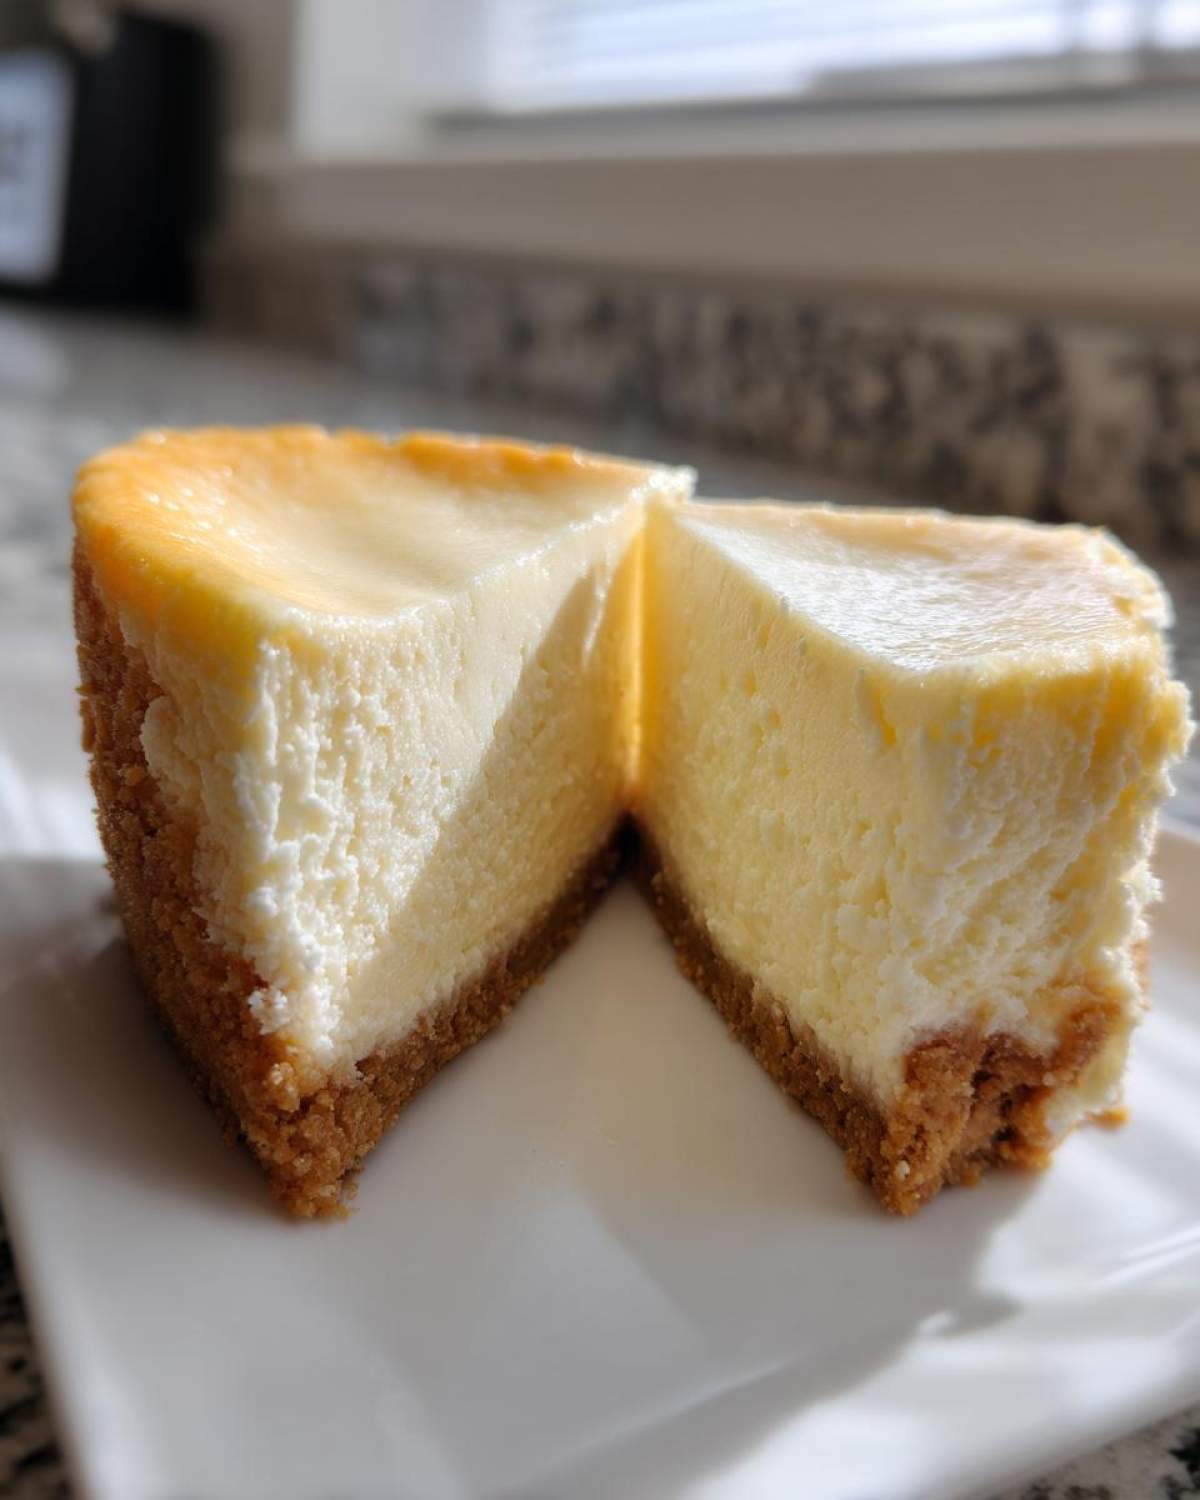
Tips for Success with Your Creamy Cheesecake Tutorial
I’ve got a few final secrets that help me nail this rich dessert every time I whip up this creamy cheesecake tutorial. Even if you follow every measurement perfectly, small inconsistencies can sometimes throw off the texture, so these little tricks are my insurance policy. Honestly, mastering a great cheesecake is about respecting the dairy ingredients and knowing when to put the mixer down! Trust me, once these concepts click, you’ll be making this dessert for every party you attend.
Need another showstopper? You should look at my guide for the best red velvet cake recipe!
Ingredient Temperature Matters for This Cheesecake Recipe
I can’t stress this enough when we talk about any cheesecake recipe: everything needs to be room temperature! I mean the cream cheese, the eggs, and the sour cream. If you try to mix cold cream cheese, you end up wrestling with hard chunks that just won’t blend smoothly. It’s the main reason you get those dreaded lumps in the finished product. Let them sit out for at least an hour. When those ingredients are happy and warm, they incorporate beautifully into that luxurious, smooth base!
Serving Suggestions for Your Indulgent Cheesecake Dessert
This indulgent cheesecake dessert is so rich and satisfying all on its own, truly! I usually resist adding too much because I want that pure, tangy cream cheese flavor to shine through. If you’re not into plain perfection, keep your toppings light. My favorite thing to do is warm up some basic cherry pie filling—don’t get fancy, just the can kind works—and drizzle just a little on top of each slice. It adds a beautiful pop of color!
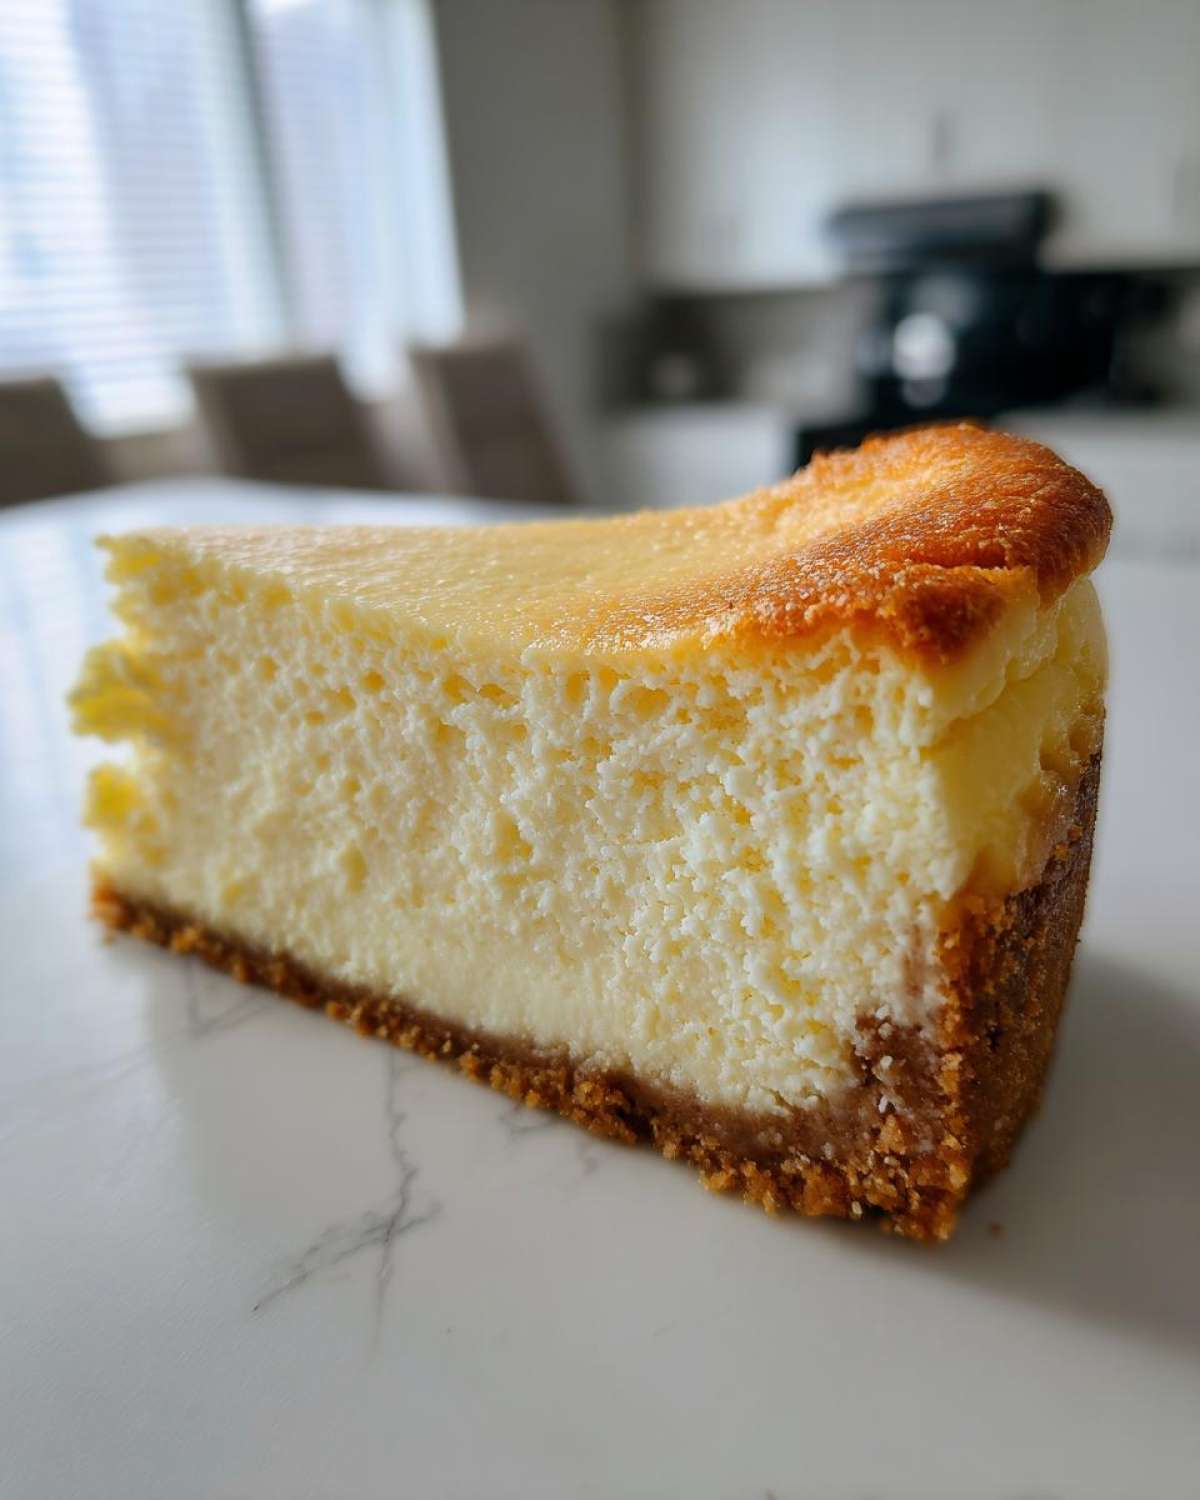
For something earthier, a tiny, light dusting of cocoa powder or finely grated dark chocolate is heavenly. It plays so well against the sweet crust. If you’re feeling fruity, a fresh berry compote you whip up in five minutes is fantastic too. You can see how I make a simple topping for my apple crisp; a similar concept works here to keep things fresh without overpowering the cake!
Storage and Reheating Instructions for Leftover Cheesecake Recipe
Okay, you’ve made it through the cooling marathon, and now you have leftovers—lucky you! Because this is such a rich dessert, storage is super simple. First, make absolutely sure the cheesecake is completely chilled before you cover it, or you’ll get condensation and a soggy crust. Cover the entire pan loosely with plastic wrap or foil, or better yet, transfer slices onto plates and cover those individually. Keep it tucked away in the fridge for up to five days. Seriously, this cheesecake recipe tastes even better on day two!
Now, here’s a non-negotiable: do *not* try to reheat this! Cheesecake is meant to be served cold, straight from the fridge for that firm texture. Warming it up just turns it into a runny, disappointing puddle because of all that delicate cream cheese and those eggs. If you need to soften it slightly for serving, just let an individual slice sit on the counter for about 15 minutes before digging in. You can find my recipe for amazing Italian bread if you need something sturdy to soak up any errant plate remnants!
Frequently Asked Questions About This Cheesecake Recipe
You know, making a spectacular dessert like this always brings up questions, and that’s fair! People worry about the technical parts, especially when dealing with something as temperamental as a truly rich dessert recipe. Don’t fret; that’s what this section is for. We’ll sort out any remaining confusion so you feel totally confident tackling this cheesecake recipe. I promise, once you see how simple the science is, you’ll be making this for every gathering!
If you happen to have leftover soup or chili, you should definitely check out my favorite cheeseburger bowl recipe for a quick weeknight meal.
Can I skip the water bath when making this cheesecake recipe?
Oh, no, sweetie, you really can’t! I know it looks like an extra annoying step, but the water bath is literally non-negotiable for this specific cheesecake recipe. It shields the sides from getting too hot too fast, creating that perfectly even cooking environment. If you skip it, you risk a sunken center or, worse, cracks because the edges set way before the middle does. It’s the key to that flawless surface!
How do I know when my cheesecake is done baking?
Forget setting a timer and walking away—you have to watch it! When you gently nudge the pan, the edges should look completely firm and set, like they aren’t going anywhere. But the absolute center, about a two-inch circle, should still wiggle slightly, almost like firm gelatin. That wobble means it’s cooked enough to set up perfectly as it cools, which guarantees that ultimate creamy cheesecake texture!
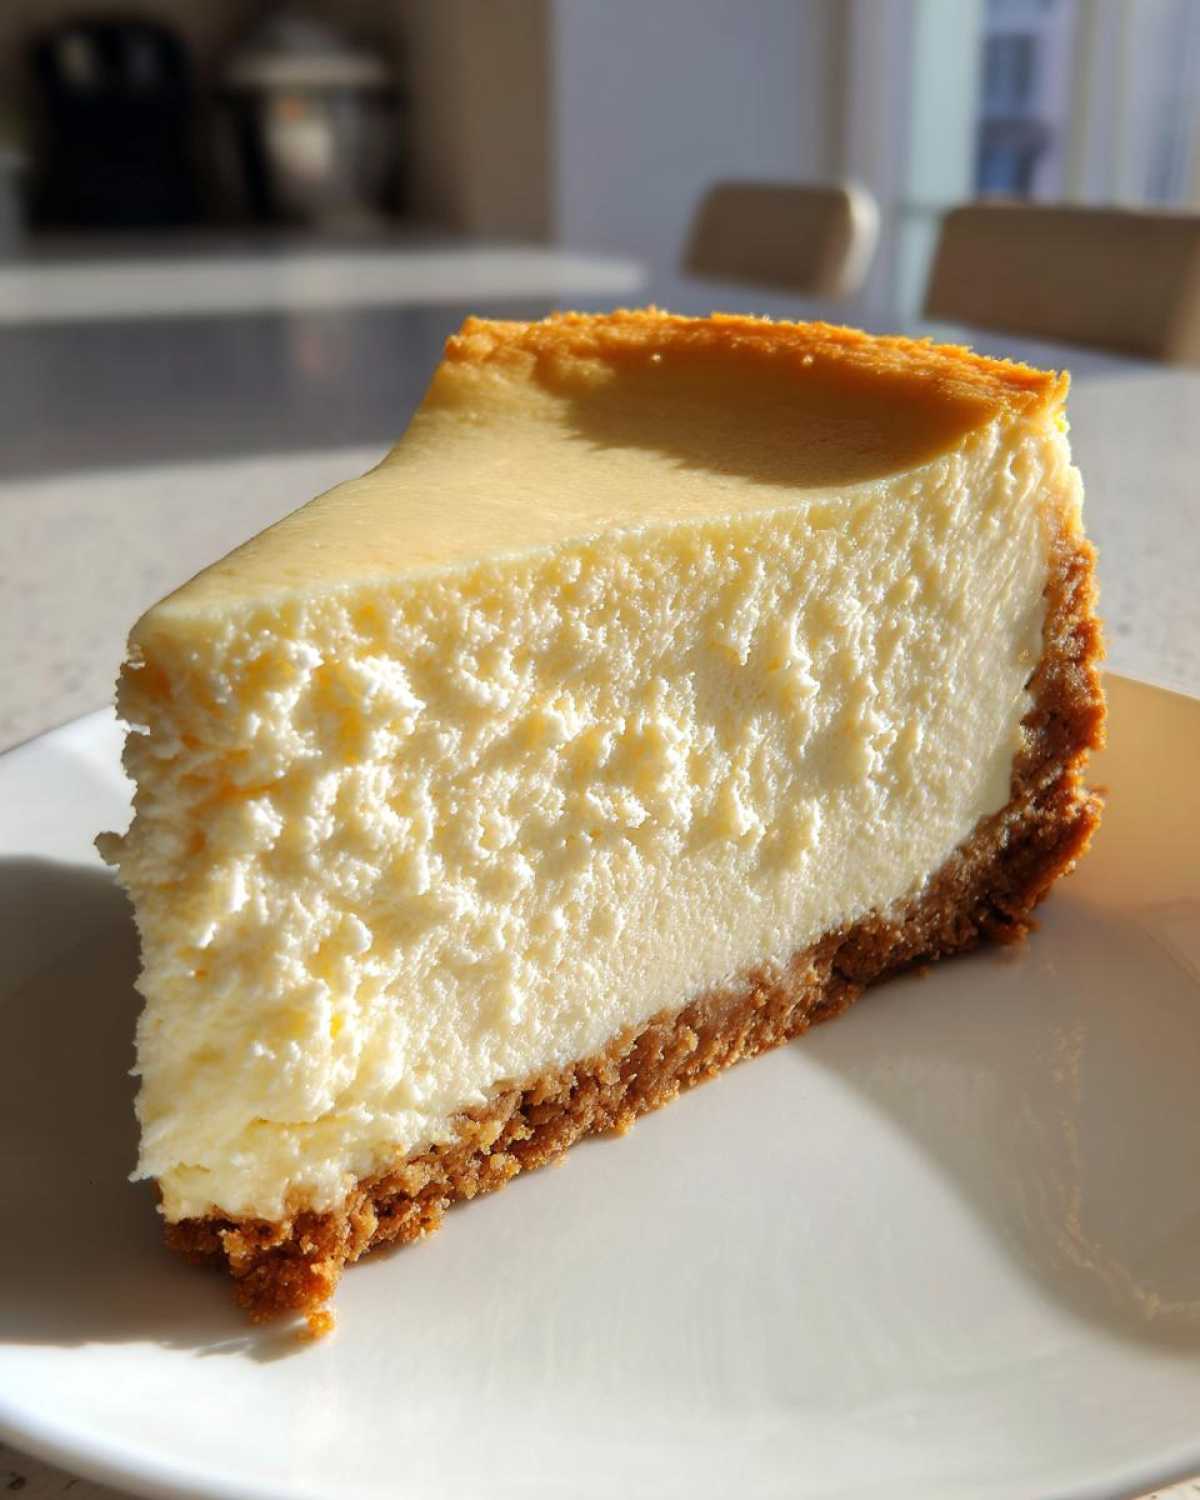
Can this be made ahead? Is it a good cheesecake for parties?
Yes, yes, and absolutely YES! This cheesecake recipe is actually *better* when made the day before. Seriously, give it that overnight chill in the fridge—the flavors meld, and the structure firms up beautifully. Because it travels well and is such an impressive centerpiece, it’s hands-down my favorite cheesecake dessert for parties. You can bake it Friday night, keep it covered Saturday, and serve it chilled Sunday afternoon! Easy hosting!
Estimated Nutritional Data for This Cheesecake Recipe
Now, I’ll be totally honest, I am not a nutritionist, so please take these numbers with a grain of salt—or maybe a crumb of graham cracker! This is a truly indulgent cheesecake dessert, so it’s definitely not an every-day item, but it’s worth every single bite! These estimates are based on 12 servings from this cheesecake recipe. If you make the slices bigger—and I won’t judge you if you do—the values will shift!
You can check out my super easy Rotel Dip recipe if you need a less heavy appetizer for your next gathering!
- Serving Size: 1 slice
- Calories: 450
- Fat: 30g
- Carbohydrates: 38g
- Protein: 8g
Remember, these exact figures can change depending on your brand of cream cheese or if you use different crackers for the crust. Enjoy guilt-free!
PrintNever-Fail Creamy New York Style Cheesecake
A reliable recipe for a rich, creamy New York style cheesecake with a classic graham cracker crust, designed to prevent cracking.
- Prep Time: 25 min
- Cook Time: 75 min
- Total Time: 100 min
- Yield: 12 servings
- Category: Dessert
- Method: Baking
- Cuisine: American
- Diet: Vegetarian
Ingredients
- 1 1/2 cups graham cracker crumbs
- 1/4 cup granulated sugar (for crust)
- 6 tablespoons unsalted butter, melted
- 3 (8 ounce) packages full-fat cream cheese, softened
- 1 1/2 cups granulated sugar (for filling)
- 1 teaspoon vanilla extract
- 1/4 teaspoon salt
- 4 large eggs, room temperature
- 1/2 cup sour cream, room temperature
Instructions
- Preheat your oven to 325 degrees F. Wrap the outside of a 9-inch springform pan tightly with heavy-duty aluminum foil.
- Prepare the crust: Mix graham cracker crumbs, 1/4 cup sugar, and melted butter until combined. Press the mixture firmly into the bottom of the prepared springform pan. Bake for 10 minutes. Let cool slightly.
- Prepare the filling: In a large bowl, beat the softened cream cheese with an electric mixer until smooth. Scrape down the sides.
- Gradually beat in 1 1/2 cups sugar, vanilla extract, and salt until just combined. Do not overmix.
- Beat in the eggs one at a time, mixing only until each egg is incorporated. Mix in the sour cream until the batter is smooth.
- Pour the filling over the cooled crust.
- Place the springform pan into a larger roasting pan. Carefully pour hot water into the roasting pan until the water reaches halfway up the sides of the springform pan (this creates a water bath).
- Bake for 60 to 75 minutes, or until the edges are set but the center still jiggles slightly when the pan is gently nudged.
- Turn off the oven. Prop the oven door open slightly (about 2 inches) and let the cheesecake cool inside the oven for 1 hour. This slow cooling prevents cracking.
- Remove the cheesecake from the water bath and foil. Let it cool completely on a wire rack.
- Refrigerate the cheesecake for at least 6 hours, or preferably overnight, before serving.
Notes
- Use room temperature ingredients for the filling to ensure a smooth, lump-free texture.
- The water bath is essential for even baking and a creamy result.
- Do not open the oven door during the initial baking time.
Nutrition
- Serving Size: 1 slice
- Calories: 450
- Sugar: 35g
- Sodium: 300mg
- Fat: 30g
- Saturated Fat: 18g
- Unsaturated Fat: 12g
- Trans Fat: 0.5g
- Carbohydrates: 38g
- Fiber: 1g
- Protein: 8g
- Cholesterol: 110mg