

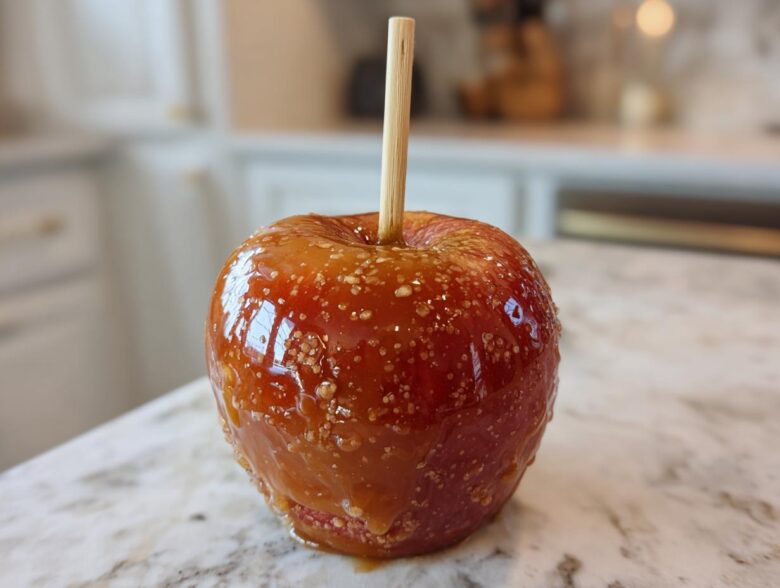
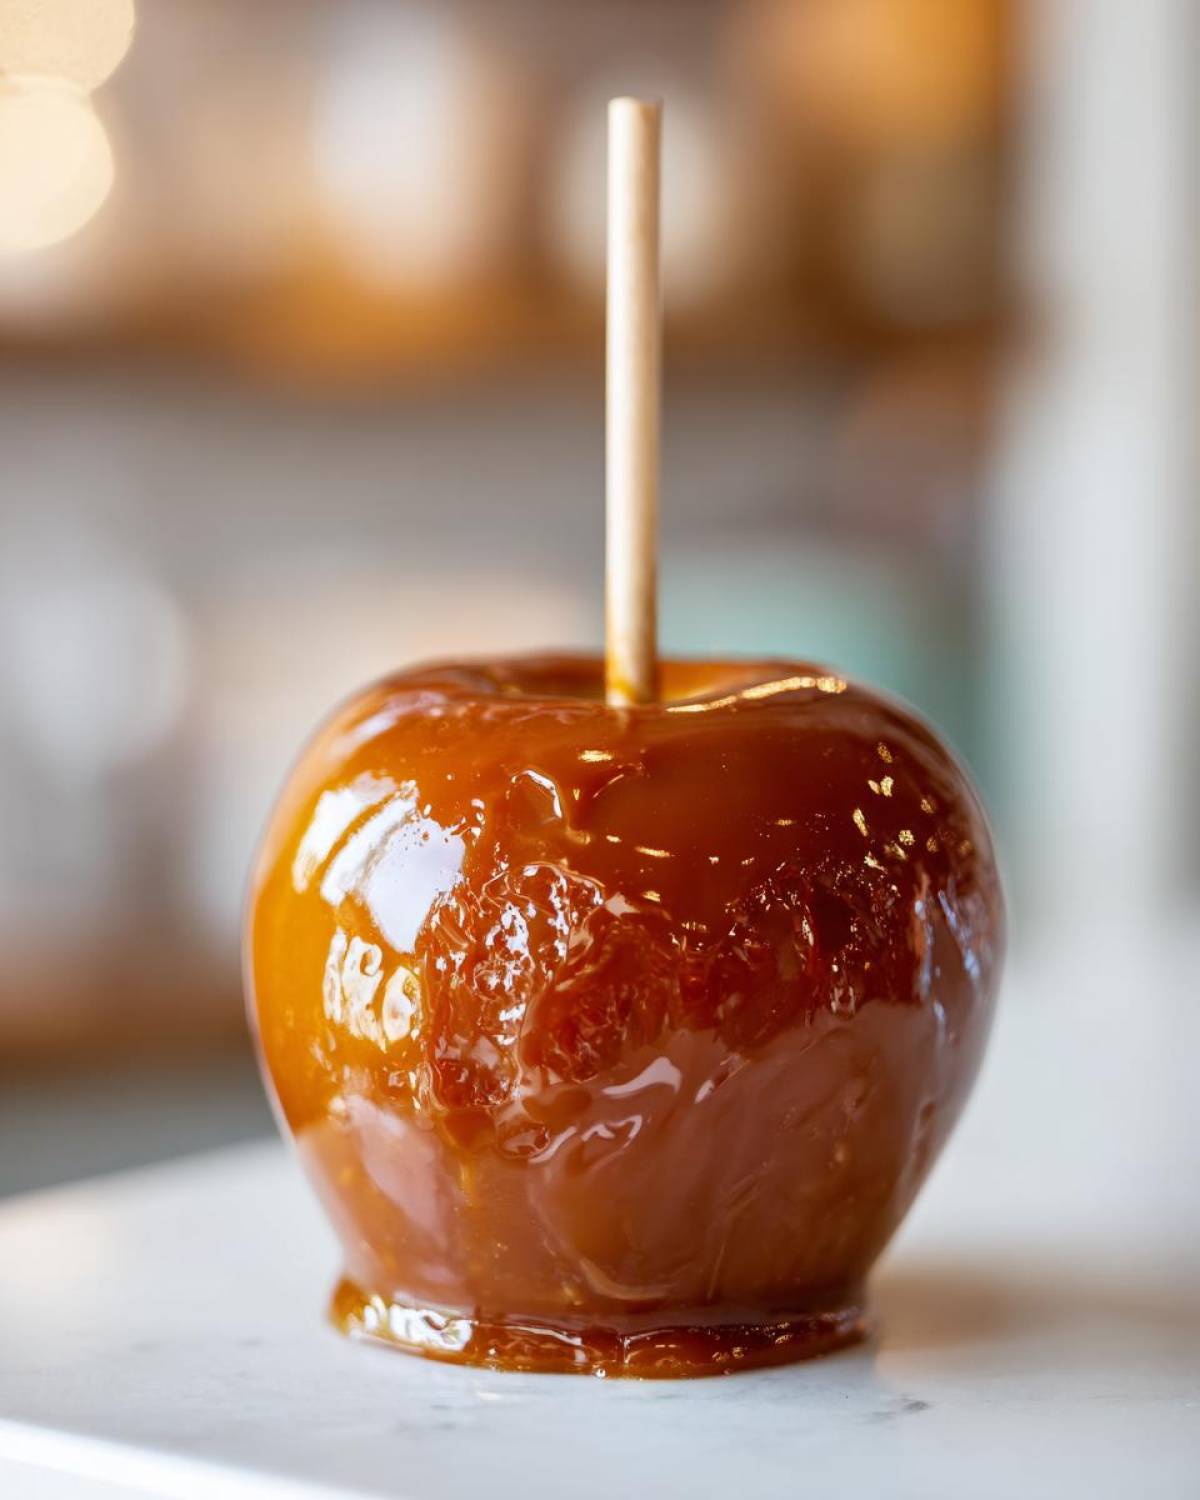
Isn’t that just the smell of fall? Seriously, nothing yells cozy autumn parties and Halloween fun like a perfect, shiny caramel apple! I have spent years trying to nail this recipe. I mean, I’ve ruined plenty of batches where the caramel looked beautiful in the pot but immediately slid right off the apple and pooled sadly on the parchment paper—total disaster! But trust me, now I have cracked the code. Forget those thin, runny coatings; this Homemade Caramel Apple Recipe guarantees you get that thick, impossibly chewy layer that stays exactly where you put it. We are going for true, foolproof magic here so you can finally make the best caramel apples for Fall!
I’m linking out to my easy apple crisp recipe if you need another quick fall bake, but for now, let’s get sticky!
Why You Need This Foolproof Homemade Caramel Apple Recipe
Look, making these treats can be intimidating, right? But I promise you, this is the only method you’ll ever need. My goal was to eliminate all the guesswork so you can relax and enjoy the process. You need this recipe because:
- You get a guaranteed chewy coating—no hard candy here!
- It stops the dreaded ‘slide’ for a true no slide caramel apple result.
- It focuses on simplicity, making it the perfect beginner caramel apple recipe.
- You can use the leftover caramel for dipping fruit later!
We’re aiming for flawless, festive, easy caramel apples every single time. You can check out my full walkthrough for the foolproof homemade caramel apple recipe details if you want even more visuals!
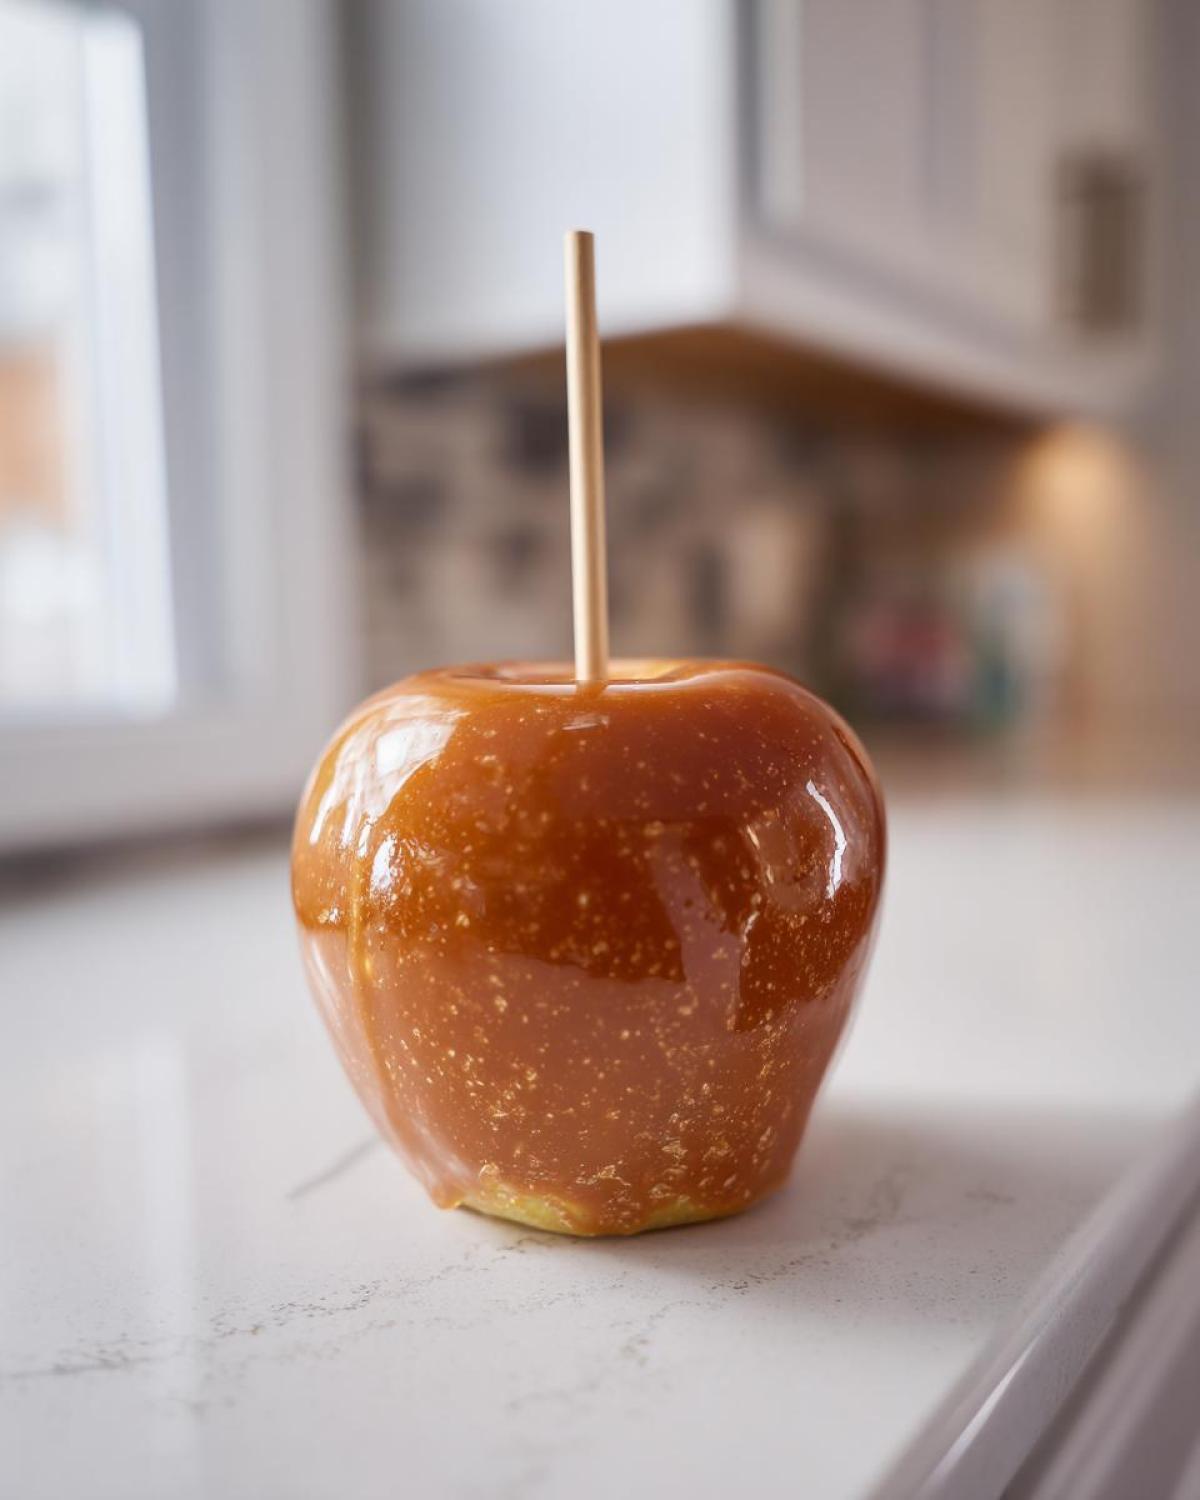
Ingredients for Perfect Chewy Caramel Apples
Honestly, the ingredients list is short, which makes this recipe so addictive! But listen to me: you have to use good stuff here, especially the butter and cream, because that’s what gives you that deep richness. Don’t even think about using anything less than real butter if you want the absolute best caramel apples.
- 12 medium firm apples (Granny Smith or Honeycrisp are my absolute favorites for that tart snap!)
- 2 cups granulated sugar
- 1 cup light corn syrup
- 1 cup heavy cream
- 1 cup (that’s two full sticks) unsalted butter
- 1 teaspoon vanilla extract
- 1/2 teaspoon salt
- 12 wooden or parchment-lined lollipop sticks
I’ve got a fantastic chocolate chip cookie recipe too, but in this case, simple, high-quality ingredients are the secret weapon for the coating!
Mastering the Caramel Coating: Steps for Foolproof Caramel Apples
Okay, this is where some new bakers panic, but I promise we’re going to take this slow and steady. The key to having the caramel actually stick—and staying beautifully chewy, not hard—lies entirely in the prep work and hitting that exact temperature. If you don’t get your apples dry enough, they’ll be sliding right off the parchment paper before they even set! Seriously, never, ever skip the vinegar wipe.
We start with preparing the fruit before we even think about turning on the stove. Once the caramel starts cooking, things move fast, so have everything ready to go! I always have my parchment-lined sheet waiting nearby because once that caramel hits 245°F, you only have a few precious minutes to work before it starts getting thick.
For more simple mains while you wait for that caramel to set, you might want to check out my recipe for easy homemade fluffy rice pilaf. It’s a great pairing for any fall feast!
Apple Preparation: The Key to Perfect Caramel Apples
First things first: wash those apples well, and I mean *really* dry them! Then comes my little secret for a truly amazing, attached coating: grab some paper towels, dip them in plain white vinegar, and wipe down the entire skin of the apple. That acidic little touch banishes any waxy residue from the surface. Don’t worry, that vinegar smell bakes completely away! Let them air dry completely while you measure out your ingredients.
Cooking the Caramel to Chewy Caramel Apples Stage
In your heavy-bottomed pot, mix the sugar, corn syrup, cream, and butter. Stir constantly while it warms up gently until the sugar fully dissolves smoothly. This part is easy. Now, this is crucial: STOP stirring once the mixture starts bubbling! Insert your candy thermometer and let it cook. We are aiming exclusively for 245°F, which is the Firm Ball stage—that sweet spot for a perfectly chewy caramel consistency. This usually takes about 15 to 20 minutes, depending on your stove, but the thermometer doesn’t lie!
Once you hit that magic number, remove the pot from the heat right away! Let the mixture cool for about five minutes; it should get slightly thicker but still be totally pourable. That short cooling period is vital before you start dipping your caramel apples!
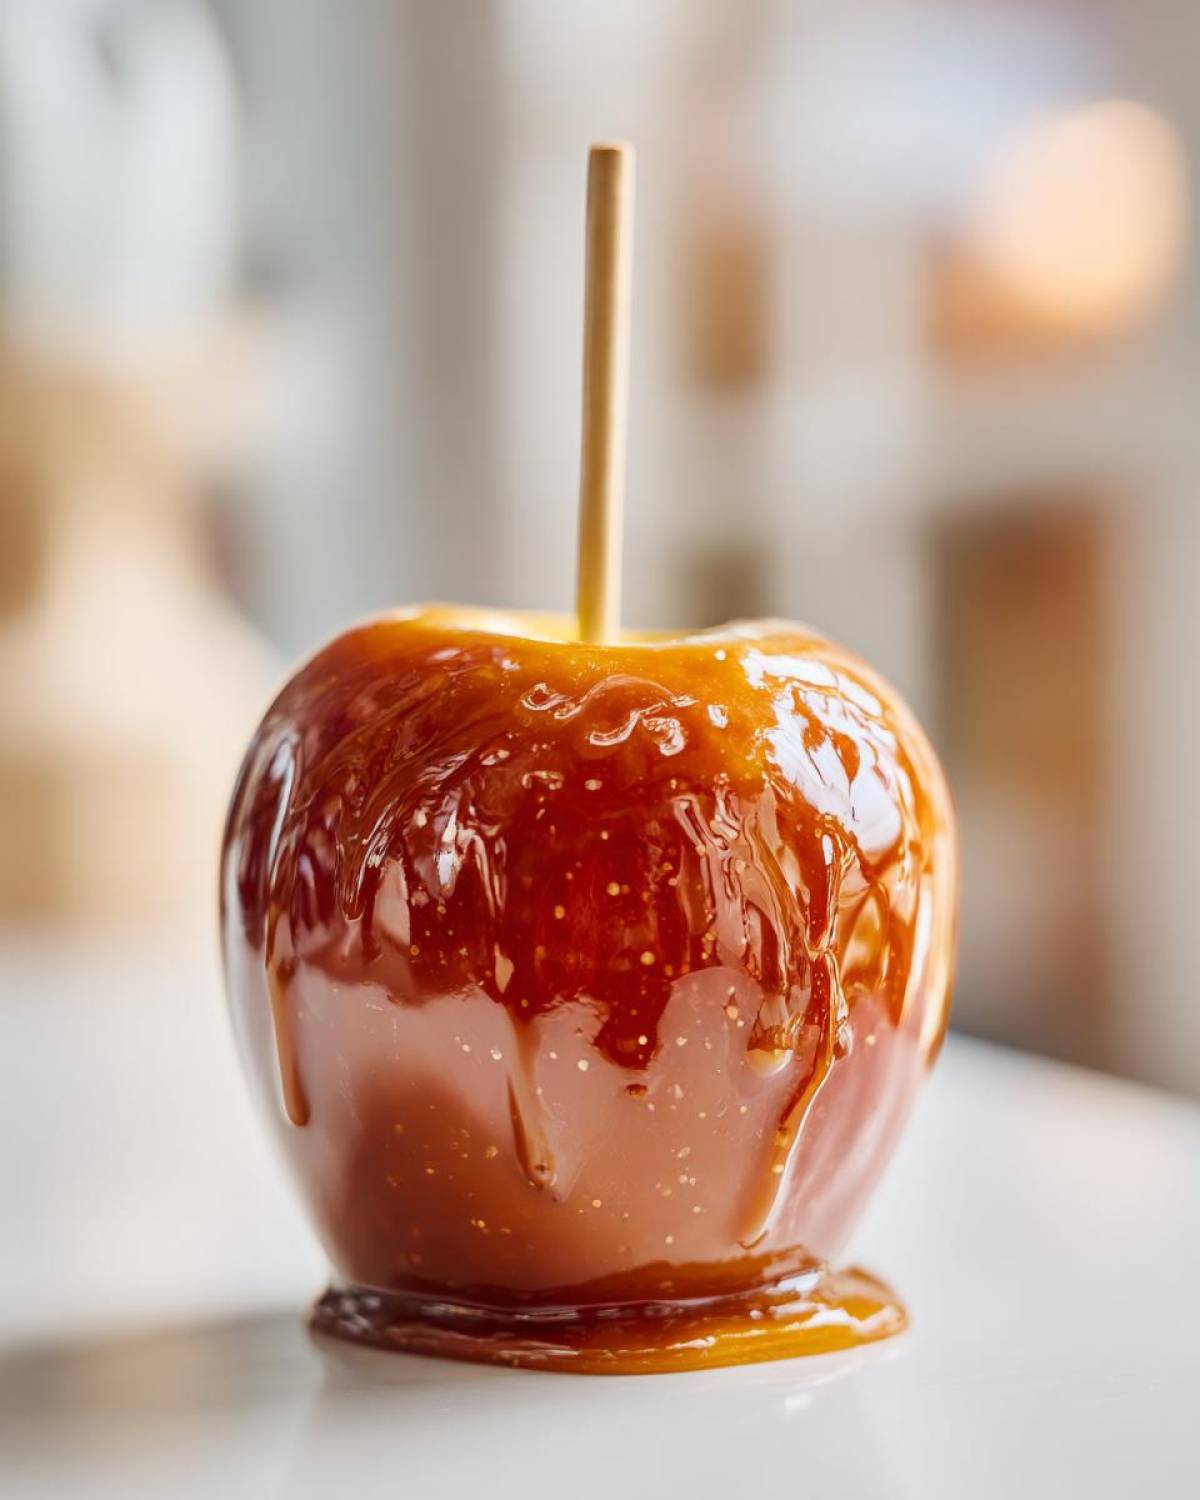
Expert Apple Dipping Tips for Your Caramel Apples
Now that your caramel is at the perfect temperature and your apples are super dry, we move fast! The best way to get an even coat—and use less caramel—is to tilt your saucepan once the caramel stops bubbling. This pools the mixture, giving you room to dip. Gently push the apple down into the caramel, rolling it around to cover it completely. As you pull it out, let the excess drip off naturally for a moment. A gentle tap against the side of the pot can help, but don’t scrape it, or you might pull the whole coating off!
Remember, this is where you shine, so work carefully but swiftly. I always rotate the apple one last time before placing it on the parchment-covered sheet. If you need another recipe to think about while you wait for these to set, my homemade naan bread recipe is also worth a look!
Creating Gourmet Caramel Apples with Topping Ideas
This base caramel recipe is incredible on its own, but if you want to turn these into show-stopping gourmet caramel apples for a party, you have to layer on the toppings! The golden rule here is timing. You let the first layer of caramel set completely—at least an hour until it’s firm to the touch—before you even *think* about adding anything else. If you try to add nuts to warm caramel, they just sink or smear!
My favorite upgrade is the easy chocolate drizzle. Melt about four ounces of semi-sweet chocolate chips with just a tiny bit of coconut oil until it’s super smooth. Then, using a fork or small spoon, drizzle it back and forth over the now-set caramel layer. It looks so fancy!
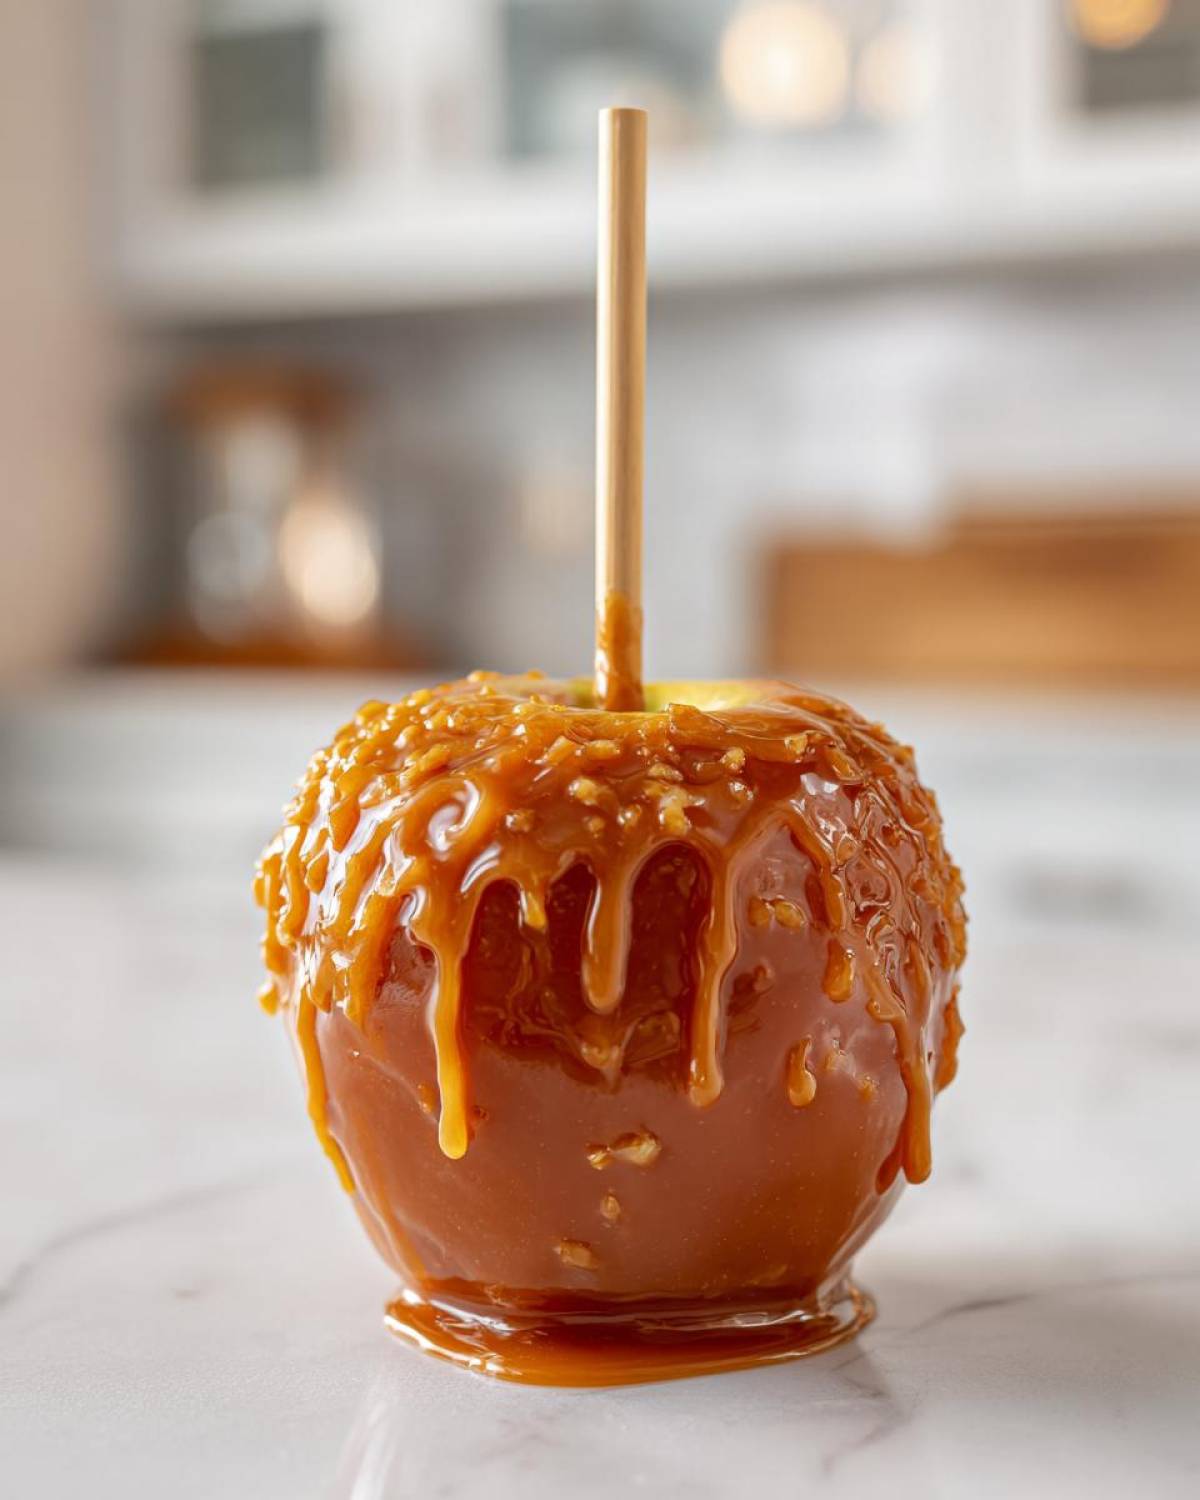
Here are a few other fantastic topping ideas that just scream ‘Autumn Treat’:
- Finely chopped pecans or walnuts (toss them on right after the chocolate drizzle so they stick).
- Rainbow sprinkles—because why not splash some color on Halloween?
- Crushed Heath bars or toffee bits for an extra crunch factor.
- A sprinkle of sea salt over the chocolate right after drizzling for that perfect sweet-and-salty balance.
If you’re looking for another amazing baked good for your autumn spread, you have to try my moist date and nut bread recipe!
Variations: Making Caramel Apple Slices Recipe
Sometimes, let’s be honest, whole caramel apples are just too much work to eat, especially when you are trying to mingle at a busy party! So, I always keep this brilliant little trick up my sleeve: the Caramel Apple Slices Recipe. It gives you all that amazing flavor without the commitment of a whole fruit.
After you wash and dry your apples—remembering that crucial step—just slice them into thick, manageable wedges. You use toothpicks instead of the big sticks for dipping. Dip them quickly, though! The slicing increases the surface area, so you need to be faster coating them than you are with the whole apples. It’s a perfect, easy-to-manage sweet autumn snack idea.
While you’re waiting for the last batch to set, here is a great savory recipe: my crockpot steak bites. A nice balance to all this sugar!
Storage and Reheating Instructions for Caramel Apples
If you have leftovers—which, let’s be real, rarely happens in my house—you need to store these properly. Keep your beautiful, sticky treats at room temperature, covered loosely, for maybe three or four days. If your kitchen is really warm, the fridge is safer, but here’s the catch: cold caramel gets rock hard! If you chill them, you absolutely must take them out about an hour before serving. You want them warm enough that the coating softens back up to that amazing, chewy caramel texture we worked so hard to achieve!
For another great make-ahead baked treat, check out this moist strawberry muffins recipe!
Frequently Asked Questions About Homemade Caramel Apples
I know you might have a few lingering questions—I certainly did when I was first learning! It’s all about getting that temperature right for the absolute best results when making your caramel apples.
What is the difference between candy apples and caramel apples?
That’s a super common question, especially around the holidays! They both look shiny, but they are totally different beasts. A traditional candy apple uses a sugar mixture cooked all the way up to the Hard Crack stage—usually over 300°F—which creates that very crisp, thin, glassy shell that often cracks when you bite it. Our goal here is much nicer: we stop at 245°F for the Firm Ball stage, which keeps the coating soft, sweet, and wonderfully chewy!
My caramel is runny. How do I fix my caramel apples?
If you pulled the apples out and the caramel immediately started dripping everywhere and won’t set, it almost always means you didn’t hit the temperature correctly. Don’t panic! Immediately set the pot back on very low heat for just one minute while stirring gently—that little boost can finish the cooking process. Then, take it off the heat and let it cool down for the recommended five minutes before trying the next apple. If they still seem thin after cooling completely, a very short reheat *might* help, but mostly, you’ll need to ensure that thermometer is accurate next time!
What are the best apples for dipping to make great caramel apples?
This is where you can really elevate your gourmet caramel apples! You absolutely need a firm apple that won’t turn mushy while you are working with the hot caramel. My top recommendation is Granny Smith; their strong tartness cuts through the rich sweetness of the coating perfectly. Honeycrisp is another fantastic choice because they hold their shape beautifully. If you want to explore more ideas, check out some suggestions on the best apples for dipping to get the perfect ratio of crunch to chew!
Share Your Perfect Caramel Apples Experience
Whew! That’s it! You did it! Seriously, I hope you’re admiring those glossy, chewy creations sitting on your counter right now. I’m so excited for you to dig into these!
Once you’ve let them set up completely, I absolutely want to hear all about how they turned out. Did you go classic, or did you get wild with the toppings? Please, drop a rating for this recipe down below—stars are always wonderful! And if you snap a picture of your gorgeous caramel apples—especially any incredible chocolate drizzle apples—please tag me on social media! Sharing our favorite simple fall desserts is what community cooking is all about.
If you’re looking for another easy, no-bake treat for when you get tired of turning on the stove, you have to try my Oreo Dirt Cake recipe. Happy snacking!
PrintFoolproof Homemade Chewy Caramel Apples

Make chewy caramel apples that stick perfectly using this easy, step-by-step recipe. Includes tips for preventing runny caramel and topping suggestions.
- Prep Time: 20 min
- Cook Time: 20 min
- Total Time: 40 min
- Yield: 12 servings
- Category: Dessert
- Method: Stovetop Cooking
- Cuisine: American
- Diet: Vegetarian
Ingredients
- 12 medium firm apples (like Granny Smith or Honeycrisp)
- 2 cups granulated sugar
- 1 cup light corn syrup
- 1 cup heavy cream
- 1 cup (2 sticks) unsalted butter
- 1 teaspoon vanilla extract
- 1/2 teaspoon salt
- 12 wooden or parchment-lined lollipop sticks
Instructions
- Wash and thoroughly dry the apples. Remove the stems. Insert one stick firmly into the core of each apple.
- Wipe the surface of each apple with a paper towel dipped in white vinegar to remove any wax residue. This helps the caramel stick. Let the apples dry completely.
- In a heavy-bottomed saucepan, combine the sugar, corn syrup, heavy cream, and butter.
- Cook the mixture over medium heat, stirring constantly until the sugar dissolves.
- Stop stirring once the mixture boils. Insert a candy thermometer.
- Cook the caramel without stirring until the temperature reaches 245 degrees Fahrenheit (Firm Ball stage). This usually takes 15 to 20 minutes.
- Remove the saucepan from the heat immediately. Carefully stir in the vanilla extract and salt. Let the caramel cool slightly for about 5 minutes; it should thicken slightly but still be pourable.
- Tilt the saucepan and dip each apple into the caramel, rotating to coat evenly. Lift the apple and allow excess caramel to drip off.
- Place the coated apples on a baking sheet lined with parchment paper or a silicone mat.
- Let the caramel apples set completely at room temperature for at least 2 hours before serving or adding toppings.
Notes
- For the best results, use apples that are cold and completely dry.
- If the caramel seems too thin after cooling slightly, return it to low heat for one minute, stirring gently, then cool again.
- To make caramel apple slices, cut the apples into thick wedges after washing and drying, insert toothpicks instead of sticks, and dip the wedges quickly.
- For chocolate drizzle, melt 4 ounces of semi-sweet chocolate chips with 1 teaspoon of coconut oil. Drizzle over the set caramel.
Nutrition
- Serving Size: 1 apple
- Calories: 450
- Sugar: 65g
- Sodium: 150mg
- Fat: 20g
- Saturated Fat: 12g
- Unsaturated Fat: 8g
- Trans Fat: 0g
- Carbohydrates: 70g
- Fiber: 1g
- Protein: 2g
- Cholesterol: 75mg