

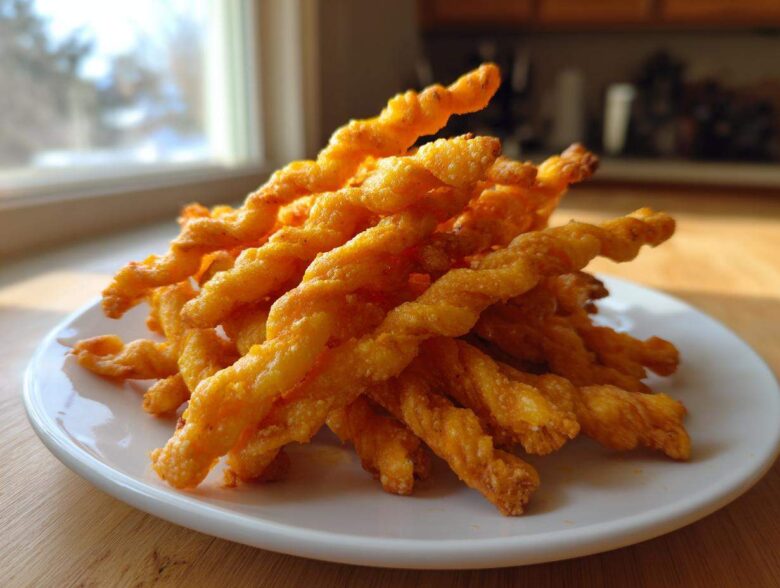
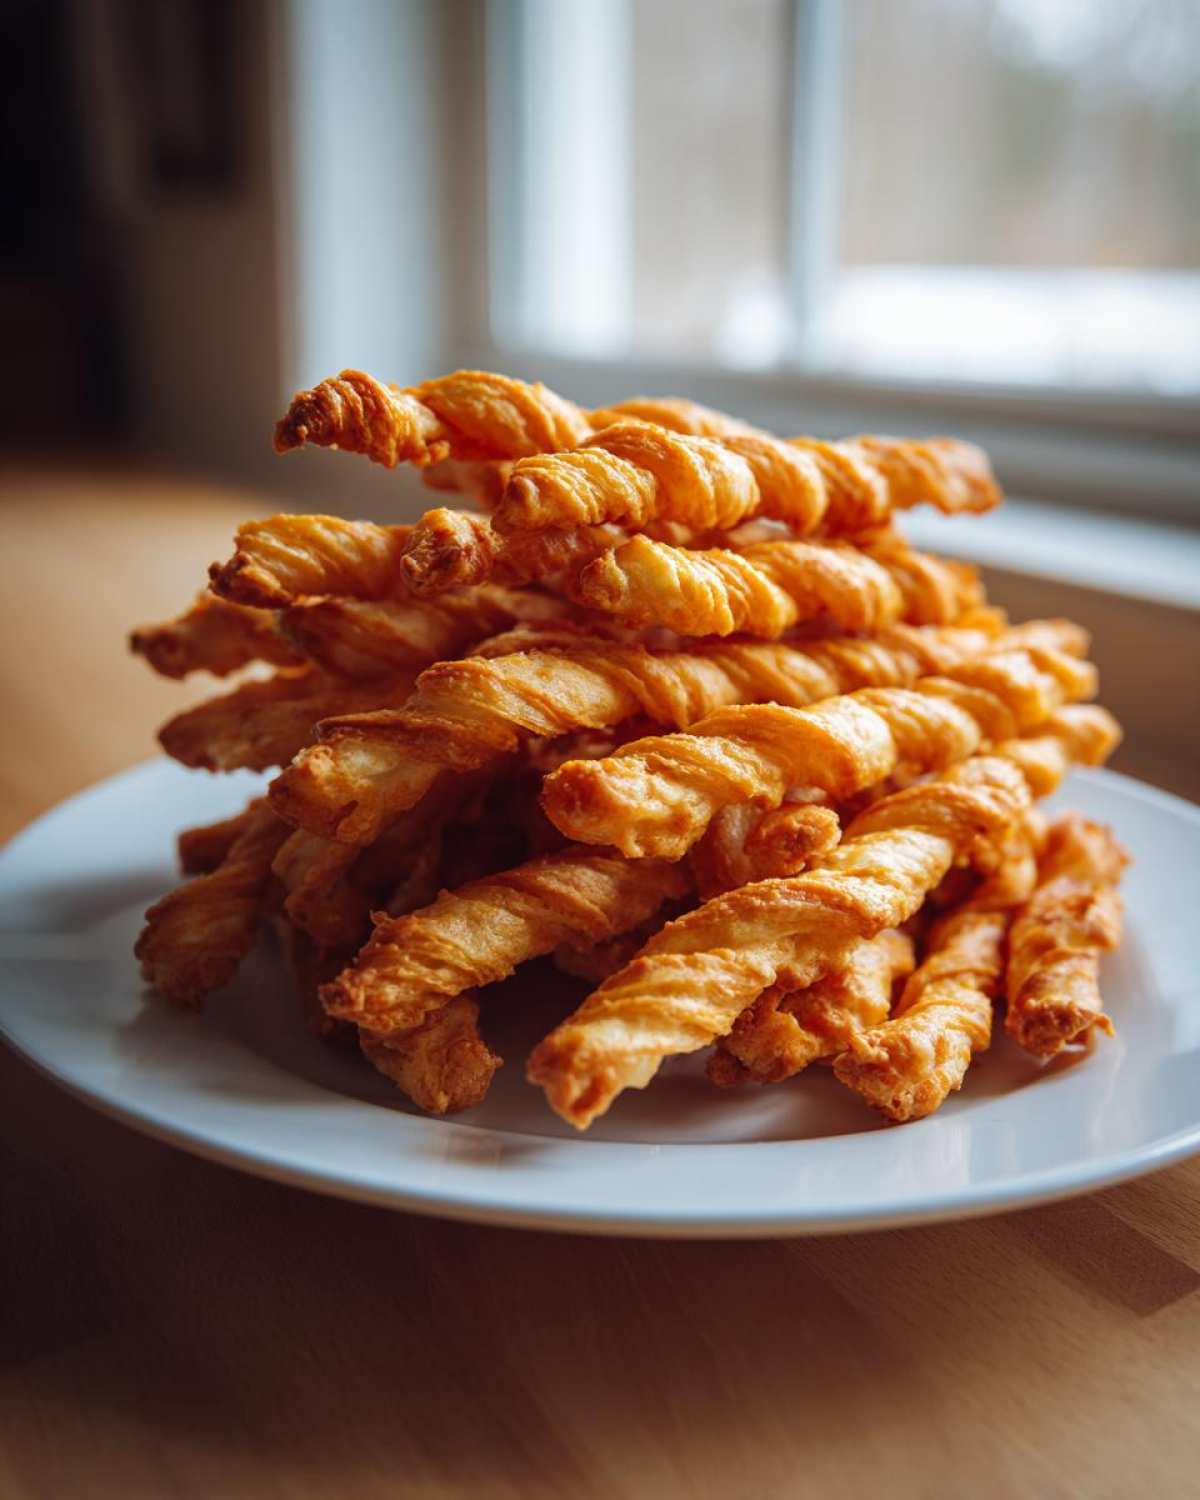
Oh, you are going to LOVE these! I swear, sometimes you just need that perfect, salty, cheesy crunch in your life, right? Forget those sad, airy crackers; when I need a savory hit, nothing—and I mean nothing—comes close to a homemade cheese straw. This is hands-down the best cheese straws recipe you’ll ever try. They come out impossibly flaky and bursting with sharp cheddar flavor. Last Thanksgiving, I made a massive batch because I ran out of time for proper appetizers, and honestly, they vanished before the turkey was even out of the oven! Trust me when I say these simple little sticks are your new secret weapon for easy party appetizers.
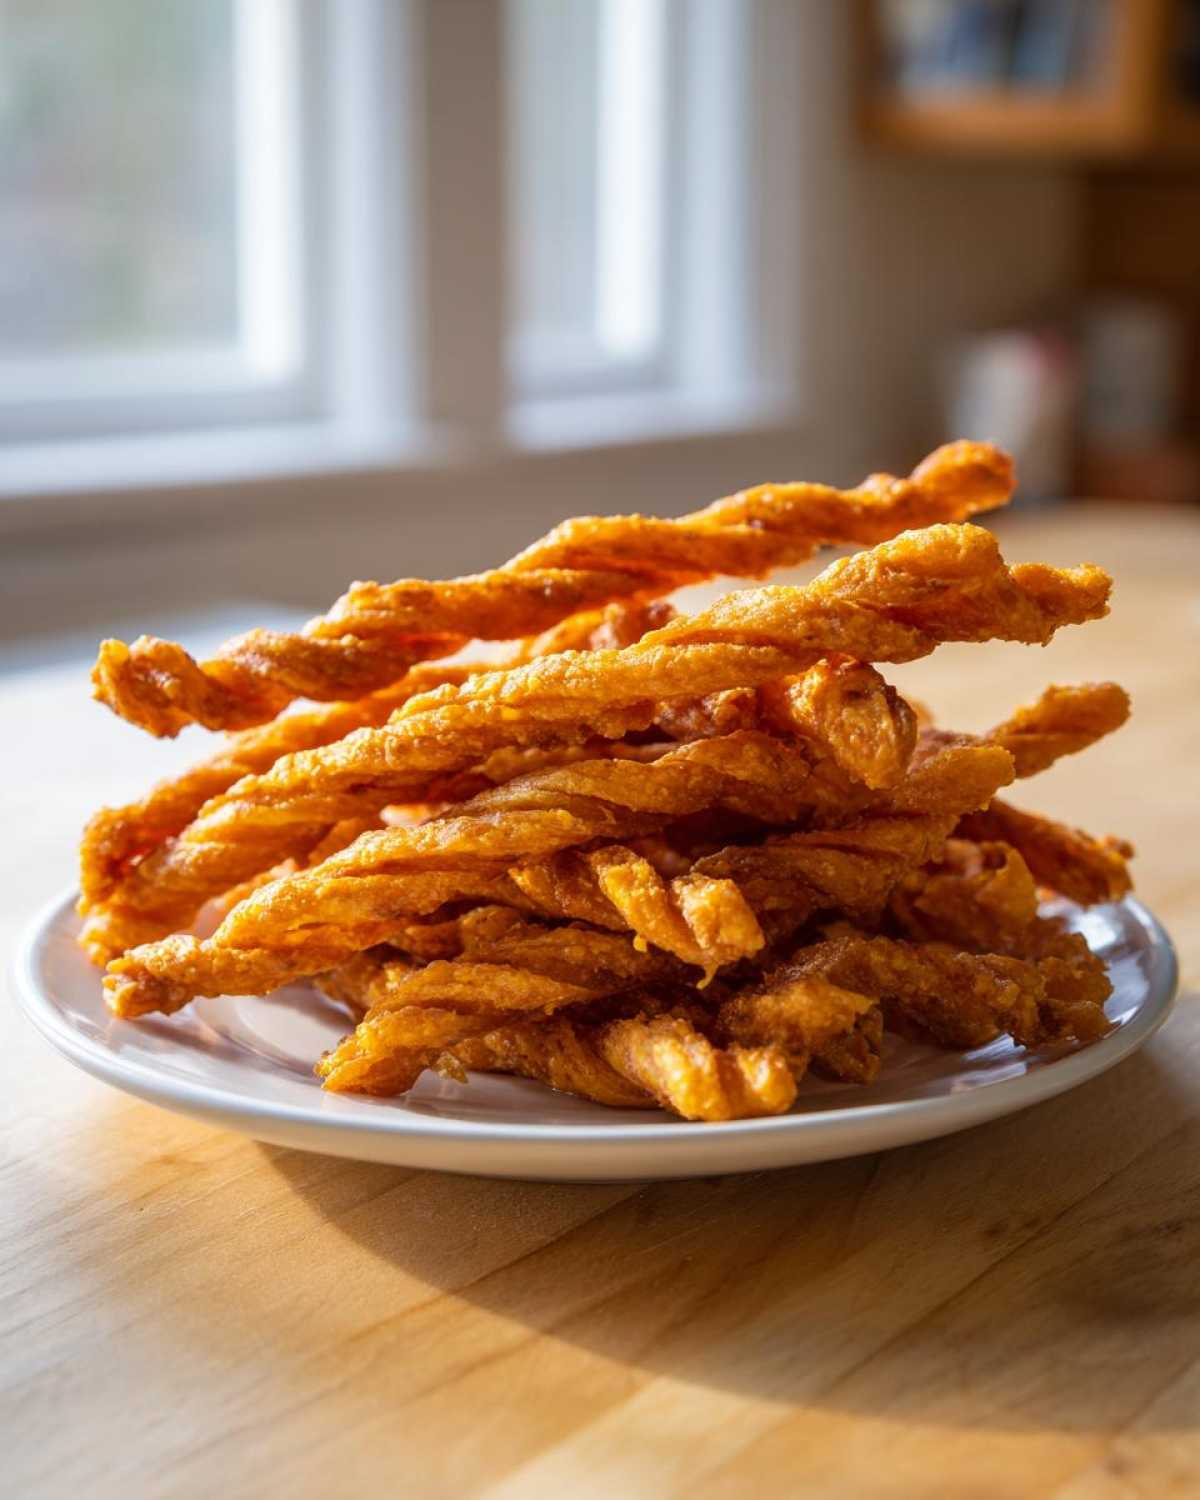
Why This is the Best Cheese Straws Recipe for Flaky Texture
Honestly, the difference between decent cheese straws and truly spectacular, shatteringly crisp ones comes right down to how you treat the ingredients. We aren’t messing around with soft butter here; we need that sharp cheddar to taste bold, not mild. The secret to the ultimate snappy texture in this cheese straws recipe is keeping everything cold, cold, cold. If your dough gets warm, the butter melts instead of staying in little pockets, and that’s how you end up with cheese hockey pucks instead of flaky wonders.
We also have to respect the cheese. Using finely shredded, sharp cheddar is non-negotiable for that savory punch we all dream about. It hits the perfect balance against the simple flour base. Don’t try to substitute that sharpness, or you lose the entire appeal!
Expert Tips for Achieving Crispy Cheese Bites
I’ve learned a few tricks over the years to battle sogginess and guarantee perfect crispness every single time. First, remember that pastry blender? Use it until the butter looks like peas mixed into the flour. This size is crucial!
Second, when you add the egg and water, mix only until a shaggy dough barely forms. If you knead it like bread dough, you develop gluten, and that makes them tough, not flaky. Stop mixing as soon as you can physically press the dough together into a disk. That minimal handling keeps these crispy cheese bites light and airy inside.
Finally, don’t skip the chilling! Thirty minutes on the fridge lets that butter firm up again. This prevents the straws from spreading wildly in the oven, giving you those beautiful, defined twists.
Ingredients Needed for Your Classic Cheese Straws Recipe
Okay, gathering your tools is half the battle won! Since these are so simple, the quality of what you put in really shines through. You only need a handful of things, but make sure you listen to my fussy instructions!
For the base, you’ll need about a cup and a half of all-purpose flour and just a tiny bit of salt. I usually throw in just a pinch of cayenne pepper if I’m feeling spicy; it doesn’t make them hot, just adds depth. The most important thing is the butter—it must be **cold unsalted butter, cut into small pieces**. Don’t cheat this step!
Then comes the star: cheese. You absolutely need about a cup and a half of **sharp cheddar cheese, finely shredded**. Grate it yourself right off the block; the pre-shredded stuff is coated in stuff that stops it from melting perfectly. Finally, you’ll need one egg, beaten lightly, and just a tablespoon of cold water to pull it all together. That’s it! Simple ingredients for amazing results.
Step-by-Step Instructions for the Cheese Straws Recipe
This is where we put it all together, and I promise you, it’s faster than you think! Once you get the hang of it, you’ll be whipping up a batch of the cheese straws recipe whenever the mood strikes. Just make sure you have your oven cranked up to 400 degrees Fahrenheit before you even start cutting your strips; we want that heat waiting for them!
Preparing and Chilling the Dough
First thing’s first: grab your flour, salt, and cayenne mixture in a big bowl. Then, toss in those lovely cold butter chunks. Remember what I said about the coarse crumbs? Use that pastry blender until you can hardly see the butter anymore—it should look sandy yet coarse. Once you stir in that beautiful sharp cheddar, it’s time for the liquid. Add the egg and that tiny bit of cold water.
Here’s the moment of truth: mix it just until it hangs together. Seriously, stop stirring when you still see a few floury spots! Press that heap into a flat disk, wrap it tight, and stick it in the fridge for at least 30 minutes. If you skip this chilling step, your straws will just melt into puddles during your quick savory bake.
Rolling, Cutting, and Twisting Your Cheese Straws
Once chilled, you’ll roll out the dough onto a very lightly floured counter. You aren’t making paper here, so aim for about 1/8-inch thickness. If it’s too thick, they won’t be crispy enough! Use a knife or a pizza cutter to slice strips that are about half an inch wide and maybe six inches long. Now, pick up each strip, hold both ends, and give it a few little twists until it looks like a tangled piece of golden rope. Lay them on your parchment-lined sheets, leaving a little breathing room.
Baking Until Golden and Crisp
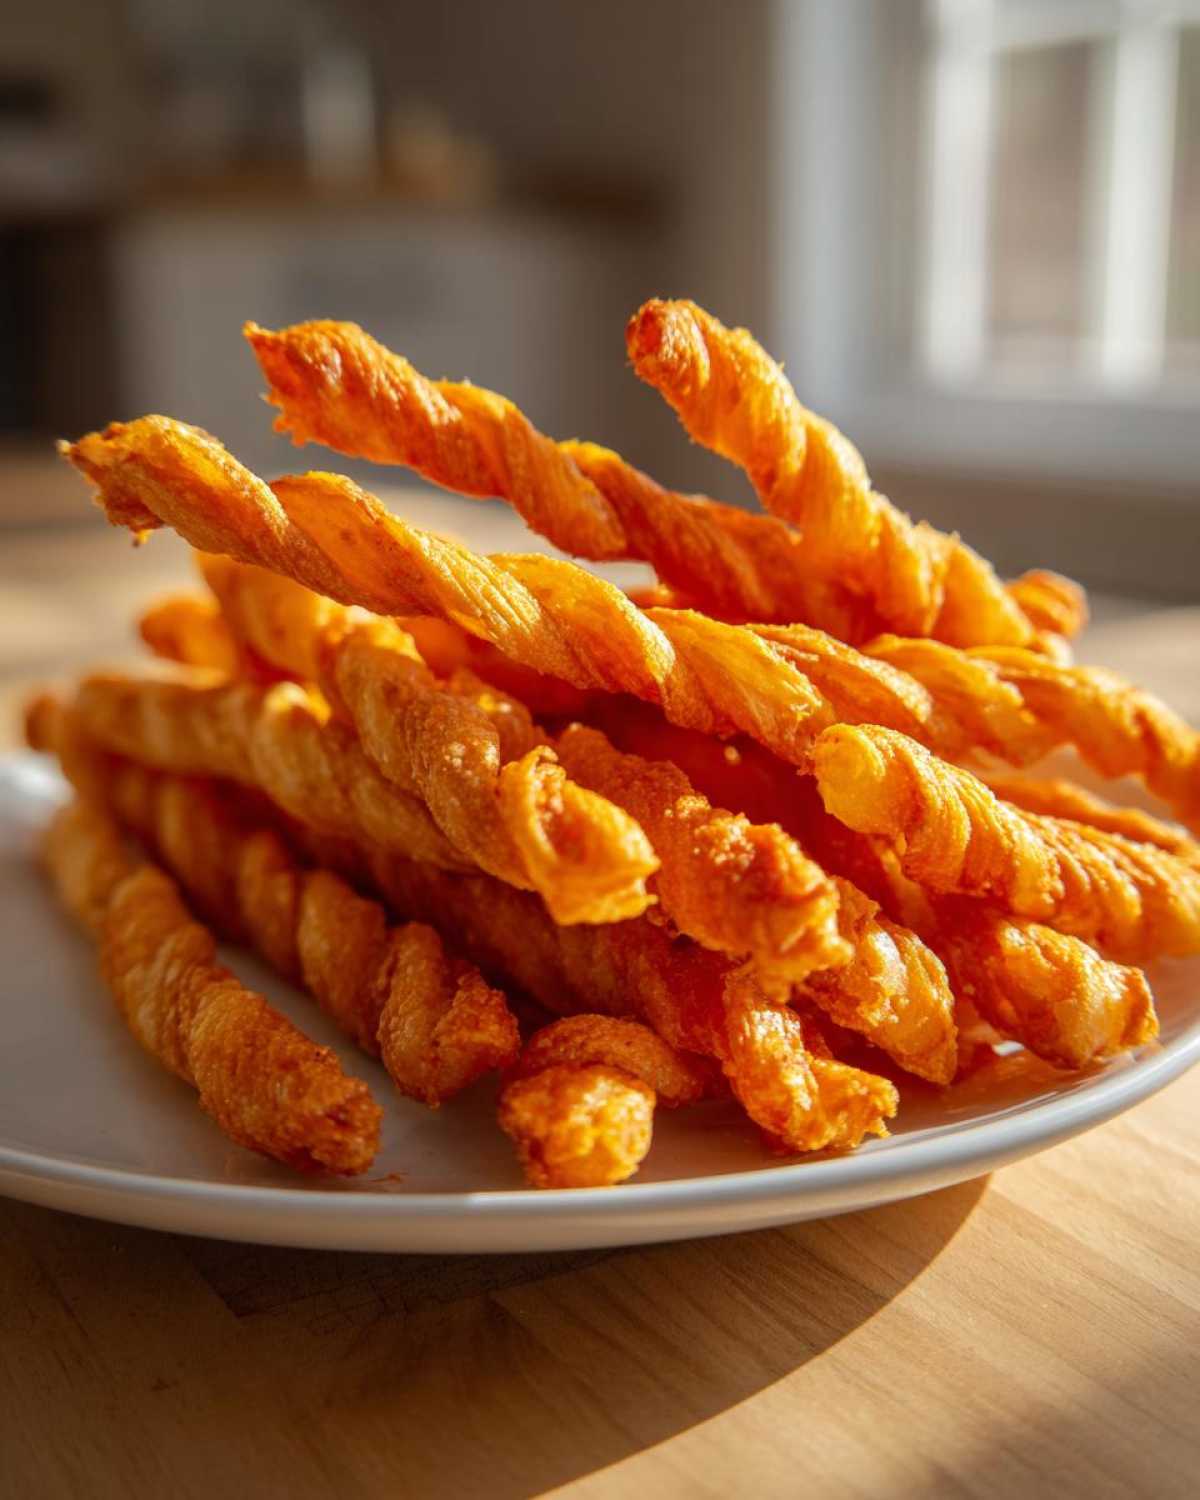
Slide those trays into your 400°F oven. They usually take about 10 minutes to start looking gorgeous, but keep an eye on them because every oven is different. You are looking for a rich, deep golden brown color on the edges—that means the butter has cooked off the moisture! Pull them out after 12 to 14 minutes max. Here’s the most crucial part: do not touch them straight out of the oven! They will seem soft. Let them cool completely on the baking sheet; they firm up and become truly crisp as they shed heat.
Variations on the Classic Cheese Straws Recipe
The beauty of this cheese straws recipe is that it’s a perfect canvas! If you’ve mastered the classic cheddar version, it’s time to start experimenting. A little deviation can turn these into something totally new for your next gathering. I love mixing things up just enough so people aren’t sure what flavor bomb they’re grabbing next!
Adding Herbs and Spice to Your Cheese Straws Recipe
If you want something a little more sophisticated than just Cheddar, try switching out half the cheddar for finely grated Parmesan. That instantly brings a nutty, salty complexity. For herbs, a teaspoon of finely minced fresh rosemary mixed in with the flour is absolutely divine. They smell incredible while baking! If you like heat, don’t just rely on a pinch of cayenne; try a dash of smoked paprika or some flaky red pepper mixed right into the dough. They turn into wonderful spicy cheese crackers that everybody goes wild for.
Quick Cheese Straws with Puff Pastry Appetizers
Now, confession time: sometimes I’m just totally out of time, and that’s when I pull out the freezer-ready puff pastry sheets. It makes the easiest puff pastry appetizers imaginable! You just thaw the pastry, sprinkle it generously with your sharp cheese, add your herbs or spice, roll it all up like a jelly roll—don’t even bother cutting strips—and bake it until golden. Slice the log into half-inch pieces *right before* you bake them. They turn into gorgeous spiral bites that are super flaky. It’s cheating, maybe, but nobody complains!
Make Ahead Party Food: Storing Your Cheese Straws Recipe
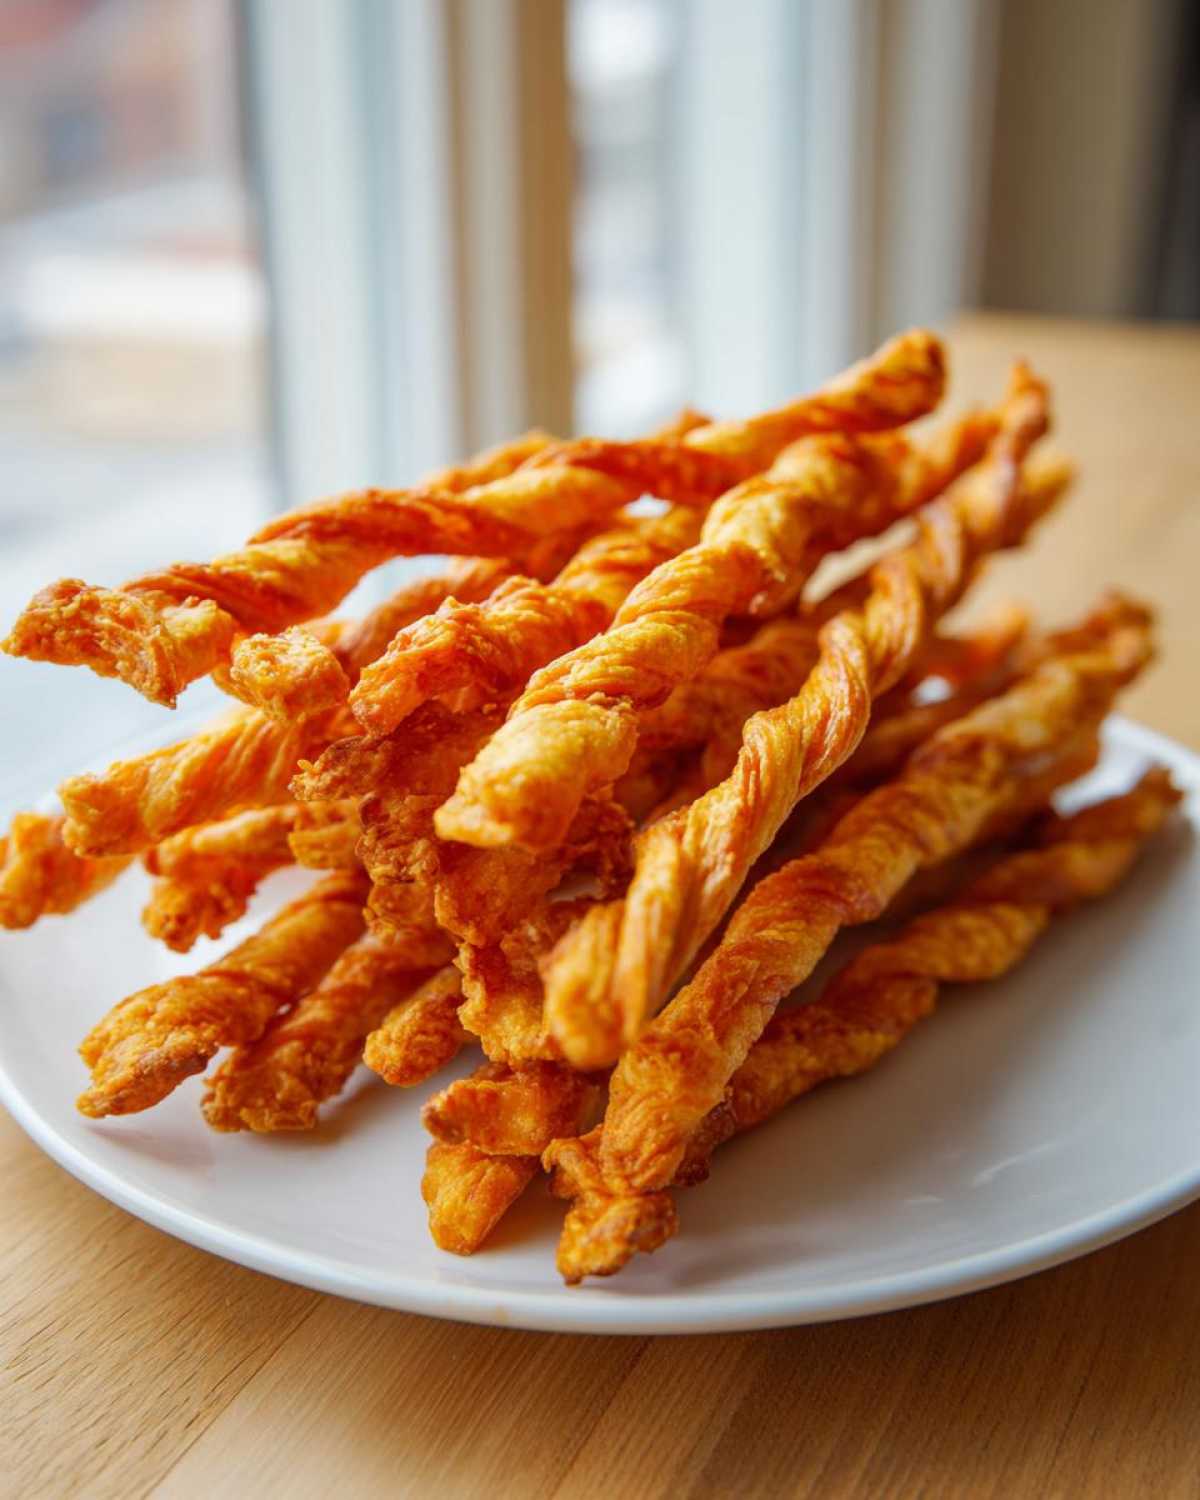
I love that people ask about making these ahead because they truly are the ultimate make ahead party food! Good news: the dough? It keeps beautifully. Wrap that disk tight in plastic wrap and let it chill in the fridge for up to two days. When party time rolls around, just let it warm up for about ten minutes on the counter so it’s pliable enough to roll out for your cheese straws recipe.
Now, for leftovers—if you even have any! Once the straws are completely cool and crisp (this is vital!), store them in an airtight container at room temperature. I’ve kept batches fresh for nearly a week, and they stay just as snappy. Do NOT put them in the fridge; that humid air will ruin all our hard work and make them chewy!
Serving Suggestions for These Cheesy Baked Snacks
Whew, now that you have these amazing, savory snacks, what do you serve them with? Honestly, they are perfect all by themselves, especially when paired with a cold glass of Sauvignon Blanc or maybe an IPA for the beer crowd. But if you want to dress up your spread, they are incredible dipped!
They are surprisingly good next to something tangy, like a little side of my famous Cowboy Caviar—the crunch against the freshness is just unbeatable. Or, frankly, just pile them high on a platter! They look so classy!
Frequently Asked Questions About Making Cheese Straws
I always get a ton of questions once people see how much I make these for gatherings, which just proves how necessary these savory snack recipes are! It’s usually the same few sticking points, so let me save you some guesswork right now.
What is the best cheese for authentic Southern appetizers?
If you want that true, bold flavor that makes these stand out as authentic Southern appetizers, you have to reach for sharp cheddar. Not mild, not medium—*sharp*. It gives you that intensely cheesy saltiness that cuts through the richness. Please, please try to grate your own block! If you use the pre-shredded bags, you’re risking sogginess because of the anti-caking stuff they spray on them, and that won’t give you those perfect flaky cheese straws.
Can I make these cheese straws recipe gluten-free?
Yes, you absolutely can adapt this recipe! Since we aren’t relying on gluten for structure as much as we are relying on the butter and cheese, swapping flours is pretty straightforward. Just use a good quality 1:1 gluten-free flour blend in place of the all-purpose flour. You might end up needing just one extra tiny splash of that cold water to bring the dough together, that’s all. It works great for guests who need easy gluten-free cheese straws alternative!
Another common issue I hear about is, “Why are mine soft?” If that happens, it always comes down to two things: either you didn’t chill the dough long enough, or you didn’t bake them quite long enough until they achieved that deep golden color. Remember, they crisp up only when they cool completely!
Estimated Nutritional Data for Cheddar Cheese Straws
Here is the breakdown of the estimated nutrition facts for these amazing little bites. Remember, since we’re dealing with butter and sharp cheese, these are definitely more of a treat than a health food, but oh boy, are they worth every single bite! This data is calculated based on the recipe yielding about 3 dozen straws, with a serving size listed as 3 straws.
Please keep in mind that this is just an estimate, and the numbers can shift a little based on exactly how much cheese you pack in and the brand of butter you choose. But for a quick look at what you’re getting in that perfect salty crunch, here’s the rundown:
- Serving Size: 3 straws
- Calories: 95
- Fat: 6.5g (and that includes about 4.0g of Saturated Fat—that’s the butter and cheese doing their work!)
- Carbohydrates: 6.0g
- Protein: 3.5g
- Sugar: Only 0.2g—told you these were savory!
- Sodium: Around 150mg (Cheese is salty, so watch this if you’re counting strictly!)
They are low in sugar, fairly high in satisfying fat, and offer a nice little hit of protein to balance out the flour. Perfect alongside some crackers or dips!
Share Your Experience Making This Recipe
Now it’s YOUR turn! I absolutely live to hear how these turned out for you. Did you add rosemary? Did you go crazy with the cayenne? Please, jump down below and leave a rating or tell me about your favorite way to eat these savory snack recipes! Snap a picture and tag me on social media so I can swoon over your beautiful, buttery creations!
PrintExtra-Crispy Classic Cheddar Cheese Straws

Make flaky, savory cheese straws using sharp cheddar cheese. This recipe yields a crispy snack perfect for parties or casual eating.
- Prep Time: 20 min
- Cook Time: 14 min
- Total Time: 34 min
- Yield: About 3 dozen
- Category: Appetizer
- Method: Baking
- Cuisine: American
- Diet: Vegetarian
Ingredients
- 1 1/2 cups all-purpose flour
- 1/2 teaspoon salt
- 1/4 teaspoon cayenne pepper (optional)
- 1/2 cup (1 stick) cold unsalted butter, cut into small pieces
- 1 1/2 cups sharp cheddar cheese, finely shredded
- 1 large egg, lightly beaten
- 1 tablespoon cold water
Instructions
- In a large bowl, whisk together the flour, salt, and cayenne pepper.
- Cut the cold butter into the flour mixture using a pastry blender or your fingers until the mixture resembles coarse crumbs.
- Stir in the shredded cheddar cheese until evenly distributed.
- Add the beaten egg and cold water. Mix until the dough just comes together. Do not overmix.
- Form the dough into a flat disk, wrap it in plastic wrap, and chill in the refrigerator for at least 30 minutes.
- Preheat your oven to 400 degrees Fahrenheit (200 degrees Celsius). Line two baking sheets with parchment paper.
- On a lightly floured surface, roll the chilled dough out to about 1/8-inch thickness.
- Use a knife or pizza cutter to cut the dough into strips about 1/2-inch wide and 6 inches long.
- Twist each strip a few times to form a straw shape. Place the straws on the prepared baking sheets, leaving a small space between them.
- Bake for 10 to 14 minutes, or until the straws are golden brown and crisp. Baking time varies based on thickness.
- Let the cheese straws cool completely on the baking sheets before serving; they will crisp up as they cool.
Notes
- For extra flavor, add 1 teaspoon of finely chopped fresh rosemary to the dry ingredients.
- If you prefer a quicker method, substitute the dough ingredients with one sheet of thawed, all-butter puff pastry, mixing in the cheese and spices before rolling and cutting.
- You can make the dough up to two days ahead and store it wrapped in the refrigerator.
Nutrition
- Serving Size: 3 straws
- Calories: 95
- Sugar: 0.2
- Sodium: 150
- Fat: 6.5
- Saturated Fat: 4.0
- Unsaturated Fat: 2.5
- Trans Fat: 0.1
- Carbohydrates: 6.0
- Fiber: 0.3
- Protein: 3.5
- Cholesterol: 20