

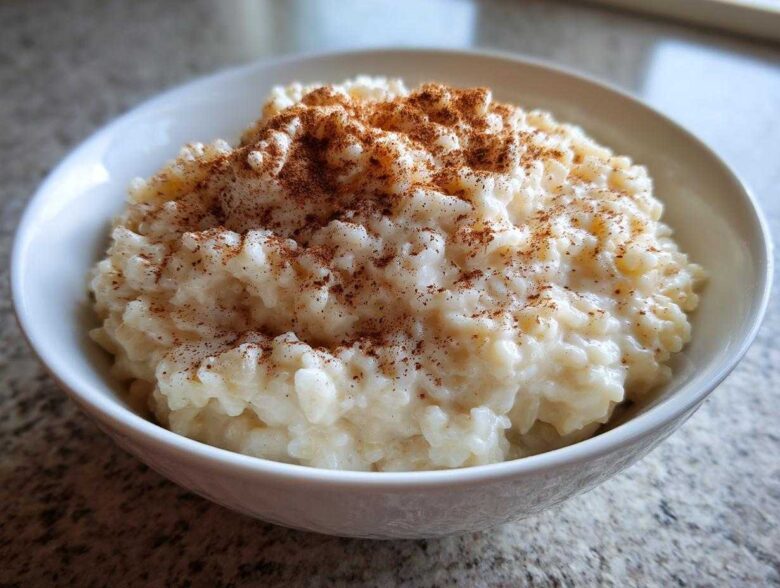
Oh, hello there! Welcome! When Kenji and I think about true culinary comfort, our minds immediately drift to a steaming bowl of something deeply nostalgic. We just opened our kitchen here on Whisk Daily, and what is more comforting than a perfect, creamy, old-fashioned stovetop rice pudding? Forget those thin, watery versions you might have tried. This recipe—the one I practically grew up making—is the ultimate secret to perfectly tender grains swimming in rich, sweet milk. It’s simple, yes, but making wonderful rice pudding that tastes just like home takes just a little bit of thoughtful stirring. This is the dessert that soothes the soul on a gray afternoon, and I’m so excited to share it with you.
Why This Creamy Rice Pudding Recipe is Your New Family Favorite Dessert
If you are looking for a truly reliable recipe, you have come to the right place. This Creamy Rice Pudding Recipe is the one you can print out, stain with vanilla, and pass down. We rely on the stovetop method, and I’ll tell you why: it gives us control! Baked puddings are lovely, but they can set up too stiffly. When we stir this on the stove, we build that rich dessert texture layer by layer. It truly becomes a Family Favorite Dessert because it tastes exactly the same, rich and perfect, every single time you make it. It’s dependable comfort food, which is what we all need in our kitchens!
Achieving Ultra Creamy Rice Pudding Texture
The secret weapon here is using short-grain rice, like Arborio. These grains are wonderful because they release so much starch as they cook down with the milk. That starch is what gives us that velvety, luxurious coating! Because we are gently simmering this on the stove, constant stirring is non-negotiable. I know, I know, it sounds like babysitting active food, but your gentle stirring is key to encouraging the starch release while stopping the milk from sticking and scorching to the bottom of your heavy pot. Trust me, those five minutes of extra stirring guarantee wonderfully tender grains.
Ingredients for the Best Old Fashioned Rice Pudding
Now, let’s talk about what goes into this pot of gold! One thing I’ve learned over the decades, both in Kyoto and here in New York, is that simplicity, done well, beats complexity every time. You don’t need a giant grocery list for the BEST Old Fashioned Rice Pudding. We’re keeping this traditional but using high-quality basics to make sure the flavor shines through. Don’t try to shortcut the milk, though; whole milk is absolutely essential for making sure this pudding has that rich mouthfeel we’re aiming for.
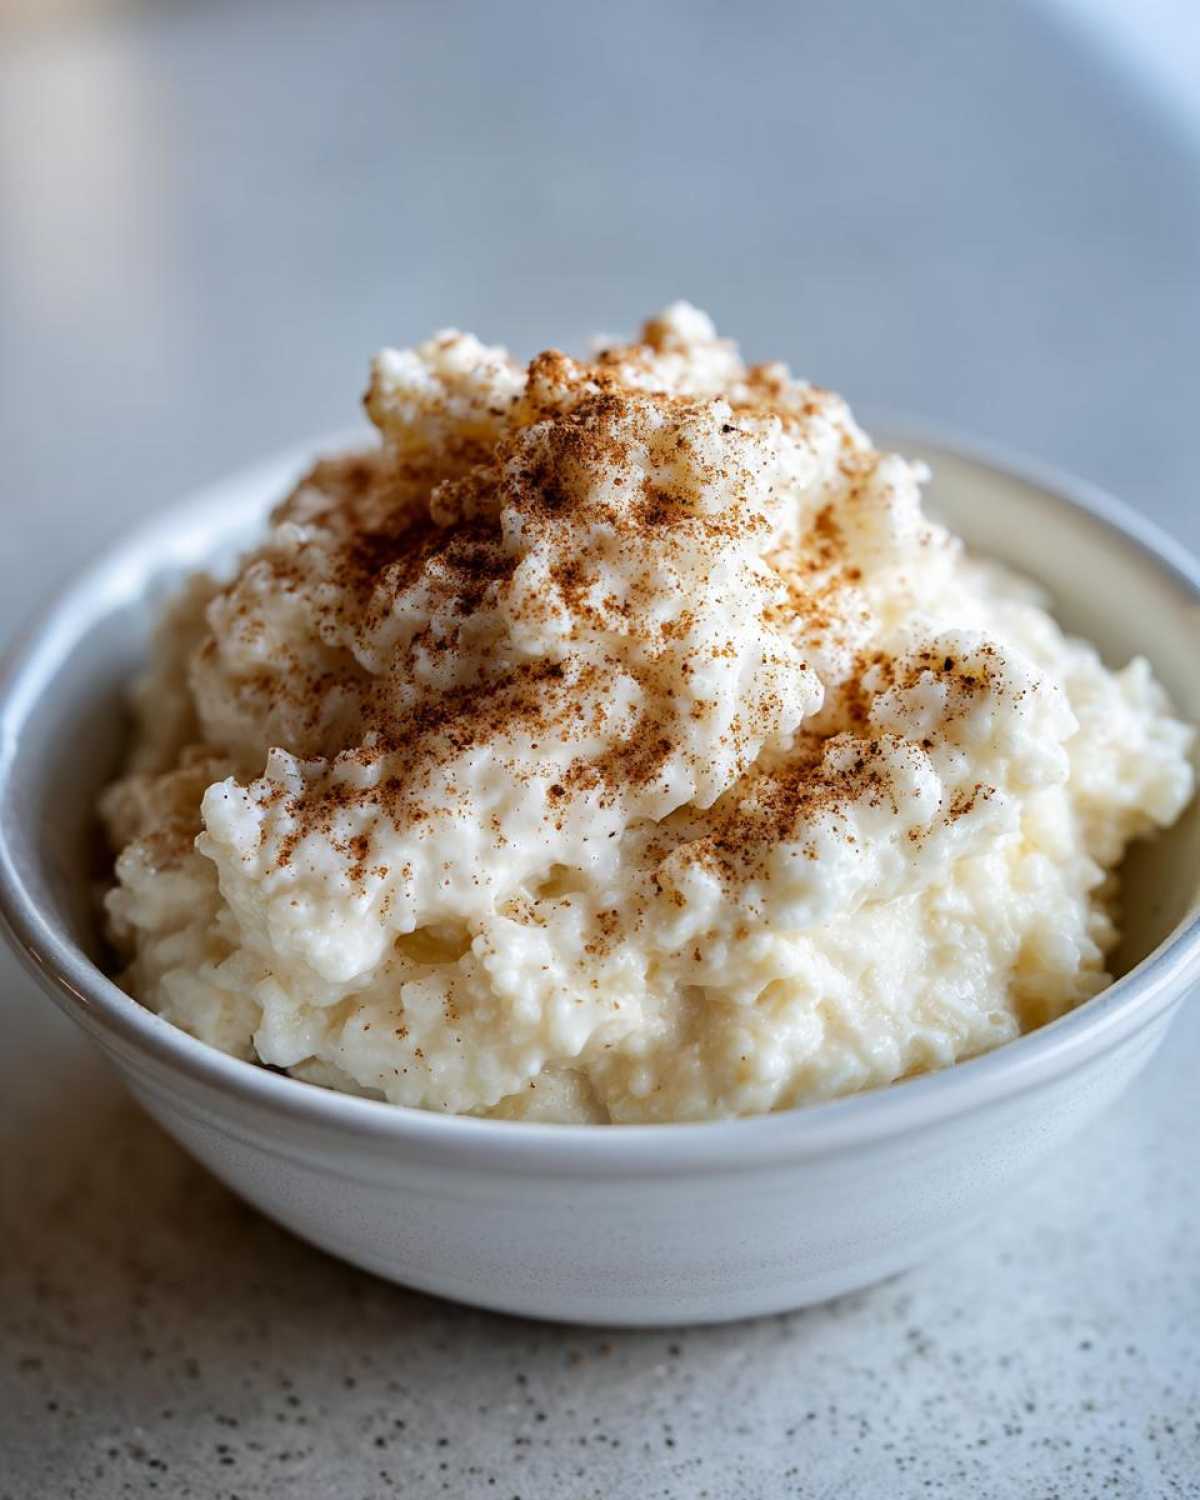
You will need one cup of short-grain white rice—Arborio is my family’s favorite because it is plump and holds its shape while still releasing tons of creamy starch. We use four cups of whole milk, half a cup of good granulated sugar, just a quarter teaspoon of salt to make the sweetness pop, one full teaspoon of pure vanilla extract for depth, and half a teaspoon of ground cinnamon. Make sure your cinnamon is fresh, too; stale spices just taste like dust, and we want pure, warming flavor!
You’ll notice I listed the cinnamon separately for topping later. That little extra sprinkle right at the end really wakes up the aroma just as you serve it warm. When you gather these few things together, you’re ready to start the magic. It feels so satisfying just looking at these clean, simple components waiting to transform.
How to Make Stovetop Rice Pudding Step-by-Step
This is where the transformation truly happens! Making excellent homemade pudding is all about following the heat and being a consistent presence at the stovetop. Don’t rush this part; about 40 minutes of gentle attention will yield a spectacular result that is far superior to anything you’d find in a can. The process flows nicely, moving from preparation straight into the gentle cooking phase.
Preparing the Rice for Perfect rice pudding
First things first, we tackle the rice. You absolutely must rinse your short-grain rice under cold water. I keep rinsing and shaking the colander until the water that spills out looks mostly clear, maybe just a tiny bit cloudy. Why do we do this? It washes away the excess surface starch. If you skip this, your pudding will turn into a sticky glue instead of our beautiful, creamy goal. Once I’m satisfied, I drain it really well before it even gets anywhere near the milk. This simple first step is crucial to the final texture of your rice pudding.
The Simmering Process for Rich Dessert Ideas
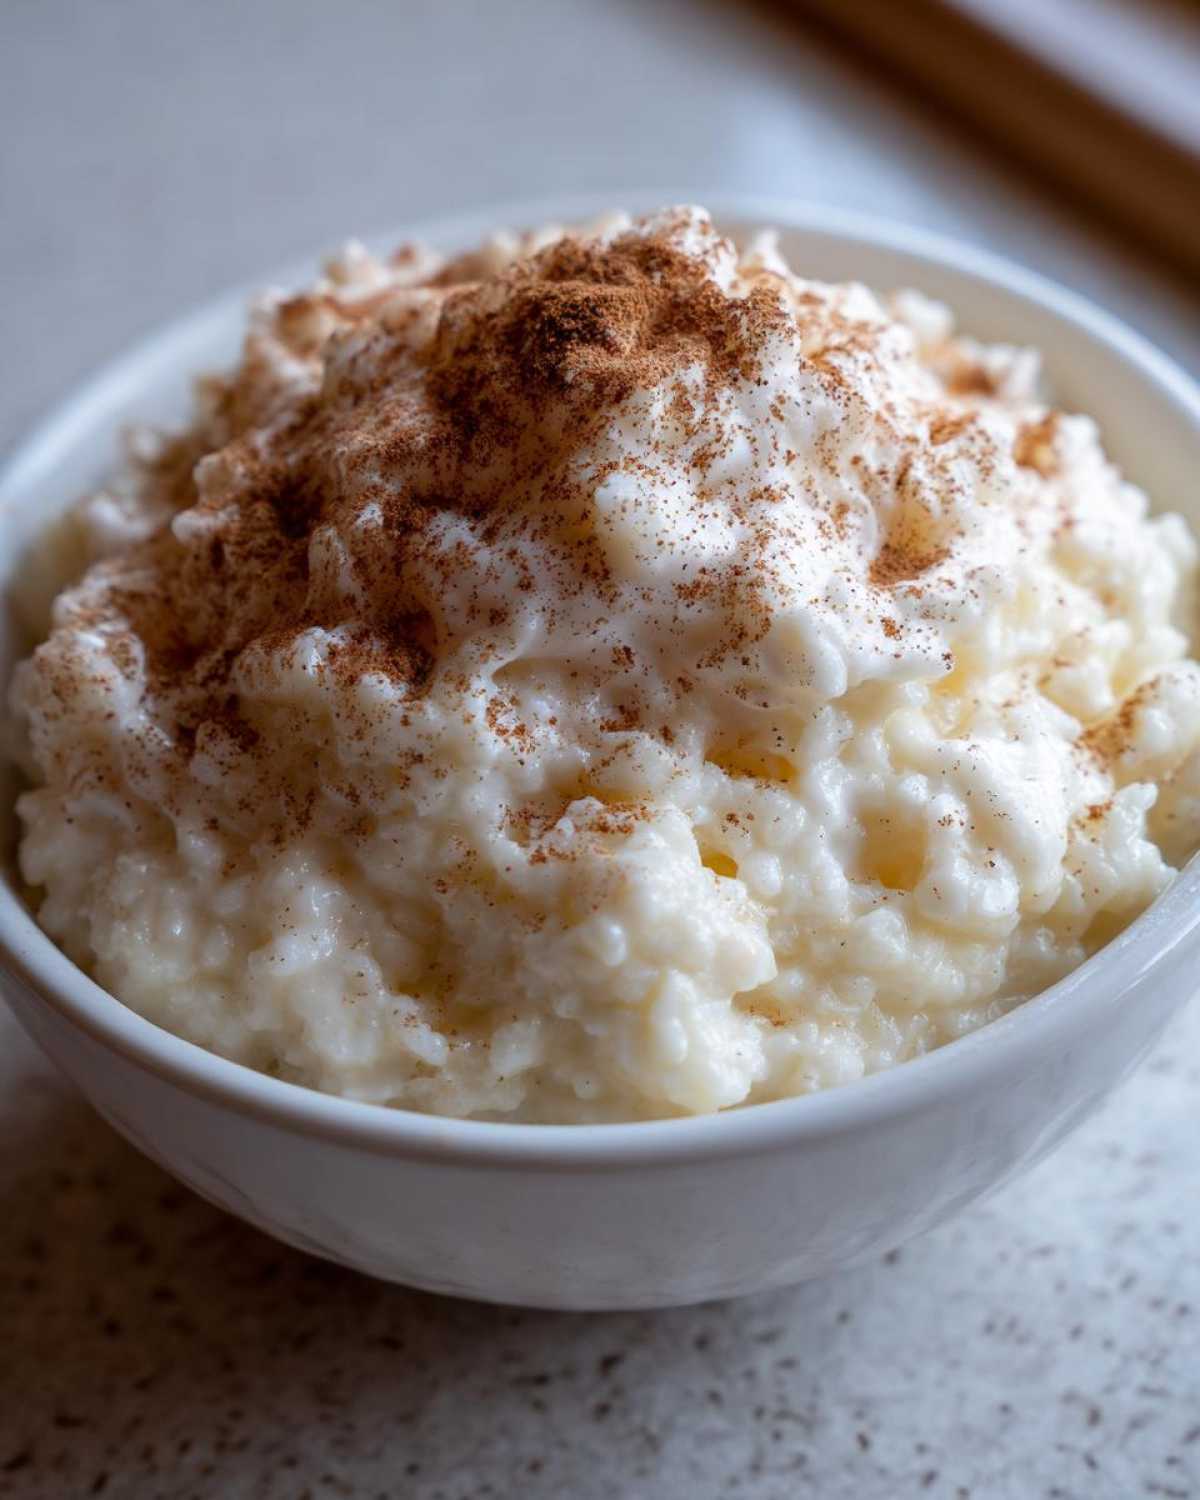
Next, take your heavy-bottomed saucepan—don’t try this in a thin pot, or you *will* scorch the milk—and combine the rinsed rice, the whole milk, sugar, and salt. Set this over medium heat. We begin here, stirring frequently to melt the sugar and start warming everything evenly. Once you see those tiny bubbles forming and it just begins to gently simmer, you must quickly turn the heat down to low. This is key for creating Rich Dessert Ideas, not burnt milk! From here, let it cook uncovered for 30 to 40 minutes. You have to stir it every five or seven minutes like clockwork. If you don’t, the starch will settle and bake right onto the bottom of the pot, and that ruins everything. Keep stirring gently until the liquid has thickened noticeably and the rice feels tender when you test a few grains. Remember, it thickens even more as it cools down, so don’t overcook it!
Tips for Success When Making Your rice pudding
Even when you follow the recipe exactly, sometimes the kitchen throws you a little curveball. That’s okay! Knowing how to adjust on the fly is part of what makes someone a good cook. I’ve learned this lesson the hard way, believe me. When we first moved to the US from Kyoto and tried to make a larger batch for a neighborhood potluck, I used a thinner stainless steel pot Kenji bought. Oh, my goodness! I stirred constantly, but the bottom of the milk mixture burned terribly before the rice was cooked. It was a disaster, and the smell filled our whole apartment! That day taught me that for anything involving milk and starch, the pot choice matters more than almost anything else. If you want wonderful homemade pudding, grab your absolutely thickest, heaviest-bottomed saucepan.
Here are the two most important things I want you to remember once the cooking time is up. First, always taste for seasoning before adding your vanilla. That tiny pinch of salt in the beginning isn’t just for show; it brightens everything up. If it tastes a little flat before the vanilla goes in, stir in another tiny pinch of salt. It makes such a difference!
Secondly, don’t panic when you take this off the heat. If you’ve followed the 30 to 40 minutes cooking time, it will look looser than you expect. Your rice pudding will seem almost soupy, but that’s perfect! The combination of the starch and the residual heat means it sets up beautifully as it rests. If you cook it until it’s spoon-standing-up thick in the pot, it will be solid as a brick when cold. I always stir in my vanilla right after I turn the heat off, cover it with a lid, and let it sit for 10 minutes undisturbed before I even think about serving or chilling it. Patience in these final moments pays off!
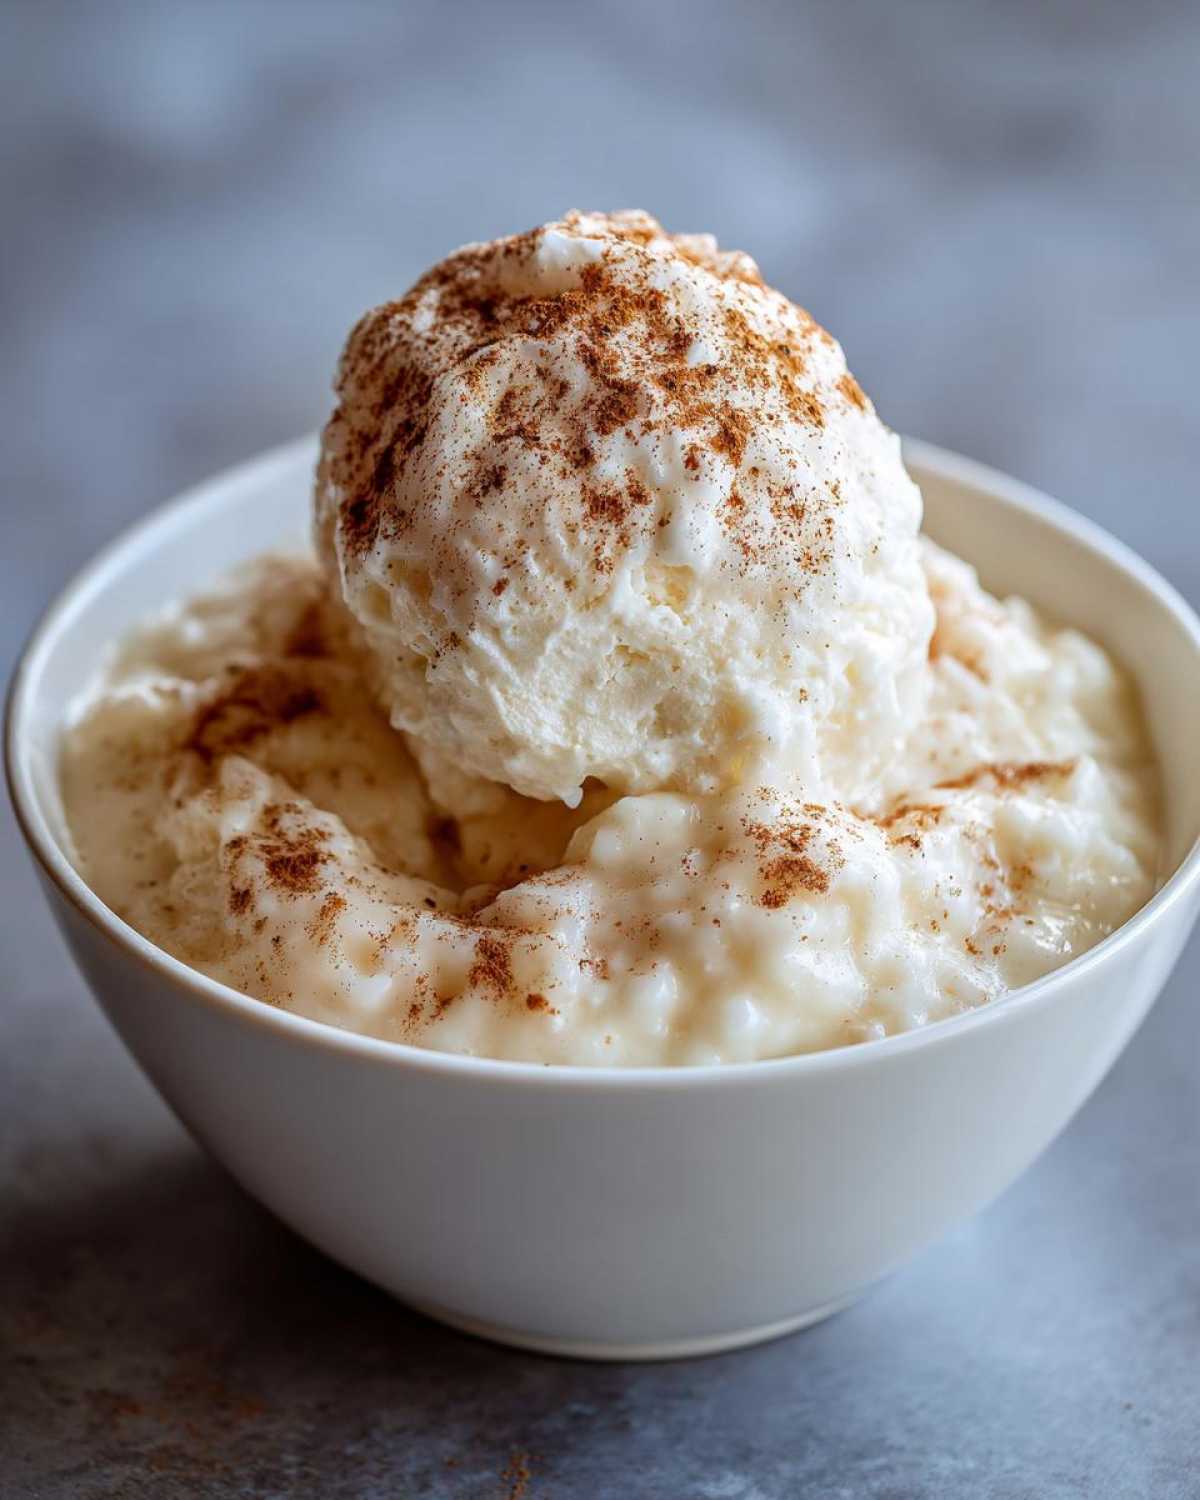
Finally, plan for leftovers! This is a fantastic make ahead dessert. Sometimes the pudding thickens up too much overnight in the refrigerator—it happens because the rice keeps absorbing the liquid. Don’t toss it out! Simply reheat a serving gently on the stove or in the microwave with a tiny splash of milk or cream to bring it right back to that perfect, velvety soft texture we love. It’s good as new, every time.
Ingredient Notes and Substitutions for Classic Rice Pudding
When you are recreating a Traditional Rice Pudding, the ingredients are not all created equal. I know that sometimes you have to work with what you have in the pantry, especially when moving continents like we did recently! But please, let me guide you on the swaps that will keep your dessert tasting authentic versus the ones that might change the whole experience.
The number one area where people tend to deviate is the rice, and this truly matters. You absolutely must use a short-grain or medium-grain variety. Arborio rice, used for risotto, is my top pick because it has just the right amount of starch content to break down and create that gorgeously thick pudding base. If you grab long-grain rice, like Basmati or Jasmine, you will end up with rice kernels floating somewhat separately in milk—it’s more like a sweet rice soup than the thick, luscious pudding you are dreaming of. The grains simply won’t release enough starch to give it that binding texture.
And then there is the milk! For this recipe to be named truly ‘creamy,’ we need the fat content of whole milk. It provides the richness and mouthfeel that makes this such an indulgent dessert. If you must use 2% milk, know that you will sacrifice some of that velvety coating. It will still taste lovely, but it just won’t have the same comforting weight.
Now, if you’re really brave and looking to see how far we can push the richness, some cooks like to substitute about one cup of the whole milk with evaporated milk. Evaporated milk is just regular milk with some of the water removed, so it concentrates the flavor and richness immediately. When I tried that here in New York, the result was incredibly rich—almost too rich for our usual everyday enjoyment! But it’s a wonderful option for holidays or when you want something truly decadent. Just avoid skim milk entirely, or your pudding will be very thin, no matter how long you cook it.
Serving Suggestions for this Comfort Food Dessert
This is the part I love the most—turning a wonderful pot of pudding into an absolutely perfect moment! Rice pudding is the quintessential Comfort Food Dessert because it adapts so beautifully to how you need it right now. Do you need instant warmth? Serve it hot, right off the stove! When it’s steaming, the vanilla notes are at their brightest, and you can really smell that lovely cinnamon aroma rising up in the steam. It’s the best way to end a chilly evening.
However, Kenji and I often prefer it chilled. When you let this pudding cool completely in the refrigerator, the texture transforms completely. It becomes firm, dense, and incredibly luxurious—almost like a very soft custard. This is perfect for packing into little bowls for a midday sweet treat or for serving at a family gathering where you want something that holds its shape on the plate.
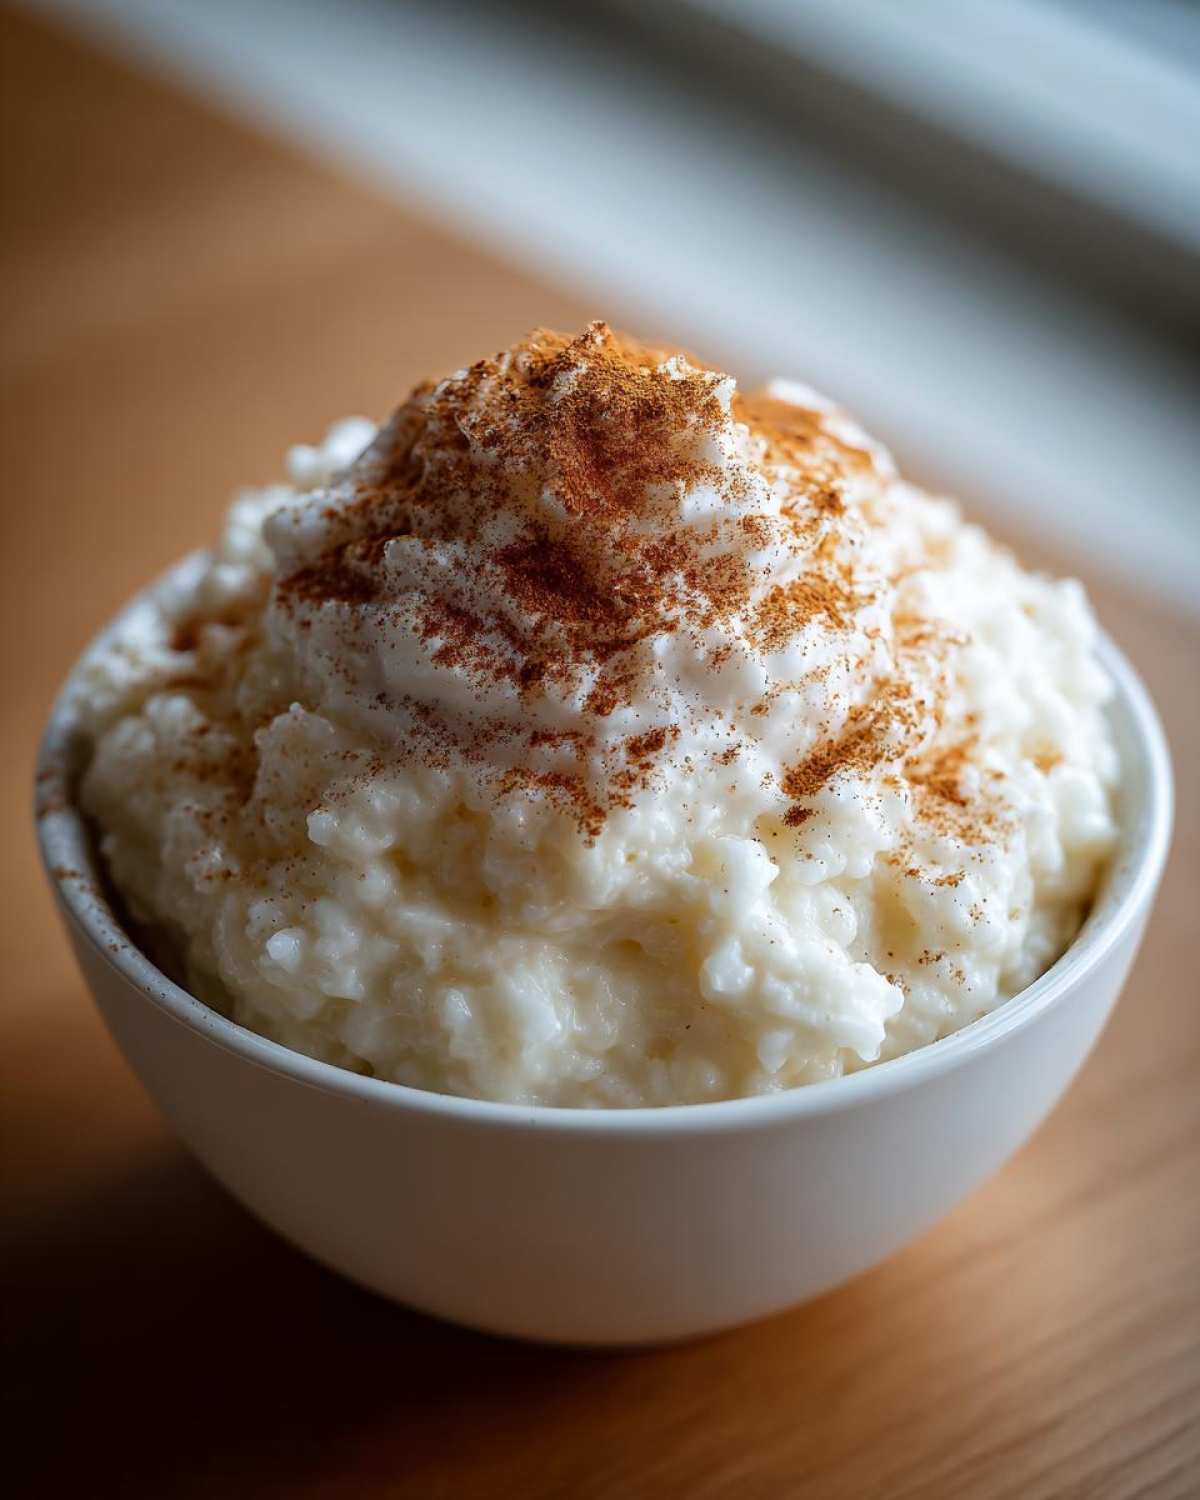
When it comes to toppings, we stick close to the basics because they just work so well. The simplest way, and my traditional favorite, is a generous dusting of ground cinnamon right before it hits the bowl. It adds that beautiful reddish-brown fleck of color and that signature cozy spice kick. If you want to elevate it just slightly and boost the flavor, try adding a tiny swirl of pure vanilla bean paste right on top of the warm pudding—it melts slightly and looks gorgeous!
For a fancier presentation, maybe for guests, I sometimes toast a few slivered almonds until they are just golden brown, or perhaps stir in a handful of plump golden raisins during the last five minutes of cooking. Raisins add a lovely, chewy surprise. But truly, whether warm with cinnamon or cold with vanilla shining through, this simple, sweet bowl is pure happiness. It’s the perfect ending to any meal.
Storage and Make Ahead Dessert Tips for rice pudding
Planning ahead is just good kitchen sense, isn’t it? Especially when you make a comforting dish that everyone loves! The real joy of this recipe is that it holds up beautifully, making it an ideal Make Ahead Dessert. I often make a double batch when I’m busy, thinking ahead to lunchboxes or quick evening snacks later in the week.
You can safely store this lovely rice pudding in an airtight container in your refrigerator for up to three days. When you pull it out on day two or three, it will certainly be thicker than when it was fresh. That wonderful rice continues to absorb all that creamy milk overnight, which is normal! It sets up quite firmly, almost like a soft, cool block of pudding.
But please, don’t worry if it seems too dense when cold! This is where we fix it easily and bring it right back to that velvety texture we love. To revive it, just take the amount you want to eat—maybe a single serving or two—and place it in a small saucepan over very low heat. You really only need a tiny splash of milk, maybe a tablespoon, stirred in slowly. As it warms up gently, the pudding loosens and becomes creamy again almost instantly. You might think you need a lot of liquid, but start small; you can always add more!
If you are just nuking a single bowl in the microwave, add a teaspoon of milk right on top before you start heating it. The microwave helps the moisture redistribute quickly. This way, even the leftovers taste just as rich and comforting as when they first came out of the warm pot. It’s a truly forgiving recipe, which makes it perfect for busy families like ours!
Frequently Asked Questions about Homemade Pudding
I always get questions about this Homemade Pudding because people are worried about getting that perfect texture. Don’t fret! These are all normal concerns when you are making something so simple and classic. People want to ensure their Easy Stovetop Rice Pudding turns out exactly right for those cozy nights we talked about.
Can I use leftover cooked rice for rice pudding?
Yes, you absolutely can, and it’s a wonderful way to save time! However, you must understand that it changes the result slightly. When you start with raw rice, as we do in this recipe, the grains swell slowly, releasing starch into the milk to create that luxurious, thick, creamy base we love. If you start with already cooked rice, there is very little starch left to release. Your pudding will cook much faster—maybe 15 to 20 minutes total—but the texture will be softer overall, and it might not have that signature rich, thick coating. It will still be delicious, but it’s important to know the difference!
What makes this rice pudding recipe so creamy?
That rich creaminess comes from two specific things working together! The first is using whole milk. Fat is flavor and texture, dear friend. We need that high fat content to create that wonderful mouthfeel that coats your tongue luxuriously. The second, and equally important reason, is the constant, gentle stirring over low heat. That stirring is what gently forces the starch out of the short-grain rice, thickening the entire pot into that smooth consistency. It’s a marriage between quality ingredients and patient technique!
Another little tip that helps—though it’s not listed in the main ingredients if you want to keep it ultra-simple—is adding a tiny pinch of ground nutmeg right when you add the cinnamon. Nutmeg gives a subtle warmth that reminds me of the puddings my mother used to make way back in Kyoto. It just deepens that flavor profile wonderfully, moving it firmly into that perfect comfort food dessert category.
Share Your Perfect rice pudding Experience
This pudding tastes like home to me, and now I hope it tastes like home to you, too! We have poured Kenji’s enthusiasm and my decades of family technique into making this the absolute best rice pudding you’ll ever put on your table. I truly want to know how it turns out for you! When you finish a bowl of this sweet, cozy treat, take a moment to leave a rating right here on the recipe card. Even a simple five stars tells me that the warm memories you made were worth the time spent stirring on the stovetop.
And please, don’t be shy about leaving a comment below! I adore hearing about the little ways people make this recipe their own. Did you stir in some plump raisins during those last few minutes of cooking? Perhaps you decided to try a tiny pinch of nutmeg along with the cinnamon topping—that is a wonderful addition, by the way! Or maybe you discovered that your family prefers it piping hot rather than chilled? Share all those details with me. Every time someone shares their experience, it helps build our little community here in the Whisk Daily kitchen, allowing us to all learn and cook together.
Your feedback means the world to us as Kenji and I explore this new adventure in New York City. We are so happy you chose to try this classic, comforting dessert. Happy cooking, and I look forward to reading all about your creamy, delicious bowls!
PrintThe Ultimate Creamy, Old-Fashioned Stovetop Rice Pudding
Make the creamiest, old-fashioned rice pudding right on your stovetop. This classic comfort food dessert uses simple ingredients and results in tender grains and rich vanilla flavor, perfect served warm or chilled.
- Prep Time: 5 min
- Cook Time: 40 min
- Total Time: 45 min
- Yield: 4 servings
- Category: Dessert
- Method: Stovetop
- Cuisine: American
- Diet: Vegetarian
Ingredients
- 1 cup short-grain white rice (Arborio or medium-grain works well)
- 4 cups whole milk
- 1/2 cup granulated sugar
- 1/4 teaspoon salt
- 1 teaspoon vanilla extract
- 1/2 teaspoon ground cinnamon (plus extra for topping)
Instructions
- Rinse the rice under cold water until the water runs mostly clear. Drain well.
- Combine the rinsed rice, whole milk, sugar, and salt in a heavy-bottomed saucepan.
- Place the saucepan over medium heat. Stir frequently to prevent the milk from scorching on the bottom.
- Bring the mixture to a gentle simmer. Once simmering, reduce the heat to low.
- Cook uncovered for 30 to 40 minutes, stirring every 5 to 7 minutes. The pudding is done when the rice is tender and the mixture has thickened to your desired consistency. It will thicken more as it cools.
- Remove the saucepan from the heat. Stir in the vanilla extract.
- Serve the rice pudding warm, or cover and chill completely for a cold dessert. Sprinkle with extra cinnamon before serving.
Notes
- For an ultra-creamy texture, stir the pudding often, especially during the last 15 minutes of cooking.
- If the pudding becomes too thick upon cooling, stir in a splash of milk to reach your preferred consistency.
- This recipe is delicious made ahead and stored in the refrigerator for up to three days.
Nutrition
- Serving Size: 1 cup
- Calories: 320
- Sugar: 25g
- Sodium: 180mg
- Fat: 7g
- Saturated Fat: 4g
- Unsaturated Fat: 3g
- Trans Fat: 0g
- Carbohydrates: 55g
- Fiber: 1g
- Protein: 10g
- Cholesterol: 25mg